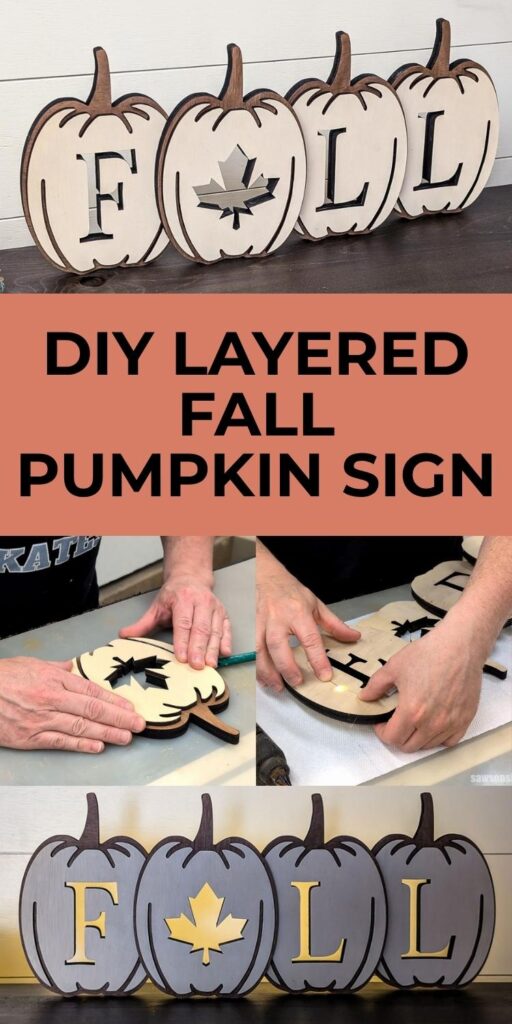
DIY Layered FALL Pumpkin Sign
A layered FALL pumpkin sign that adds dimension to your autumn decor. Full tutorial with cutting, finishing, and twinkle light tips.
I recently made these Halloween pumpkins with my xTool P3, and I gotta say, I’ve been having a blast brainstorming projects for it. The other day I was talking with one of my supervisors, Andy, at my part-time job. He’s a woodworker too, and his eyes lit up when I mentioned my new laser cutter. He said, “You need to do some of those layered designs!”
I agreed, but I was having a heck of a time figuring out what should go on which layer, what to cut, and what to leave. I can design in 3D using SketchUp, but these layered projects were really taxing my brain, lol.
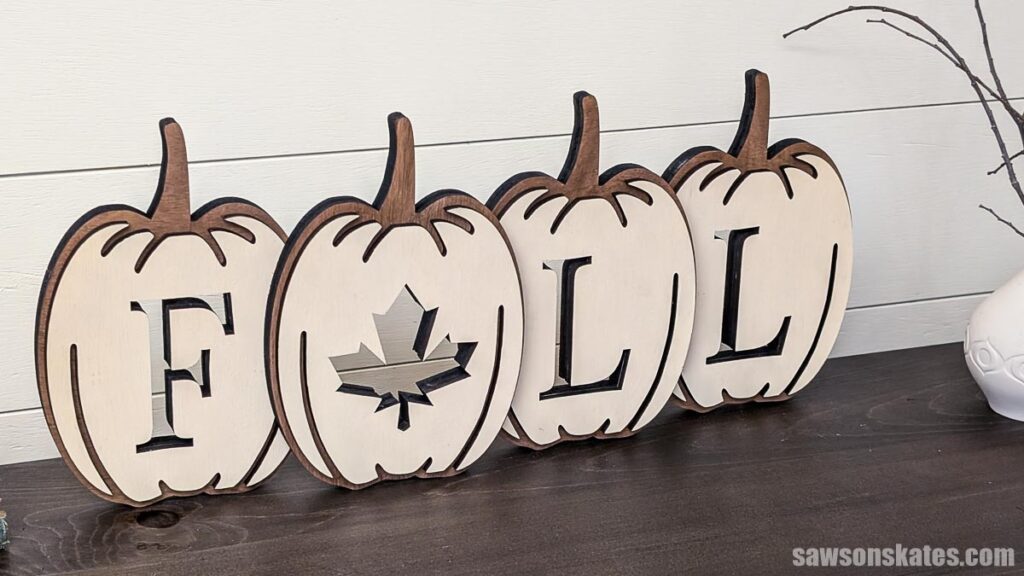
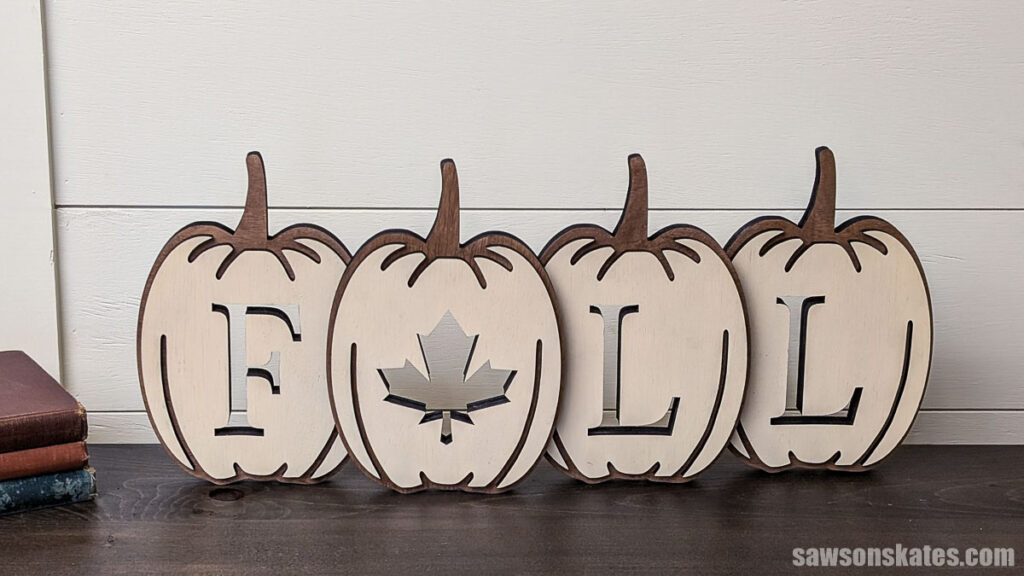
I had an idea for a fall tabletop sign: four pumpkins, each with a letter cut into it. Simple. As I was working on it, what Andy said kept replaying in my head. Make it layered. So that’s what I did, and I love the way it turned out.
The layers give it some dimension, and I even added twinkle lights to the back for a little glow. It’s perfect for a console table, an entryway, or a mantel.
Want to make your own? You can grab the cut files below.
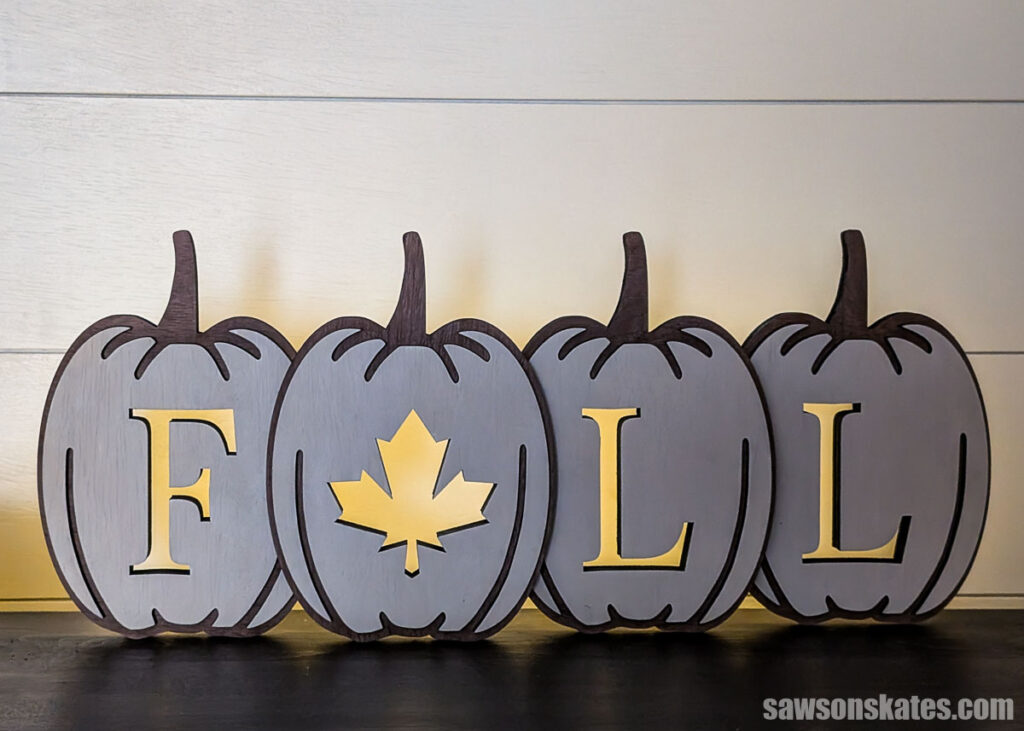
I cut mine with my laser in less than 20 minutes. You could use a scroll saw, but it will take a bit longer, or maybe a Cricut if you use thinner material.
xTool provided the P3 laser cutter I used in this project. All opinions are my own.
This article contains affiliate links. If you purchase from these links, I may earn a small commission at no additional cost to you. Visit my site policies for more information.
Why I’d Use Thinner Plywood Next Time
I used ½” plywood for the back pieces and ¼” for the fronts. The P3 cuts ½” easily, but I’ve been reaching for thinner material lately. I’m not even sure why. Maybe it’s because I can use a lower power setting. I also feel like thinner material makes less smoke, but maybe that’s just in my head. Whatever the reason, when I make this sign again, I’m going to use ¼” for the back too.
Finishing Ideas
There are a lot of ways to finish your sign:
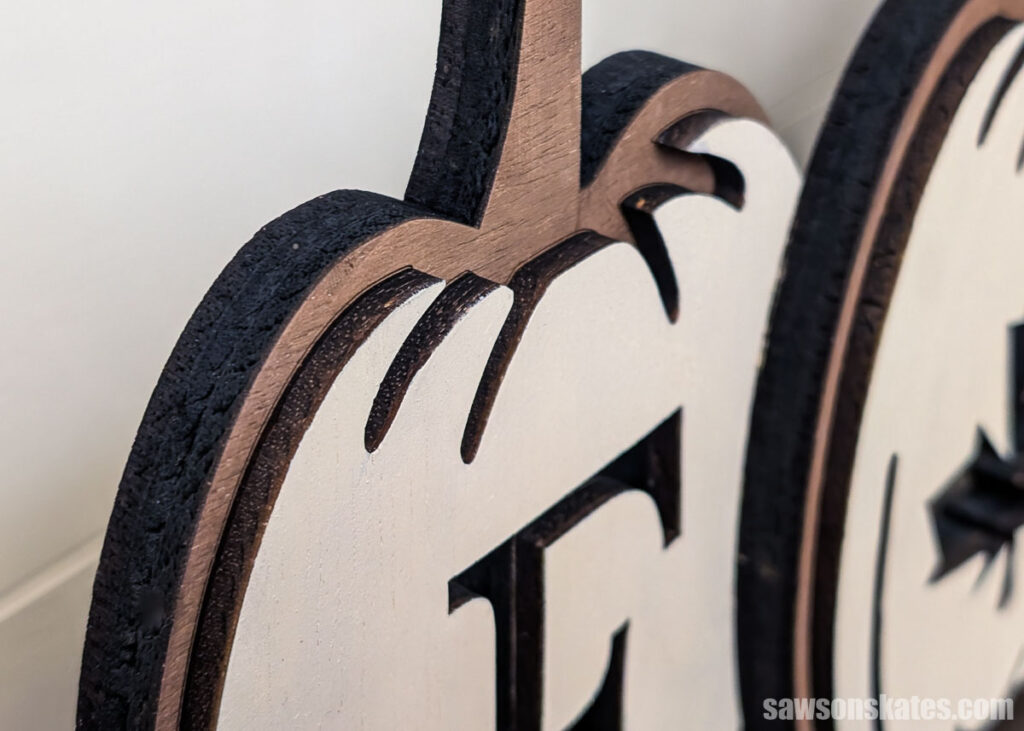
Stain the backer, paint the fronts. This is my favorite, and it’s what I chose for my sign. Stain the backer in walnut or another dark tone, then paint the raised pumpkin fronts. You can use this year’s fall colors like burgundy, plum, deep mustard, and chocolate. I used cream and the stained wood peeks through the pumpkin’s ridges, giving it some great dimension.
Paint everything in one color family. Pick a single color family and step the shades. Try a cream backer with fronts in graduating tones from caramel to rust to chocolate. It looks collected and layered, and it feels more modern.
Stain only, and let the wood do the work. If you’d rather keep it simple, use one walnut or dark stain on everything and let the cut letters carry it. The step between the layers creates a clean, timeless, tone-on-tone shadow.
How to Make a Layered FALL Pumpkin Sign
Materials
- ¼” Plywood
- ½” Plywood
- Wood Glue
- Hot Glue
- 1″ Brad Nails
- Craft Paints
- Twinkle Lights
Tools
- xTool P3 or scroll saw
- Brad Nailer
Before You Begin
I made a rookie mistake. I used an A, but the center of the letter drops out when it’s cut, leaving an empty space. I brainstormed a few fixes, but I think the easiest solution is to swap the A for a fall shape like a leaf. So that’s what I did, and I think it adds more visual interest than the letter did anyway. I already sorted this out in the cut files, so the leaf swap is done for you.
Step 1. Design the Layers
I brought a pumpkin shape into xTool Studio and stretched it tall so the letters would fit. Then I chose a serif font and added a letter to each pumpkin. I swapped the A for a maple leaf.
For the first layer, I set the outside lines, the letters, and the maple leaf to cut. I set the inside line to score. I thought the score line would help me line up the second layer, but looking back, I think I could just use the insides of the letters to position the second layer. So I might skip the score line next time.
For the second layer, I copied the inside lines, the letters, and the maple leaf, and set all of them to cut.
Prefer to skip the design work? The cut files are ready to go.
Step 2. Cut the Layers
With the file set up, it was time to cut. I placed the material on the bed, and the P3’s cameras detected it and automatically set the bed height.
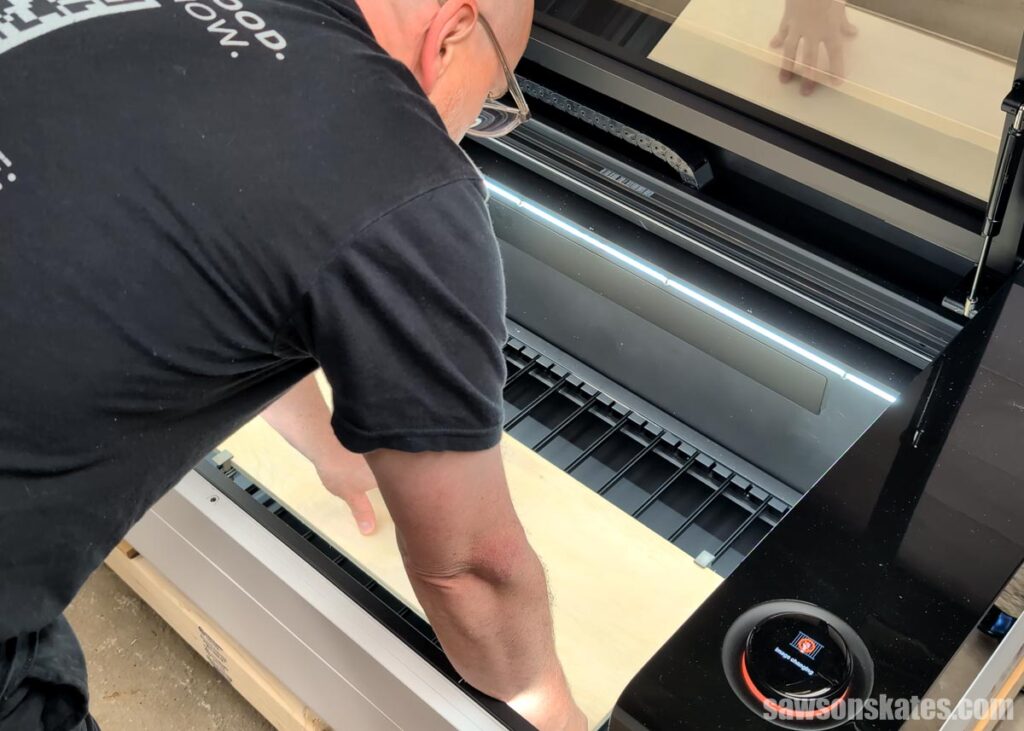
Before I go any further, one thing: in xTool Studio, I selected the second layer and turned off “output,” so the machine would only cut the first layer.
Then I positioned the first layer on the material, clicked Process and Start, tapped the dial on the machine, and it went to work. About 9 minutes later, the first layer was done.
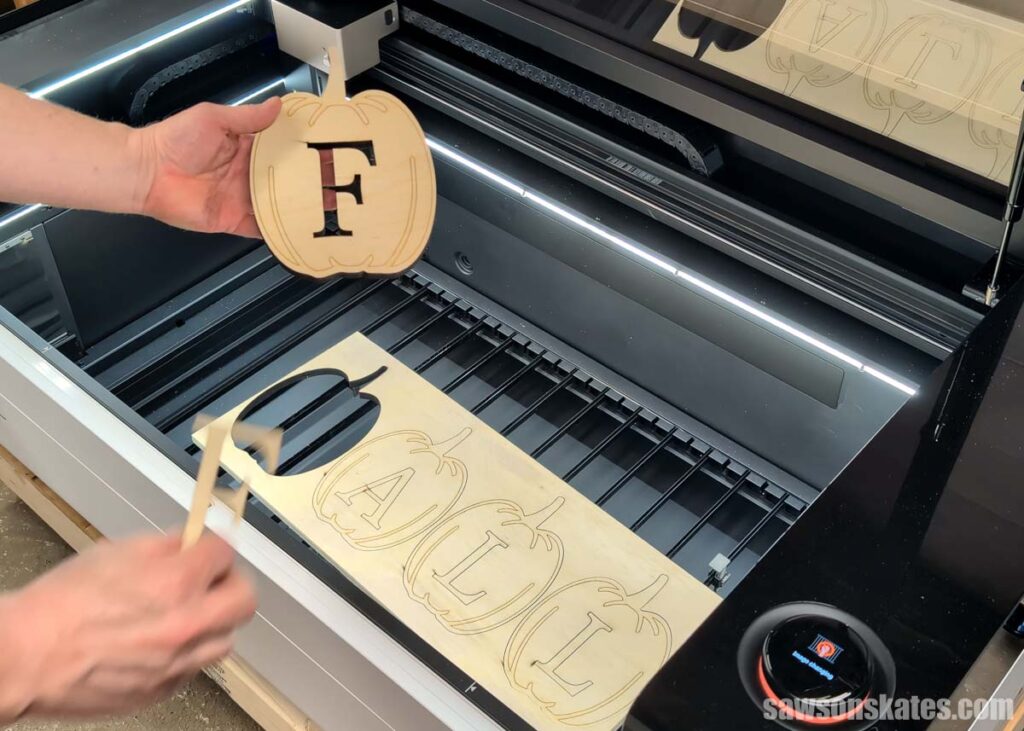
I repeated the same steps for the second layer, and in about 6 minutes, that one was done too.
Not bad for about 15 minutes of work.
Step 3. Finish and Assemble
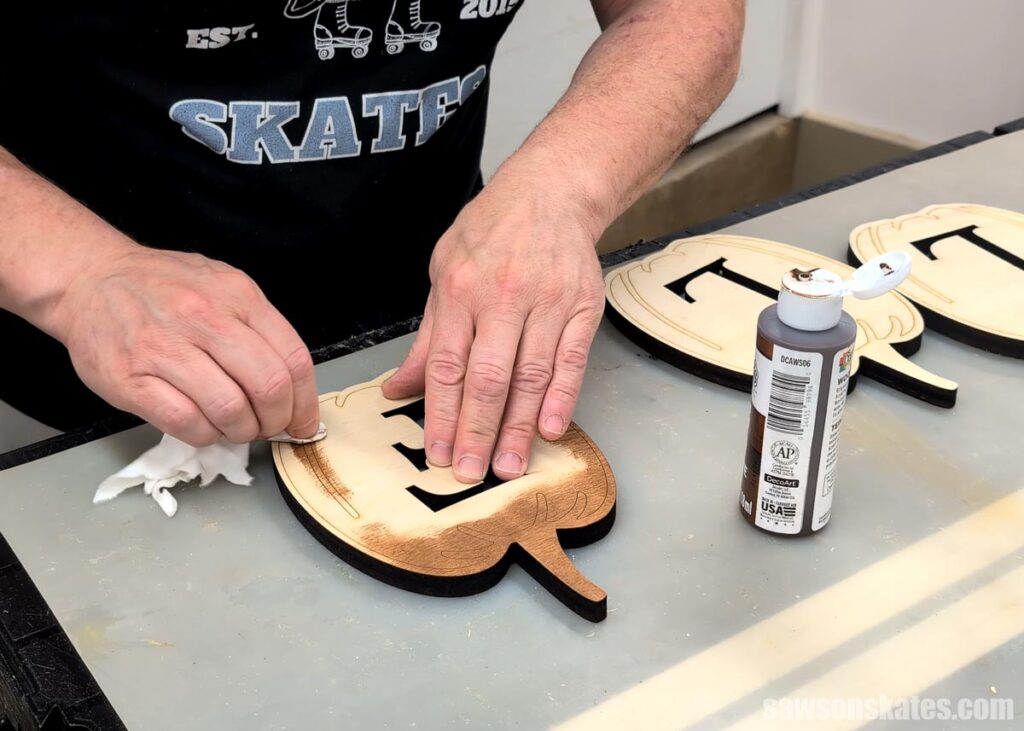
On the first layer, I applied some stain that came from, of all places, Dollar Tree! I bought it on a whim, and I have to tell you, I really like this stuff. I’m planning to get more of this color and test out a few others.
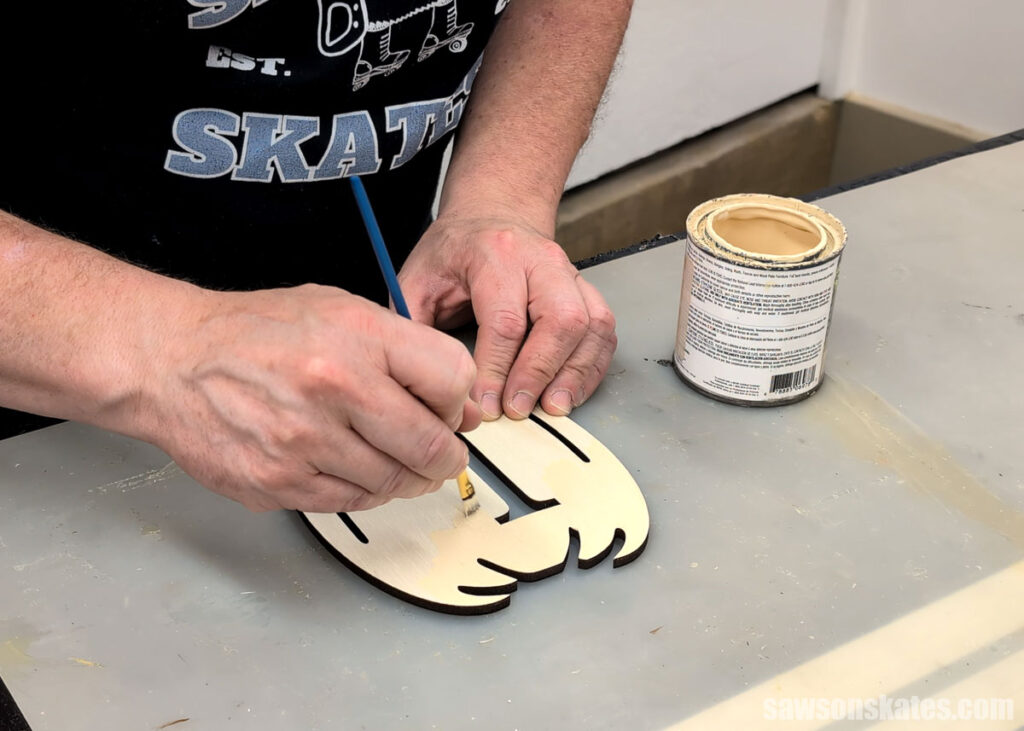
On the second layer, I applied a coat of cream colored paint I had leftover from another project.
Once all the pieces were dry, I glued each front to its backer and held it in place with spring clamps. Now I had my four pumpkins, each with its front layer attached.
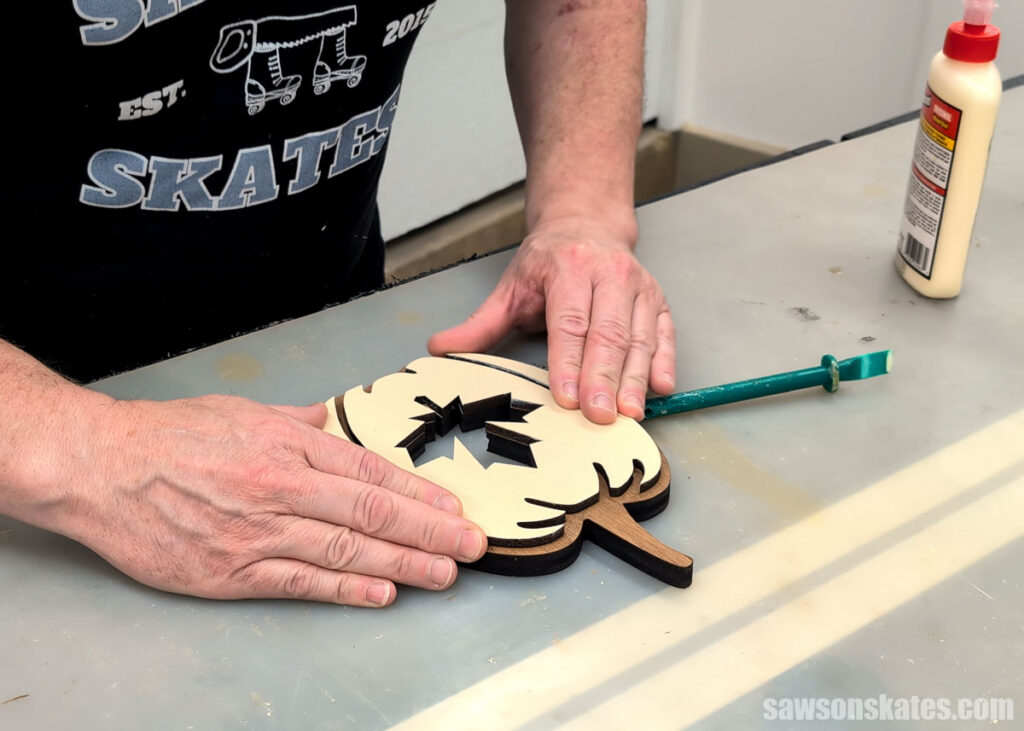
After the glue dried for about 30 minutes, I laid out the four pumpkins in their stepped, overlapping positions and traced around each one. The tracing showed me where the pumpkins overlap, so I knew where to apply the glue.
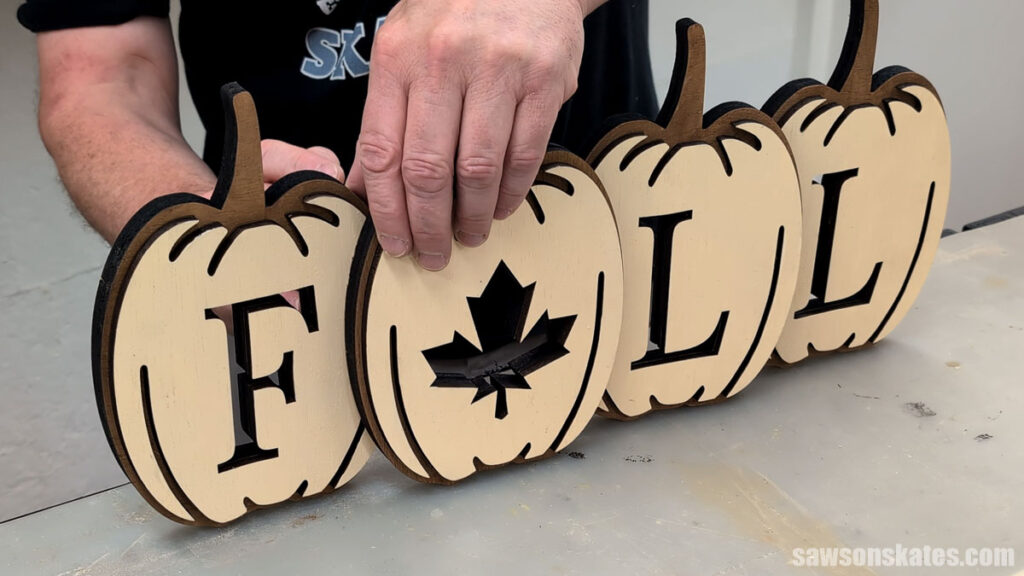
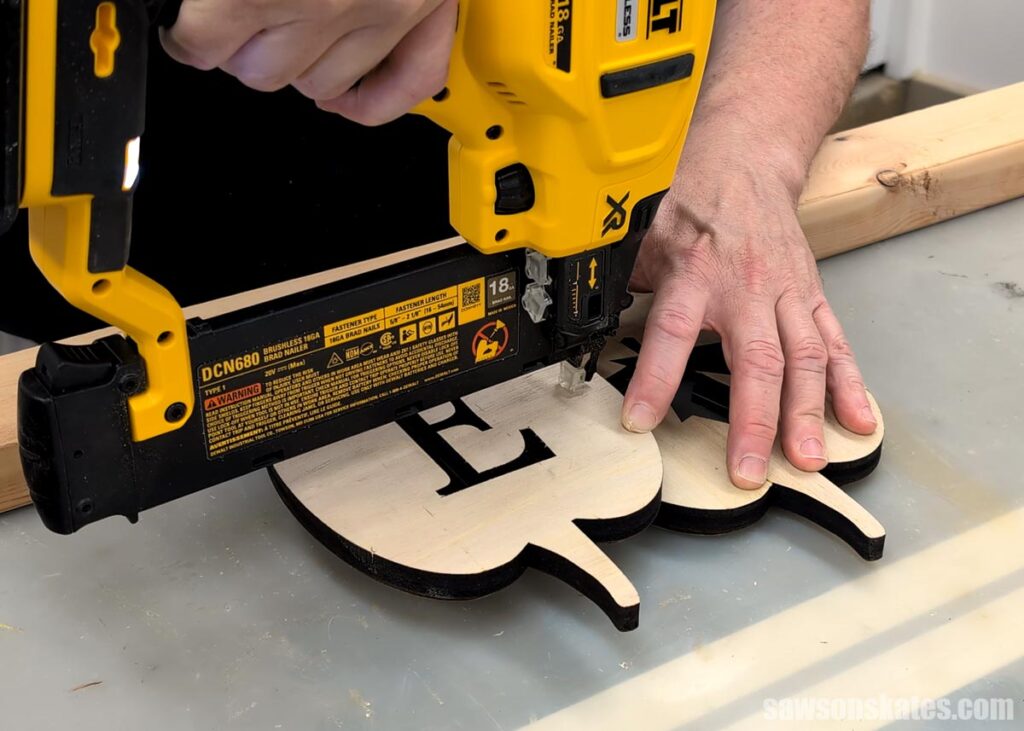
Then I worked one at a time, applying glue and tacking it in place with 1″ brad nails.
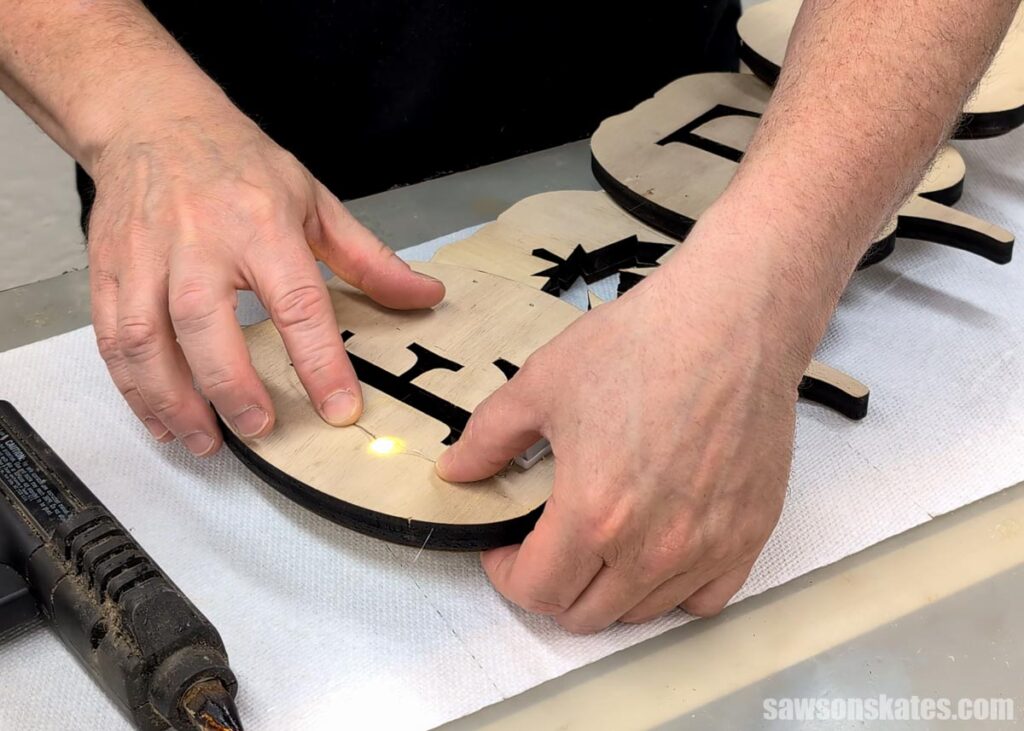
On the back, I used hot glue to attach these twinkle lights. I’ve seen one of my favorite creators do this. He said the glue doesn’t melt the lights, so I’m going to give it a try. He also said applying the glue to the light makes it brighter, so I’m going to try that too.
I love how this turned out!

Cut Files Include:
- SVG, DXF, and PDF
- A reference sheet with the color codes and finished measurements
Recommended For You
Pin This For Later