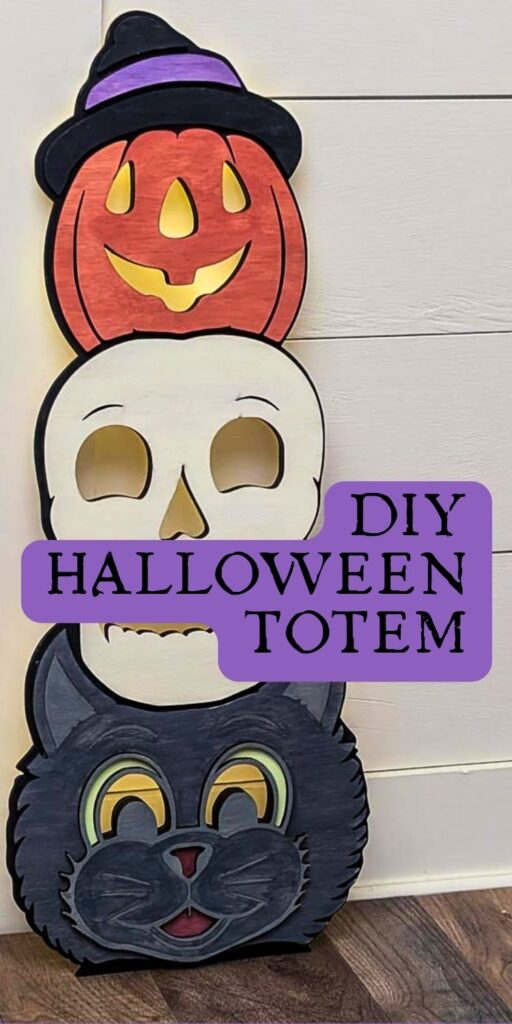
DIY Halloween Totem Porch Leaner
Make a layered DIY Halloween totem leaner with a vintage feel. Full tutorial with cutting, finishing, and twinkle lights for a spooky glow.
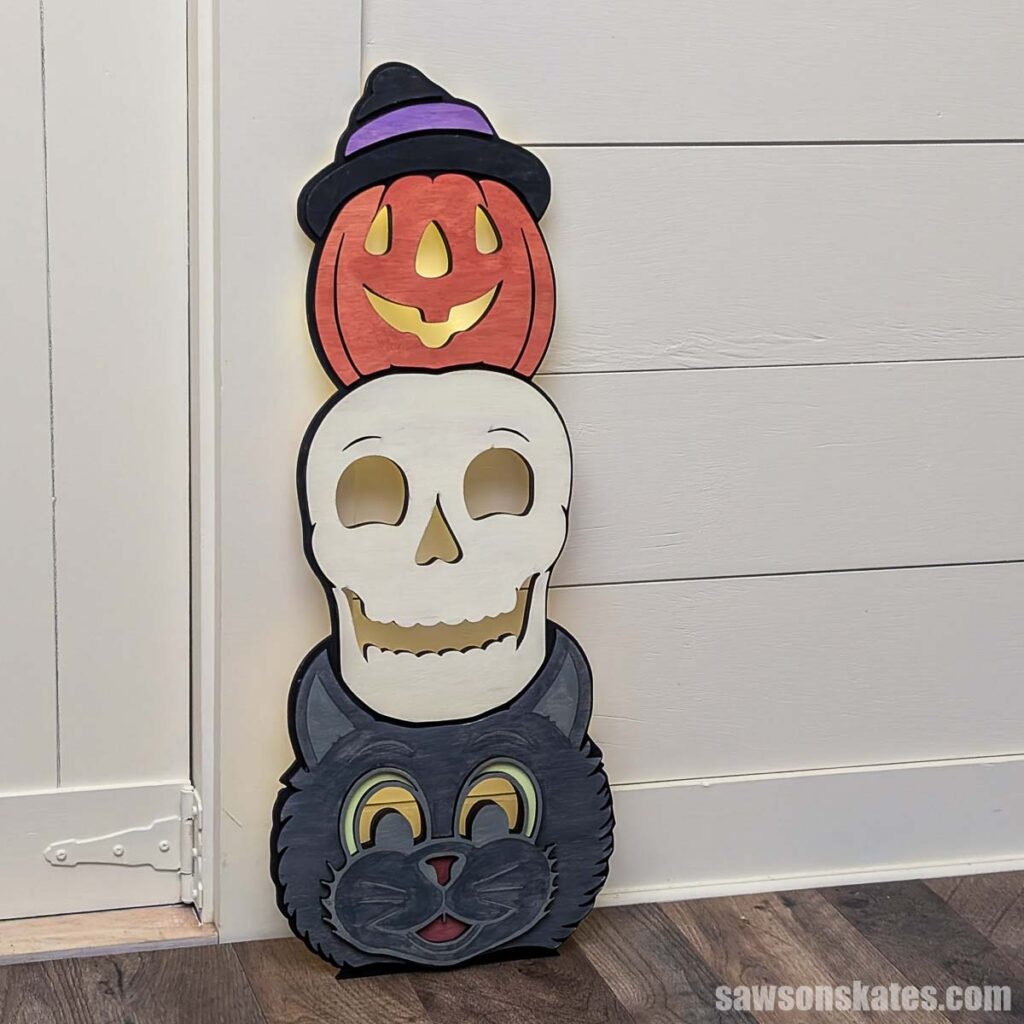
I’m going to pat myself on the back here. I think I’m getting better with these layered designs! In my FALL pumpkin sign post, I mentioned how layered projects were really taxing my brain, but my supervisor at my part-time job talked me into it. Well, they’re starting to click.
I wanted to try a porch leaner because I knew the xTool P3 had the bed size to handle bigger material. I could’ve just scaled up my pumpkin shelf sitter, but I wanted to try something different.
Then I stumbled on a photo of a vintage 1990s Halloween blow mold on eBay (those hollow molded plastic decorations that light up from the inside). If you’ve been following a while, you know I love vintage, especially holiday stuff like Halloween and Christmas.
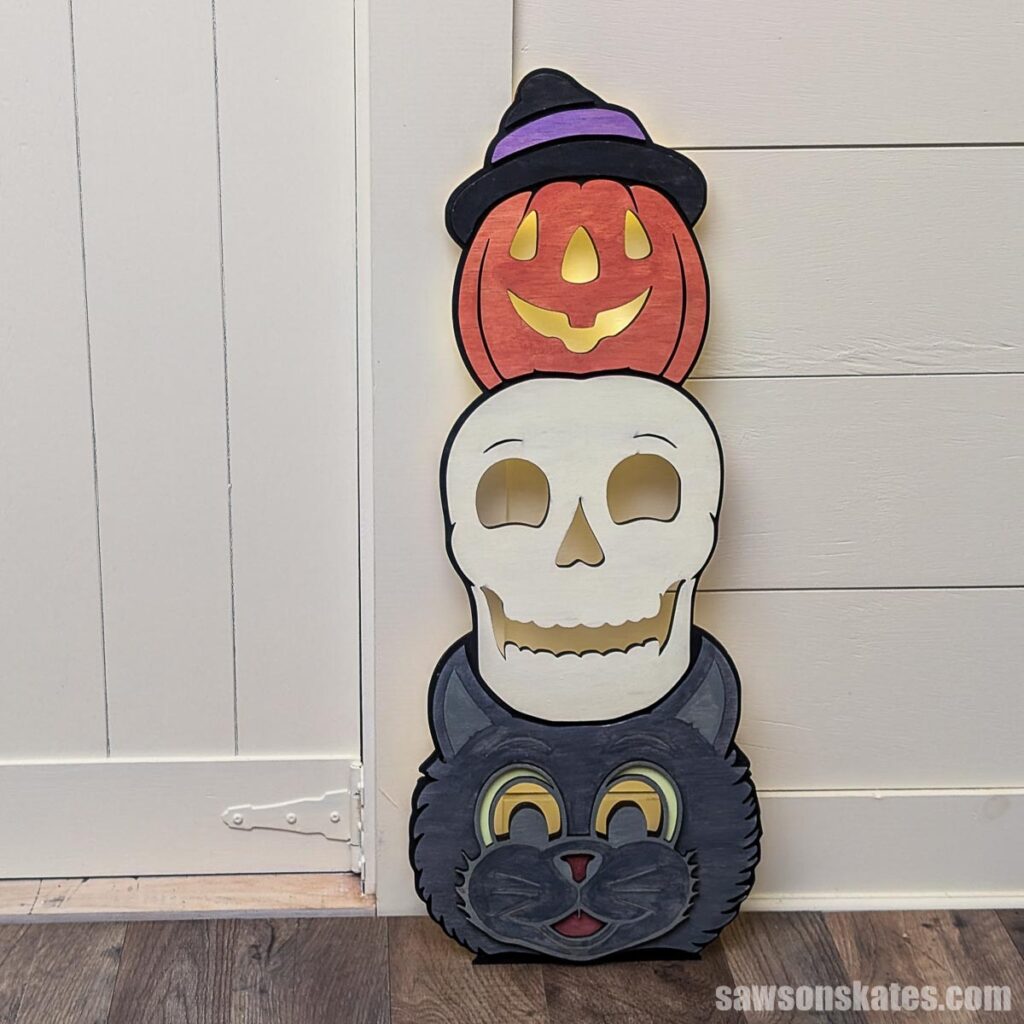
I think my version came out pretty close to the original. I changed the proportions a bit, added some details, and tweaked the colors. Those small changes almost make it feel more like the 50s or 60s, which I love.
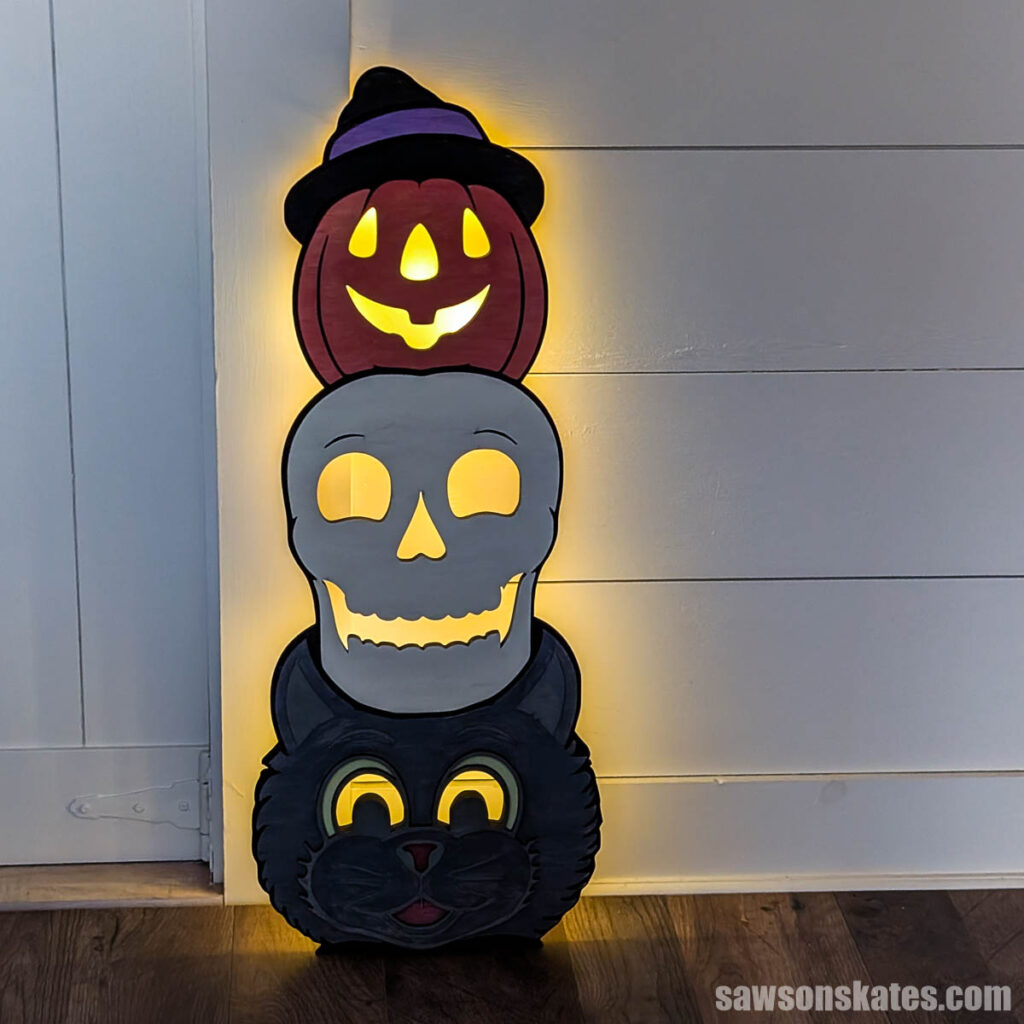
I’m calling this a porch leaner, but honestly, at about 24 inches tall, it’s probably a bit short for that. It’s really more of a mantel or fireplace leaner. And with the twinkle lights on the back, it gives off a spooky glow wherever you display it.
Want to make your own? Grab the Halloween totem laser cut files here.
xTool provided the P3 laser cutter I used in this project. All opinions are my own.
This article contains affiliate links. If you purchase from these links, I may earn a small commission at no additional cost to you. Visit my site policies for more information.
How to Make a Halloween Totem Porch Leaner
Materials
- ¼” Plywood
- Wood Glue
- Hot Glue
- Craft Paints
- Twinkle Lights
Tools
- xTool P3 or scroll saw
Before You Begin
I cut my totem with my laser. You could use a scroll saw, but it will take a bit longer, or maybe a Cricut if you use thinner material.
Step 1. Design the Layers
In xTool Studio, I set up the file. The first layer is the backer piece. The second is the pumpkin with hat, skull, and cat. The third layer is the cat’s mouth, nose, and whiskers.
Don’t want to design the layers yourself? You can grab my Halloween totem laser cut files here.
Step 2. Cut the Layers
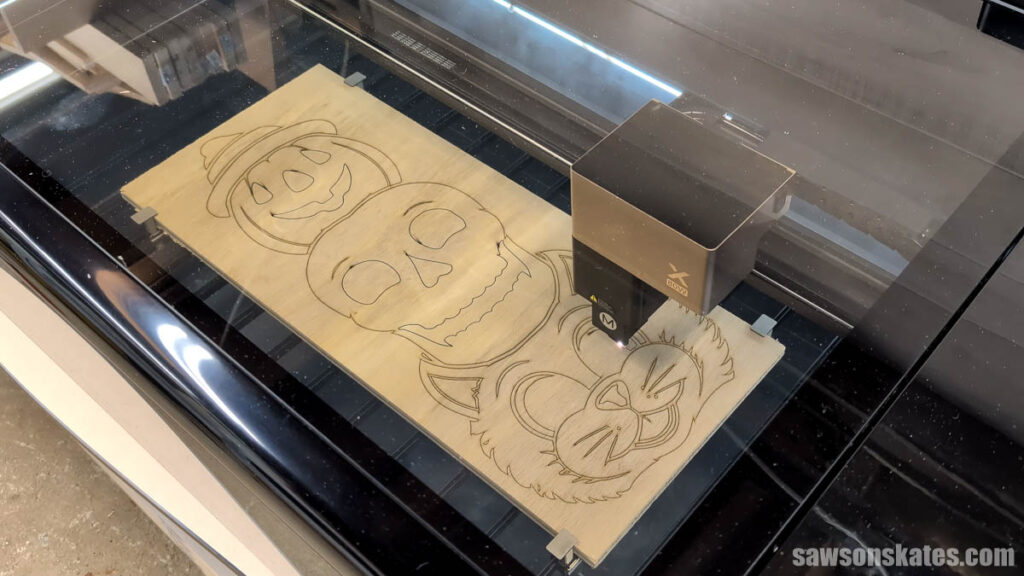
With the file set up, it was time to cut. I placed the material on the bed, and the P3’s cameras detected it and automatically set the bed height.
Then, in xTool Studio, I positioned the first layer on the material, clicked Process and Start, tapped the dial on the machine, and it went to work.
I repeated these steps for the second and third layers.
Heads up, this photo is from my first version of this project, when I made it flat (no layers).
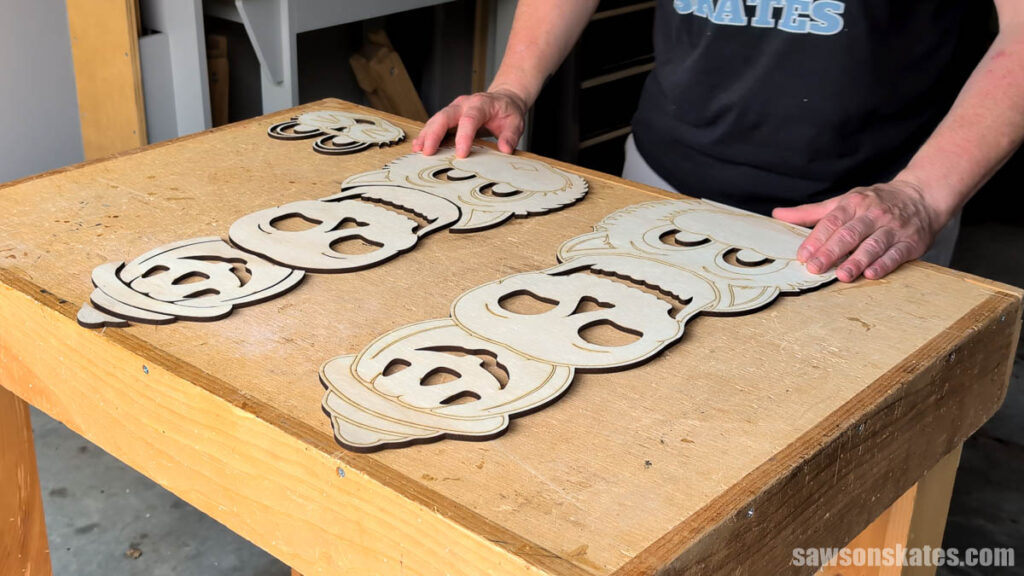
Here are all of the layers laid out on my workbench.
Step 3. Finish and Assemble
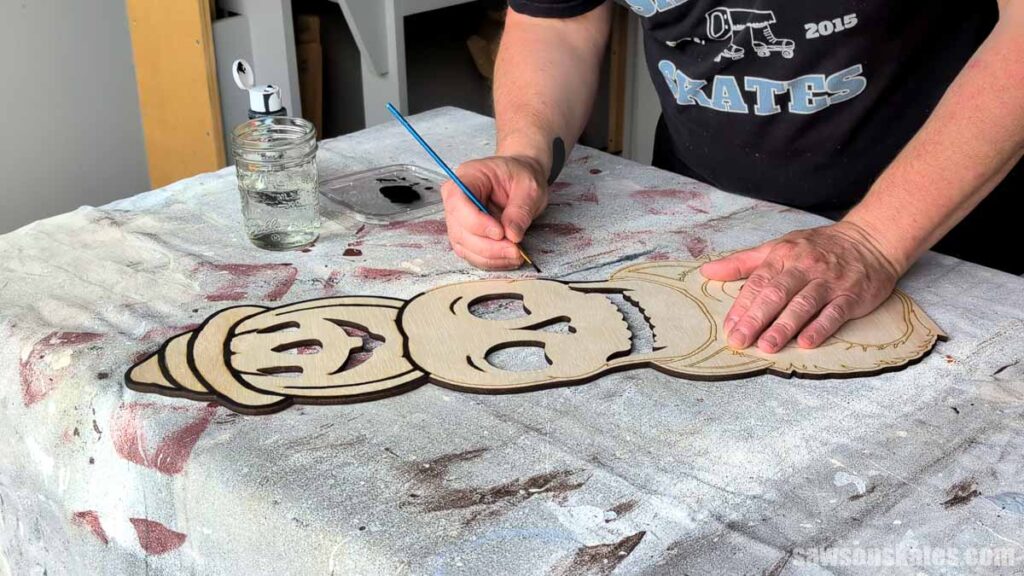
On the first layer, I applied some black craft paint, following the score lines around the edge and for the details like the pumpkin’s ridges and the skull’s eyebrows.
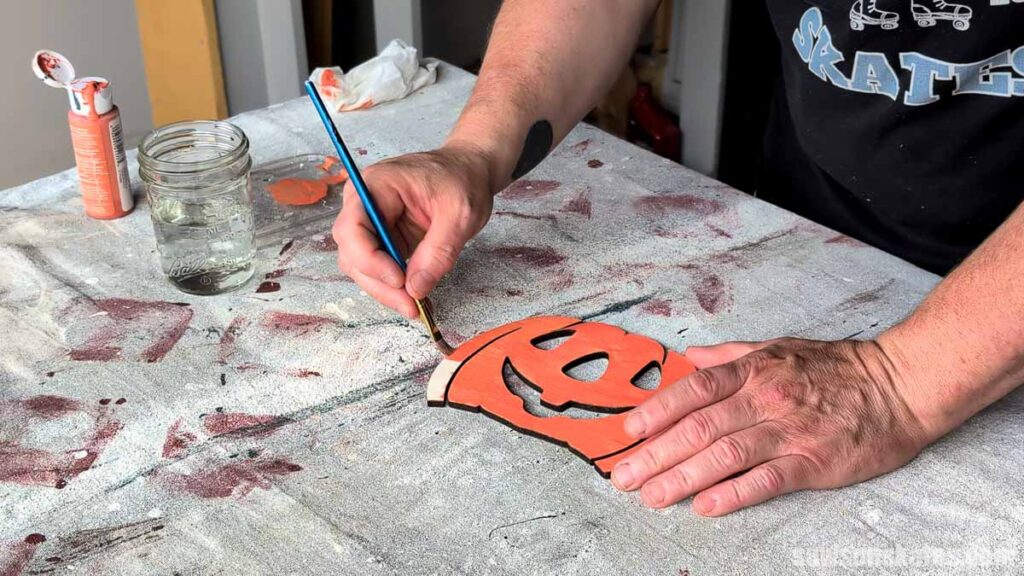
For the second and third layers, I painted the pumpkin, skull, and cat.
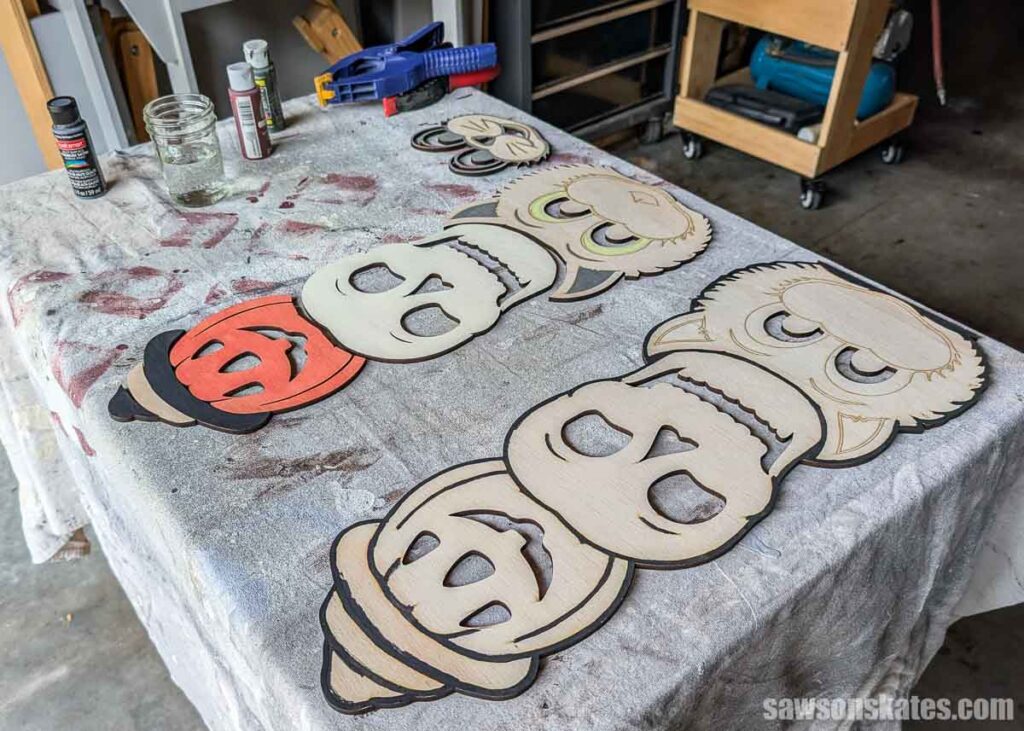
Once all the pieces were dry, I glued each front to its backer and held it in place with spring clamps.
I’m not sure what happened here. I have a photo from just before I started assembly; you can see the spring clamps near the top of the image, but I don’t have any photos of clamping the layers to the backer.
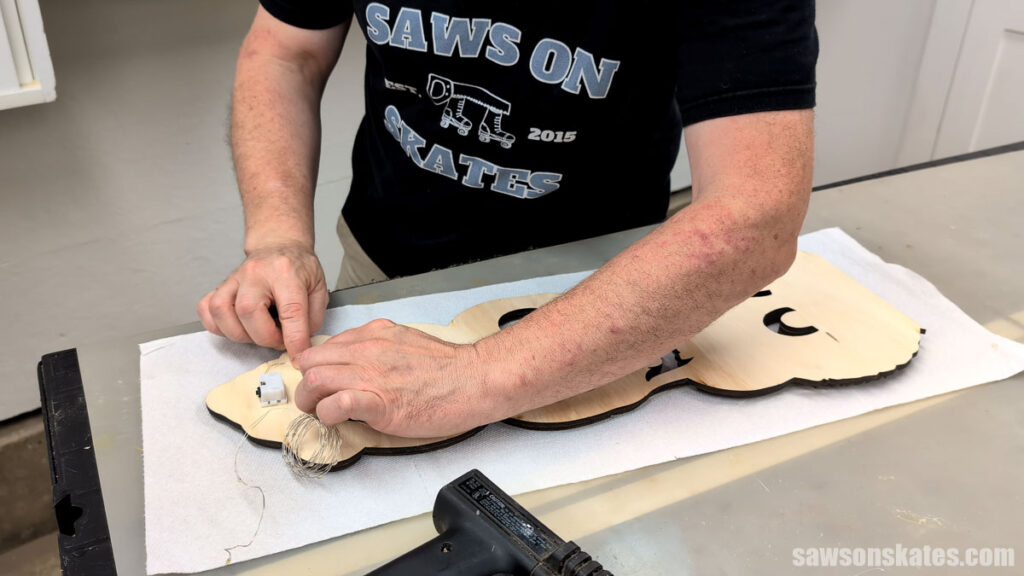
After the glue dried for about 30 minutes, I used hot glue on the back to attach these twinkle lights. That’s how one of my favorite creators does it, and he said the glue doesn’t melt the lights. I tried it on this fall sign, and he’s right; they didn’t melt! So, I’m doing it again for this project.
That’s it. I’m ready to turn on the lights and set this leaner next to my doorway, mantel, or fireplace!
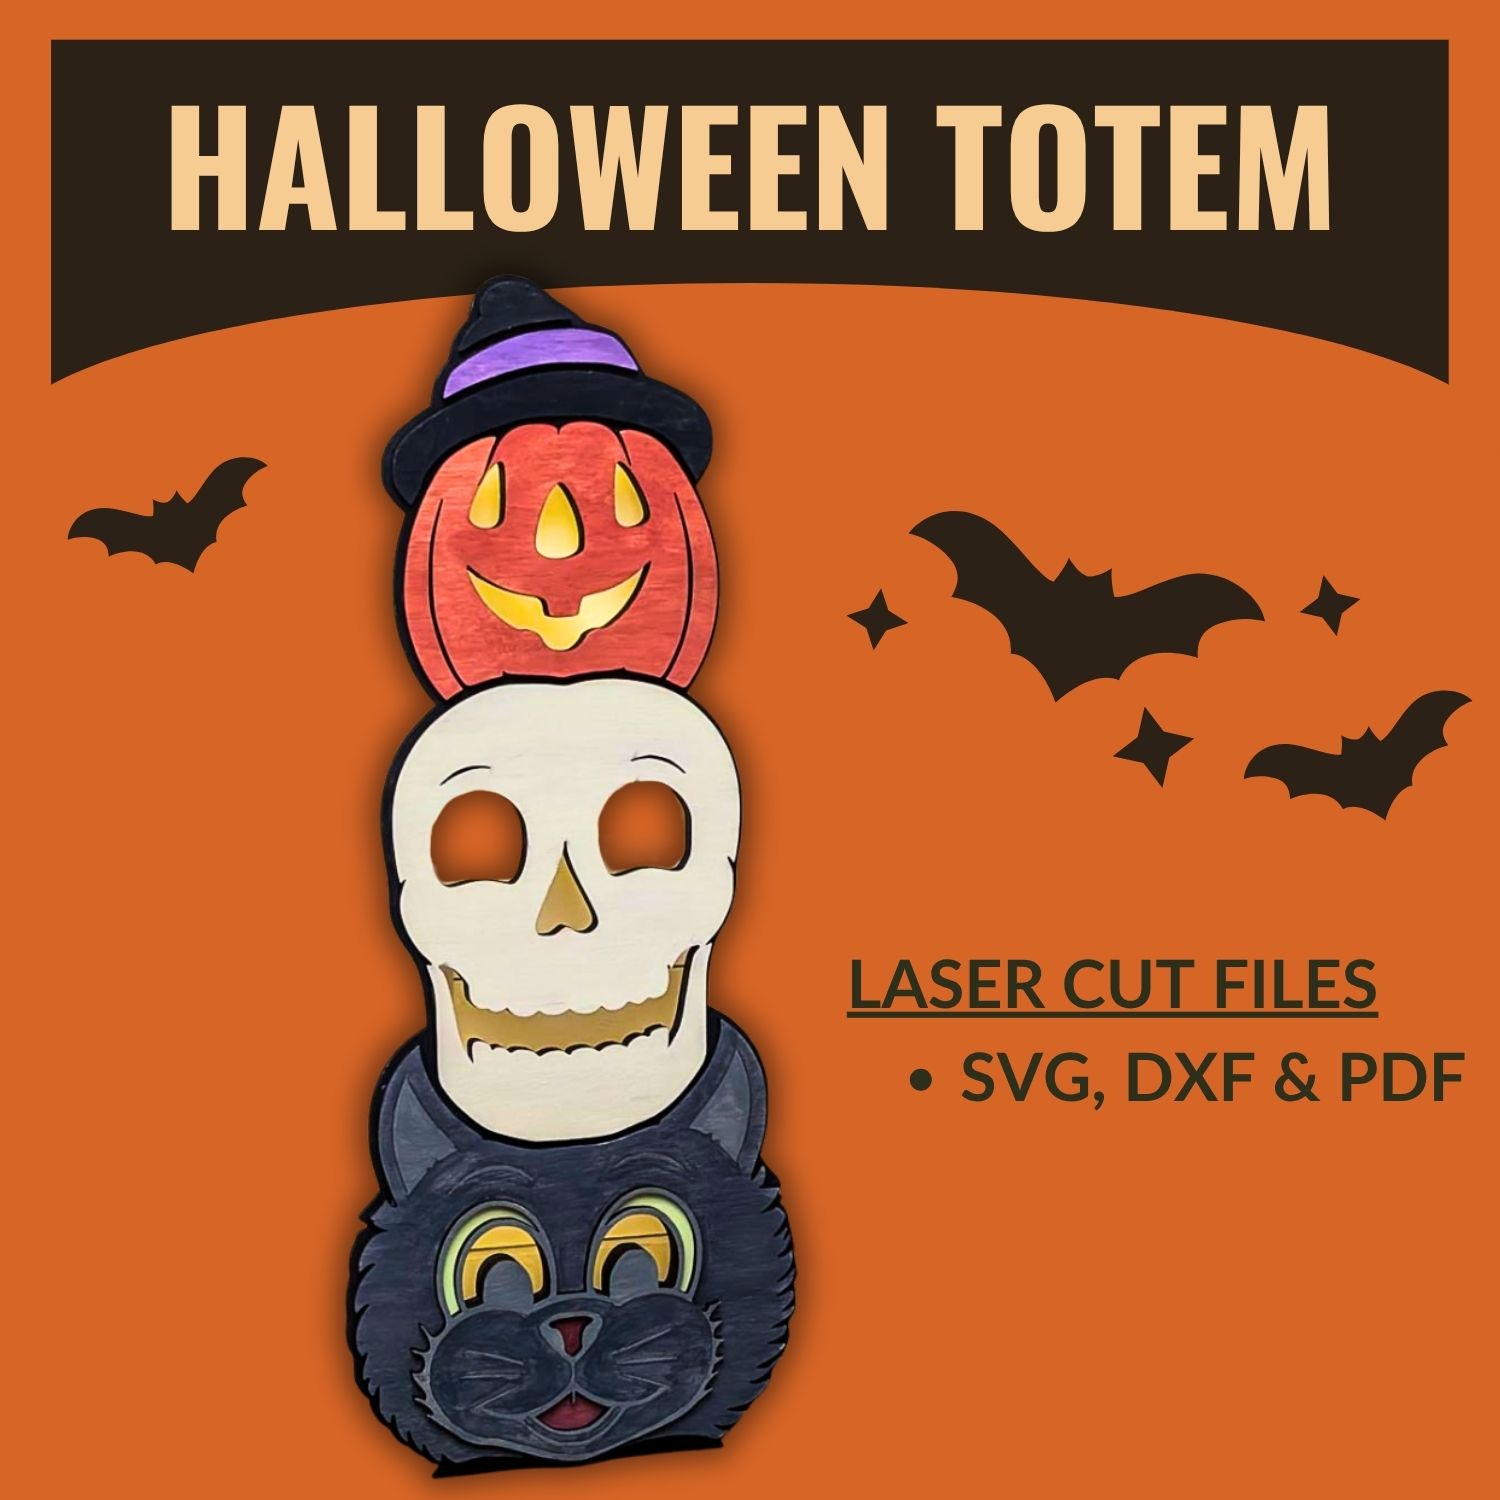
Cut Files Include:
- SVG, DXF, and PDF
- A reference sheet with the color codes and finished measurements
Recommended For You
Pin This For Later