How to Make a DIY Computer Monitor Riser
Build a DIY computer monitor stand from scrap wood to raise your screen to the perfect height. Simple, practical, and beginner-friendly.
What Should I Build Next?
That's the question I help answer.
Every week, I send woodworking ideas to 17,000 DIYers who love building things.
You'd fit right in.
I recently started a part-time job. So far, it’s been great, but one thing kept bugging me. The monitor was too low, so I was constantly hunched over, looking down at the screen.
Of course, the first thing I checked was if the height was adjustable. Nope.
So I looked around my office (that still feels weird to say 😄) and found a spiral-bound phone message pad (I didn’t even know offices still used those lol), and an outdated planner. I stacked them under the monitor. Better… but still a little too low.
The Store-Bought Solution (That Didn’t Work)
Later, my supervisor asked if I needed anything. I mentioned the monitor height, and before I could even say that I might make one, she disappeared into her office and came back with a monitor riser — complete with a drawer.
I tried it.
It was too high. 🙃
Why I Decided to Make My Own
With my stack of pads being a little too low and the store-bought stand being a little too high, I realized I needed something right in between.
I looked up a few ideas online, but I wanted something quick and easy. So I designed my own: a simple DIY monitor shelf, built from cutoffs I already had in my shop.
I used scrap pine, but you could use almost any wood. I think it would even look great made from plywood with the plies exposed for a more industrial look.
Design Inspiration (and Why I Kept It Simple)
One design I kept coming back to online had curved ends and a rounded underside, shaped with a router and bit, giving the shelf a floating look — almost like a surfboard.
That was my original goal. But then I thought it might be smarter to treat this as a prototype: keep it simple, make sure the height and proportions worked in the space, and refine it later if needed.
Spoiler alert: it’s perfect!
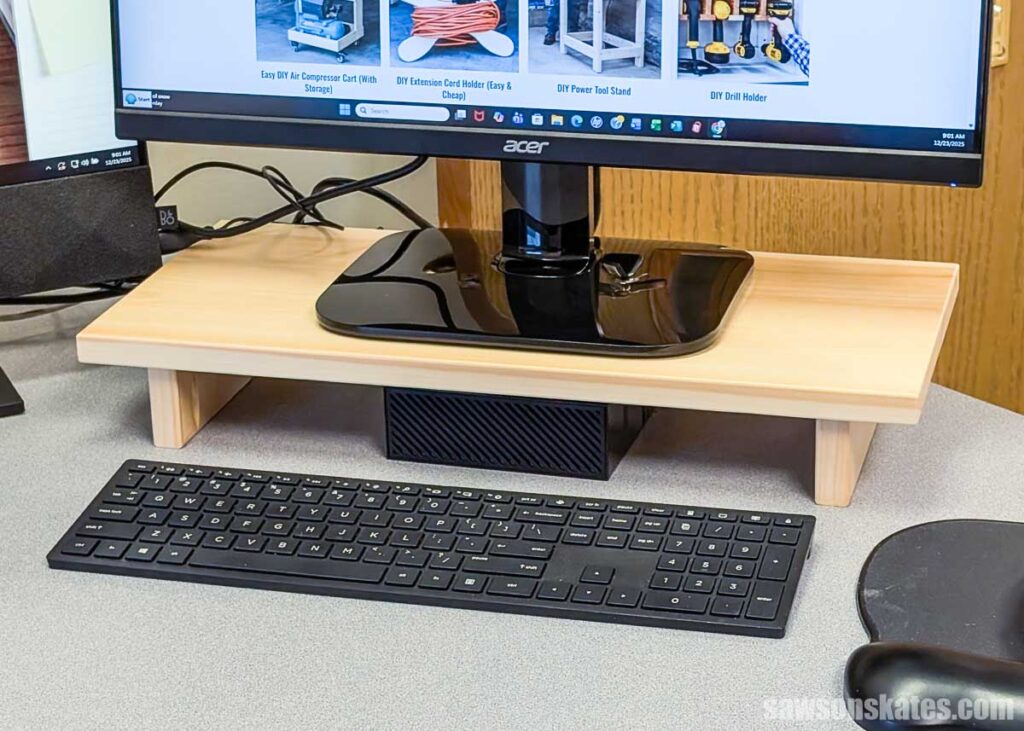
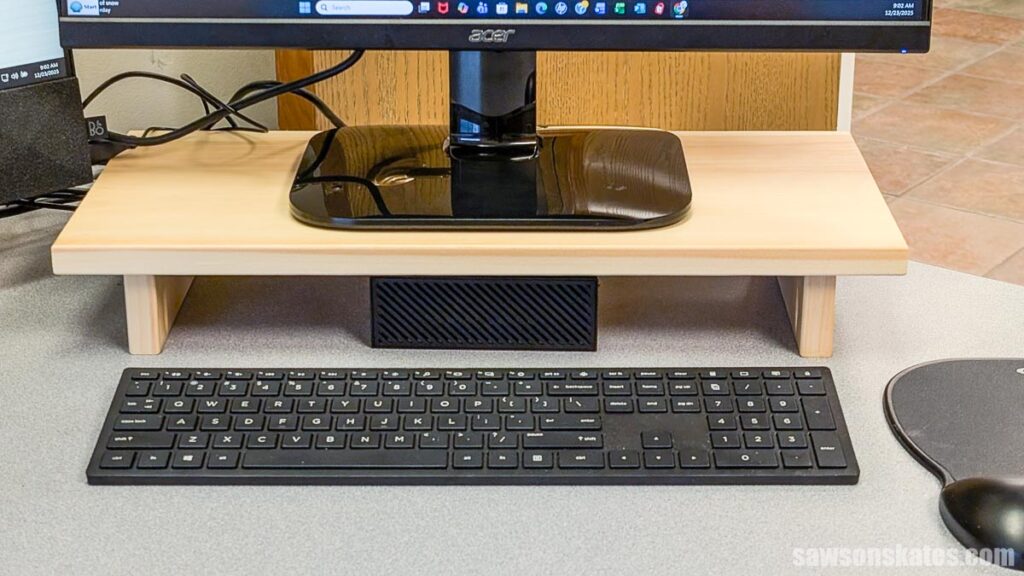
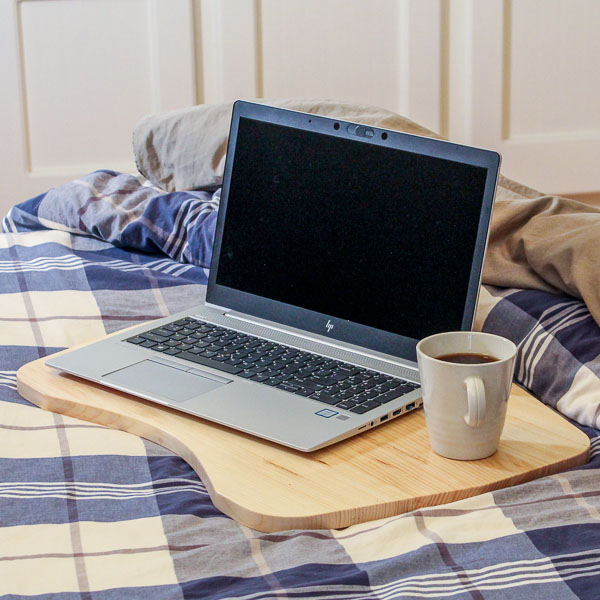
How My DIY Monitor Stand Turned Out
The height works great for me. I can keep notes, business cards, and small items on top, and the computer fits neatly underneath.
My only regret is that I didn’t space the legs a bit farther apart — if I had, I could slide the keyboard underneath and free up some desk space when I’m working on projects that don’t require the computer.
How I Figured Out the Dimensions
Here’s how I sized mine:
- First, I measured the width of the monitor from side to side and used that measurement for the length of the shelf.
- Next, I measured the height of my makeshift riser (the pad and planner) and the height of the store-bought riser, split the difference, and used that as the finished height of the stand.
Finishing Touches
For the finish, I originally planned to use polyurethane for durability. Instead, I applied a couple coats of matte Polycrylic, which should be more than enough for a project like this that won’t see much abuse.
How to Make a Computer Monitor Stand
Materials
- Scrap Wood
- Wood Glue
- Pocket Hole Screws
Tools
- Tape Measure
- Miter Saw
- Pocket Hole Jig
- Drill
- Router and Roundover Bit (optional)
Video Overview
Step 1. Glue Up the Parts
To get started, I glued up boards for the shelf and legs using the same techniques I demonstrated in my panel glue-up class.
I applied the glue.
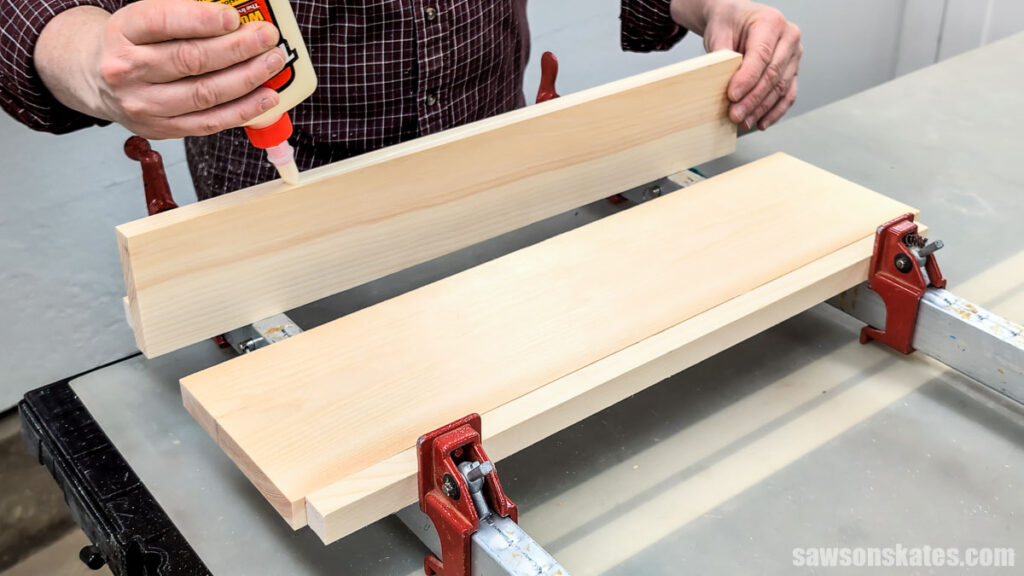
I positioned the boards side by side, and rubbed them back and forth to spread the glue evenly.
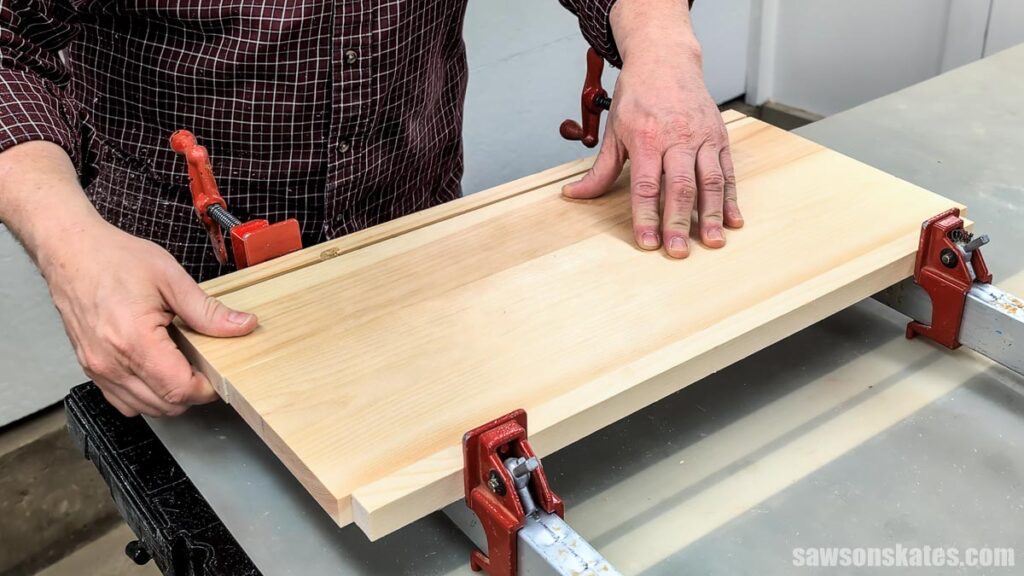
Then I tightened the clamps and let everything dry.

I followed the same steps to make the legs.
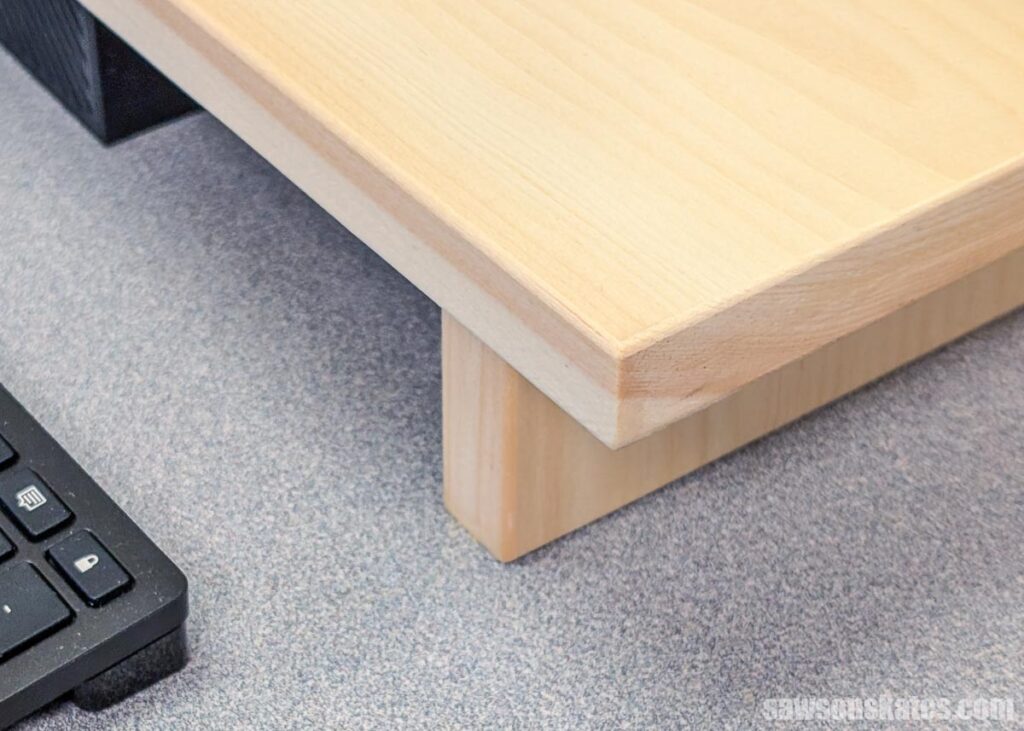
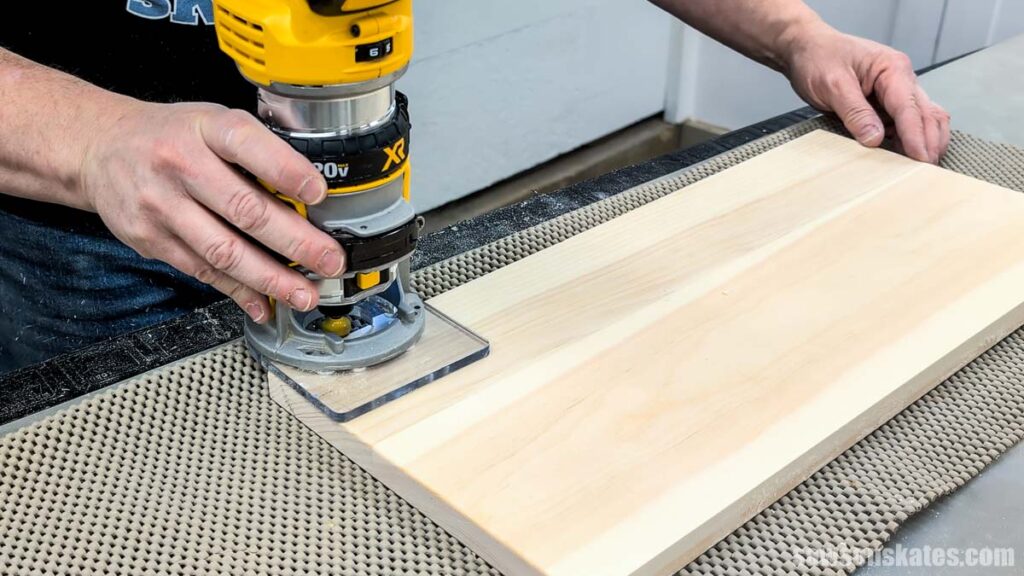
Step 2. Shape and Assemble
Once the shelf and legs were cut to their final length, I used a router with a roundover bit to soften all of the edges. This small step takes the project from scrap pile to polished. You can use sandpaper instead if you don’t have a router.
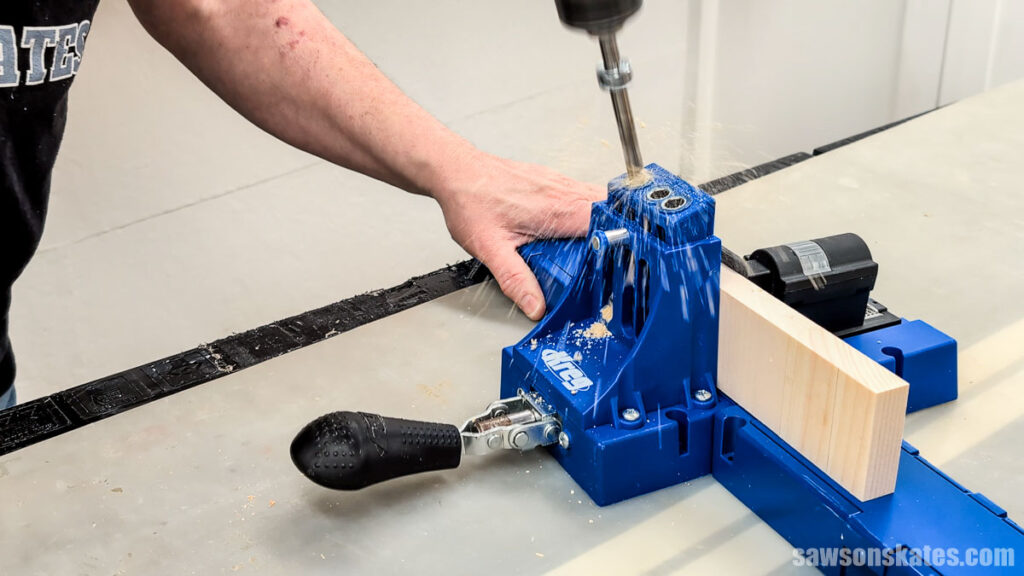
Next, I drilled two pocket holes in each leg.
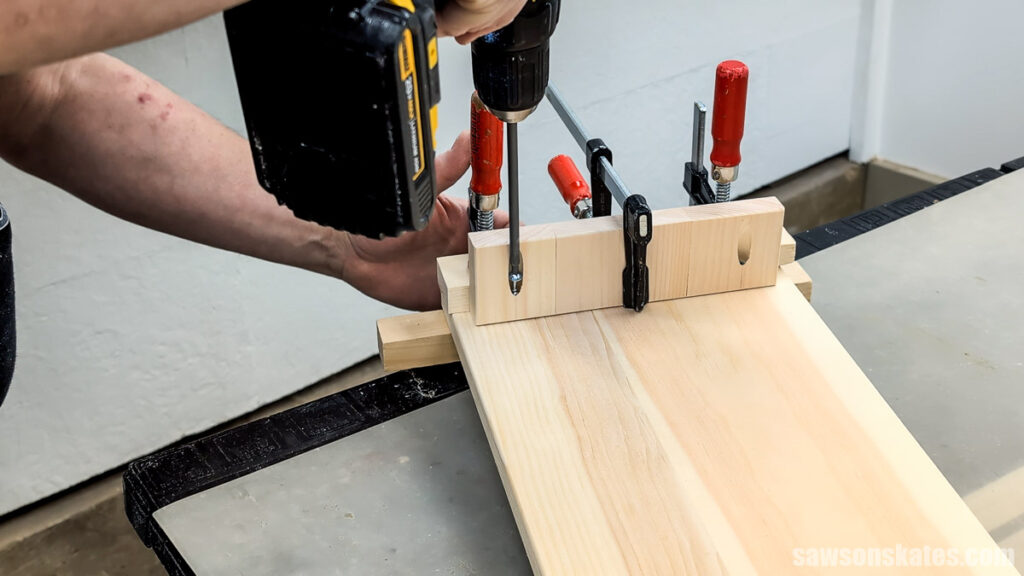
And attached one to each end using pocket hole screws.
That’s it. I applied a couple of coats of Polycrylic, and the stand was ready to hold my monitor.
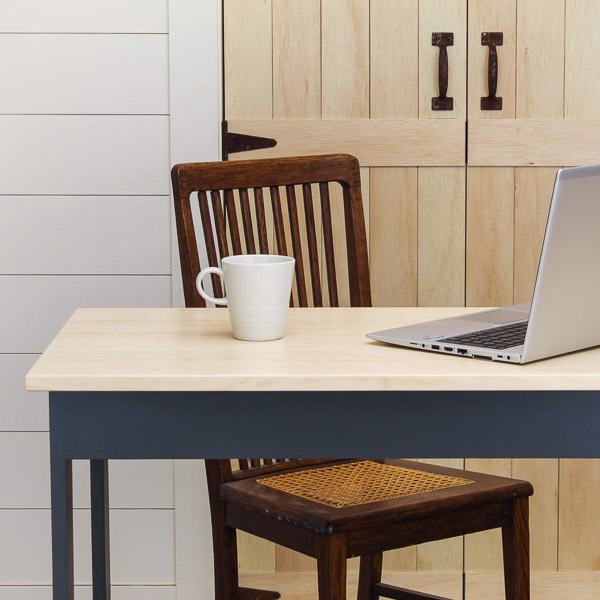
Final Thoughts
This was a quick project, but it made a big difference in how comfortable my workspace feels. The height is just right for me, it uses up scrap wood, and it’s easy to customize if your setup is a little different.
If your monitor sits a little too low (or a little too high), this is an easy way to dial in the exact height you need without buying something that almost works.
Thank you for stopping by. If you enjoyed this tutorial, would you please take a moment and pin it to Pinterest? I’d really appreciate it!
Recommended For You


Hi there – I’m Scott, a woodworking enthusiast and creator of Saws on Skates, a site I started in 2015 to share easy-to-follow tutorials, space-saving shop tips, and project inspiration for DIYers at any skill level. Learn more about my woodworking journey here.