Easy DIY Desk
Looking for easy DIY desk plans? Look no further! This tutorial, with detailed instructions, has only 7 simple steps, and uses only 3 common tools.
What Should I Build Next?
That's the question I help answer.
Every week, I send woodworking ideas to 17,000 DIYers who love building things.
You'd fit right in.
Simple DIY Desk
A friend recently texted me saying that he was going to be temporarily working from home and needed a desk.
He wanted a simple piece of furniture that could be used as a desk, but he also wanted to use it as a table when he was no longer working from home. He said it didn’t even need to have any drawers.
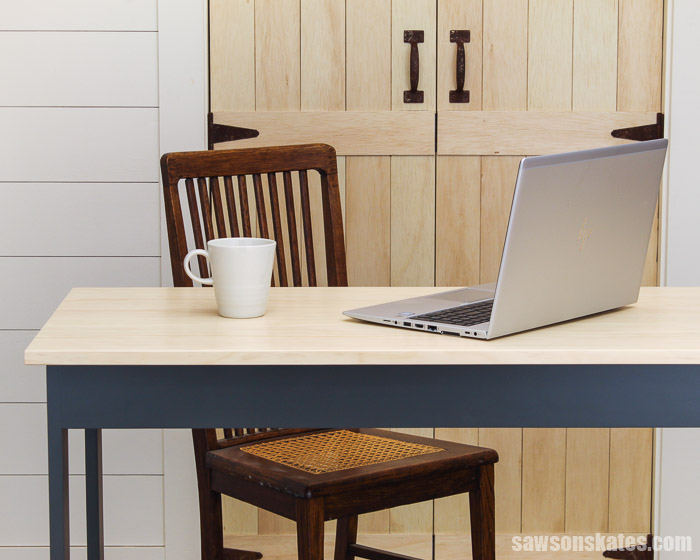
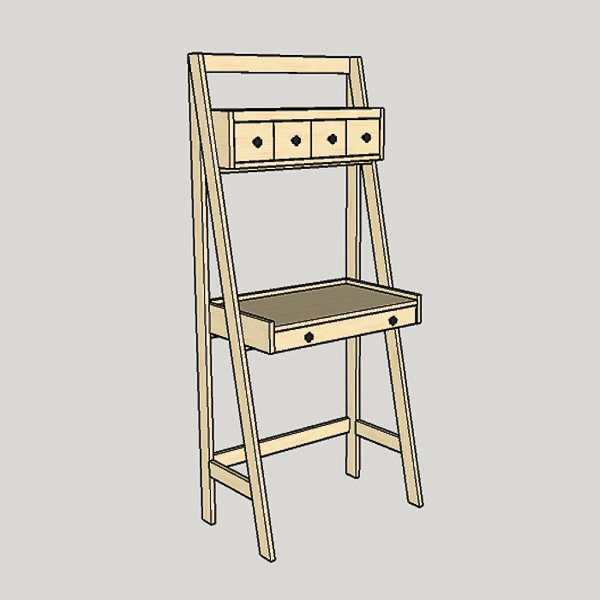
His description reminded me of a vintage library table. A library table was my inspiration for this simple DIY desk.
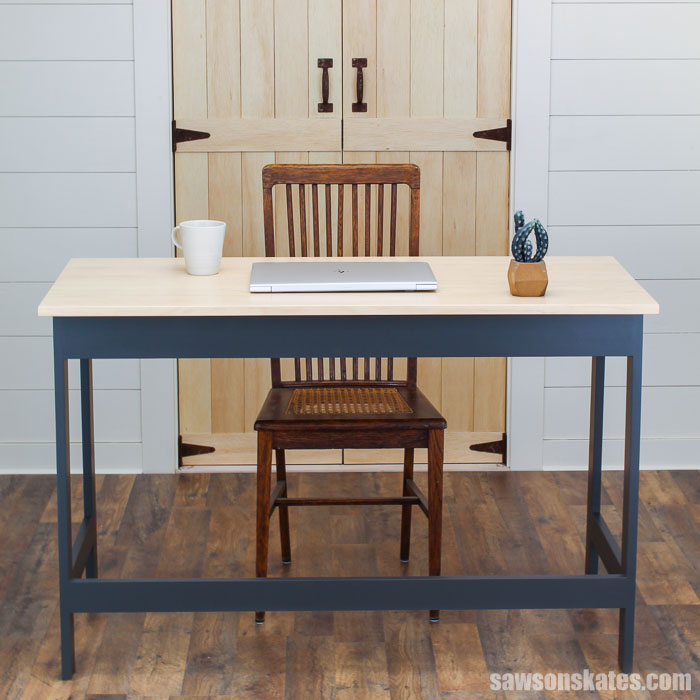
This is an easy weekend project made with only a few straight cuts and a few common woodworking tools.
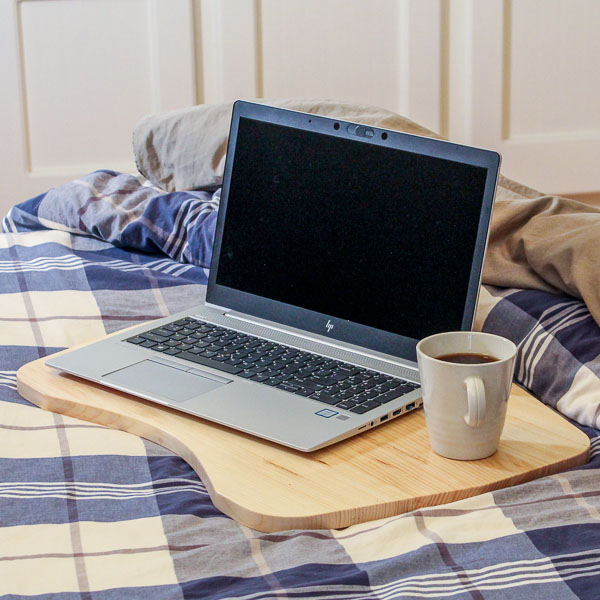
It’s the perfect desk for anyone working from home or for kids and adult students who are remote learning.
It has plenty of workspace for a computer and storage space for all of your desktop accessories like a lamp, pens, books, and a hot cup of coffee.
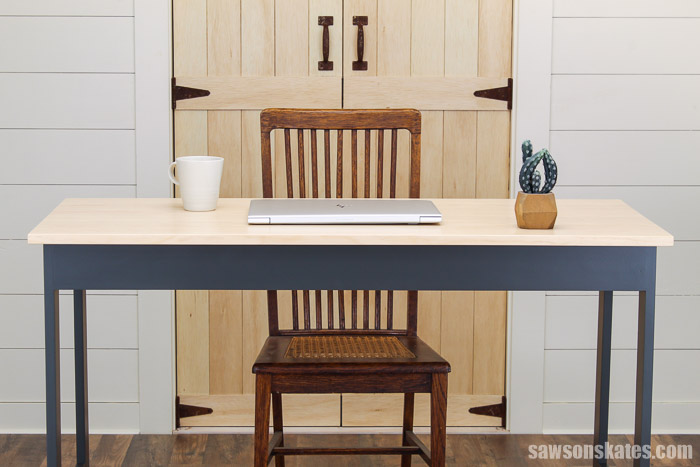
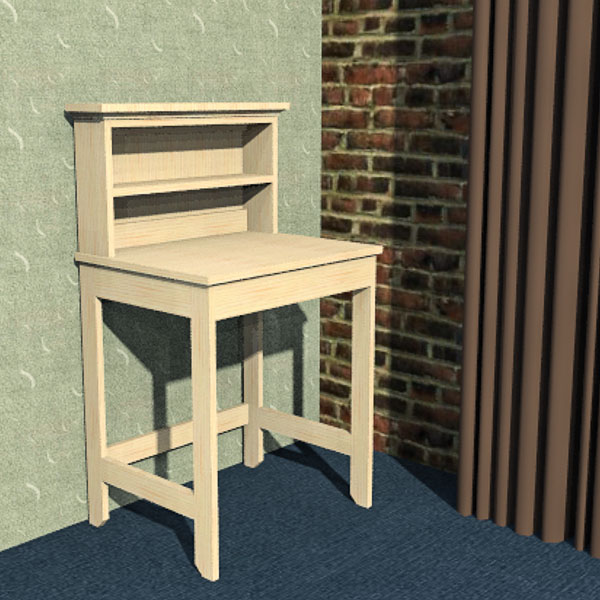
The best part is this project can easily transition from a home office space into a table that can be used in nearly any room like a kitchen, dining room, or entryway. It could even be used as a serving table at parties, in a craft room for making crafts, or as a makeup vanity.
Get the plans and build your own desk today!
Table of Contents
This article contains affiliate links. If you purchase from these links, I may earn a small commission at no additional cost to you. Visit my site policies for more information.
What Tools Do You Need?
This simple DIY computer desk is an easy weekend project for beginners or DIYers of any skill level. You can make it using basic woodworking skills and just a few common power tools.
We only need three tools to build this project. Tools like a miter saw, pocket hole jig, and a drill.
The miter saw will be used to cut the pieces for the legs, rails, and table top.
Related: When to Use a Miter Saw vs Table Saw
The pocket hole jig or Kreg Jig will be used to drill pocket holes and pocket hole screws will be used to join the parts together.
Related: How to Use a Kreg Jig
What Wood Should You Use?
This simple desk can be made with just about any type of wood. I used common pine to build the base of the desk and select pine to make the table top. Pine is inexpensive and easy to work with. I purchased the pine 1×3s and 1×4s at my local home improvement store.
The difference between common pine and select pine is common pine usually has some knots and select pine is relatively knot-free.
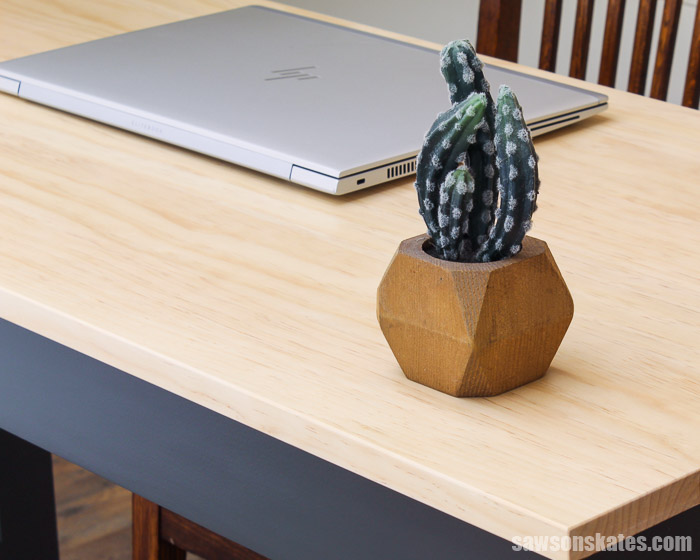
I planned to apply a clear finish to the table top. I chose select pine for the top because it’s relatively knot-free and would make an attractive table top.
You could also use a hardwood for the table top. Hardwoods like oak, maple, walnut, etc. would make a great top for this project.
Related: How to Make a Farmhouse Table Top (with Breadboard Ends)
How Do You Attach the Table Top?
It’s important that we attach the table top to the base of the desk the right way otherwise the table top could crack.
Wood moves with seasonal changes. We need to attach the top in a way that allows the wood to move with those seasonal changes.
Related: Mistakes with Wood Can Cause Your DIY Furniture to Crack
I don’t recommend attaching a table top to the aprons or legs with pocket holes. Pocket holes prevent the table top from moving with seasonal changes which could cause the top to crack.
Instead, we should use table top fasteners or table top expansion brackets to attach the top. The fasteners allow the top to move with seasonal changes and reduces the chances of cracking the wood.
Related: How to Attach a Table Top (the Right Way)
Customize Your Desk
There are a few ways that we can customize this simple desk. We could completely change the look of this project by using hardwood for the table top. A hardwood like oak, maple, walnut, etc.
We could increase the storage capacity of this project by adding drawers to the desk.
Related: How to Build DIY Drawers
How Do You Finish the Desk?
This wood desk could be finished in a variety of ways. It could be left natural, painted, stained, or a combination of paint and stain.
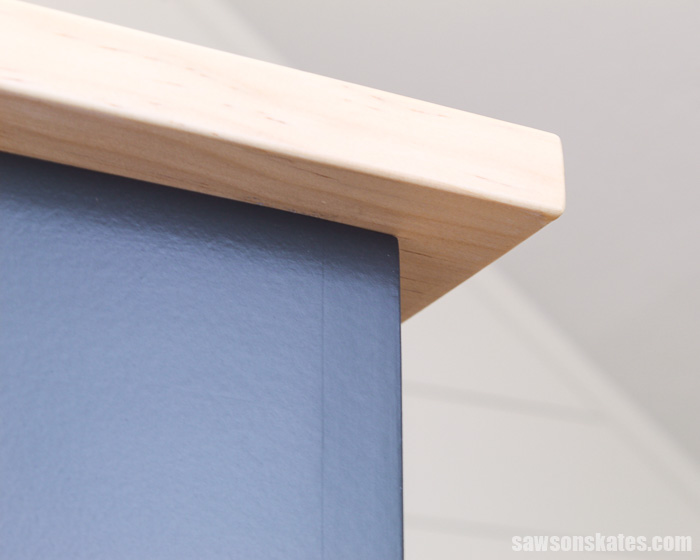
For this project, I chose to paint the base and apply a clear finish on the table top.
You may want to consider painting the base or desk frame of this project too. There are a few exposed pocket holes that connect the bottom rails to the legs.
I used pocket hole plugs to fill the pocket holes. Then, I filled any gaps around the plugs with Ready Patch. It’s nearly impossible to see the locations of the pocket holes after the paint has been applied.
Related: How to Make Pocket Hole Plugs
After the pocket holes were filled and the Ready Patch was dry, I finished sanding the base with 120 grit sandpaper. I used my paint sprayer to apply three coats of this primer.
Related: Why Knots Bleed Through Paint (and How to Stop It)
When the primer was dry, I lightly sanded any imperfections and removed the dust with my ShopVac.
Next, I used my paint sprayer to apply two coats of Behr “Carbon Copy”.
For the table top, I used my handheld router and a ¼” roundover bit to round over the edges of the top. Next, I finished sanding the top with 150 grit sandpaper and removed the dust with my ShopVac.
Next, I applied three coats of this polyurethane alternative to the table top.
Related: Why I Switched to This Polyurethane Alternative
How to Make a Simple DIY Desk
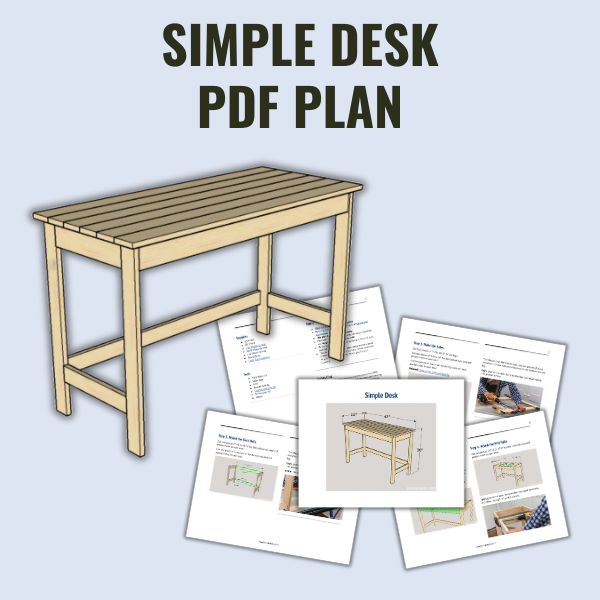
Printed Plan
Get the PDF plan here (includes detailed instructions, measurements, and bonus tips)
Materials
- Wood (per the printed plan)
- 1-¼” Pocket Hole Screws
- #6 ½” Wood Screws
- 1-¼” Wood Screws
- Wood Glue
- Table Top Fasteners
Tools
- Tape Measure
- Drill
- Kreg Jig
- Miter Saw
- Countersink Drill Bit Set
- Forstner Bit
- Chisel
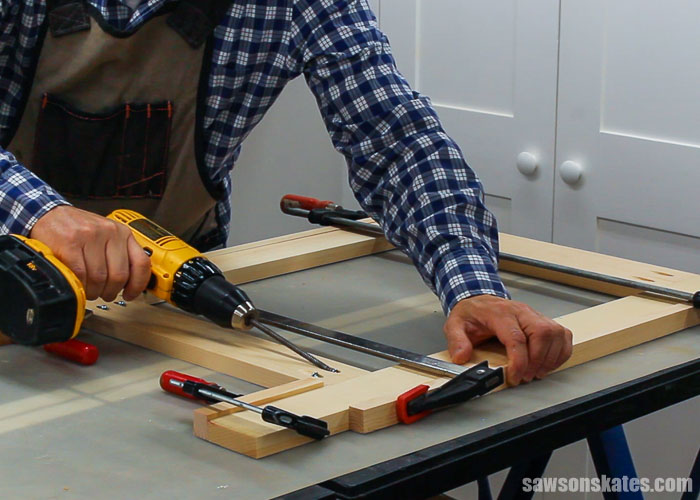
Step 1. Make the Sides
Cut four pieces of wood to length for the legs.
Cut four pieces of wood to length for the rails and use a Kreg Jig to drill pocket holes in each end.
Related: How to Use a Kreg Jig
To help position the bottom rail, I cut two pieces of scrap wood and clamped one piece to the bottom of each leg.
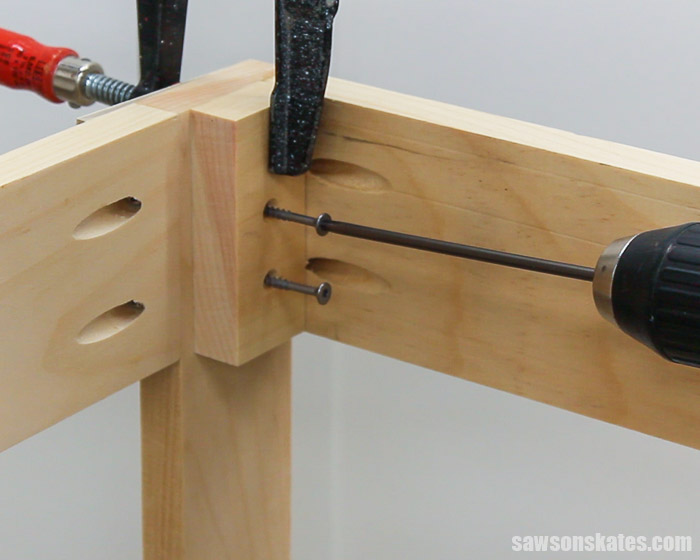
Apply wood glue to the rails, clamp to the legs and attach using pocket hole screws.
Step 2. Attach the Back Rails
Cut two pieces of wood to length for the back rails and drill pocket holes in each end.
To help position the bottom rail, I cut two pieces of scrap wood and clamped one piece to the bottom of each leg.
Apply wood glue to the rails, clamp to the legs and attach using pocket hole screws.
NOTE: The back rails are flush with the back of the legs.
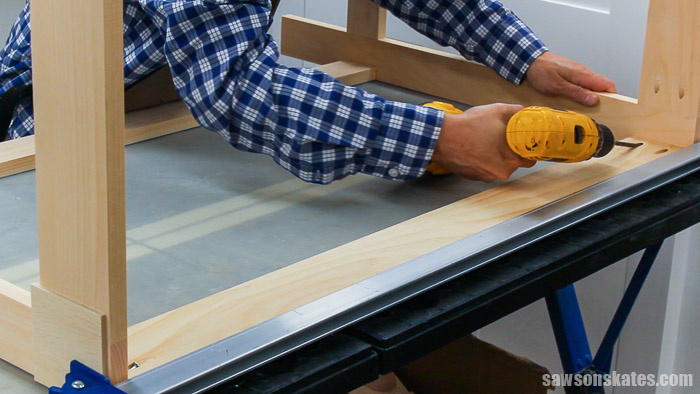
Step 3. Attach the Front Rail
Cut one piece of wood to length for the front rail and drill pocket holes in each end.
The front rail sets in ¼” from the front of the legs. To help position the rail, I used painter’s tape to temporarily attach a scrap piece of ¼” MDF (or you could use plywood) to each end of the rail. Then I positioned the rail so the MDF was flush with the front edge of each leg.
Apply wood glue to the rail, clamp to the legs and attach using pocket hole screws.
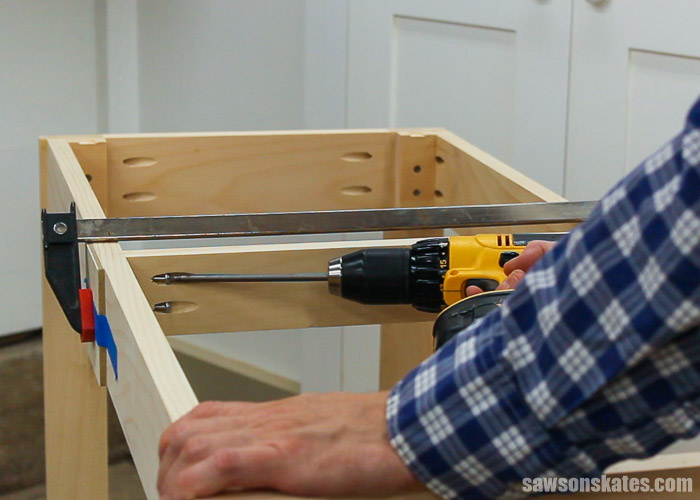
Step 4. Attach the Mid-Rails
Cut two pieces of wood to length for the mid-rails and drill pocket holes in each end.
Apply wood glue to the rails, clamp to the front and back rails, and attach using pocket hole screws.
Step 5. Attach the Table Top Fasteners
Cut four pieces of wood to length for the mounting blocks. Then use the diagram in the printed plan to drill 2 countersink holes in each mounting block.
Related: How to Use a Countersink Bit
Attach the mounting block to the top of each leg using 1-¼” wood screws.
When the mounting block is attached, use the diagram in the printed plan to drill a hole for the table top fasteners. Use a chisel to square the corners of the hole.
Attach a table top fastener to each mounting block using a wood screw.
Related: How to Attach a Table Top (the Right Way)
Step 6. Attach the Top
Cut six pieces of wood to length for the top. Use the diagram in the in the printed plan to drill pocket holes.
Related: How to Use Pocket Holes with Edge Joints
Apply wood glue to the edges, clamp, and attach using pocket hole screws.
Center the top on the legs and attach to the table top fasteners using wood screws.
Step 7. Finish the Desk
See How Do You Finish the Desk? for more information.
Includes:
- List of tools and materials
- Complete measurements (in inches)
- Easy-to-follow instructions
- Step-by-step photos
- Detailed diagrams
Final Thoughts
This simple DIY desk, inspired by a library table, is an easy weekend project made with only a few common woodworking tools.
It’s perfect for anyone working from home or students who are remote learning.
It makes a great desk and easily transitions into a table that can be used in nearly any room.
Get the desk plan (including the detailed instructions and measurements) now!
Thank you for stopping by. If you enjoyed this tutorial, would you please take a moment and pin it to Pinterest? I’d really appreciate it!
Recommended For You
Pin This For Later

Hi there – I’m Scott, a woodworking enthusiast and creator of Saws on Skates, a site I started in 2015 to share easy-to-follow tutorials, space-saving shop tips, and project inspiration for DIYers at any skill level. Learn more about my woodworking journey here.