DIY Lap Desk (Simple, Easy & Only 1 Board!)
Make this simple, portable DIY lap desk with just one board using these easy step-by-step plans. No fancy tools or skills required!
What Should I Build Next?
That's the question I help answer.
Every week, I send woodworking ideas to 17,000 DIYers who love building things.
You'd fit right in.
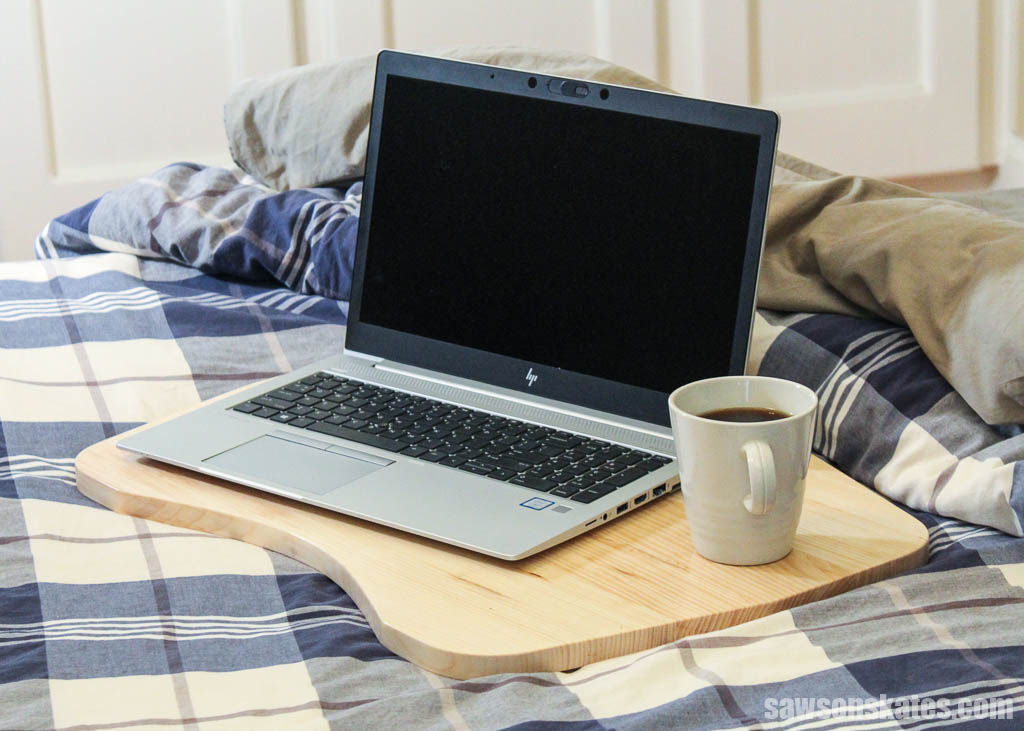
Looking for a simple, easy, and inexpensive way to make your own lap desk? All you need is one board and a few basic tools! In this tutorial, I’ll show you how to make one in just a few simple steps.
This easy-to-make desk is also a great gift idea for family, friends, neighbors, teachers, and coworkers.
So why wait? Grab that board, and let’s get started!
Originally published December 17, 2019, republished April 18, 2022
Table of Contents
This article contains affiliate links. If you purchase from these links, I may earn a small commission at no additional cost to you. Visit my site policies for more information.
What is a DIY Lap Desk?
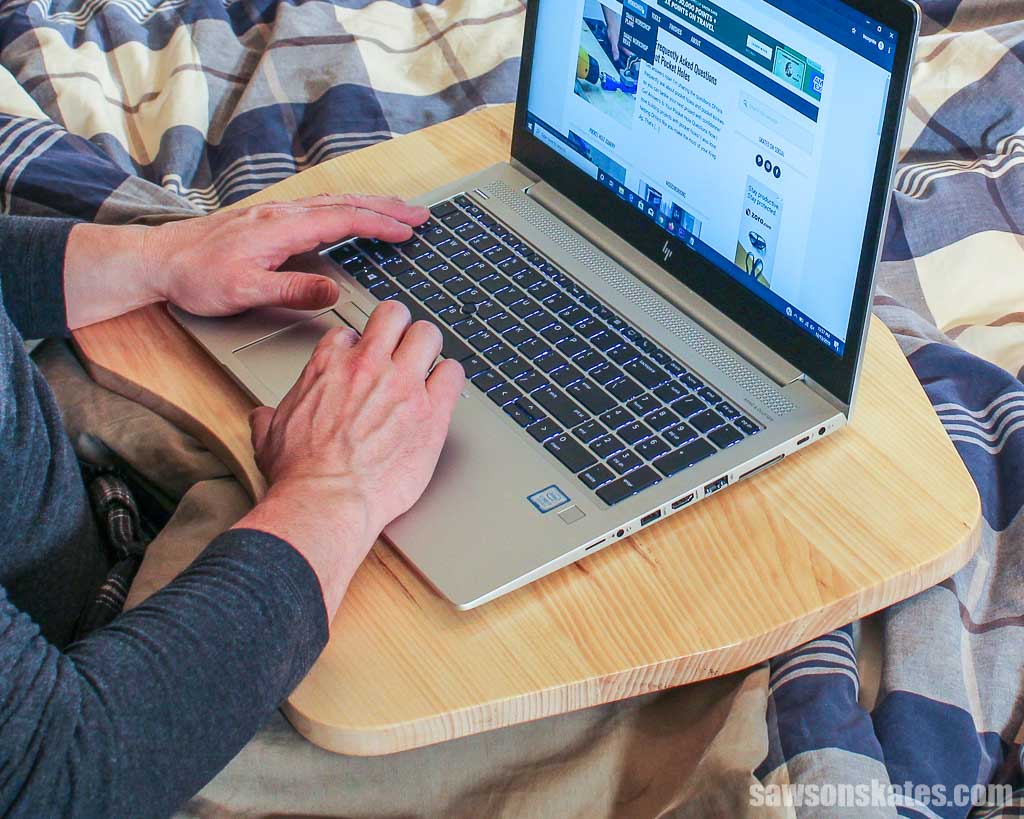
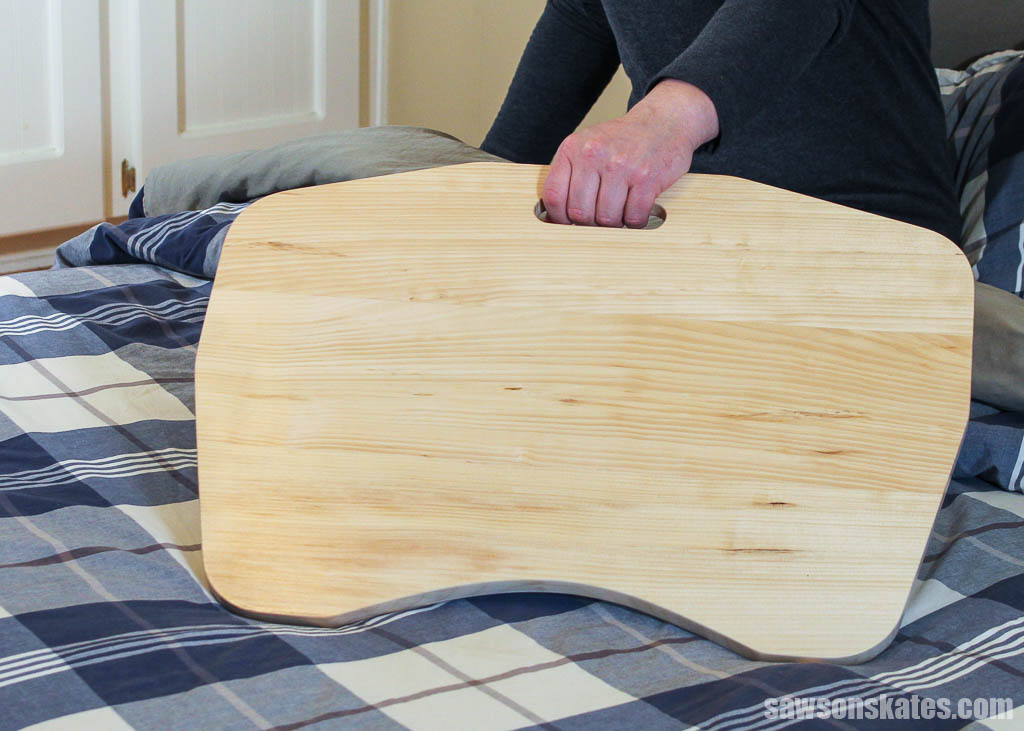
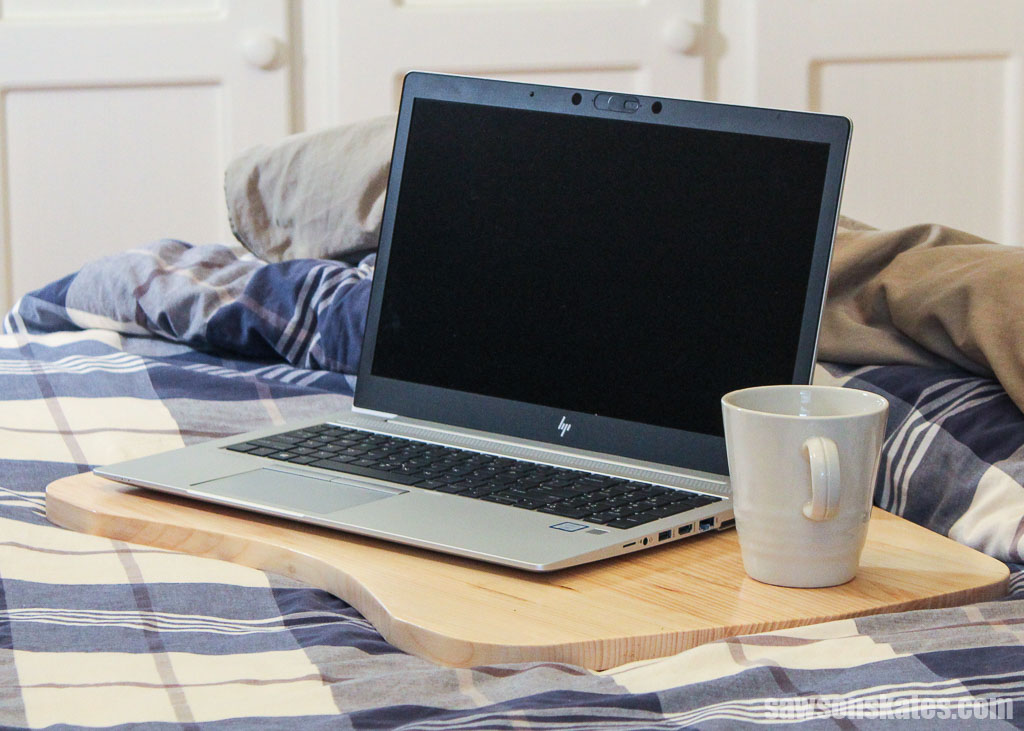
A lap desk is a small, portable work surface that you can use on your lap to work in bed, on a couch, or in a chair. It provides a flat surface for working on your laptop, scrolling on your phone, writing, reading a book, doing small craft projects, or you could even use it as a snack tray.
This lap desk is just as popular with kids as it is with adults. I made one as a gift for a friend, and she told me her nephew loves to play with his LEGOs on it!
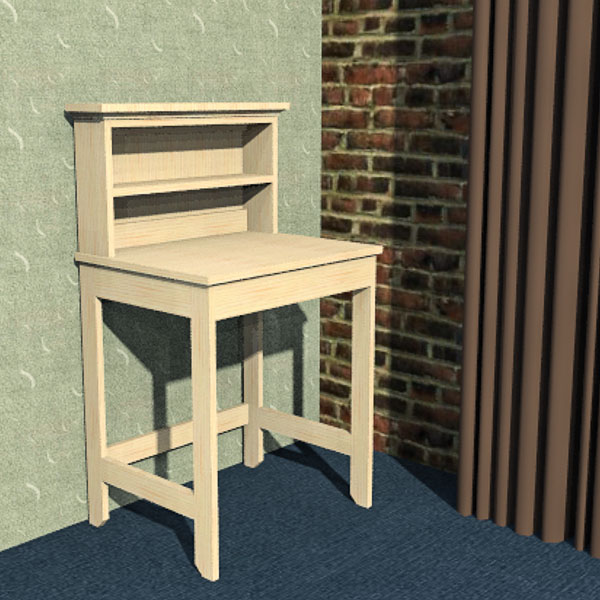
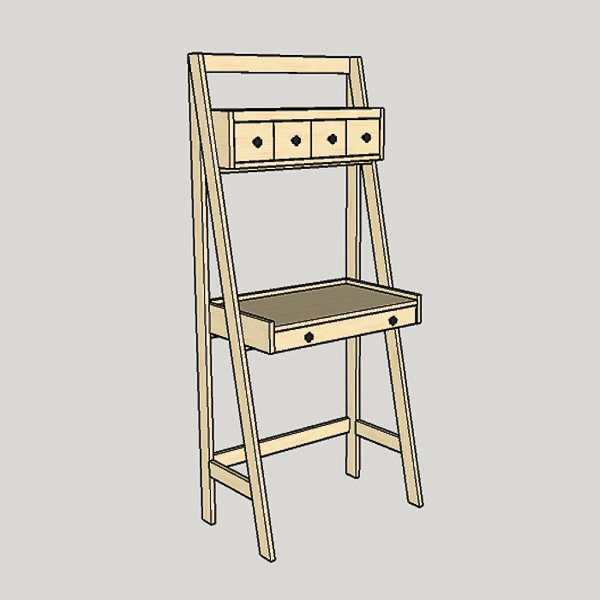
Need more space to work? Take a look at the plans for this simple DIY desk and this DIY writing desk.
What Tools Do You Need to Make a DIY Wooden Lap Desk?
This is an easy woodworking project for DIYers of any skill level. It’s also a great project for beginners because it’s made with just a few basic tools like a jigsaw and a drill.
If you’ve built any of my other plans, you know I use pocket holes for nearly every one of my DIY projects. This may be one of the few times I didn’t use my pocket hole jig!
Jigsaw
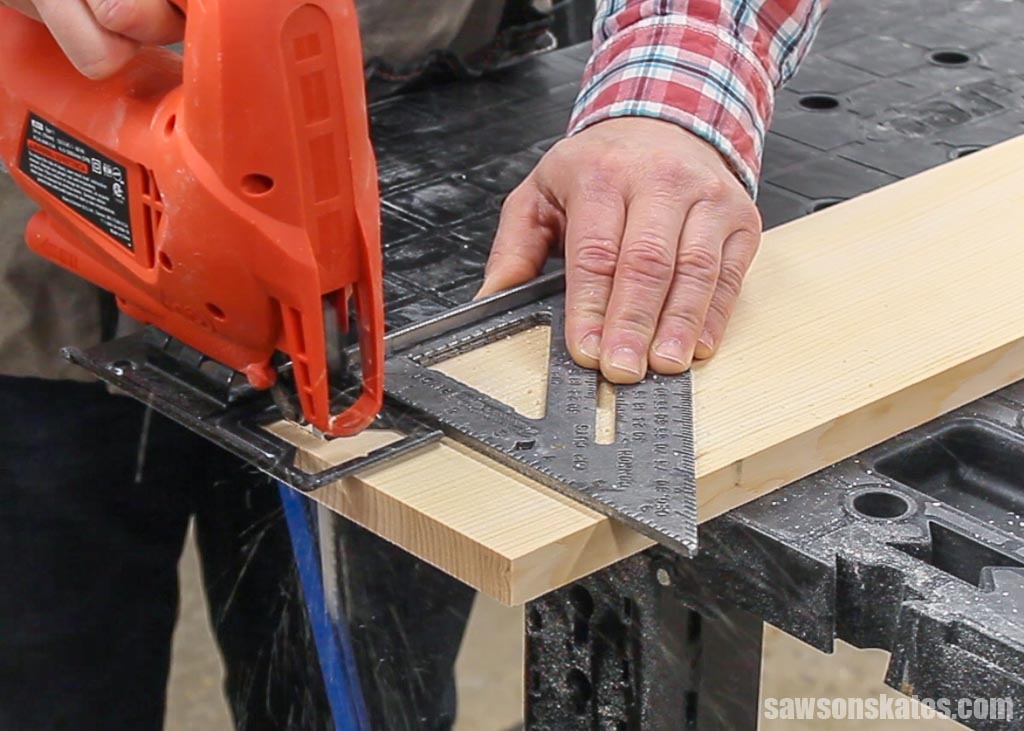
I cut the boards to length with a miter saw for this project before using a jigsaw to cut the curved edges. You could also use a speed square and a jigsaw to cut the wood to length instead of a miter saw.
Related: 7 Miter Saw Tricks Every DIYer Should Know
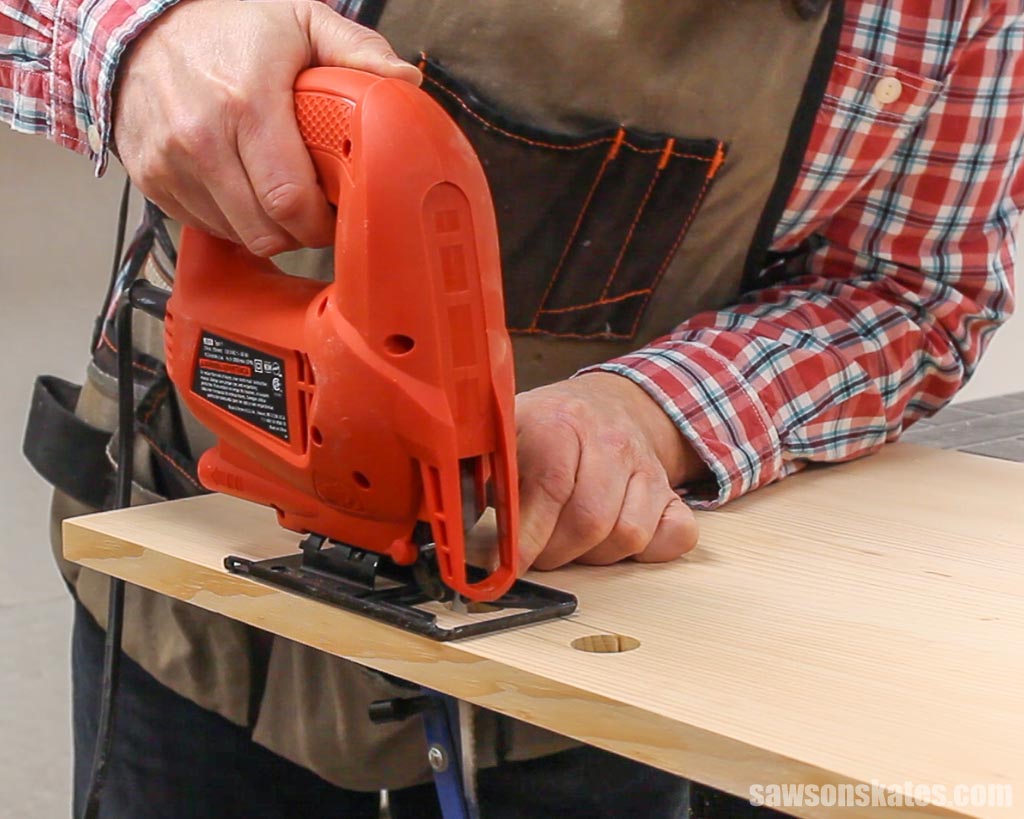
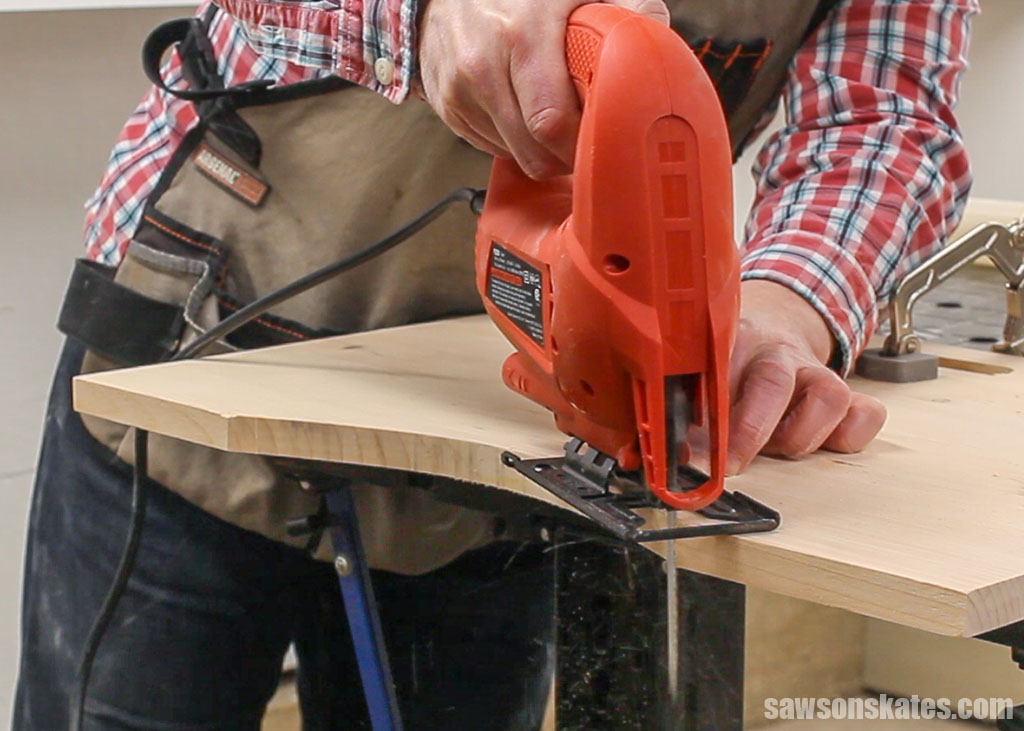
Use the speed square and a pencil to mark the length of the cut on the board. Then, set your jigsaw blade just to the waste side of your line. Position the speed square against the jigsaw and use it as a fence to cut along the mark.
Drill
I used a drill and a Forstner bit to create two holes to make the handle. Then I used a jigsaw to cut out the space between the holes. A hole saw would also work, but I prefer using a Forstner bit because it creates holes with clean edges, which saves me time when sanding later on.
Related: Impact Driver vs Drill: Which to Use & Why
What Wood Should You Use to Make a DIY Lap Desk?
You may use nearly any type of wood to make your lap desk. One thing to think about is the weight of the wood. Because the desk will be resting on your legs, you may want to avoid using hardwoods like oak or maple that are heavy and difficult to move.
I used one pine board to build my desk. Pine is relatively inexpensive and lightweight compared to other types of wood. I purchased the pine at my local big box home improvement store.
This project doesn’t require a lot of wood, so you might even be able to make it scrap wood.
Related: How to Decide What Scrap Wood to Keep
I went with solid wood boards for my desk, but you may also make it using a single piece of plywood.
Customize Your DIY Lap Desk
You may customize your desk in a variety of ways, from adding legs to adding a cushion.
Hairpin Legs
Hairpin legs are an excellent choice for those who want to work in bed. The legs would take the strain off your lap and make working more comfortable. These short hairpin legs are a great option.
The legs are easy to install. Position them near the corners of the desk and attach them with screws.
Folding Legs
Another alternative for relieving strain off of your lap is to add folding legs to your laptop desk. Also, a folding lap desk would be easier to store than one with hairpin legs.
Cushion
I don’t sew, so I didn’t add a cushion to my desk. If you want to increase the comfort of your workstation, consider adding a cushion. Simply purchase some foam board, wrap it in fabric, and staple it to the bottom of the desk. Alternatively, you can simply place a pillow between your legs and the desk.
Storage Compartment
Do you need somewhere to keep your supplies, such as pens, pencils, or even a book? You could make a simple box and attach it to the bottom of your desk to provide extra storage.
Rail
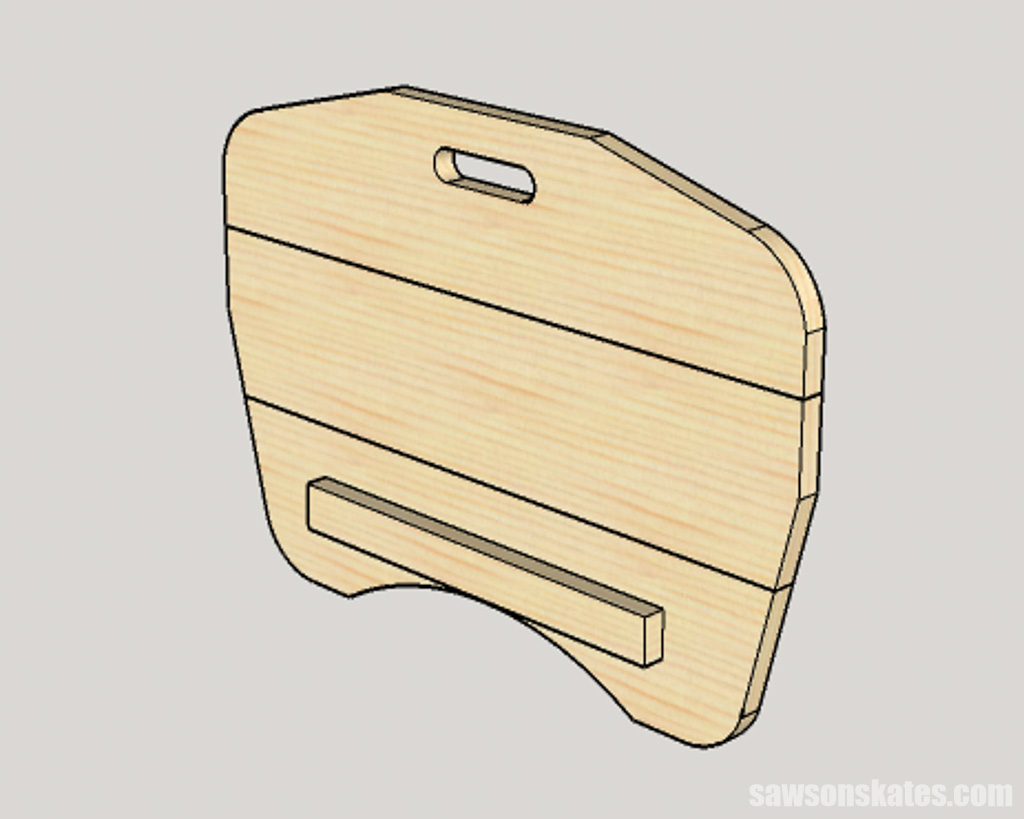
Adding a rail is another alternative for customizing your lap desk. The rail will keep your laptop, pencils, books, and other objects from sliding off the desk.
How Do You Finish the DIY Portable Lap Desk?
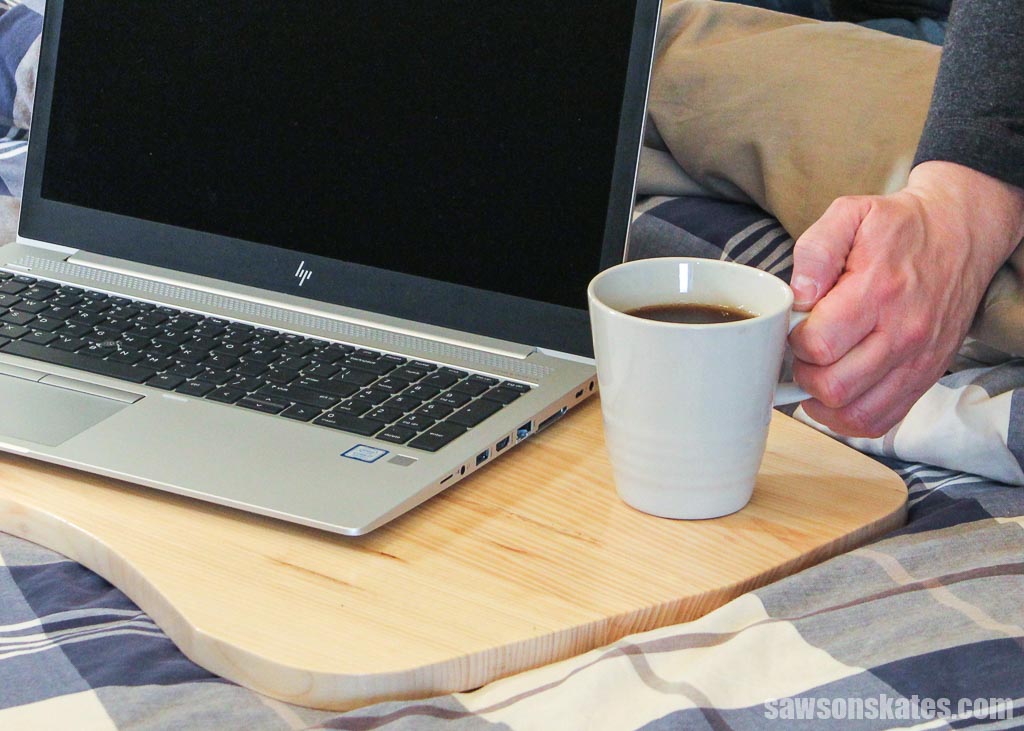
The possibilities for finishing your lap desk top are almost endless. You may paint it, apply a wood stain, or leave it natural. I decided to leave my desk natural and seal it with a clear finish.
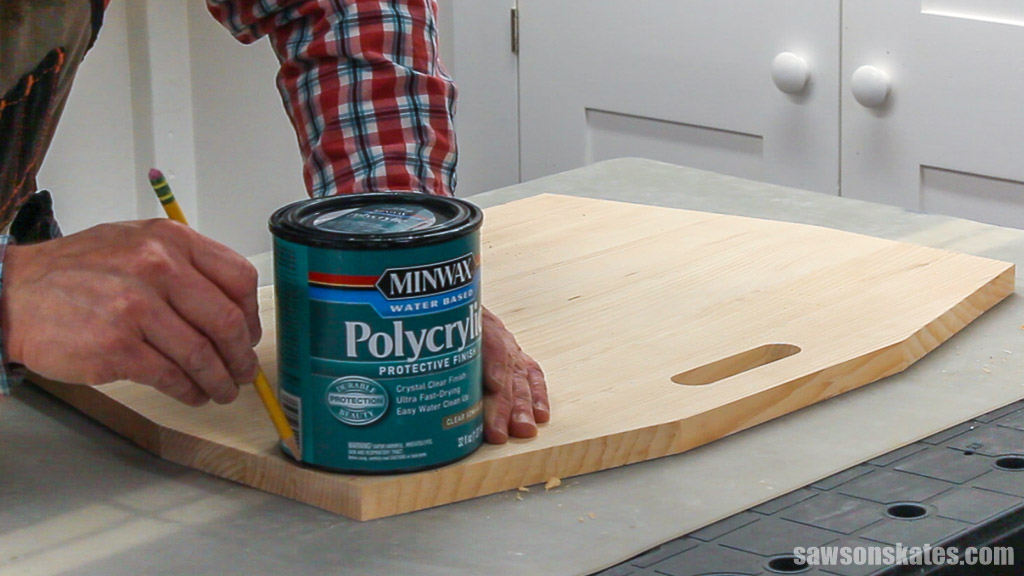
For two reasons, I decided on Minwax Polycrylic as my clear finish of choice. First, this is a water-based product that dries quickly. This desk was a last-minute gift and the quick dry time allowed me to apply three coats in one day.
Related: How to Apply Polycyrlic (Without Brush Marks or Streaks)
Second, I could apply this water-based finish in my workshop. I made this desk in the wintertime, and my home’s heating system is located near my workshop. Using a combustible finish like oil-based polyurethane may be a safety hazard if I were to apply it in my shop.
Related: Polycrylic vs Polyurethane: Are They The Same?
Another option for finishing the lap desk includes Bob’s Miracle Finish for Wood. This finish is easy to apply, but it needs 24 hours to dry between coats, and it’s best to apply three coats. This means it would take three days to finish the desk. Plus, it’s flammable, so this finish wasn’t an option for me.
Related: Bob’s Miracle Finish for Wood
I also considered shellac. Shellac is easy to apply, dries quickly, and doesn’t need to be sanded between coats. This means I could apply three coats in one day. But shellac is also flammable, so I couldn’t use it in my workshop.
Related: What You Need to Know About a Shellac Wood Finish
How to Make a DIY Lap Desk
Printed Plan
Get the PDF plan here (includes detailed instructions, measurements, and bonus tips)
Materials
- Wood (per the printed plan)
- 1-¼” Wood Screws (optional)
- Wood Glue
Tools
- Tape Measure
- Drill
- Miter Saw (optional)
- Jigsaw
- 1″ Forstner Bit or 1″ Hole Saw
Step 1. Make the Lap Desk Top
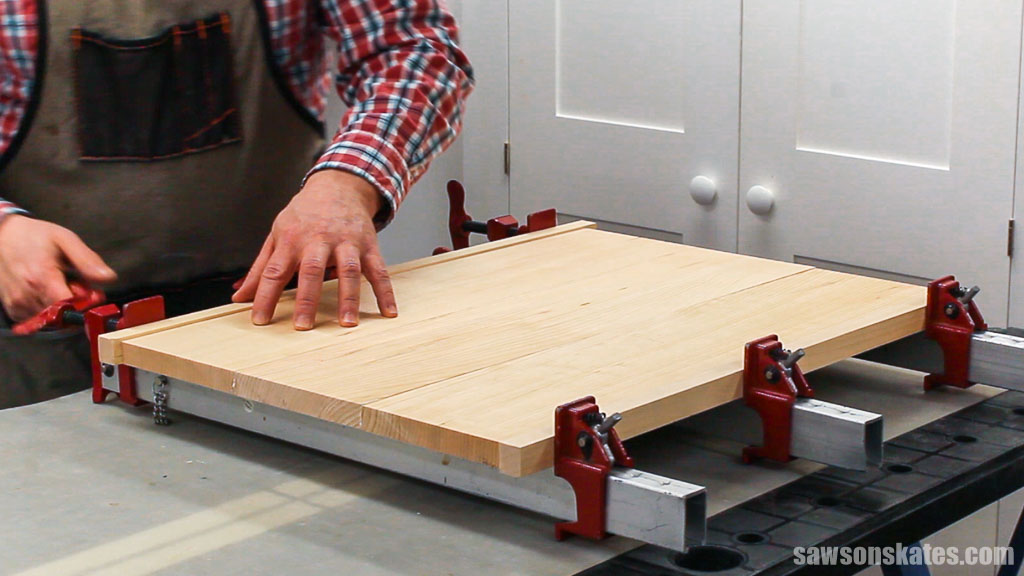
Cut three pieces of wood to length. I used a miter saw to cut my boards. You could also use a speed square and a jigsaw to cut the boards to length.
Apply wood glue to the edges of boards and clamp. Remove the clamps when the glue is dry.
Step 2. Cut the Curve and the Handle
I used a Forstner Bit to drill two holes. You could also use a hole saw, but a Forstner bit makes a cleaner cut.
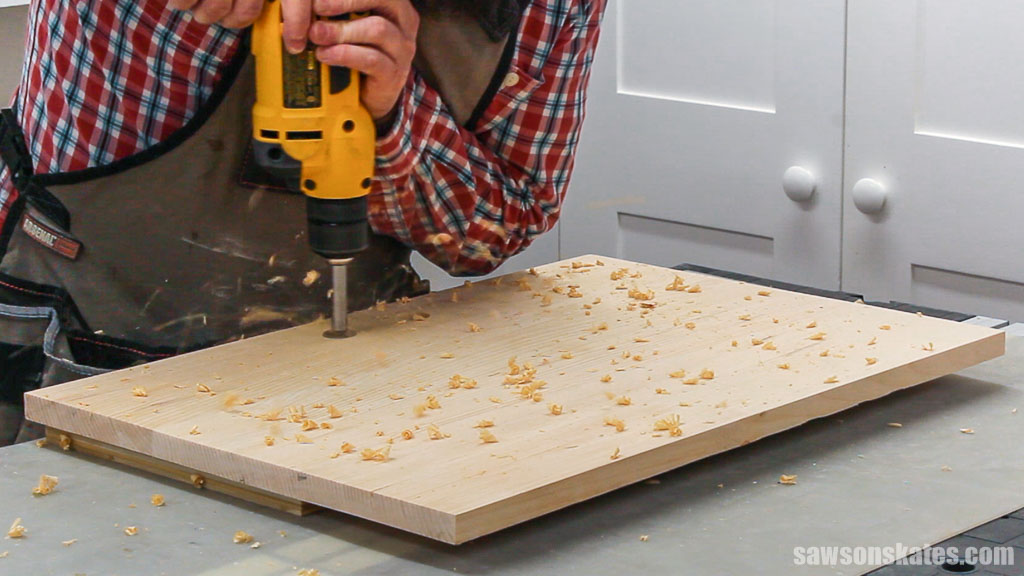
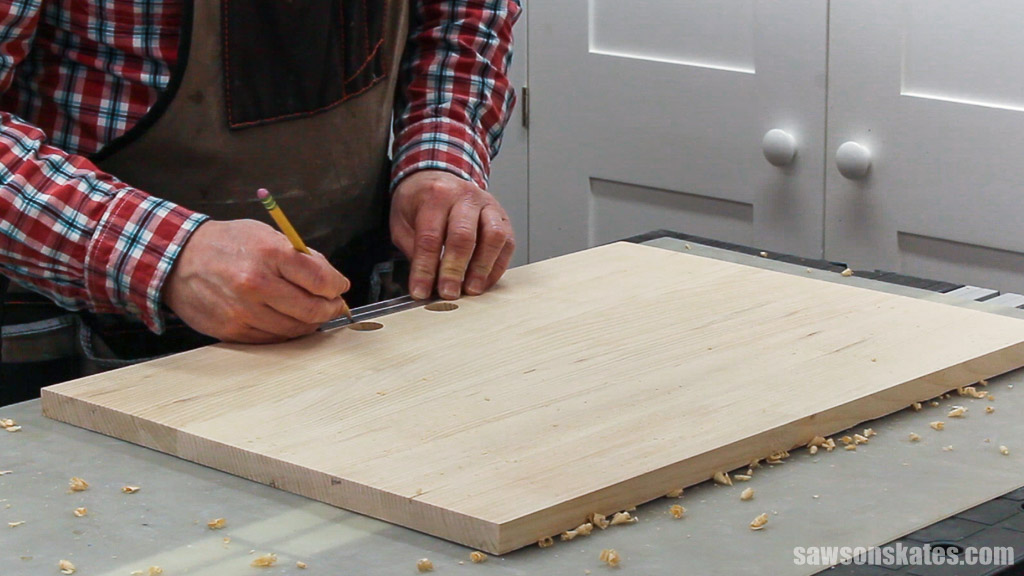
Next, draw a line across the top and bottom of the holes.
Then cut the area in between the holes with a jigsaw. Sand the handle area smooth.
Related: 11 Secrets for Sanding Wood Projects Like a Pro
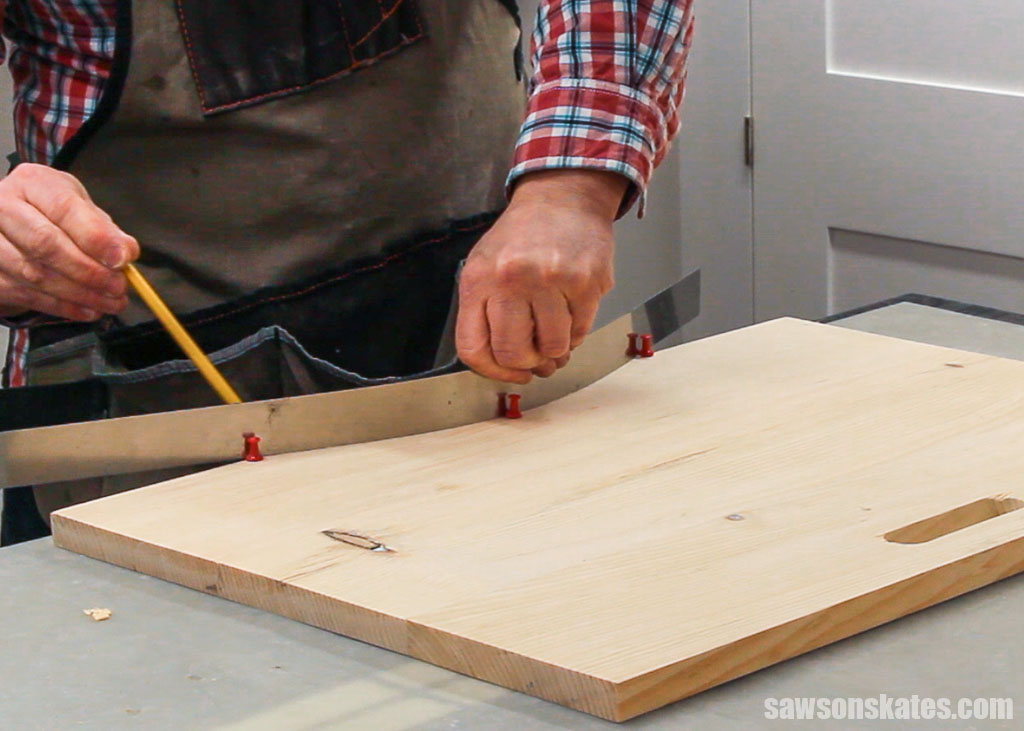
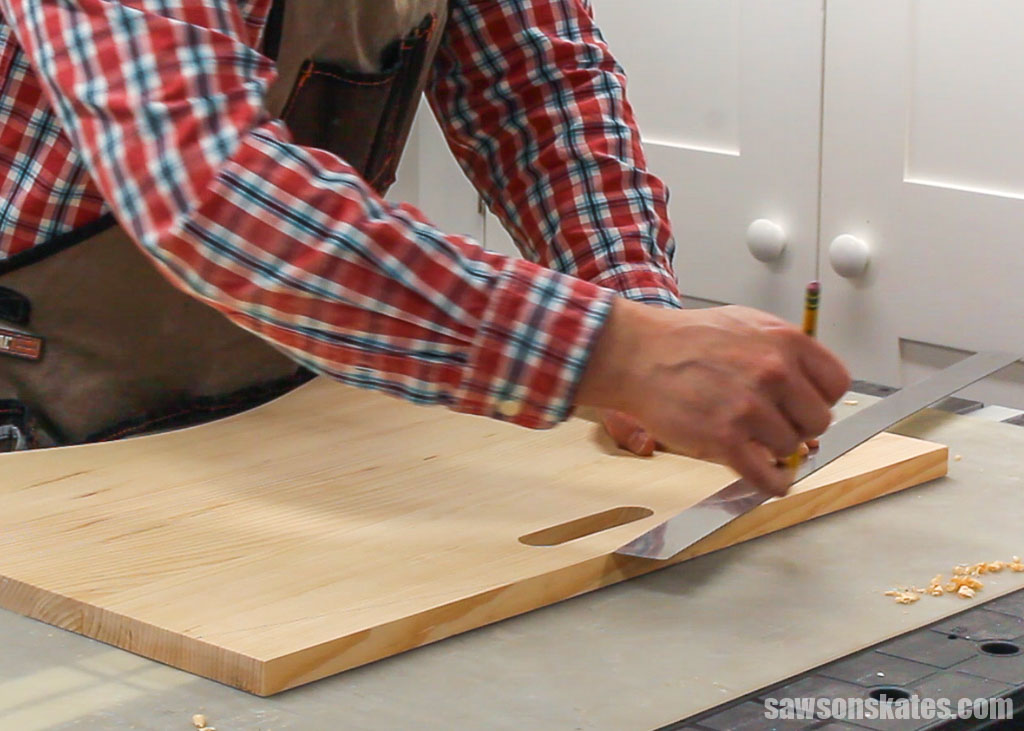
At the bottom of the panel, I measured in from each side and up at the center of the panel. I placed a push pin at each mark. Then I pushed a flexible metal ruler against the push pins. This formed a guide for me to trace the curve onto the wood.
If you don’t have a flexible metal ruler, you could try a piece of cardboard or just use a pencil to freehand the curve.
Use a jigsaw to cut out this curved area.
Step 3. Cut the Angles
At the top and bottom of the panel, I made marks and connected the marks with a straightedge. Then I cut the angles with a jigsaw.
Step 4. Round the Corners
I made marks at the top and bottom of the panel and used a 1-quart paint can to connect the marks. Then I cut the corners with a jigsaw.
Step 5. Attach the Rail (optional)
Cut a piece of wood to length. Measure up from the bottom, center the rail from side to side, and clamp. On the backside, drill several countersink holes and attach with 1-¼” wood screws.
Related: How to Use a Countersink Bit
I suggested attaching the rail with screws, but you could also use glue and brad nails instead.
Related: Brad Nailer vs Finish Nailer: Which to Choose & Why
Step 6. Finish the DIY Lap Desk
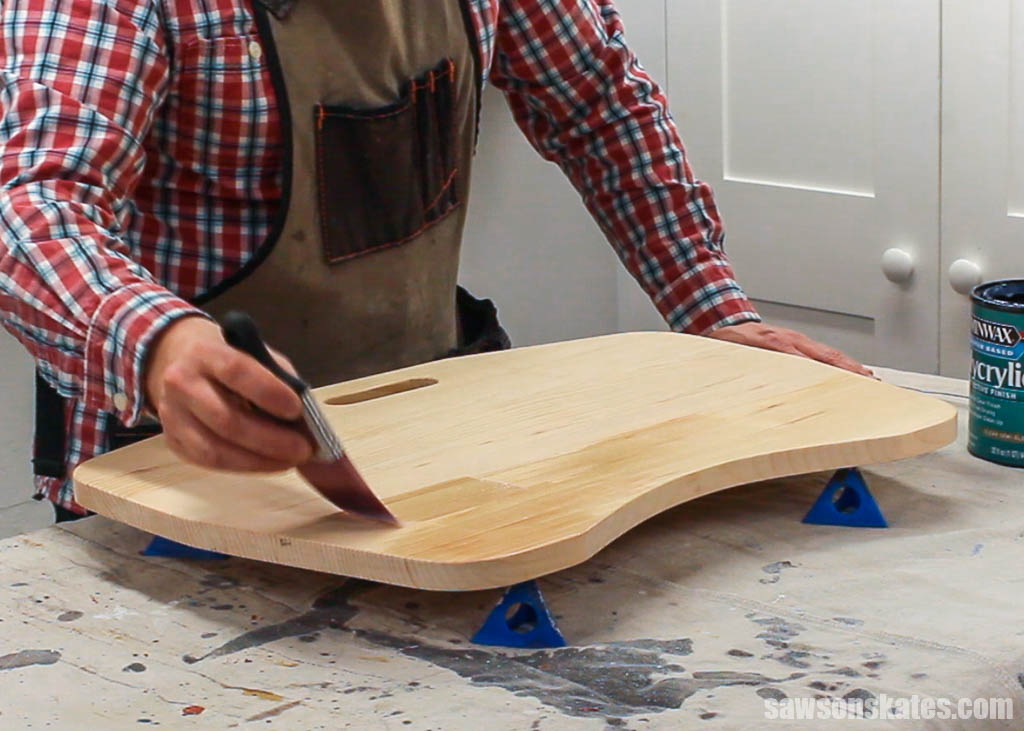
Sand the lap desk smooth with 120 grit sandpaper. Paint, stain or leave the desk natural. For my lap desk, I applied three coats of Minwax Polycrylic.
Related: How to Apply Polycrylic (Without Streaks or Brush Strokes)

Includes:
- List of tools and materials
- Complete measurements (in inches)
- Easy-to-follow instructions
- Step-by-step photos
- Detailed diagrams
DIY Lap Desk Video
Watch the quick video to see how I built the lap desk!
Final Thoughts
So what are you waiting for? Get your PDF plan and make your own lap desk today! It’s a simple, easy project that can be made with some basic tools in just a few hours.
Thank you for stopping by. If you found this information helpful, would you please pin it to Pinterest? Other DIYers would appreciate it and I would too! Thank you – Scott
Recommended For You
Pin This For Later

Hi there – I’m Scott, a woodworking enthusiast and creator of Saws on Skates, a site I started in 2015 to share easy-to-follow tutorials, space-saving shop tips, and project inspiration for DIYers at any skill level. Learn more about my woodworking journey here.
HI, I live in the UK, Would it be possible to include uk equivalent names for products ie rubbing alcohol is surgical spirit here, I am sure that I am not the only Brit. that enjoys your articles and I am sure that all of us would appreciate this.
regards
Ray Barnes
Hi Ray – Thank you for stopping by and for the suggestion. I’ll have to think about the best/quickest way I could do this. I wouldn’t know if there was an alternative term in the UK, so I would have to research each term I use in the tutorial. I’ll have to give it some thought. In the meantime, please message me with any questions. I’m happy to help.
The link to your video doesn’t take me to a video.
Hi John – I just checked and the link is working for me. Are you using an ad blocker? The video will not display if you’re using an ad blocker.
Scott, I am a 67yo retired nurse, just getting into woodworking and i am unfamiliar with many of the tools used. Therefore my question is VERY basic.
Watching this video, I noticed that you sat the lapdesk on four pointed triangular “thingies”. What are these “thingies” called? Probably the easiest question you’ve received in quite a while.
Thanks
KrisB
Hi Kris – Thank you for stopping by. Those are called painter’s pyramids or painter’s tripods, and they’re game-changers. They allow you to paint one side of a project, flip it over, and paint the second side. I use them all the time. They are such a time saver!