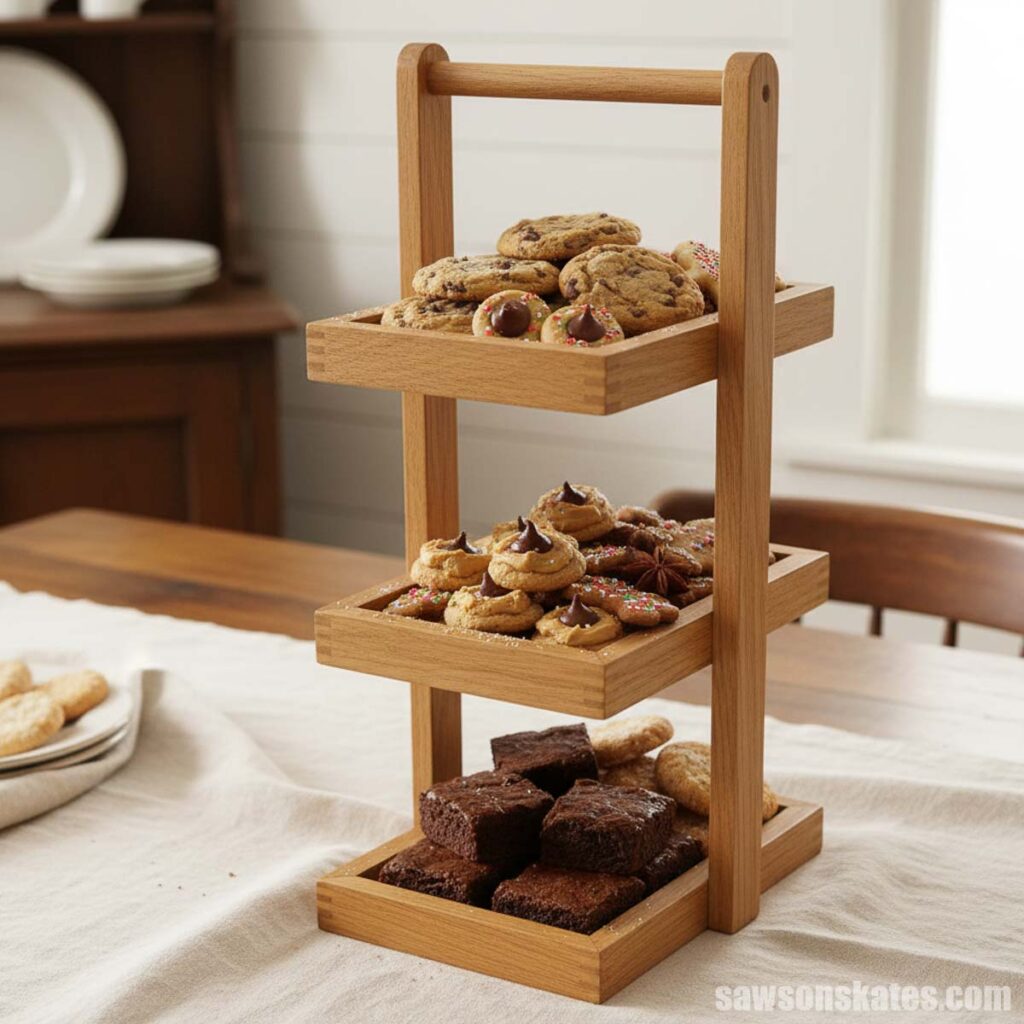
DIY Wooden 3-Tier Stand With Handle
Inspired by a Facebook Marketplace find, this DIY three-tier stand is perfect for the kitchen, decor, or displaying sweet treats.

What Should I Build Next?
That's the question I help answer.
Every week, I send woodworking ideas to 17,000 DIYers who love building things.
You'd fit right in.
The other day, I was browsing Facebook Marketplace (researching prices for a few things I wanted to sell) when one of my friend Diana’s items popped up. Diana is an antique seller and fellow blogger who’s great at showing how you can turn a love of old finds into a thriving business.
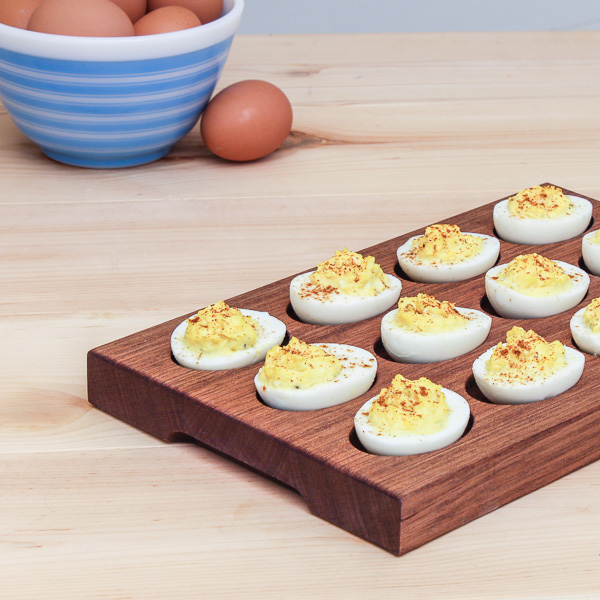
NOTE: I designed this project in SketchUp to lay out the dimensions and construction details, then used AI to create a “finished” image so you can see what the project could look like once built.
This article contains affiliate links. If you purchase from these links, I may earn a small commission at no additional cost to you. Visit my site policies for more information.
Right Up My Alley
I was surprised she hadn’t texted me a photo, because this one was right up my alley. It was a three-tiered organizer, perfectly worn in all the right places. I liked it so much that I went straight to SketchUp and started designing my own version.
If you’d like to learn how to use SketchUp to design your own projects before you build them, check out my beginner SketchUp class here.
So Many Ways to Use It
Diana’s Marketplace ad described how you could use it, for organizing fruits or veggies in the kitchen, or decorating it for the seasons, filled with pinecones in the fall or vintage ornaments at Christmas. I also think it’d be great at a party for displaying treats like cookies and brownies.
My Take on the Design
Diana’s version had box-jointed corners, but I chose to miter mine. You could take things up a notch with dovetails. It appeared to be made with pine, but I think it would look amazing in a hardwood like cherry.
About Sketch & Specs:
This project is part of my Sketch & Specs series, which includes:
✔️ Exploded view diagrams
✔️ Cut list
✔️ Cutting diagrams
NOTE: This isn’t a step-by-step tutorial. It’s designed for DIYers who prefer visuals and specs to guide them.
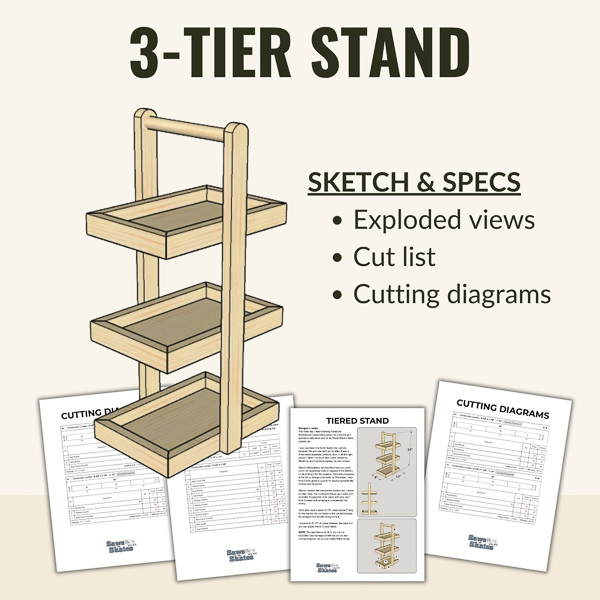
Includes:
- Exploded views
- Cut list
- Cutting diagrams
Recommended For You
Pin This For Later

Hi there – I’m Scott, a woodworking enthusiast and creator of Saws on Skates, a site I started in 2015 to share easy-to-follow tutorials, space-saving shop tips, and project inspiration for DIYers at any skill level. Learn more about my woodworking journey here.