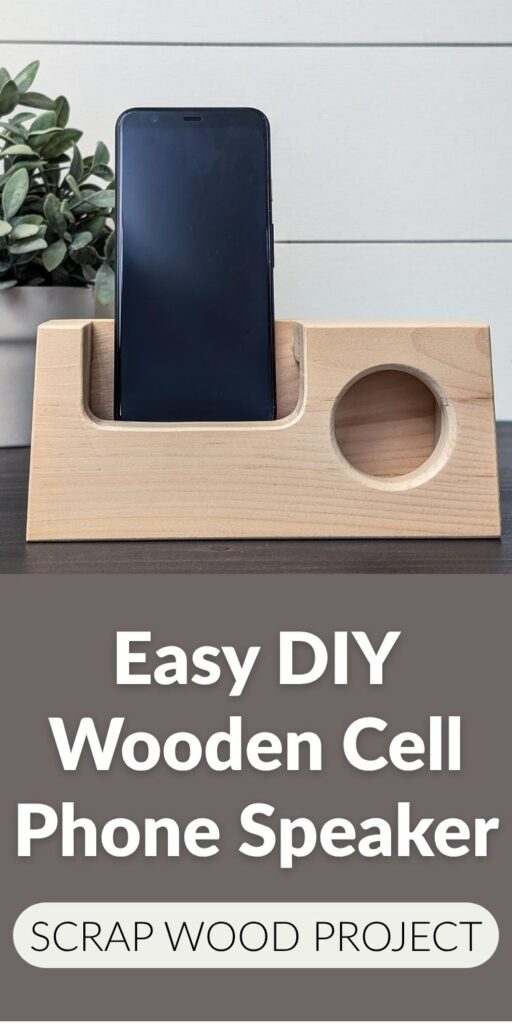
Easy DIY Phone Amplifier Boosts Volume Without Batteries
Build your own wooden passive phone amplifier! Step-by-step instructions for a fun, budget-friendly woodworking project that doesn’t require electricity.
What Should I Build Next?
That's the question I help answer.
Every week, I send woodworking ideas to 17,000 DIYers who love building things.
You'd fit right in.
The other day, I saw a phone amplifier, sometimes called a passive speaker, in a woodworking group. I liked the look of it, and it seemed like a good way to use up some scrap wood. They even shared the measurements.
So I modeled it in SketchUp, a free 3D modeling software that’s great for woodworking projects. If you’re new to it, I have a beginner class called Getting Started with SketchUp: Basics for Modeling Your First Woodworking Project that’s a great place to start. I can’t build anything without a SketchUp model first! After making a few design tweaks, I printed the templates and was shocked by how big they were.
My first thought was that I had made a mistake. I checked the original measurements, compared them to my model, and nope, everything was correct. It looked great in the photos, but in real life, it was going to be ridiculously large for what it was.
So I went back to the drawing board and designed my own version.
This article contains affiliate links. If you purchase from these links, I may earn a small commission at no additional cost to you. Visit my site policies for more information.
What Is a Cell Phone Amplifier?
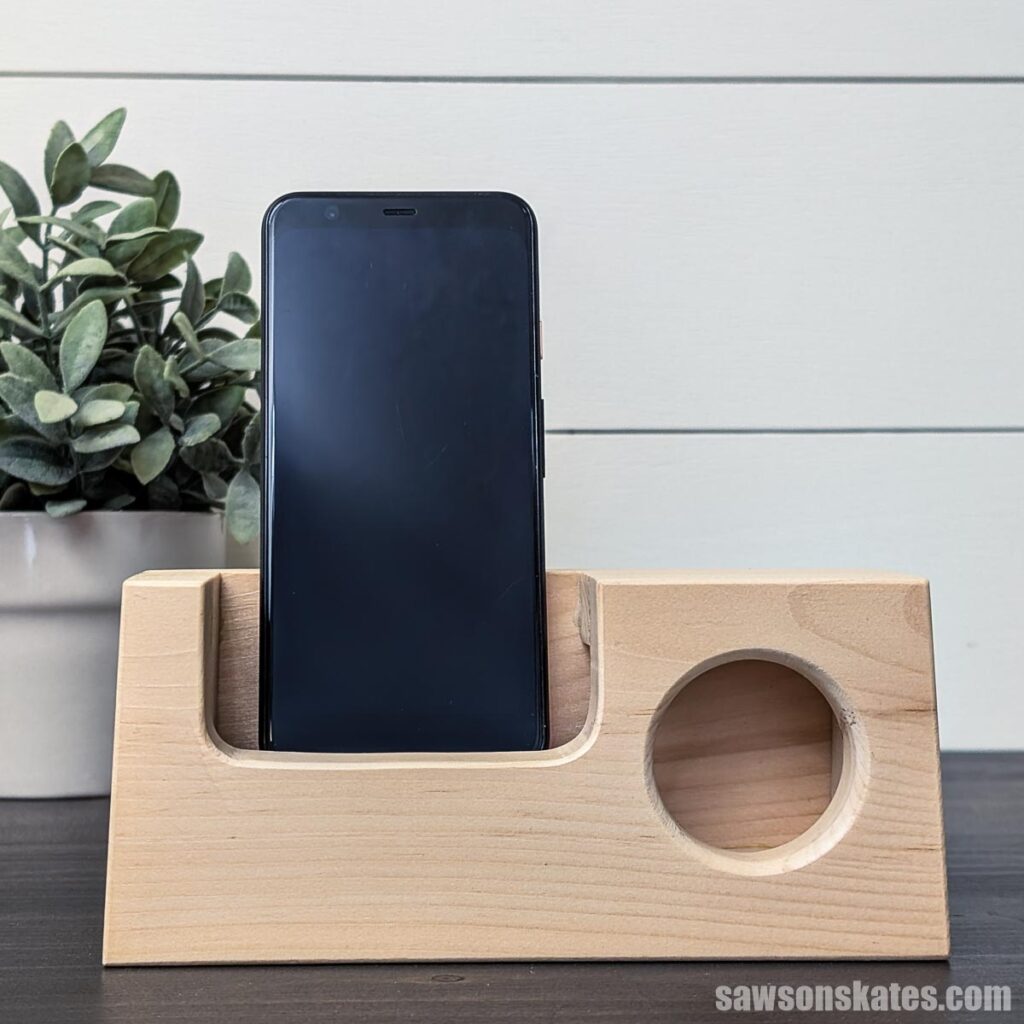
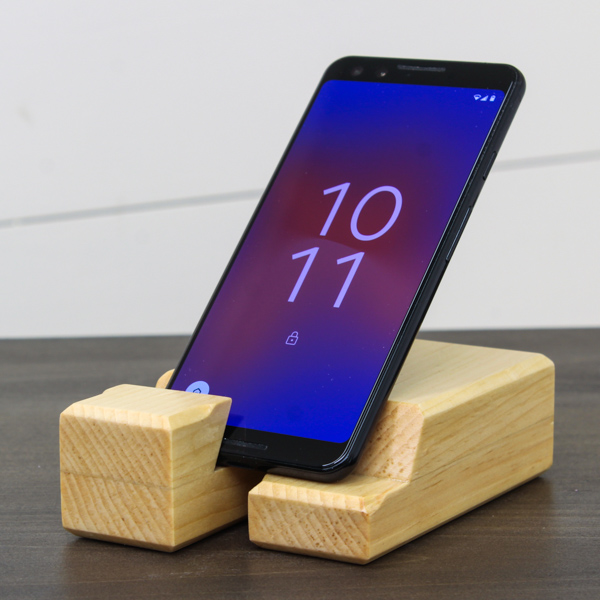
A phone amplifier is a simple holder that makes your phone louder without batteries, cords, or electricity. Cell phones don’t project sound very well on their own, so the shape of a passive amplifier helps push the sound out and forward.
Instead of the sound going all over the place, it’s directed toward you, making it easier to hear your music, podcast, or video while you’re cooking, working in the shop, or sitting at your desk.
It also doubles as a stand. Your phone stays upright, the screen is easier to see, and it helps keep a little clutter off your desk or bench.
Why This Phone Speaker is a Great Scrap Wood Project
One of the things I like about this DIY phone amplifier is that it’s a quick, beginner-friendly project. There are only a few cuts; you can make it from scrap wood, and there’s no wiring or electronics to mess with. It’s the kind of project you can knock out in an afternoon and start using right away.
Related: 71+ Scrap Wood Projects (Clever Ways to Reuse Old Wood)
I also think it’s one of those small win projects, which are always satisfying. You’re not putting a huge amount of time into it, but you still end up with something useful when you’re done.
It also makes a great gift. Once you make one, it would be easy to make a few more in different woods, and it’s practical enough that someone will actually keep it on their desk and use it.
But Does It Actually Sound Good?
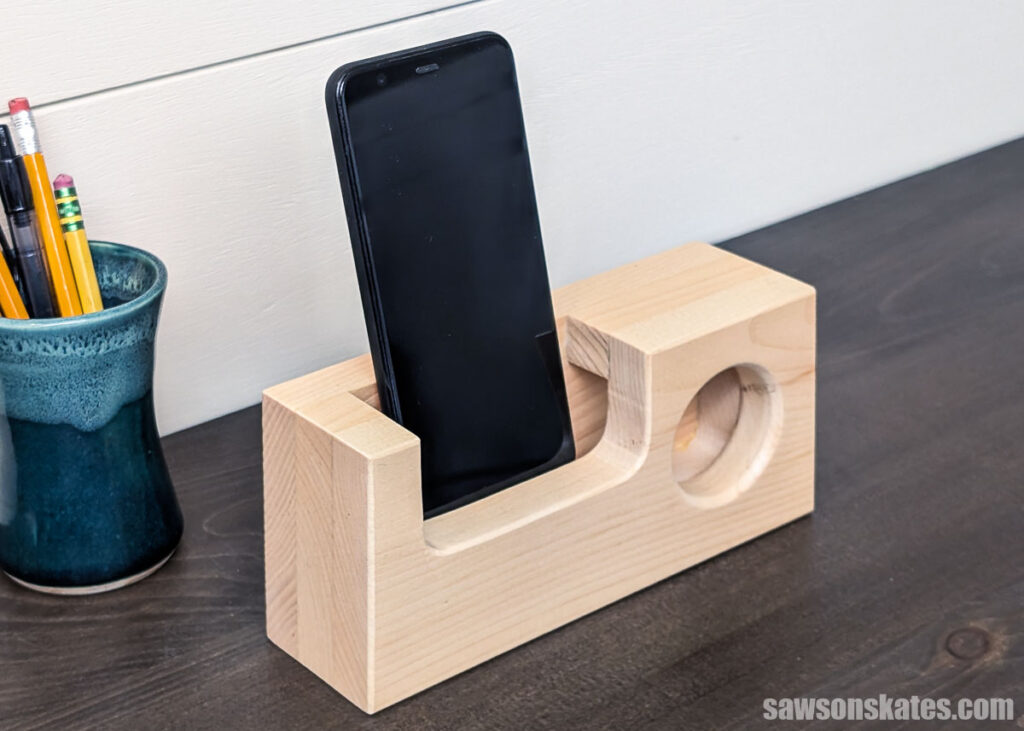
The amplifier definitely increases the volume of the phone’s stock speaker. The other day, I had it on my deck and was doing yardwork at the front of the house, and even with the road noise, I was able to hear it clearly. Not bad for a couple of pieces of scrap wood!
That said, the sound, especially up close, sounds a bit hollow. Now I’m no acoustics engineer, but I’m wondering if the interior shape were different, it might allow the sound waves to exit more efficiently and actually sound better.
If you experiment with the interior shape and stumble onto something that sounds better, I’d love to hear what worked. Drop it in the comments!
Video Overview
This quick video gives you a look at the steps I followed to build the project.
How To Make A Wooden Phone Amplifier
Printed Plan
Get the PDF plan here (includes detailed instructions, measurements, and bonus tips)
Materials
- Wood (per the printed plan)
- Wood Glue
Tools
- Tape Measure
- Miter Saw
- Kreg Jig
- Drill
- Pin Nailer
- Router
- ¼” Rabbeting Bit
- Corner Chisel (optional)
- Awl
- Countersink Drill Bit
Before You Begin
Just a heads-up: I made a few of these passive speakers at once, so you may see multiple parts in some photos. I also made them with the speaker holes on either the left or right side, depending on what worked best to avoid the knots in my scrap boards.
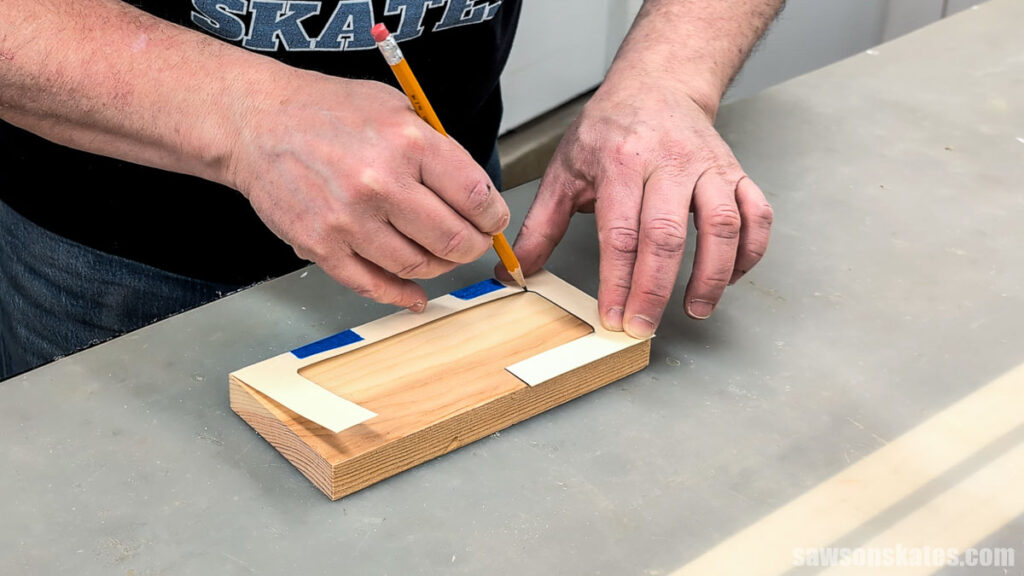
Step 1. Templates
I printed the templates (located in the PDF plan).
You can use carbon paper, but I prefer using spray adhesive to attach the template to a manila folder, making it sturdier and easier to trace.
Step 2. Make the Sound Hole
Once I had the templates assembled, using my miter saw, I cut three pieces of wood to length.
Then, I traced the front template onto one of the boards and used an awl to mark the location for the sound hole.
Related: What is an Awl?
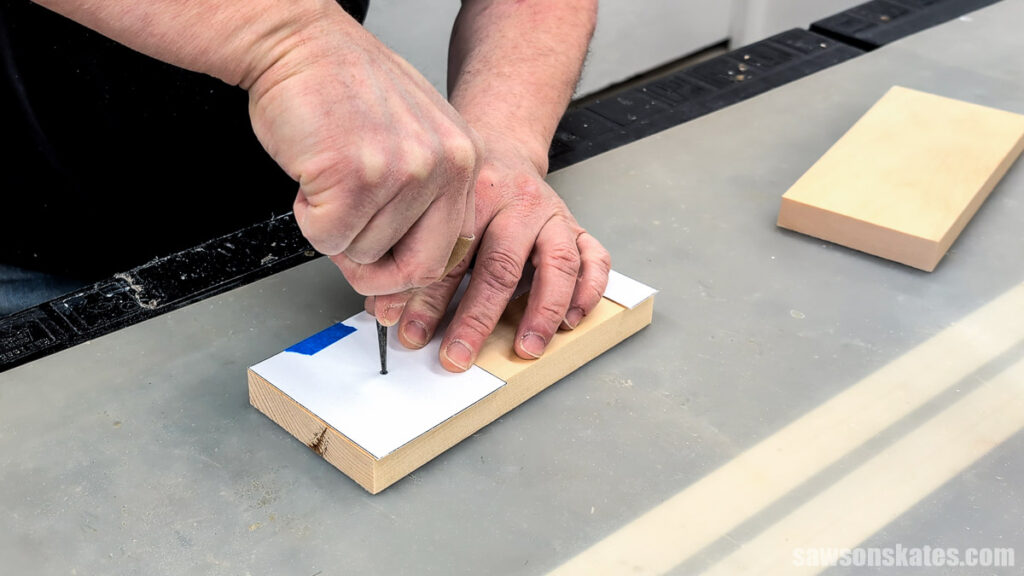
I could either cut the phone slot or the sound hole first. Cutting the phone slot first would reduce the clamping area needed to drill the sound hole, so I chose to drill the sound hole first.
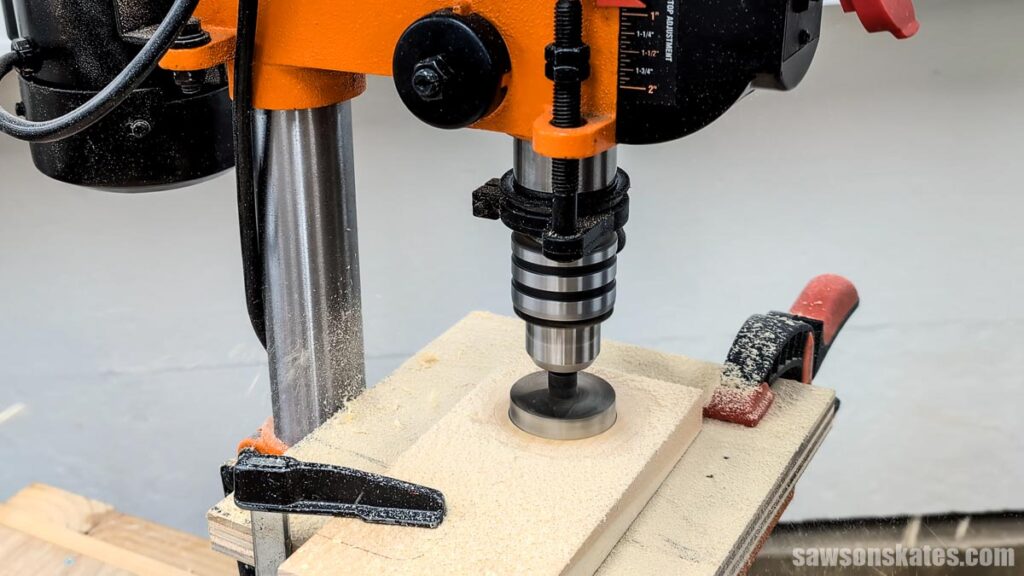
I installed a Forstner bit in my drill press. You might be wondering, why a Forstner bit? Can’t I just use a hole saw instead? A Forstner bit drills a clean hole with smooth sides, requiring little to no sanding. A hole saw, on the other hand, leaves rough, jagged edges that need lots of cleanup. If you’re like me and don’t enjoy sanding, a Forstner bit is the way to go.
Related: What is a Forstner Bit? (& How to Use It)
You may also be wondering, can I use a handheld drill instead? You could, but this is a large bit, and in my experience, the larger the Forstner bit, the harder it is to control with a handheld drill. Another consideration is that a drill press will drill straight into the workpiece. It’s tricky to hold a handheld drill perfectly at 90 degrees, so there’s a good chance the hole will come out angled rather than straight through.
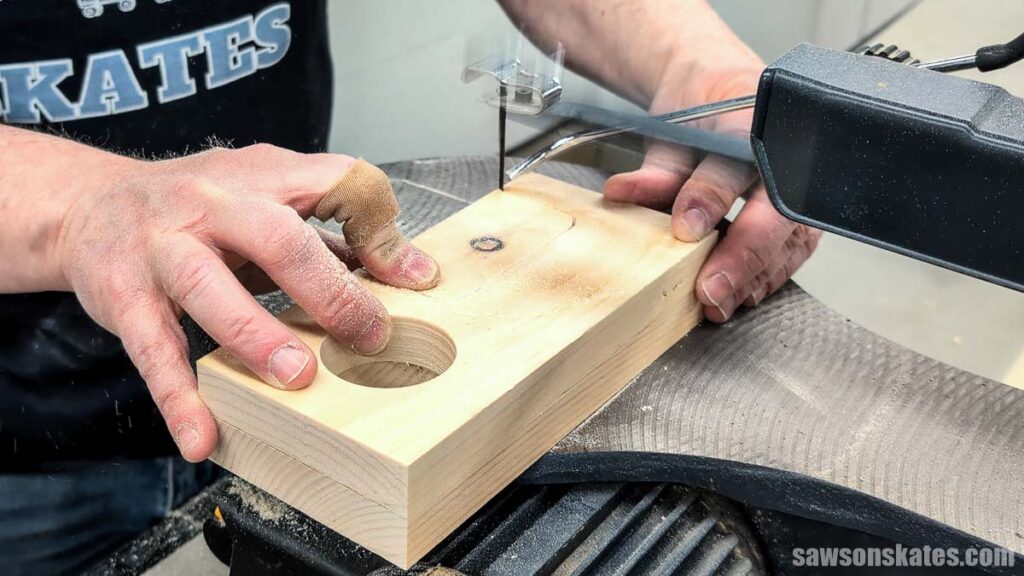
Step 3. Cut the Phone Slot
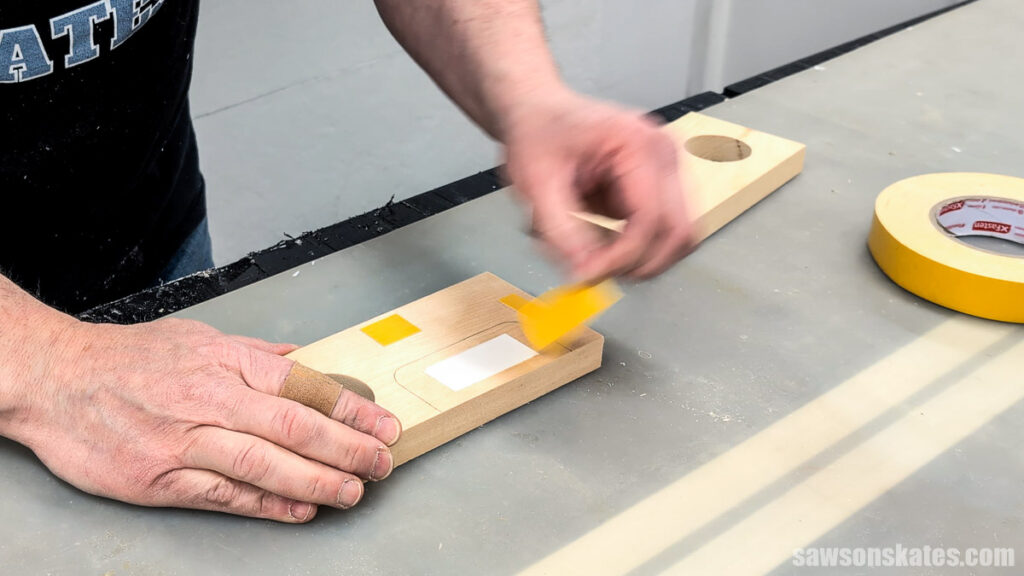
As I mentioned at the beginning, I made a few of these at once. To save time, I decided to cut the phone slot in two workpieces at the same time. To do that, I applied a few pieces of double-sided tape (AMAZON LINK). Don’t use too much, or it will be difficult to get the pieces apart. You can skip this if you’re only making one.
Using my scroll saw, I cut out the phone slot.
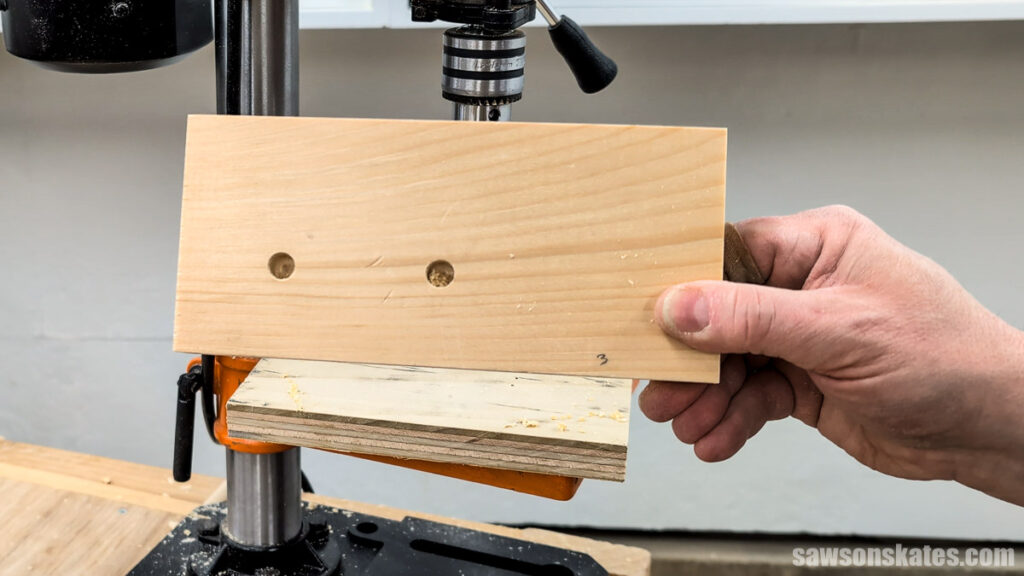
Step 4. Make the Phone Supports
Using the phone support template, I marked the locations for the dowels that will support the phone.
Then, I flipped the template and marked the locations on the interior of the front piece.
Installed the bit in my drill press and drilled the holes.
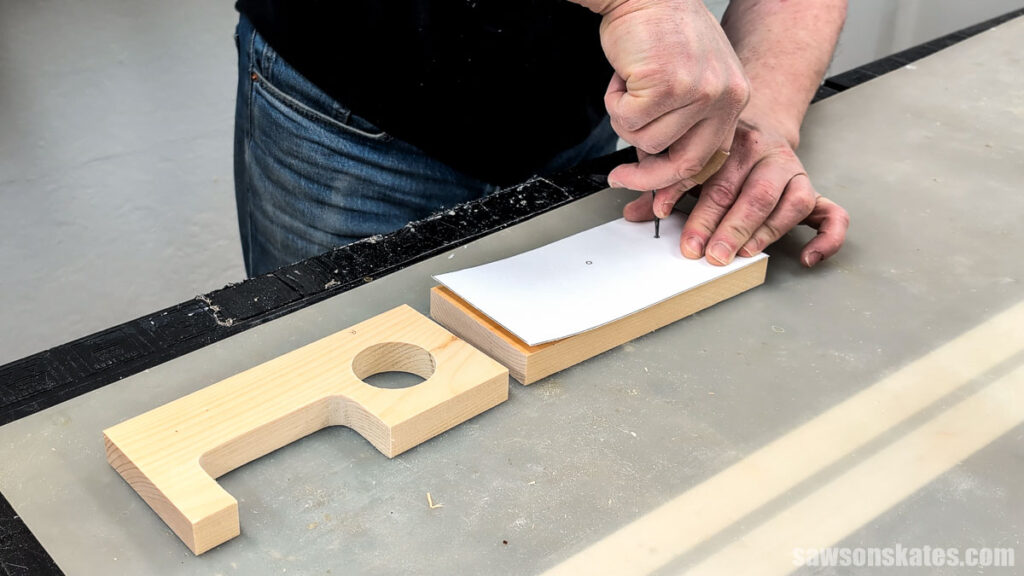
Step 5. Make the Middle Section
I’m almost ready for some assembly, but first I need a way to connect the front and back.
I planned to do that with some scraps I had lying around my shop, but when I started test-fitting them, it felt clunky and looked amateur. So instead, I grabbed a piece the same size as the front and back (that’s why I cut three pieces of wood in Step 2), and traced the interior template onto it.
Using my scroll saw, I cut it out.
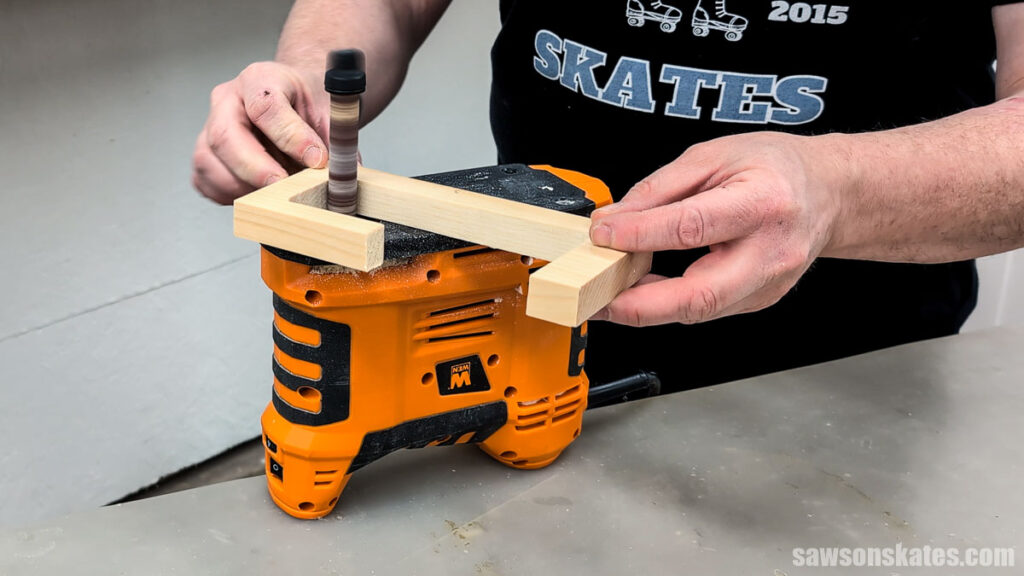
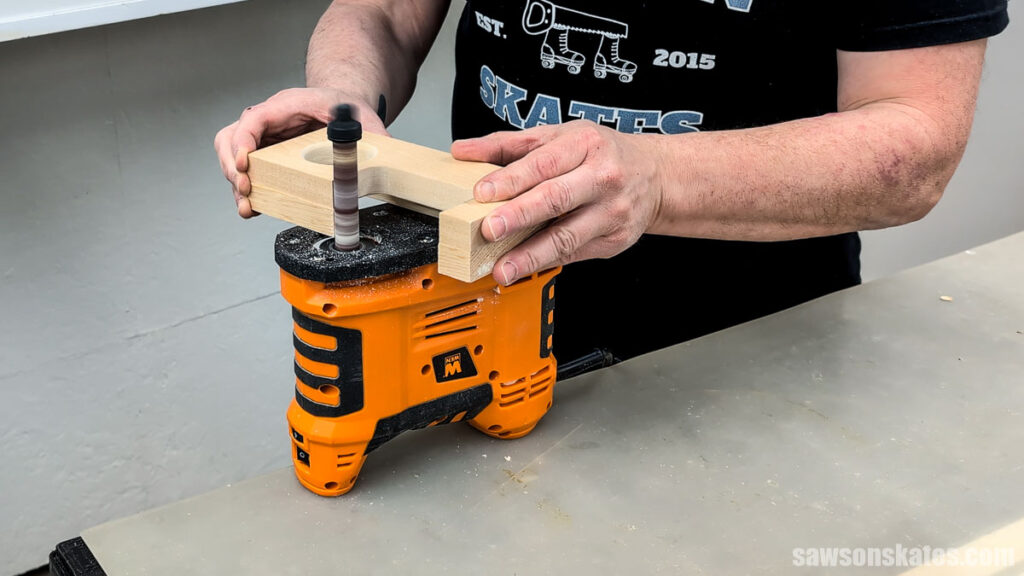
To smooth the interior cuts, I used my portable spindle sander (AMAZON LINK), but you could use sandpaper instead.
Step 6. Assemble the Passive Amplifier
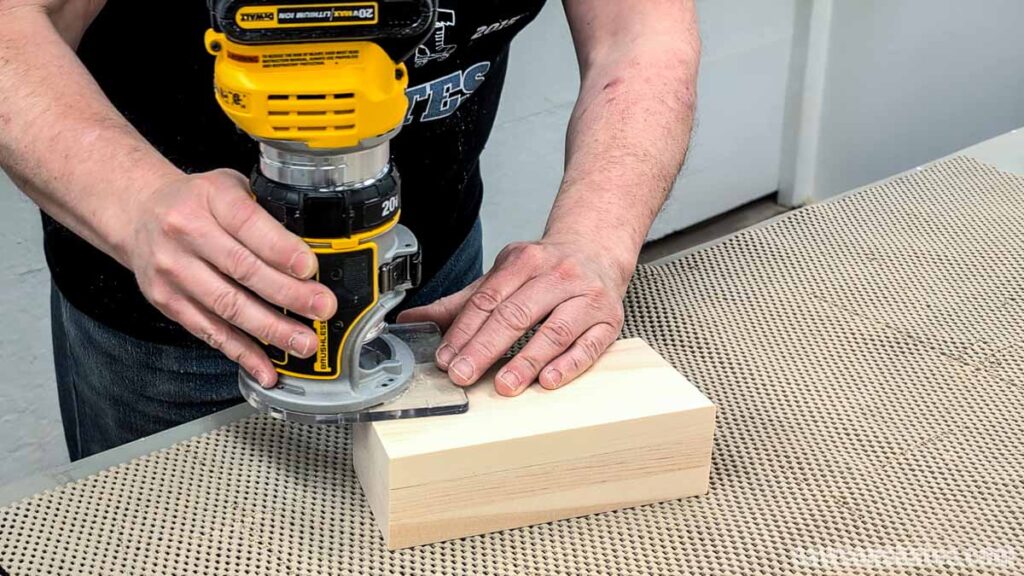
I wanted the sound hole to have a soft, rounded edge, both inside and out. Using my router and a roundover bit, I smoothed the edges.

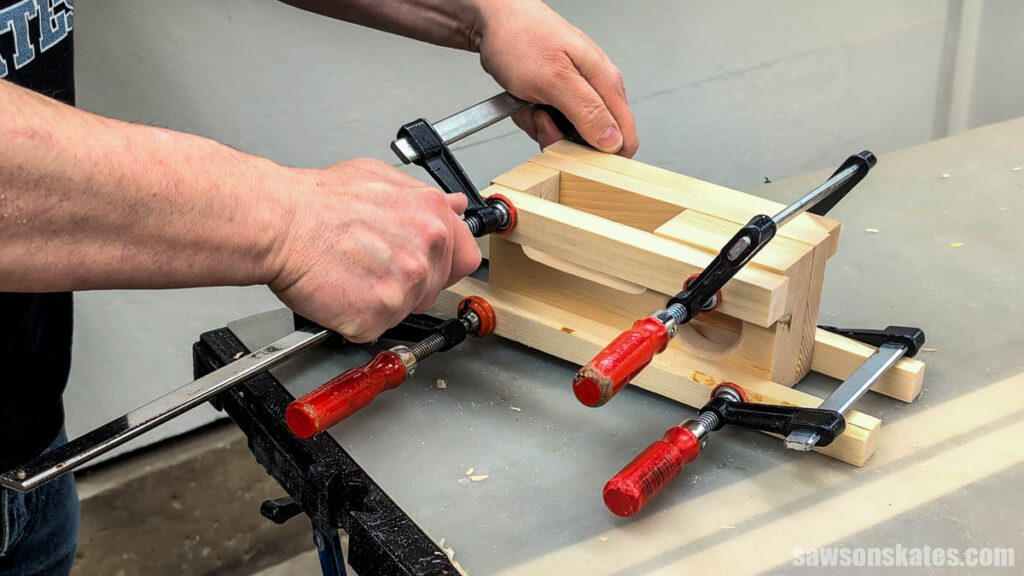
I applied glue to the middle piece.
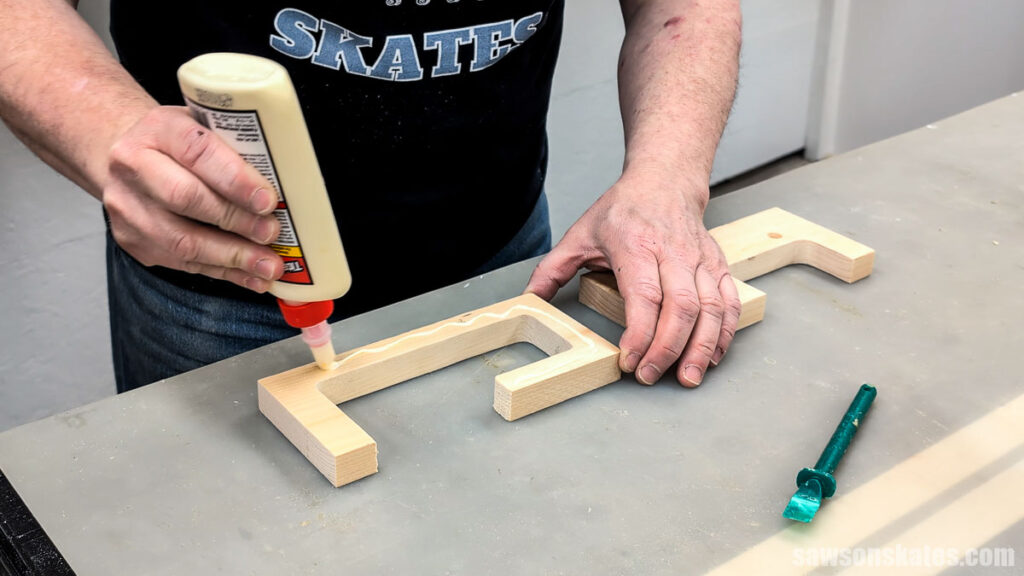
And positioned it on the front.
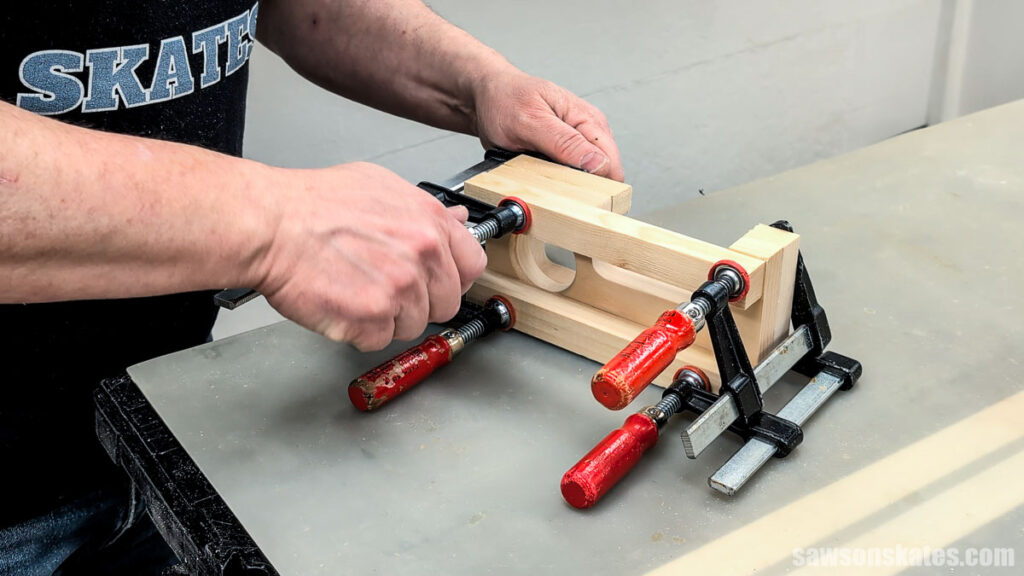
I clamped it and allowed it to dry. Important: Don’t glue the back yet!
Once the glue was dry, I removed the clamps. The middle and front pieces didn’t line up perfectly at the phone slot.
So I used my portable spindle sander to make them flush.
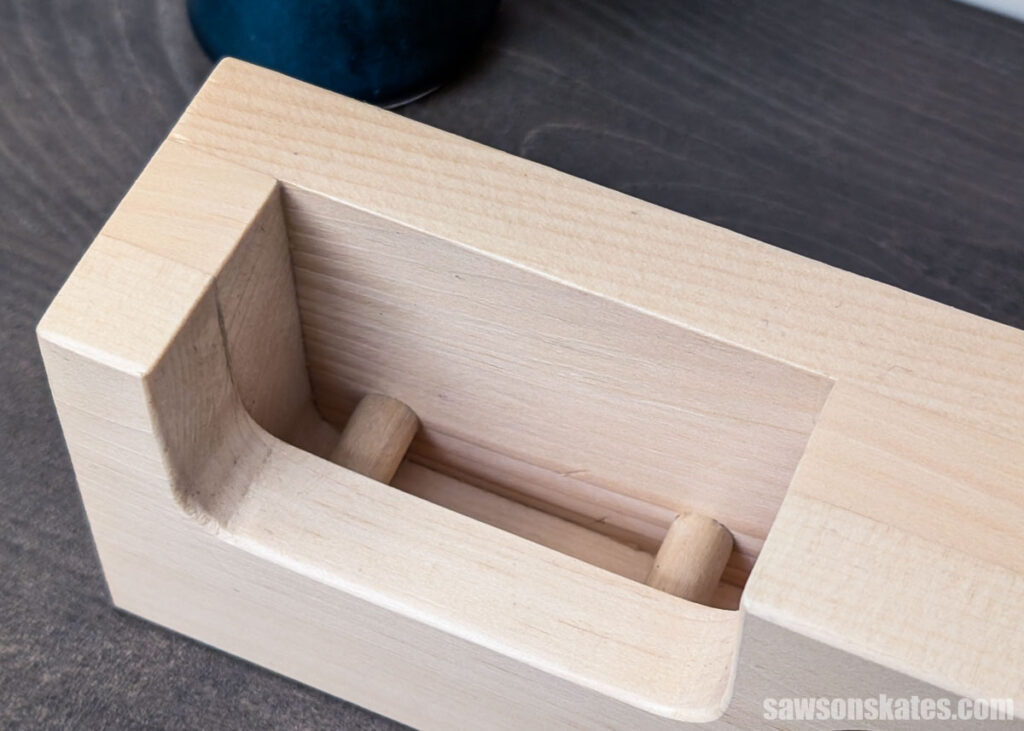
Next, I cut two pieces of dowel to length. Remember earlier when I mentioned the dowels fit snugly in the holes? I sanded the ends slightly to taper them for a better fit. Depending on the dowel and drill bit you use, you may be able to skip this step.
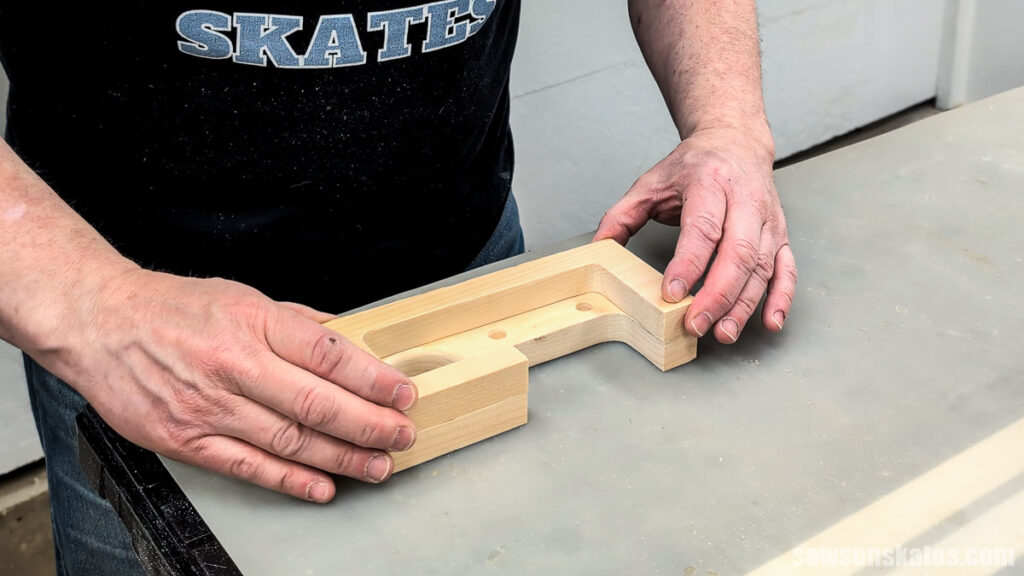
I positioned the dowels in the holes without glue; they fit snugly enough to stay in place on their own.
I applied glue to the middle piece, positioned it on the back, and clamped it in place. Be careful not to apply too much, or the excess glue will squeeze out on the inside, and you’ll be able to see it through the sound hole. It’s also tricky to remove. Don’t ask me how I know, lol.
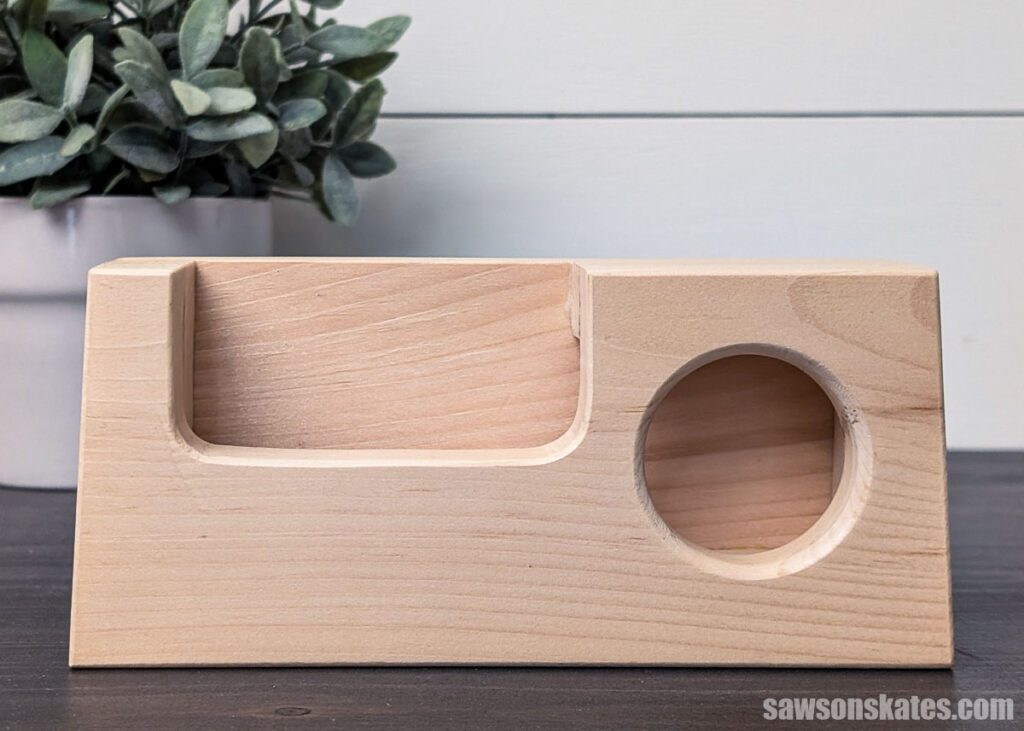
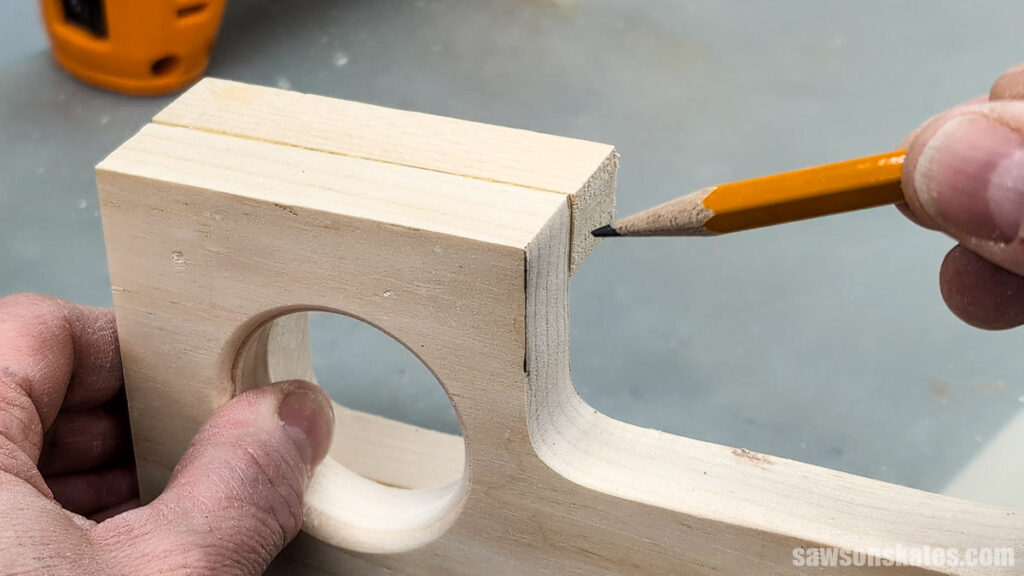
It looked a bit square at this point.

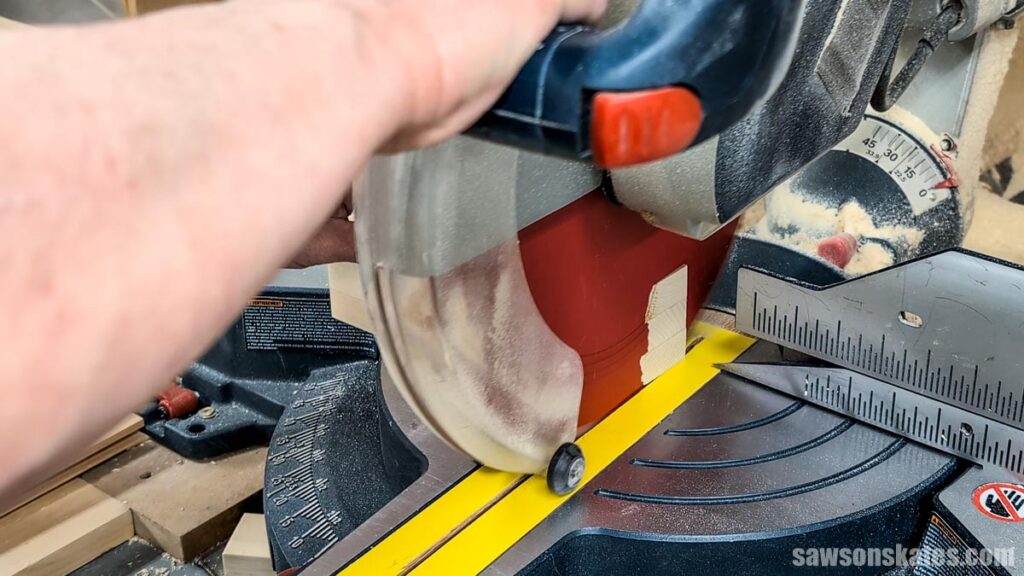
So, I angled my miter saw, positioned the blade at the bottom of the speaker, and made a cut on each side to taper the sides upward, giving it a more graceful shape.
Next, I used a roundover bit to smooth the edges.
Step 7. Apply the Finish
The phone amplifier’s construction, the phone slot, the recessed sound hole, and other tight areas make it tricky to apply a finish with a brush. I don’t usually use spray finishes, but given the tight areas, it seemed like the best option.
I first tried an oil-based spray polyurethane, but the amber tint it left on the wood wasn’t the look I was going for. I ended up applying three coats of matte Polycrylic with a brush. It worked, but if you have a spray finish on hand, I’d recommend using it because it would make this step a lot easier.
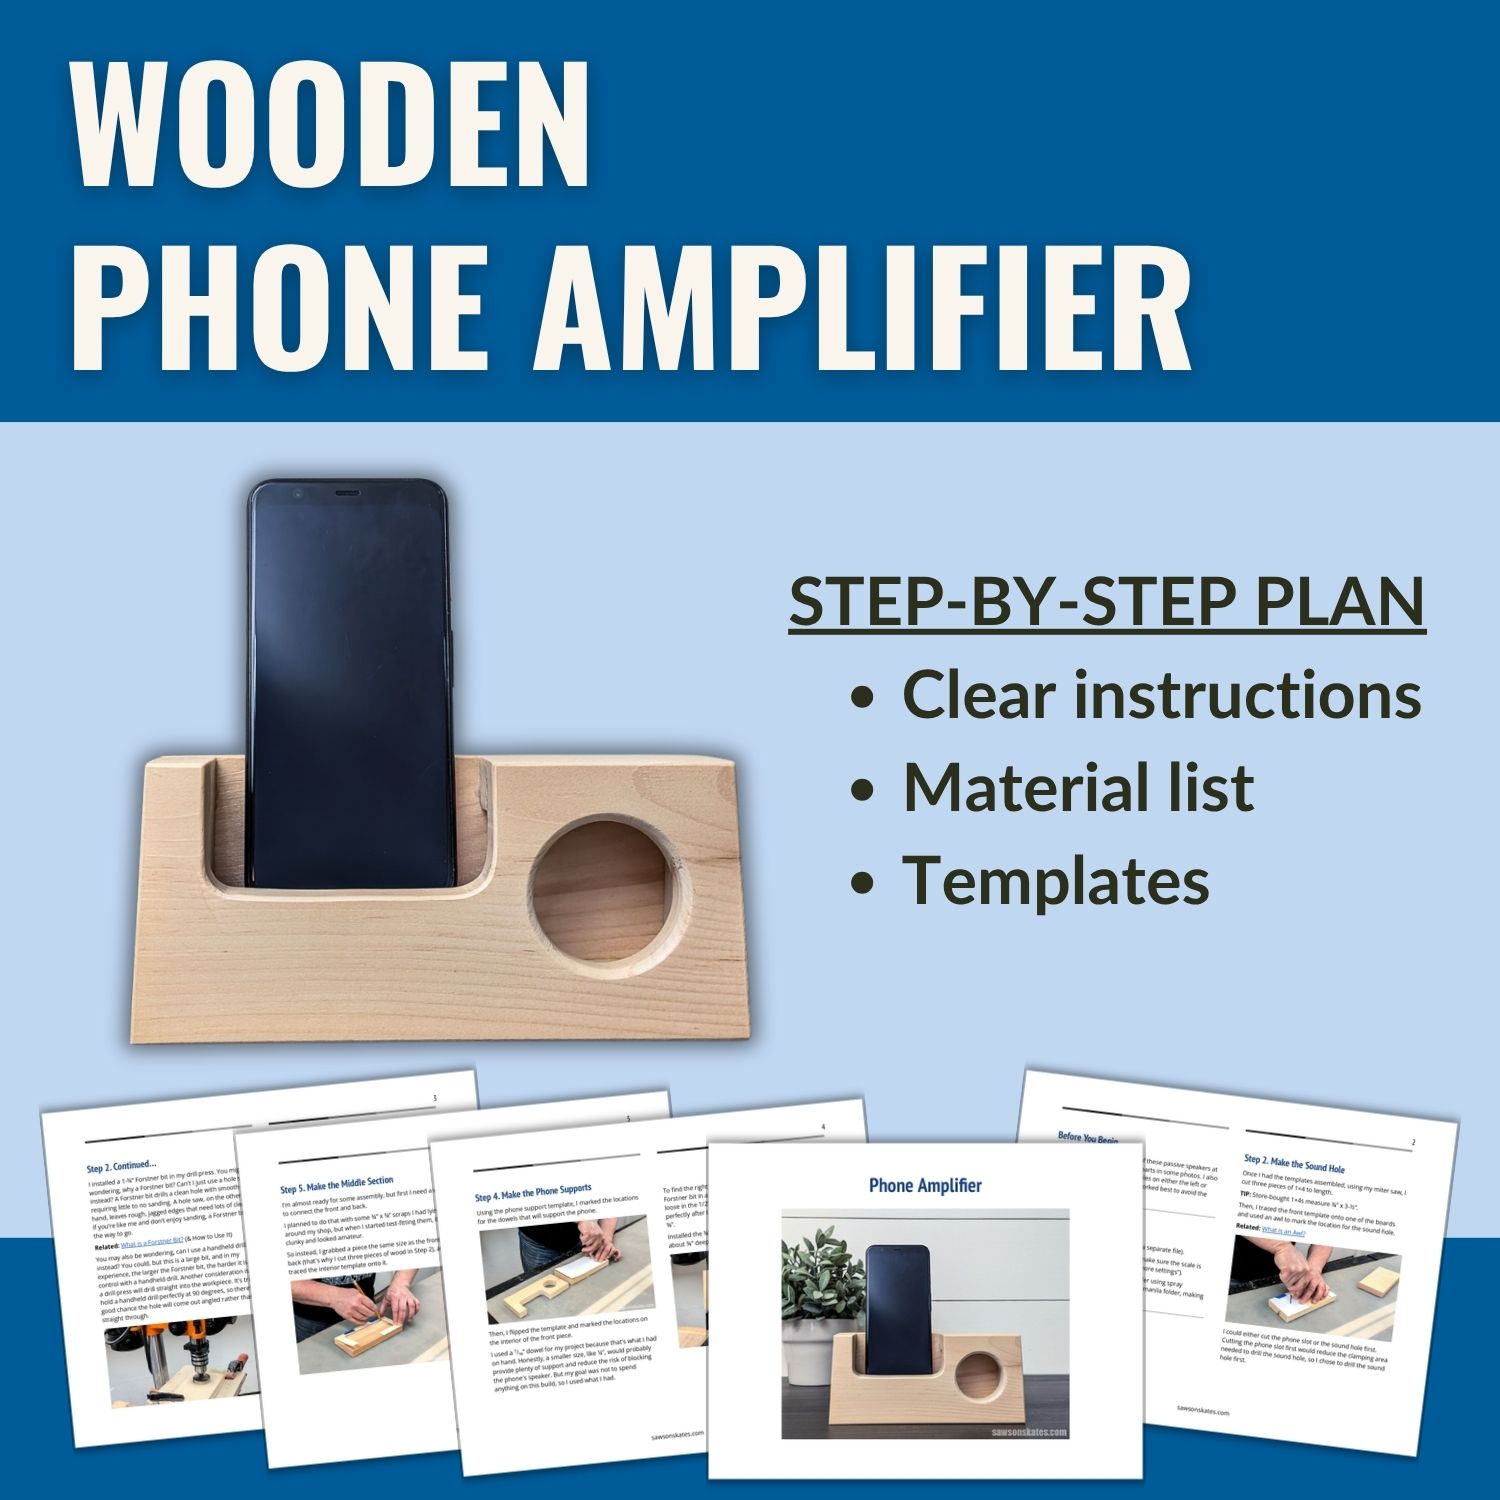
Includes:
- List of tools and materials
- Complete measurements (in inches)
- Easy-to-follow instructions
- Step-by-step photos
- Detailed diagrams
Final Thoughts
This wooden phone speaker is a fun, beginner-friendly project you can make with basic tools and scraps you may already have on hand. It makes a thoughtful, handmade gift, and it works surprisingly well for something that requires no batteries or electronics.
Recommended For You


Pin This For Later

Hi there – I’m Scott, a woodworking enthusiast and creator of Saws on Skates, a site I started in 2015 to share easy-to-follow tutorials, space-saving shop tips, and project inspiration for DIYers at any skill level. Learn more about my woodworking journey here.