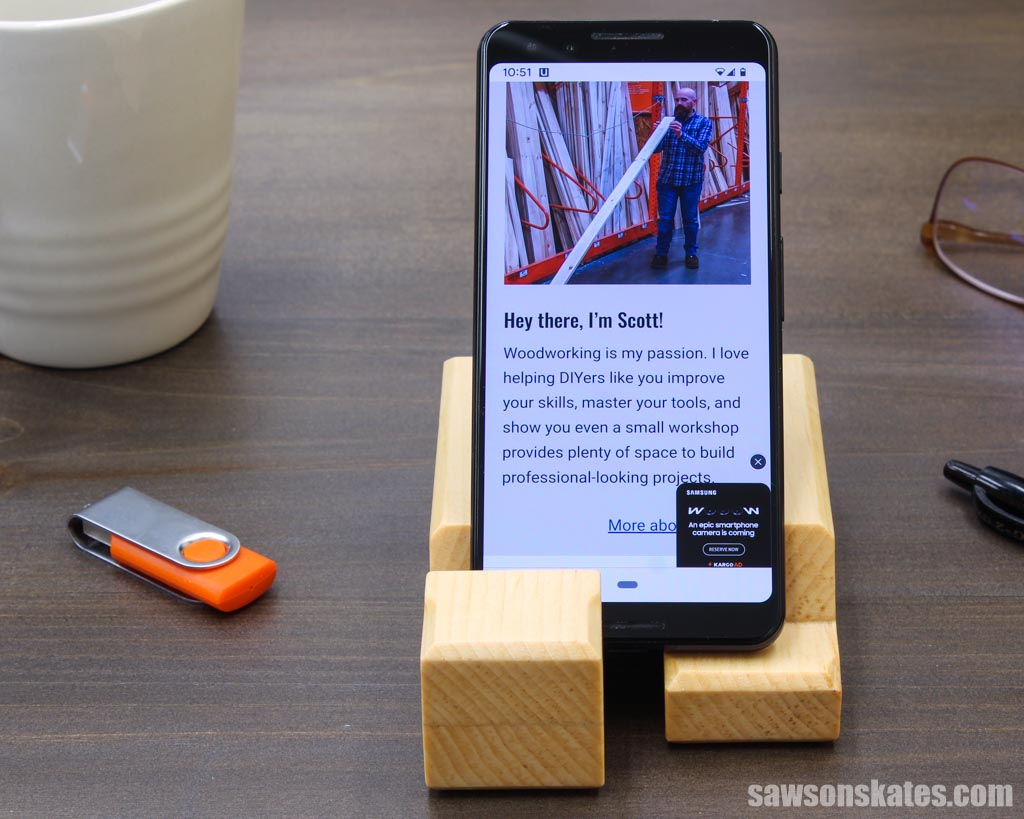
DIY Wooden Phone Stand
Looking for a simple, functional, and inexpensive DIY phone stand? Look no further! I’ll show you how to make one for FREE using scrap wood!
What Should I Build Next?
That's the question I help answer.
Every week, I send woodworking ideas to 17,000 DIYers who love building things.
You'd fit right in.
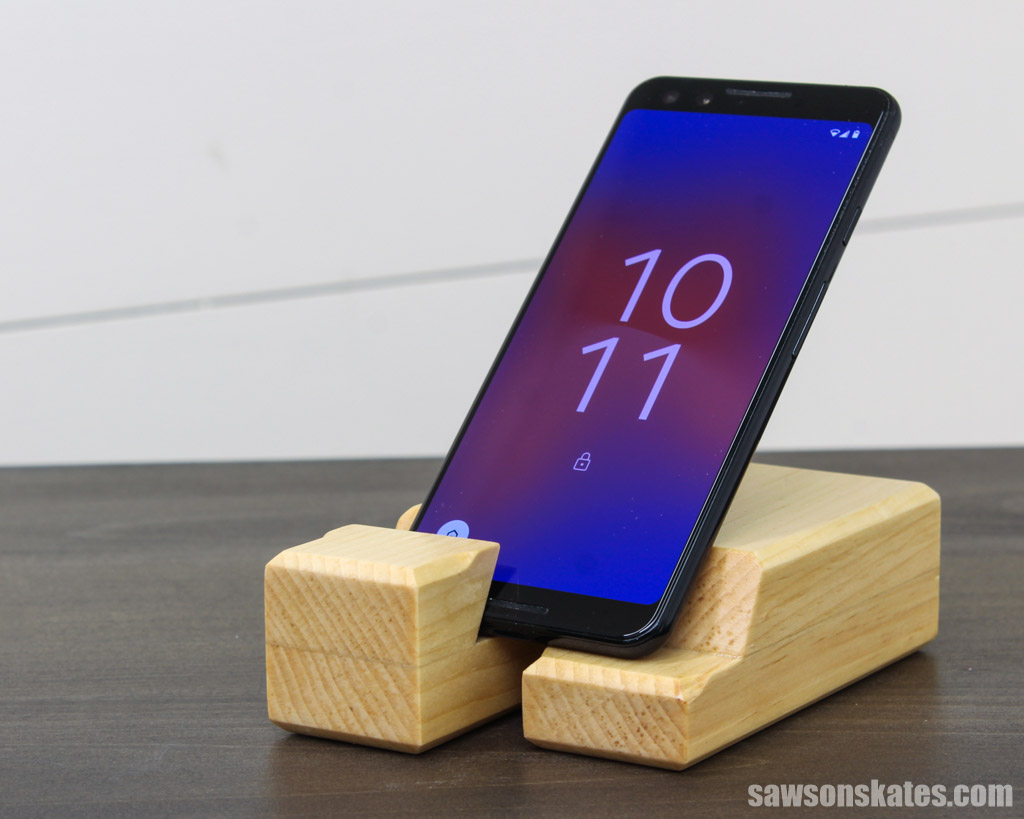
Tired of struggling to keep your phone upright while watching a video or following a recipe? Or maybe you like to have your phone within reach so you can check notifications. If this sounds like you, I have the perfect solution: a DIY wooden phone stand! This holder is easy to make, functional, and cheap!
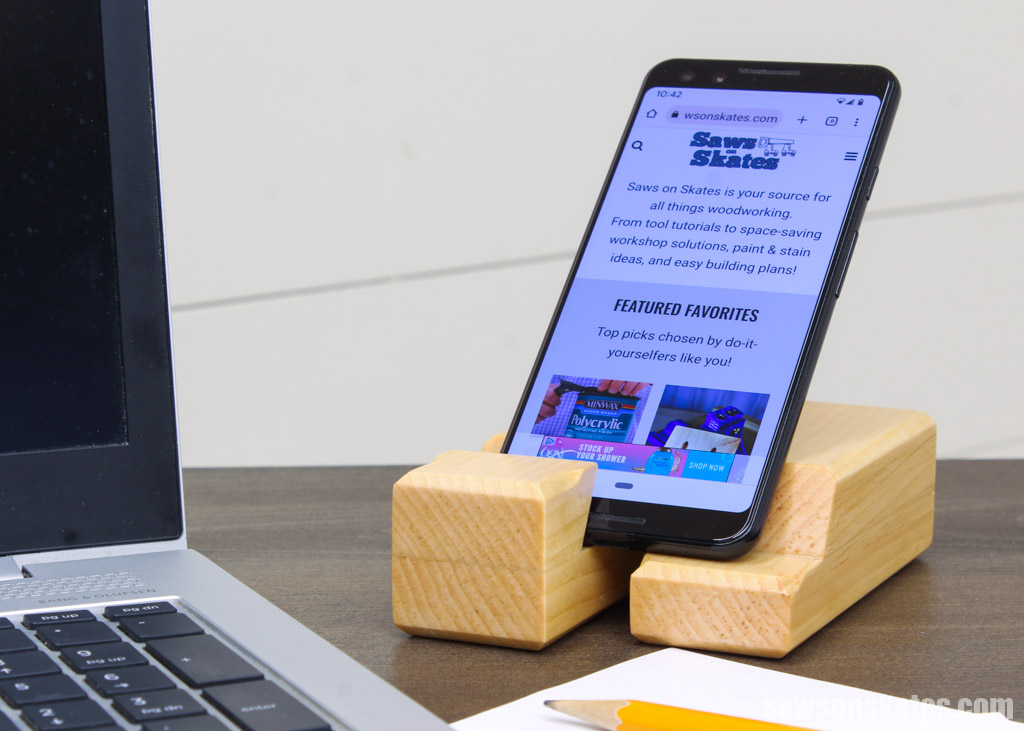
You can use it anywhere from a kitchen counter to a nightstand or desk. Best of all, it’s a quick and simple project you can make with scrap wood you probably have lying around your workshop. Let’s get started!
Table of Contents
- Inspiration for This DIY Phone Stand
- What Tools Do You Need?
- What Wood Should You Use?
- How Do You Finish the Phone Holder
- How to Make a DIY Phone Stand
- Get the PDF Plan
This article contains affiliate links. If you purchase from these links, I may earn a small commission at no additional cost to you. Visit my site policies for more information.
Inspiration for This DIY Phone Stand
When I started this site in 2015, one of the first plans I shared was a simple tablet holder made from scrap wood. Recently it was sitting on my kitchen counter, and an idea hit me. What if I put my phone in it? To my surprise, it fit perfectly! Then another thought crossed my mind: why hadn’t I done this sooner?!!
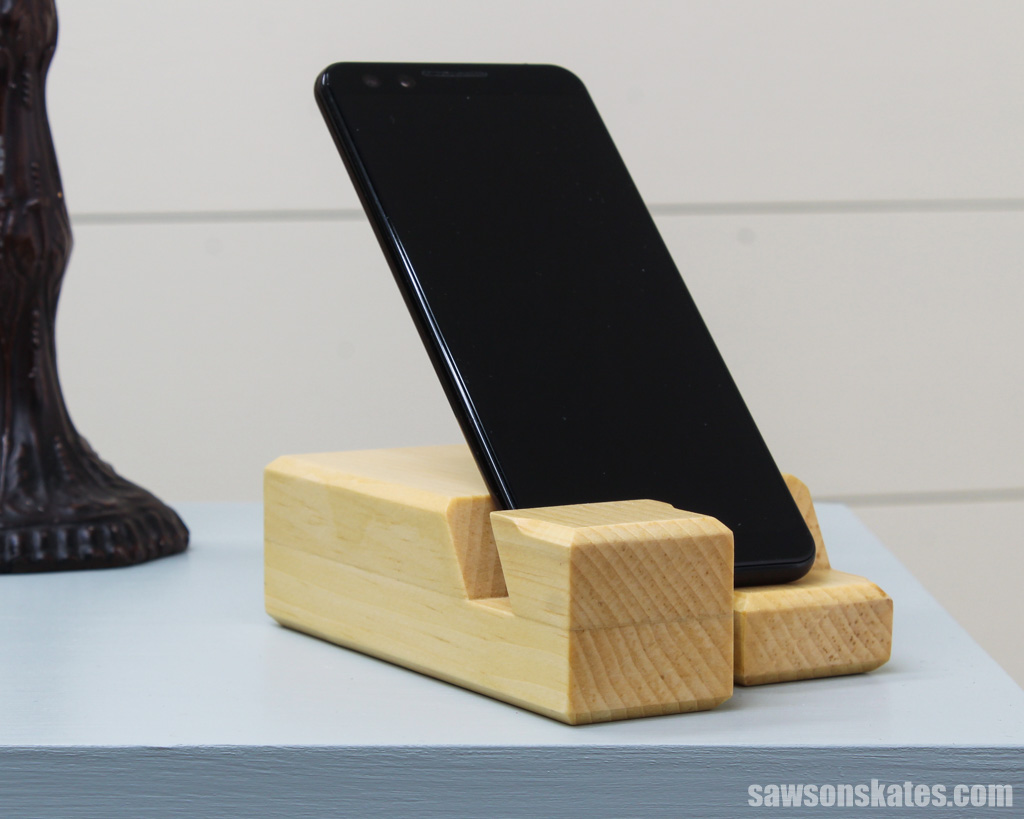
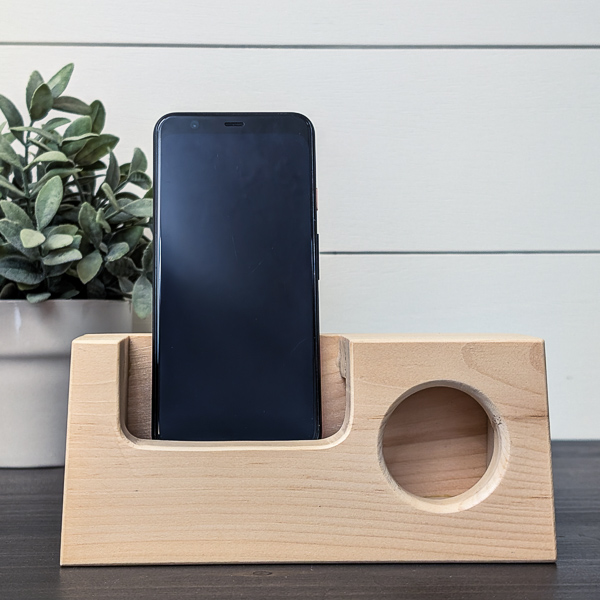
I made a few tweaks to the original design, grabbed some scrap wood lying around my shop, and just like that, I had a functional and FREE phone stand.
Not only does this holder securely store your phone, but there’s also a slot for the charger cord so you can always keep your device powered up.
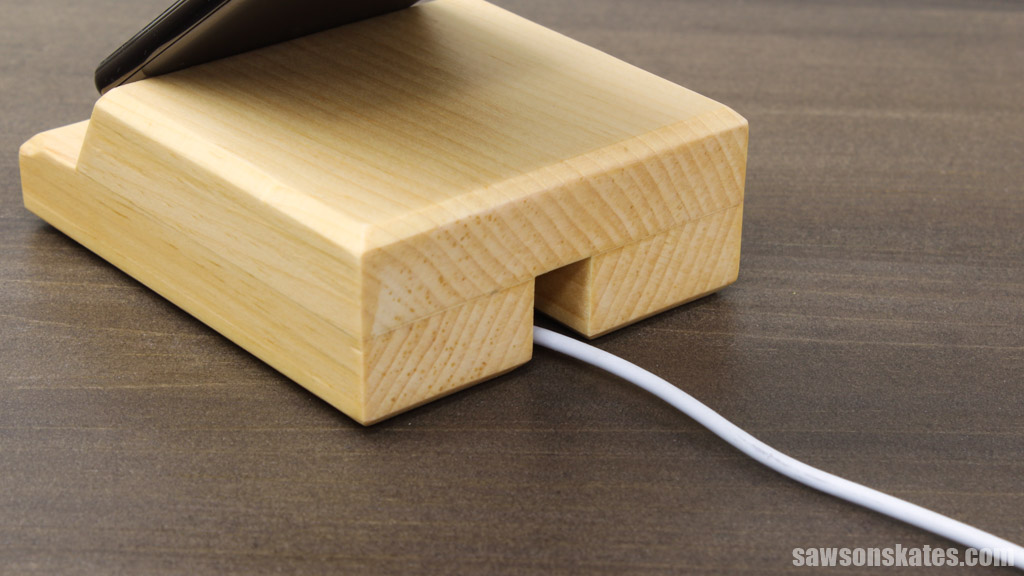
Cord connectors range in width, so I made one side slightly shorter than the other. This way, you should be able to easily slide it in place regardless of your connector’s width.
What Tools Do You Need?
The great thing about this project is that you don’t need any special tools. All you need is a miter saw. I also used a brad nailer to speed up the assembly process and a router to add a decorative edge, but those tools are optional.
Miter Saw
I used a miter saw to cut bevels and the pieces to length, but you might be able to use a miter box and handsaw instead.
Related: Single vs Double Bevel Miter Saw (Which to Buy & Why)
Brad Nailer
I used glue and a brad nailer to attach the pieces, but you could use a hammer and nails or skip the nails and clamp the pieces until the glue dries.
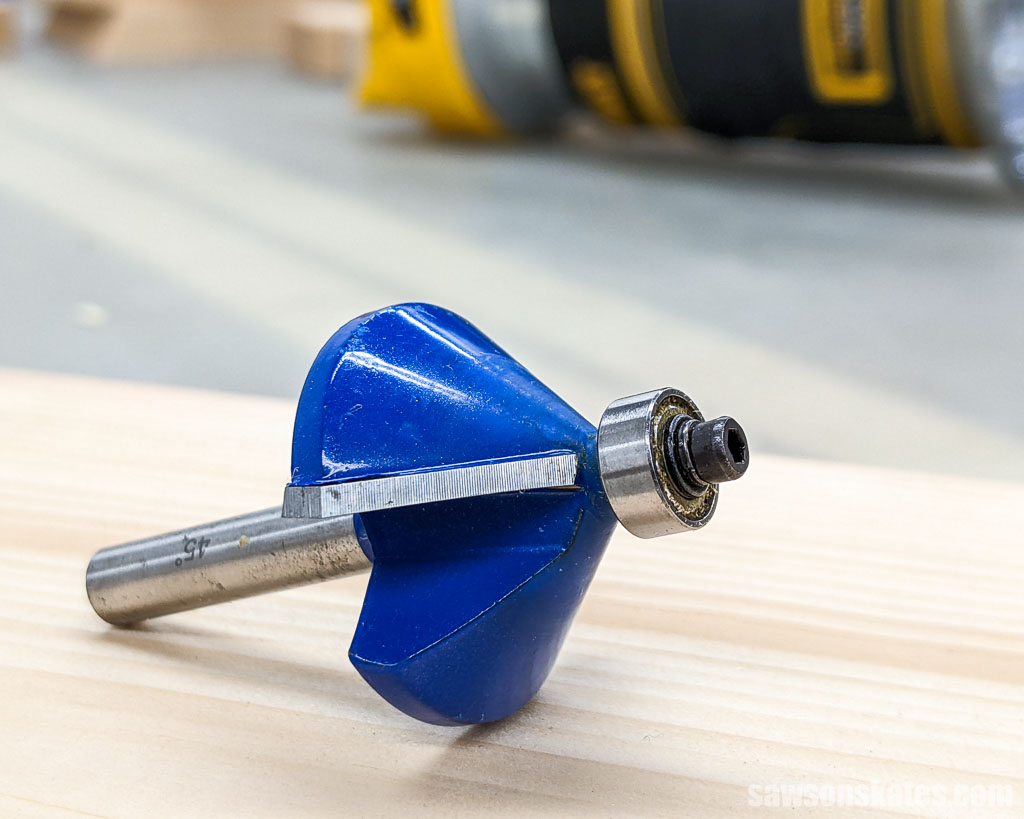
Router
I used a handheld router and a chamfer bit to add a chamfered edge to the stand. A chamfer is an angled edge, which gives the holder a more finished look. Again, this is an optional step you can skip if you don’t have a router or chamfer bit.
Related: How to Use a Router Table for Beginners
What Wood Should You Use?
The best part about this project is that you can use just about any scrap wood lying around your shop. I used pieces of 1×2 and 1×4 pine for my stand, but any wood will work, such as oak, cherry, walnut, etc.
Related: Beginner’s Guide to Wood Sizes
How Do You Finish the Phone Holder?
I left my phone stand natural, but if you prefer a different look, you can apply your favorite stain or paint. To protect the wood from wear and tear, I applied three coats of this polyurethane alternative, though Polycrylic would also work.
Related: How to Apply Polycrylic
How to Make a DIY Wooden Phone Stand
Printed Plan
Get the PDF plan here (includes detailed instructions, measurements, and bonus tips)
Supplies
- Wood (per the printed plan)
- Wood Glue
- 1-¼” Brad Nails
Tools
- Tape Measure
- Kreg Multi-Mark
- Miter Saw
- Brad Nailer
- Router
- Chamfering Bit
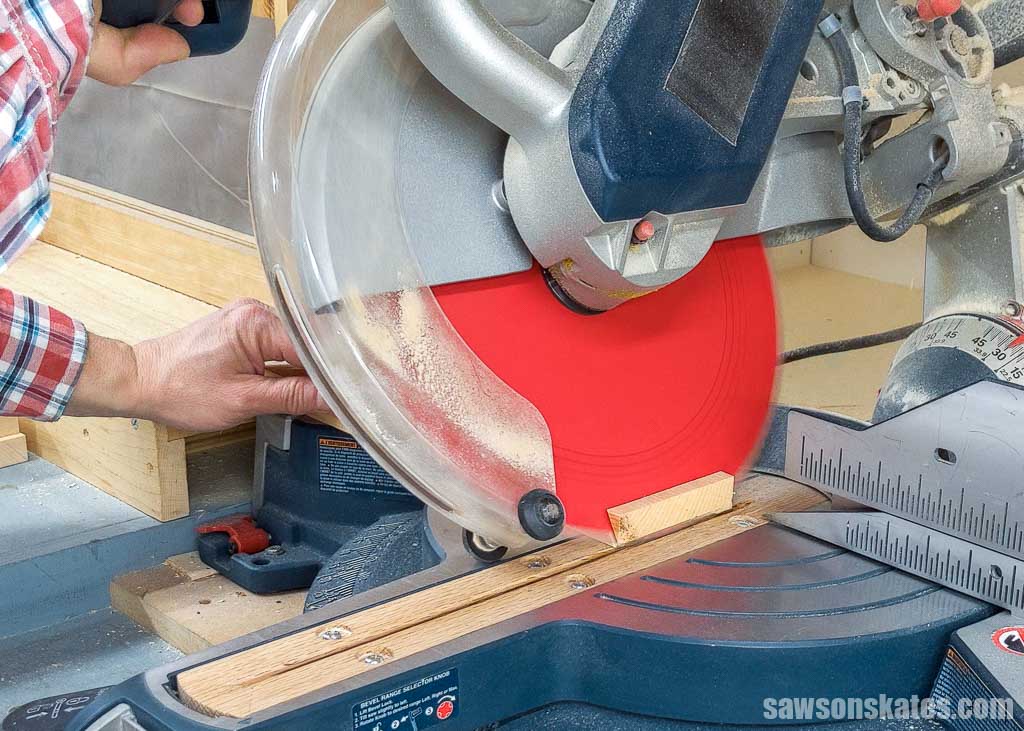
Step 1. Make the Top of the Holder
📝 NOTE: This project has many small pieces, so please use caution when cutting them.
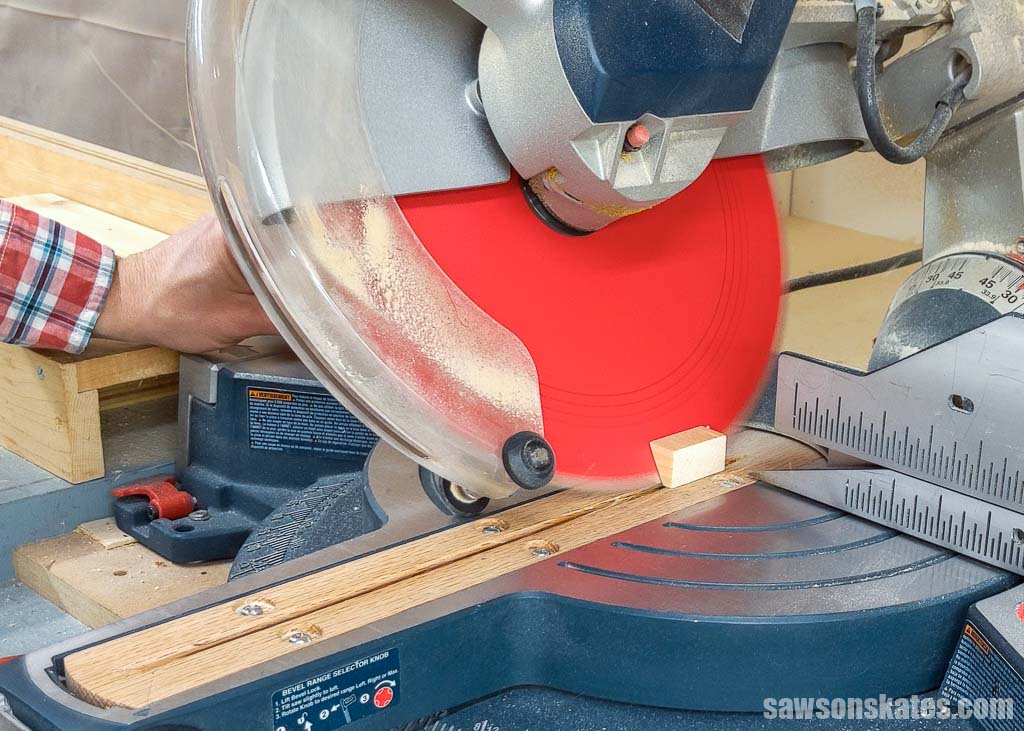
Per the printed plan, cut one piece of wood to length with a bevel on one end.
To do this, first, I adjusted the bevel of my miter saw. Then, I made the cut.
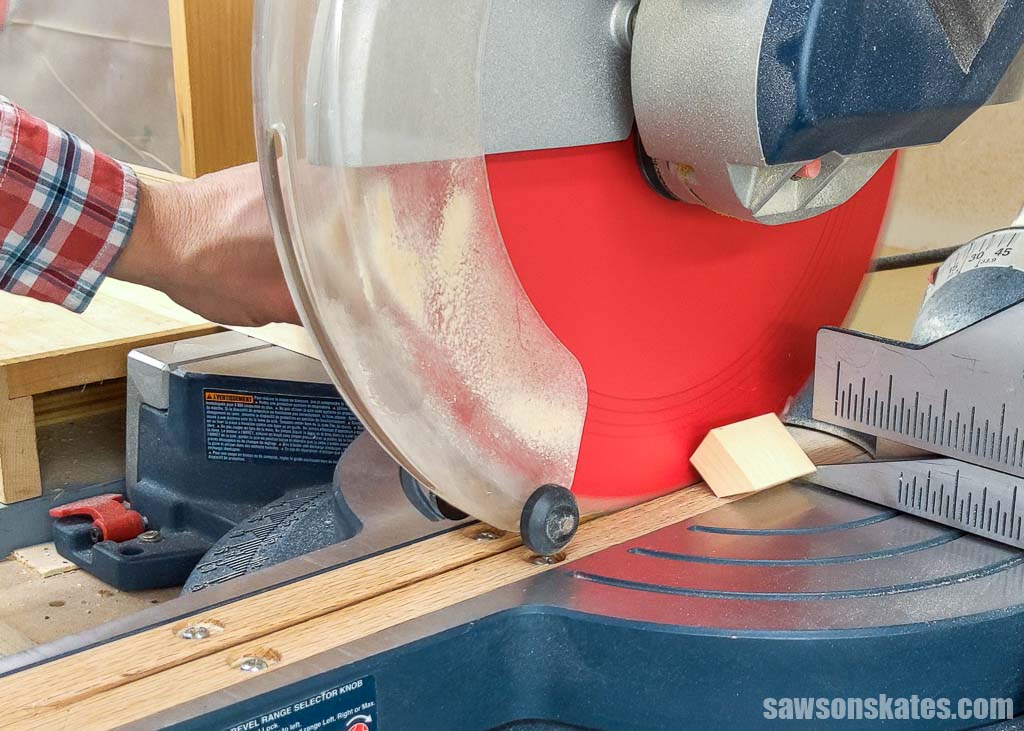
Next, I flipped the piece over, measured from the long side, and made a mark. Then I cut the piece to length.
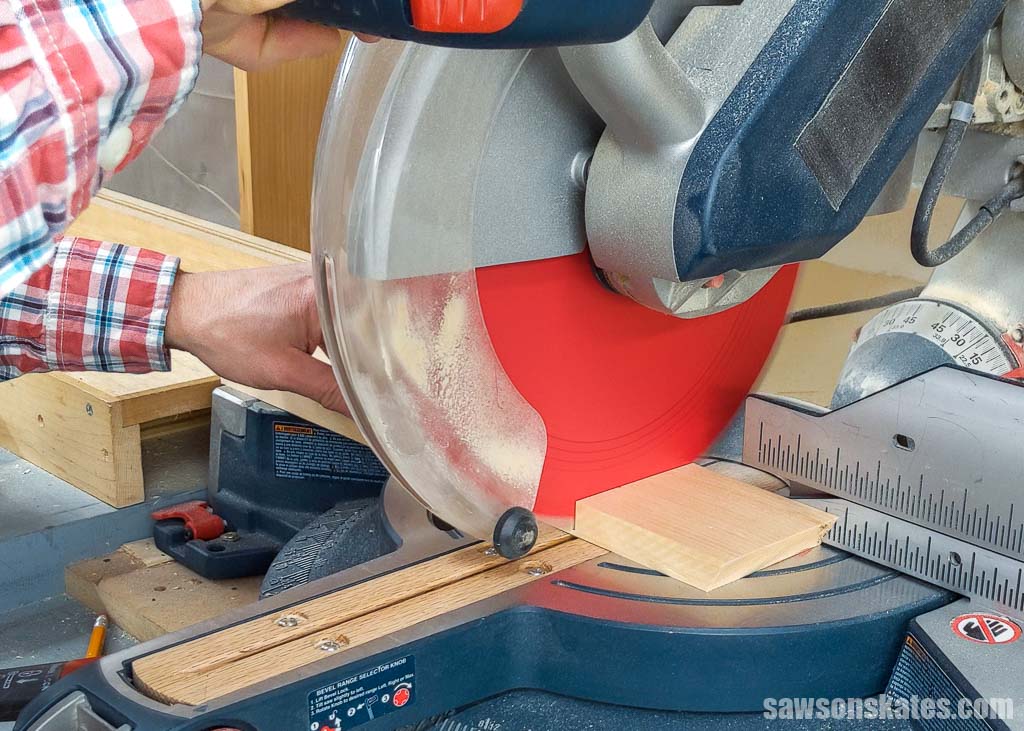
Step 2. Make the Bottom of the Holder
Cut two pieces of wood to length for the bottom of the holder.
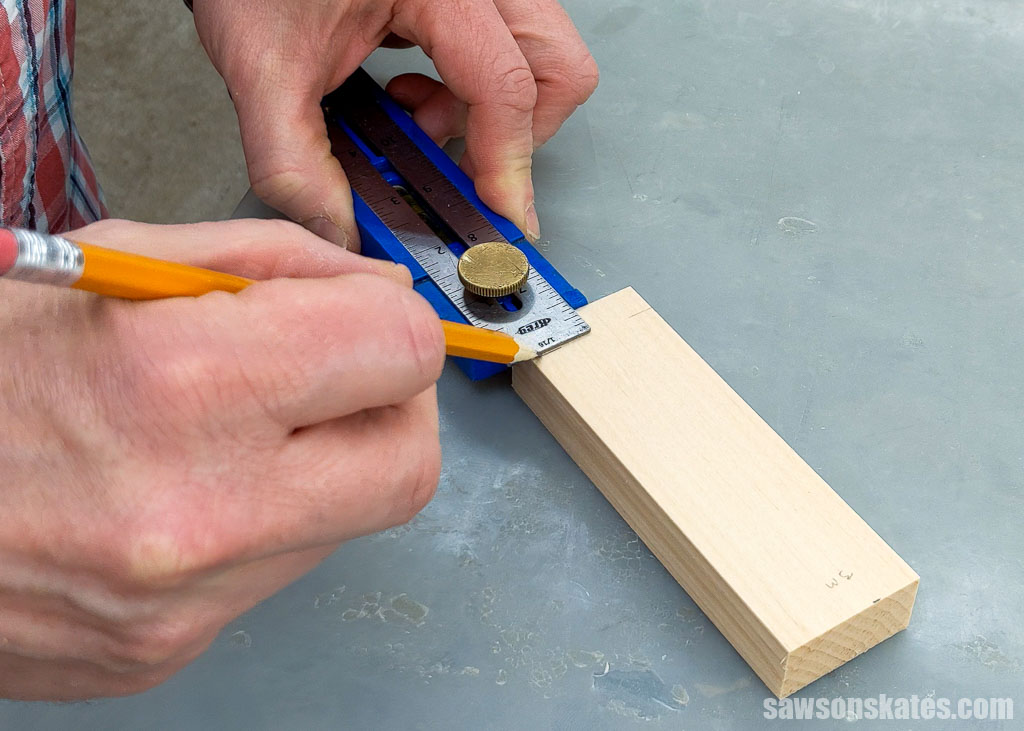
Optional: Add a Chamfered Edge
On the short piece, I measured in on one end and made a mark.
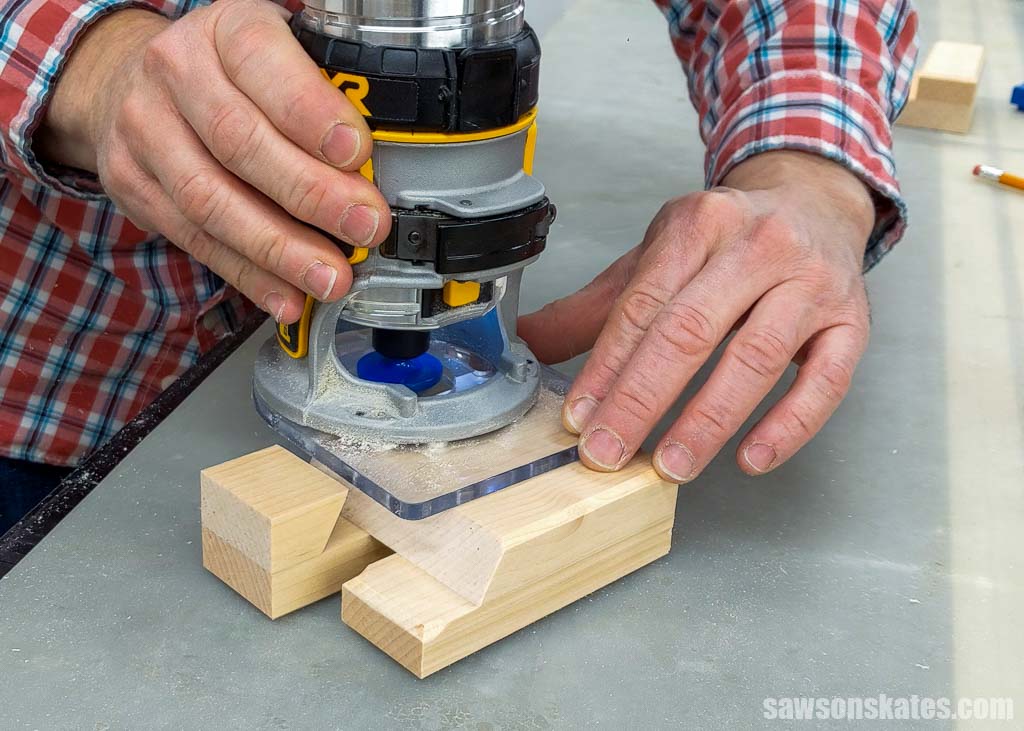
I set up my router with a chamfering bit and adjusted the depth to remove the amount indicated in the printed plan.
I tested the setup on a piece of scrap wood, and once I was happy with the results, I started making the chamfer at the mark.
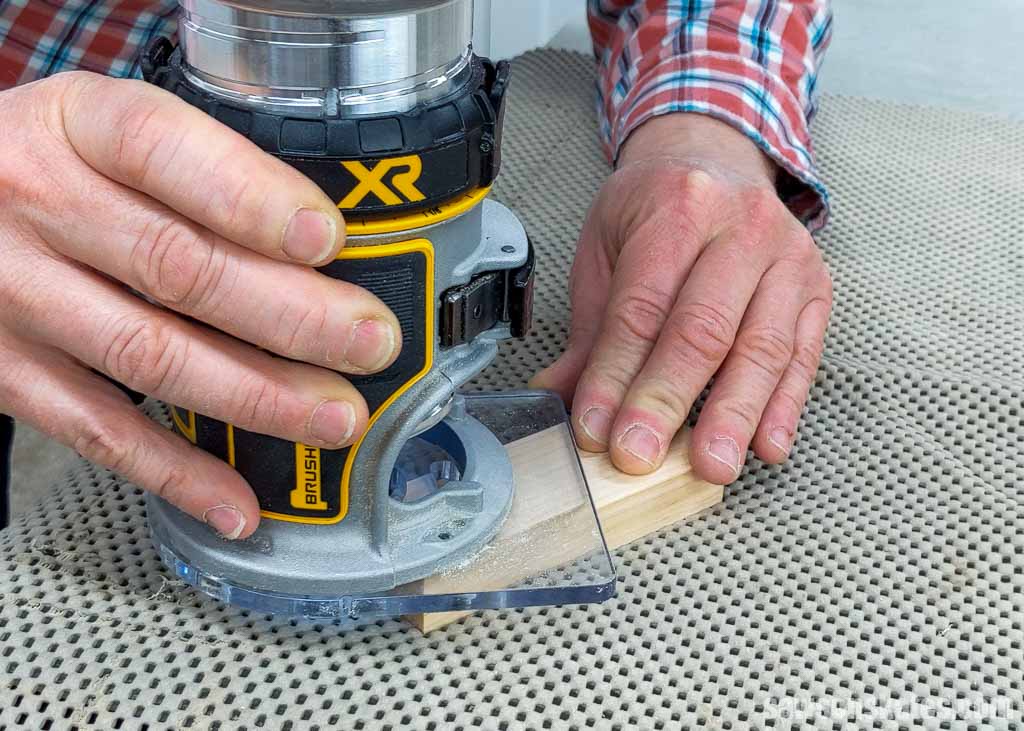
And moved the router until I reached the other mark.
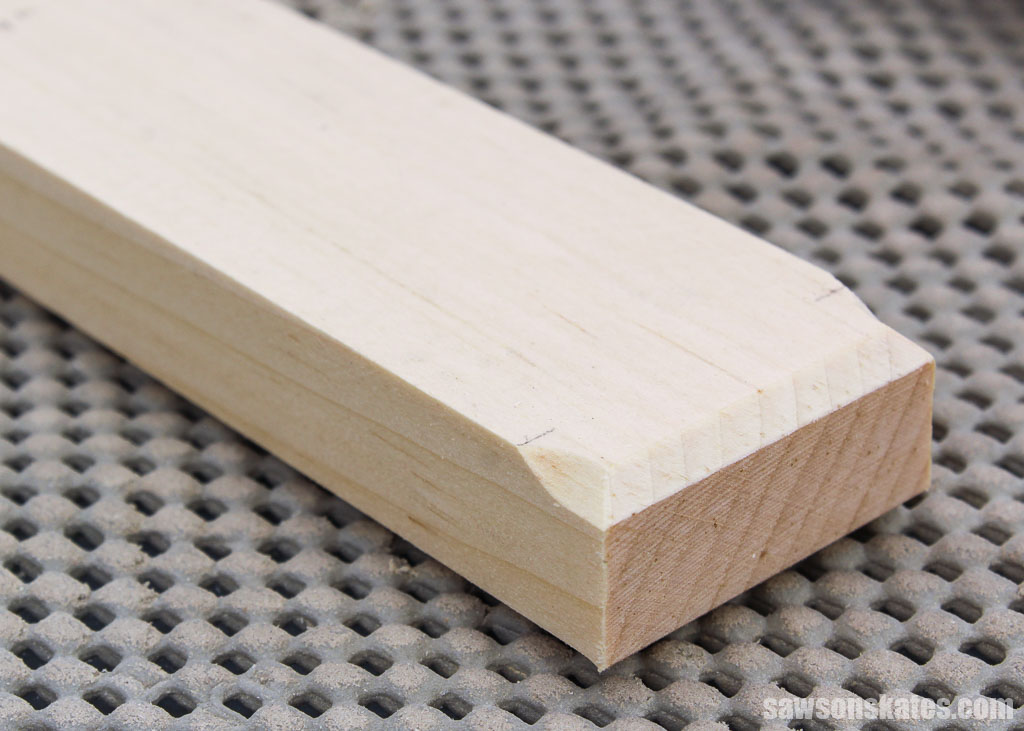
Then, I flipped the piece over and chamfered all of the edges of the bottom.
First, I chamfered the end grain and then the edge grain. End grain is seen at the end of a board across its width, and the edge grain is seen on the side of a board along its length.
📝 NOTE: Sometimes using router bits on the end grain can cause the edge grain to chip, so if you start with the ends, the bit will remove any chips when you rout the edges.
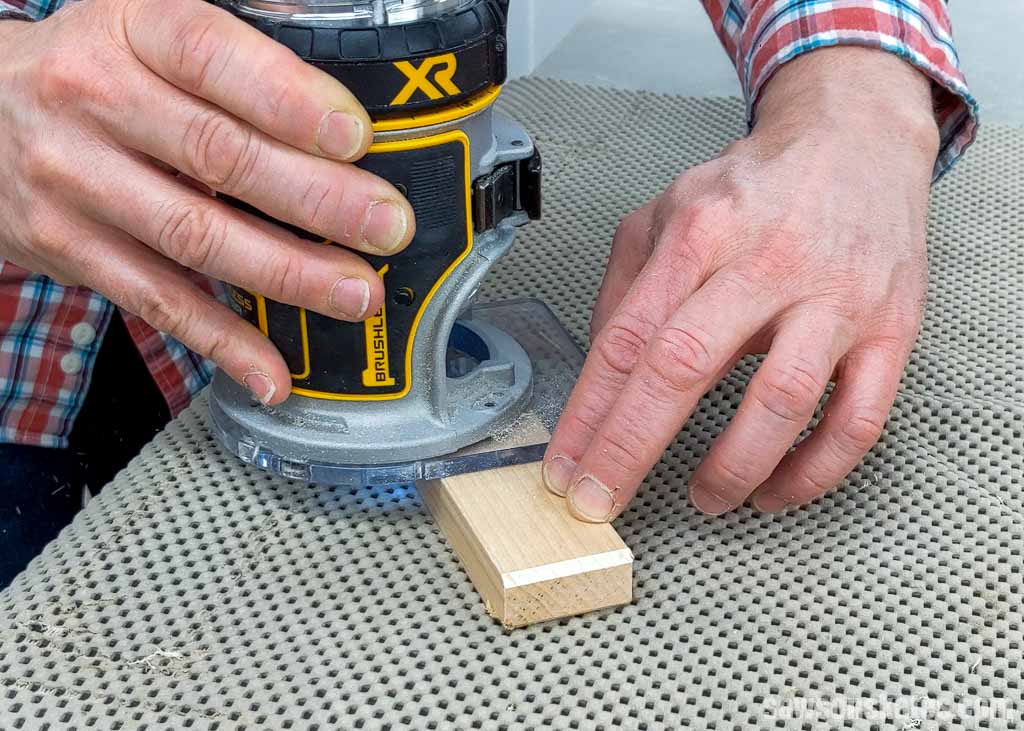
I also chamfered the edges on one face of the long piece.
Step 3. Assemble the Holder
I recommend applying glue to the underside of the holder’s top piece.
While it’s tempting to apply glue to the bottom pieces, this could be an issue if you plan to stain your project.
Glue resists stain, and since the bottom pieces extend beyond the top, it would be natural to apply glue along their entire length. However, this would cause a problem when it’s time to stain your project.

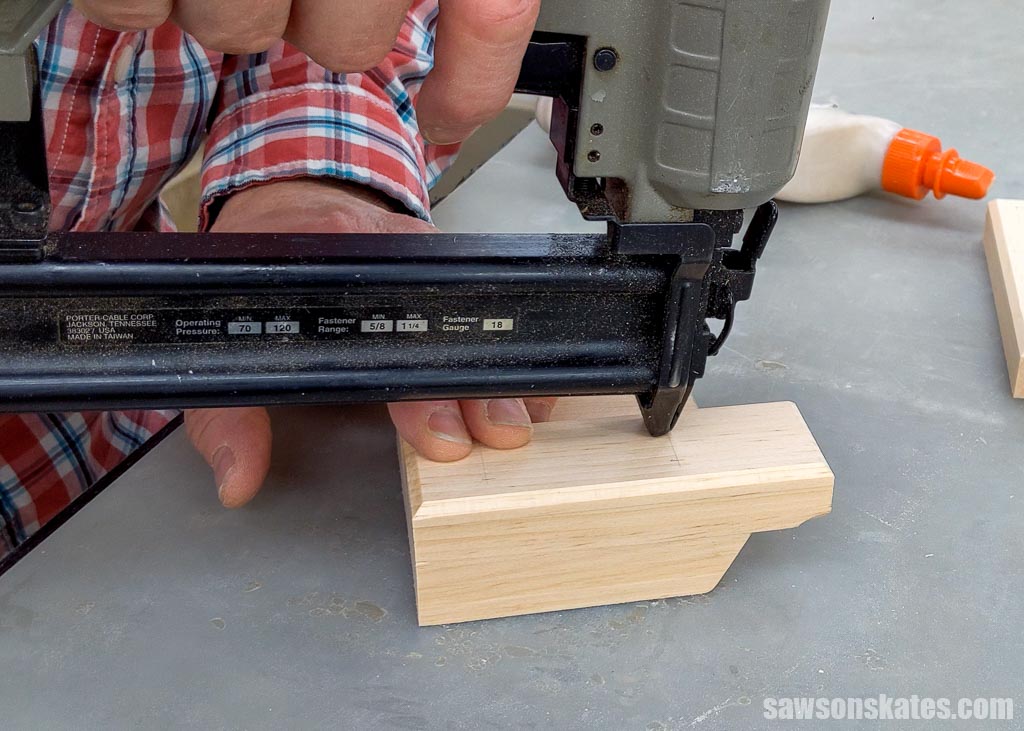
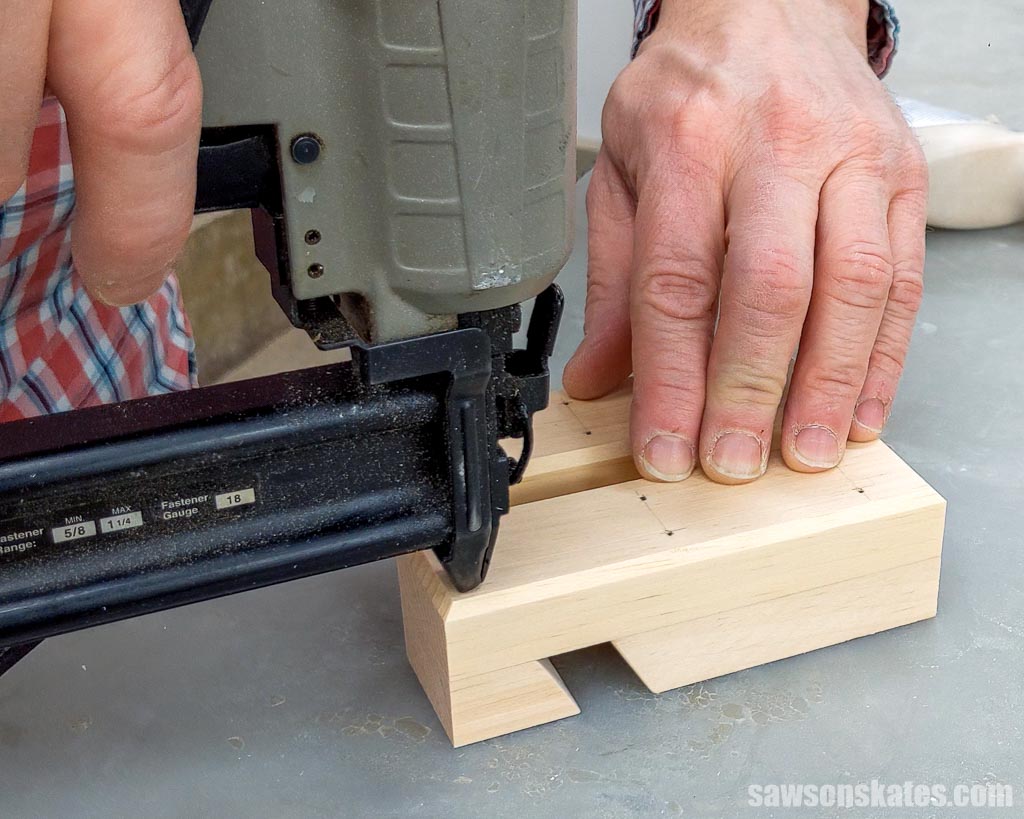
First, I positioned the short bottom piece on the top and attached it using brad nails.
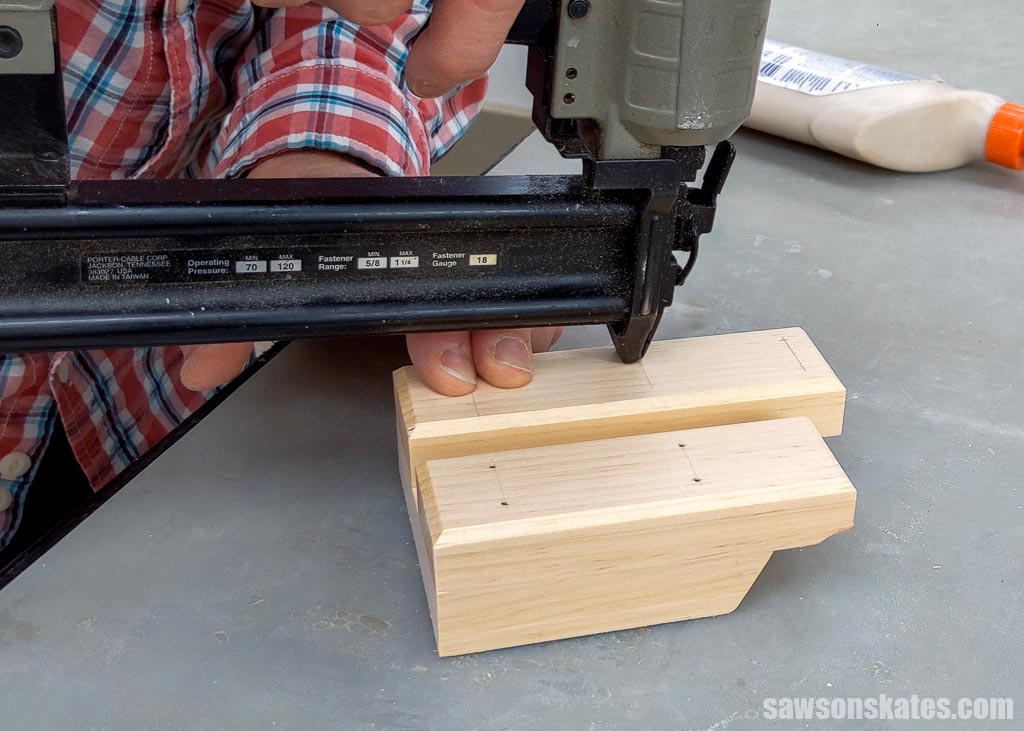
Next, I attached the long bottom piece using brad nails.
For the front of the holder, I set the bevel of my miter saw and cut the end of the board.
Next, I flipped the piece over, measured in from the long side, and made a mark. Then I cut the piece to length.
Apply glue, place in position, and attach using brad nails.
I allowed the glue to dry for about an hour, and then I chamfered the edges of the top.
Step 4. Finish the Phone Stand
See How Do You Finish the Phone Holder for more details.

Includes:
- List of tools and materials
- Complete measurements (in inches)
- Easy-to-follow instructions
- Step-by-step photos
- Detailed diagrams
or get the best value:
Final Thoughts
This simple DIY phone stand is a great way to upcycle scrap wood and make something useful. Plus, you can customize it to fit your style with paint or stain. Best of all, it’s a quick and easy afternoon project.
Get your PDF plan (including the detailed instructions and measurements) now!
Thank you for stopping by. If you enjoyed this tutorial, would you please take a moment and pin it to Pinterest? I’d really appreciate it!
Recommended For You


Pin This For Later

Hi there – I’m Scott, a woodworking enthusiast and creator of Saws on Skates, a site I started in 2015 to share easy-to-follow tutorials, space-saving shop tips, and project inspiration for DIYers at any skill level. Learn more about my woodworking journey here.