DIY Router Bit Storage Holder (3 Easy Steps)
Keep your router bits organized and at your fingertips with this simple DIY storage holder. Learn how to make your own in just a few easy steps.
What Should I Build Next?
That's the question I help answer.
Every week, I send woodworking ideas to 17,000 DIYers who love building things.
You'd fit right in.
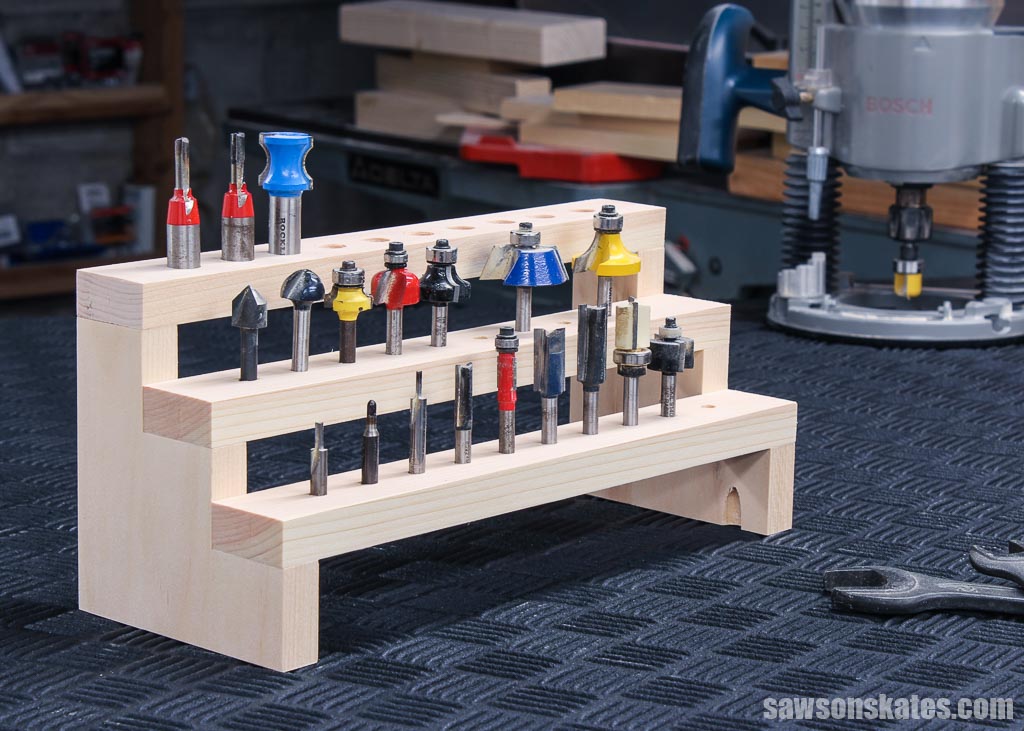
Are you tired of digging through drawers and jumbled boxes, searching for a router bit every time you need to tackle a project? I have the solution.
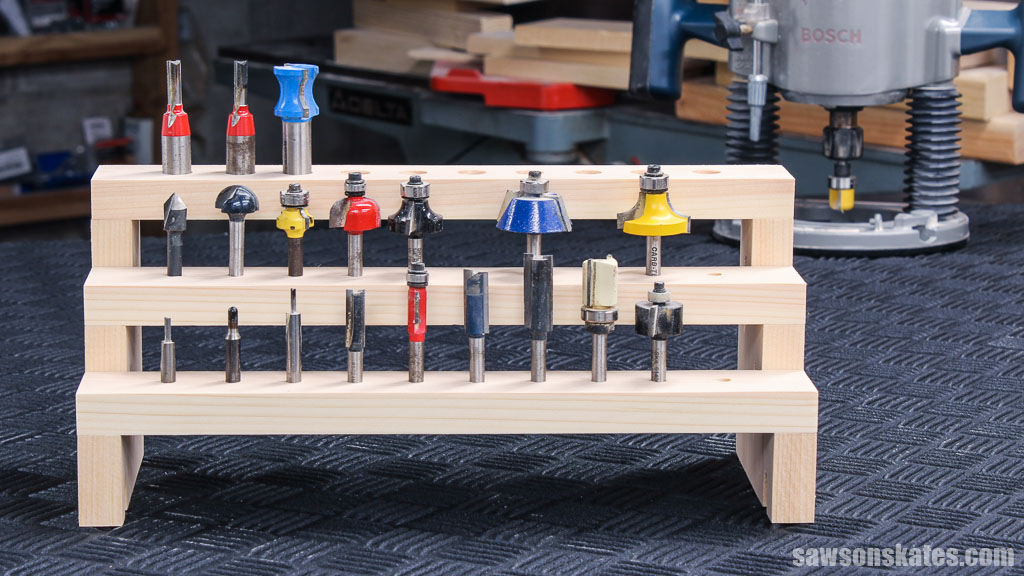
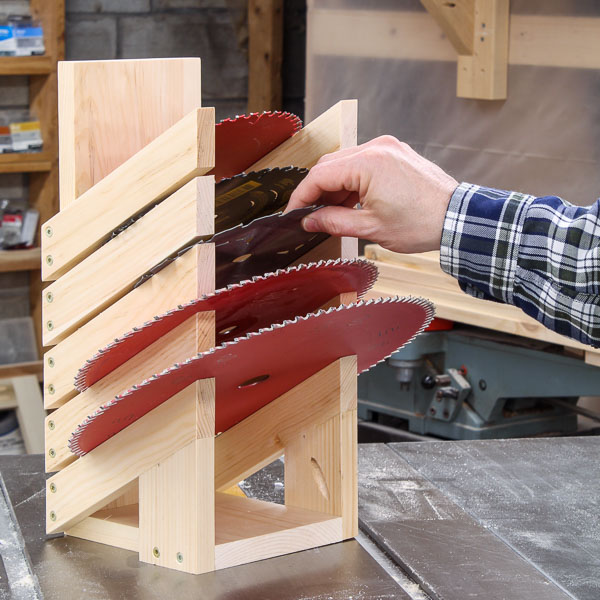
In three easy steps, you can make this DIY router bit holder to organize your collection in one convenient spot, ending the frustration of misplaced bits.
Table of Contents
- What Wood Should You Use?
- What Tools Do You Need?
- How to Make a DIY Router Bit Storage Holder
- Get the PDF Plan
This article contains affiliate links. If you purchase from these links, I may earn a small commission at no additional cost to you. Visit my site policies for more information.
Before You Begin
While my printed plan shows how to build a four-tier, 40-bit organizer (twenty ¼-inch and twenty ½-inch bits), I scaled mine back to three, better accommodating my mix of bits. However, don’t hesitate to make it your own, adding tiers if you have a larger collection or keeping it compact for a smaller one.
What Wood Should You Use?
I designed this holder so you could make it with 1×2 lumber. However, I didn’t have any on hand, so I used my table saw to rip a wider board to the correct size. Plywood is another option; just rip it to the right width.
Related: Beginner’s Guide to Wood Sizes
What Tools Do You Need?
I only used three basic tools to make my router bit organizer:
- Miter saw
- Drill
- Pocket hole jig
How to Make a DIY Router Bit Storage Holder
Printed Plan
Get the PDF plan here (includes detailed instructions, measurements, and bonus tips)
Materials
- Wood (per the printed plan)
- Wood Glue
- 1-¼” Pocket Hole Screws
Tools
- Tape Measure
- Kreg Multi-Mark
- Miter Saw
- Pocket Hole Jig
- Drill
- ¼” Forstner BIt
- ½” Forstner BIt
Step 1. Make the Sides
Cut eight pieces of wood to length for the sides.
NOTE: I only made the first three tiers to suit my existing bits. I’ll add a fourth tier later as I expand my collection.
Set your pocket hole jig and drill a pocket hole in one end.
Related: How to Use a Pocket Hole Jig (& Beginner Pitfalls to Avoid)

I applied glue to the parts, moving them slightly back and forth to help evenly distribute it, then clamping them to form two sides. Remember to make a left and right side.

Step 2. Make the Shelves
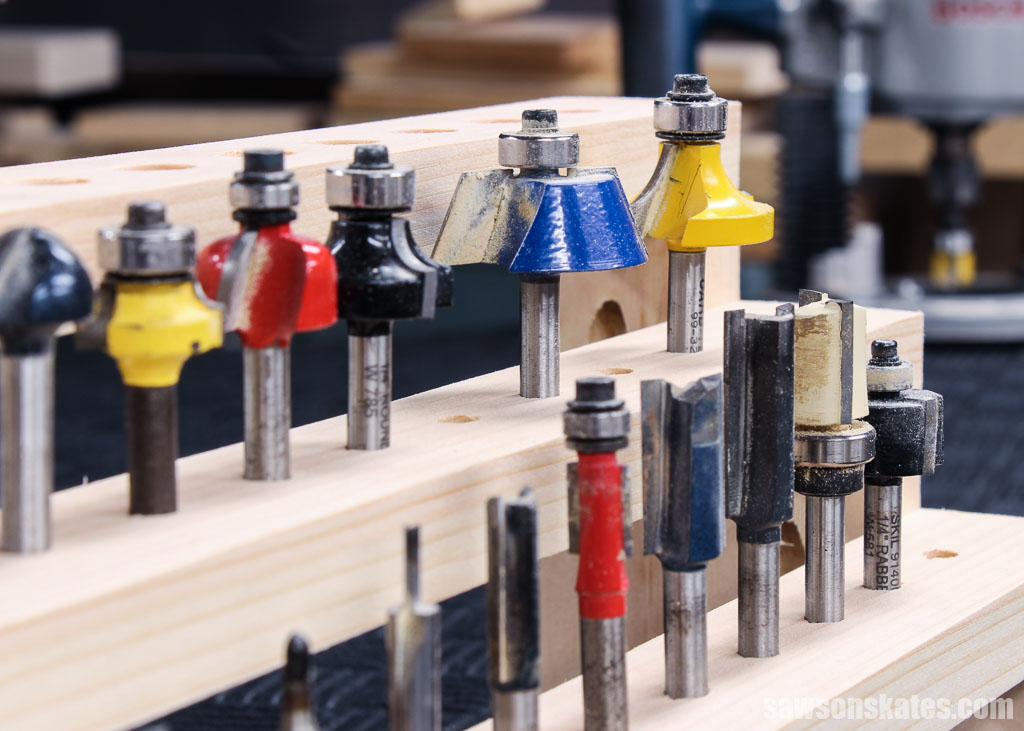
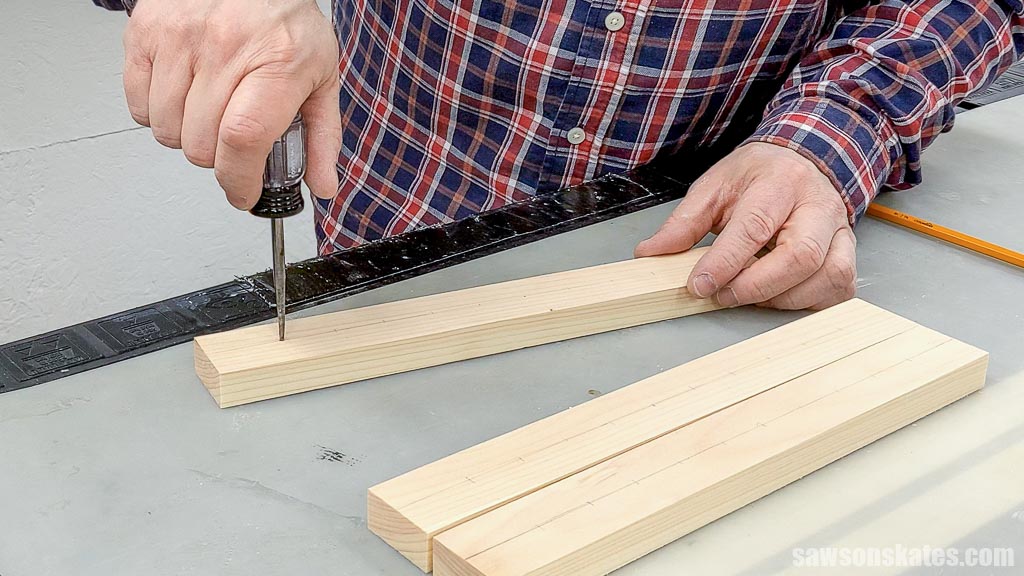
Cut four pieces of wood to length for the shelves, then use the diagram in the printed plan to mark the locations for the holes.

I used an awl to mark a starting point for the drill bit.
Related: What is an Awl? (& How to Use It)
Then, I used a small Forstner bit to drill holes in two shelves. I recommend attaching a piece of painter’s tape to your bit to act as a depth stop.
Related: What is a Forstner Bit? (& How to Use It)
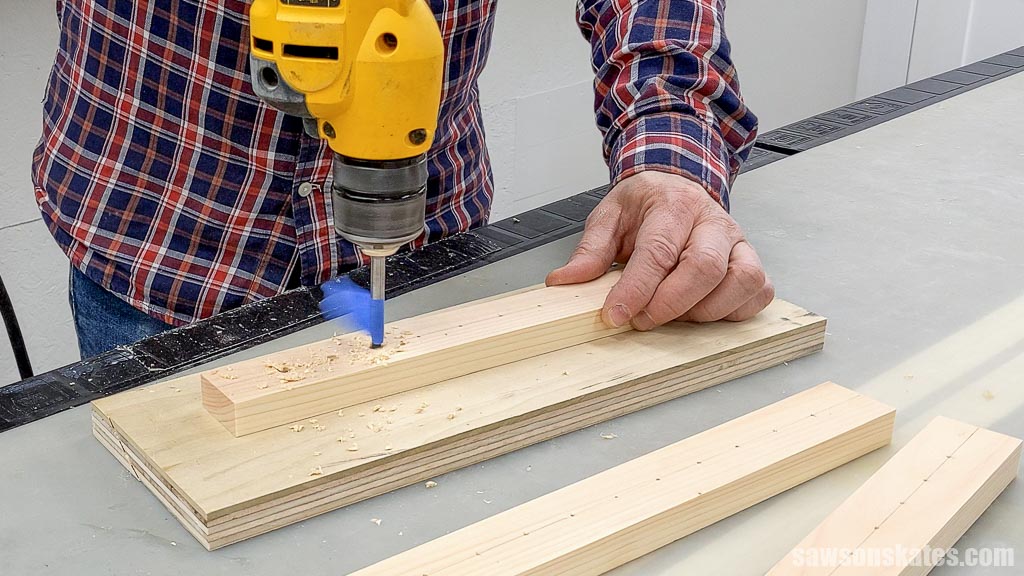
Next, repeat the steps for the remaining shelves, using a larger Forstner bit.
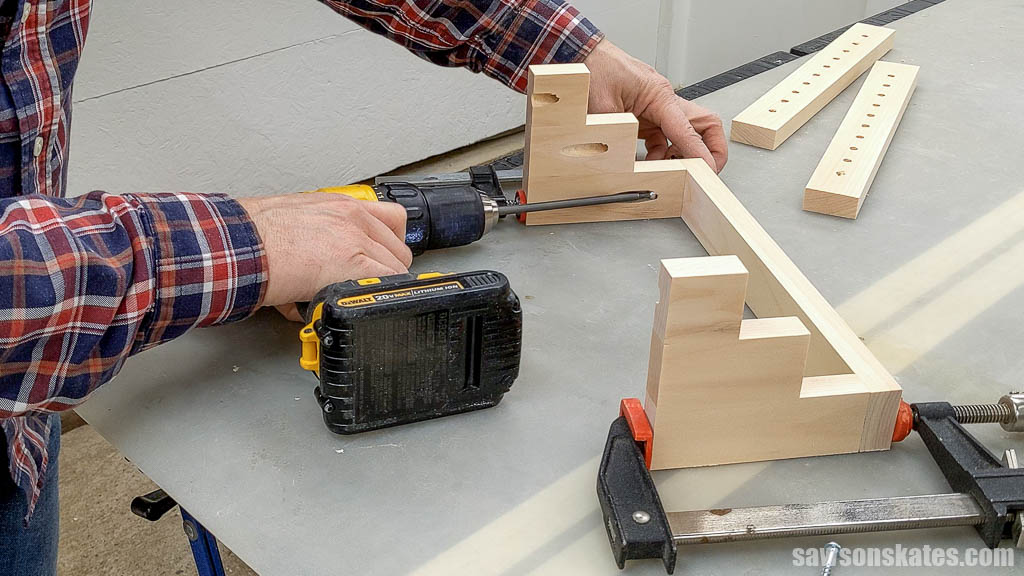
Step 3. Attach the Shelves
Apply glue to the tops of the sides, position the shelves, and clamp. Attach using fine-thread pocket screws.

Includes:
- List of tools and materials
- Complete measurements (in inches)
- Easy-to-follow instructions
- Step-by-step photos
- Detailed diagrams
Final Thoughts
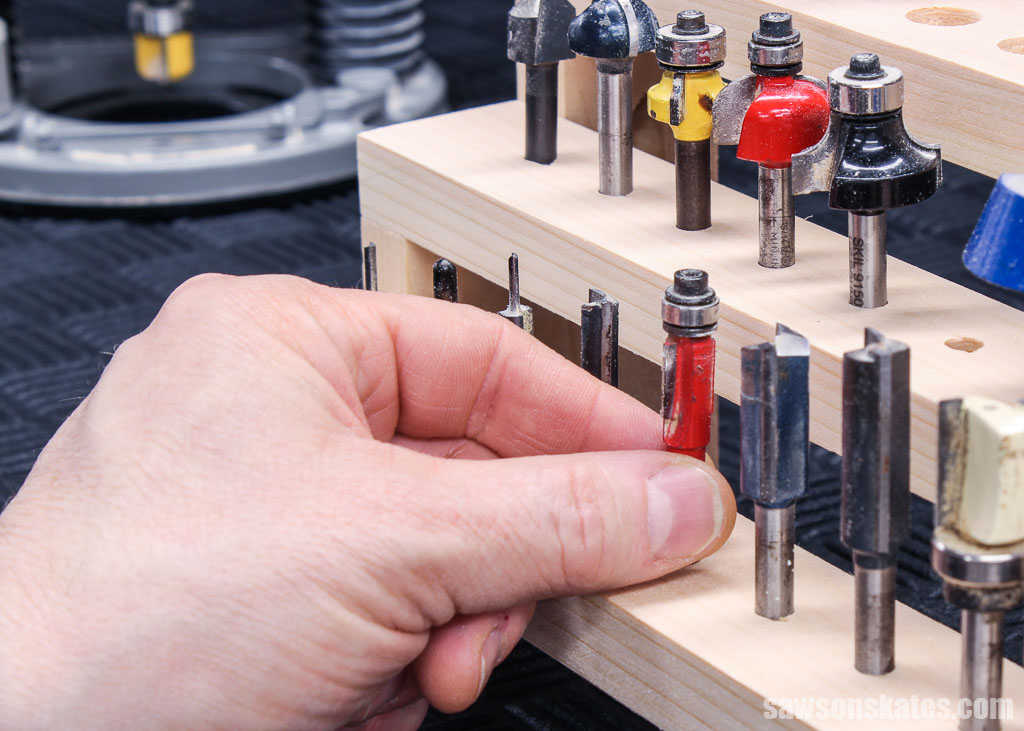
This DIY router bit storage holder is an excellent solution for keeping your bits organized and easily accessible. Customize it to fit your, ensuring all of your bits have a designated spot, making it easier to find the one you need for your next project.
Don’t wait. Get your PDF plan (including the detailed instructions and measurements) now!
Thank you for stopping by. If you enjoyed this tutorial, would you please take a moment and pin it to Pinterest? I’d really appreciate it!
Recommended For You

Pin This For Later

Hi there – I’m Scott, a woodworking enthusiast and creator of Saws on Skates, a site I started in 2015 to share easy-to-follow tutorials, space-saving shop tips, and project inspiration for DIYers at any skill level. Learn more about my woodworking journey here.