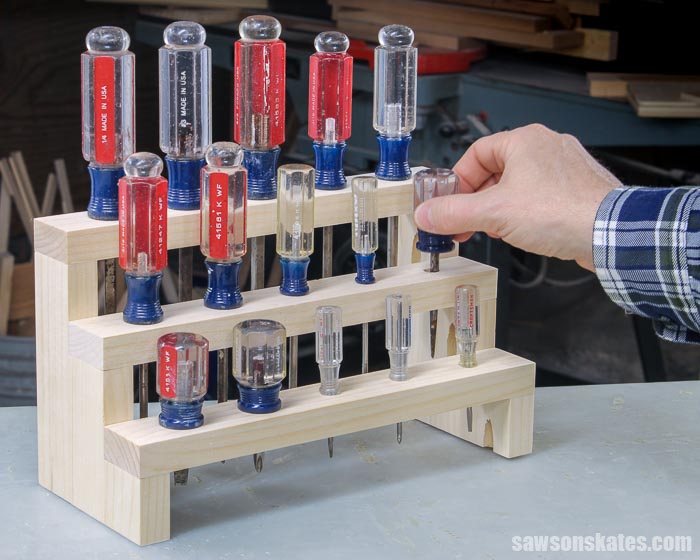
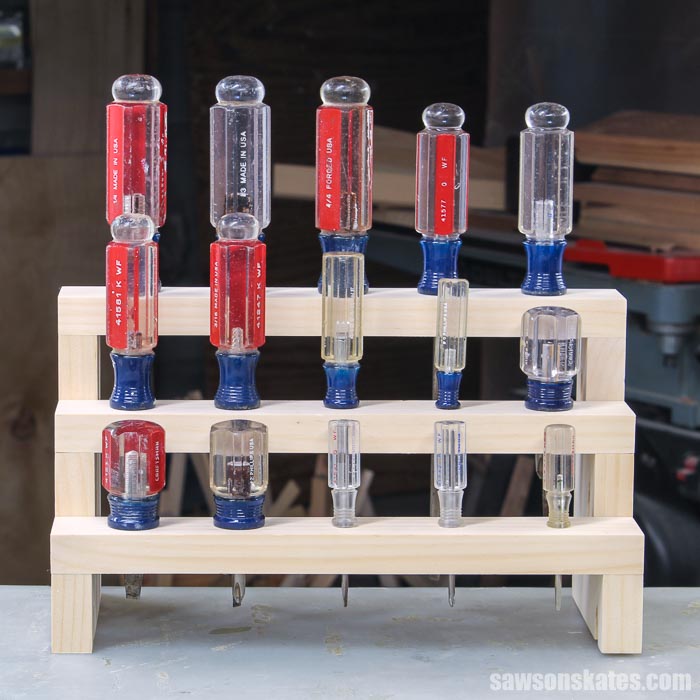
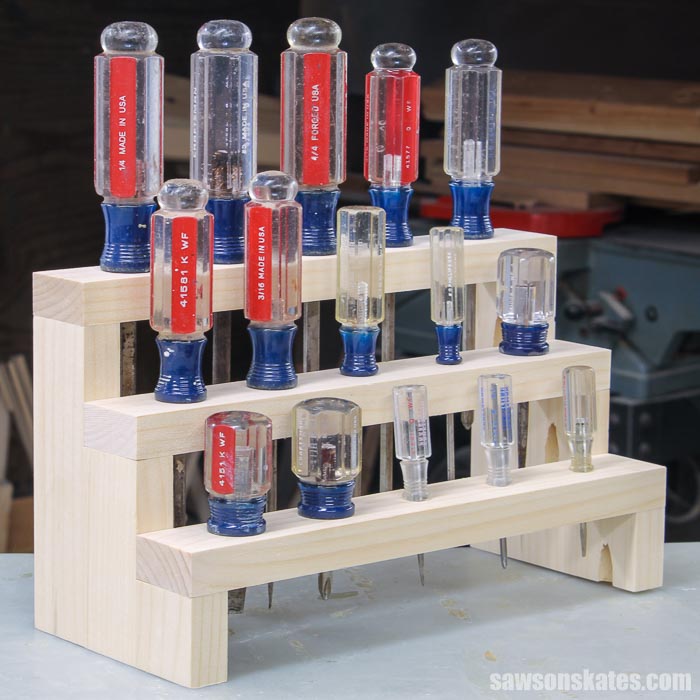
DIY Screwdriver Holder
Get your screwdrivers organized with this DIY screwdriver holder. This storage rack is easy to make with a few pieces of scrap wood and these simple plans.
What Should I Build Next?
That's the question I help answer.
Every week, I send woodworking ideas to 17,000 DIYers who love building things.
You'd fit right in.
DIY Screwdriver Holder
Get your screwdrivers organized with this DIY screwdriver holder.
This three tier screwdriver storage rack is easy to make with scrap wood, a few simple cuts, and a few common woodworking tools.
The plan includes all of the measurements and detailed step-by-step instructions. Get the plan now and build one today.
Table of Contents
This article contains affiliate links. If you purchase from these links, I may earn a small commission at no additional cost to you. Visit my site policies for more information.
Inspiration for This Project
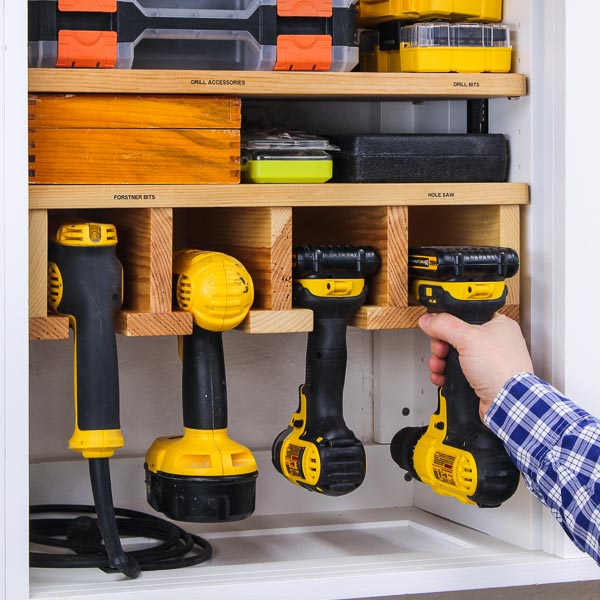
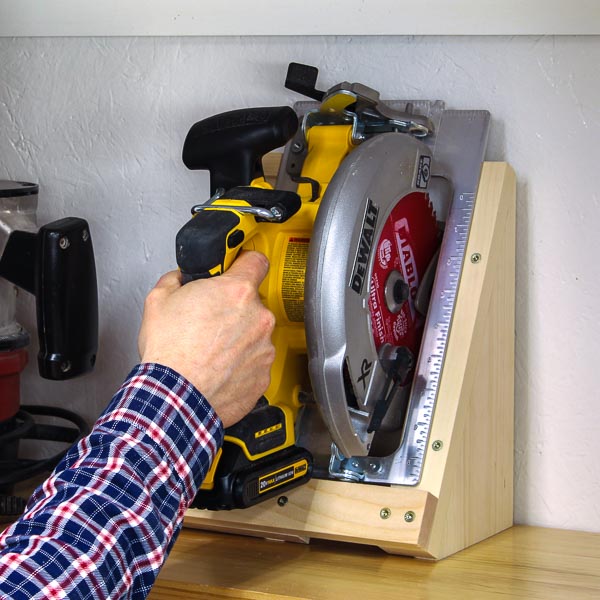
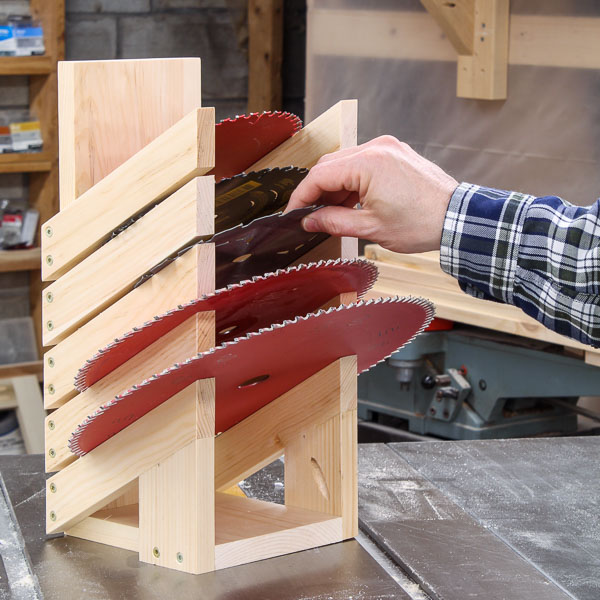
I recently shared plans for this DIY drill holder, DIY sander organizer, and this DIY circular saw holder. I was blown away by all the interest in these simple but useful workshop storage projects.
In a recent reader poll about workshop storage and organization, DIYers shared that they also needed help organizing their screwdrivers.
Here’s the solution. A simple 3 tier organizer made with scrap wood.
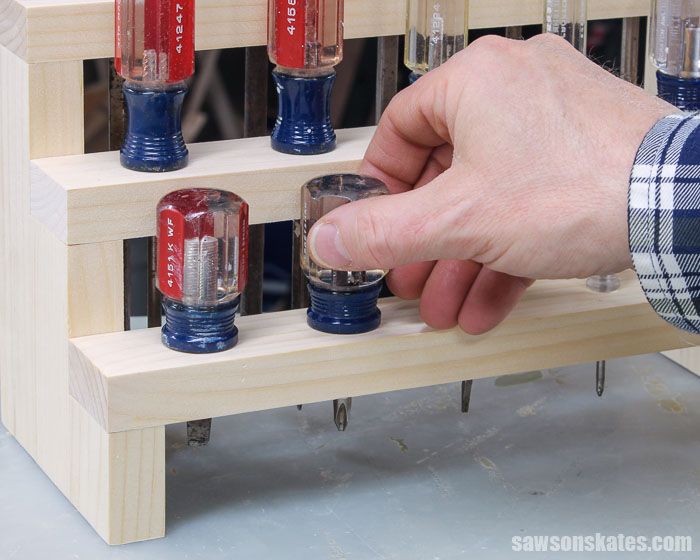
How Many Screwdrivers Can This Rack Hold?
I designed this screwdriver rack to organize 15 screwdrivers; however, you can adjust the size and hole spacing to fit other screwdrivers like this precision screwdriver set.
Where Do You Store the Holder?
I designed this holder to fit in the compact space inside my DIY tool storage cabinets, but you can also store it on a workbench or add a French Cleat for wall mounting.
Related: How to Make a French Cleat
What Tools Do You Need to Make a DIY Screwdriver Holder?
This organizer is a quick afternoon project that you can make with just a few common woodworking tools, such as a miter saw, pocket hole jig, and a drill.
Miter Saw
I used a miter saw to cut all of the parts to length for this project.
Related: 7 Miter Saw Tricks Every DIYer Should Know
Pocket Hole Jig
You’ll connect the parts using pocket hole joinery. I used the Kreg Jig 320 for my screwdriver holder, but any pocket hole jig will work.
Related: 9 Pocket Hole Mistakes You Don’t Want to Make
Drill
I used a drill to make the pocket holes and the holes to store the screwdrivers. I also used it to drive the pocket screws that join the pieces together.
Related: Impact Driver vs Drill: What’s the Difference?
What Wood Should You Use?
This storage holder can be made with just about any type of wood. This project doesn’t require much wood so it’s a great way to use up some scrap wood.
Related: How to Decide What Scrap Wood to Keep
Many times I use common pine to build my projects. Pine is relatively inexpensive and easy to work with.
I had some scrap pieces of pine 1×2s so I used those to make my holder. You could also use scrap pieces of plywood to make this project.
Related: Beginner’s Guide to Wood Sizes
How Do You Finish the Holder?
This screwdriver holder could be finished in a variety of ways. It could be left natural, painted, etc.
I used shellac to finish the shelves of my tool storage cabinets and this DIY drill holder, so I want to use shellac on this project too.
I haven’t applied the shellac yet, but when I do, I’ll apply three coats.
Related: What You Need to Know About a Shellac Wood Finish
How to Make a DIY Screwdriver Holder
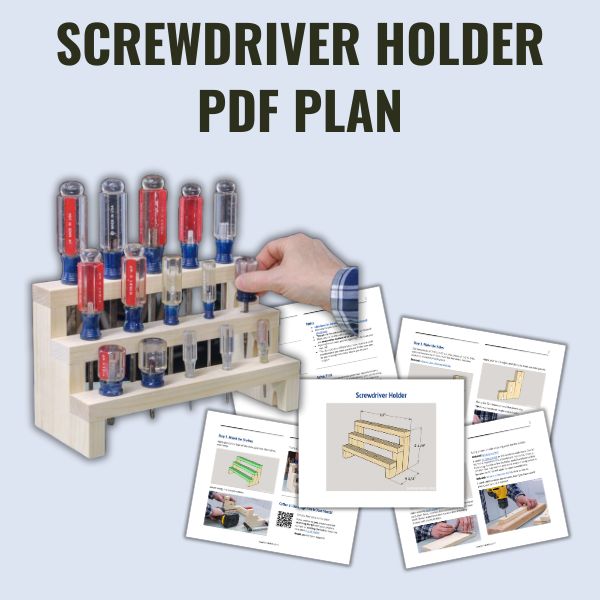
Printed Plan
Get the PDF plan here (includes detailed instructions, measurements, and bonus tips)
Materials
Tools
- Tape Measure
- Drill
- Kreg Jig
- Kreg Multi-Mark
- Miter Saw
- ⅜” Forstner Bit
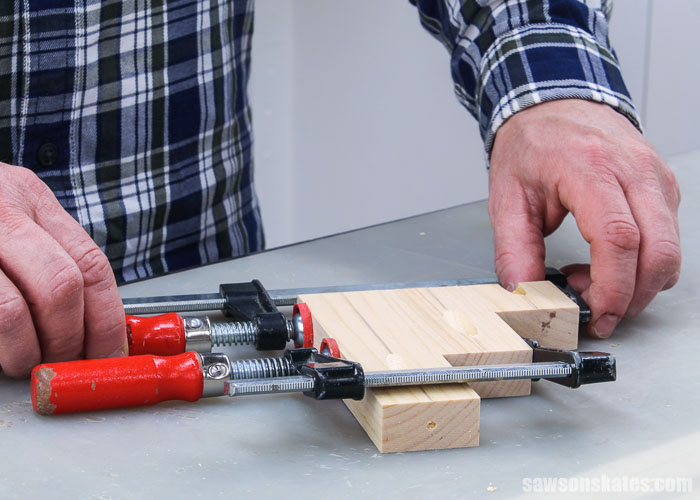
Step 1. Make the Sides
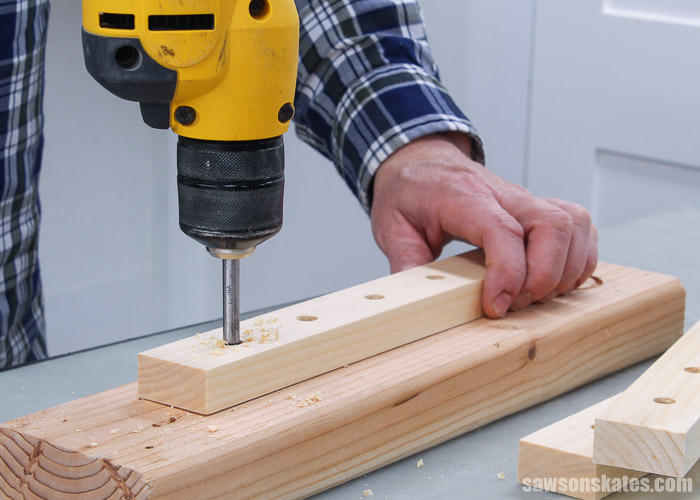
Cut six pieces of wood to length for the sides. Drill one pocket in one end of each piece.
Related: How to Use a Kreg Jig
Apply glue to the edges and clamp to form two side panels. Clamp for 30 minutes or until the glue is dry.
💡 TIP: Be sure to make a right and left side.
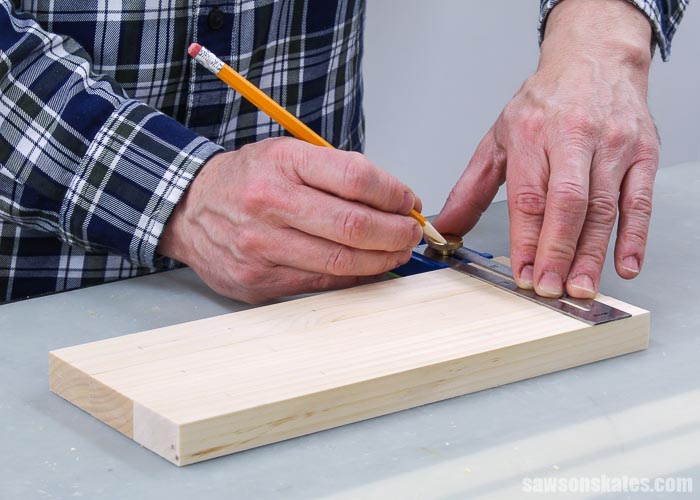
Step 2. Make the Shelves
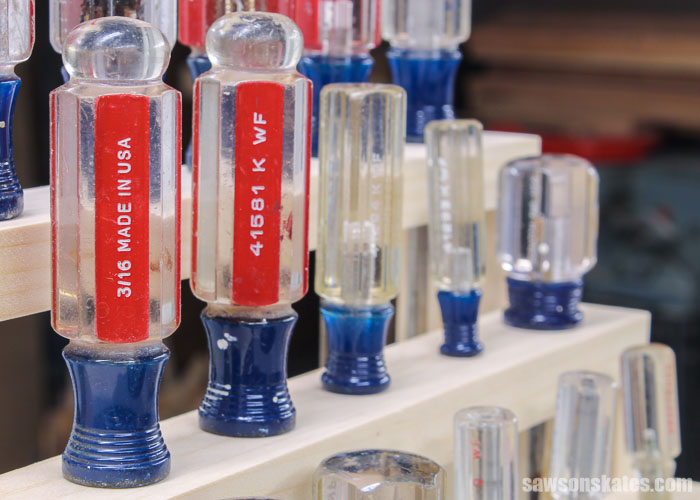
Cut three pieces of wood to length for the shelves and use the diagram in the printed plan to layout the location for holes.
💡 TIP: I used my Multi-Mark to draw a line down the center of each shelf. Next, I marked the location of the holes on one shelf. Then, I transferred the marks to the remaining shelves with my Multi-Mark.
Use an awl to make a starting point for the drill bit.
Related: What is an Awl?
I used a Forstner bit to drill a hole at each mark.
Related: What is a Forstner Bit? (& How to Use It)
The bit that I used fit the majority of the screwdrivers. For some, it was a little snug. And for a few the holes could’ve been a little smaller. You may want to drill some holes in scrap wood to be sure the bit will work for your screwdrivers.
💡 TIP: I recommend using a Forstner bit because it drills a hole with smooth, clean sides and a flat bottom. This means less sanding is needed to smooth the holes.
You could drill these holes with a regular drill bit or a spade bit but these bits tend to tear the wood and produce a hole with rough, jagged sides. This means more sanding is needed to smooth the hole.
I used a handheld drill to make these holes, but if you have a drill press, you can use it instead.
Related: Impact Driver vs Drill: What’s the Difference?
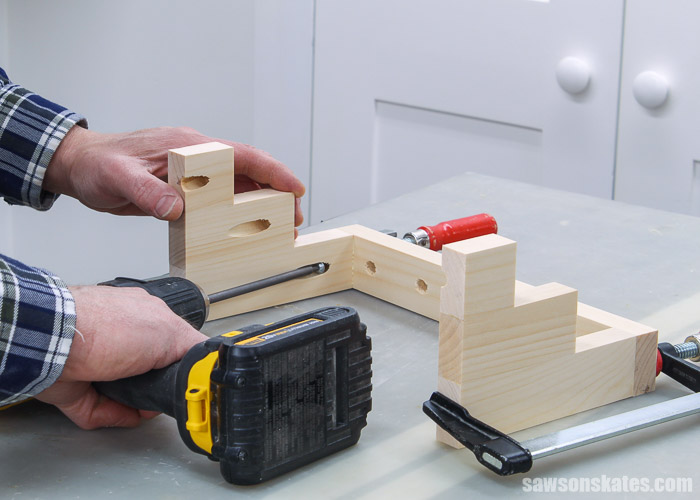
Step 3. Attach the Shelves
Apply glue to the tops of the sides, position the shelves, and clamp. Attach using 1-¼” pocket screws.
Step 4. Finish the Screwdriver Holder
See How Do You Finish the Holder? for more information.
Includes:
- List of tools and materials
- Complete measurements (in inches)
- Easy-to-follow instructions
- Step-by-step photos
- Detailed diagrams
Final Thoughts
Get your screwdrivers organized with this 3 tier DIY screwdriver holder. It’s easy to make with scrap wood, a few simple cuts, and a few common woodworking tools.
Click here to get the PDF plan (including the detailed instructions and measurements) now!
Thank you for stopping by. If you enjoyed this tutorial, would you please take a moment and pin it to Pinterest? I’d really appreciate it!
Recommended For You
Pin This For Later

Hi there – I’m Scott, a woodworking enthusiast and creator of Saws on Skates, a site I started in 2015 to share easy-to-follow tutorials, space-saving shop tips, and project inspiration for DIYers at any skill level. Learn more about my woodworking journey here.