DIY Saw Blade Storage Rack
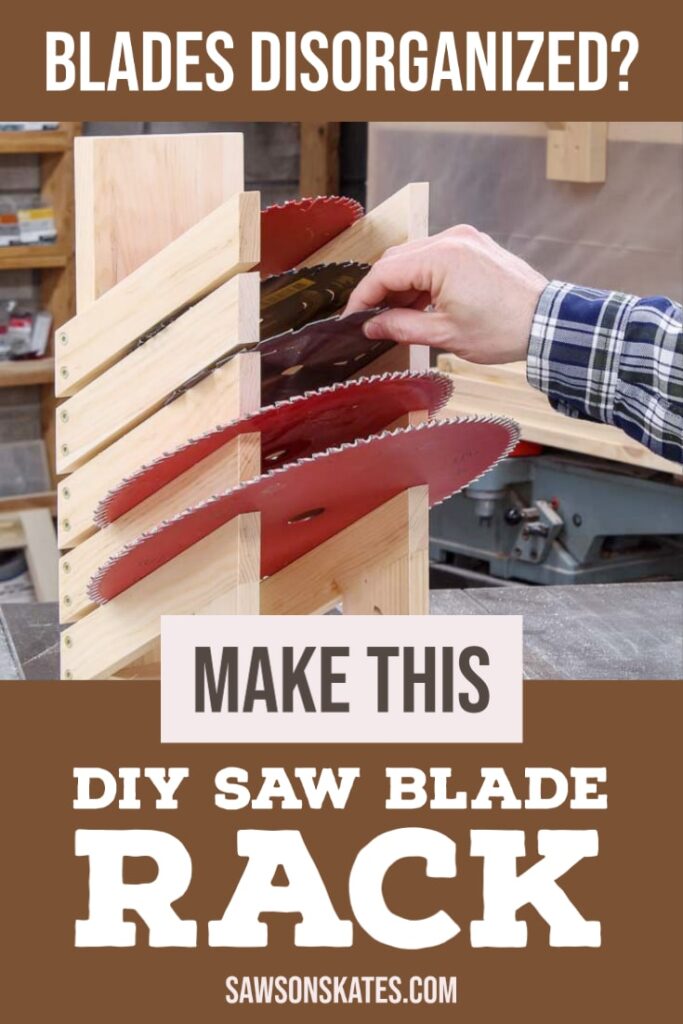
Get your saw blades organized with this DIY saw blade storage rack. This holder is easy to make with a few pieces of scrap wood and these simple plans.
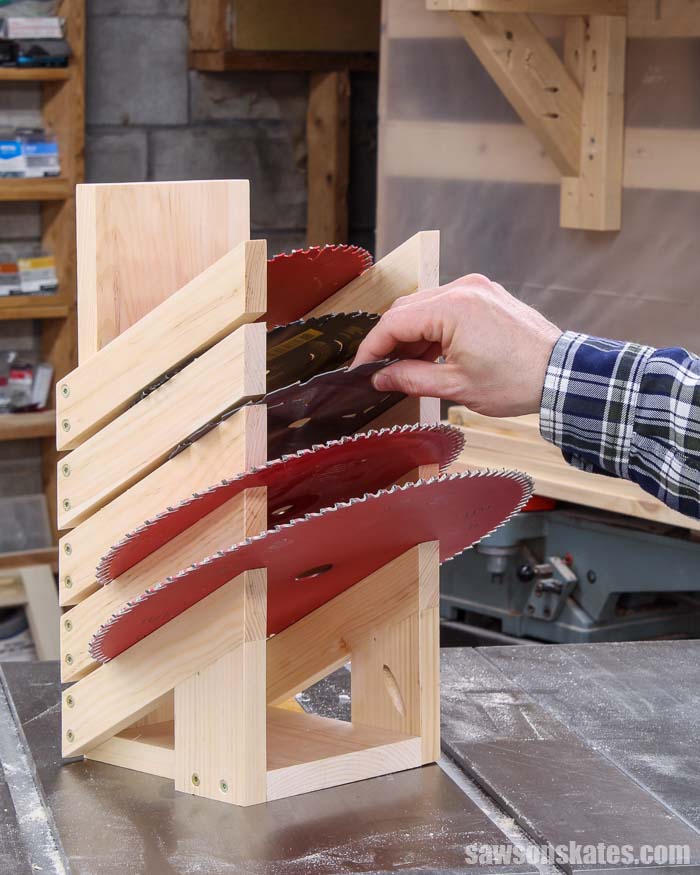
DIY Saw Blade Storage Rack
Are your saw blades scattered across your workshop? Get them organized with this DIY saw blade holder. It’s easy to make with scrap wood, a few simple cuts, and a few common woodworking tools.
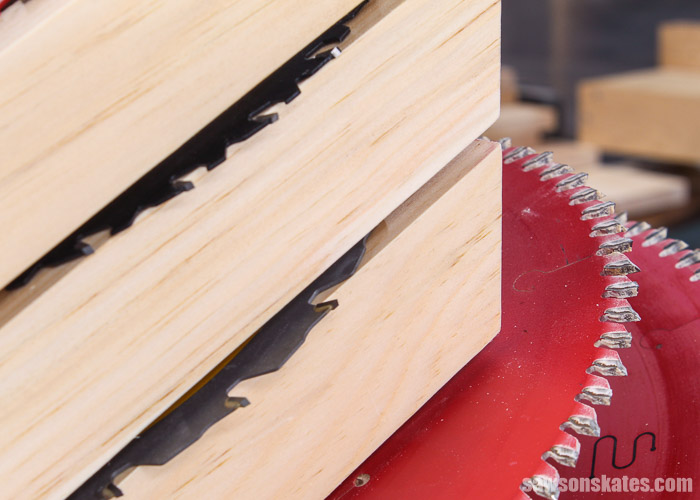
The holder has five spaces for circular saw blades, miter saw blades, or table saw blades. There’s also a shelf at the bottom to store scroll saw blades and jigsaw blades.
The free plan includes all of the measurements and detailed step-by-step instructions. Get the free plan now and build one today.
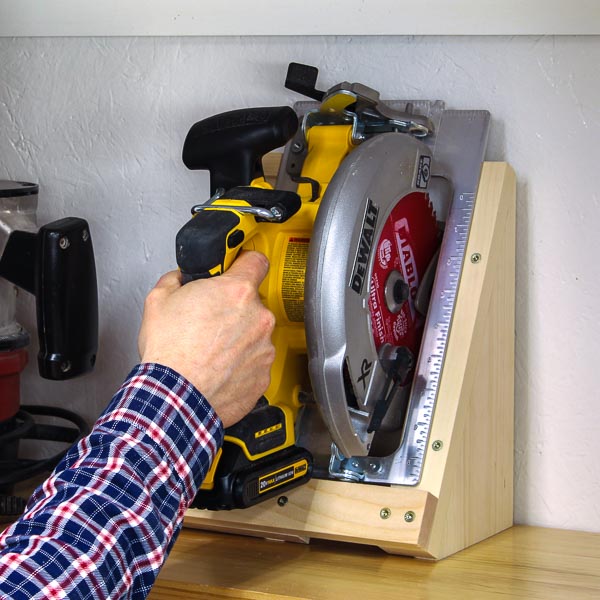
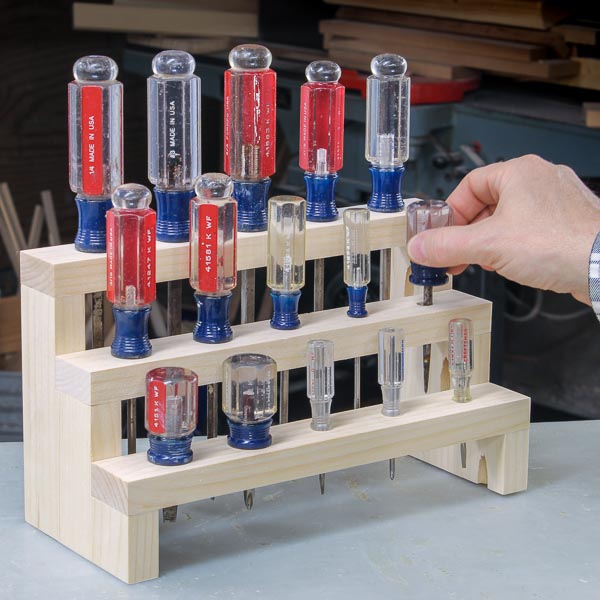
You may also enjoy this DIY drill holder, DIY circular saw holder, DIY screwdriver holder, and this DIY sander organizer.
This tutorial contains affiliate links to supplies and tools. Purchases made using these links help support the Saws on Skates website and allows me to share more projects and tips with you. There is no cost to you for using these links. Visit my site policies for more information.
Before we get into how to make a DIY saw blade storage rack, be sure to click the subscribe button at the bottom of this page to sign up for my FREE weekly newsletter loaded with helpful pocket hole tricks, space-saving workshop ideas, clever DIY tips and more!
Table of Contents
- Inspiration for This Project
- How Many Saw Blades Can This Rack Hold?
- Where Do You Store the Holder?
- What Tools Do You Need to Make a DIY Saw Blade Rack?
- What Wood Should You Use?
- How Do You Finish the Holder?
- How to Make a DIY Saw Blade Storage Rack Tutorial
- Get the Free Printed Plan
Inspiration for This Project
I recently shared plans for this DIY drill holder , DIY circular saw holder, and DIY screwdriver holder. I’m blown away by all the interest in these simple but useful workshop storage projects.
In a recent reader poll about workshop storage and organization, DIYers shared that they also needed help organizing their saw blades.
I researched some saw blade storage ideas. The thing that stood out to me is that many of the plans required a router to make slots for storage shelves.
Related: How to Use a Router Table
I wanted something that didn’t require fussy joinery and could be made in an afternoon. Then I found a plan from Woodsmith.
Overall I liked the design, but I made a few tweaks to make it deeper, shorter, and add a shelf at the bottom. I also designed it so that it could be made with 1×2s, 1×3s, and 1×6s instead of plywood.
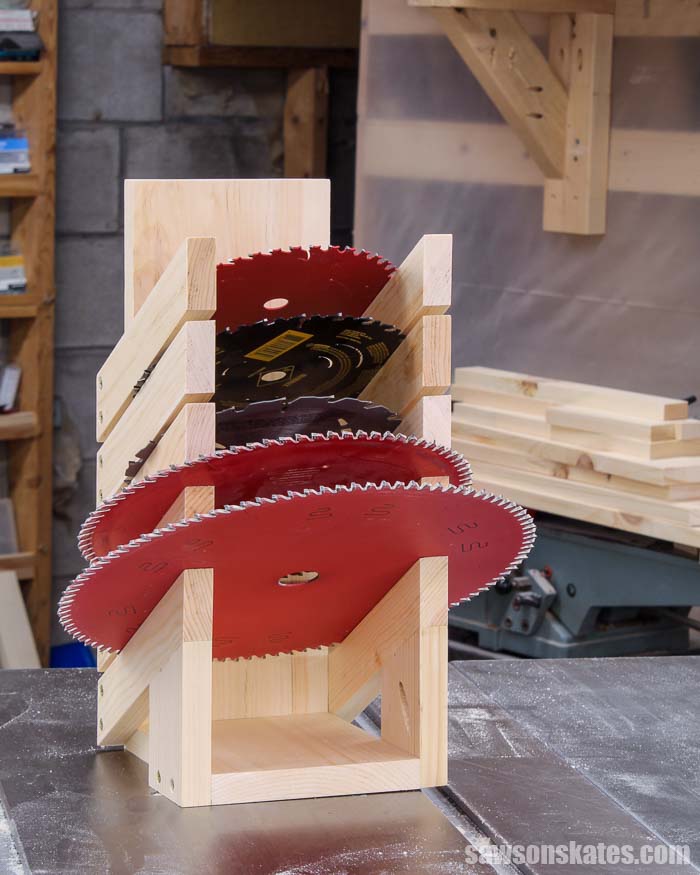
Here’s the solution. A simple saw blade organizer made with scrap wood and space for five saw blades.
How Many Saw Blades Can This Rack Hold?
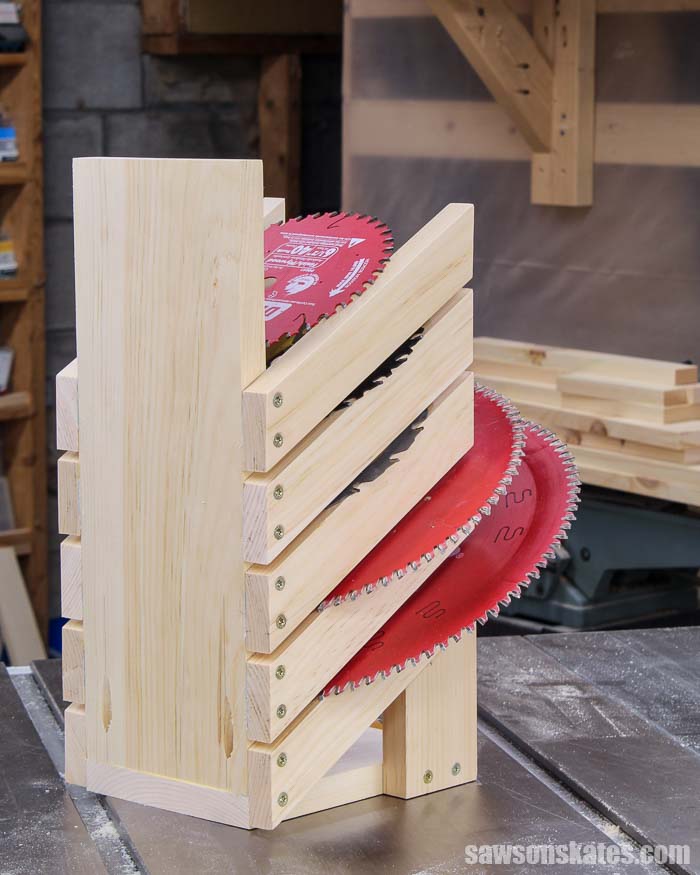
This saw blade rack was designed to organize 5 saw blades. The shelf at the bottom can be used to store jigsaw blades and scroll saw blades.
You can easily adjust the height of the rack to add storage for more saw blades.
Where Do You Store the Holder?
This holder was designed to fit in the compact space inside of these DIY tool storage cabinets.
You could also store it on a workbench or attach a French Cleat to the back of the holder and hang it on the wall.
Related: How to Make a French Cleat
What Tools Do You Need to Make a DIY Saw Blade Holder?
This holder is a quick afternoon project. It can be made using basic woodworking skills and just a few common woodworking tools.
Tools like a miter saw, pocket hole jig, and a drill.
Miter Saw
I used a miter saw to cut all of the parts to length for this project.
Related: 7 Miter Saw Tricks Every DIYer Should Know
Pocket Hole Jig
We can use any pocket hole jig to drill the pocket holes for this project. I used the Kreg Jig 320 to drill the pocket holes for my saw blade holder.
Related: 9 Pocket Hole Mistakes You Don’t Want to Make
Drill
The drill was used to drill the pocket holes and countersink holes. The drill was also used to drive the pocket screws and wood screws that join the pieces together.
Related: Impact Driver vs Drill: What’s the Difference?
What Wood Should You Use?
This storage holder can be made with just about any type of wood. This project doesn’t require much wood so it’s a great way to use up some scrap wood.
Related: How to Decide What Scrap Wood to Keep
Many times I use common pine to build my projects. Pine is relatively inexpensive and easy to work with.
I had some scrap pieces of pine 1×2s, 1×3s, and 1×6s so I used those to make my holder. You could also use scrap pieces of plywood to make this project.
Related: Beginner’s Guide to Wood Sizes
Back to Table of ContentsHow Do You Finish the Holder?
This saw blade holder could be finished in a variety of ways. It could be left natural, painted, etc.
I used shellac to finish the shelves of my tool storage cabinets and this DIY drill holder, so I want to use shellac on this project too.
I haven’t applied the shellac yet, but when I do, I’ll apply three coats.
Related: What You Need to Know About a Shellac Wood Finish
DIY Saw Blade Storage Rack
Printed Plan
- Click here to get the FREE plan (includes detailed instructions, measurements, and bonus tips)
Supplies
- Wood (per printed plan)
- 1-¼” Pocket Screws
- 1-¼” Wood Screws
- Wood Glue
Tools
- Tape Measure
- Drill
- Kreg Jig
- Kreg Multi-Mark
- Miter Saw
- Awl
- Countersink Drill Bit Set
Step 1. Make the Back
Cut 1 piece of wood to length for the back and drill pocket holes in one end.
Related: How to Use a Kreg Jig
Step 2. Attach the Bottom
Cut 1 piece of wood to length for the bottom.
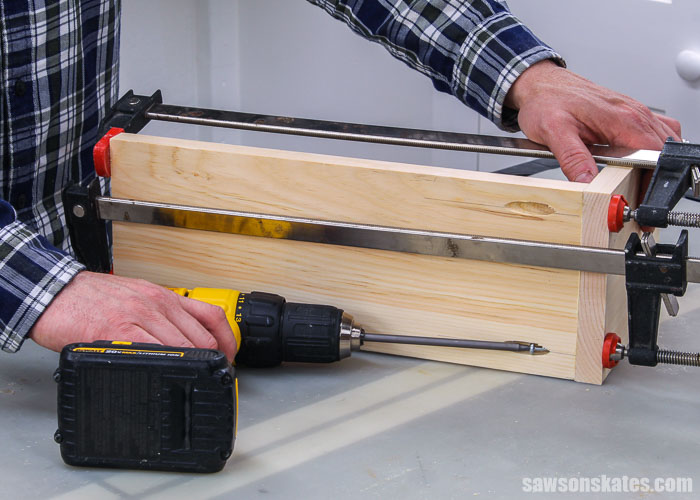
Apply glue to the back, position on the bottom, and clamp. Attach using 1-¼” pocket screws.
Step 3. Make the Holders
Cut 8 pieces of wood for the holders. First, cut an angle on one end. Next, measure from the cut end. Then, make a second angled cut. Repeat for the remaining holders.
Use the diagram in the printed plan to lay out the location for countersink holes. These holes will be used to attach the holders to the back.
💡 TIP: Be sure to make 5 right holders and 5 left holders.
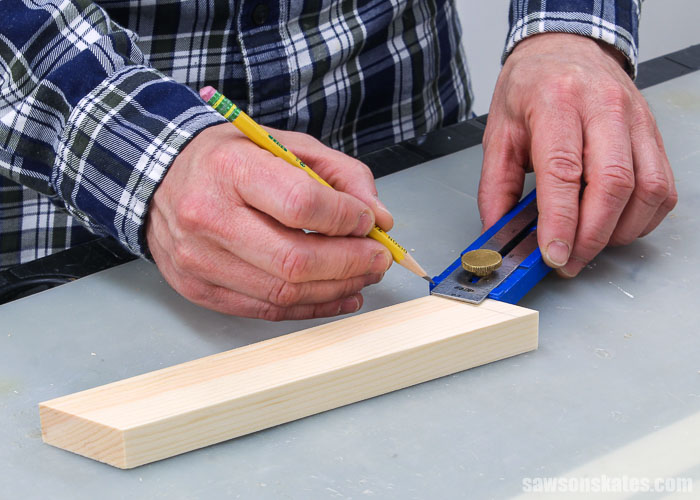
I used my Multi-Mark to draw a line. Then, measured in from each side. At each mark, I used an awl to make a starting point for the drill.
Related: What is an Awl?
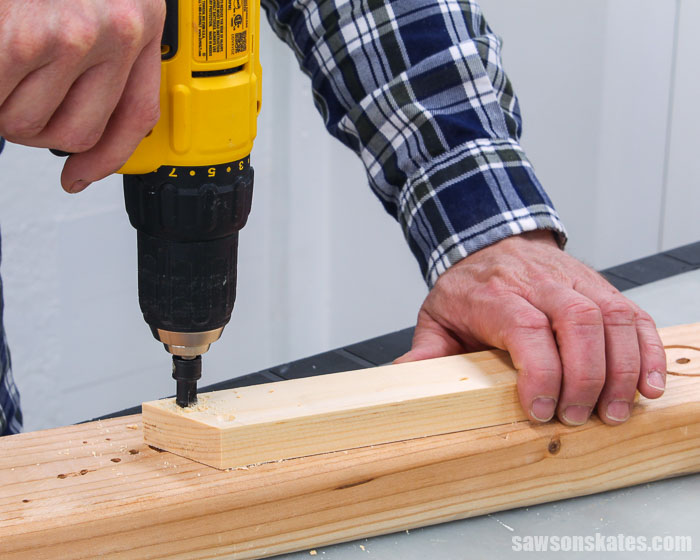
Then, I used a countersink bit to drill holes at each mark.
Related: How to Use a Countersink Bit
Step 4. Make the Holder Supports
Cut 2 pieces of wood to length with an angle on one end.
On one side, drill one pocket hole. On the opposite side of the pocket hole, use the diagram in the printed plan to drill 2 countersink holes.
💡 TIP: Be sure to make a right and left support.
Step 5. Attach the Holders
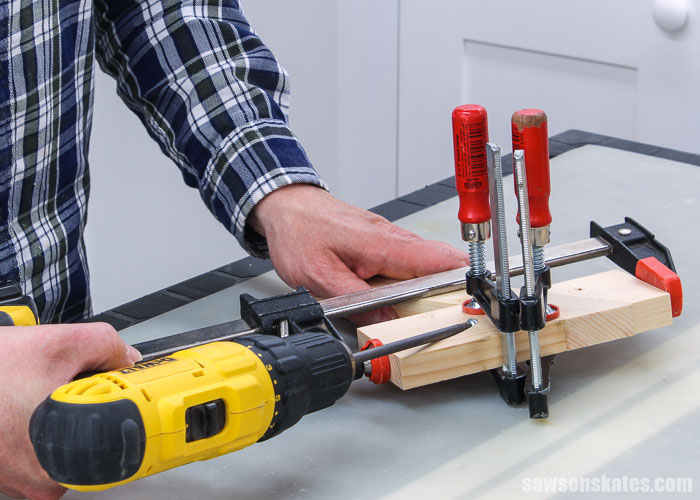
Apply glue to the end of a support, position a holder, and clamp. Attaching using 1-¼” pocket screws.
💡 TIP: This joint can be tricky to clamp. I used a piece of scrap wood cut with an angle to create a flat place to attach the clamp. I also clamped the faces to prevent the pieces from shifting out of position.
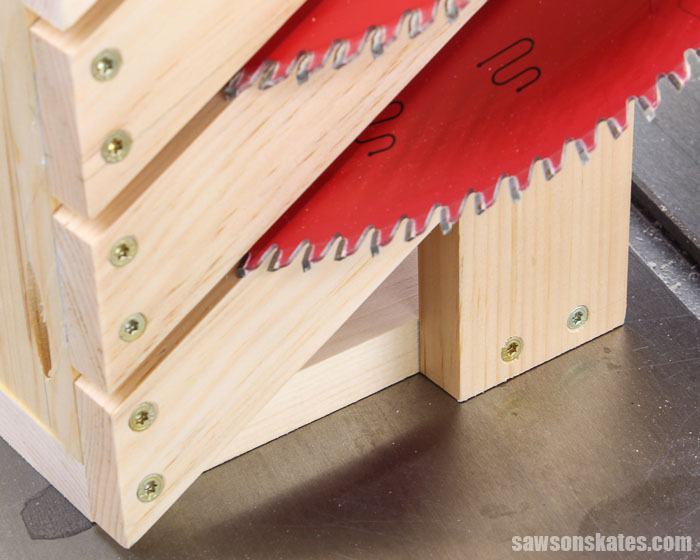
Apply glue to the bottom holders, place in position, and clamp. Attach using 1-¼” wood screws.
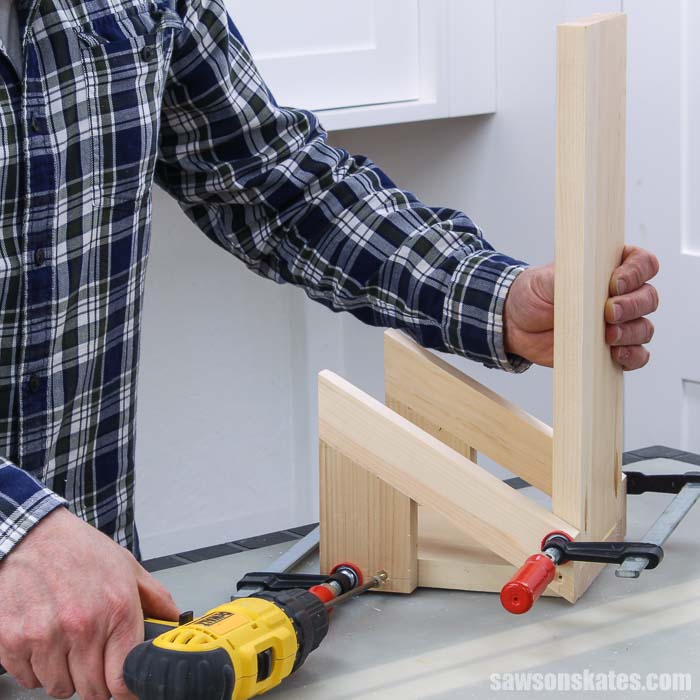
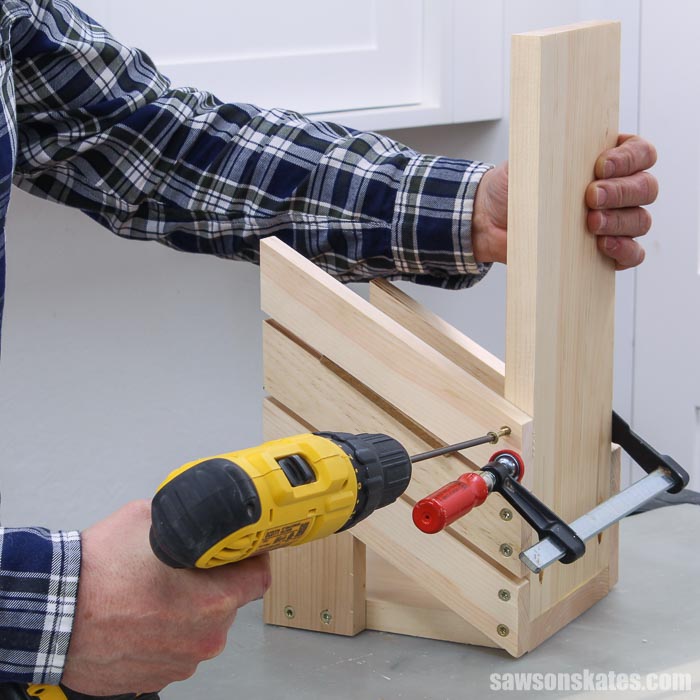
I used a piece of scrap wood to help with positioning the holders.
Place the scrap wood on the bottom holder. Apply glue to a holder, position on the scrap wood, and clamp. Attach using 1-¼” wood screws. Repeat for the remaining holders.
Step 6. Finish the Saw Blade Storage Rack
See How Do You Finish the Holder? for more information.
Final Thoughts
Get your saw blades organized with this DIY storage rack. It’s easy to make with scrap wood, a few simple cuts, and a few common woodworking tools.
Click here to get the free plan (including the detailed instructions and measurements) now!
Thank you for stopping by. If you enjoyed this tutorial, would you please take a moment and pin it to Pinterest? I’d really appreciate it!

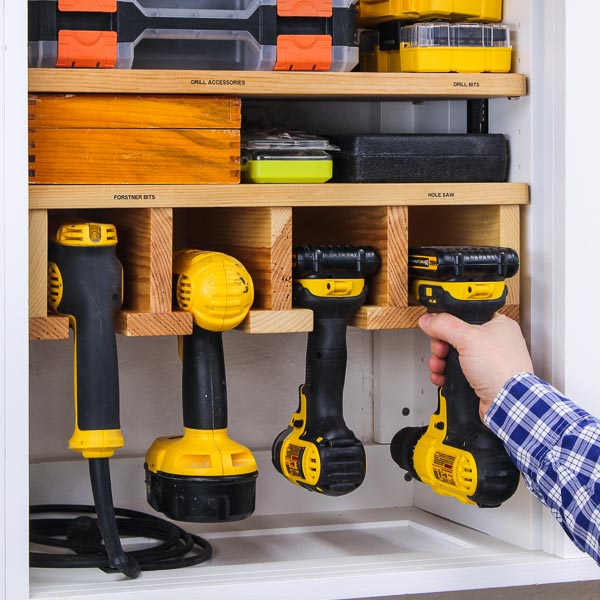
My next little project once I sort out my woodshop.