
DIY Stacked Mug Stand
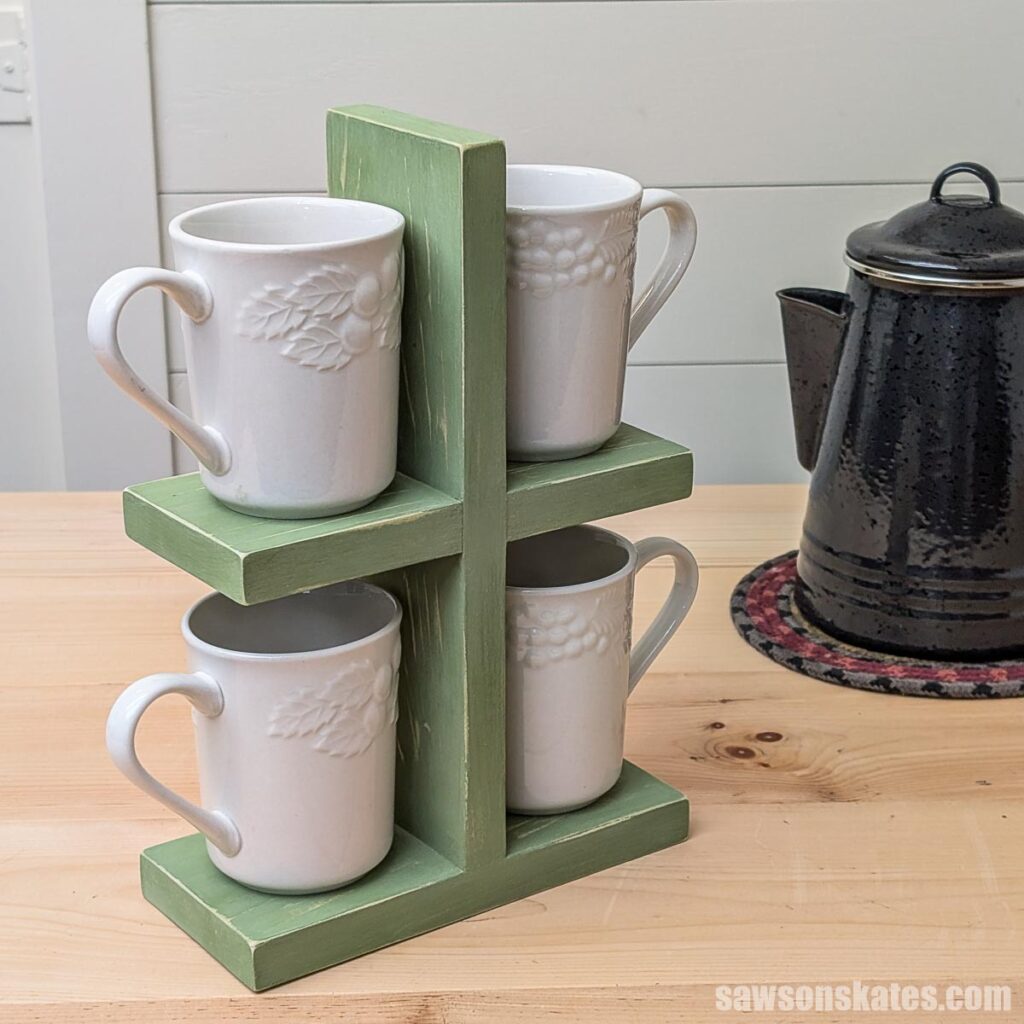
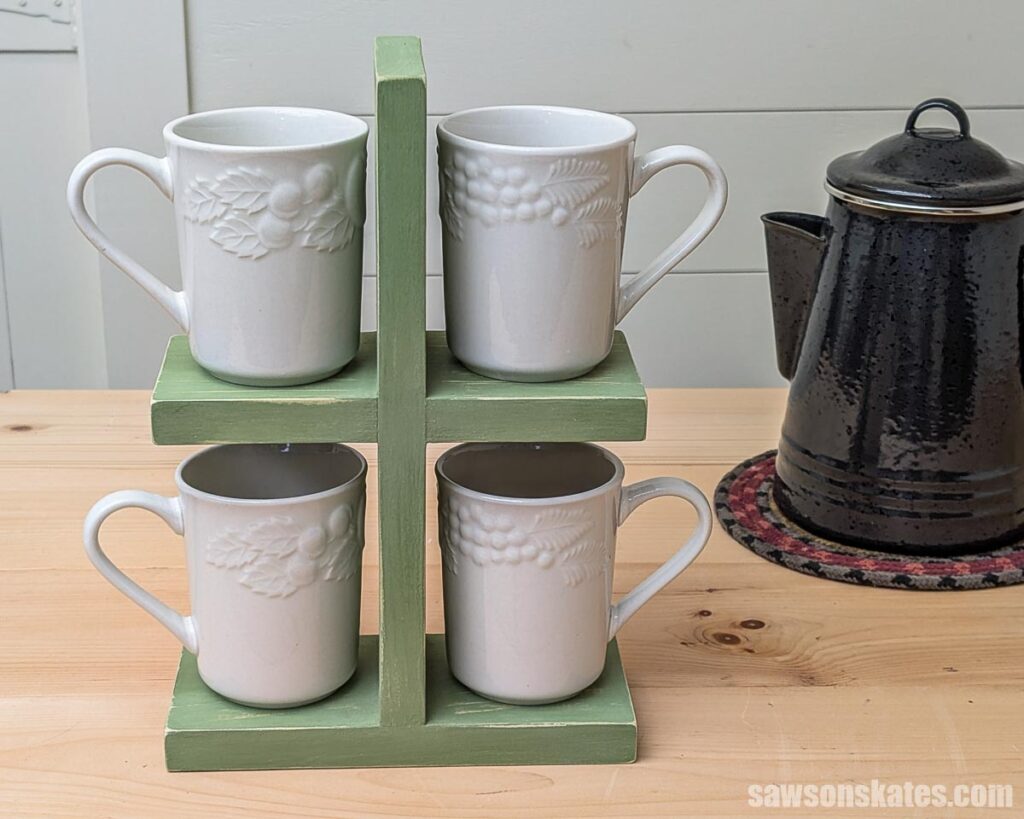
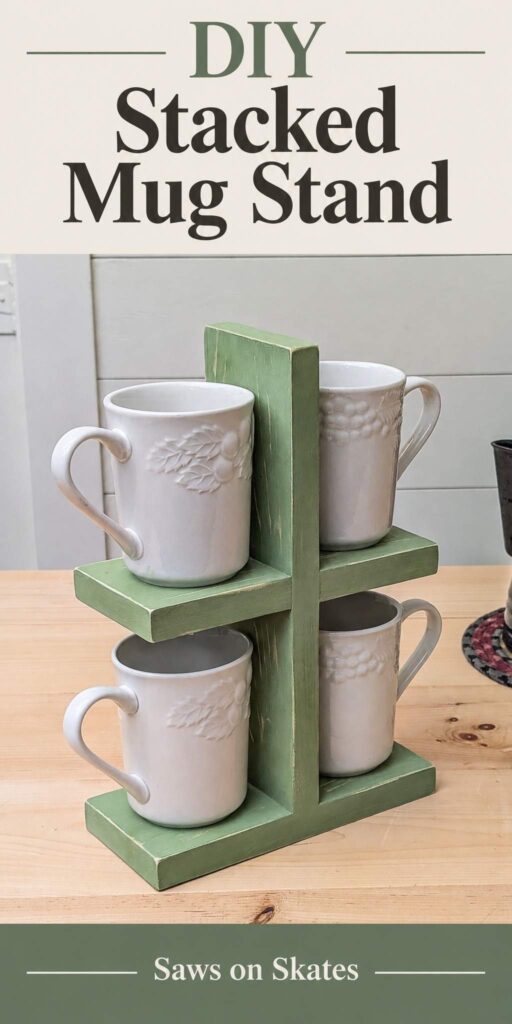
Build an easy DIY stacked mug stand with just a few boards. It holds four mugs in a small footprint, freeing up space on your counter.
What Should I Build Next?
That's the question I help answer.
Every week, I send woodworking ideas to 17,000 DIYers who love building things.
You'd fit right in.
If your coffee mugs are crammed into a cabinet, stacked two high and clinking every time you reach for one, there’s an easier way to store them. This DIY coffee mug holder keeps your favorite mugs within easy reach. It’s also a simple scrap wood project. I built mine from a few leftover boards and just a few tools.
It’s also an affordable gift idea. Build a few for family, friends, neighbors, and coworkers. Add a few dollar-store mugs, and you have a good gift. Tuck in a few cocoa packets, tea bags, or a bag of coffee, and you have a great one.
Make It Your Own
I always get comments like, “This is too basic. I would’ve used a jigsaw to cut round edges,” or “You should’ve used a router on the edges.”
Well, you can!
I kept mine basic on purpose so it’s easy for anyone to build. But it’s also a great starting point for adding your own touches. You can cut rounded shapes on the top and shelves with a jigsaw. You could even cut a handle into the top so it’s easy to move. And a router with a decorative bit adds a lot of style to the edges.
Finishing Your Mug Stand
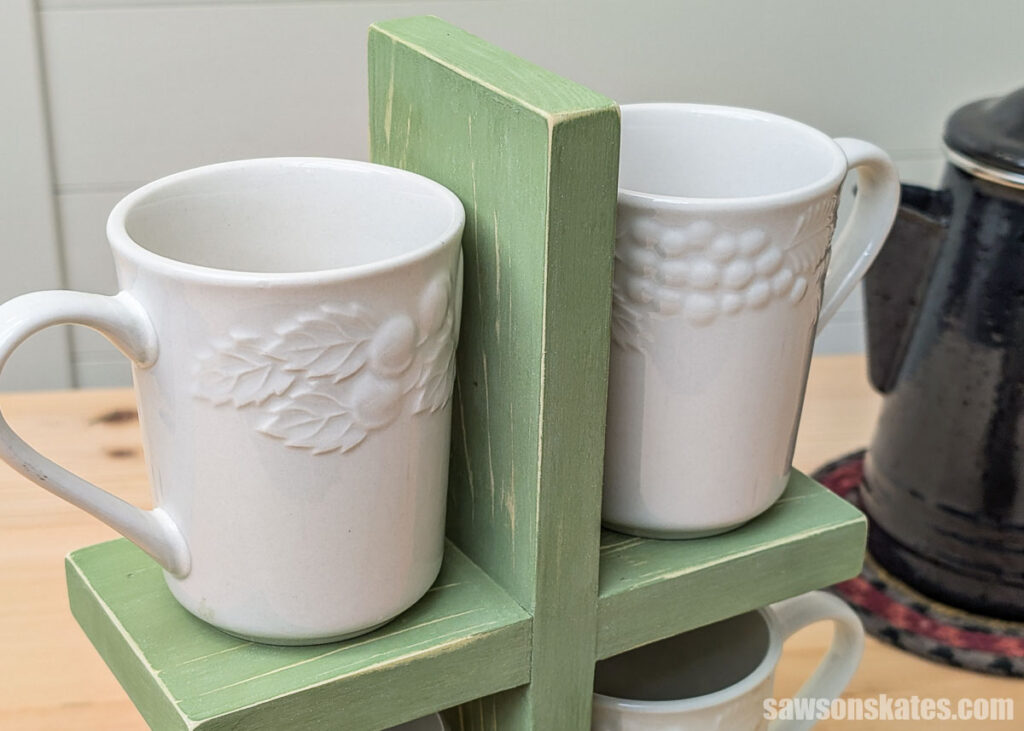
You can paint or stain your mug stand. I painted mine, but I didn’t intend for it to look like this. It was a happy little accident.
I wanted a chalk-style look, so I used a technique from my friend Colleen at Life on Kaydeross Creek. You mix plaster of paris with water, then stir it into your paint. I’ve used it quite a few times with great results.
This time, however, my paint ended up very gritty. Once it dried, I started sanding it smooth so I could apply a different paint, and I ended up really liking the distressed look. Sometimes when I distress a piece, I go too far, and it looks like it’s ready for the trash, lol. This time, I was pretty pleased with the results.
Step 1. Make the Base
Cut one piece of wood to length for the base and one piece to length for the center upright.
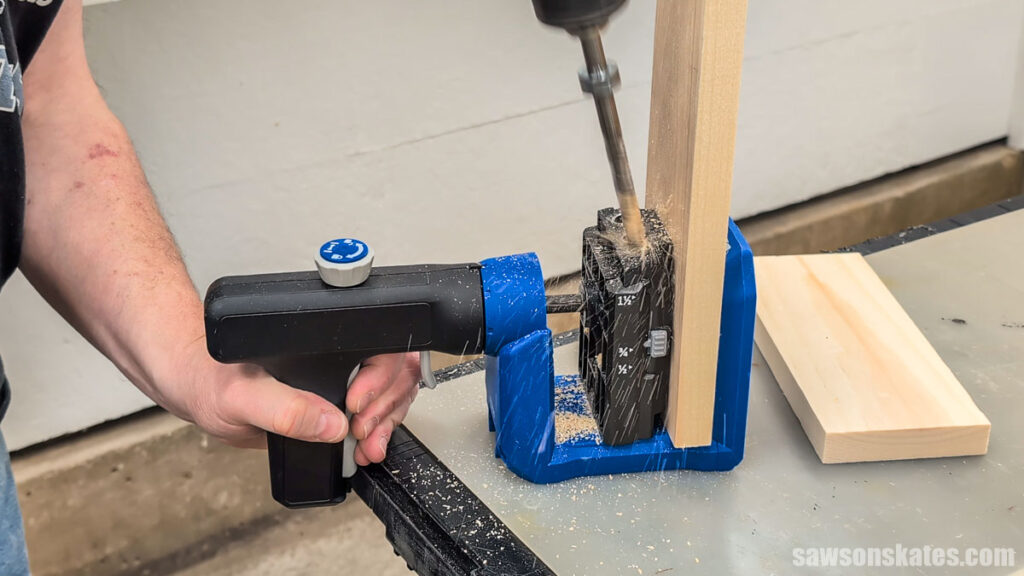
Drill pocket holes in the center upright.
Related: How to Use a Pocket Hole Jig
Apply glue to the upright, center it on the base, and attach using pocket hole screws.
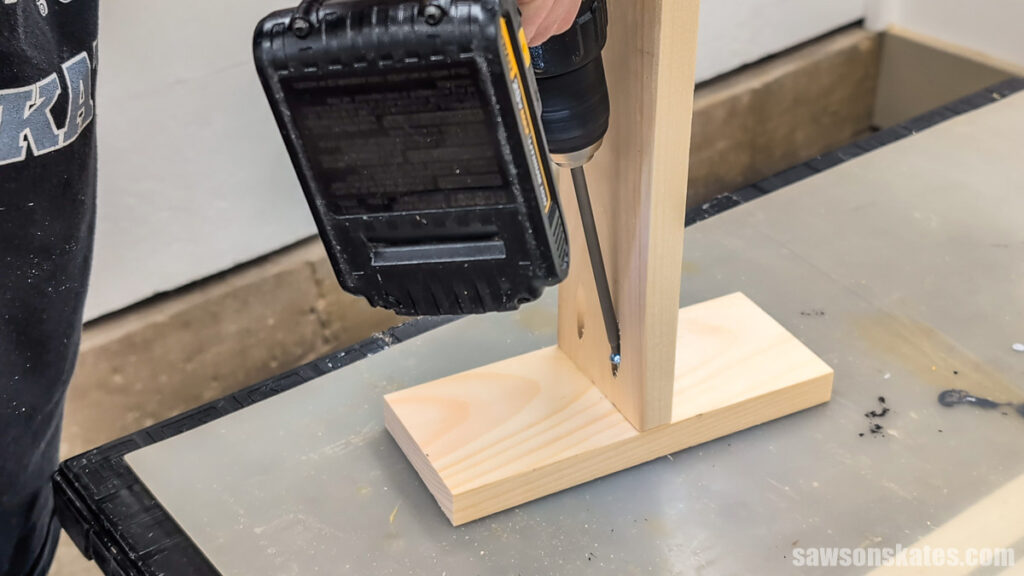
I usually use clamps when I assemble pocket hole joints, because the boards tend to slip out of position without them. This time, the clamp kept pulling the center upright out of square, so I held it in place by hand instead.
Here’s what I’d do differently. I’d cut the shelves first, then temporarily clamp them to the base on each side of the center upright. That way, they sandwich the upright, holding it in place while you drive the screws.
I hid the pocket holes with pocket hole plugs. I applied glue to the holes and inserted the plugs. Once the glue dried, I sanded them smooth with my orbital sander.
Related: How to Make Pocket Hole Plugs
Step 2. Attach the Shelves
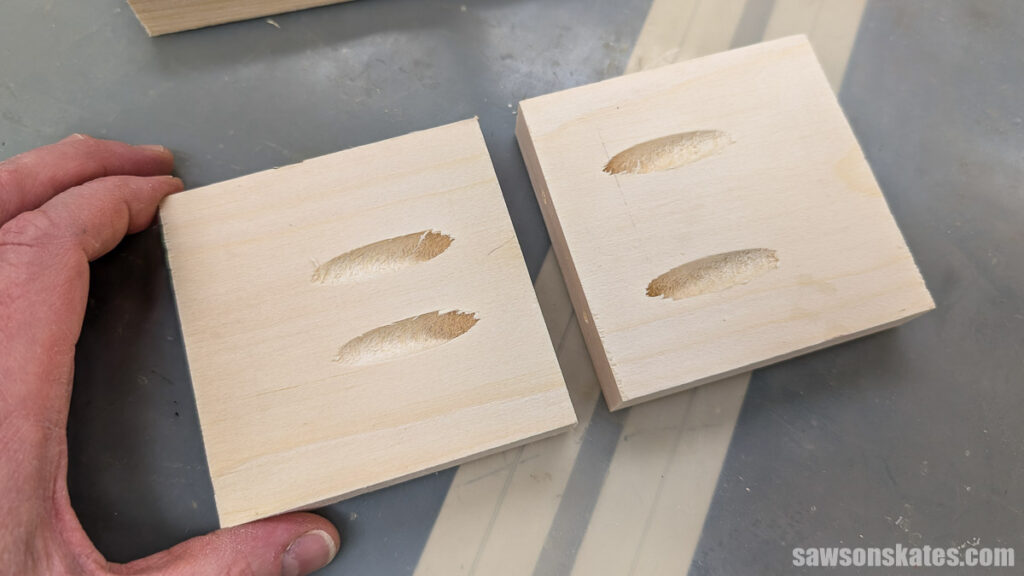
Cut two pieces of wood to length and drill pocket holes in one end. I drilled the pocket holes offset, so the pocket hole screws wouldn’t run into each other inside the center upright.
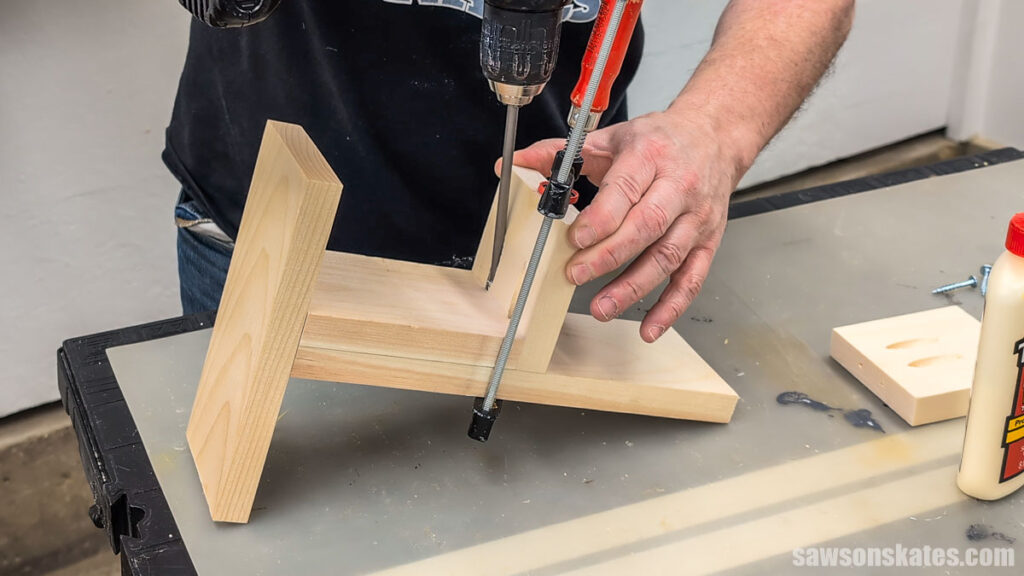
To help position the shelves, I cut a piece of scrap wood and temporarily clamped it to the upright. I applied glue to the edge of the shelf, positioned it on top of the spacer, and clamped it in place. Attach using pocket hole screws.
Repeat for the other shelf.
Step 3. Finish the Mug Stand
I used a piece of sandpaper to do some final smoothing and knock off the sharp edges. Then, I applied a coat of paint and lightly sanded it for a distressed look.
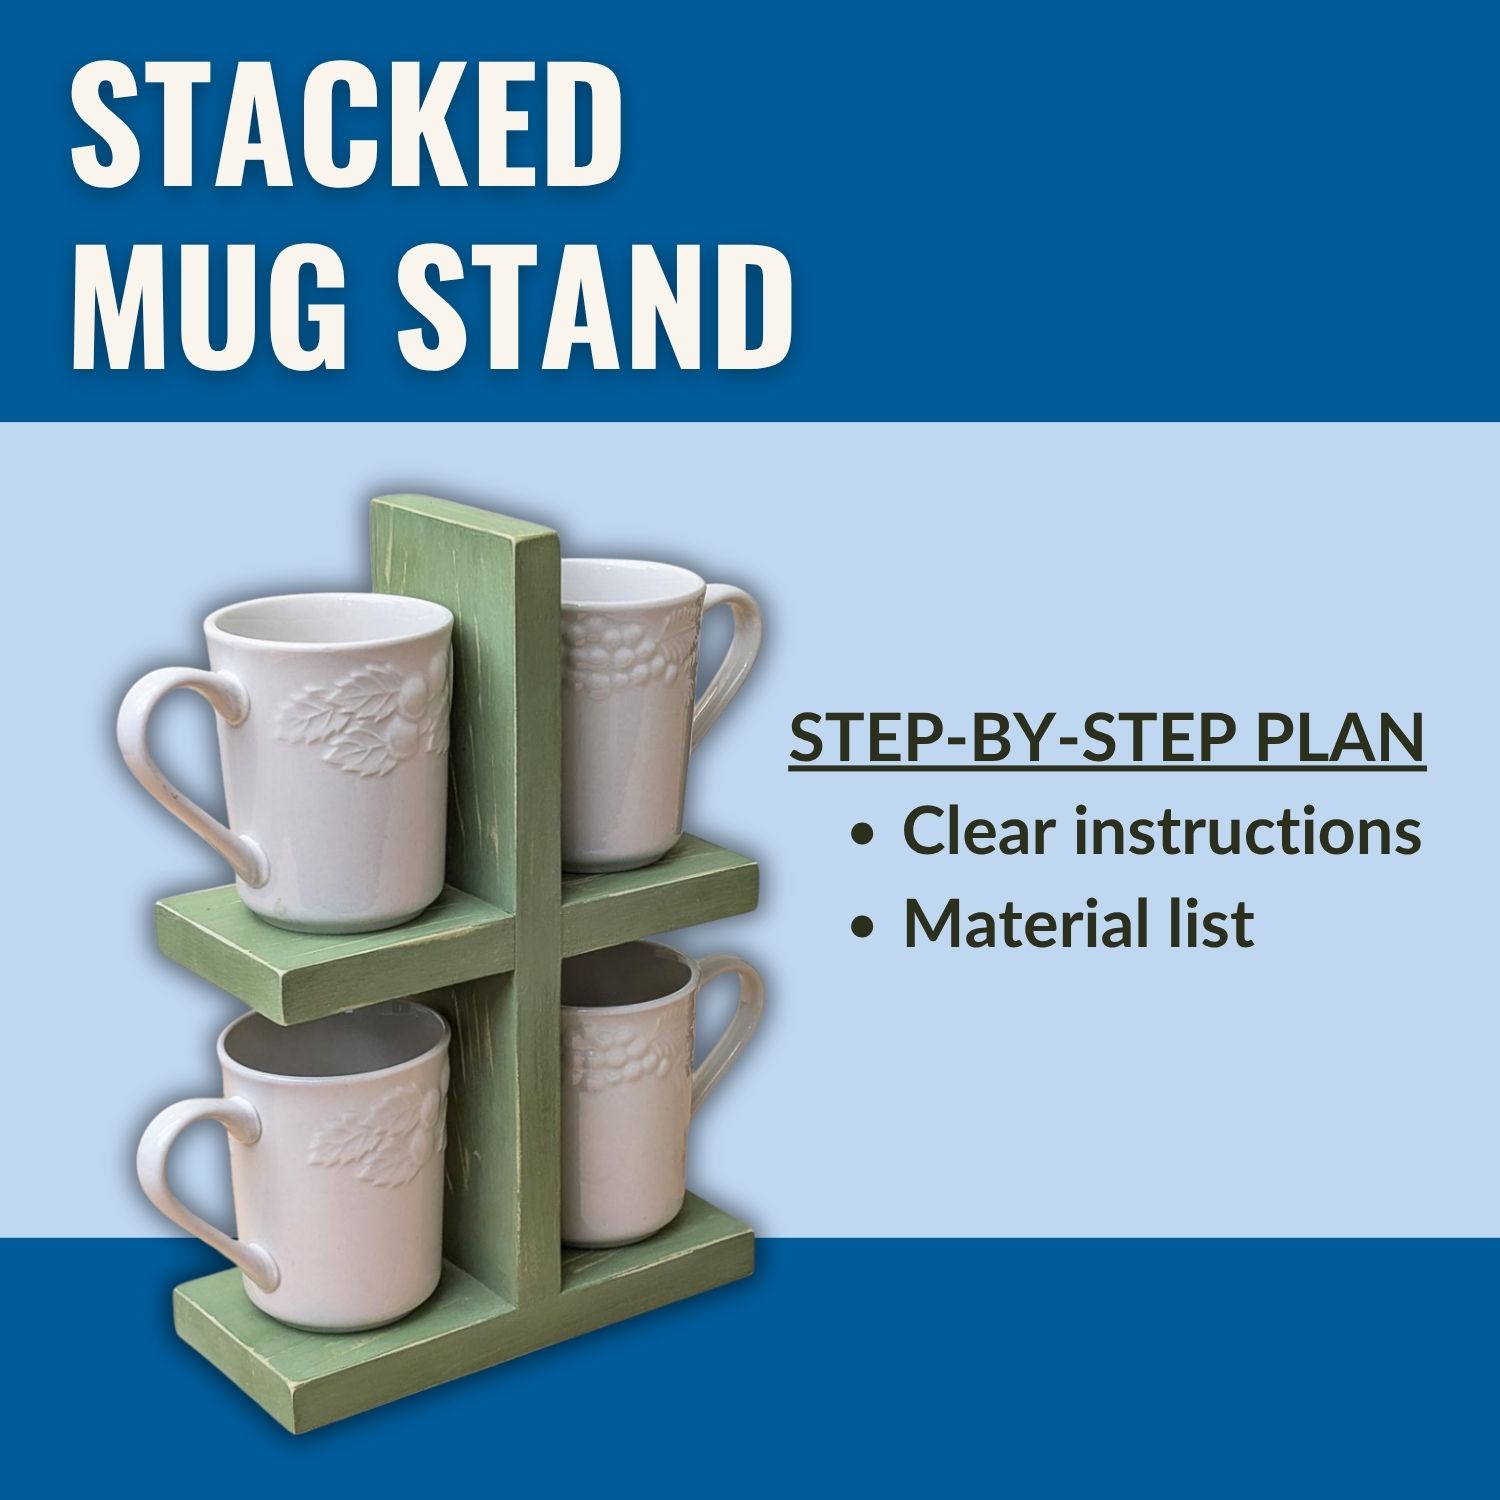
Includes:
- List of tools and materials
- Complete measurements (in inches)
- Easy-to-follow instructions
- Step-by-step photos
- Detailed diagrams
Recommended For You
Pin This For Later

Hi there – I’m Scott, a woodworking enthusiast and creator of Saws on Skates, a site I started in 2015 to share easy-to-follow tutorials, space-saving shop tips, and project inspiration for DIYers at any skill level. Learn more about my woodworking journey here.