
DIY Folk Art Black Cat Christmas Ornament
Make a folk art black cat Christmas ornament. See how I traced the design, painted it, and turned it into a simple tree ornament.
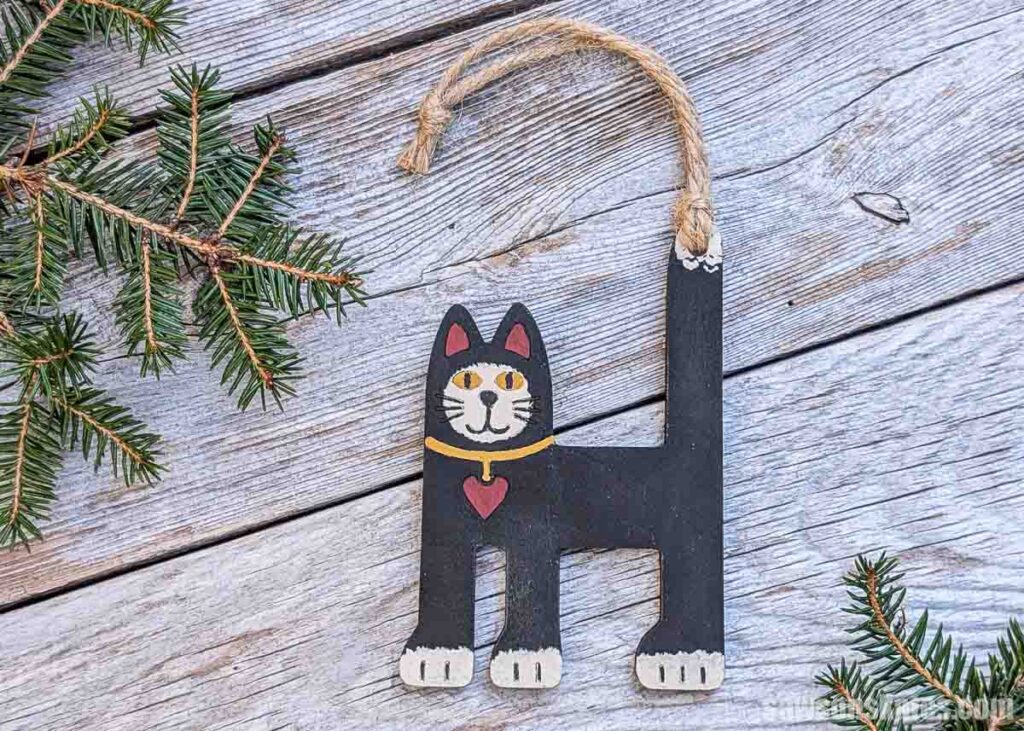
We host an annual barn sale at the historical society where I volunteer, and someone donated a collection of holiday and seasonal pins.
I fell in love with one of them: a handmade, primitive, folk-art cat. Not just because of the style, but because my Auntie Mel, who passed recently, would’ve loved it too.
I shared it on TikTok, asked if I should make some, and got fantastic ideas: turn it into a magnet, or, my favorite suggestion, a Christmas ornament.
So, that’s what I did! I enlarged it, transforming it into a quirky, folk-art-style ornament.
It’s a simple project, perfect for yourself or as a gift for friends, family, neighbors, or coworkers.
This article contains affiliate links. If you purchase from these links, I may earn a small commission at no additional cost to you. Visit my site policies for more information.
Cutting the Cat Ornament
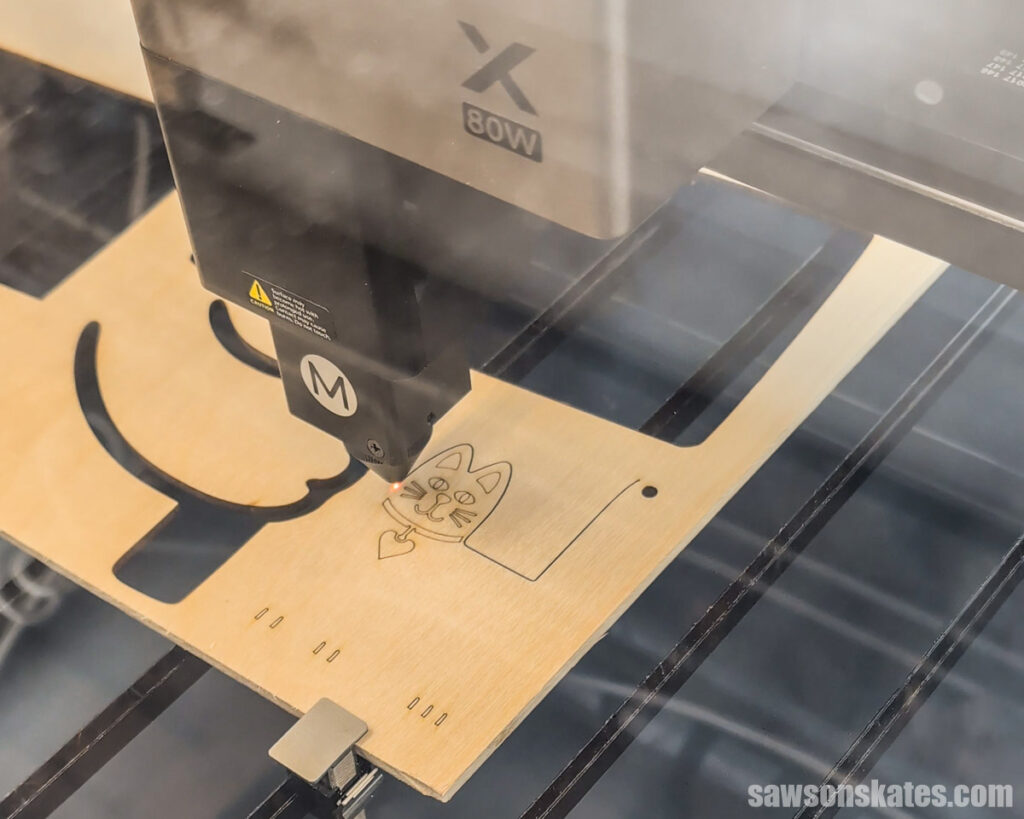
I made mine with my xTool P3 Laser Cutter, but you don’t have to. You could make something similar with a scroll saw. That’s how I would’ve done it a few years ago.
How to Make a Folk Art Cat Christmas Ornament
Laser Cut Files
Get the laser cut files here.
Materials
- ¼” Plywood (I used PureBond)
- Craft Paints
- Twine
Tools
- Laser Cutter (I used this one) or scroll saw
Step 1. Trace and Scale the Design
I snapped a photo of the inspiration piece, brought it into xTool Studio, and traced the image.
Honestly, it didn’t look great. That’s not the tool’s fault. The original piece was hand-painted with subtle color variations and brushstrokes, so the trace struggled to find clean edges.
So, I gave the photo to AI and asked it to make a simple black-and-white line drawing of the cat.
From there, I dragged the new line drawing into xTool Studio, traced it, and scaled it to size.
You can design your own, or if you want a shortcut, the laser cut files are available below.
Step 2. Cut Out the Cat Ornament
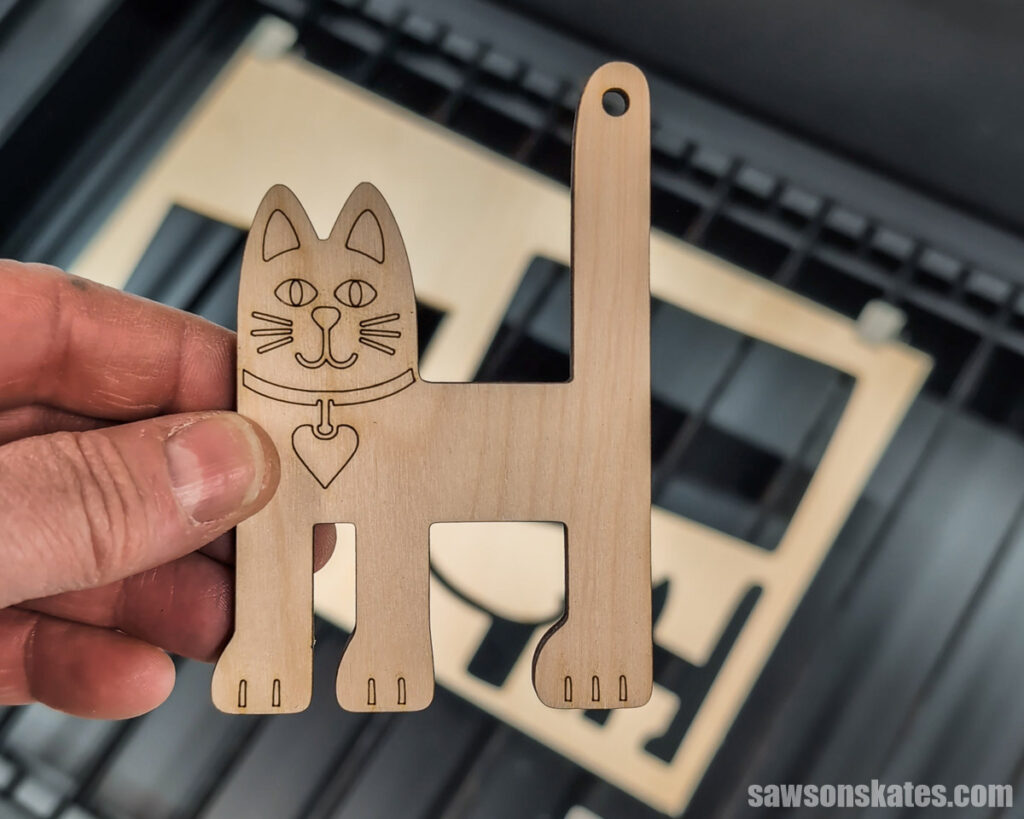
Next, I followed my method for cutting wood with the xTool P3 to cut the cat ornament from ¼” plywood.
NOTE: You could use a scroll saw instead.
Step 3. Paint
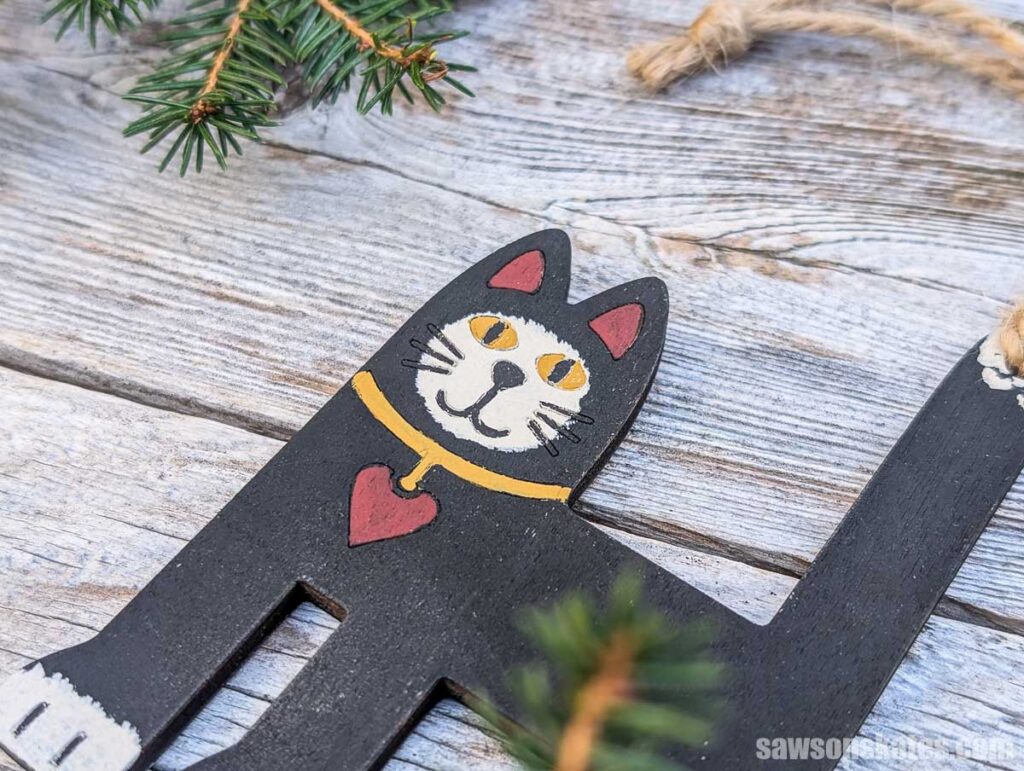
I painted the cat’s body with black chalk-style paint.
For the face, I used a nearly dry brush to dab cream paint in a rounded shape around the eyes, nose, and whiskers. I freehanded this part, and the dry brush leaves a little texture, so it looks more like fur than a flat patch of paint. It doesn’t need to be perfect. Small variations give it a more folk-art feel.
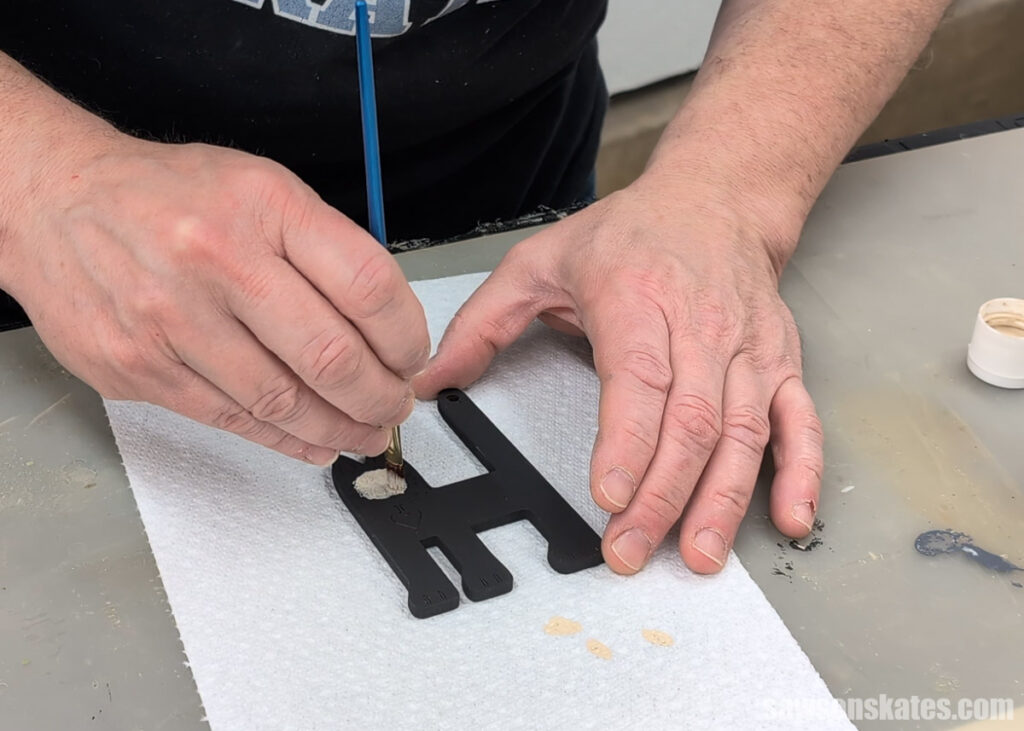
I used the same technique on the paws and the tip of the tail.
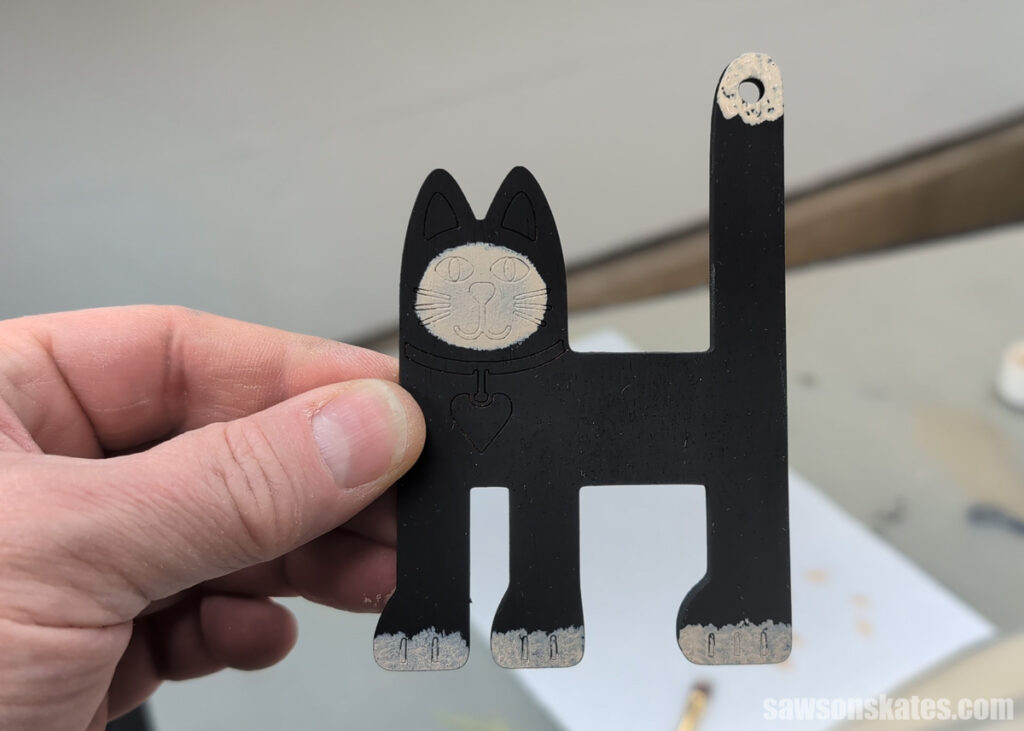
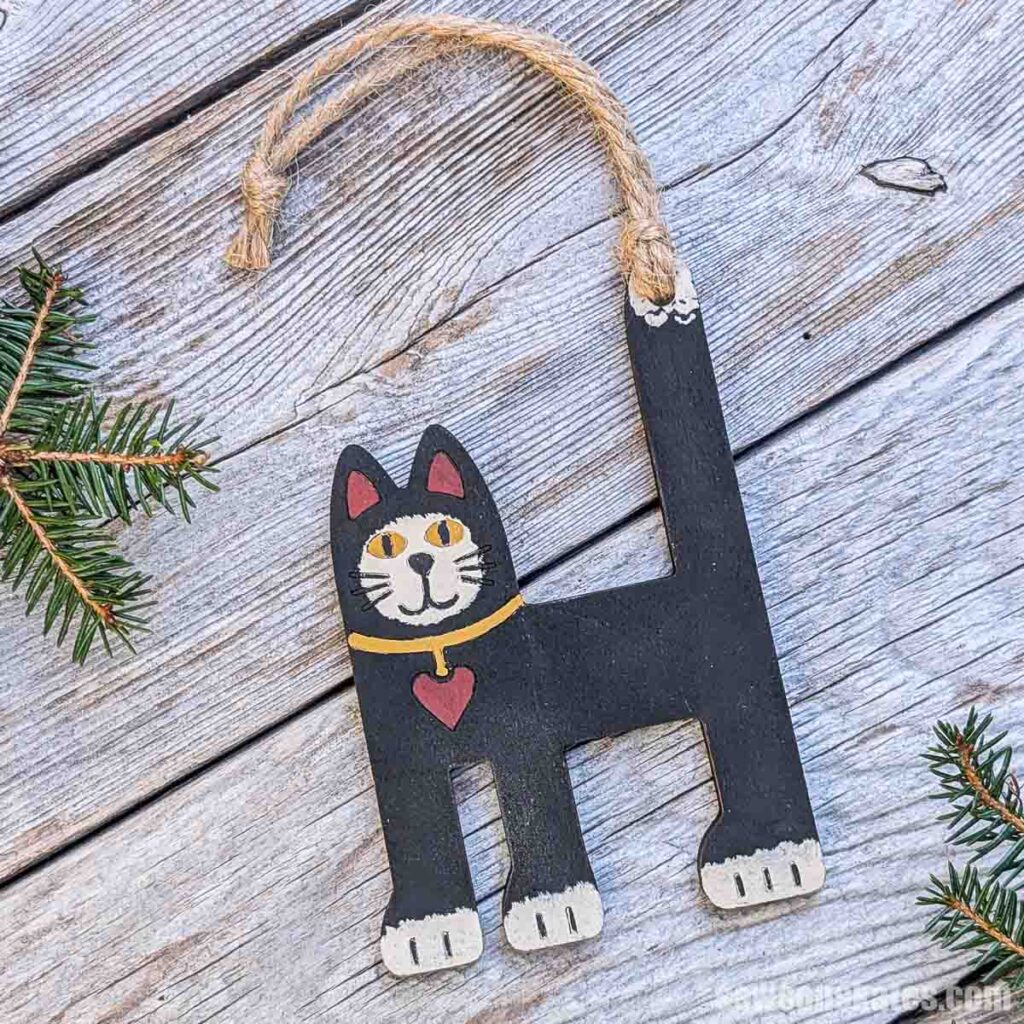
The rest was easy. The engraved lines work like a coloring book, so I just followed them to fill in the ears, eyes, collar, and heart.
Finally, I threaded a piece of twine through the hole in the tail for a hanger, and it’s ready for the tree.

Pin This For Later
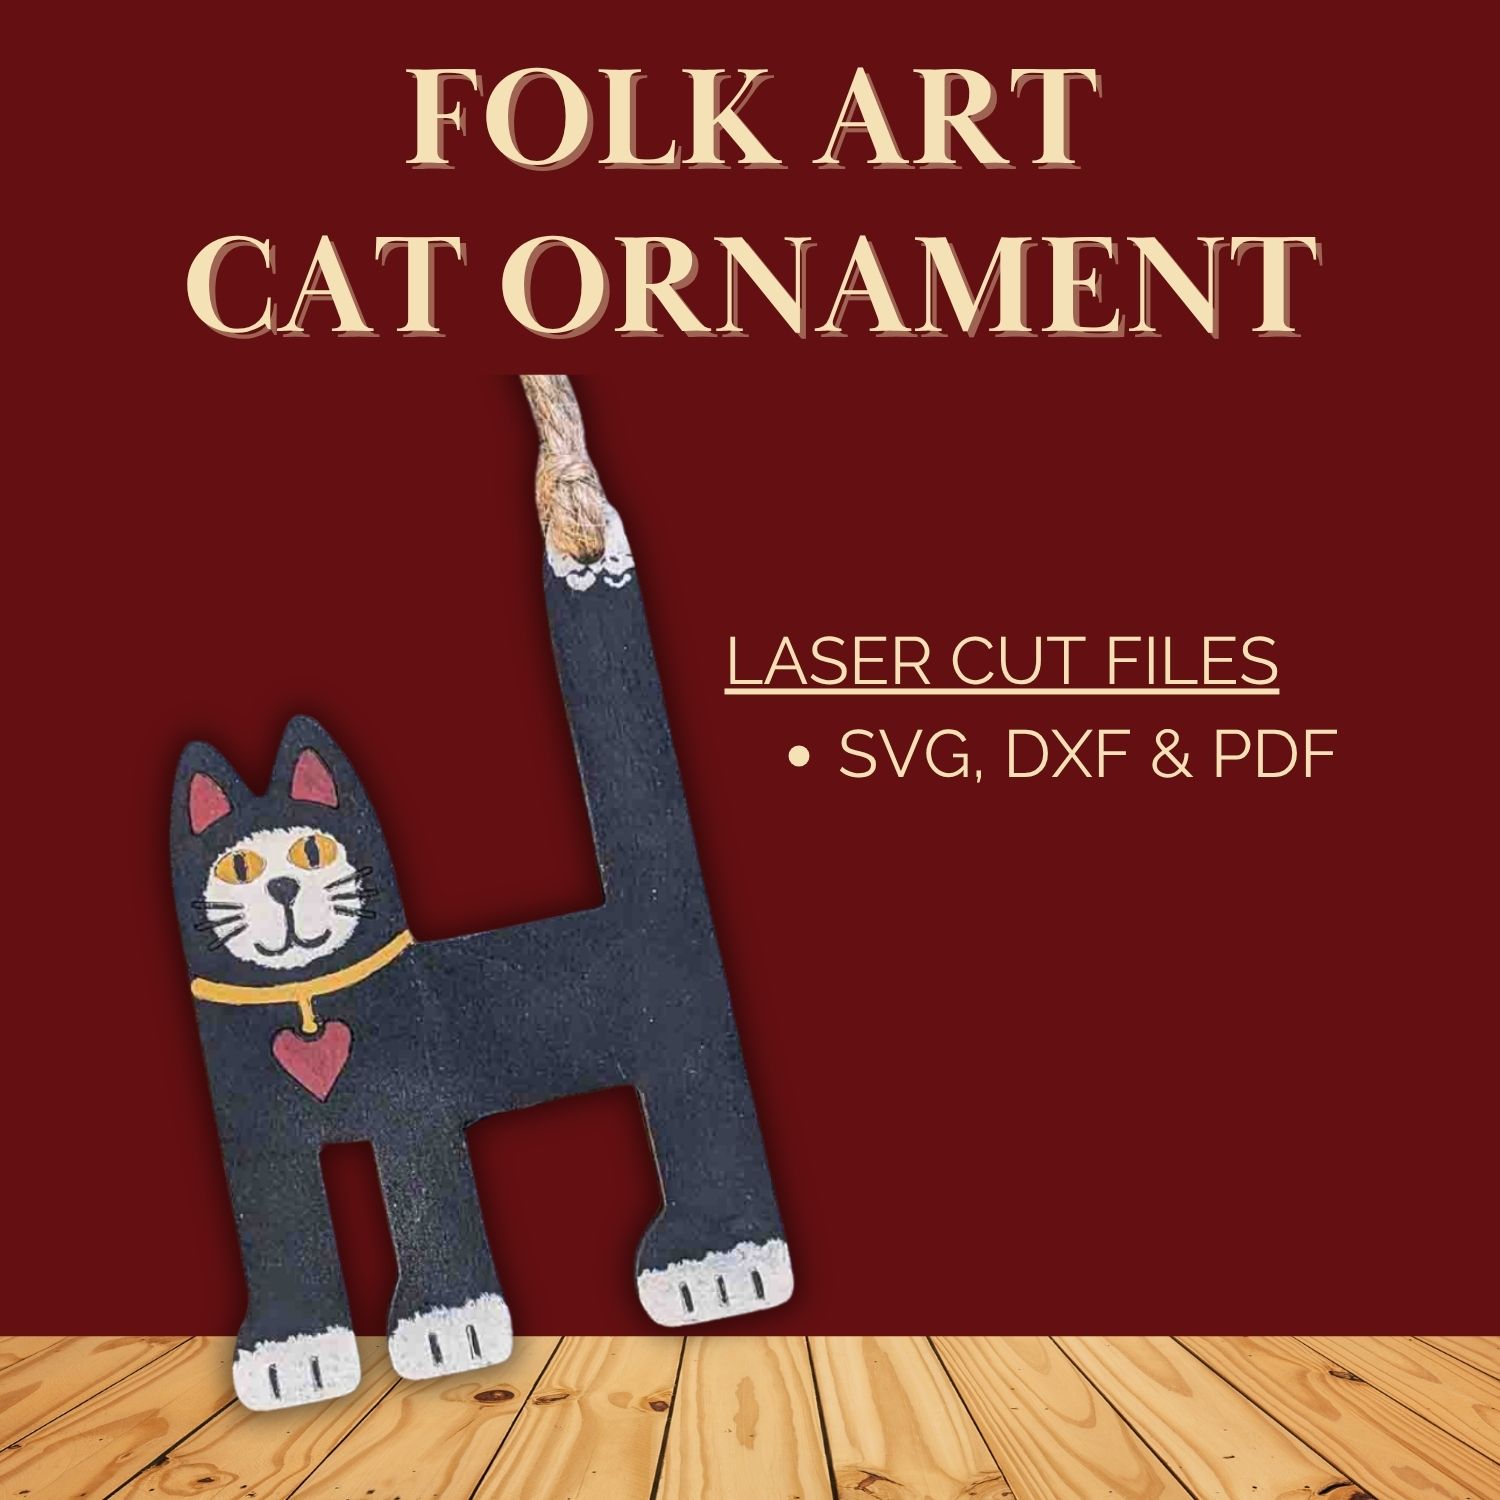
Cut Files Include:
- SVG, DXF, and PDF
- A reference sheet with the color codes and finished measurements