DIY Wood Spice Shelf
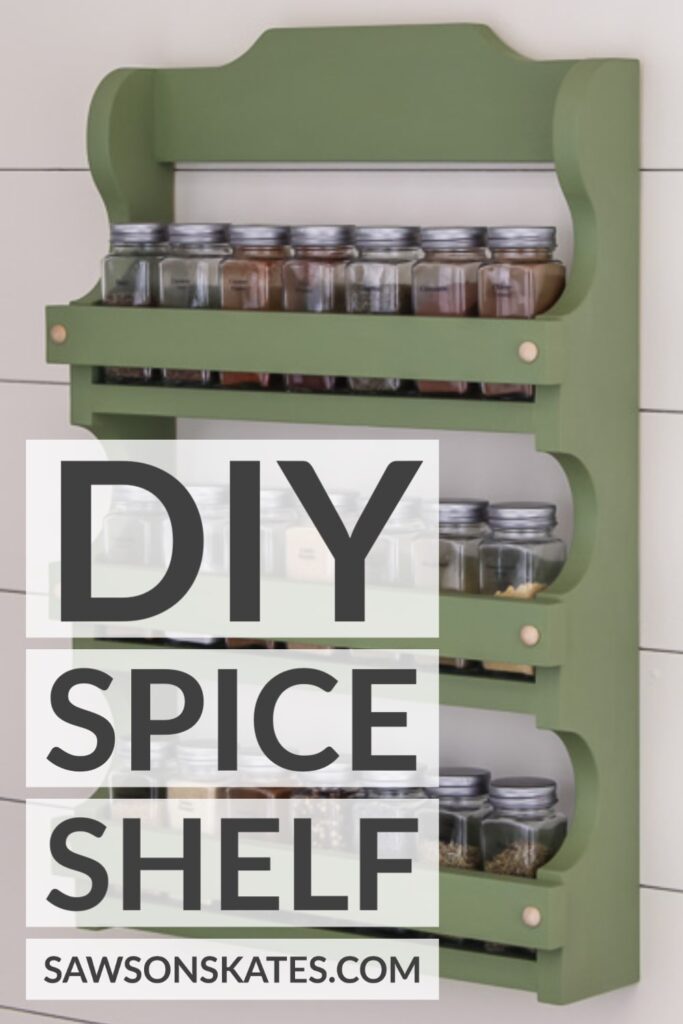
Get your spices organized with this wall-mounted DIY spice shelf. It has three shelves to display spices, and the sides have curvy antique-inspired details.
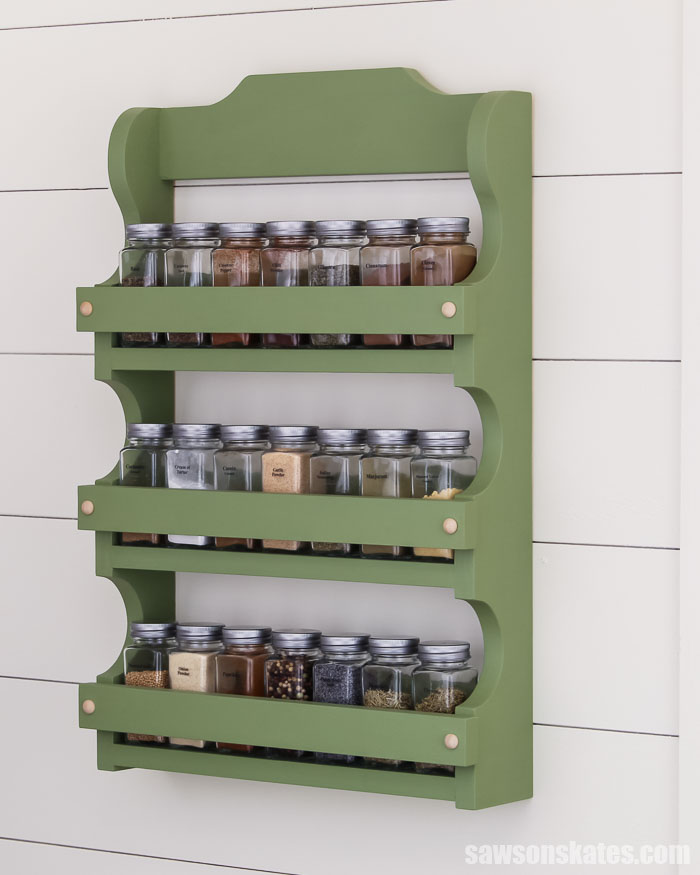
DIY Spice Shelf
This DIY spice shelf might remind you of one that you may have seen in grandma’s kitchen or one that you may find while rummaging through an antique store. That’s because this project was inspired by an old-time spice shelf.
It’s easy to build and the perfect way to organize all of your spices. It has three shelves and antique-inspired curved details.
The free plan includes all of the measurements, detailed instructions, and two templates to layout the curved details.
Get the free plan now and build one today.
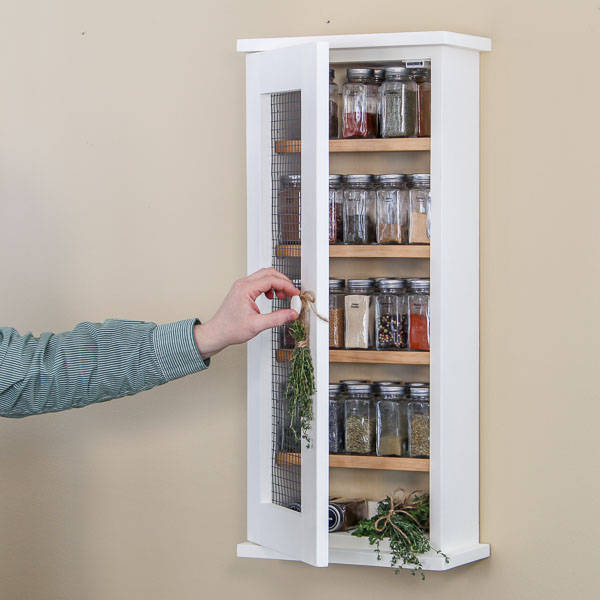
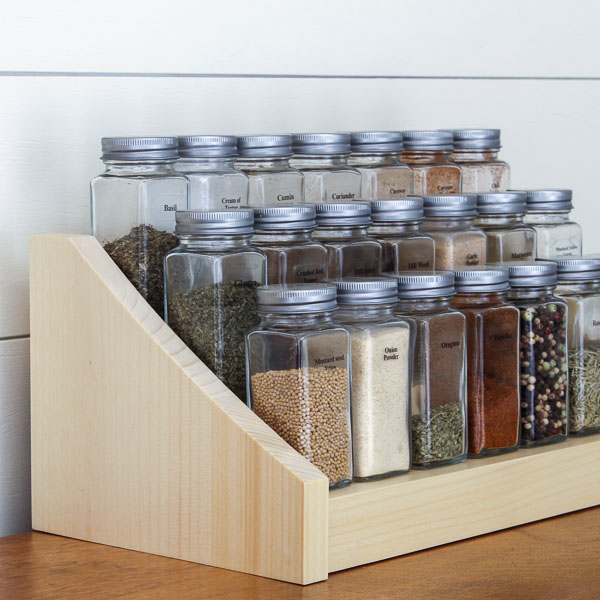
You may also enjoy this DIY Spice Cabinet and this DIY tiered spice rack.
Table of Contents
- Inspiration for This DIY Spice Shelf
- What Tools Do You Need?
- What Wood Should You Use?
- How Do You Finish the Spice Shelf?
- How to Make a DIY Spice Shelf
- Get the Free Plan
This article contains affiliate links. If you purchase from these links, I may earn a small commission at no additional cost to you. Visit my site policies for more information.
Inspiration for This Project
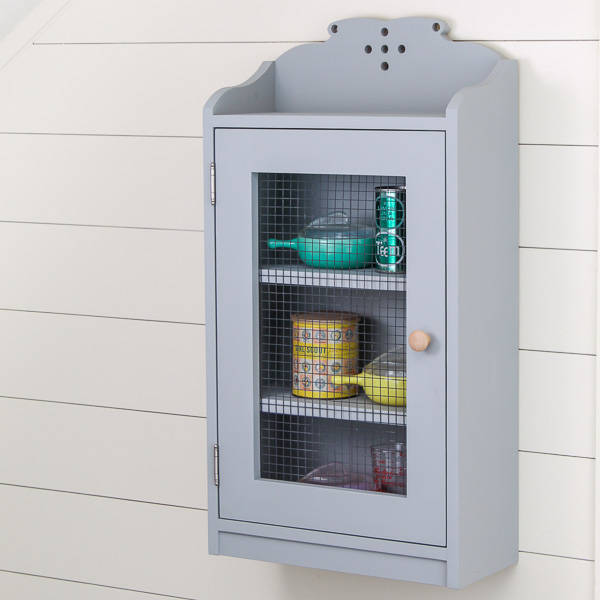
Lately, my DIY furniture projects have been inspired by antique furniture pieces. Like this DIY display cabinet that was inspired by a piece that I found at a local historical society.
This time, I was inspired by those old-time spice shelves that you may have seen in your grandma’s kitchen or while rummaging through an antique store.
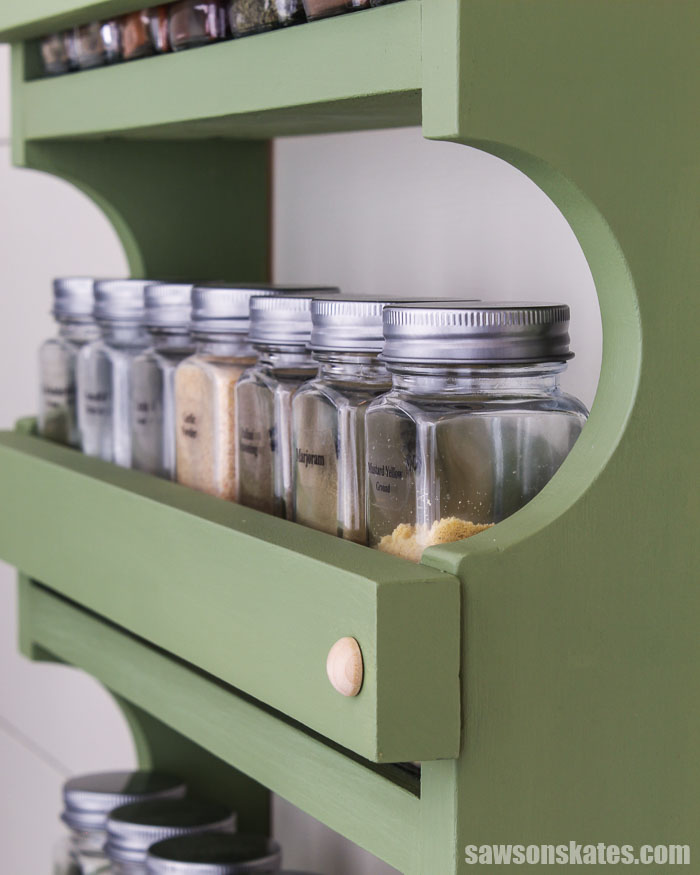
This do-it-yourself version features three shelves and antique-inspired curved details on the sides and at the top of the shelf.
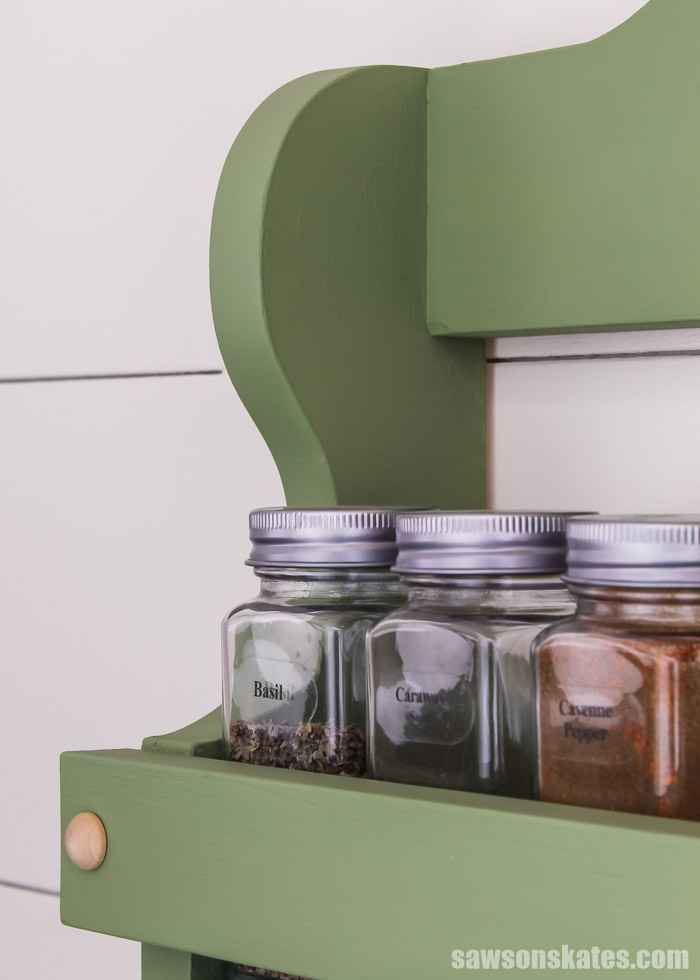
How Many Spices Can This Shelf Hold?
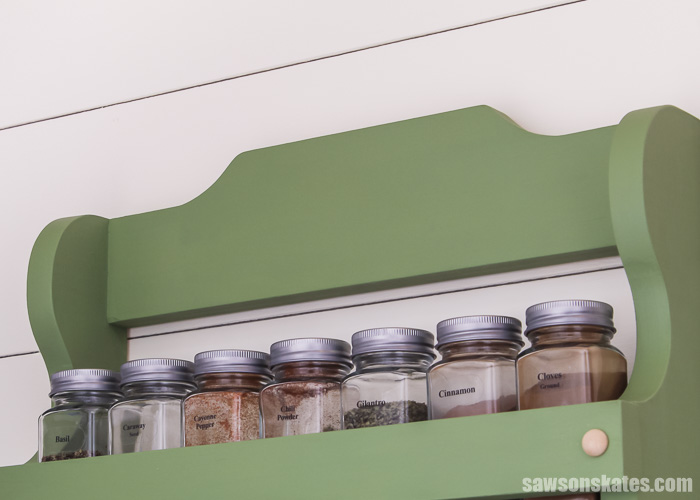
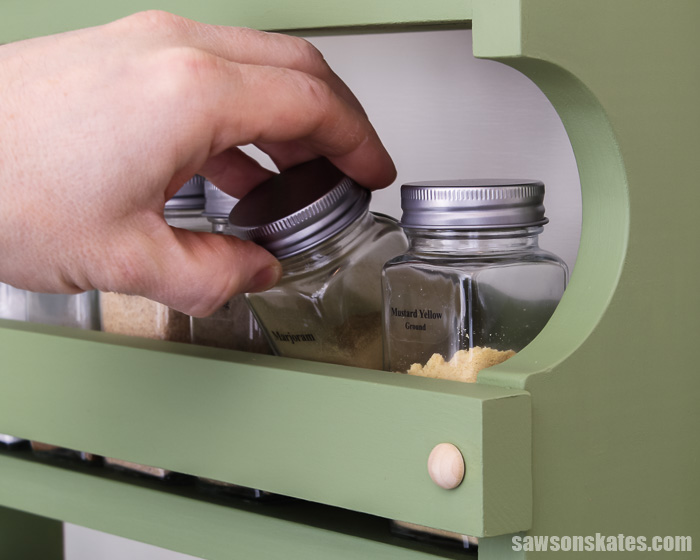
This spice shelf can organize about 21 of these spice jars.
What Spice Jars Did You Use?
I bought this pack of 24 glass spice jars for this project. The spice jars come with spice labels, shaker lids, metal caps, and a collapsible funnel for filling the jars.
What Tools Do You Need to Make a Spice Shelf?
This wall-mounted spice shelf might look complicated, but it’s as easy to make for DIYers of any skill level. It’s a simple weekend project that can be made using basic woodworking skills and just a few common woodworking tools.
Tools like a miter saw, pocket hole jig, and a drill. You’ll also need a Forstner bit, and a saw to cut the curved details on the side and at the top of the shelf.
The pocket hole jig was used to join the shelves to the sides. You can use any pocket hole jig to drill the pocket holes. The user-friendly Kreg Jig 320 is an inexpensive choice to drill the pocket holes for this project.
Related: 9 Pocket Hole Mistakes You Don’t Want to Make
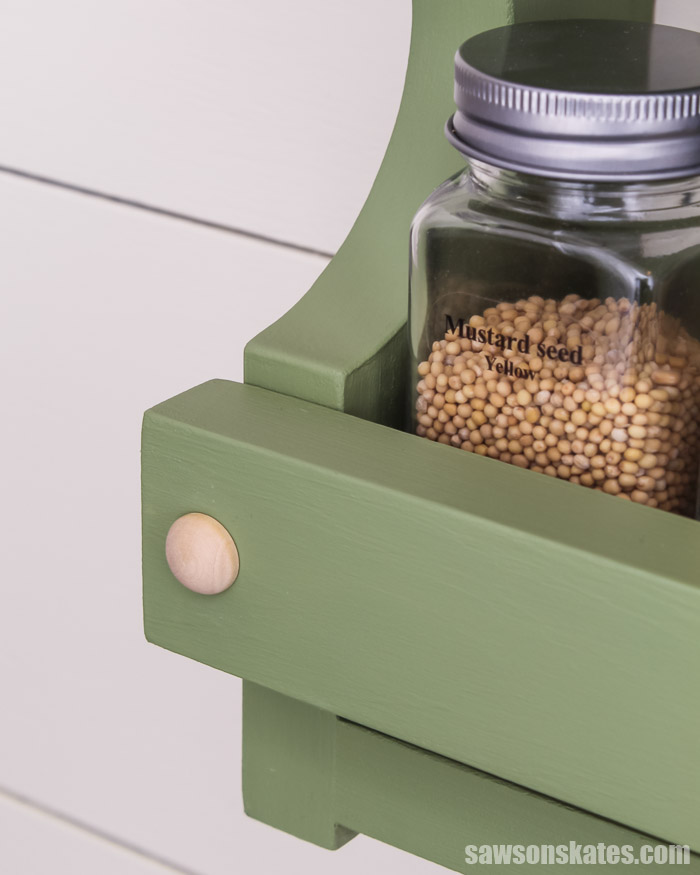
The drill was used to drill pocket holes and drive the pocket screws. The drill was also used with the Forstner bit to drill holes in the front rails for these button plugs. The button plugs hide the screws and give the piece a finished look.
I recommend using a Forstner bit because it drills a hole with smooth, clean sides and a flat bottom. You could drill these holes with a regular drill bit or a spade bit, but these bits tend to tear the wood and produce a hole with rough, jagged sides.
It’s also handy to have a right angle drill attachment. The pocket hole locations on this project are tricky to reach with a traditional driver.
A right angle drill attachment is the perfect tool to drill in a tight spot or to drive screws in hard-to-reach places.
Related: Why You Need a Right Angle Drill Attachment
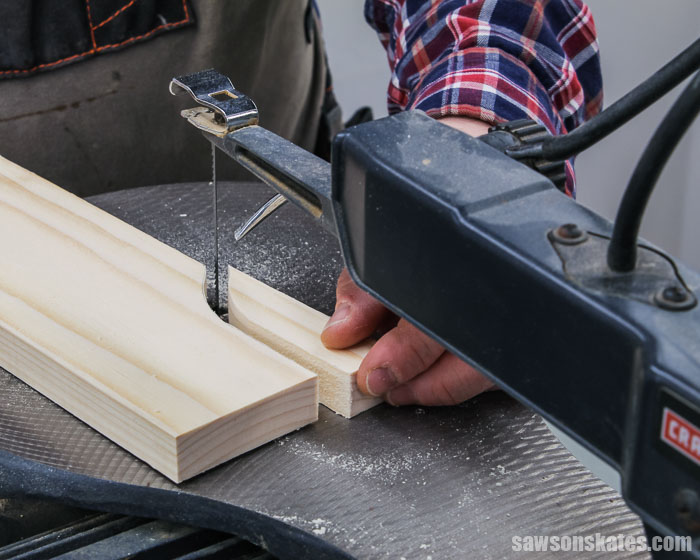
I used a scroll saw to cut the curved details at the top of the shelf, but you might also be able to make these cuts with a jigsaw or bandsaw.
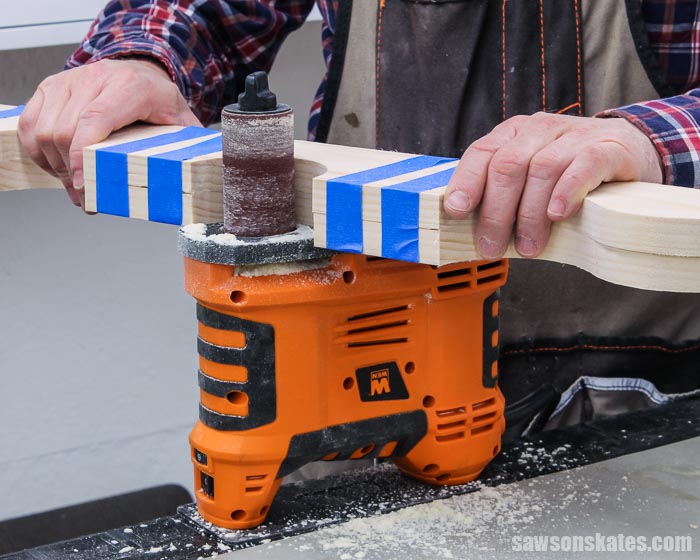
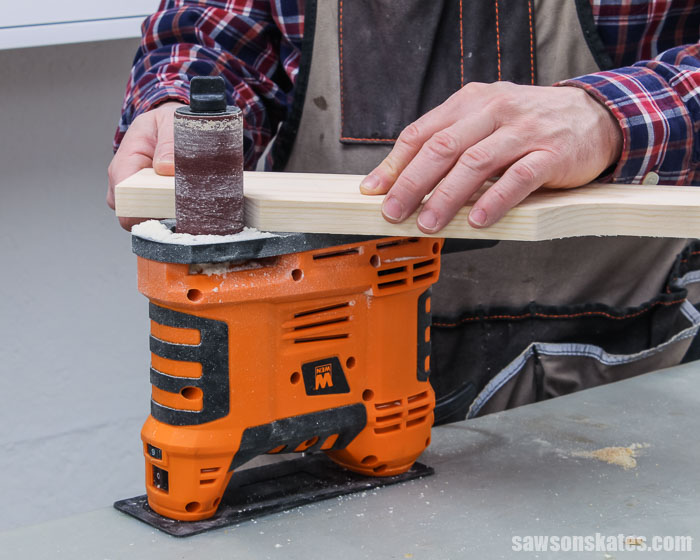
It’s not necessary, but I used this portable spindle sander to sand the curved edges of the sides and top. The spindle sander makes quick work of smoothing any saw marks. If I didn’t have a spindle sander, I would have sanded the edges by hand with sandpaper.
Related: 11 Secrets for Sanding Wood Projects Like a Pro
What Wood Should You Use?
This spice shelf can be made with just about any type of wood. I used common pine to build mine. Pine is inexpensive and easy to work with.
I purchased the pine 1×2s, 1×3s, and 1×4s at my local home improvement store.
Related: Beginner’s Guide to Wood Sizes
How Do You Draw the Curved Details?
The curves on this spice shelf would be tricky to draw by hand. Fortunately, you don’t have to. The free printable plan includes two templates that take the guesswork out of laying out these curved details.
Just get the free plan, print the templates, trace them on the boards, and then use a saw to make the cuts.
How Do You Finish the Spice Shelf?
This spice shelf could be finished in a variety of ways. It could be left natural, painted, stained, or a combination of paint and stain.
I planned to paint my project. I usually apply several coats of this shellac-based primer to prevent any knots from bleeding through the paint.
Related: How to Stop Knots from Bleeding Through Paint
I wanted an aged look for this project, so I wasn’t concerned if any of the knots were to bleed through the paint. Instead, I applied several coats of a Behr color called “Pesto Paste” directly to the wood.
💡 TIP: The shelves can be tricky to paint with the rails installed. I removed the three front rails before I painted the spice shelf. Removing the rails made it easier to reach the shelves. When the paint was dry, I reattached the rails and painted them.
How Do You Hang the Shelf on the Wall?
This shelf could become heavy when it’s loaded with spice jars, so it’s important to securely attach it to the wall.
An easy way to attach the spice shelf to the wall is to use one of these french cleat-style picture hangers. You can see how I installed one on this DIY medicine cabinet.
Related: How to Make a French Cleat
How to Make a DIY Spice Shelf
Printed Plan
Get the FREE plan here (includes detailed instructions, measurements, and bonus tips)
Supplies
- Wood (per the printed plan)
- 1-¼” Pocket Screws
- 1-¼” Wood Screws
- Wood Glue
- Button Plugs
- French Cleat-Style Picture Hanger
Tools
- Tape Measure
- Drill
- Pocket Hole Jig
- Kreg Multi-Mark
- Miter Saw
- Scroll Saw or Jigsaw
- Right Angle Drill Attachment
- ⅜” Forstner Bit
- ³/₁₆” Drill Bit
Step 1. Make the Sides
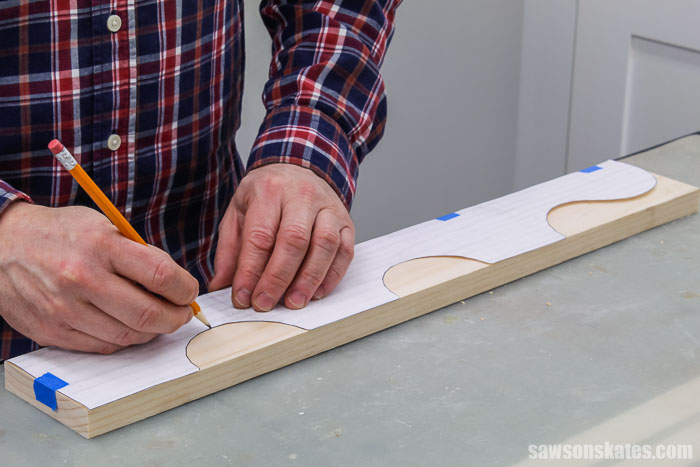
Cut two pieces of wood to length for the sides. Use the template (at the end of the free plan) to trace the curved details onto each side panel. I used painter’s tape to help keep the template in position while I traced.
💡 TIP: When printing the PDF template, be sure to set the scale to 100%. Use scissors to cut out the template and then join the pieces with tape.
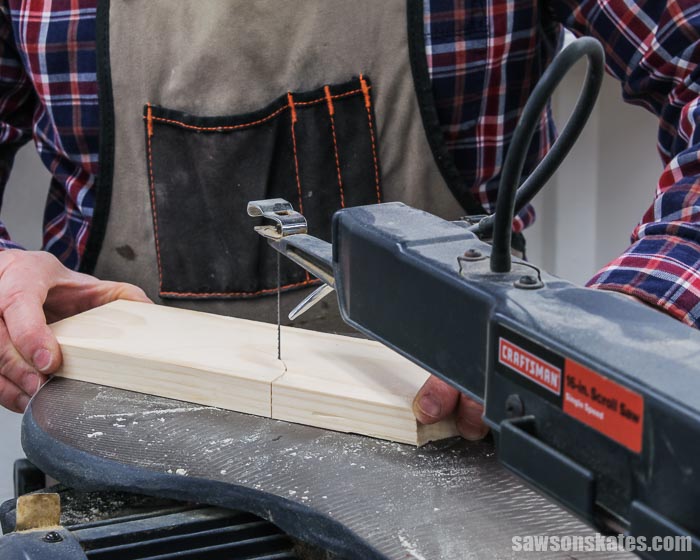
I used a scroll saw with this 10 TPI blade (teeth per inch) to cut out these curved details, but you might be able to use a jig saw instead.
I made the cuts next to the pencil line. This way, I could sand to the pencil line.
It’s not necessary, but I used this portable spindle sander to smooth the curved edges of the side panels. The spindle sander makes quick work of smoothing any saw marks. If I didn’t have a spindle sander, I would have smoothed the edges by hand with sandpaper.
Step 2. Attach the Shelves
Cut three pieces of wood to length for the shelves and drill pocket holes in each end.
Related: How to Use a Kreg Jig
The bottom shelf sets up a ¼” from the bottom of the sides. To help position the bottom shelf, I used painter’s tape to temporarily attach a scrap piece of ¼” thick MDF to each end. You could use any ¼” thick material like plywood, etc.
I positioned the bottom shelf so that the MDF was flush with the bottom of the sides and clamped.
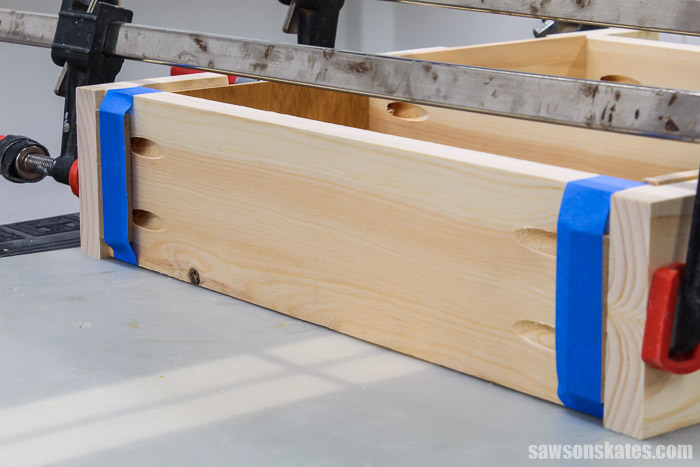
To help position the middle and top shelves, I cut four pieces of scrap wood to length.
I placed one piece of scrap wood on each side of the bottom shelf, positioned the middle shelf on top of the scrap wood, and clamped. I repeated this for the top shelf.
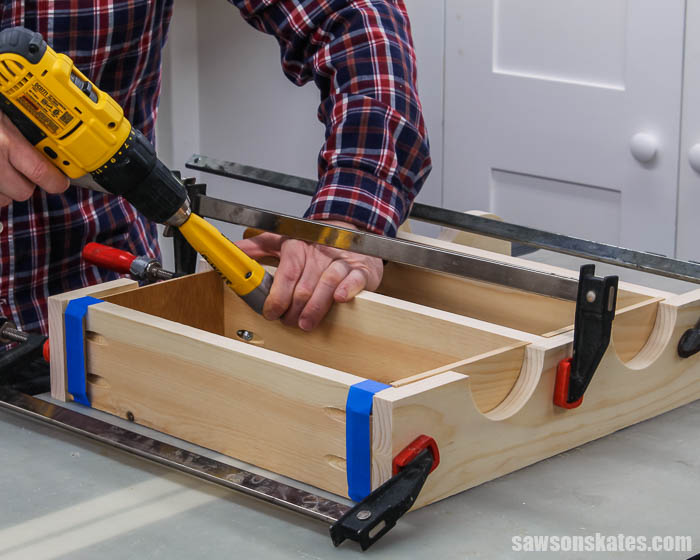
The shelves were attached using 1-¼” pocket screws.
💡 TIP: The pocket holes on the middle and top shelf are tricky to reach with a traditional driver, so it’s handy to have a right angle drill attachment. A right angle drill attachment is the perfect tool to drill in a tight spot or to drive screws in hard-to-reach places.
Step 3. Attach the Backs of the Shelves
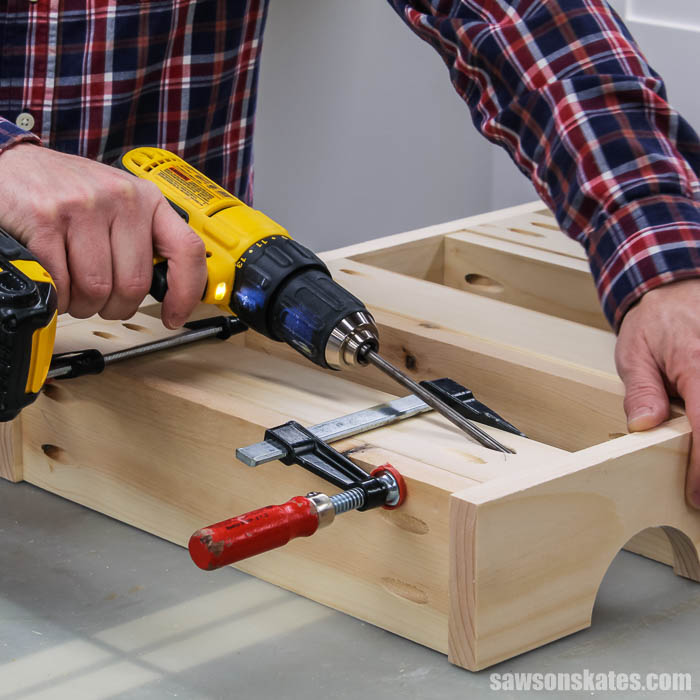
Cut three pieces of wood to length and drill pocket holes in each end.
Position the backs on top of the shelves and clamp. Attach using 1-¼” pocket screws.
Step 4. Attach the Top
Cut one piece of wood to length for the top. Use the template (at the end of the free plan) to trace the curved details onto the top. I used painter’s tape to help keep the template in position while I traced.
💡 TIP: When printing the PDF template, be sure to set the scale to 100%. Use scissors to cut out the template and then join the pieces with tape.

I used a scroll saw with this 10 TPI blade (teeth per inch) to cut out these curved details, but you might be able to use a jig saw instead.
I made the cuts next to the pencil line. This way, I could sand to the pencil line.
It’s not necessary, but I used this portable spindle sander to smooth the curved edges of the side pieces. The spindle sander makes quick work of smoothing any saw marks. If I didn’t have a spindle sander, I would have smoothed the edges by hand with sandpaper.
Drill pocket holes in each end. You can use the A and B holes in your Kreg Jig or position the pocket holes ¾” from each edge. Position the top at the top of the sides, and clamp. Attach using 1-¼” pocket screws.
Step 5. Attach the Rails
Cut three pieces of wood to length for the sides. Use the diagram in the printed plan to mark the location for the holes.
At each mark, use a ⅜” Forstner bit to drill a hole about an ⅛” deep.
I recommend using a Forstner bit because it drills a hole with smooth, clean sides and a flat bottom. You could drill these holes with a regular drill bit or a spade bit, but these bits tend to tear the wood and produce a hole with rough, jagged sides.
Related: What is a Forstner Bit? (& How to Use It)
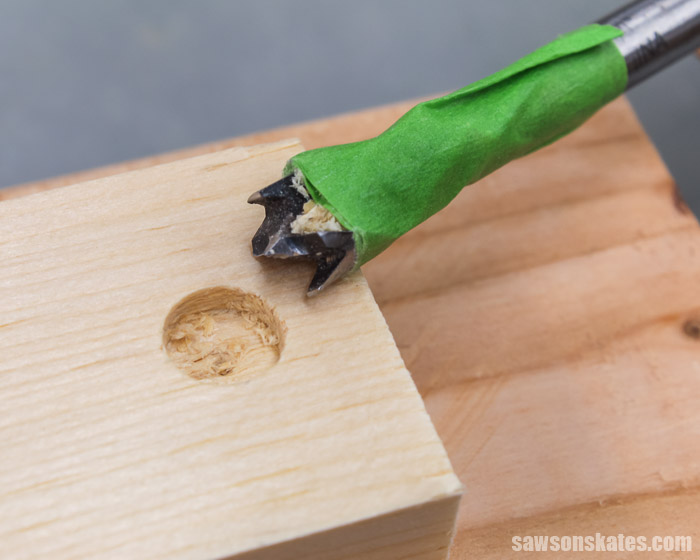
Next, use a ³/₁₆” drill bit to drill a pilot hole the rest of the way through the wood.
Related: How to Drill Pilot Holes (Why, When & Correct Size)
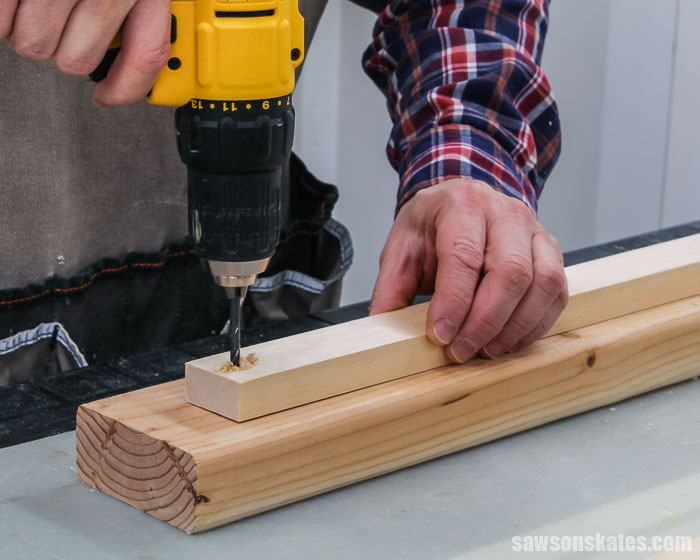
To help position the bottom rail, I placed a piece of scrap wood at the bottom of each side. Next, I positioned the bottom rail on top of the scrap wood. Then, I centered the rail from side to side. Attach the rail using 1-¼” wood screws.
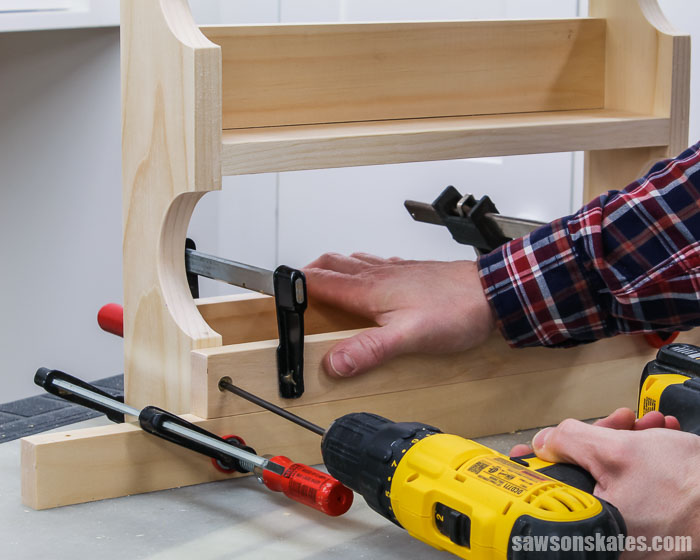
To help position the middle rail, I cut two pieces of scrap wood to length. I placed the scrap wood on top of the bottom rail. Next, I positioned the middle rail on top of the scrap wood. Then, I centered the rail from side to side. Attach the rail using 1-¼” wood screws. I repeated this process for the top rail.
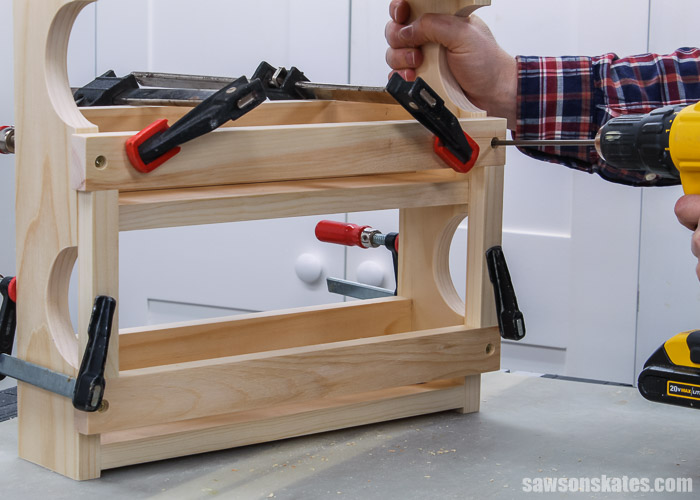
Step 6. Finish the Spice Shelf
See How to Finish and How to Hang the Spice Shelf for more information.
Video: How to Make This DIY Spice Shelf
Watch this quick video to learn how to make this easy DIY spice shelf.
Final Thoughts
This DIY spice shelf might remind you of one that may have seen in grandma’s kitchen or one that you may find while rummaging through an antique store. That’s because this project was inspired by an old-time spice shelf.
It’s easy to build and the perfect way to organize all of your spices. It has three shelves and antique-inspired curved details.
Click here to get the free plan (including the detailed instructions and measurements) now!
Thank you for stopping by. If you enjoyed this tutorial, would you please take a moment and pin it to Pinterest? I’d really appreciate it!

