Paint Scratching Off? 3 Fixes That Might Save It
We’ve all been there. You’re excited about a new project, pick the perfect color, and start painting, only to realize later that you didn’t prep the surface correctly. Now, the paint scratches off way too easily. Ugh.

The good news? Depending on how bad it is, you might be able to save your project without stripping or sanding everything down and starting over.
Here are a few ways to rescue a paint job that’s not sticking like it should and a few things to keep in mind before you dive in.
This article contains affiliate links. If you purchase from these links, I may earn a small commission at no additional cost to you. Visit my site policies for more information.
My Paint Fail: What Happened and What I Learned
Recently, I found a piece of furniture on the side of the road that I thought would be perfect for a quick makeover and maybe even flip on Facebook Marketplace. Overall, it was in good condition, and I knew the best approach would’ve been to prep it correctly: clean it, sand it, and apply a quality primer.
The thing is, I really don’t like sanding, especially sanding furniture that’s already assembled. It’s messy, tedious, and just not my favorite chore.
Related: How to Sand DIY Wood Furniture (Faster, Easier & Better Results)
I remembered a friend (who is also a fellow blogger) using a shortcut where they clean and degloss the surface in one step, then go straight to painting. (If you’re not familiar with it, deglossing is a way to dull a shiny surface without sanding, giving the paint a better chance to stick.) They swear by this technique and have used it for years with great results.
So, I decided to give it a try.
I should’ve followed my gut, though, because after using their technique, the surface still looked like it had a slight sheen. Despite my better judgment, I applied a coat of paint and let it dry overnight.
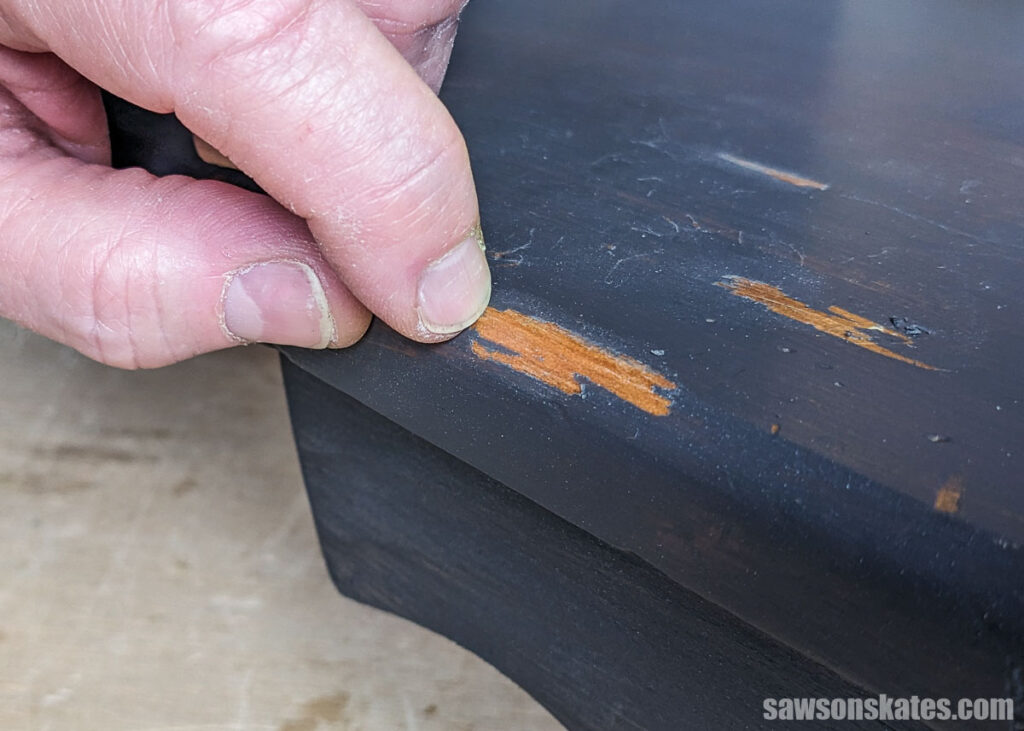
The next morning, I gave it the old fingernail test, where you lightly scratch the surface with your nail to see if the paint holds. Well, without applying almost any pressure, the paint scratched right off.
Now, I want to be clear: I’m not here to criticize their method. They swear by it, and it works for them. It’s entirely possible I messed something up along the way.
Instead, I want to share a few things you can try if you ever find yourself in a similar situation, because there are ways to maybe save your project without completely starting over.
First, Assess the Damage
Before you try to fix it, take a close look at the surface:
- Is the paint flaking or peeling off in big sheets?
- Or is it mostly intact, just easy to scratch with your fingernail?
If it’s still mostly sticking to the surface, you have some options to lock it down. Unfortunately, if it’s peeling badly, it’s often better to sand or strip it in the long run.
But if you’re lucky and the damage isn’t too bad, here’s what you can try:
1. Apply a Clear Protective Topcoat
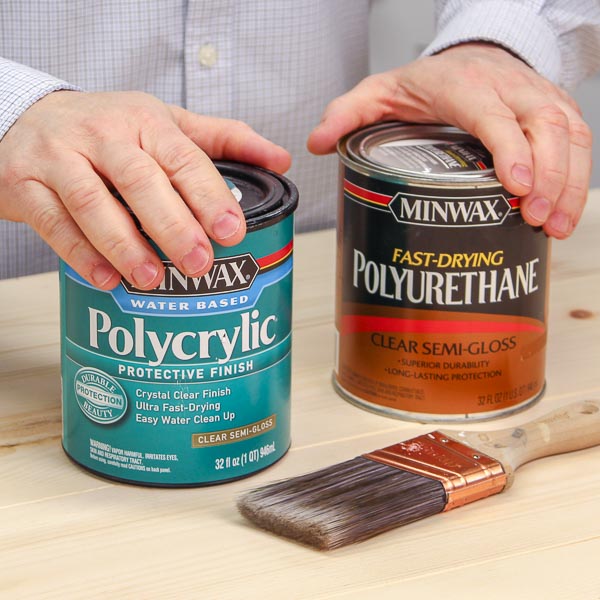
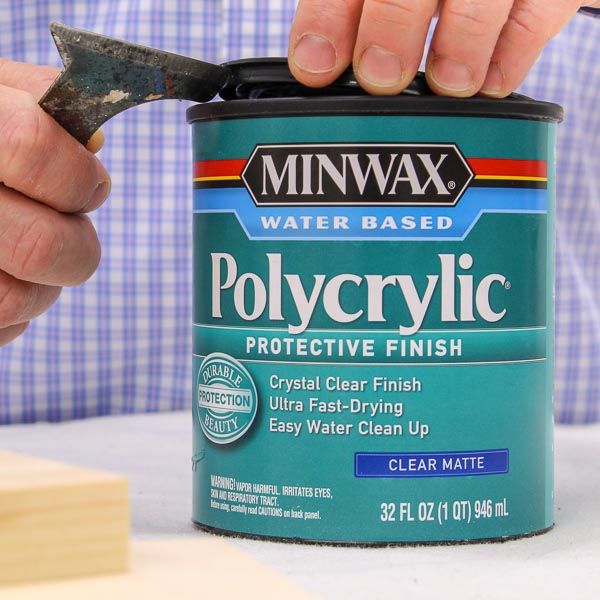
One of the simplest fixes is to apply a clear water-based polyurethane or Polycrylic over the painted surface. This creates a tough outer layer that can help prevent scratching and chipping.
If you’re not sure whether polyurethane or Polycrylic is the better choice for your project, I’ve got you covered here with a full comparison.
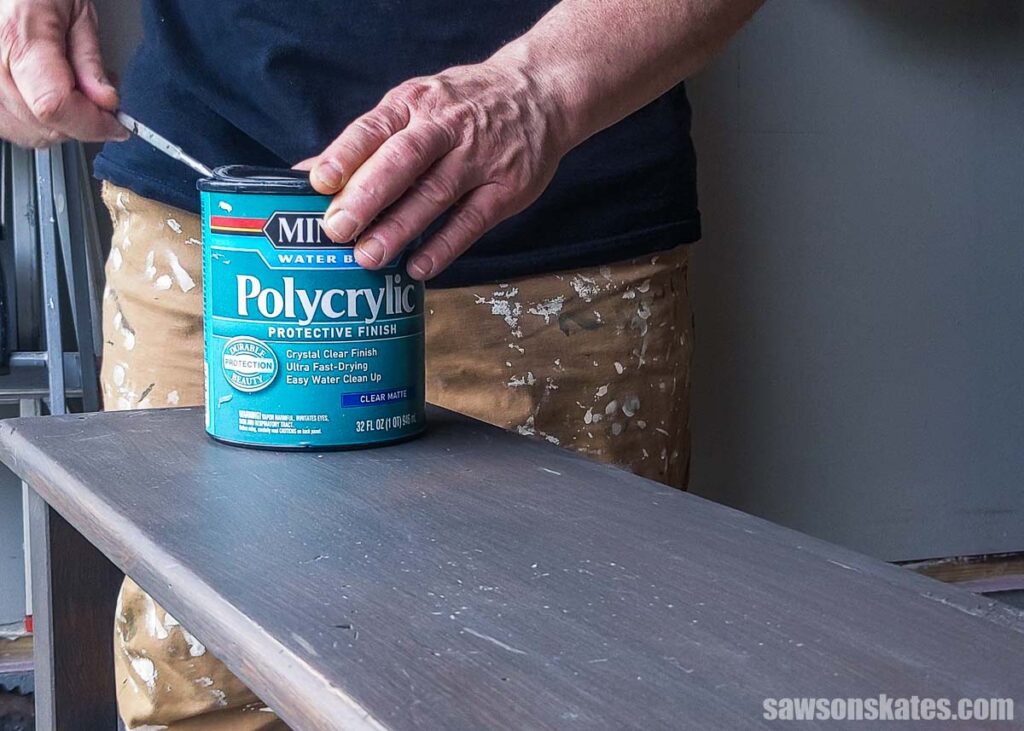
If you go with Polycrylic and your paint is dark, be sure to apply very thin coats. Polycrylic can sometimes dry with a milky or cloudy look over dark colors if the coats are too heavy. Light, even layers, are the way to go.
Related: How to Apply Polycrylic (Without Streaks or Brush Strokes)
Here’s how to do it:
- Optional but helpful: Very gently sand the paint with 220-grit sandpaper to help the topcoat stick. Just a quick pass to scuff the surface without removing the paint.
- Use a tack cloth to remove any dust.
- Carefully brush on a thin coat of water-based poly or Polycyclic.
- Let it dry completely.
- Lightly sand with very fine sandpaper (220 grit), remove the dust, and apply a second coat.
Spray poly is another option if you’re worried about lifting the paint (more on that below).
2. Mist with a Spray Polyurethane
If the paint feels super fragile, brushing on a clear coat might be risky. In that case, grab a can of spray polyurethane or spray Polycrylic.
Here’s the trick:
- Start with a very light mist coat — just enough to dust the surface.
- Let it dry completely.
- Build up additional light coats until you have a solid protective finish.
This method is less likely to disturb the paint because there’s no direct brushing involved. It takes a little longer (because you’ll need more coats), but it’s safer for delicate finishes.
TIP: If, after a few coats, the surface feels stable and well-sealed, you can switch to brushing on a water-based top coat (like in Fix #1) to build up more protection.
A real-world example of this came up at a friend’s vacation rental.
We removed an inset wall cabinet with plans to turn it into an owner storage locker… and then ran out of time. We needed a quick way to hide the hole in the wall before guests arrived.
He ended up finding a great old shutter at a thrift store. The patina was perfect—but the paint was not. Just touching it caused chips to fall off.
Brushing on a clear coat felt risky, so he lightly misted the shutter with spray polyurethane instead. Five years later, it’s still hanging there and holding up surprisingly well. To be completely honest, a little paint still chips off now and then—but overall, the finish is far more stable than it was before.

3. Seal it with a Bonding Primer (and Repaint)
If you don’t mind doing a little extra painting, you could try a bonding primer.
Bonding primer, like Zinsser BIN Peel Stop, is designed to glue down peeling paint. You can lightly brush the primer over the existing paint, let it dry, and then repaint your color on top.
Warning:
- This isn’t a foolproof fix if the underlying paint is really unstable.
Still, it’s an option if you’re trying to avoid starting over.
A Few Things to Keep in Mind
- These fixes work best for decorative pieces that won’t see heavy wear (like wall art, side tables, or shelves).
- If it’s a high-traffic item (like a chair seat or a kitchen table), even with a top coat, the poor adhesion might eventually cause problems.
- Always do a test spot first. Some topcoats may cause paint to wrinkle or lift if the base layer isn’t stable.
Final Thoughts
If your paint job scratches easily but otherwise looks good, sealing it with a clear topcoat might be all you need to save it; no messy stripping or sanding required.
Just remember: preparation is key for next time. Sanding and priming upfront can save you a lot of heartache later.
In the meantime, don’t be too hard on yourself. Almost every DIYer has had a paint fail at some point. It’s all part of the process.
Recommended For You
Pin This For Later

Hi there – I’m Scott, a woodworking enthusiast and creator of Saws on Skates, a site I started in 2015 to share easy-to-follow tutorials, space-saving shop tips, and project inspiration for DIYers at any skill level. Learn more about my woodworking journey here.
Keep in mind the paint has a cure time. For water-based paint it’s 30 days. So it is very likely not going to pass the scratch test the next day, but after a week it’s probably cured enough for the scratch test.