DIY Farmhouse-Style Baker’s Rack (Makeover & Plans)
This post is a little different from what I usually share. It’s part furniture makeover, part design discussion, and I’m also including plans so you can build your own if you don’t have a piece like this to fix up. There’s a lot to cover, but I’ll break it down so it all makes sense (hopefully, lol).
What Should I Build Next?
That's the question I help answer.
Every week, I send woodworking ideas to 17,000 DIYers who love building things.
You'd fit right in.
Navigation
This article contains affiliate links. If you purchase from these links, I may earn a small commission at no additional cost to you. Visit my site policies for more information.
Curbside Find With Potential
It all started after taking my dog for his morning walk on the local rail trail. On the drive home, I noticed two wooden sections leaning against a pole. At first, they looked like pallets, but something about the finish made me think they were part of a furniture piece. I thought about stopping, but I really don’t need any more furniture. So I made a deal with myself: if they were still there during our lunchtime walk, I’d stop and check them out.
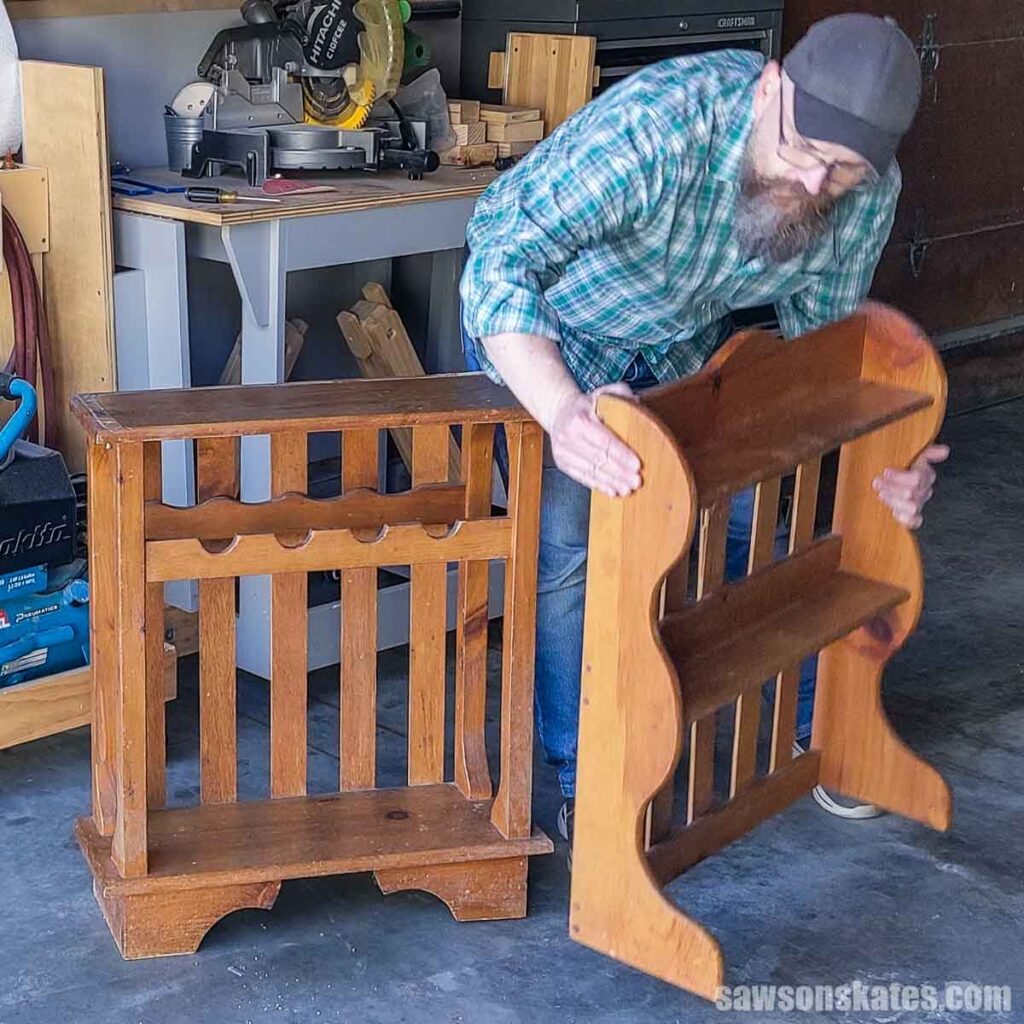
Sure enough, they were still there at lunch. I pulled over. The pieces were pine and had a handmade feel. There was some damage, but nothing I couldn’t fix. I wasn’t entirely sure what it was; between the narrow shelves up top and a wine rack-looking section at the bottom, I guessed maybe it was a wine rack? Either way, it was coming home with me. I pulled off the “FREE” sign and loaded it into my trunk.
Identifying the Mystery Piece
Once I got home, I snapped a photo and used Google Lens to see if I could figure out what it actually was. The first result? The exact same piece! Even better, it was from my friend Diana at Adirondack Girl at Heart.
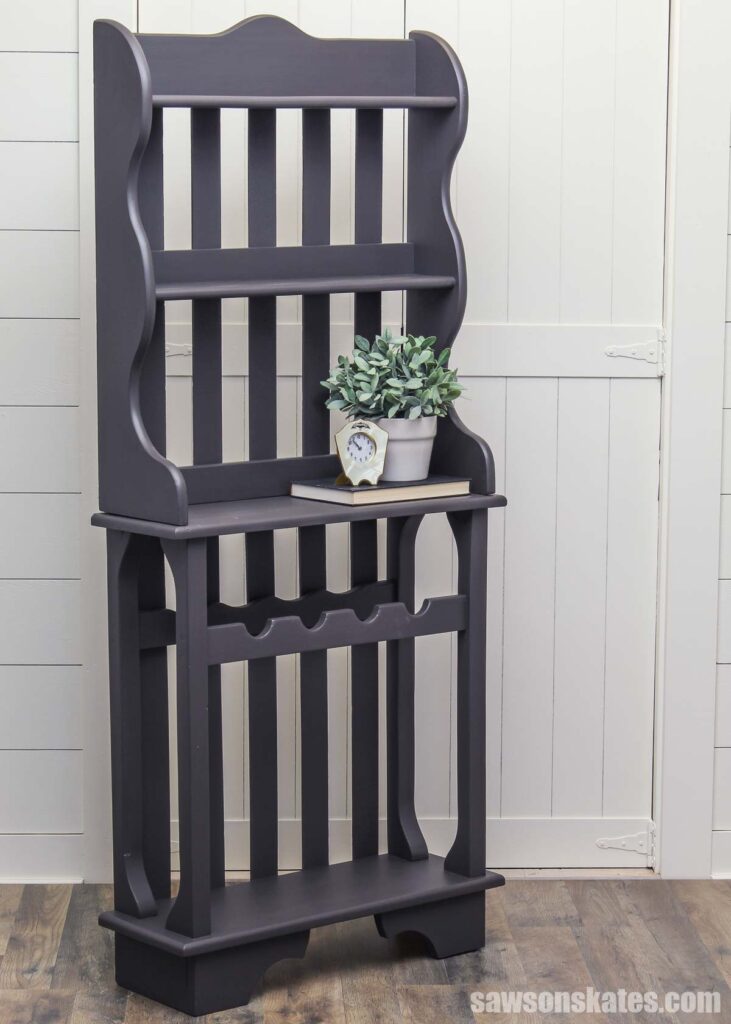
I clicked through and saw she had given it a fresh coat of white paint and was using it in her entryway. She called it a baker’s rack. I wasn’t doubting her, but it seemed pretty narrow, so I texted my aunt, who used to refinish furniture. Her response? “It’s a baker’s rack.” So I guess that settles it, lol.
A Makeover and Printable Plans
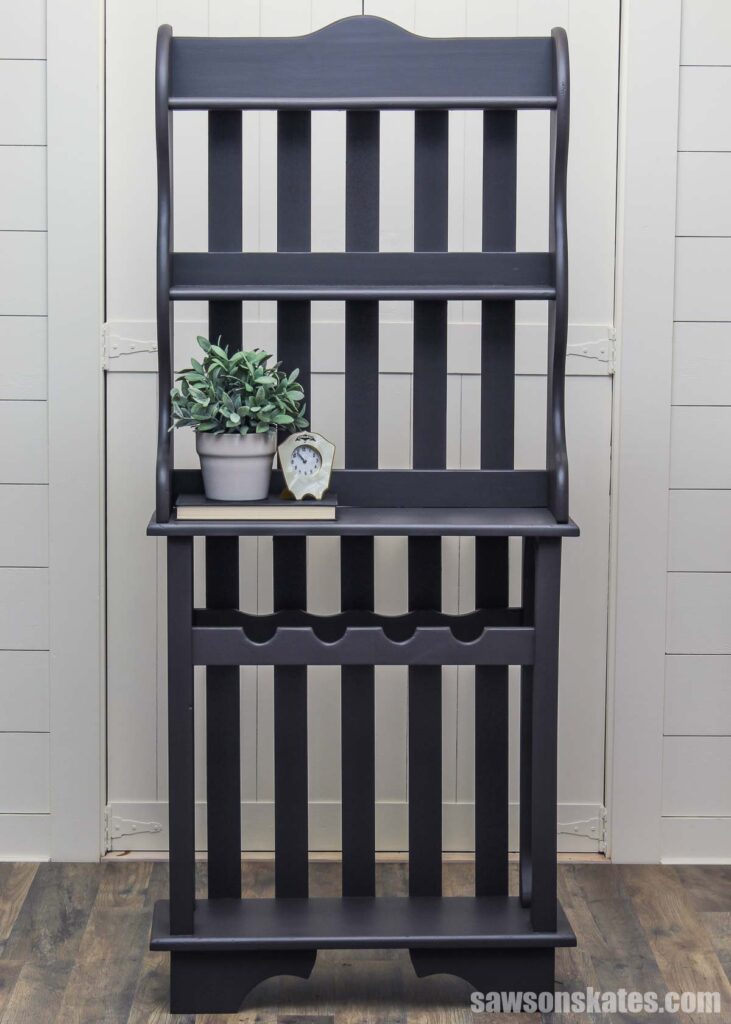
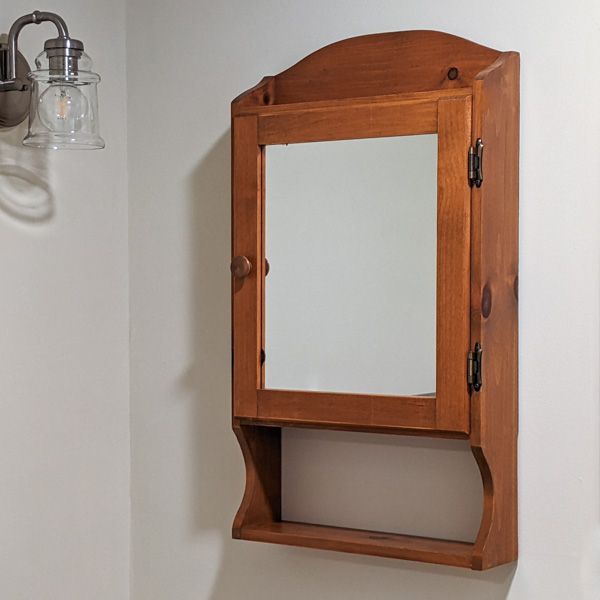
Just like I did for that handmade medicine cabinet I found at Goodwill, I decided to draw up plans so you could build one too. And to make things easier, I included six printable templates to take the guesswork out of laying out all the curved details! I also gave it a little makeover: cleaned it up, replaced the broken slat on the back, and gave it a fresh coat of paint.
I did have a little trouble with the paint sticking, which is my fault for taking a shortcut. If that ever happens to you, I shared a few things to try in my article: Paint Scratching Off? 3 Fixes That Might Save It.
Design Tweaks for Better Looks
While I was drawing up the plans, I made a few changes. For starters, the way the sides met the top looked unfinished. I adjusted the design so they meet cleanly for a more polished look.
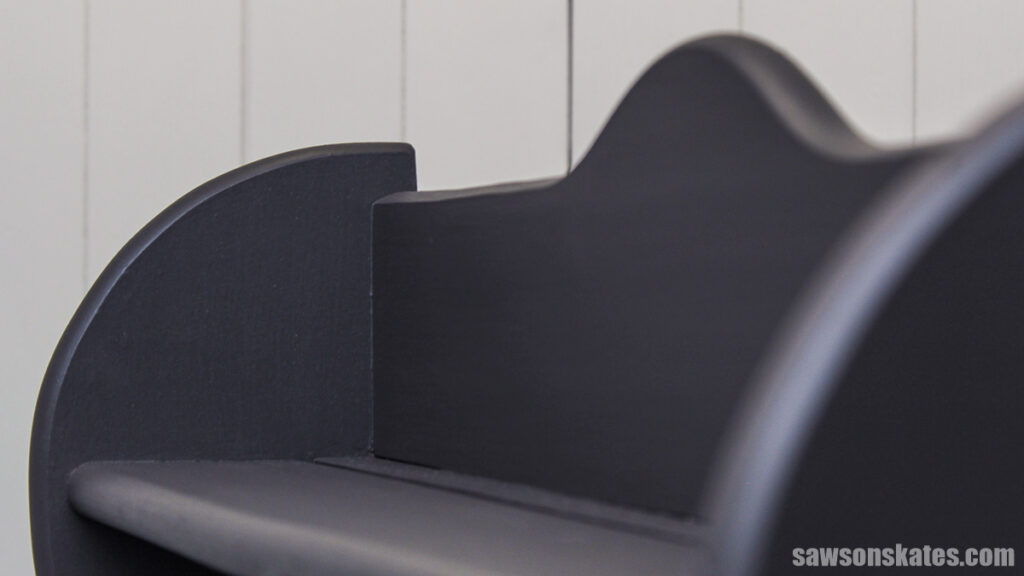
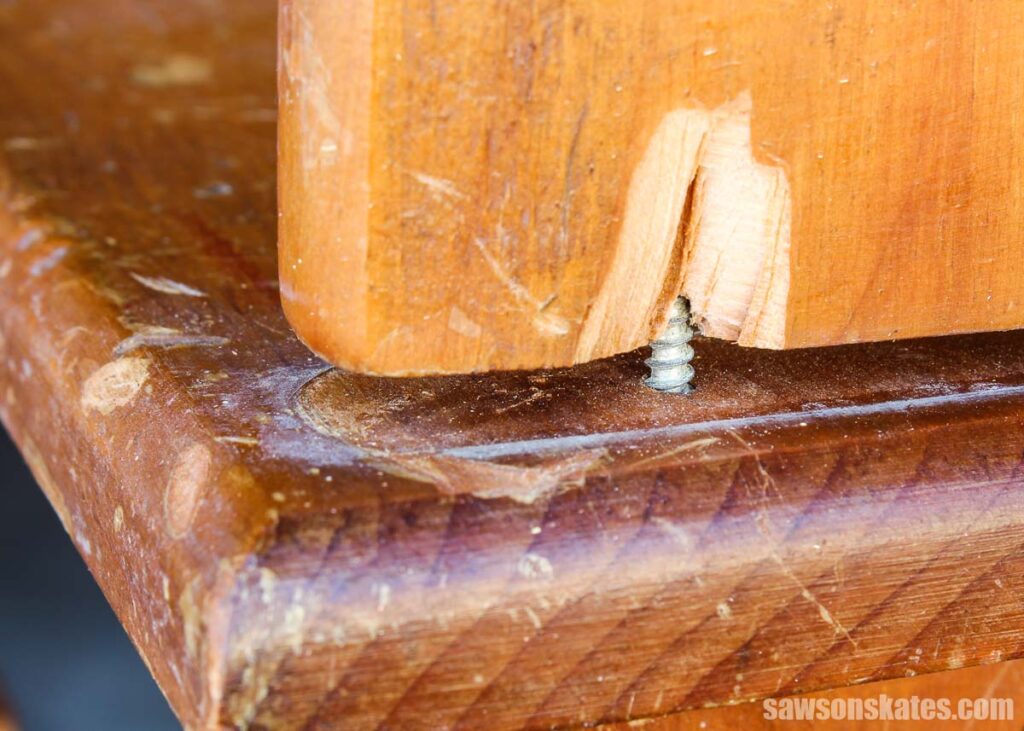
The top section originally overhung the bottom, which didn’t feel quite right. I think the proportions look better when the top is the same width or even slightly smaller. I get why it was built that way: the overhang made it easier to drive screws through the end grain of the side panels.
But driving screws into end grain is like screwing into a box of straws; there’s just not much for the screw to grip. Plus, end grain is prone to chipping, and that might be one of the reasons this piece ended up by the curb.
And while we’re talking about the top, the original version had a curve that reminded me of a camel’s hump. I reworked the design for the printable plans so it’s less pronounced and stretches further side to side, creating a softer, more balanced shape.
I also redesigned the bottom to flow better with the updated top and overall proportions.
One Final Touch
If I were building this from scratch, there’s one more thing I’d change: instead of using slats on the back, I’d swap them for beadboard panels. It would give the piece a more solid feel and a classic farmhouse look.
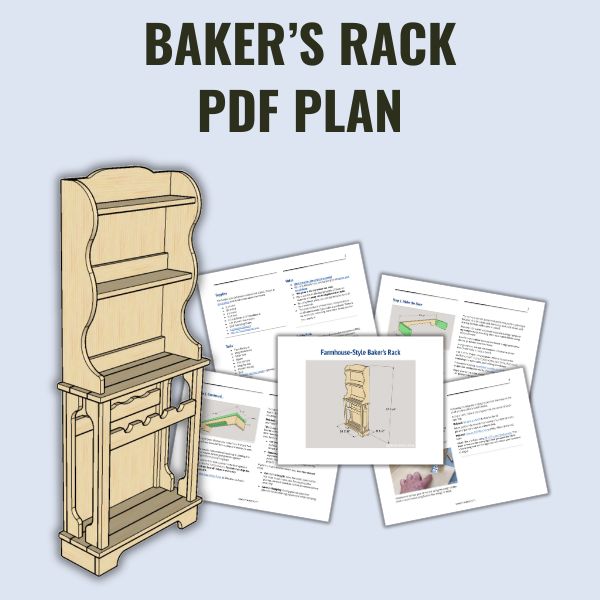
Includes:
- List of tools and materials
- Complete measurements (in inches)
- Easy-to-follow instructions
- Step-by-step photos
- Detailed diagrams
- 6 templates!
Pin This For Later

Hi there – I’m Scott, a woodworking enthusiast and creator of Saws on Skates, a site I started in 2015 to share easy-to-follow tutorials, space-saving shop tips, and project inspiration for DIYers at any skill level. Learn more about my woodworking journey here.