
How I Cut Wood with the xTool P3
So you want to cut some wood on your P3. It’s one of my favorite things to do with this machine, and once you’ve done it a couple of times, it becomes second nature.
New to the P3? Here’s my full review.
I’ll walk you through the wood I like to use, how I set up my file in xTool Studio, and how I actually run the job.
xTool provided the P3 laser cutter I used in this project. All opinions are my own.
This article contains affiliate links. If you purchase from these links, I may earn a small commission at no additional cost to you. Visit my site policies for more information.
The Wood I Use
Most of what I’ve been cutting so far has been scrap pieces of 1/2 inch pine and plywood. But not just any plywood. The 3mm and thinner basswood and birch plywood meant for laser cutting work great. I also tested some scrap 1/2 inch plywood, and it nearly caught fire. There’s always a fire risk when cutting wood, but this stuff was scary.
After that, I researched the best plywood for laser cutting, and one that kept coming up was SandePly, which my big-box store carries. I’ve tested it, and it worked. But here’s the thing. The glue in a lot of interior-grade plywood contains formaldehyde, which is an irritant and a carcinogen. When you laser cut or engrave, you’re burning the wood and the glue, and formaldehyde-based plywood releases that formaldehyde as it’s cut, which can be harmful to breathe.
So the best choice is plywood sold specifically as laser-safe or laser-grade, where the adhesive is identified.
An alternative is PureBond hardwood plywood, which uses a formaldehyde-free soy-based adhesive instead of the usual formaldehyde resin. I haven’t tried it yet, but as of this writing, it’s on my list to pick some up. I’ll update this once I’ve tested it.
Another option is gluing up your own panels. For example, I often end up with narrow strips from ripping boards to width. I’ve used them for a few projects, like the logs on my log cabin birdhouse. I’m considering gluing them into panels. One thing to keep in mind is that the laser works differently on glue than on wood, so the glue line may not cut through cleanly.
Setting Up My File in xTool Studio
Once I’ve decided what I want to make, I set up the file in xTool Studio. This is where you tell the machine what to cut, what to score, what to engrave, and what to leave alone.
I start by bringing in my shape, usually an SVG. Sometimes that’s something I’ve designed; sometimes it’s a shape from the file library. Then I size it to fit my material and my project. If I’m doing lettering, I’ll pick a font and drop the letters in here too.
Next, I need to tell the machine what to do with each line: cut, score, or engrave.
- Cut goes all the way through the material.
- Score marks the surface with a thin line, which is handy for lining things up or adding a little detail.
- Engrave fills in an area, so it’s what you’d use to burn a design, some text, or a photo into the face of your wood.
Here’s something I learned recently. There’s a sort of standard for assigning these by color.
- Red stroke means cut
- Blue stroke means score
- Black fill means engrave.
Setting up your file this way keeps everything organized and makes it clear what each part will do.
So for a typical project, I’ll set my outside lines to cut, engrave any design on the face, and set any guide lines to score.
Dialing in Power and Speed
Once my file is set up, it’s time to tell the machine how hard to work. This comes down to two settings: power and speed.
Power is how strong the laser fires. Speed is how fast it moves across the material. The two work together. More power and slower speed means a deeper, more aggressive cut. Less power and faster speed means a lighter touch. For cutting all the way through wood, you want enough power and a slow enough speed to cut without charring or setting your material on fire.
The good news is you don’t have to start from scratch; xTool Studio has presets for many common materials, and that’s a good place to start.
Some materials aren’t listed, especially thicker ones. So, you might be tempted to hunt down someone else’s settings online, but I’d recommend against that. Every material and laser behaves differently, so someone else’s numbers that work for them may not cut through entirely for you.
Whether you’re working with a material listed in xTool Studio or not, I’d suggest running a material test.
So what’s a material test? It’s a small test cut that shows you how your material reacts before you waste a full sheet. The idea is to try a range of power and speed settings on a scrap of the exact material you’re going to use, then look at the results and pick the settings that cut clean without excess char. It takes a few minutes up front, but it saves you from ruining a bunch of material.
I’ll be putting together a full walkthrough on how to run a material test array soon. I’ll link it here once it’s ready.
Running the Cut
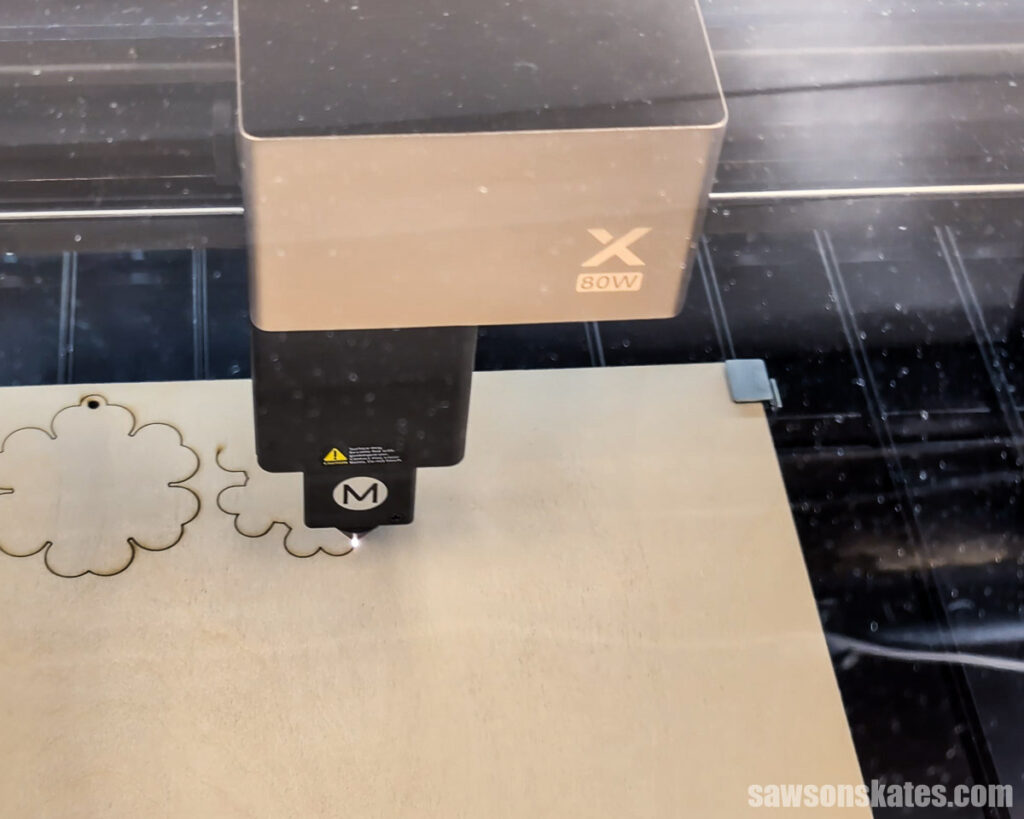
With my settings dialed in, I’m ready to cut. With the P3 on, I place my board on the bed and lock it in place. The P3 has air assist, which blows a steady stream of air right at the spot the laser is cutting. It clears away smoke and debris so the beam stays clean. That stream of air can also nudge or lift a board that isn’t held down, so locking your material is an important step.
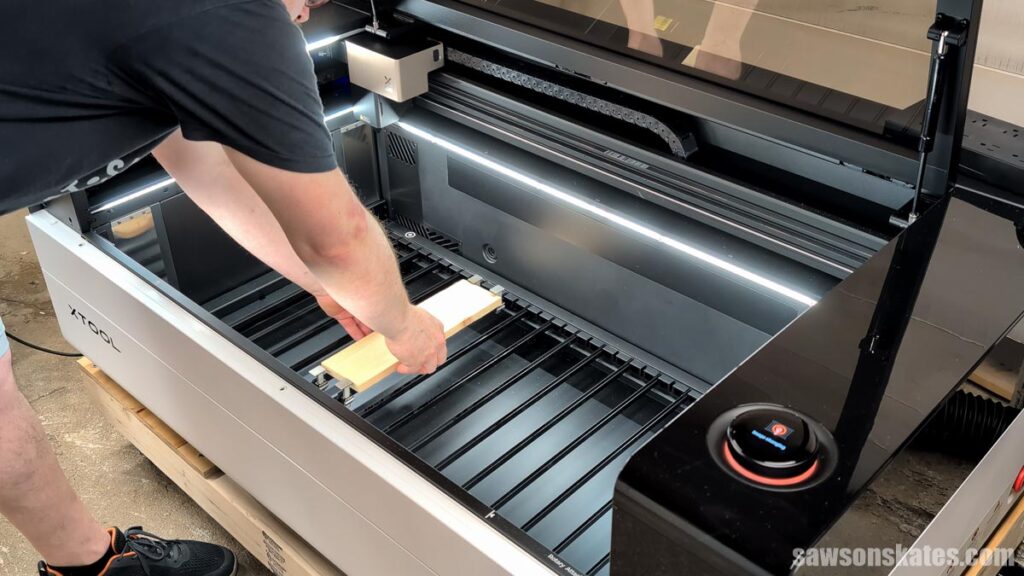
Then I wait for the light in the lid to turn green, which means the P3’s cameras detected the material, and the dial confirms the material was detected and tells me to close the lid.
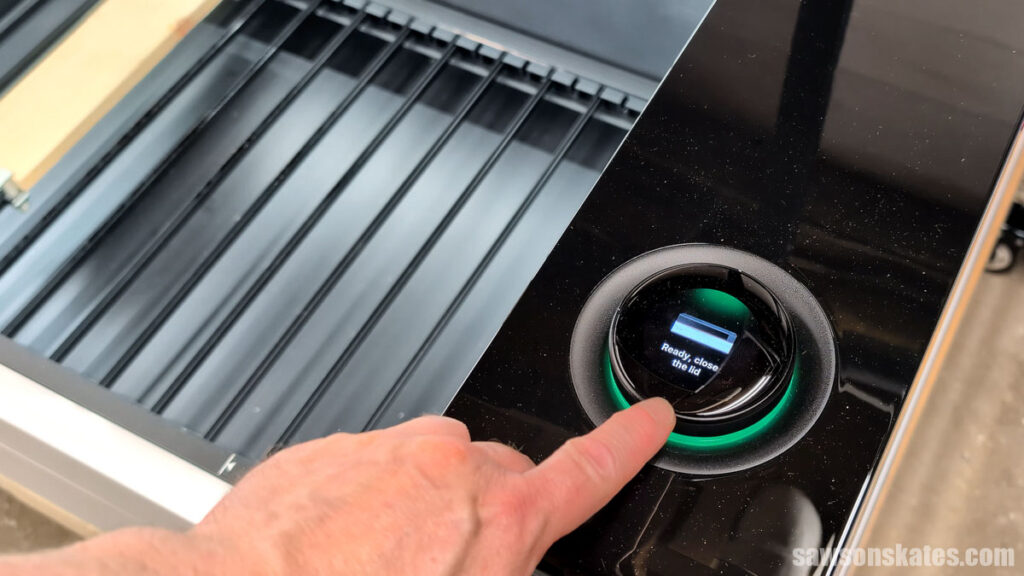
The machine measures the material thickness on its own, raises the bed, double-checks the measurement, and tweaks the bed height if needed.
The P3’s camera shows a live view of the bed, so I can see my material on the screen in xTool Studio. That lets me drag my design right where I want it on the wood, which is handy when I’m working with a scrap piece and want to fit the cut into a specific spot.
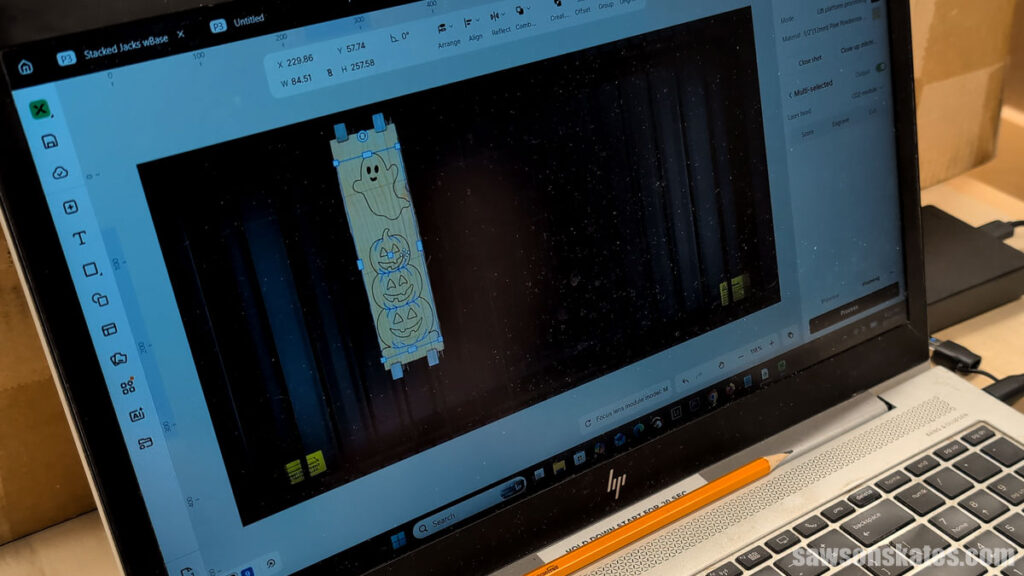
Depending on my project, I may not want to cut all the layers at once. For example, if I want to use different material thicknesses, or I’m using scrap and can only fit some of the parts on the board. In xTool Studio, I turn off the output for the layers I’m not cutting yet, so the machine only runs the layer I want. Then I position that layer on my material.
When everything looks right, I turn on the fan to vent the smoke, click Process and Start, then tap the dial on the machine to begin. From there, the P3 does the work.
Here’s the important part. I don’t walk away. A laser cuts by burning through wood, and wood can catch fire. I stay with the machine the whole time it’s running, and I keep an eye out for any flare-ups.
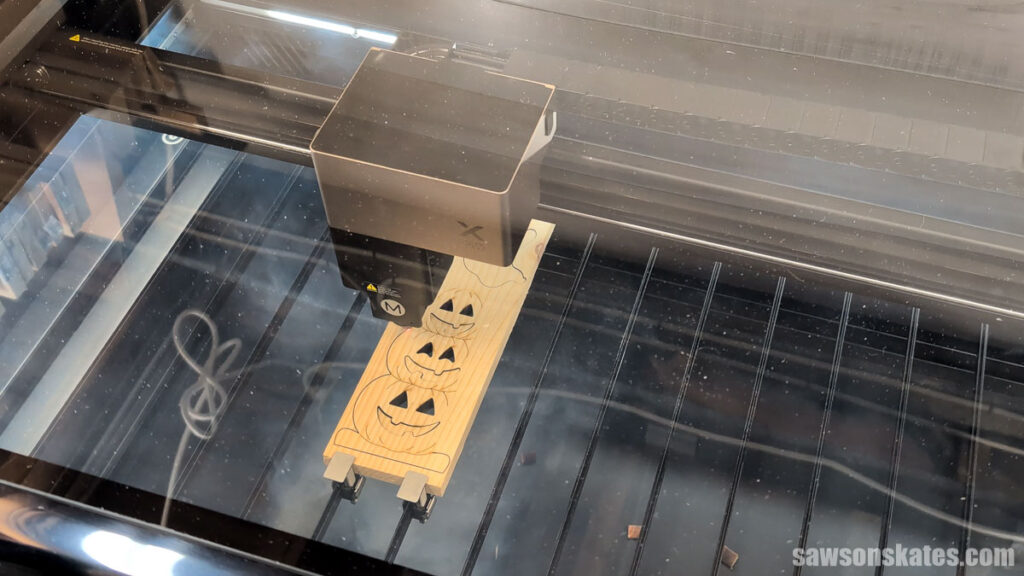
When the layer’s done, I wait a few seconds for the smoke to clear, open the lid, and remove the part. Then, I repeat these steps if I have more to cut.
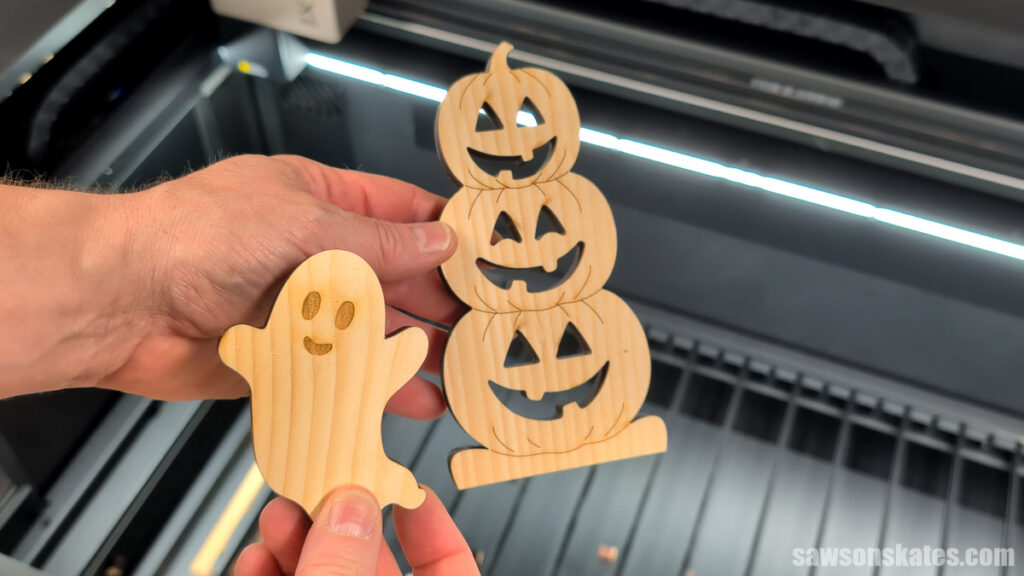
After the Cut
Once the part is out of the machine, I usually have a little cleanup before it’s ready to use.
I tend to end up with a little char where the laser begins the cut. There are ways to reduce this, but I’m still somewhat new to laser cutting and still figuring it out. For now, a quick wipe with rubbing alcohol takes it off.
From there, the part is ready for whatever comes next: gluing up my layers, adding a finish, or assembling my project.