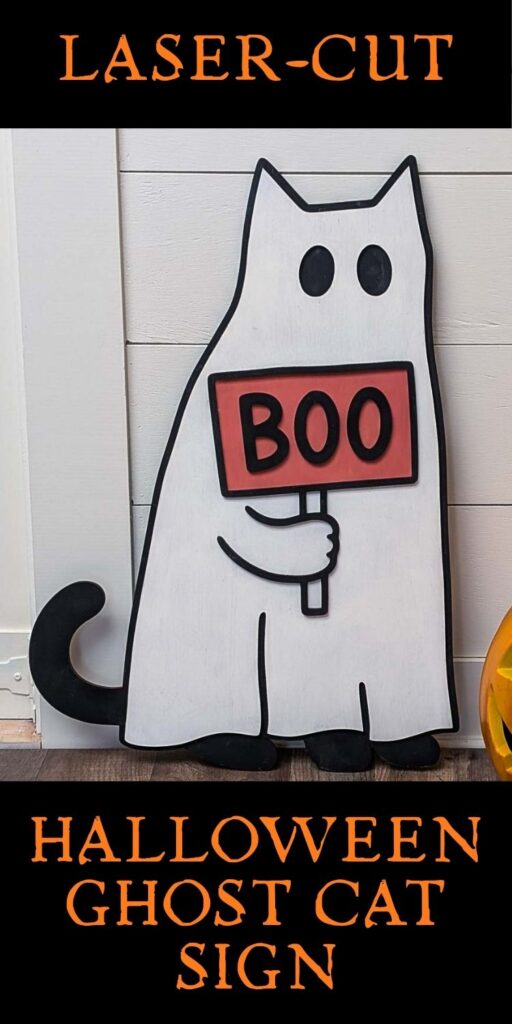
DIY Ghost Cat Halloween Sign
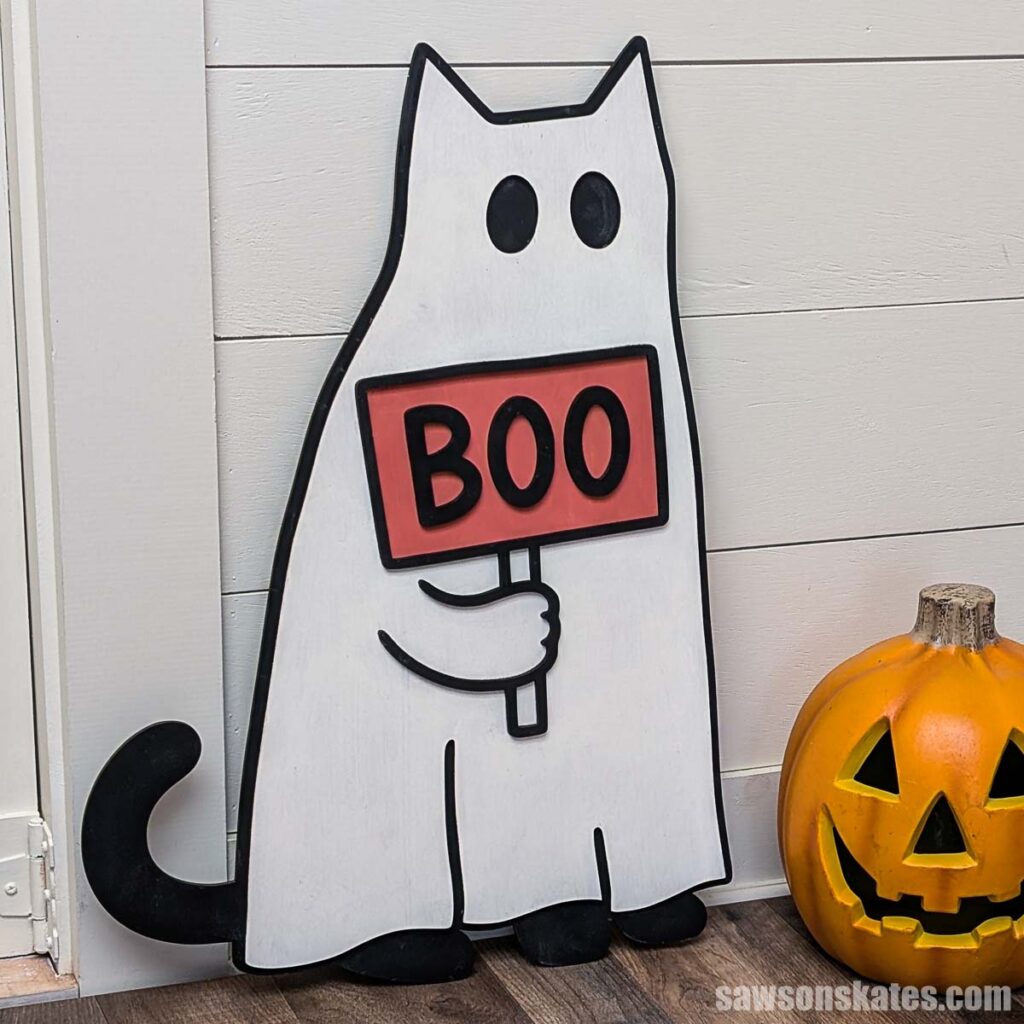
Looking for Halloween decor that’s more cute than spooky? This wooden cat dressed as a ghost might be the answer. Set it by your front door or on the mantel for some friendly Halloween fun.
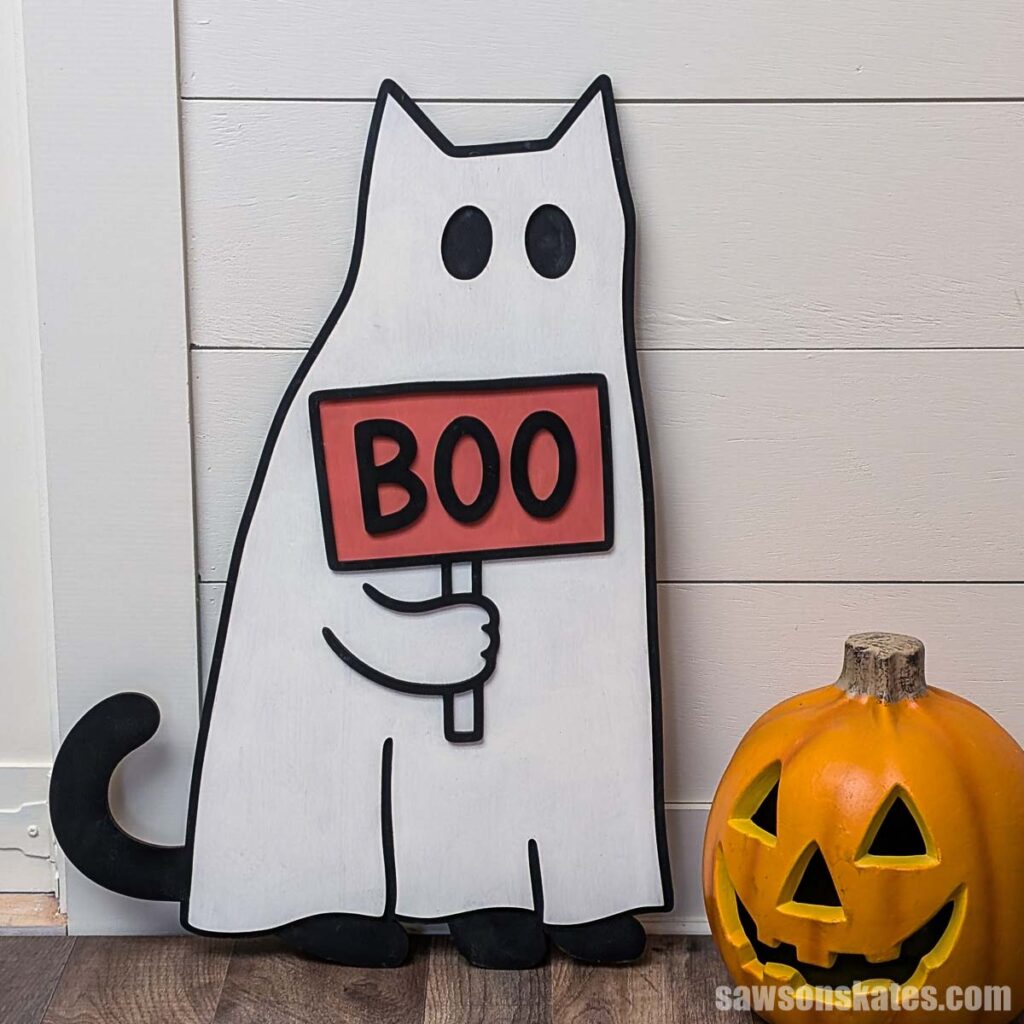
I made mine on my laser, but you might be able to cut it out with a jigsaw instead. Grab the laser cut files below and let’s get started.
xTool provided the P3 laser cutter I used in this project. All opinions are my own.
This article contains affiliate links. If you purchase from these links, I may earn a small commission at no additional cost to you. Visit my site policies for more information.
Step 1. Design the Layers
In xTool Studio, I set up the file. The first layer is the backer piece with the cat’s tail. The second is the ghost “sheet.” The third layer is the cat’s hand holding the sign and the BOO letters.
You can design your own, or, if you want a shortcut, I have the laser cut files available below.
Step 2. Cut the Layers
I’ve made a handful of projects with the P3 so far, and cutting the material has been pretty much the same for all of them. So rather than repeat the details here, I’ve created a post, How I Cut Wood with the xTool P3 that explains my process.
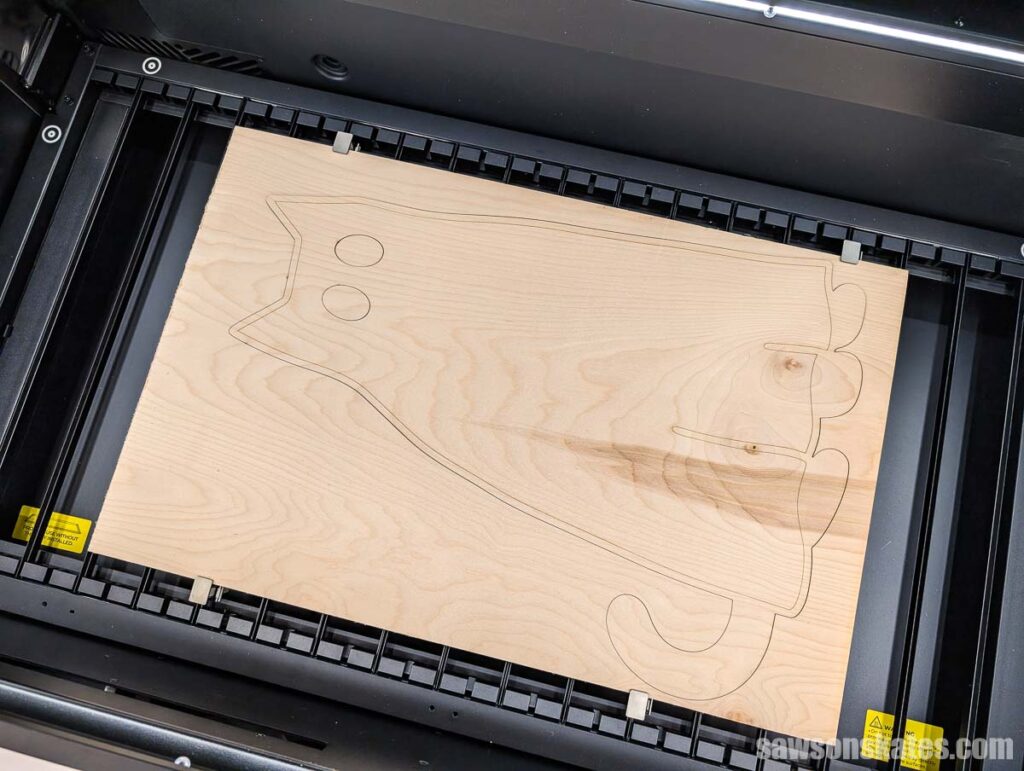
Step 3. Finish and Assemble
Before I could start painting, I had to fix something I messed up. I set the eyes to cut all the way through the cat, but I actually wanted to score them and paint them black.
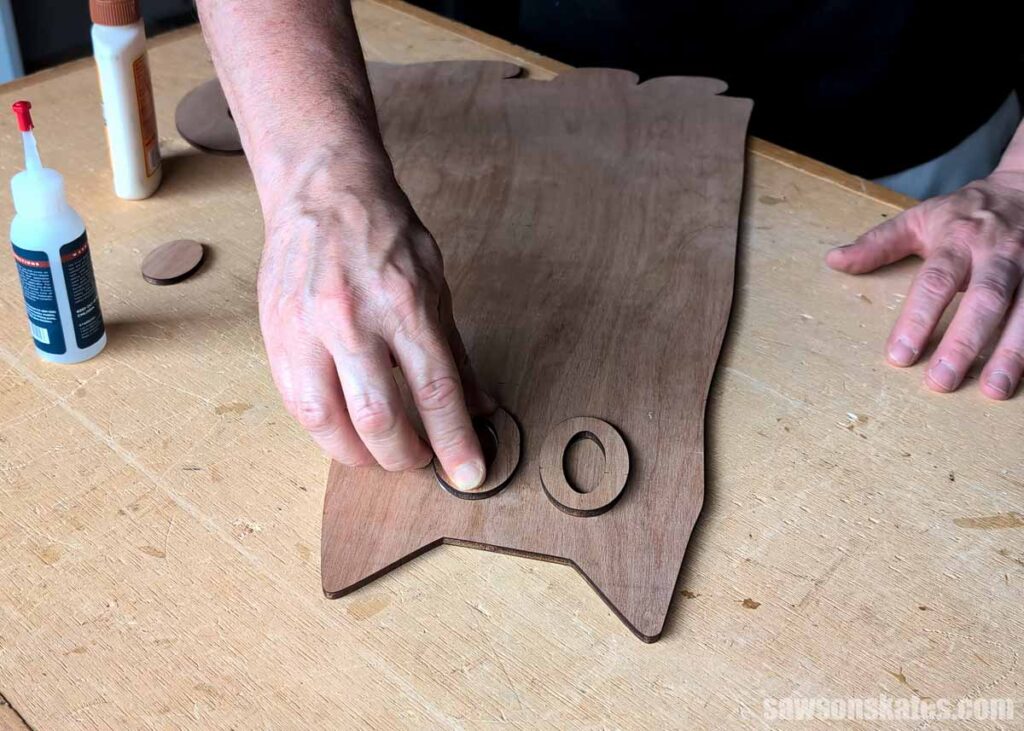
Luckily, I had these leftover ovals from a test cut. So I put the eyes back in their sockets (lol). I applied wood glue plus two drops of CA glue to the top and bottom, then pressed each one in place.
If you haven’t used it before, CA glue is just super glue. Woodworkers use it when clamping isn’t practical, because it bonds almost instantly. These eyes would be tricky to clamp, so the CA glue gives an instant hold while the wood glue provides extra strength once it dries.
I painted the front and back of the first layer (the cat) with a black chalk-type paint.
For the second layer, I painted it white except for the area of the sign, which I painted terra cotta orange.
I painted the sign and the letters the same black that I used for the cat.
When the paint was dry, I applied glue to the back of the “sheet.”
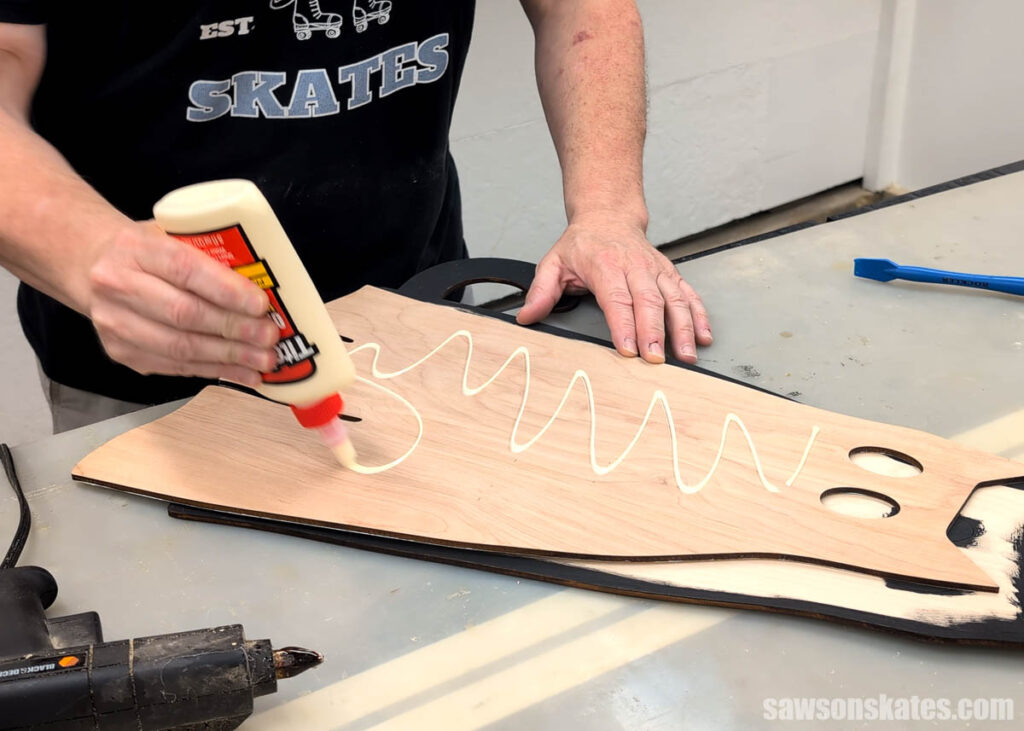
Then, I positioned it on the cat, and held it in place with spring clamps.
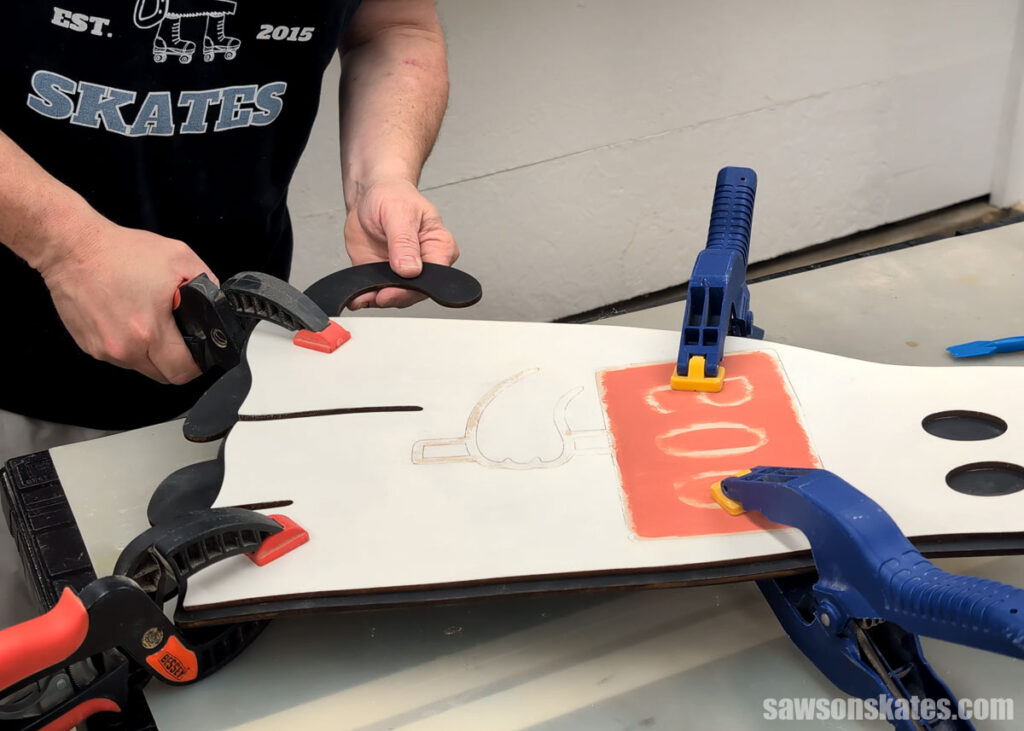
I repeated that step for the sign.
I temporarily placed the sign cutout and used it to perfectly position the letters.
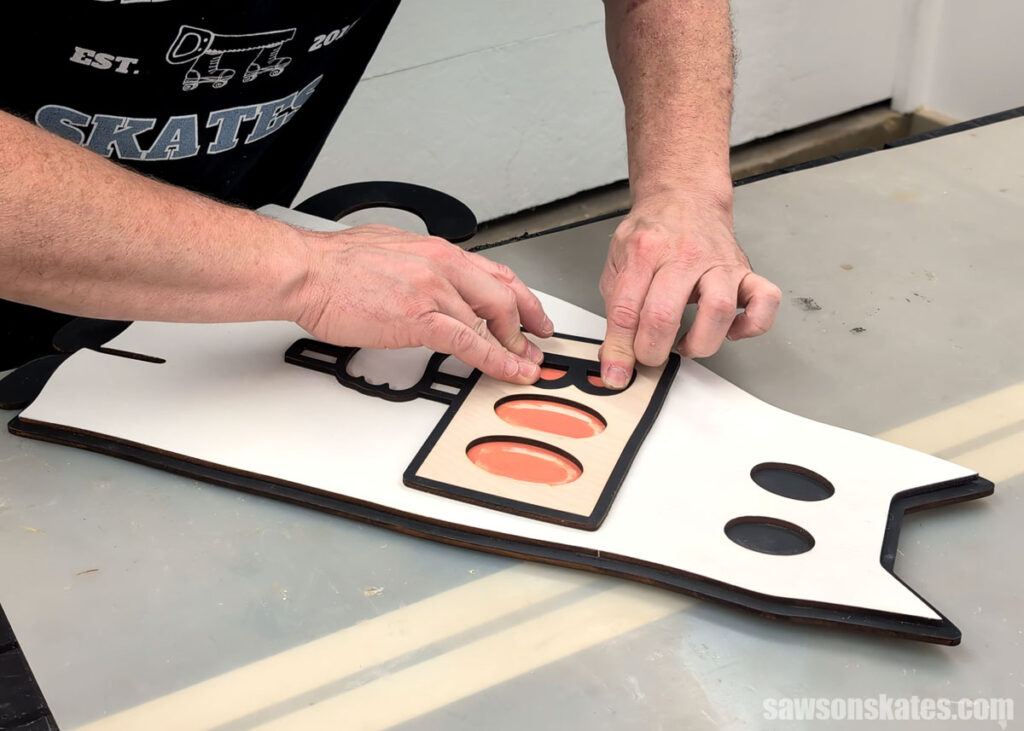
And that’s it. I’m ready to show off my BOO cat!
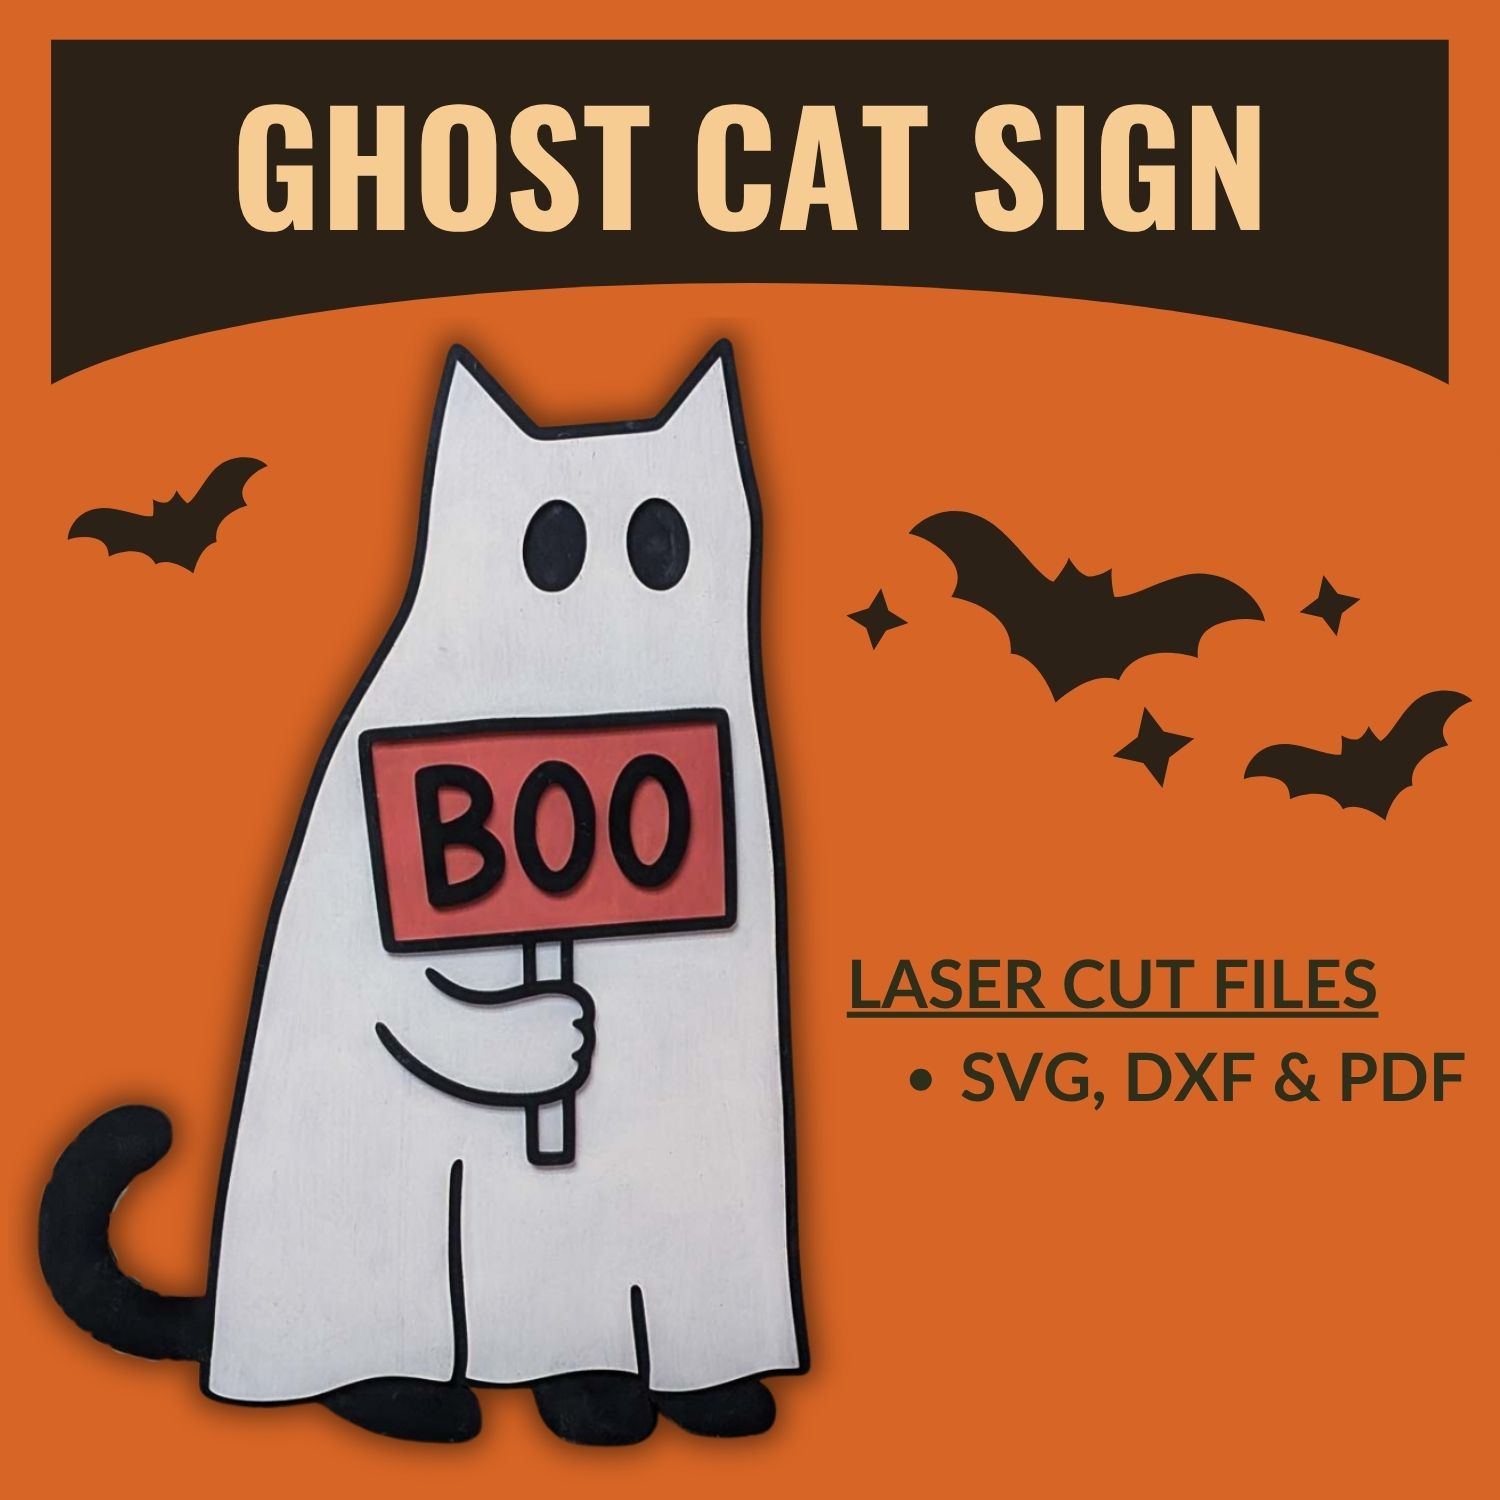
Cut Files Include:
- SVG, DXF, and PDF
- A reference sheet with the color codes and finished measurements
Recommended For You
Pin This For Later