DIY Tree-Shaped Hot Cocoa Caddy
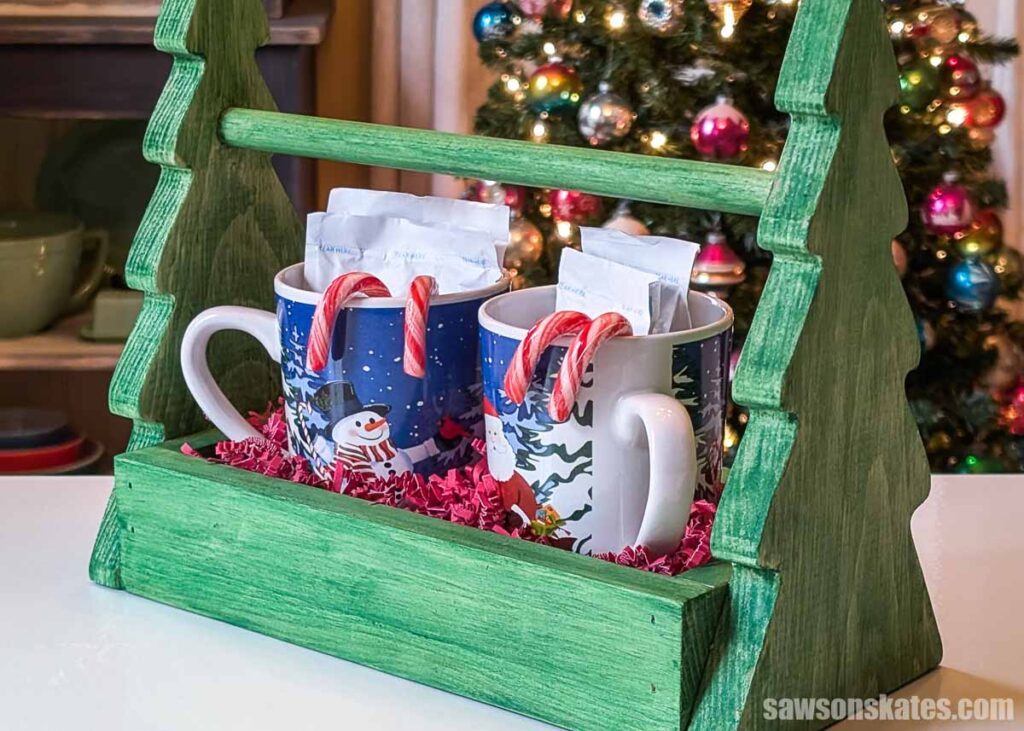
Make this easy, tree-shaped hot cocoa caddy from scrap wood. Quick to build, customizable, and perfect for gifting or holiday displays.
What Should I Build Next?
That's the question I help answer.
Every week, I send woodworking ideas to 17,000 DIYers who love building things.
You'd fit right in.
The other day, we set up our craft market area for the Historical Society’s Christmas Celebration, and well, it looked a little sparse.
So, I came home and started thinking about some quick and easy things I could make that would have a big impact (and fill up the empty spaces on the table).
Then I remembered a hot chocolate caddy I’ve been seeing around. It was sort of like a toolbox, and I really liked it, but it’s already been done, and I wanted something a little more unique.
So I kept searching for other ideas, and that’s when I stumbled on a caddy with tree-shaped sides filled with Christmas ornaments. The post also mentioned it could be used as a cocoa caddy, and that’s when the wheels started turning.
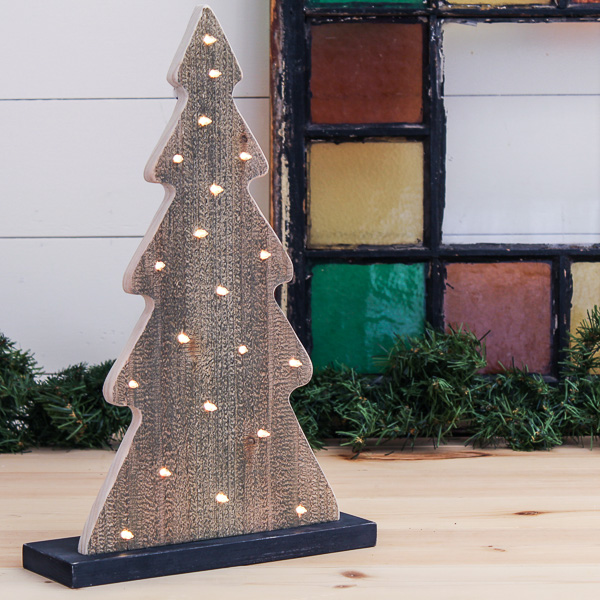
The shape reminded me of my tabletop tree with lights, so I wondered if I could shrink that template down for the caddy’s sides.
A couple of tests later… success! Then I jumped into SketchUp, designed a little tray for the mugs, and here’s what I came up with, a simple scrap wood project that was really inexpensive to put together and makes a great gift.
If you’ve ever wanted to use SketchUp to design your own projects, I put together a beginner-friendly class that walks through the basics step by step. You can learn more about it here.
This article contains affiliate links. If you purchase from these links, I may earn a small commission at no additional cost to you. Visit my site policies for more information.
Make it Your Own
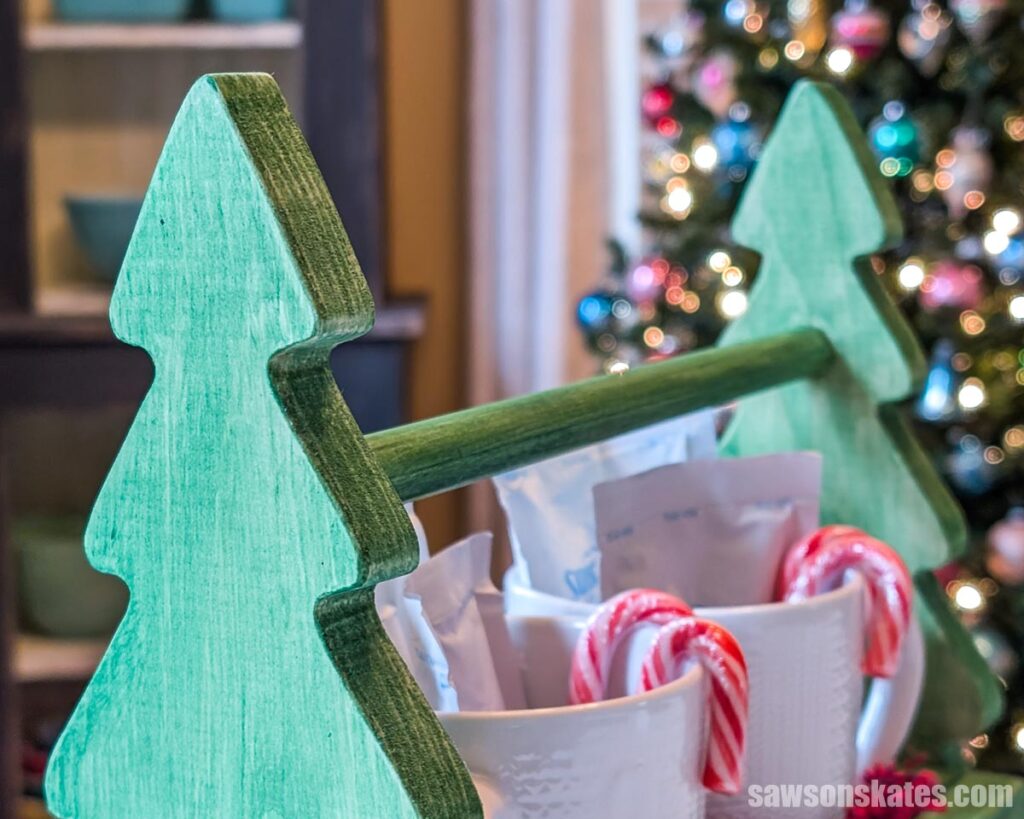
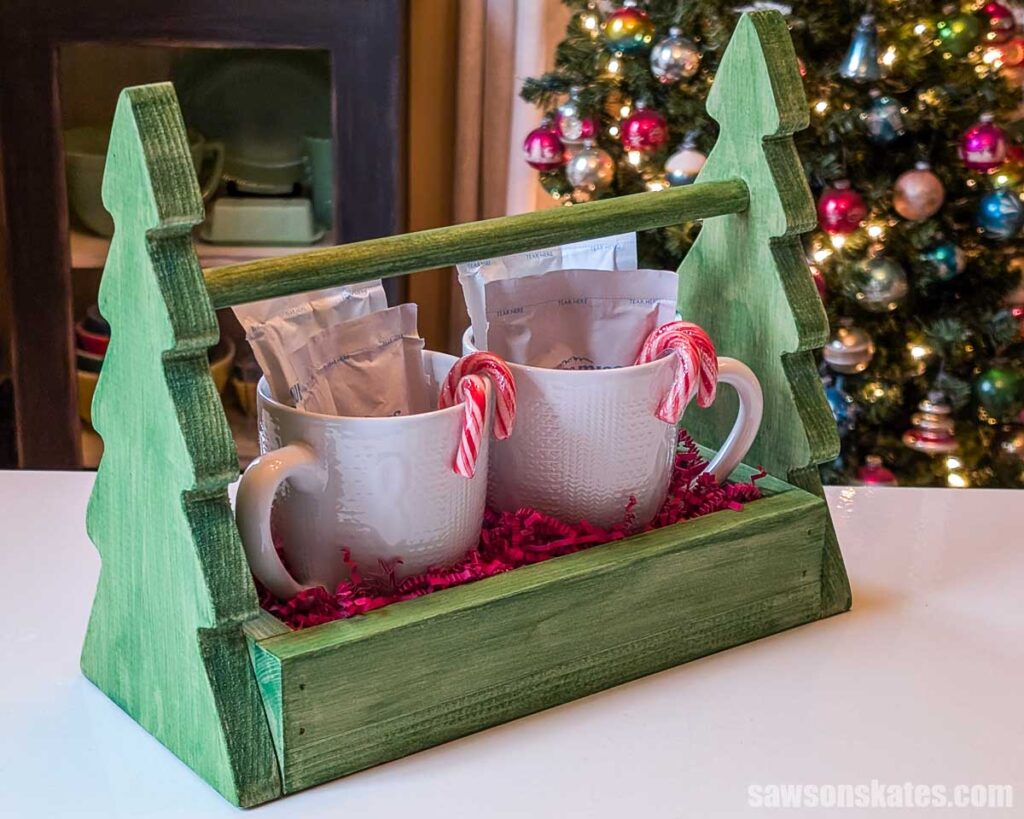
I wanted a fun, rustic vibe, so I didn’t even bother sanding the saw marks off the tree cutouts. Honestly, the sides weren’t that rough to begin with — plus I’m trying to remind myself that not everything has to be perfect. Imperfections are what give it that handmade look. Then I brushed on an almost-Christmas-green paint (not quite as bright as the real “Christmas Green”).
There are plenty of ways to make this project your own. Paint the trees, then stain the tray and handle for a more polished look. Or stain everything. Or keep it natural and rustic.
You could stencil “Hot Cocoa” on the side, or use a Cricut (or similar machine) to add festive phrases or family names for a fun personalized holiday gift.
What to Put Inside
To fill mine, I grabbed two mugs from Dollar Tree, some shredded paper, candy canes, and hot cocoa packets.
You could easily swap the cocoa packets for tea or even those single-serve coffee packets that look like tea bags.
Or what about swapping the mugs for locally made candles and the shredded paper for mini pinecones?
Video Overview
How to Make a DIY Tree-Shaped Hot Cocoa Caddy
Printed Plan
Get the PDF plan here (includes detailed instructions, measurements, and bonus tips)
Materials
- Wood (per the printed plan)
- Wood Glue
- 1-¼” Brad Nails
Tools
- Tape Measure
- Kreg Multi-Mark
- Miter Saw
- Scroll Saw
- Drill Press or Handheld Drill
- Brad Nailer or Hammer
Step 1. Make the Trees
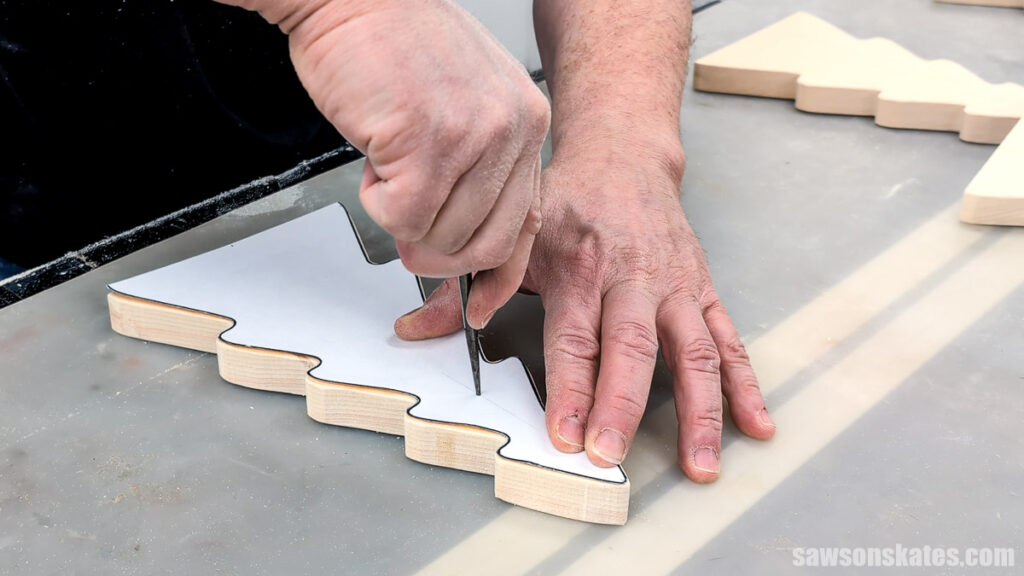
Print the template (included with the printed plan).
TIP: When printing the template, make sure the scale is set to 100% (usually found under “more settings”).
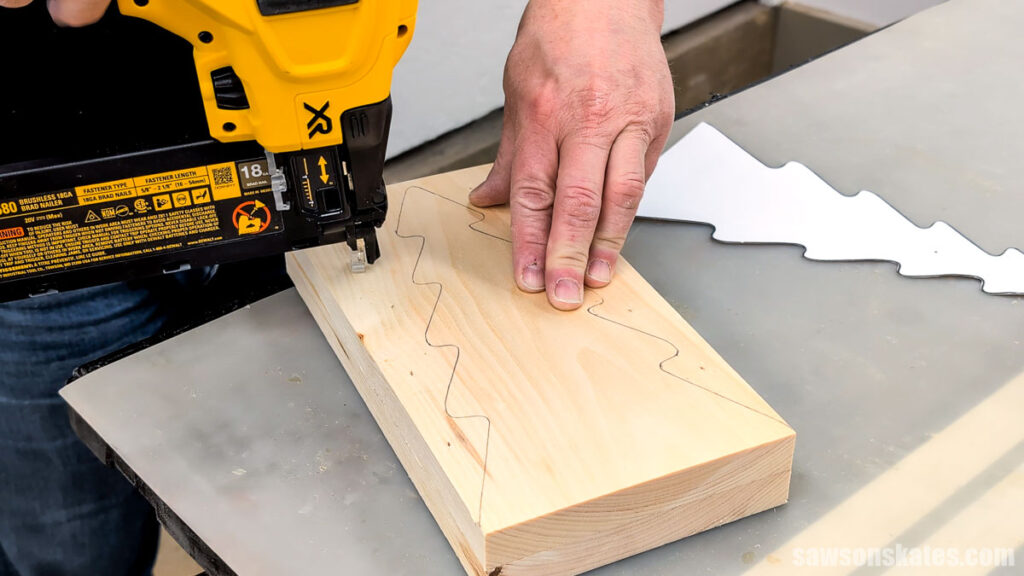
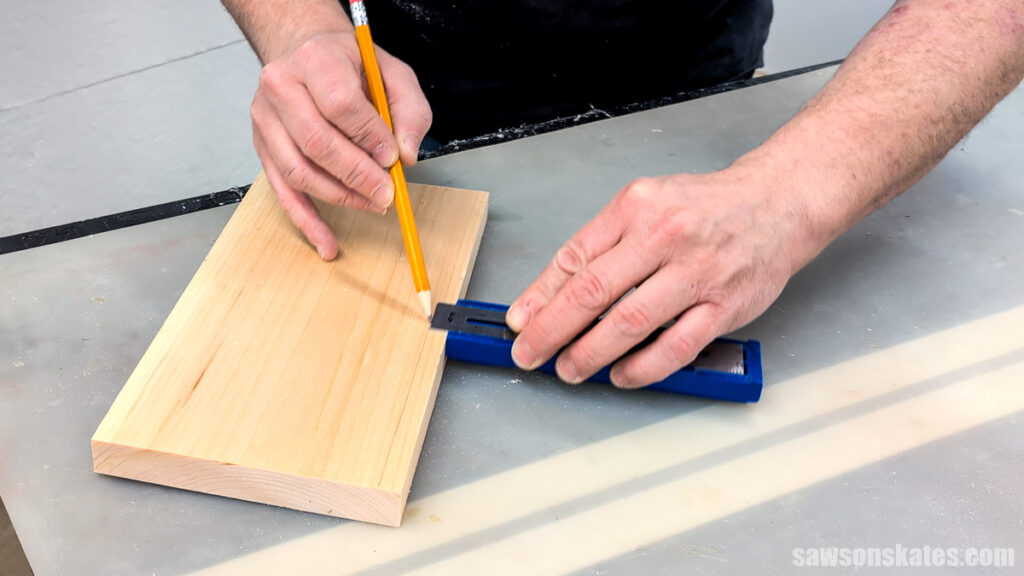
I placed the template on a scrap board and traced it with a pencil.
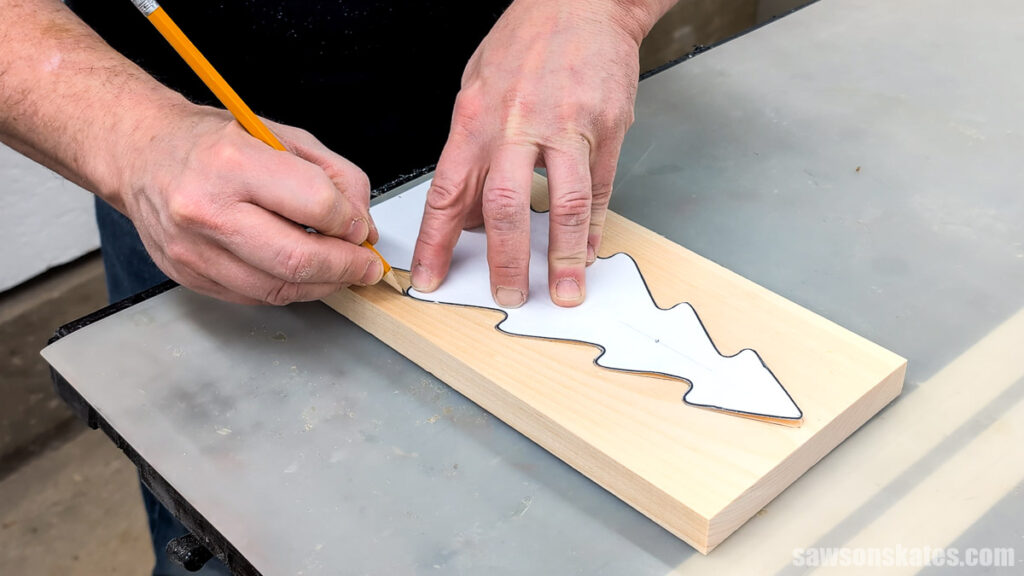
To save time cutting, I tacked a second piece behind it with brad nails. If you’re going to use this method, be sure to use a blade that is designed for this material thickness. I used a 7 TPI (tooth per inch) hook tooth blade.
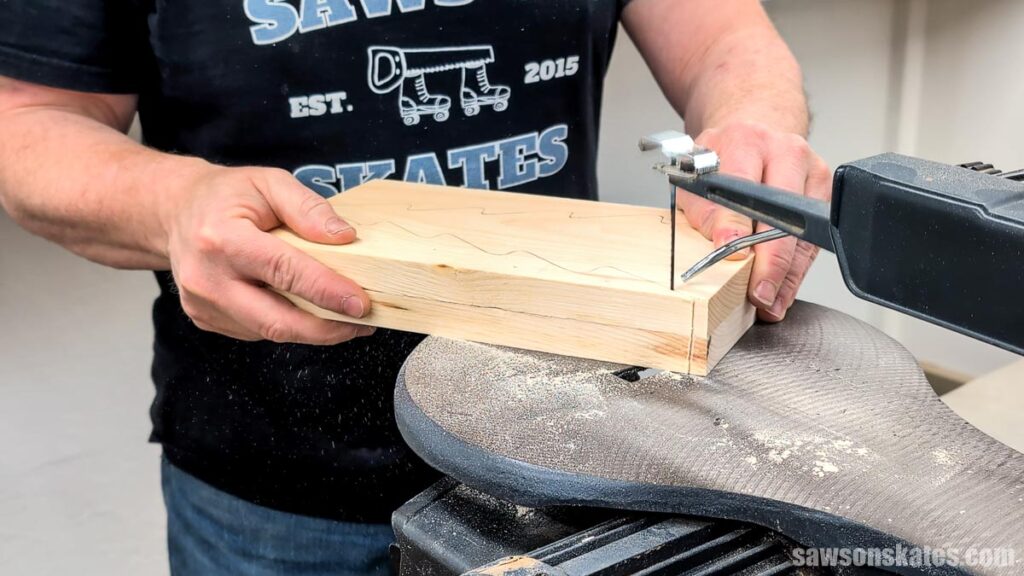
Using my scroll saw, I cut out the tree. Allow the saw to do its work. Don’t force it.
You might be wondering, “Can I use a jigsaw instead?” Honestly, I’m not sure. Those tight interior corners might be challenging, and you may end up doing extra sanding. If you give it a try, be safe and keep your hands well away from the blade.
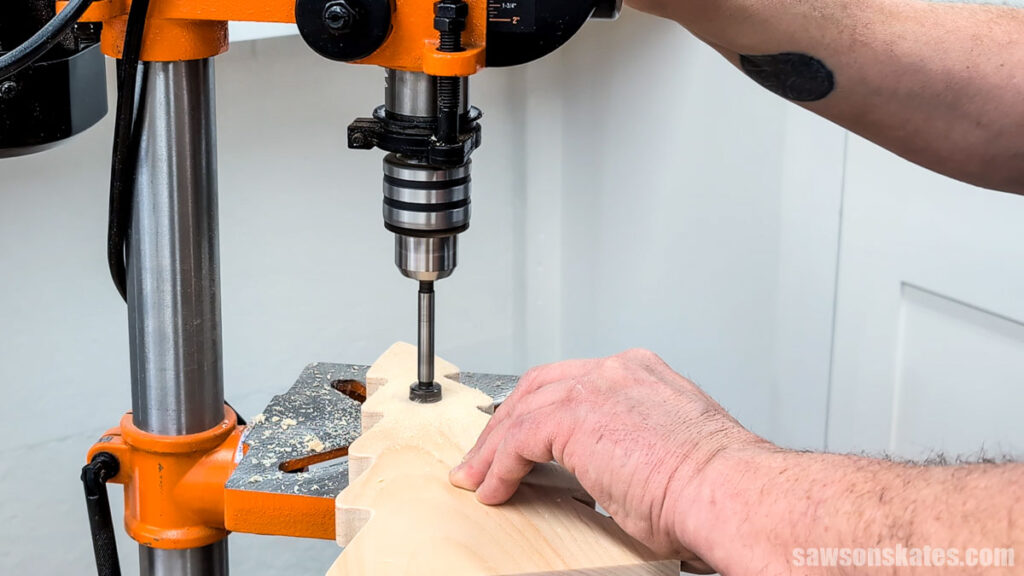
After cutting the trees, I grabbed the template again and, using an awl, I marked the location for the dowel.
I installed a Forstner bit in my drill press and set it to make the hole about a ½” deep. A handheld drill will work, but the holes may not be as accurate as those you’ll get with a drill press.
Related: What is a Forstner Bit? (& How to Use It)
Using the awl mark as a starting point, I positioned the bit and drilled the hole. Repeat for the other tree.
Step 2. Make the Tray
Before we get started, I should mention that this isn’t my preferred way to assemble a project, and I wouldn’t use this technique on any of my furniture builds. The bottom board will expand and contract with humidity and temperature changes, and attaching boards across its width prevents that movement, which can lead to cracking. But because this is a rustic-style project, I wasn’t as concerned as I would be with a furniture piece, where cracks would ruin the look. On a rustic project, they just blend in with the character.
Using my miter saw, I cut a scrap piece of wood to length for the bottom.
I’ll be attaching the tray’s sides from the underside, so to help line up the nails, I set my Multi-Mark and drew guidelines on the bottom.
I cut two pieces of wood to length for the long sides of the tray and applied glue to one.
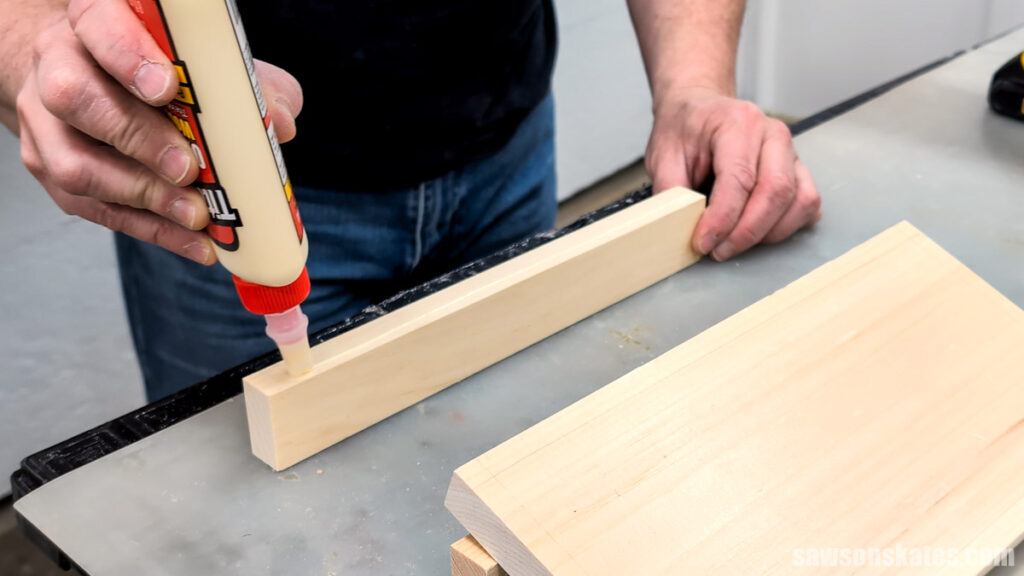
I placed the bottom in position and attached it using brad nails. Then, I repeated this step for the other long side.
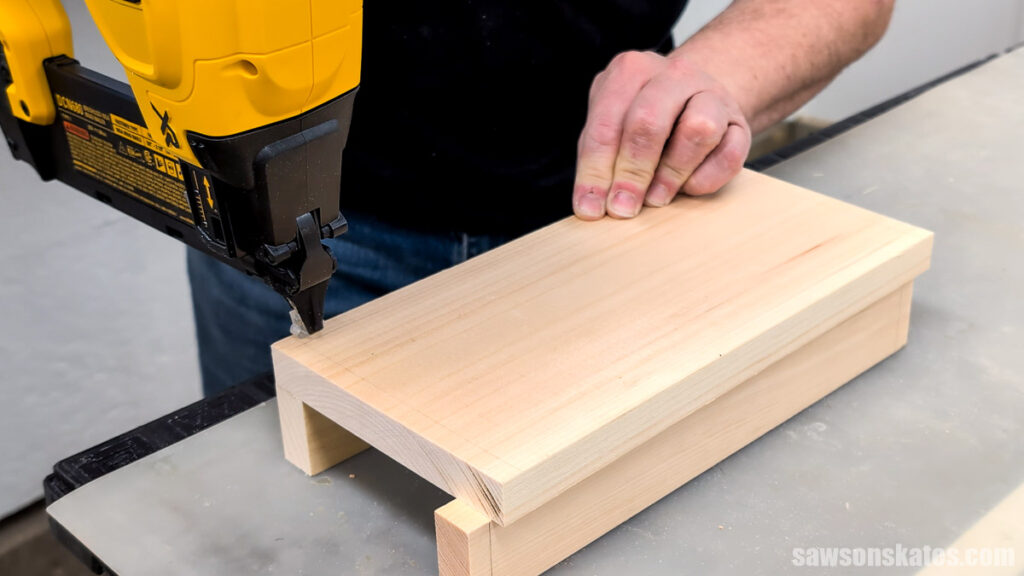
Next, I cut two pieces of wood to fit the short sides, applied glue, and tacked them in place with brad nails.
Step 3. Assemble the Caddy
NOTE: Attaching the tree to the tray’s sides is also a cross-grain situation, which could lead to cracking.
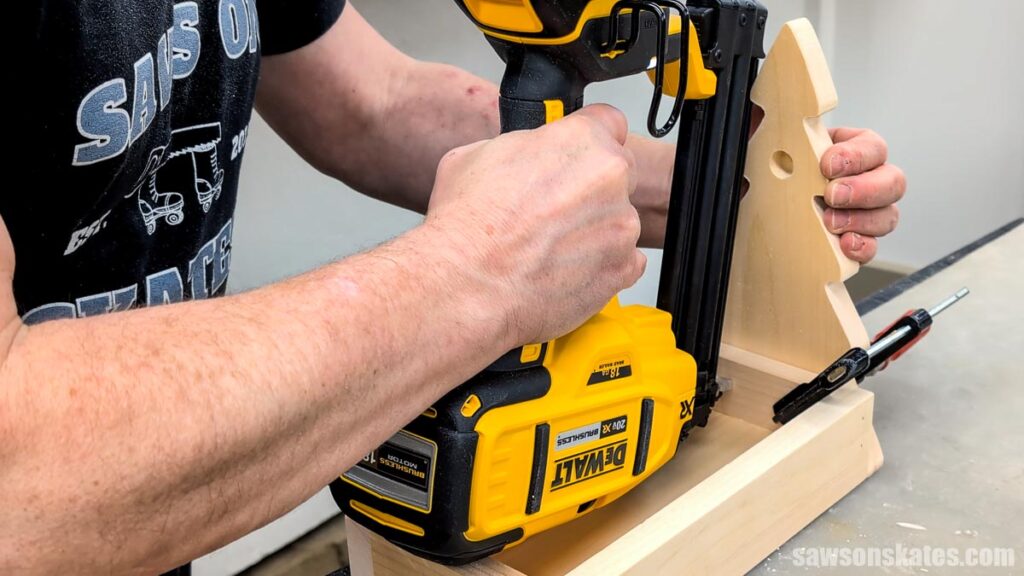
I applied a few dabs of glue to the tray’s sides, making sure to keep it within the tree’s outline.
Then, I clamped the tree to the side and tacked it in place with brad nails.
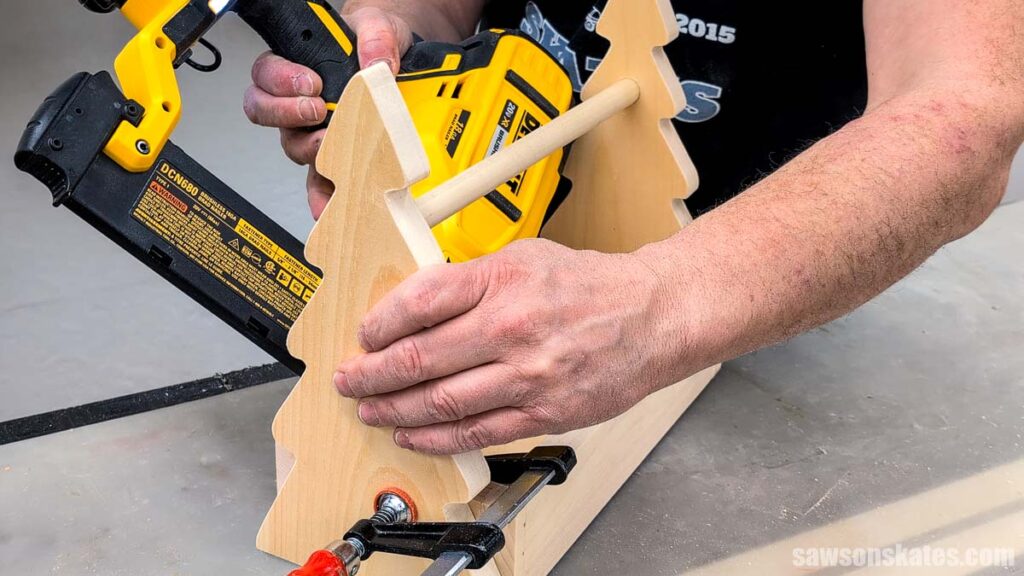
I cut a piece of dowel to for the handle.
I applied a few dabs of glue to the tray’s sides, inserted the dowel into the holes, and clamped the tree in place. I tacked it in place with brad nails.
Step 4. Finish and Fill
I finished my caddy with a mix of craft paint and water (50/50). The diluted paint gives it more of a green-stained look, so the wood grain shows through instead of looking fully painted.
One drawback with this technique is that the end grain and the cut edges soak up more color, so they turn out darker than the face grain. I used a simple trick to get everything to match. If you’d like a quick tutorial on that process, let me know in the comments.
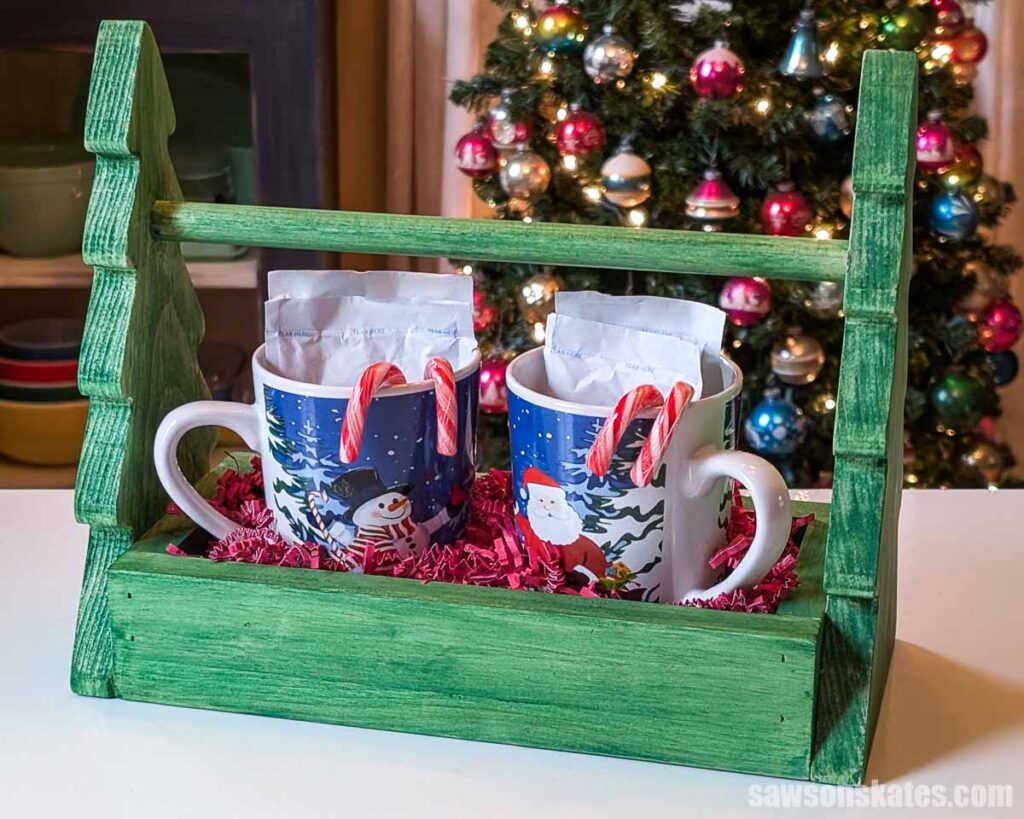
To fill the caddy, I grabbed a couple of mugs, cocoa mix, candy canes, and shredded paper from Dollar Tree. I set the mugs first, tucked the cocoa and candy canes inside, and filled in the gaps with shredded paper.
And that’s it — a super affordable gift that looks impressive!

Includes:
- List of tools and materials
- Easy-to-follow instructions
- Step-by-step photos
- Detailed diagrams
- Tree template
Final Thoughts
This little tree-shaped cocoa caddy ended up being one of those projects that checks all the boxes — simple to make, budget-friendly, and easy to customize for anyone on your list. Whether you keep it rustic like mine or dress it up with paint, stain, decals, or a fun holiday saying, it’s one of those builds that feels special without taking a ton of time or materials.
And because it uses scrap wood and a few inexpensive fillers, it’s a great project for craft markets, hostess gifts, teacher gifts, or just adding a little holiday cheer to your own kitchen.
Don’t wait. Get your PDF plan (including the detailed instructions and template) now!
Thank you for stopping by. If you enjoyed this tutorial, would you please take a moment and pin it to Pinterest? I’d really appreciate it!
Recommended For You
Pin This For Later

Hi there – I’m Scott, a woodworking enthusiast and creator of Saws on Skates, a site I started in 2015 to share easy-to-follow tutorials, space-saving shop tips, and project inspiration for DIYers at any skill level. Learn more about my woodworking journey here.