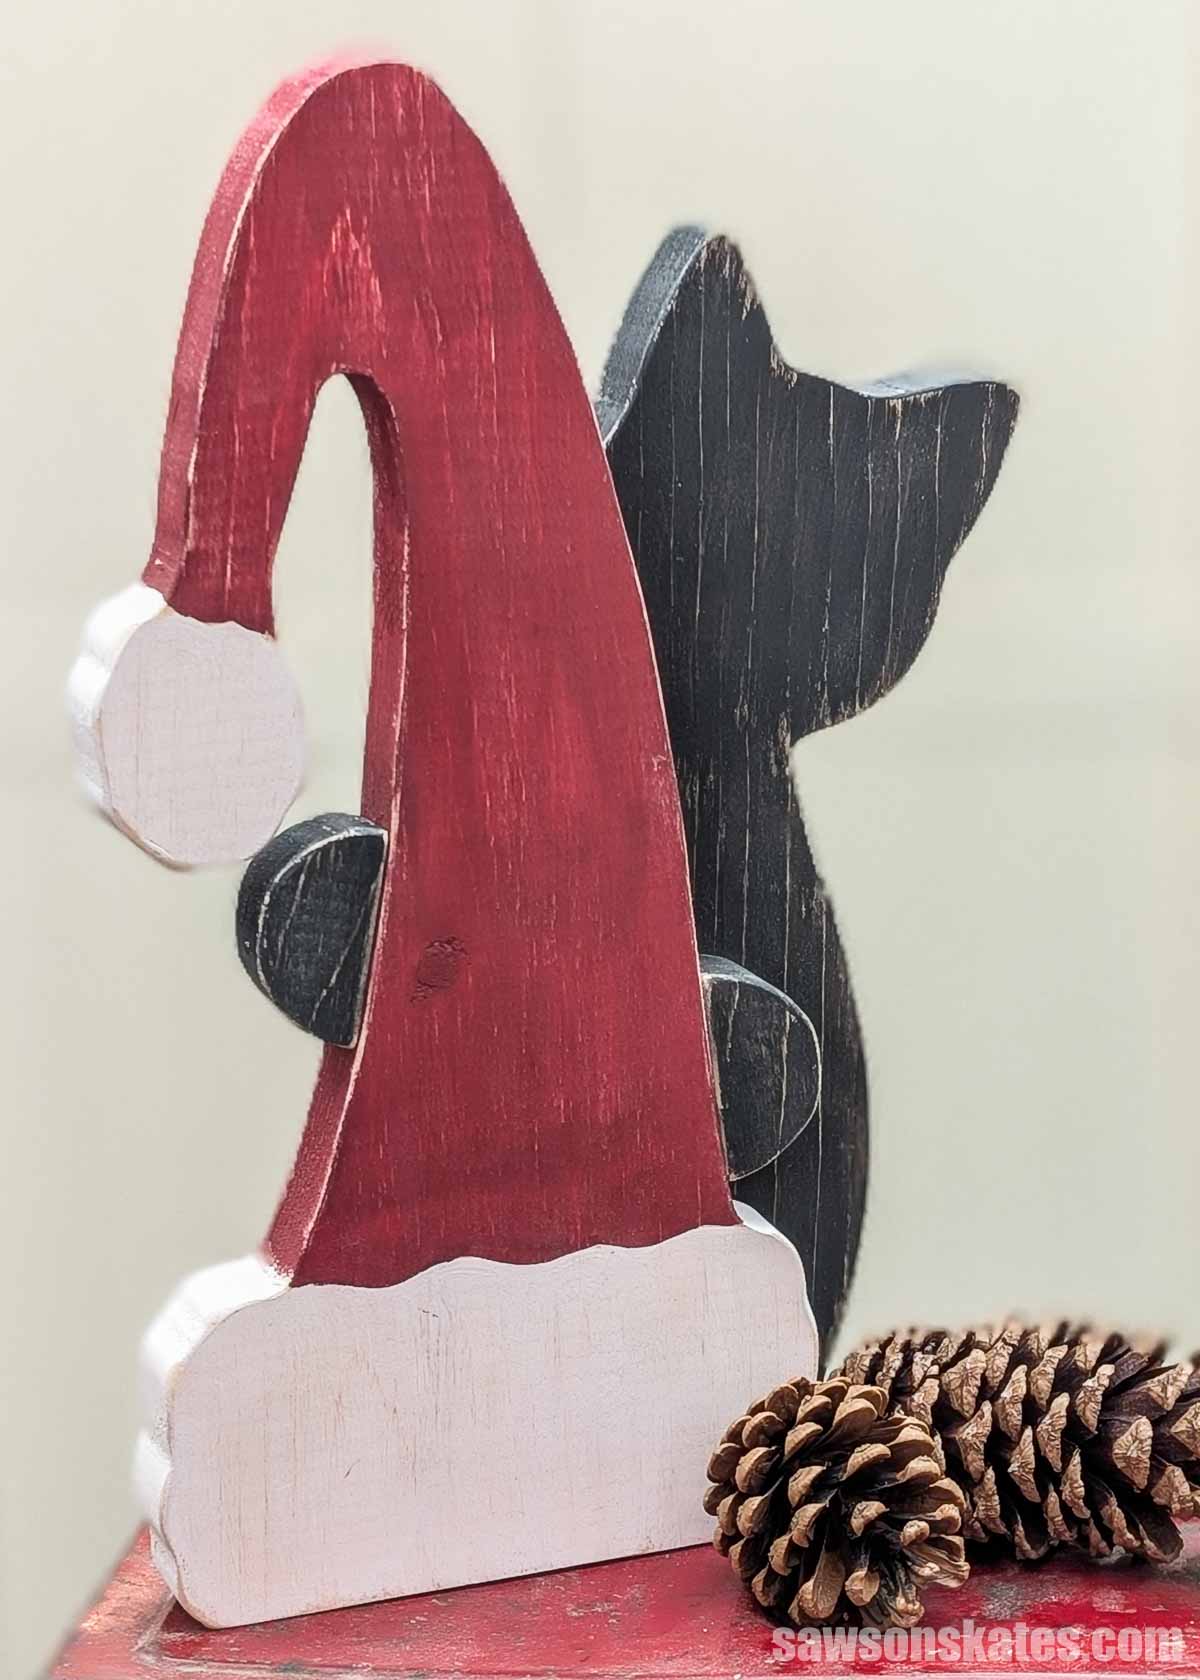
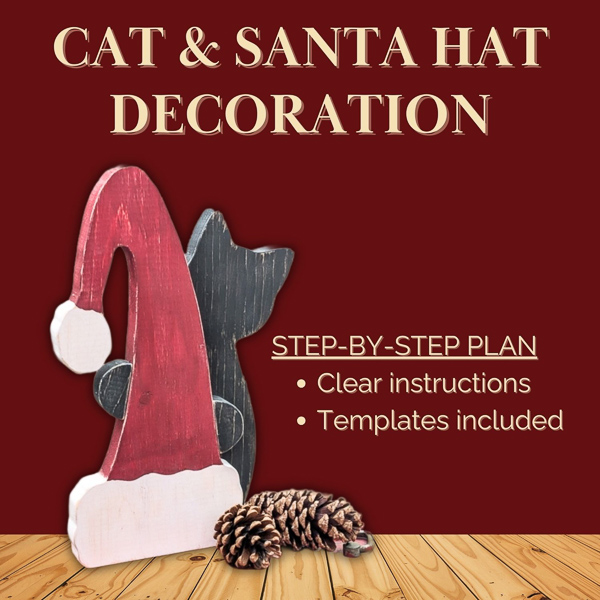
DIY Cat and Santa Hat Christmas Decoration
Turn scrap wood into a charming cat and Santa hat Christmas decoration. Easy to make and perfect for decorating, gifting, or craft markets.
What Should I Build Next?
That's the question I help answer.
Every week, I send woodworking ideas to 17,000 DIYers who love building things.
You'd fit right in.
I was racking my brain trying to come up with something I could donate to the Historical Society, where I volunteer for our Holiday Open House and Christmas Craft Market.
The focus is on offering affordable items — ornaments, stocking stuffers, small gifts. Ideally, I didn’t want to spend much on whatever I made (free would be best!), and I didn’t want to invest a ton of time. Quick and easy was the goal.
This article contains affiliate links. If you purchase from these links, I may earn a small commission at no additional cost to you. Visit my site policies for more information.
How the Idea Came Together
I started wondering if I could turn the project from my Halloween Workshop, Peek-a-boo Paws — the little kitty peeking around a pumpkin — into a Christmas project. But what could the kitty peek around? An ornament? A tree? A bell?
Then it hit me: a Santa hat!
And just like that, Christmas Peek-a-boo Paws was born.
A Cute, Affordable Gift Idea
Need an inexpensive gift for family, friends, neighbors, or coworkers who love cats? This is it. Or make one for yourself.
It stands about 11 inches tall, so it’s small enough for a shelf or mantel but big enough to stand out.
I made mine entirely from scrap wood and craft paints I already had on hand.
Want to see how I organize my craft paints? I made this organizer that keeps everything easy to grab.
Make It Your Own
Customize yours any way you like. I made one with the hat on the left and one on the right. Change the hat color or paint the kitty to match your furry friend. Completely customizable, inexpensive, and quick to make.
How to Make a Cat and Santa Hat Decoration
Printed Plan
Get the PDF plan here (includes detailed instructions, measurements, and bonus tips)
Materials
- Wood (per the printed plan)
- Wood Glue
- 1-¼” Brad Nails
- Double-Sided Tape (optional)
Tools
- Miter Saw
- Scroll Saw
- Brad Nailer or Hammer
Before You Begin
If this is your first time making a project like this, you might want to grab the Halloween Peek-a-Boo Paws Workshop, which walks you through the cutting, sanding, painting, and assembly techniques in detail, step by step. It’s a helpful companion if you’re brand-new to scroll saw-style projects.
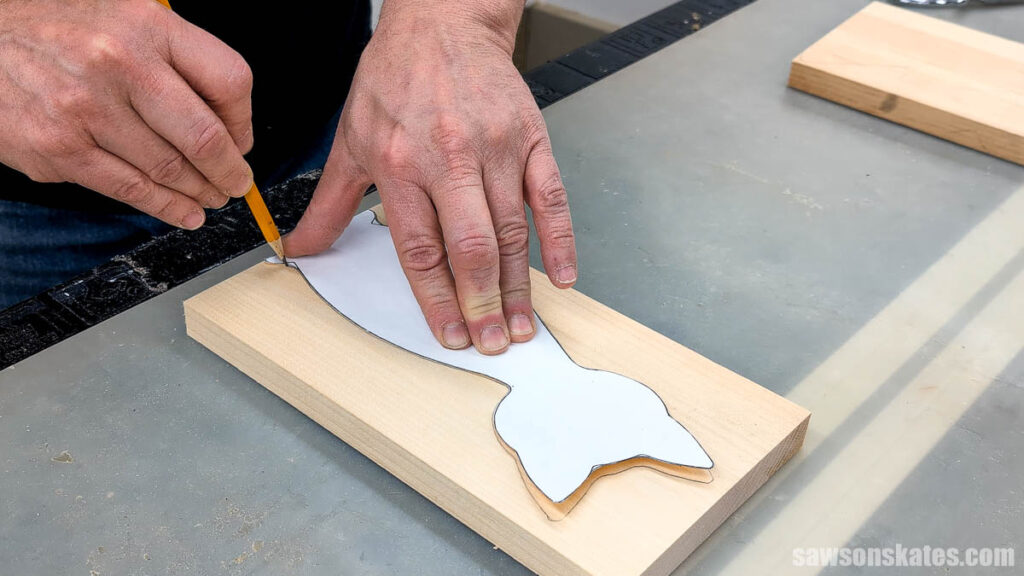
Step 1. Trace the Pieces
Print your template (included with the PDF plan) and cut it out. Then trace the cat, paws, and Santa hat onto your scrap wood. You can use carbon paper, but I prefer using spray adhesive to attach the template to a manila folder, making it sturdier and easier to trace.
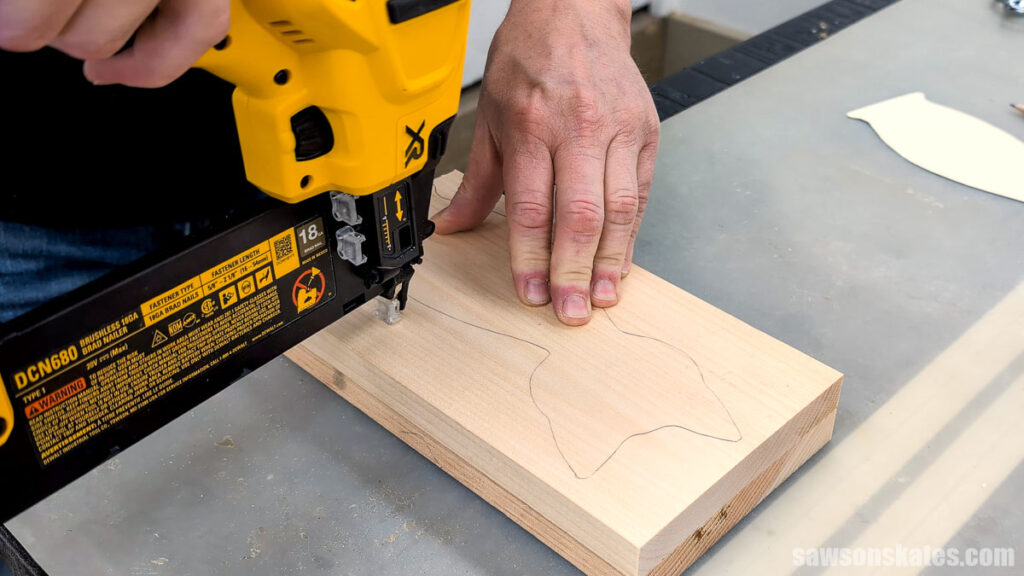
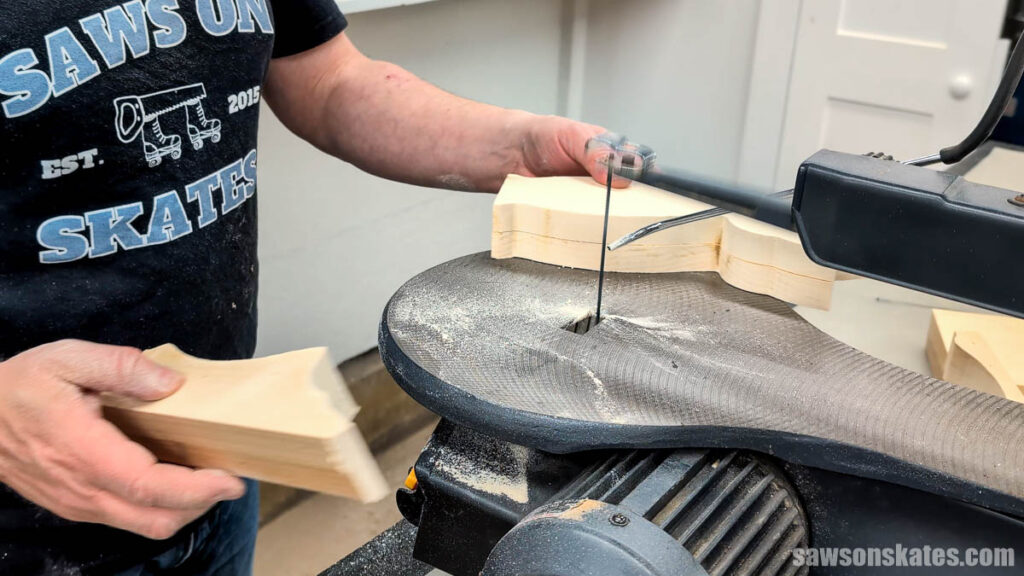
Step 2. Cut the Shapes
NOTE: I tried something different for this project. I tacked the boards together with my brad nailer so I could cut two cats and two Santa hats at the same time. It worked and saved a little time, but the blade definitely struggled. I’m thinking a different blade would’ve handled the thicker material better.
Take your time, follow your pencil line, and let the scroll saw do the work. Slow and steady cuts make this way more enjoyable. And remember—this is a rustic craft, not fine furniture. A little wobble here or there just adds character.
3. Smooth the Edges
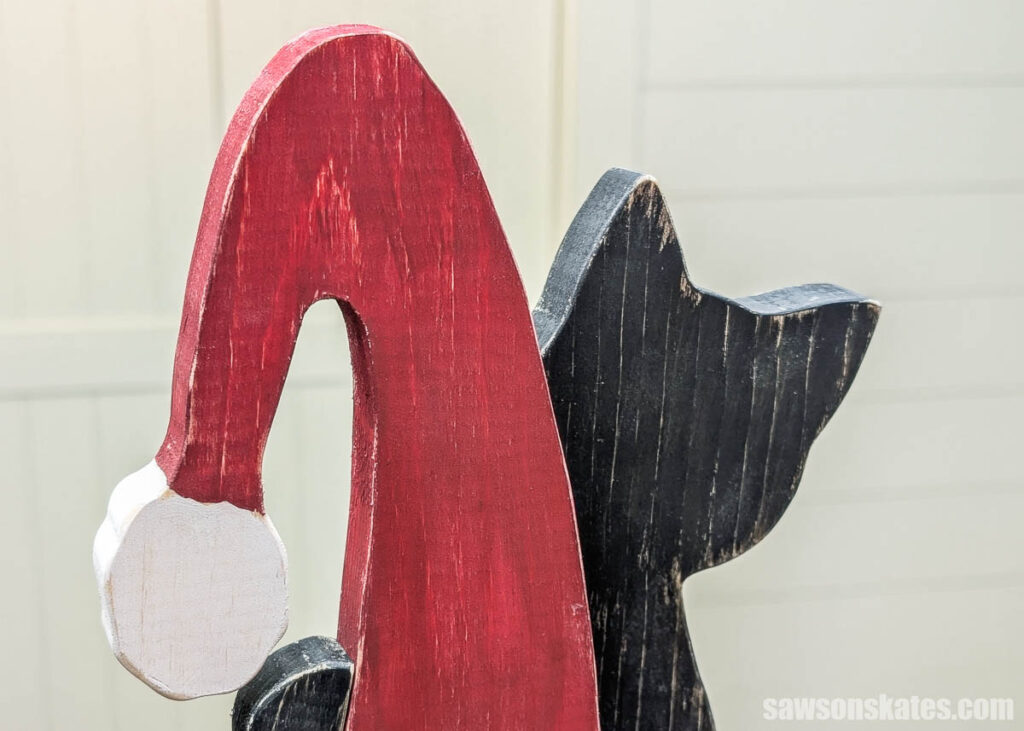
Grab some sandpaper (120 grit is perfect) and clean up any saw marks. Don’t forget to soften the edges. Rounding them over just a bit gives the whole piece that worn, cozy, handmade look.
4. Add Some Color
Now for the fun part—painting. I painted the cat black and went with a classic red-and-white Santa hat, but feel free to switch things up. Maybe your cat is orange, tabby, calico, or tuxedo. Maybe your hat is green or even plaid. Use whatever craft paint you have on hand.
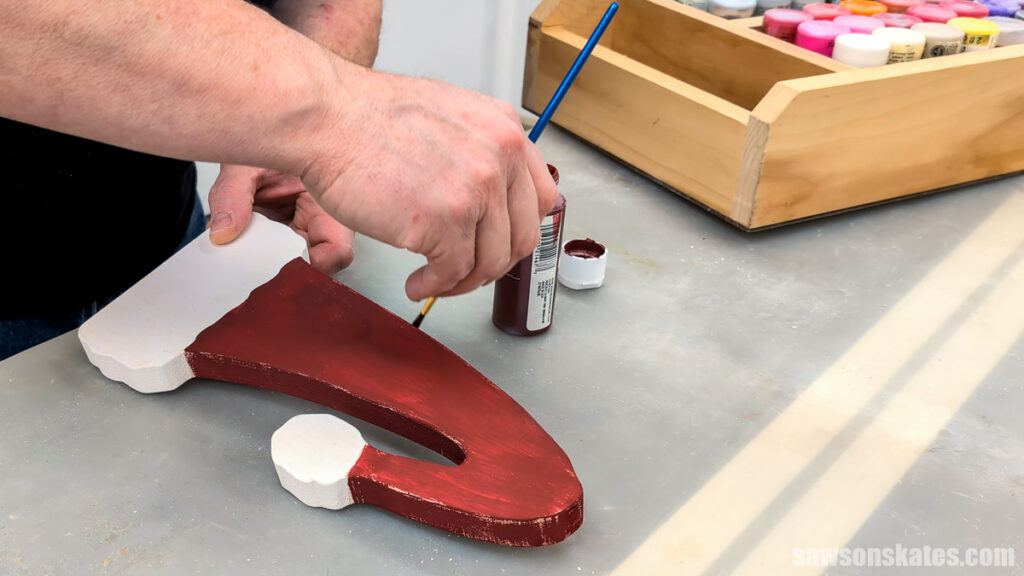
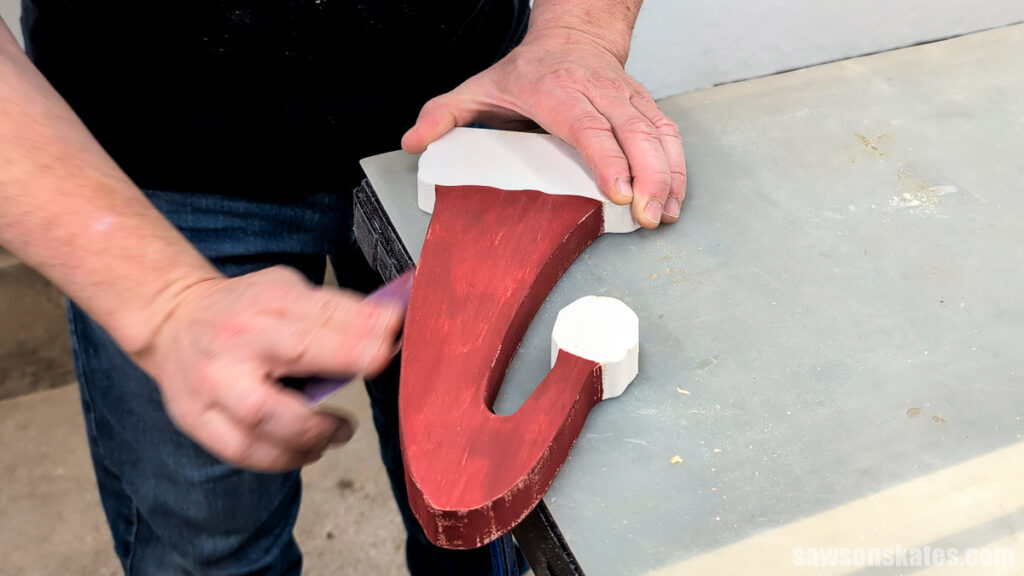
Once it’s dry, lightly sand the edges, giving it an aged, distressed look.
5. Put It All Together
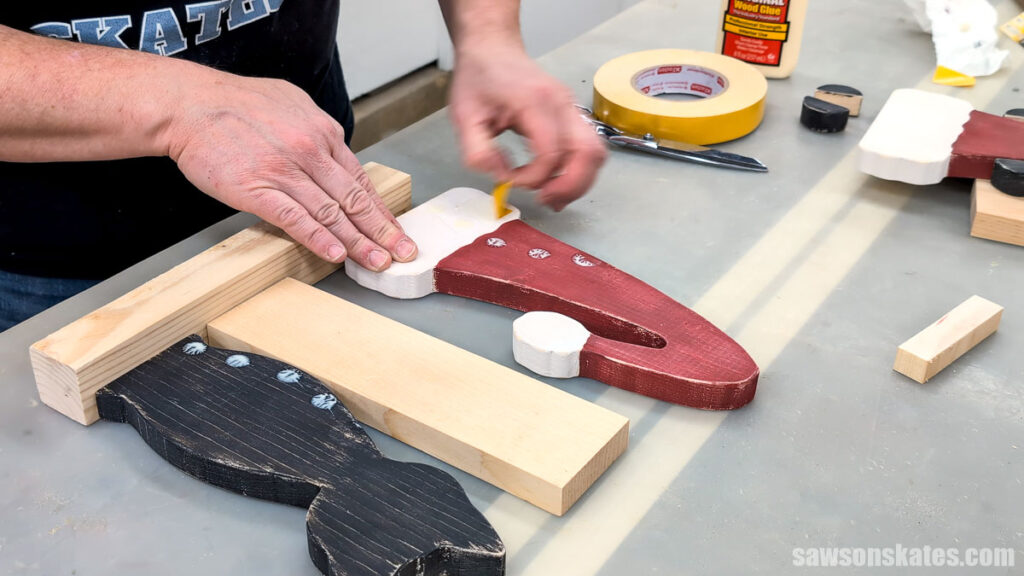
Line up the cat and hat the way you want them to sit. I added a couple small dabs of glue along the edge of the cat, then positioned the hat so that it barely overlapped the neck area.
TIP: A piece of scrap wood across the bottom keeps the cat and hat aligned, and a second piece helps support the hat.
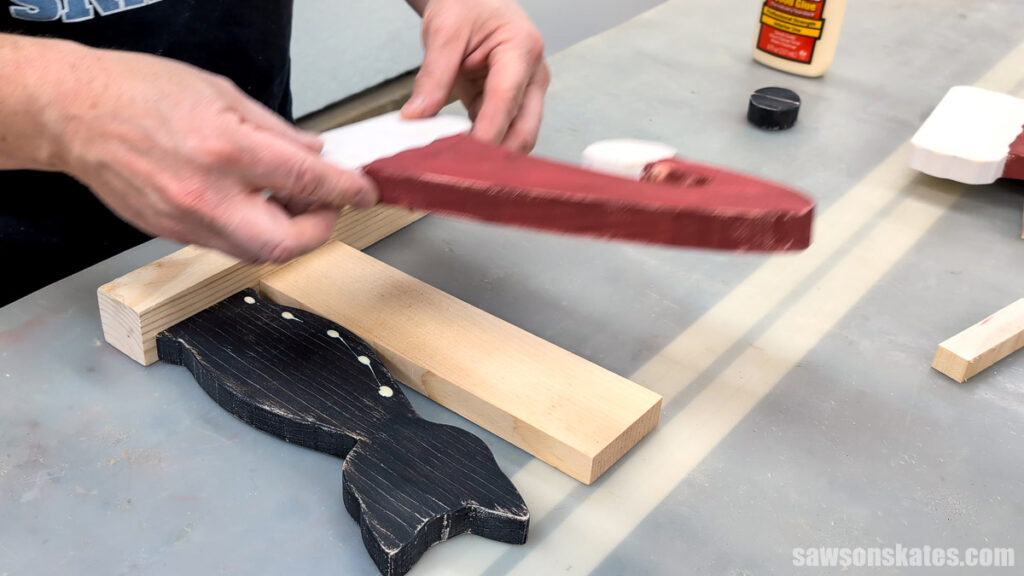
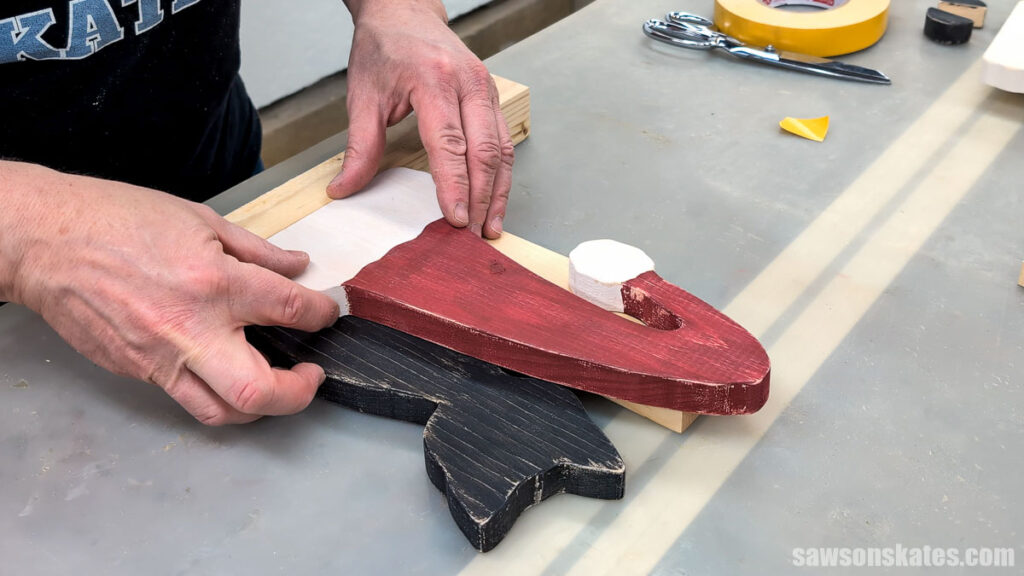
This is optional, but I added a little piece of double-sided tape (the glue spots showed me where to place it). The tape helps keep everything from shifting while you flip it over to nail it.
Then, I pressed the hat into position.
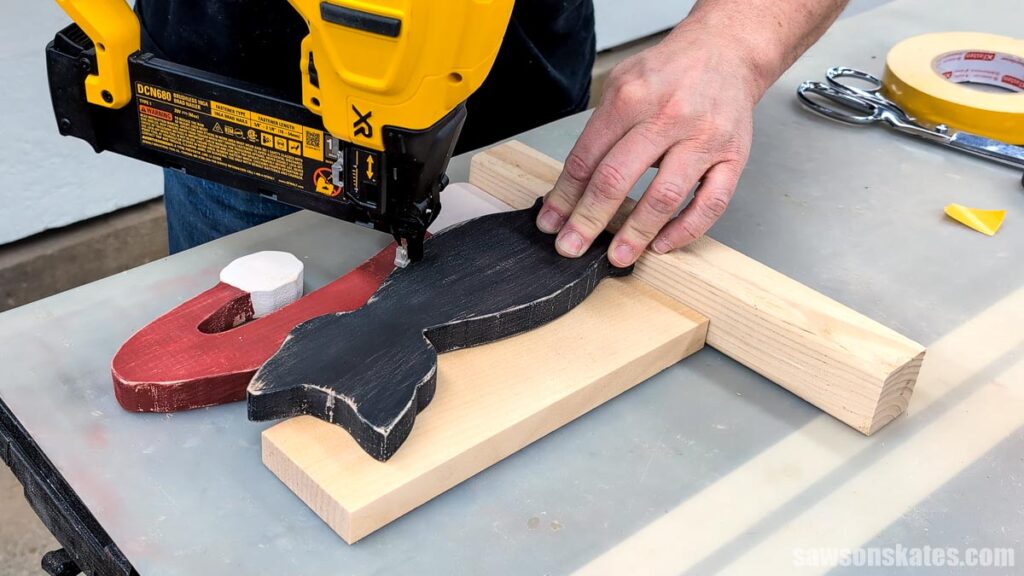
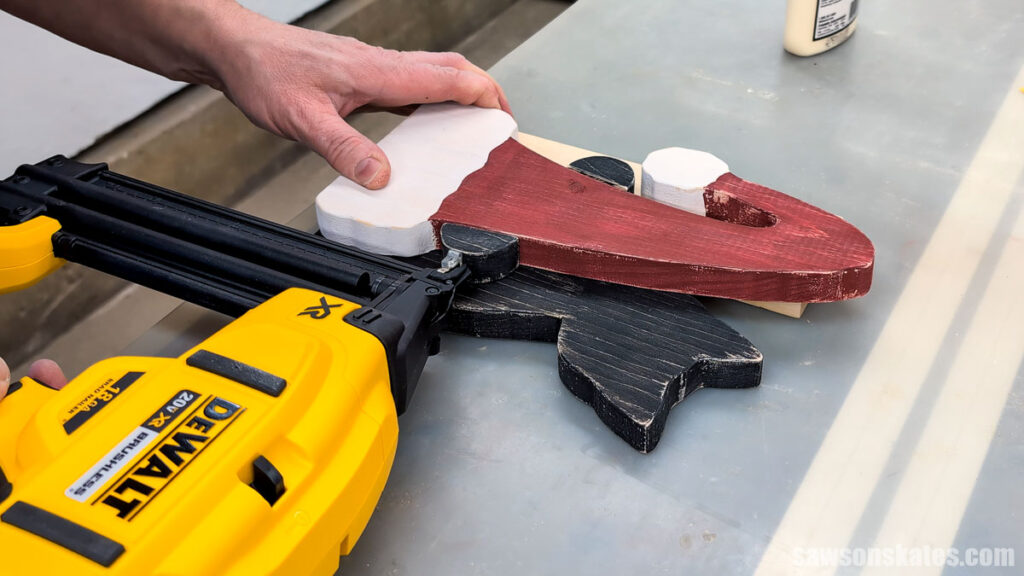
I flipped it over and attached it from the back with brad nails.
Lastly, I applied glue to the paws, positioned them on the hat, and attached them with brad nails. These parts are small, and brad nails can sometimes go off course, so be sure to keep your hands well out of the way.
Includes:
- List of tools and materials
- Easy-to-follow instructions
- Step-by-step photos
- Cat and Santa hat templates
Final Thoughts
These little cat-and-Santa-hat decorations come together quickly, don’t cost much to make, and are easy to customize however you like. Whether you’re making a few for gifts, for a craft market, or just for your own holiday decorating, they’re a fun way to use offcuts and leftover paints.
Recommended For You

Hi there – I’m Scott, a woodworking enthusiast and creator of Saws on Skates, a site I started in 2015 to share easy-to-follow tutorials, space-saving shop tips, and project inspiration for DIYers at any skill level. Learn more about my woodworking journey here.