DIY Extension Cord Holder (Easy & Cheap)
Say goodbye to tangled extension cords with this cheap, easy-to-make DIY extension cord holder. Printable pattern included.
What Should I Build Next?
That's the question I help answer.
Every week, I send woodworking ideas to 17,000 DIYers who love building things.
You'd fit right in.
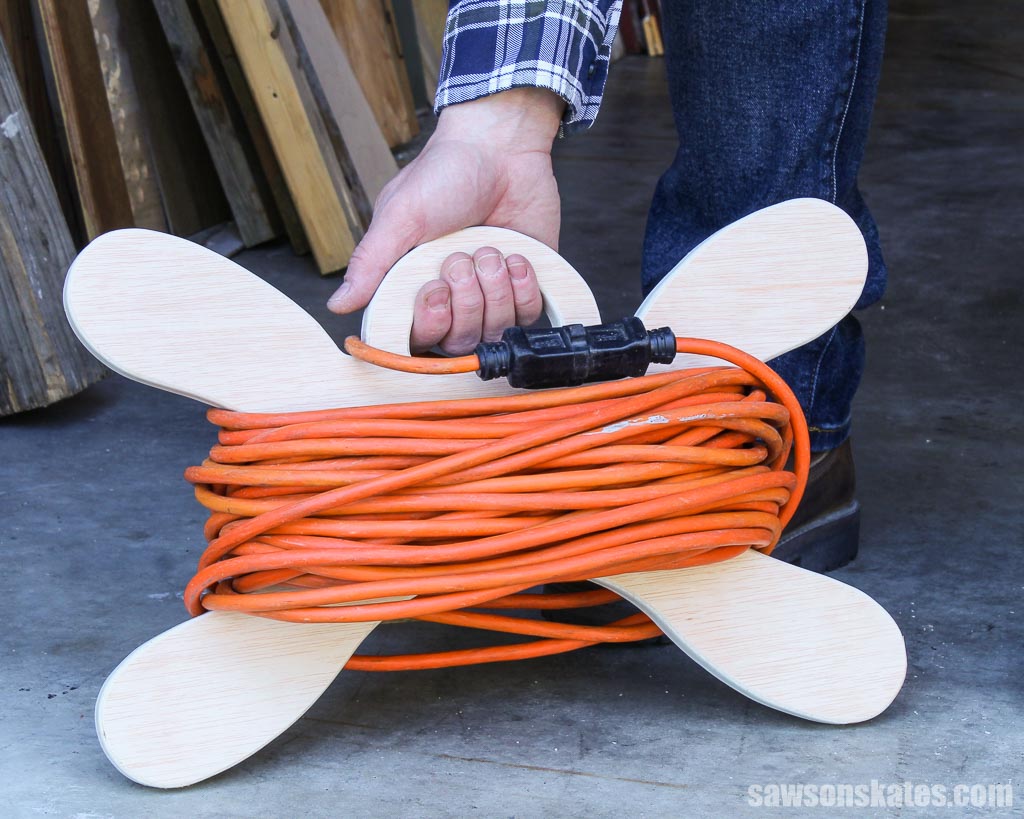
Tired of tripping over extension cords lying around your workshop or garage? Want a quick, easy solution to keep your cords organized and within reach? Look no further than this easy and affordable DIY extension cord holder!
With just a scrap piece of plywood and a jigsaw, you can create a custom holder to keep your cords in one neat, tidy spot. Keep reading to learn how to make this game-changing organizer.
Table of Contents
- Inspiration for This Extension Cord Holder
- What Length Cord Can It Hold?
- What Tools Do You Need?
- What Wood Should You Use?
- How Do You Draw the Curved Shape?
- How to Make a DIY Extension Cord Holder
- Get the PDF Plan
This article contains affiliate links. If you purchase from these links, I may earn a small commission at no additional cost to you. Visit my site policies for more information.
Inspiration for This Extension Cord Holder
The most unexpected places can spark inspiration. Like during a lazy Sunday afternoon when I stopped at a brewery, I’d never been to before. I was enjoying a pint when I noticed a handmade extension cord holder sitting high on a ledge.
I asked the server if she knew anything about it. She didn’t but said I could take it down if I wanted a closer look. When she gave the OK, I pushed a stool over, reached up, and snapped a pic!
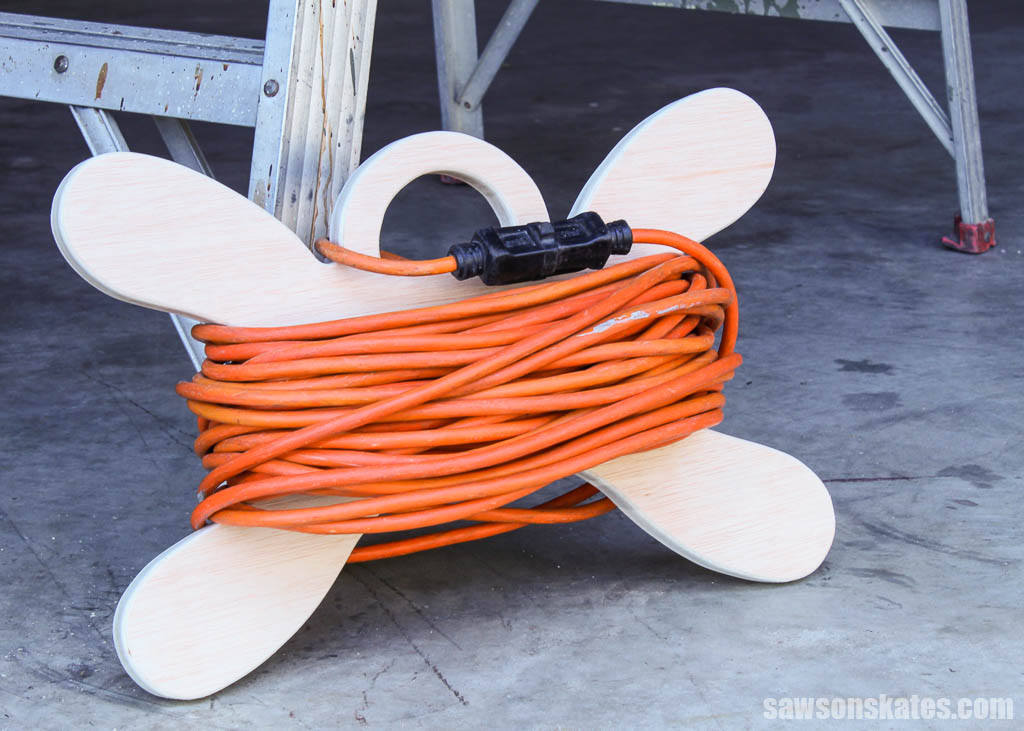
I was captivated by the holder’s simplicity and pleasing curved shape, so I went home and quickly sketched out my own design, slightly tweaking the shape to give it a more uniform look. And just like that, my new project was born!
I plan to use my holder to store extension cords, but you could also use it to organize Christmas lights.
What Length Cord Can It Hold?
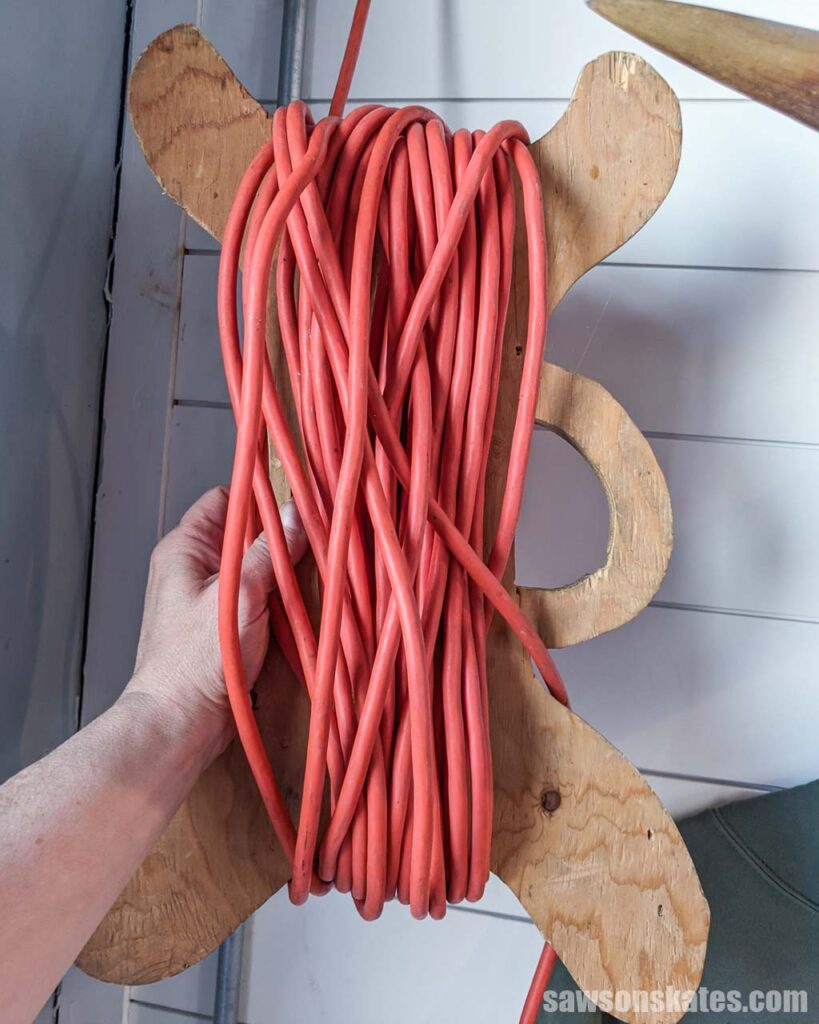
I’m using my holder to store a 100 ft extension cord, and there’s still room to spare!
What Tools Do You Need?
You can make this DIY cord holder with just a few tools. Here’s what you’ll need:
Jigsaw
I used a jigsaw to cut the holder’s curved shape.
Drill & Drill Bit
I used a drill and a Forstner bit to make a starting point in the holder’s handle for the jigsaw.
Related: 14 Types of Wood Drill Bits (Which to Use & Why)
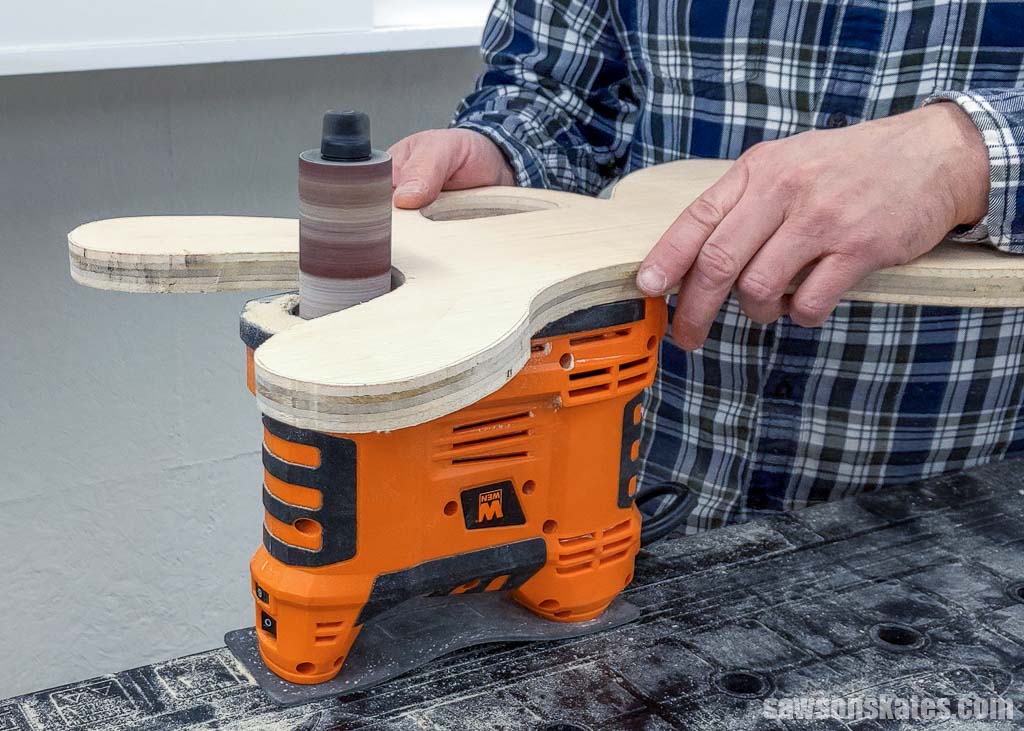
Portable Spindle Sander (optional)
I used a portable spindle sander to smooth the holder’s curved edges, but you can use sandpaper if you don’t have one.
Related: Best Sanders for Furniture (Which One to Buy & Why)
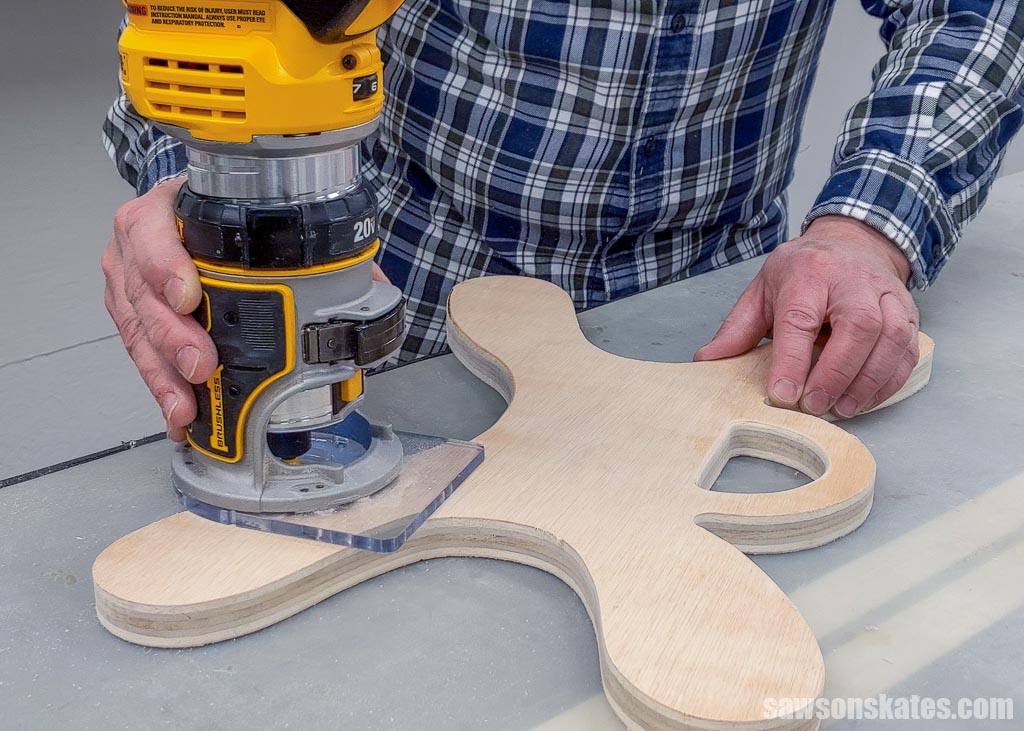
Router (optional)
I used a handheld router and a roundover bit to soften the holder’s square edges, but you can use sandpaper if you don’t have one.
What Wood Should You Use?
I repurposed a scrap piece of ¾” plywood for my holder. I would also try this project with ½” plywood, but I think ¼” might be too flimsy, unless you were planning to use it for storing Christmas lights.

How Do You Draw the Curved Shape?
No need to worry about drawing the cord holder’s curved shape. I’ve got you covered with a template in the printed plan. Just print it, cut it, trace it onto your plywood, and cut it out with a jigsaw. It’s that easy!

DIY Extension Cord Holder
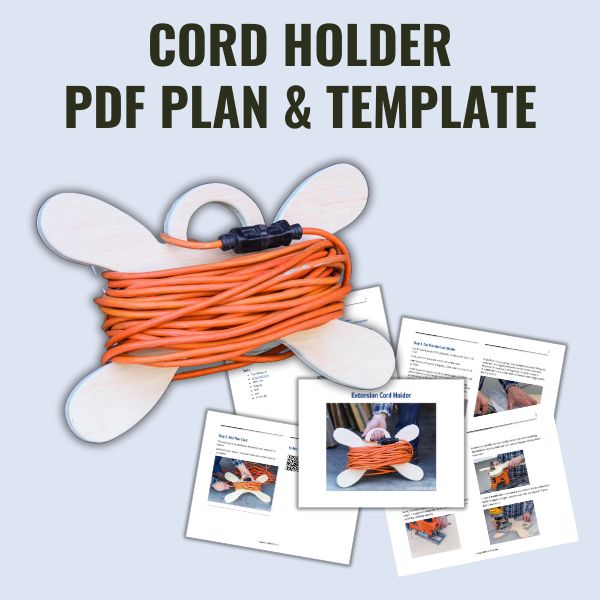
Printed Plan
Get the PDF plan here (includes detailed instructions, measurements, and bonus tips)
Supplies
- Wood (per the printed plan)
Tools
- Jigsaw
- Drill
- Forstner Bit
- Portable Spindle Sander (optional)
- Router (optional)
- Roundover Bit (optional)
Step 1. Cut Out the Cord Holder
First, print the template at the end of the plan.
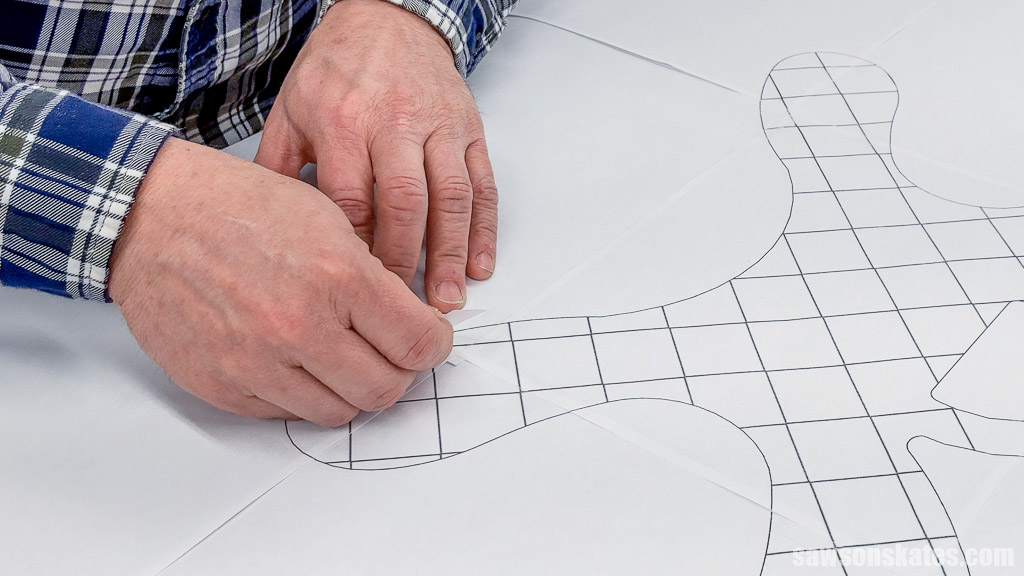
I tried to get the pattern to fit on fewer pages, but SketchUp (the program I use to design my projects) wasn’t cooperating, so the template is a bit of a puzzle. But hey, you’re a DIYer, and you like a challenge! However, I added a grid pattern to the template, which helps align the pages.
I started by laying out the sheets on my workbench.
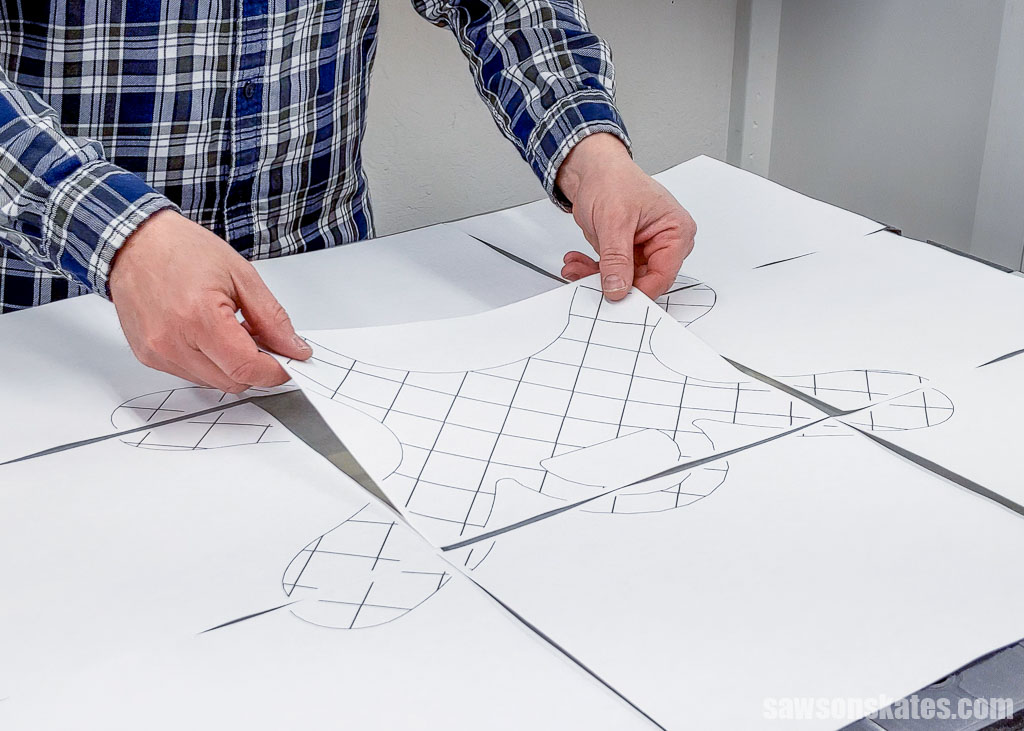
I found it was easiest to start assembling the pattern from the center and working outward.
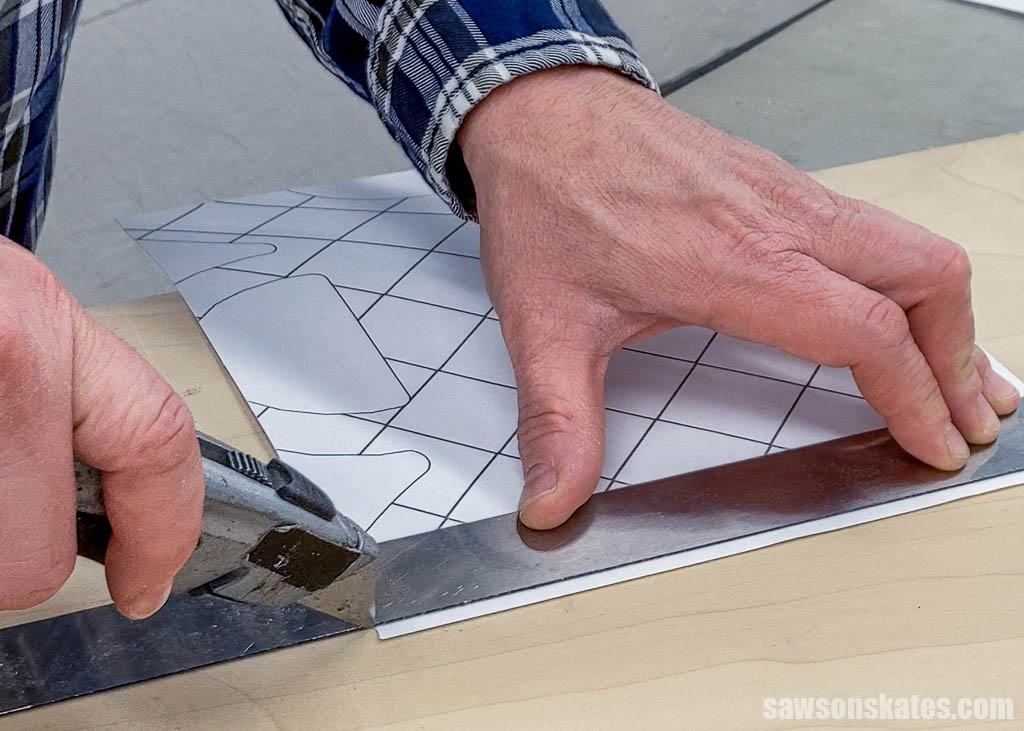
I’ll preface this by saying I over-complicated assembling my template. The pages print with a white border; however, they need to overlap to fit together correctly. I used a straightedge and a utility knife to remove some edges while leaving others.
I thought leaving the border on some pages would support those without making the template less flimsy when cutting it out.
Looking back, removing the border from all edges would probably be easier.
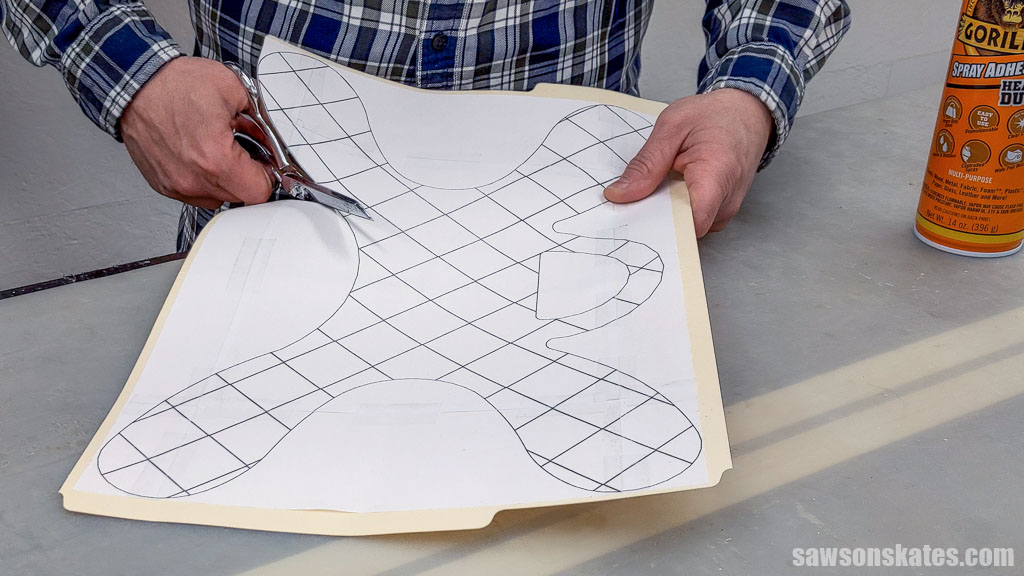
I attached the pattern to a manilla folder using spray adhesive and cut it out with scissors.
TIP: The manilla folder provides a lip for the pencil to trace around.
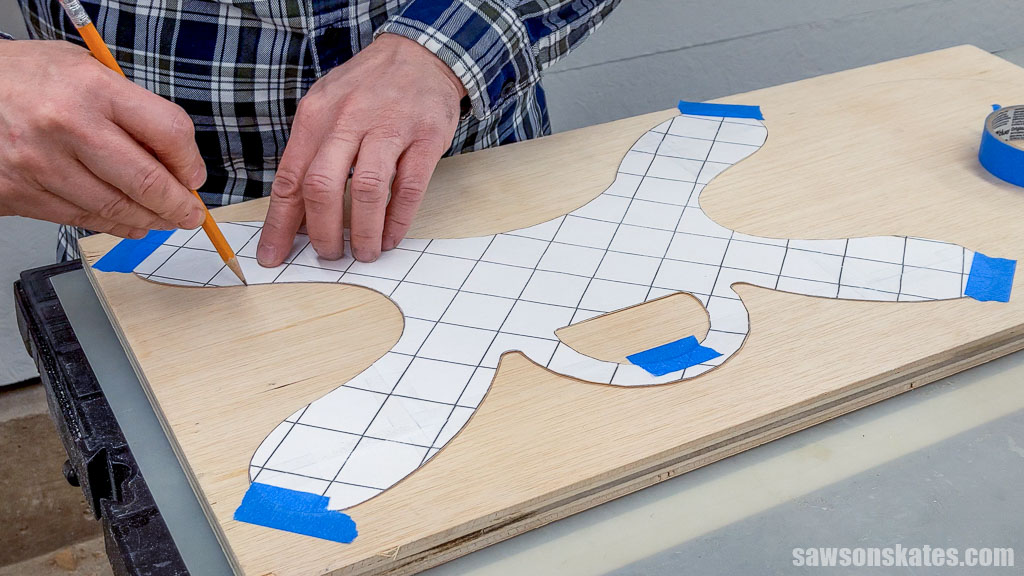
Next, I temporarily attached the template to the plywood using painter’s tape and traced it with a pencil.
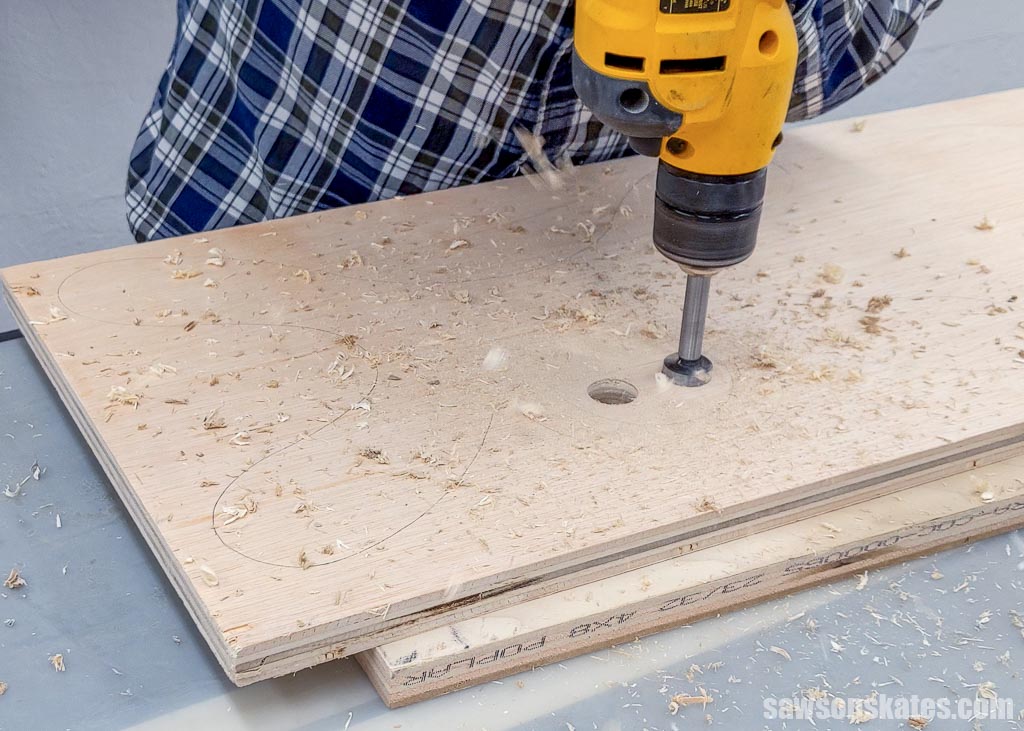
I made a starting point in the handle for the jigsaw blade using a Forstner bit.
Related: What is a Forstner Bit? (& How to Use It)
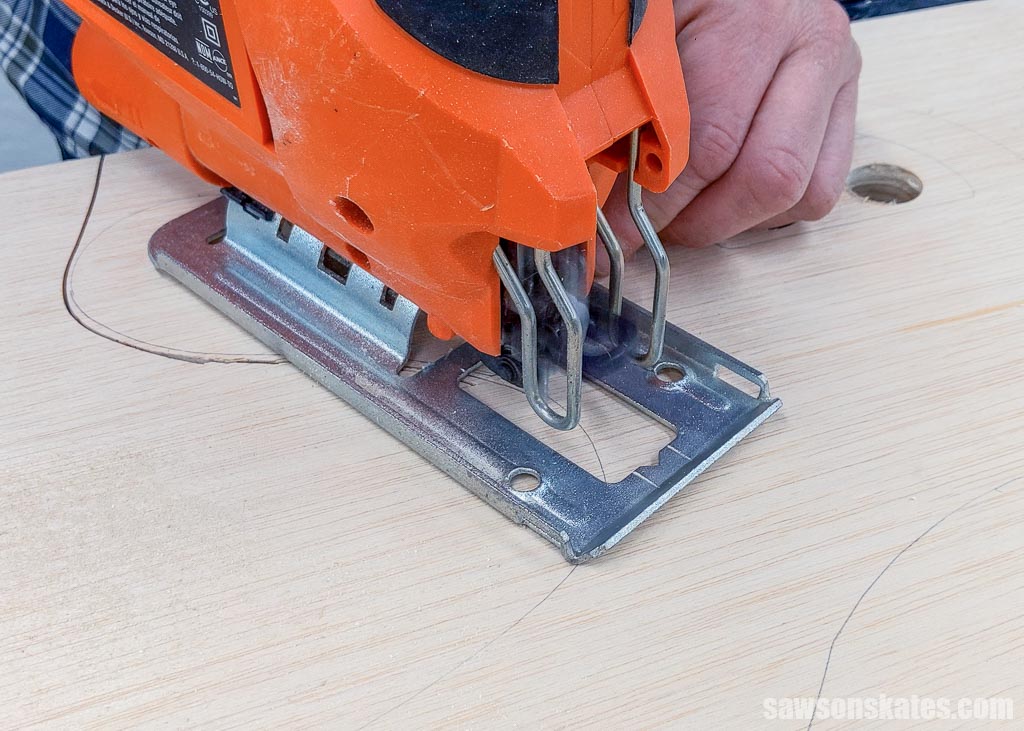
Next, I cut the shape using a jigsaw. For the most precise edges, I suggest cutting next to the pencil line and then carefully sanding up to it.
A portable spindle sander easily takes care of smoothing the holder’s curves, but you can use sandpaper if you don’t have one.
I used a handheld router and a roundover bit to soften the holder’s square edges, but you can use sandpaper if you don’t have one.
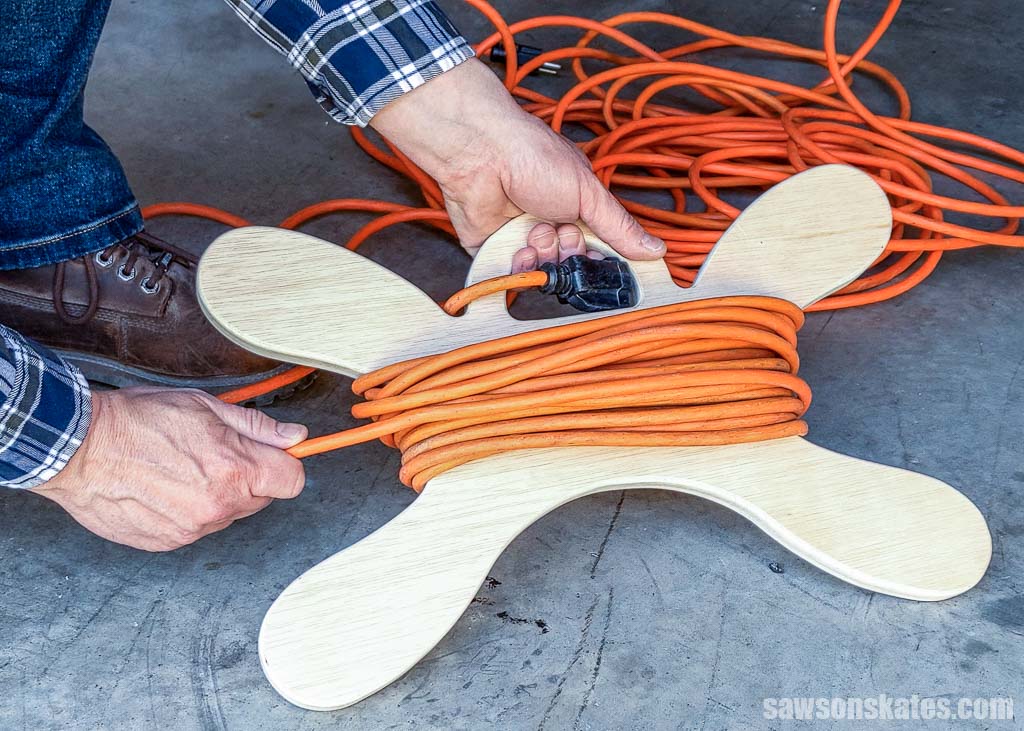
Step 2. Add Your Cord
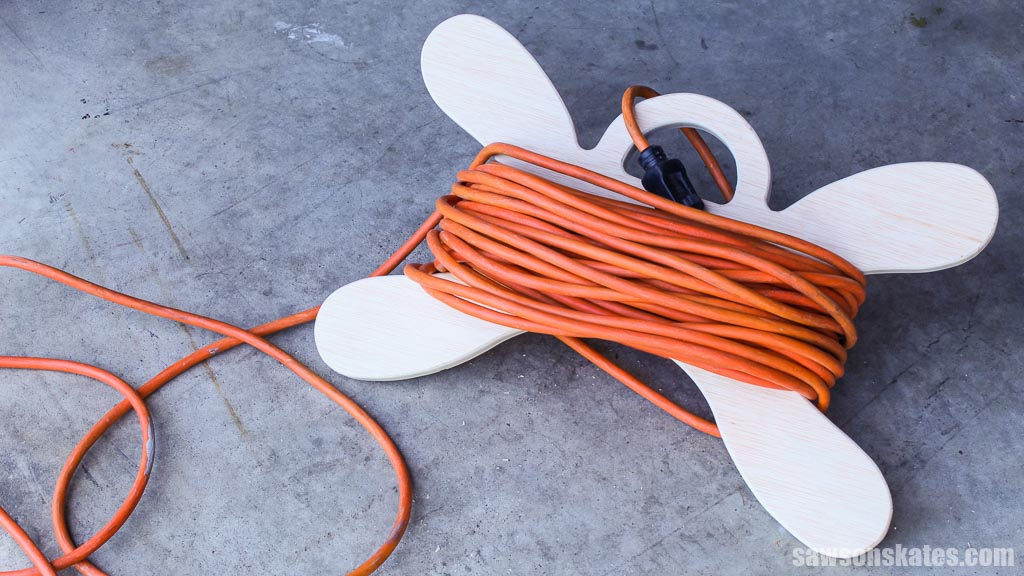
The last step is to wind your extension cord around the holder. And there you have it. Your DIY extension cord holder is complete!
Includes:
- List of tools and materials
- Complete measurements (in inches)
- Easy-to-follow instructions
- Step-by-step photos
- Detailed diagrams
Final Thoughts
This DIY cord holder is perfect for keeping extension cords in check and out of the way. It’s super quick to make, costs next to nothing, and looks great too. So what are you waiting for? Make one or two today!
Don’t wait. Get your PDF plan (including the detailed instructions and measurements) now!
Thank you for stopping by. If you enjoyed this tutorial, would you please take a moment and pin it to Pinterest? I’d really appreciate it!
Recommended For You
Pin This For Later

Hi there – I’m Scott, a woodworking enthusiast and creator of Saws on Skates, a site I started in 2015 to share easy-to-follow tutorials, space-saving shop tips, and project inspiration for DIYers at any skill level. Learn more about my woodworking journey here.