DIY Drill Holder
Get your tools organized with this DIY drill holder. This cordless drill storage rack is easy to make with a few pieces of wood and these simple plans.
What Should I Build Next?
That's the question I help answer.
Every week, I send woodworking ideas to 17,000 DIYers who love building things.
You'd fit right in.
DIY Drill Holder
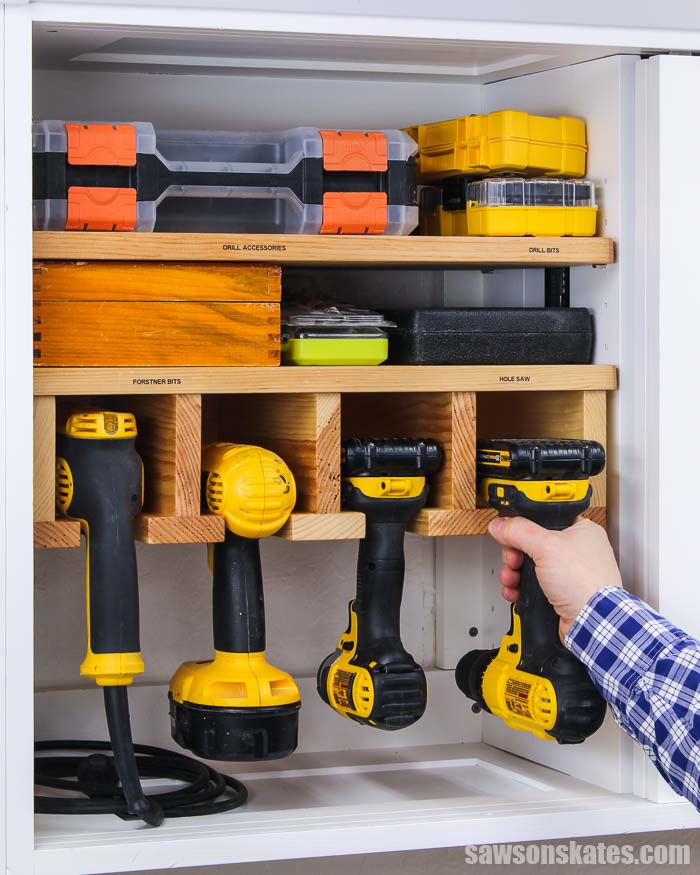
Are your drills disorganized? Tame your power tools with this DIY drill holder. It’s the perfect way to organize both corded and cordless drills.
This drill storage rack is easy to make with a few simple cuts and a few common woodworking tools.
The plan includes all of the measurements and detailed step-by-step instructions. Get the plan now and build one today.
Originally published April 23, 2019, republished March 23, 2021
This tutorial contains affiliate links to supplies and tools. Purchases made using these links help support the Saws on Skates website and allows me to share more projects and tips with you. There is no cost to you for using these links. Visit my site policies for more information.
Table of Contents
Inspiration for This Project
For years, my tools were scattered across my small workshop. I was constantly moving them from one flat surface to another.
Related: My 12×13 Small Woodshop Layout
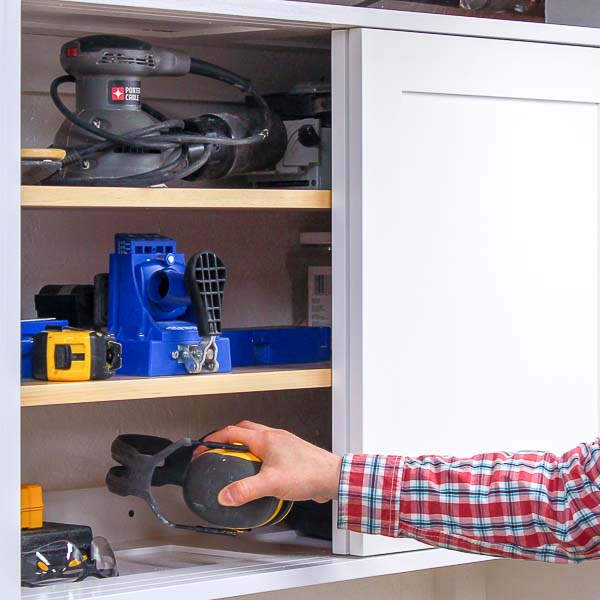
Then, I installed these DIY tool storage cabinets. These space-saving cabinets nearly tripled the storage space in my shop. It felt great to finally have a permanent home for my tools.
Related: 9 Clever Ways to Make Your Small Workshop Feel Bigger
The tools were off my workbench, table saw, and flip-top workbench, but the inside of the cabinets were not as organized as I hoped.
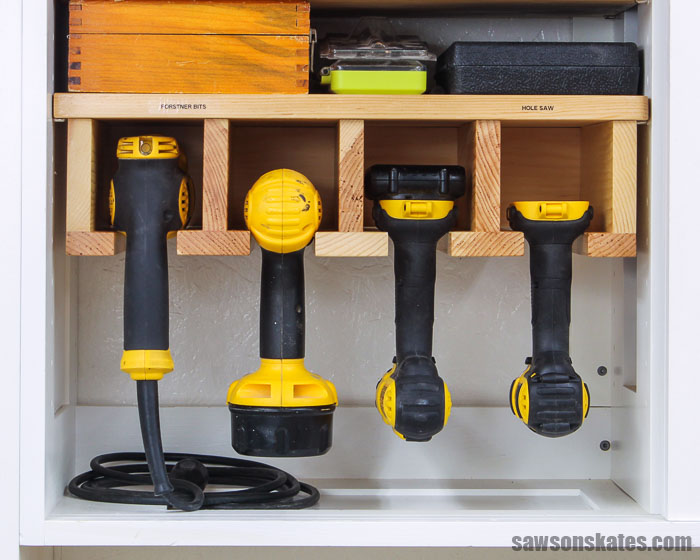
The spot that could be better organized was the area for my drills. My corded and cordless drills were taking up too much space on the shelf.
Related: How to Organize Tools in a Small Workshop
So I made a little design tweak to my storage cabinets. First, I added a divider in the center of the cabinet. Then, I made a smaller shelf and designed some hangers that would act as a drill storage rack. This simple change would allow me to store four power tools like drills, impact drivers, etc.
Related: Impact Driver vs Drill: What’s the Difference?
What I like about the design of this drill storage rack is that it rests on shelf pins. This way I can easily move the rack up or down within the cabinet or even to another cabinet.
I don’t have an electrical outlet near my cabinets. But if you have an outlet, then you can also use the shelf as a charging station.
Related: How to Make Adjustable Shelves
Back to Table of ContentsWhat Tools Do You Need to Make a DIY Drill Holder?
This drill storage rack is a quick afternoon project. It can be made using basic woodworking skills and just a few common woodworking tools.
Tools like a miter saw, pocket hole jig, and a drill. We’ll also need an additional saw to rip the shelf and the bottom of the inside holders to width.
Miter Saw
I used a miter saw to cut nearly all of the parts for this project.
Related: 7 Miter Saw Tricks Every DIYer Should Know
Pocket Hole Jig
We can use any pocket hole jig to drill the pocket holes for this project. I used the Kreg Jig 720PRO to drill the pocket holes for my drill holder. The inexpensive, user-friendly Kreg Jig 320 is also a great choice for drilling pocket holes.
Related: 9 Pocket Hole Mistakes You Don’t Want to Make
Drill
The drill was used to drill the pocket holes and with a countersink bit to make countersink holes. The drill was also used to drive the screws that join the parts together.
Related: How to Use a Countersink Bit
Additional Saw
We’ll need an additional saw to cut the shelf and bottom of the inside holders. I used a table saw to cut these parts. If you are not comfortable using a table saw, you could use a circular saw instead.
A circular saw and a Kreg Rip-Cut or Kreg Accu-Cut could be used to rip the parts to width.
Related: 4 Ways to Make Straight Cuts with a Circular Saw
What Wood Should You Use?
This DIY drill holder can be made with just about any type of wood. I used common pine to build mine. Pine is easy to work with and relatively inexpensive compared to other types of wood. You could also build this drill storage rack with plywood instead.
I purchased the pine 1×2s, 1×3s, and 1×4s at my local home improvement store.
Related: Beginner’s Guide to Wood Sizes
How Do You Finish the Drill Holder?
This drill holder could be finished in a variety of ways. It could be left natural, painted, etc.
I applied three coats of shellac to the rack and sanded with 220 grit sandpaper between each coat.
Related: What You Need to Know About a Shellac Wood Finish
Back to Table of ContentsDIY Drill Holder
Printed Plan
- Click here to get the PDF plan (includes detailed instructions, measurements, and bonus tips)
Supplies
- Wood (per printed plan)
- 1-¼” Pocket Screws
- 1-¼” Wood Screws
- Wood Glue
Tools
- Tape Measure
- Drill
- Kreg Jig
- Kreg Multi-Mark
- Miter Saw
- Table Saw or Circular Saw
- Kreg Rip-Cut (with Circular Saw)
- Kreg Accu-Cut (with Circular Saw)
- Jigsaw
- Countersink Drill Bit Set
📝 NOTE: This drill holder was designed to fit these DIY tool storage cabinets. I needed to install a center divider in the cabinet so that I could install the drill holder. Instructions to make the center divider are included at the end of the printed plan. You may need to adjust the measurements of the drill holder if you are not using it with the DIY tool storage cabinets.
Step 1. Make the Shelf
Cut 4 pieces of wood to length for the shelf. Apply glue and clamp to form a panel.
When the glue was dry, I used my table saw to rip the shelf to width. If you’re not comfortable using a table saw, you could use a circular saw and a DIY crosscut jig, Kreg Rip-Cut, or Kreg Accu-Cut to make this cut.
Related: 4 Ways to Make Straight Cuts with a Circular Saw
Next, I used a jigsaw to cut a notch for the back brace.
Use the diagram in the printed plan to layout the locations for countersink holes. Use an awl at each mark to make a starting point for the drill bit.
Related: What is an Awl? (and How to Use It)
Then, use a countersink drill bit to drill a countersink hole at each mark.
Related: How to Use a Countersink Bit
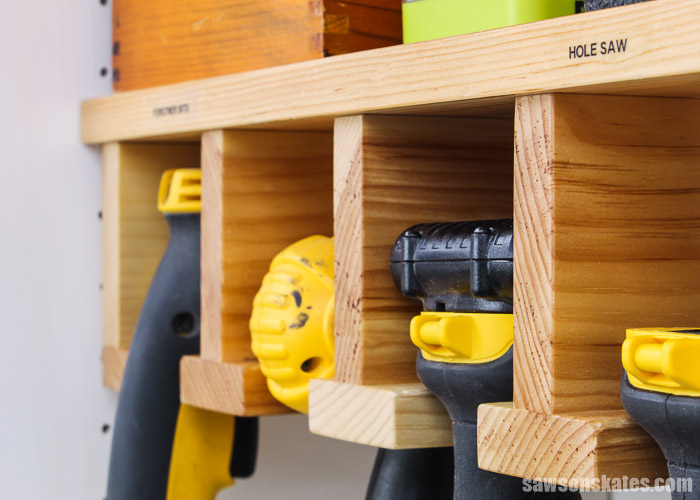
Step 2. Assemble the Drill Holders
Cut 5 pieces of wood to length for the uprights.
Outside Holders
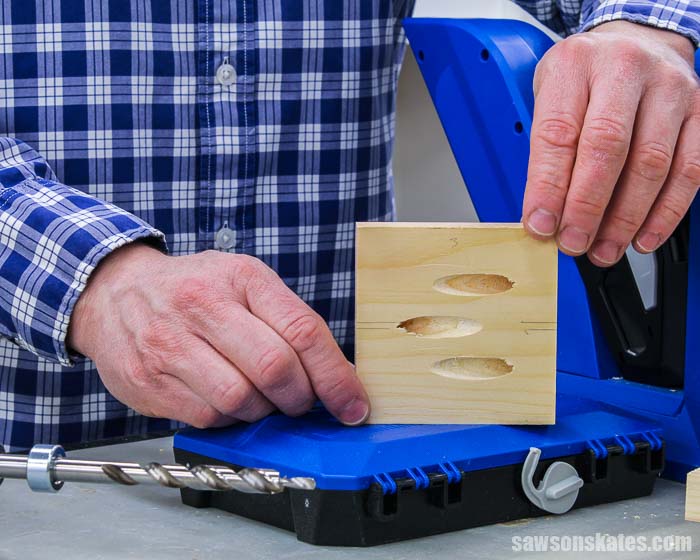
Cut 2 pieces of wood to length for the bottom of the holders. Use the diagram in the printed plan to layout the locations for countersink holes. Use an awl at each mark to make a starting point for the drill bit. Then, use a countersink drill bit to drill a countersink hole at each mark.
Apply glue to an upright, position the bottom, and clamp. Attach using 1-¼” wood screws. Repeat for the remaining outside holder.
Inside Holders
Cut 3 pieces of wood to length for the bottom of the holders. I used my table saw to rip the bottoms to width. If you’re not comfortable using a table saw, you could use a circular saw and a Kreg Rip-Cut, or Kreg Accu-Cut to make these cuts.
Use the diagram in the printed plan to layout the locations for countersink holes. Use an awl at each mark to make a starting point for the drill bit. Then, use a countersink drill bit to drill a countersink hole at each mark.
Apply glue to an upright, position the bottom, and clamp. Attach using 1-¼” wood screws. Repeat for the remaining inside holders.
To help space the holders, I cut 4 pieces of wood to length. These pieces will later be used as the back of the drill holder. I temporarily placed these pieces between the holders.
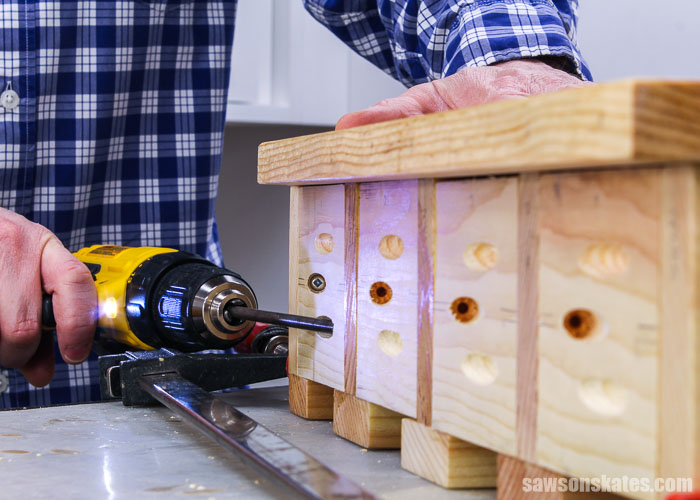
Clamp the holders to the shelf and attach through the countersink holes using 1-¼” wood screws.
Use the diagram in the printed plan to drill pocket holes in the pieces that were used as spacers.
Position the pieces at the back of the holders.

Attach using 1-¼” pocket screws.
Step 3. Finish the Drill Holder
See How Do You Finish the Drill Holder? for more information.
Step 4. Install the Drill Holder
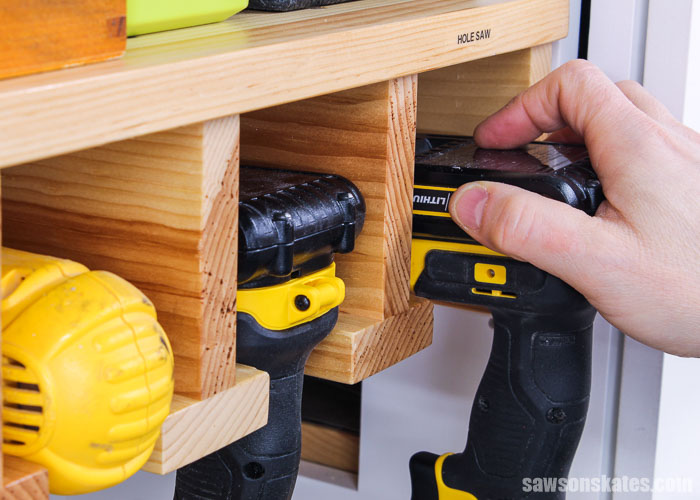
Insert shelf pins into the shelf pin holes and slide the drill holder into the cabinet.

Video: How to Make a DIY Drill Holder
Watch now and see how I made the drill storage rack!
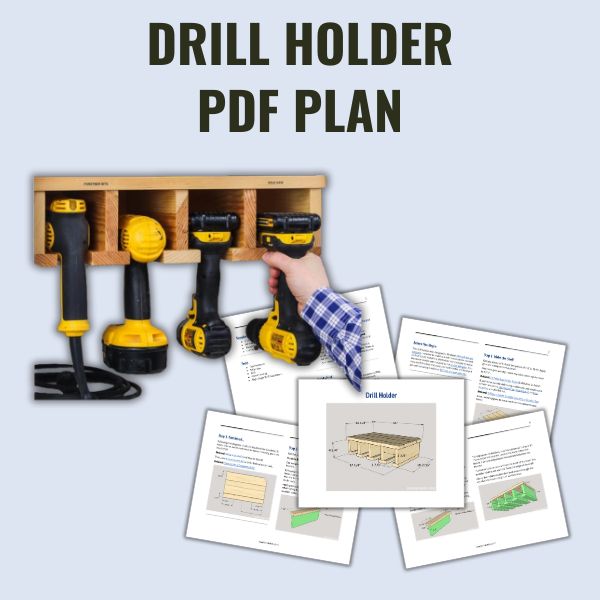
Includes:
- List of tools and materials
- Complete measurements (in inches)
- Easy-to-follow instructions
- Detailed diagrams
Final Thoughts
Tame your power tools with this DIY drill holder. It’s the perfect way to organize both corded and cordless drills.
This drill storage rack is easy to make with a few simple cuts and a few common woodworking tools.
Click here to get the plan (including the detailed instructions and measurements) now!
Thank you for stopping by. If you enjoyed this tutorial, would you please take a moment and pin it to Pinterest? I’d really appreciate it!
Recommended For You
Pin This For Later

Hi there – I’m Scott, a woodworking enthusiast and creator of Saws on Skates, a site I started in 2015 to share easy-to-follow tutorials, space-saving shop tips, and project inspiration for DIYers at any skill level. Learn more about my woodworking journey here.
Thank you so much for the work shop plans they helped me out so much. With out them I would be stuck again. I build stuff all day long for other people . but when i get to the shop my mind goes blank. Thanks again Earl
Hi Earl – I’m glad these plans were helpful for you. Good luck with your build!
Thank you so much for the free wood working project
Thank you, Kimmie!
All these plans are absolutely awesome!!!
Thank you, Alan!
I have downloaded several of your plans. I just saw the shop plans. I have a 12 x 14 storage shed. I am going to try to create a shop out of this. I like this idea, now I can maybe be able to walk around in my shop. Thank you for all the sharing you do.
I will be buying you some cups of coffee.
Thanks again.