
DIY Thanksgiving Turkey Tea Light Holder
I’ve made projects for fall, Halloween, and Christmas. The one holiday I left out was Thanksgiving. Well, that’s about to change!
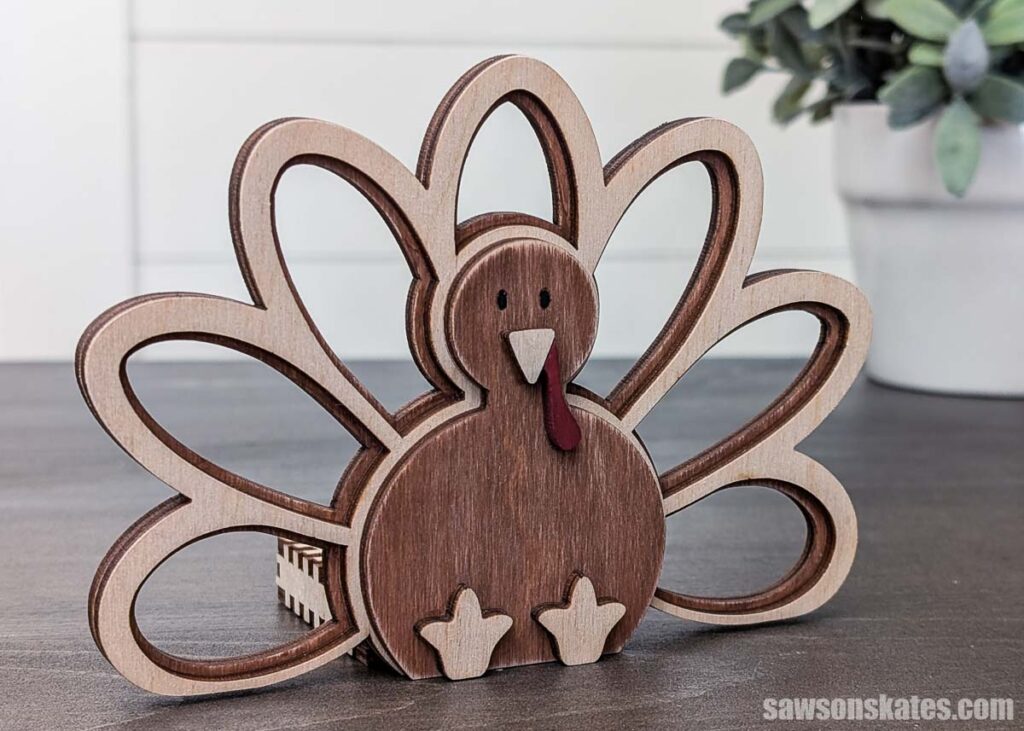
I’ve been brainstorming ideas and came up with this adorable turkey tea light holder. It’s perfect for a mantel, entryway table, or centerpiece.
What Should I Build Next?
That's the question I help answer.
Every week, I send woodworking ideas to 17,000 DIYers who love building things.
You'd fit right in.
xTool provided the P3 laser cutter I used in this project. All opinions are my own.
This article contains affiliate links. If you purchase from these links, I may earn a small commission at no additional cost to you. Visit my site policies for more information.
Cutting the Turkey Pieces
I made mine with my laser cutter, but you don’t have to. You could make something similar with a scroll saw. That’s how I would’ve done it a few years ago. But now, I can knock out one of these in less than four minutes, and I don’t have to sand anything; my scroll saw has been collecting dust ever since.
Plywood or Solid Wood
I layered several pieces of 3mm plywood to make mine. You could also use thicker pieces of solid wood. Yours will just have a chunkier, more rustic look. Imagine layering different wood species for a turkey with color built right in, no stain required.
Stain, Paint, or Leave It Natural
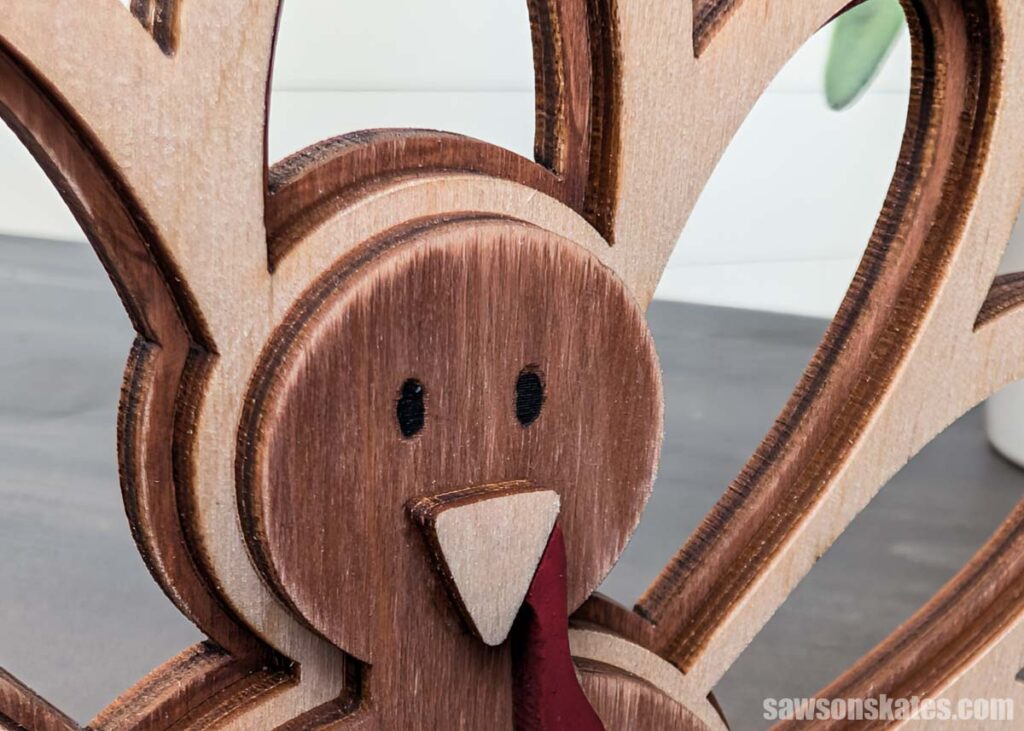
I painted some parts of mine and left other parts natural. You could leave yours entirely natural, use a different stain color for each part, or paint it in fall colors. It’s totally up to you.
What Candles Should You Use?
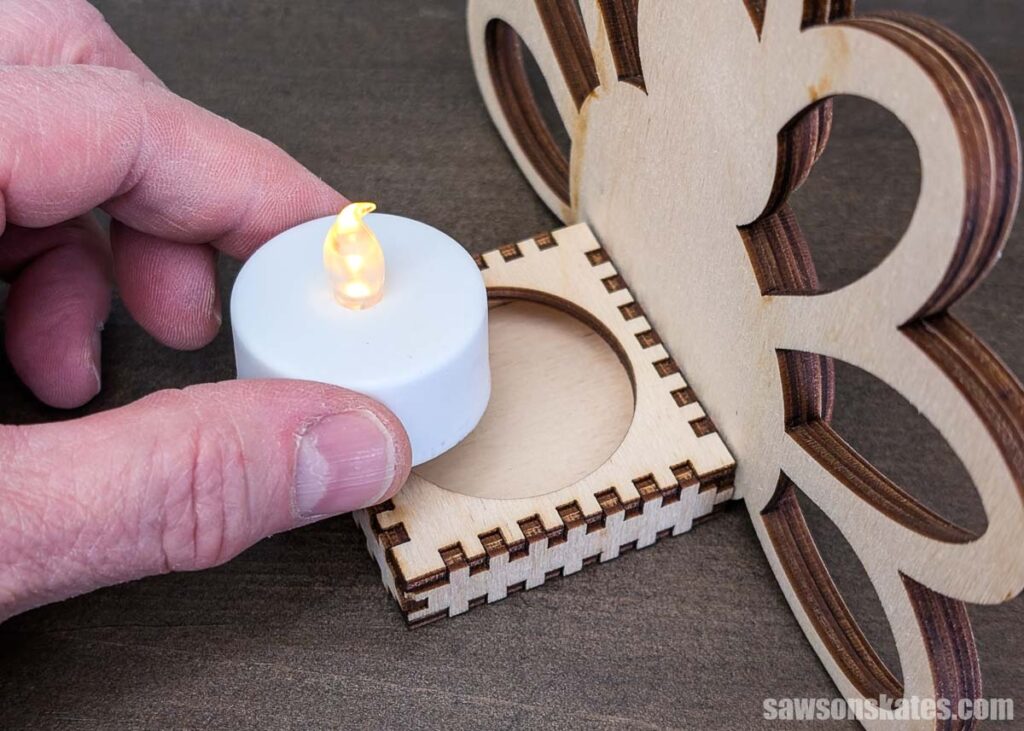
For safety, I suggest only using flameless LED candles in this tealight holder. Real candles are a fire risk and should be avoided.
How to Make a Thanksgiving Turkey Tea Light Holder
Materials
- 3mm Plywood
- Wood Glue
- Craft Paints
Tools
- xTool P3 or scroll saw
Step 1. Trace and Scale the Design
I dragged my turkey design into xTool Studio, traced the image, and scaled it to size.
You can design your own, or, if you want a shortcut, I have the laser cut files available below.
For my prototype, I used a piece of pine for the candle holder and cut it to size with my miter saw. Then, I drilled a recess for the candle using my drill press and a Forstner bit.
For the final version, I used the xTool Studio box generator app to make the candle holder. It’s super easy to do. Let me know if you’d like a tutorial.
Step 2. Cut Out the Turkey Parts
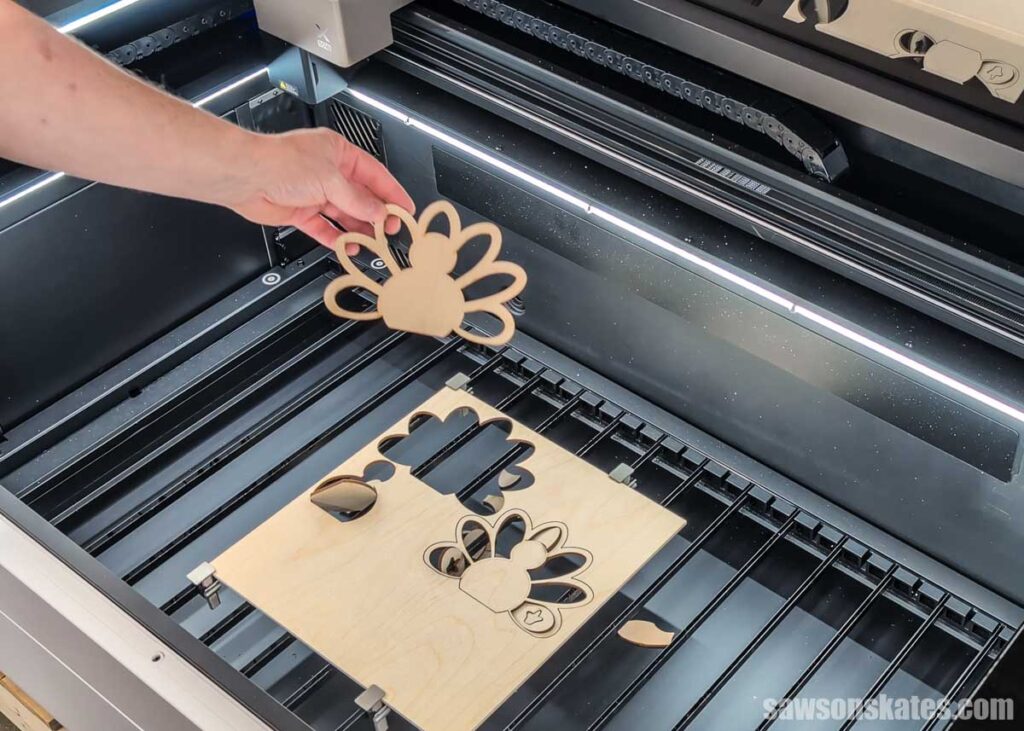
Next, I followed my method for cutting wood with the xTool P3 to cut out the turkey parts.
Less than 4 minutes later, I had everything I needed to make an adorable candle holder.
NOTE: You could use a scroll saw instead.
Step 3. Paint and Assemble
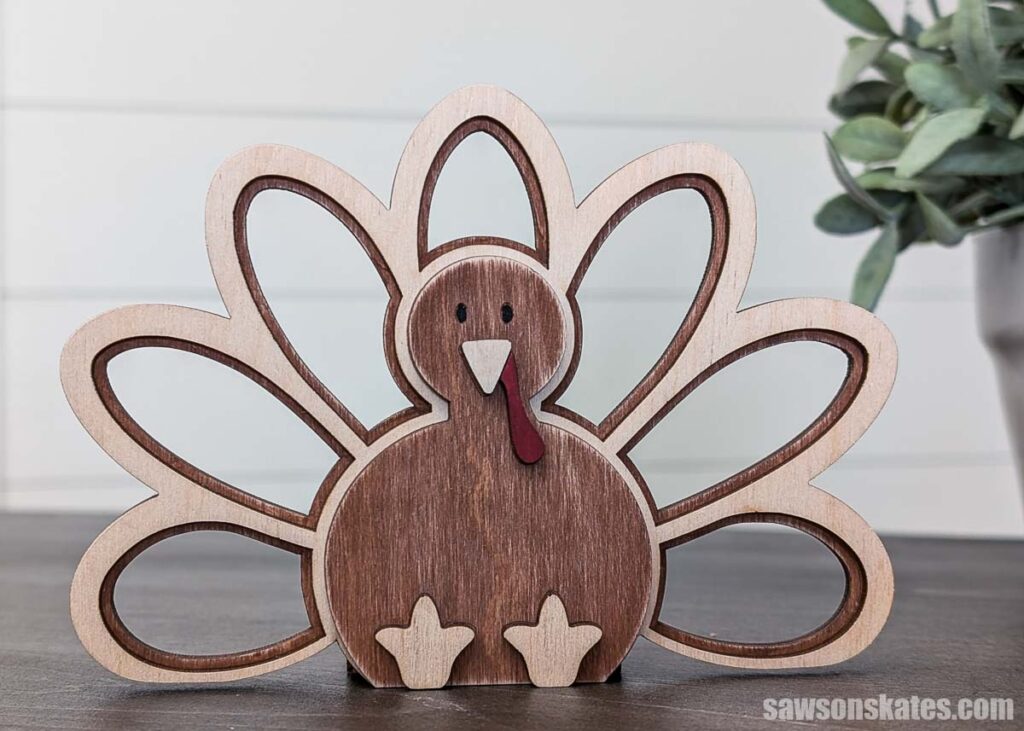
I wanted the feathers to pop, and the best way I could think of was to use contrast. I painted the turkey’s body chocolate brown and left the front feather layer natural. Then I painted the rear feather layer brown, too. It sits slightly inset from the front layer, so the brown edge frames each feather.
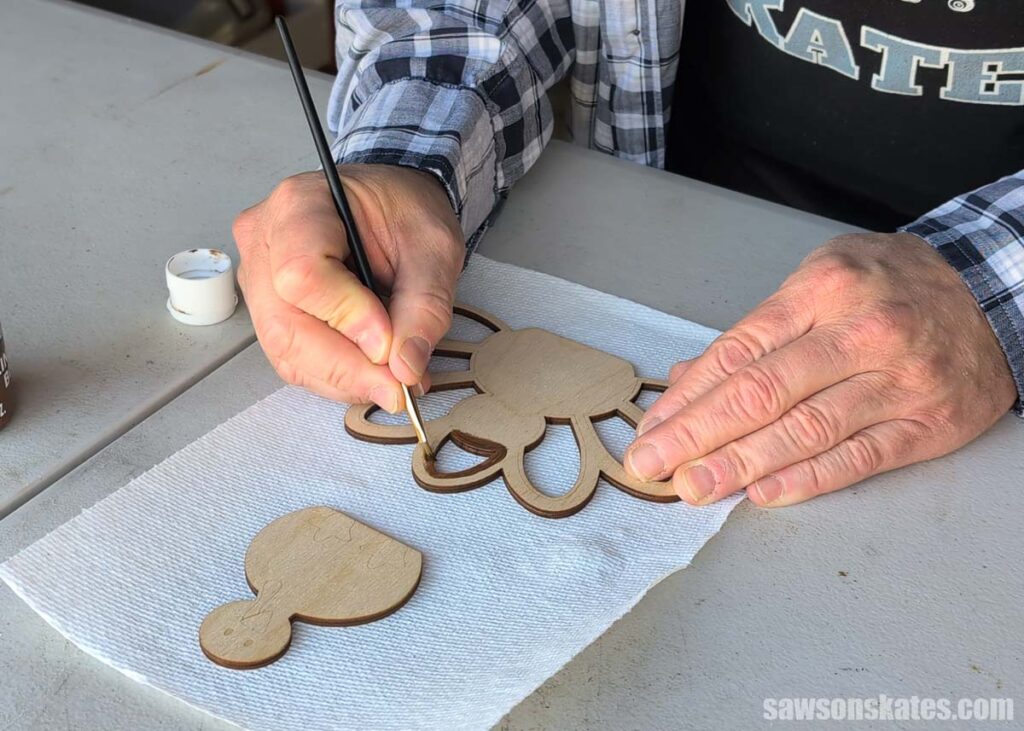
I left the beak and feet natural, but painted the wattle a dark red.
Once all the paint was dry, I applied a thin layer of glue to the front feathers and attached them to the back.
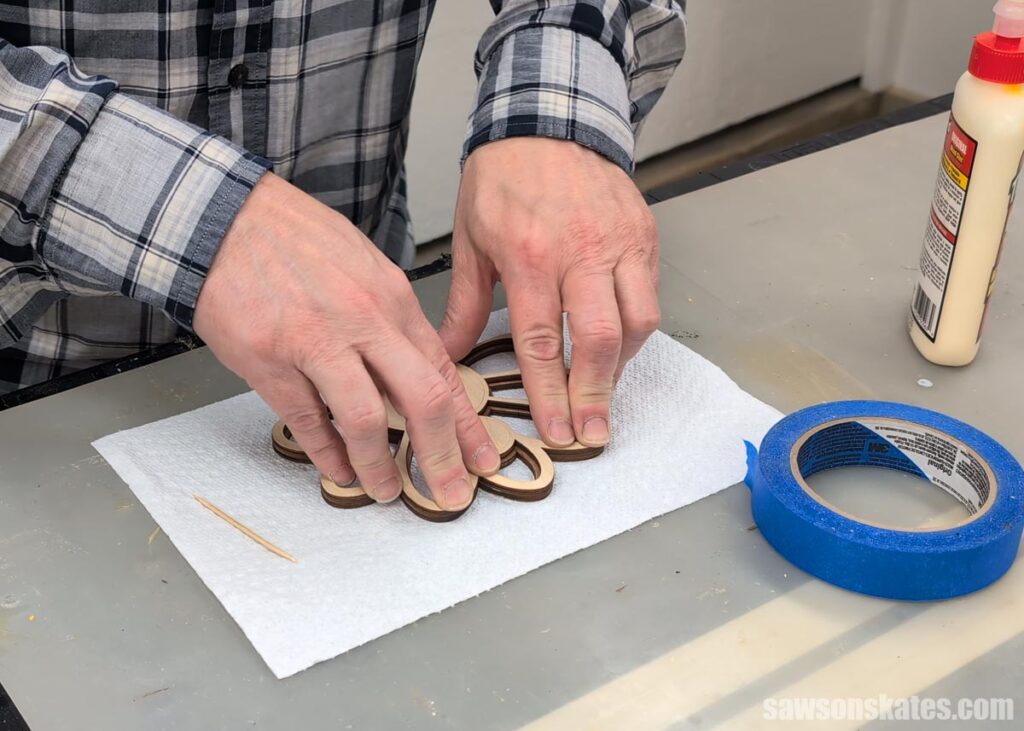
I repeated this process for the body, beak, wattle, and feet.
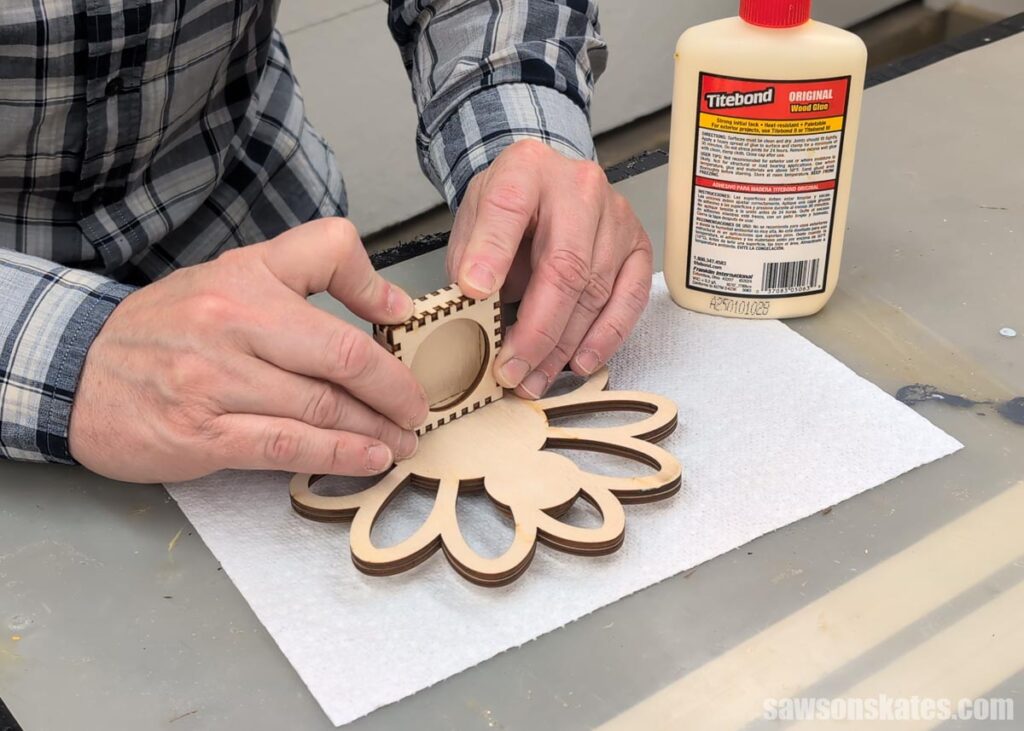
Next, I assembled the candle holder, which fits together like a 3D puzzle.
I applied glue to the candle, placed it on the turkey’s back, and let it dry.
That’s it. This turkey is ready to light up my Thanksgiving table, and it would work just as well on your mantel or entryway shelf.
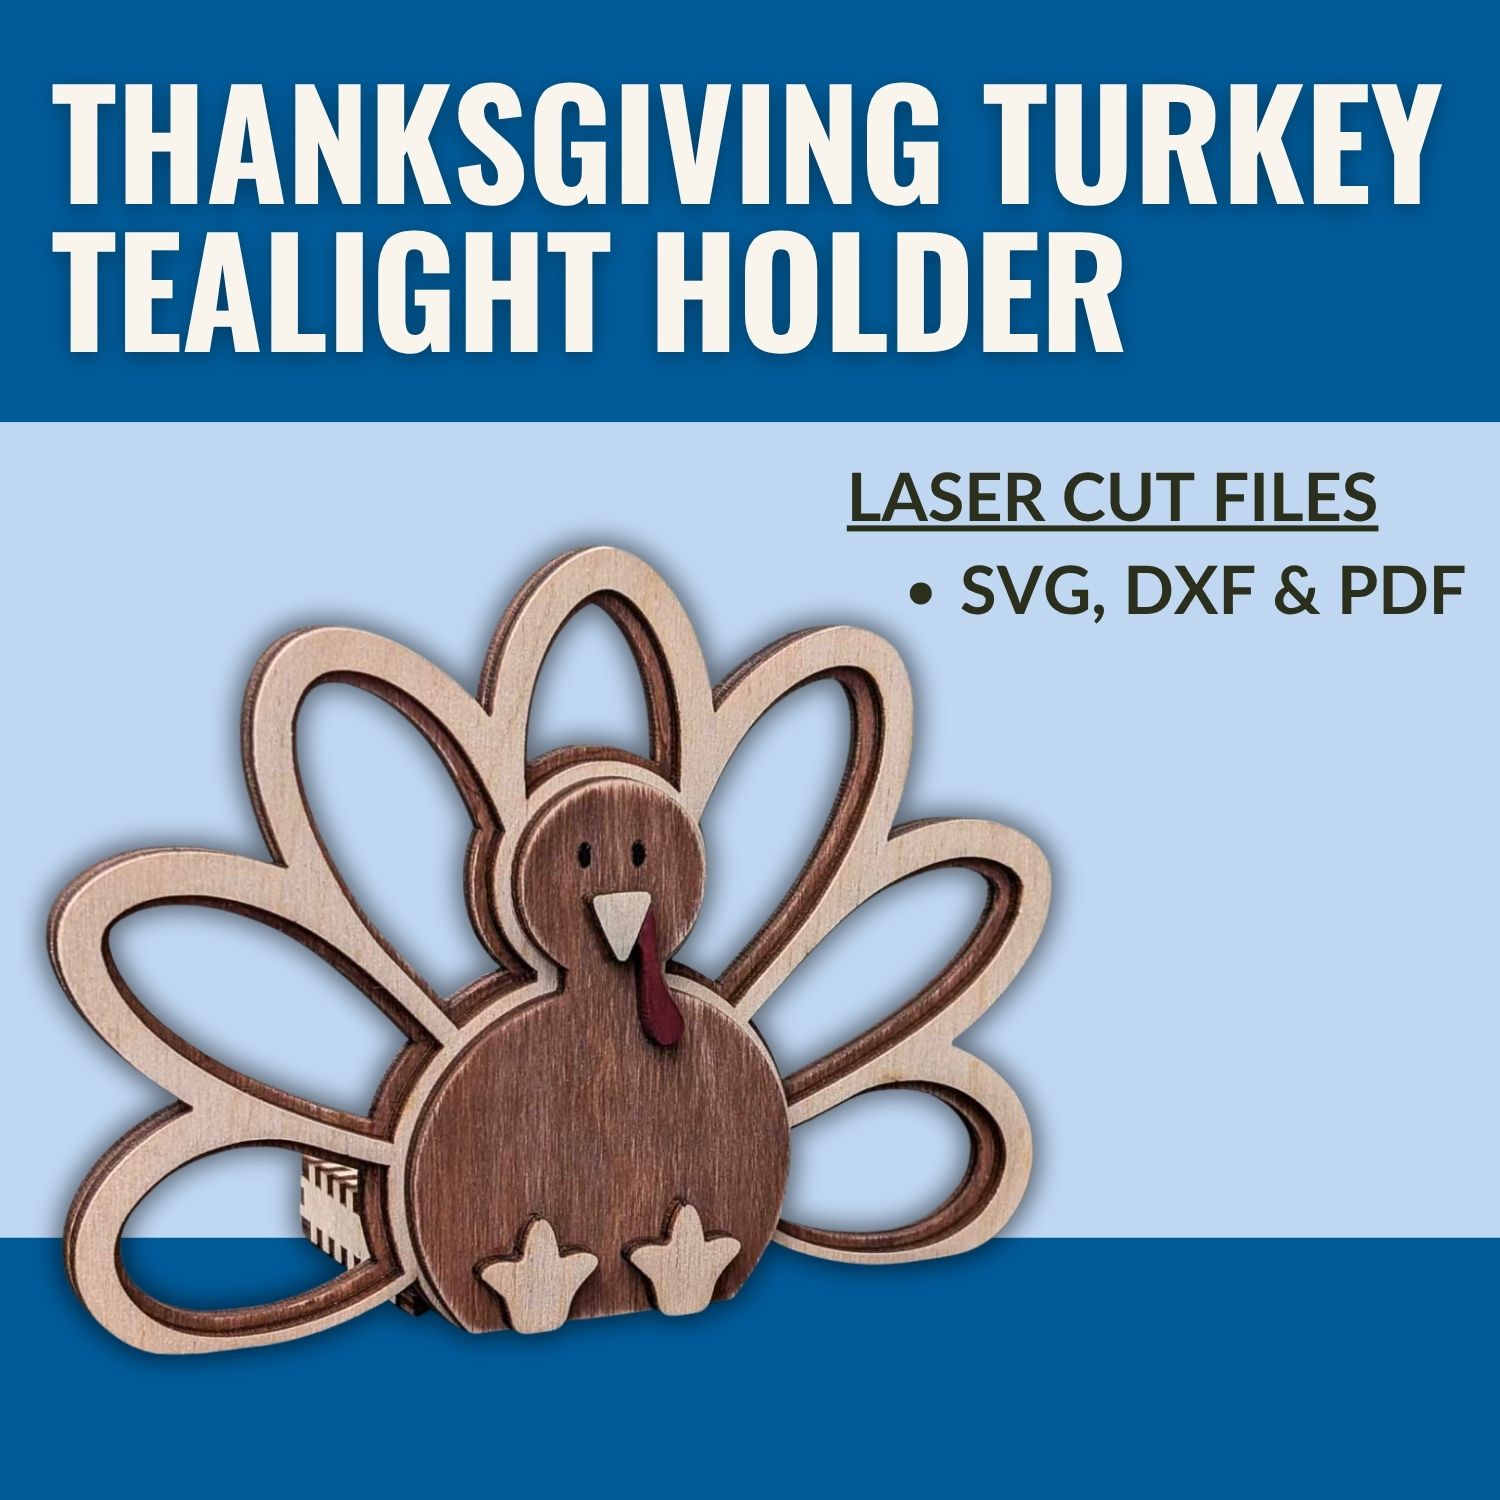
Cut Files Include:
- SVG, DXF, and PDF
- A reference sheet with the color codes and finished measurements
Recommended For You

Hi there – I’m Scott, a woodworking enthusiast and creator of Saws on Skates, a site I started in 2015 to share easy-to-follow tutorials, space-saving shop tips, and project inspiration for DIYers at any skill level. Learn more about my woodworking journey here.