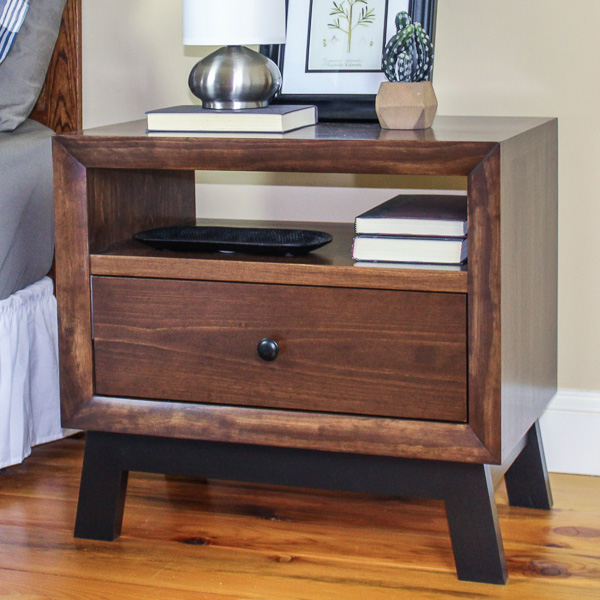
DIY Mid-Century Modern Two-Drawer Nightstand
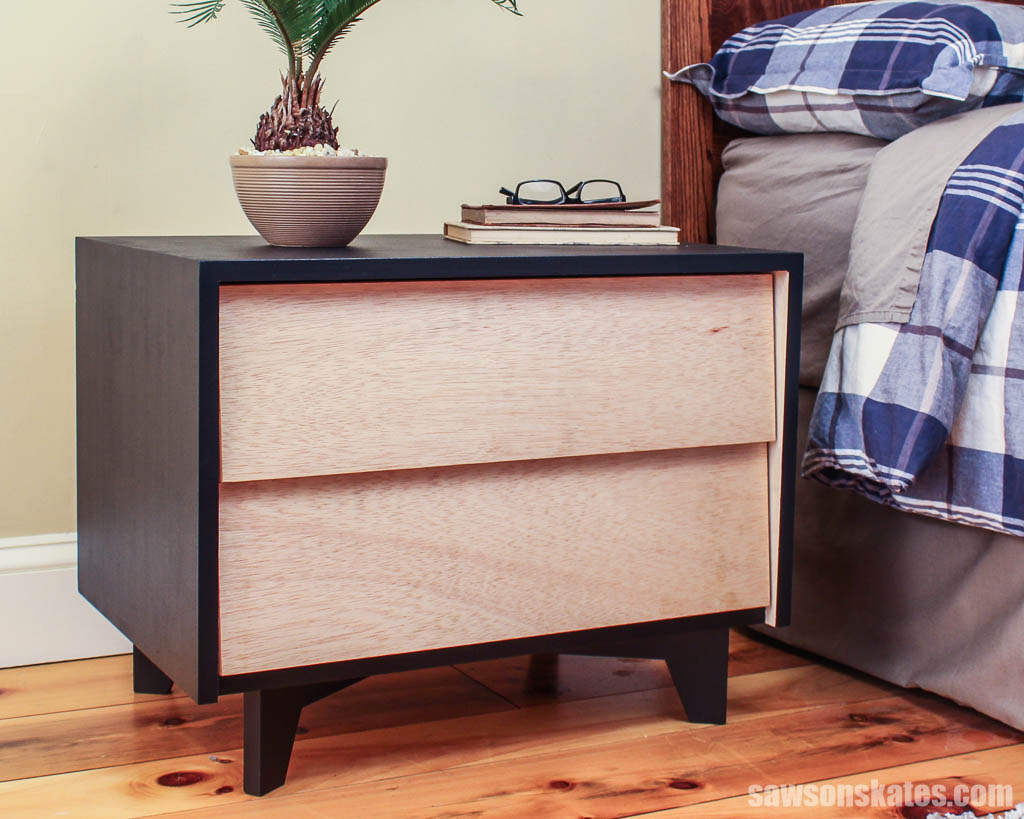
Looking for a stylish nightstand that won’t take up too much space? This DIY Mid-Century Modern two-drawer nightstand is the perfect blend of form and function: sleek, compact, and totally doable for DIYers.
I built this piece for my small bedroom because I wanted something with a vintage vibe that wouldn’t overwhelm the space. With its angled legs and slanted drawer fronts, it’s just the right touch of mid-century charm.
What Should I Build Next?
That's the question I help answer.
Every week, I send woodworking ideas to 17,000 DIYers who love building things.
You'd fit right in.
This article contains affiliate links. If you purchase from these links, I may earn a small commission at no additional cost to you. Visit my site policies for more information.
I based the nightstand’s size and color scheme on a piece I found at a furniture store. Also, I apologize for the photo quality; this was one of my earlier projects, built about two years after I started the site and a few years before I took classes to improve my photography skills.
Originally published March 11, 2017, republished March 24, 2025.
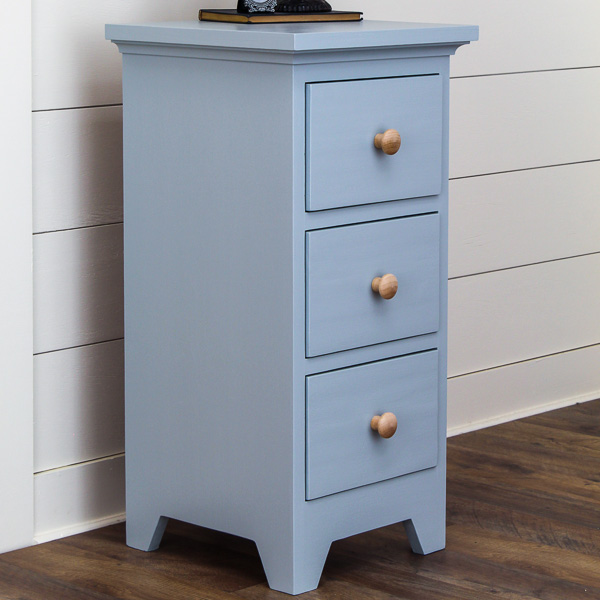
I used this nightstand for a while, but eventually, it started feeling too small for the space. So, I designed and built this larger version, only to realize that one felt too big! But that’s a story for another time, lol. In the end, I donated this two-drawer version to a charity auction to help raise funds for a friend’s medical expenses.
How to Make a DIY Mid-Century Modern Nightstand with Two Drawers
Printed Plan
Get the PDF plan here (includes detailed instructions, measurements, and bonus tips)
Materials
- Wood (per the printed plan)
- 1-¼” Pocket Hole Screws
- 1-¼” Brad Nails
- ¾” Brad Nails
- 2″ Wood Screws
- Wood Glue
Tools
- Tape Measure
- Pocket Hole Jig
- Miter Saw
- Table Saw or Circular Saw and Kreg Rip-Cut
- Drill
- Countersink Drill Bit
Step 1. Assemble the Carcass
Cut one piece of plywood to size for the top.
I didn’t have one then, but I would cut these parts with a circular saw and a Kreg Rip-Cut if I were building this today. I’ve heard some DIYers feel it’s not precise, but I’ve always had good luck with it. You can also use a track saw or table saw if you’re comfortable using one.
TIP: I recommend making sure the grain runs lengthwise for the best appearance.
Following the diagram in the printed plan, mark the locations for pocket holes you’ll use to attach the top to the sides and drill one at each mark.
Related: How to Use a Pocket Hole Jig
TIP: Plywood edges aren’t the most attractive. Since I planned to paint my stand, I filled the edges with Ready Patch after assembling the cabinet, which worked fine. However, a better approach, especially if you’re leaving the cabinet natural or staining it, is to apply edge banding. Edge banding is a thin strip of veneer that covers the plywood’s raw edges, giving it a clean, finished look. Applying the banding before assembling the cabinet may be easier than after.
Cut two pieces of plywood to size for the sides.
TIP: I recommend making sure the grain runs top to bottom for the best appearance.
Apply glue to the top’s edges, position on the sides, and clamp. Attach using pocket hole screws.
Cut one piece of plywood to size for the bottom.
TIP: I recommend making sure the grain runs lengthwise for the best appearance.
Apply glue to the bottom’s edges, position on the sides (flush against the back), and clamp. Attach using pocket hole screws.
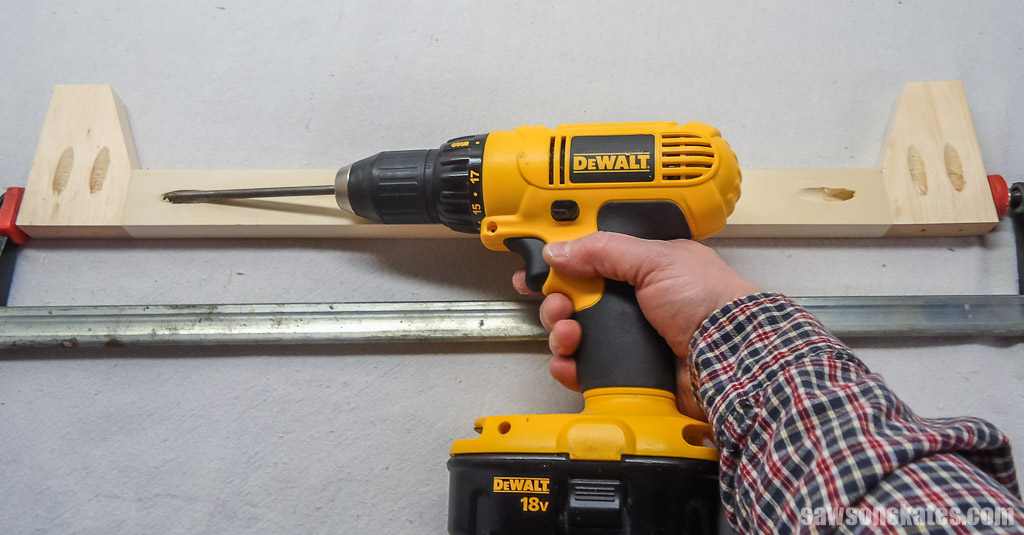
Cut one piece of plywood to size for the back.
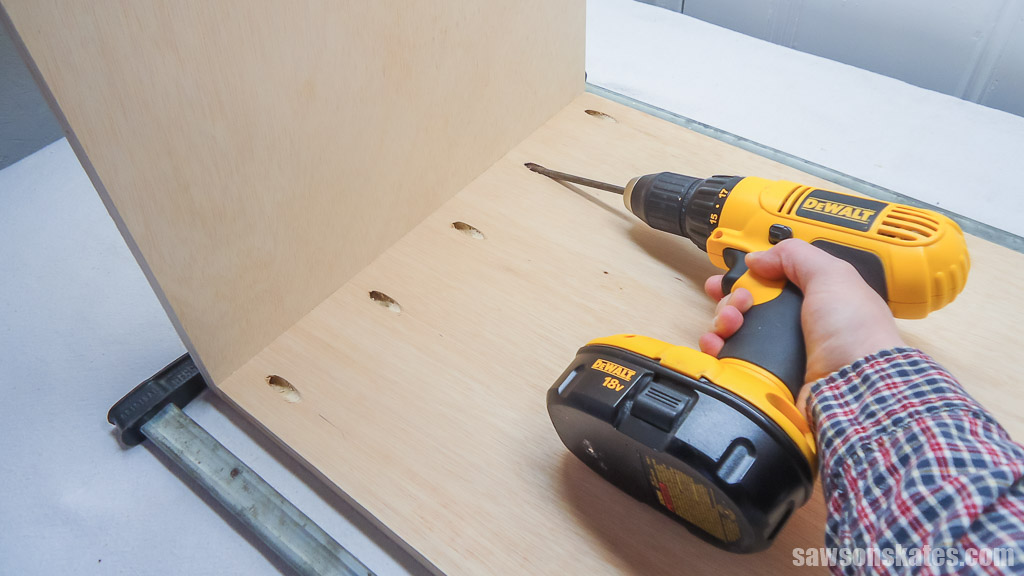
Following the diagram in the printed plan, mark the locations for pocket holes you’ll use to attach it and drill one at each mark.
Position the back in the opening, clamp it in place, and attach using pocket hole screws.
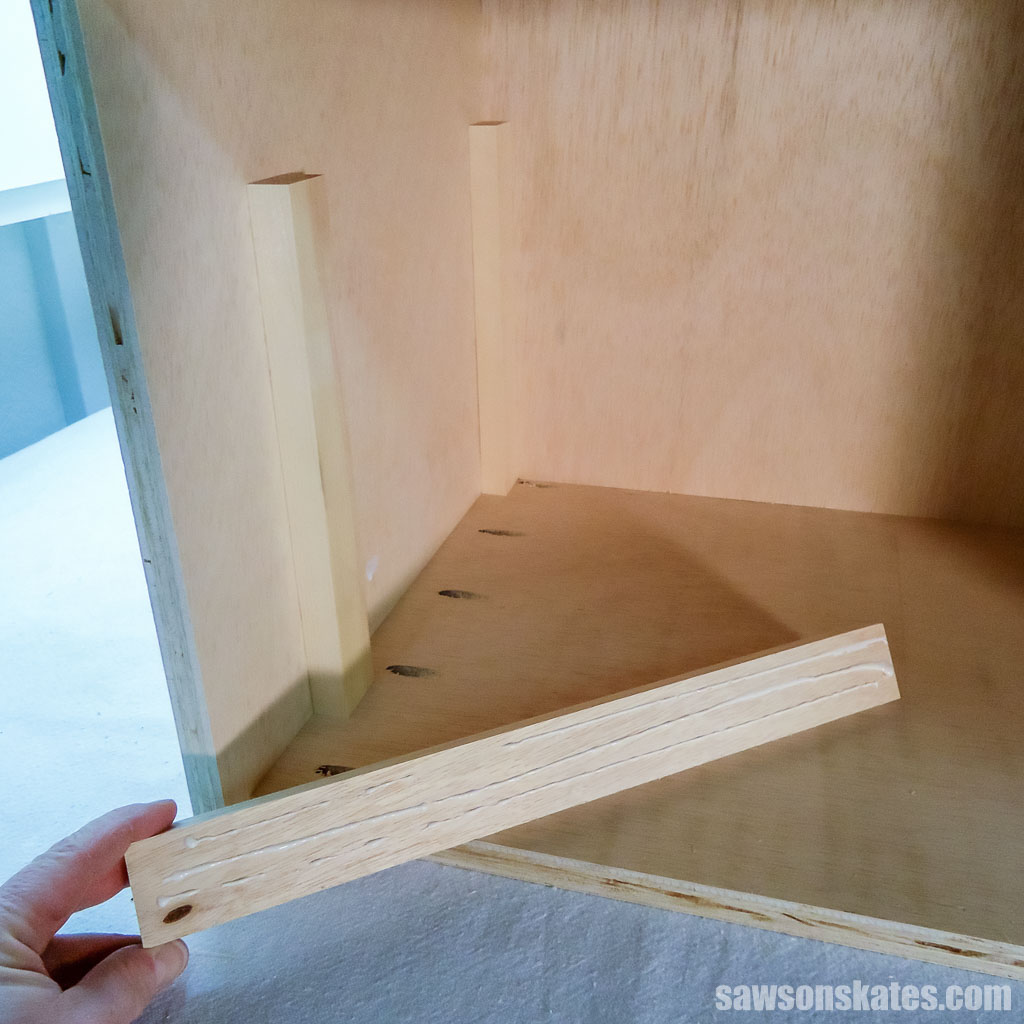
Step 2. Install the Drawer Supports
Cut eight pieces of plywood to size for the drawer supports
I recommend installing the supports from the top down.
To help with the positioning, I cut a few pieces of scrap wood to length and placed them against the side.
I positioned a support above the spacers and attached it using brad nails.
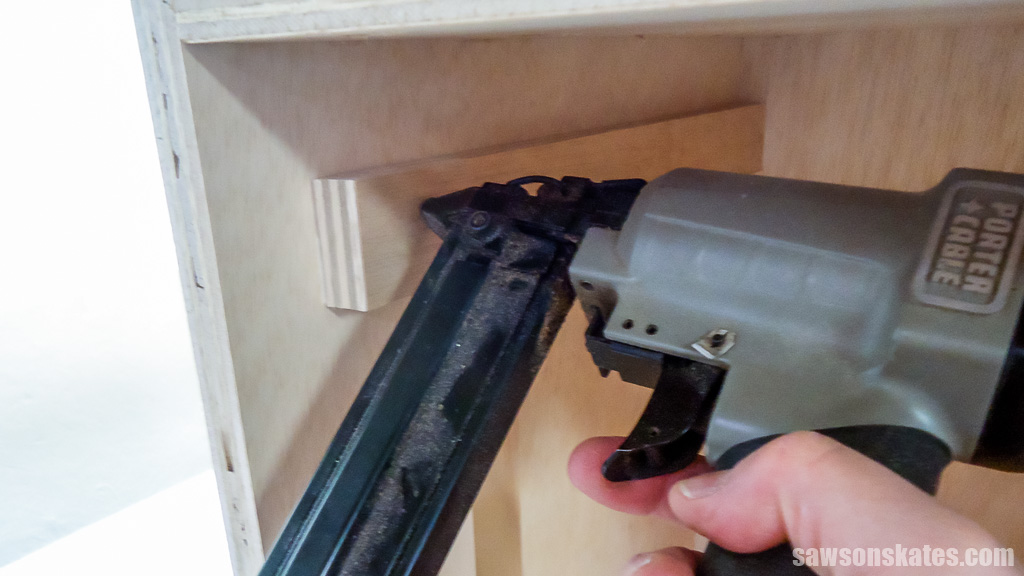
I positioned a spacer and a support below the top support and attached it using brad nails.
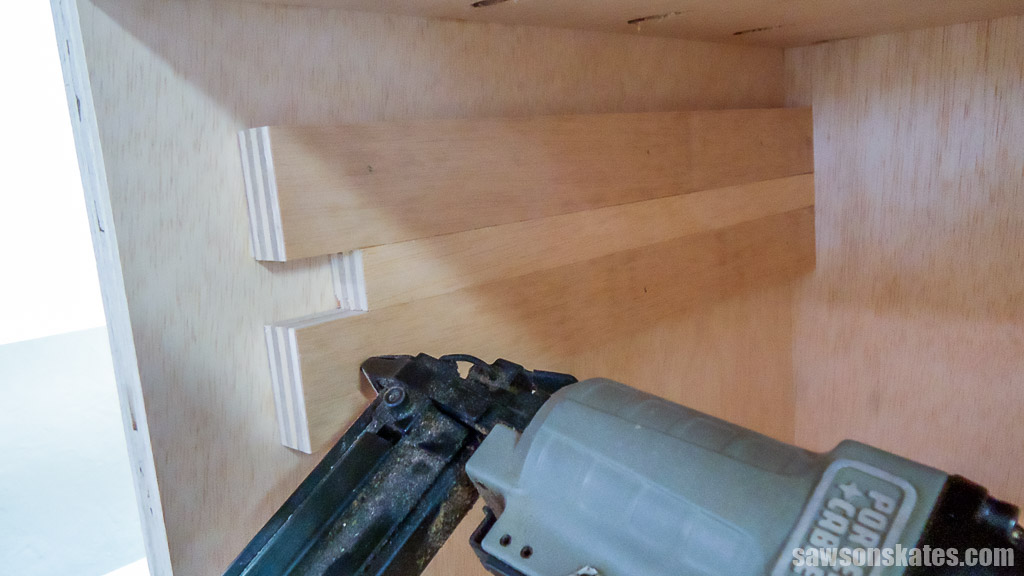
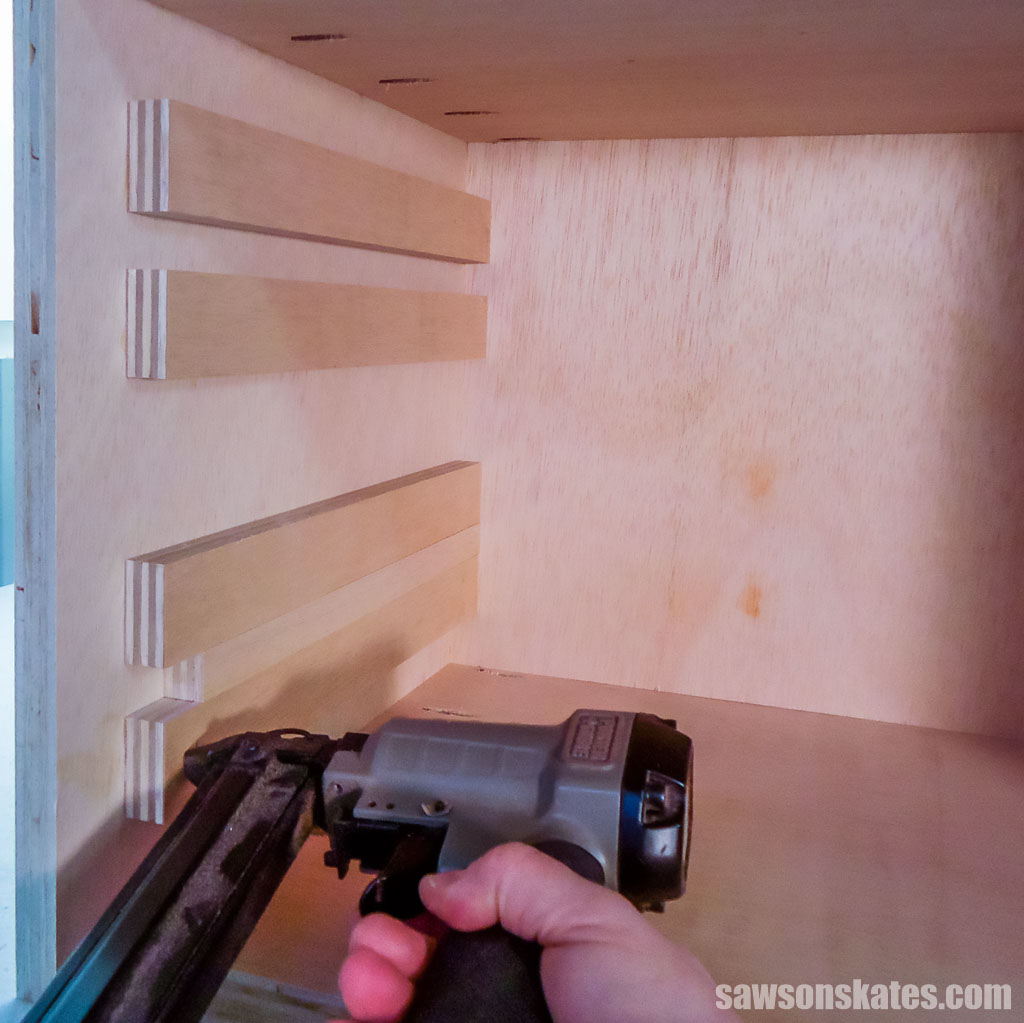
Following the diagram in the printed plan, I repeated these steps for the lower supports and the other side.
Step 3. Attach the Legs
The legs are relatively small. To make them as safely as possible, I start by measuring and making a mark. Using my miter saw, I cut an angle at that mark. Then, I cut the leg to length. I repeat the process for the other three legs.
Using a pocket hole jig, drill two in each leg.
TIP: I like to make two left legs and two right legs so I can position the pocket holes facing the back of the nightstand, giving a more polished look from the front.
Cut one piece of wood to length for the long leg brace and drill one pocket hole in each end. Apply glue, position a leg, and attach using a pocket hole screw. Repeat for the other leg.
Cut two pieces of wood to length with an angle on one end. Drill one pocket hole in the square end.
Apply glue, position a leg, and attach using a pocket hole screw. Repeat for the other leg.
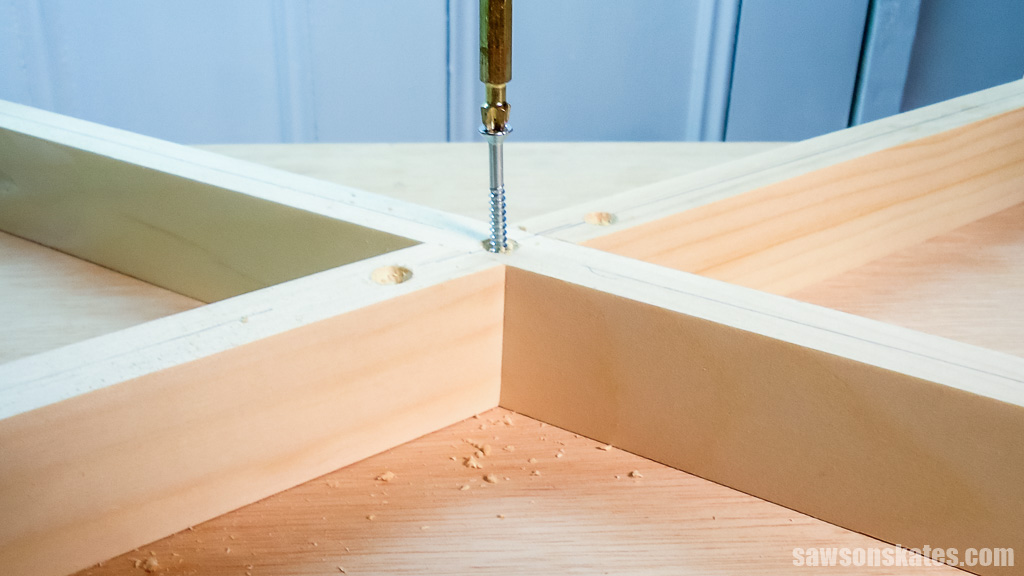
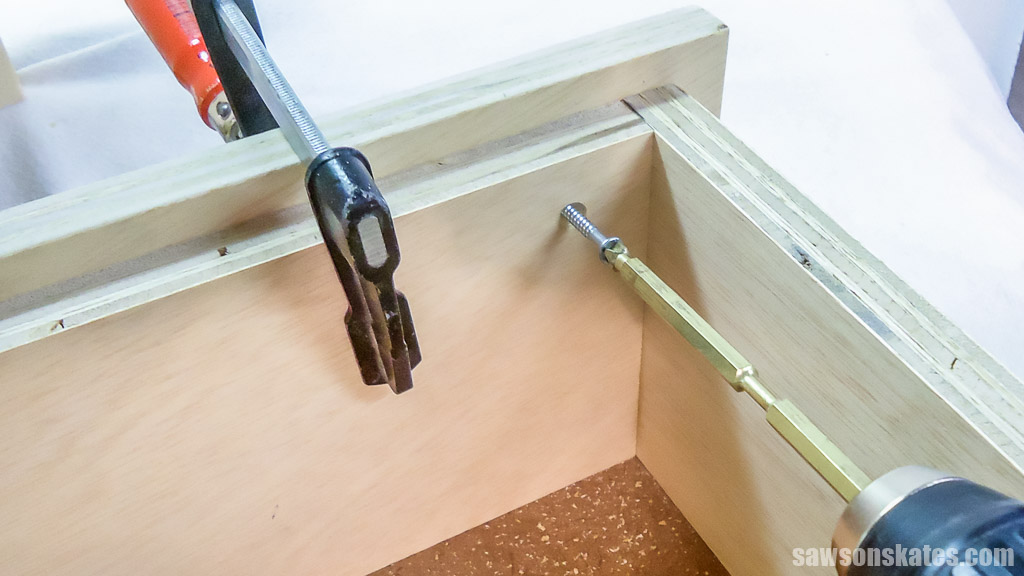
Positioning the three leg assemblies so they’re centered on the underside of the stand can be a bit tricky. Once everything is lined up, attach the musing pocket hole screws.
Toward the ends of each short brace and the middle of the long one, I recommend drilling a countersink hole and attaching using a wood screw.
Related: How to Use a Countersink Bit
Step 4. Assemble the Drawers
Cut four pieces of plywood to size with an angle on one end.
TIP: I didn’t use edge banding, but if I had, it would have given my drawers a more polished, finished appearance.
Cut two pieces of plywood to size for the back and drill pocket holes in each end.
Apply glue to the ends, position on the sides, and clamp. Attach using pocket hole screws.
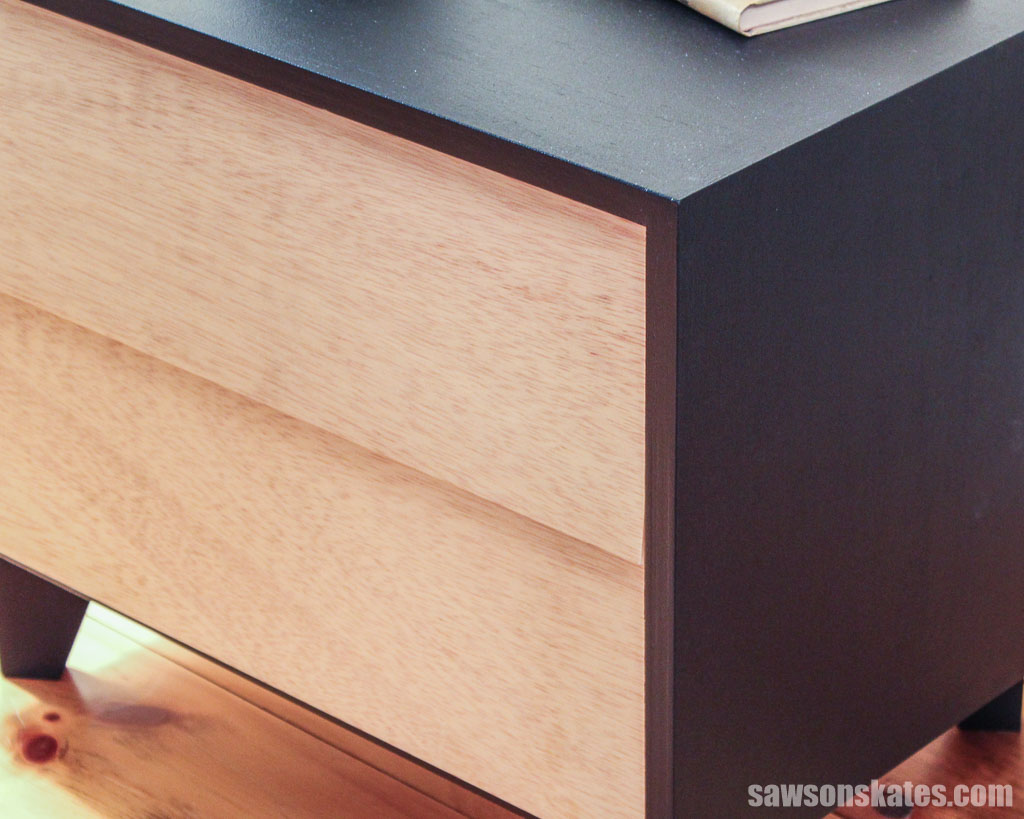
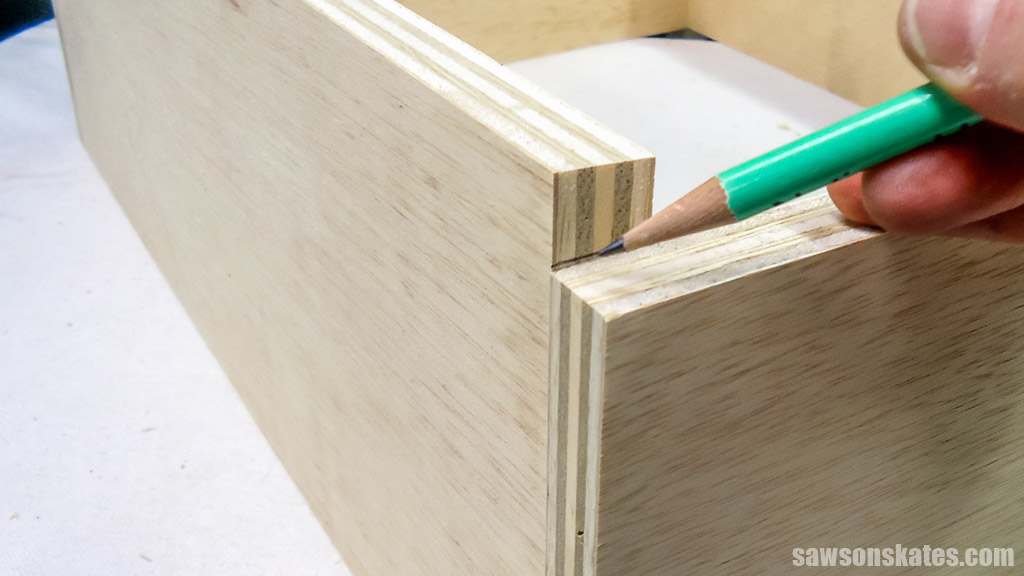
The front of the drawer box has a bevel on the top and bottom.
For the best fit, I recommend cutting two pieces of plywood to size with a bevel on one edge.
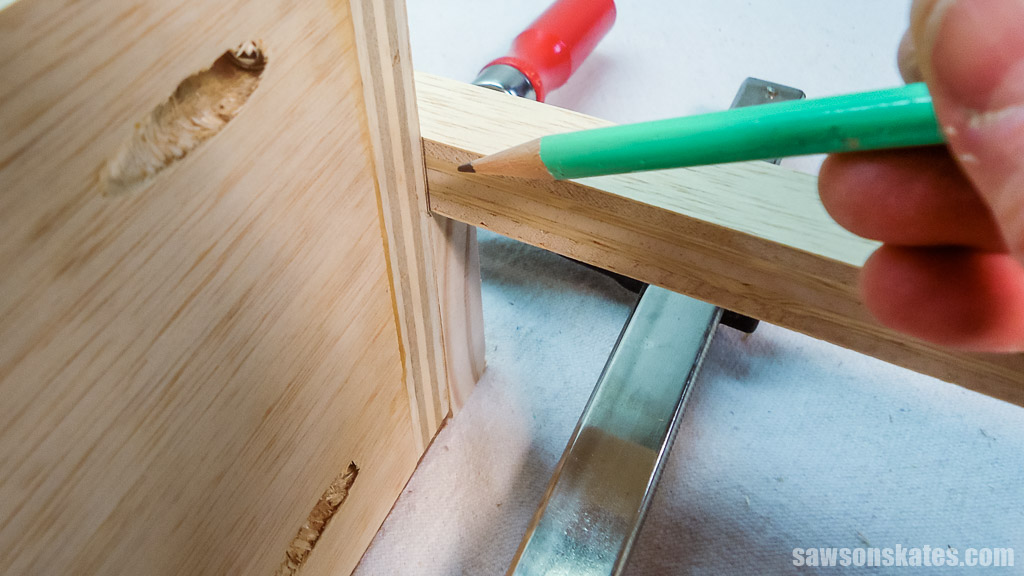
Position the front on the assembly and mark the height against the side. Using the mark, rip the second bevel.
Following the diagram in the printed plan, mark the locations for pocket holes and drill one at each mark.
Apply glue to the ends, position on the sides, and clamp. Attach using pocket hole screws.
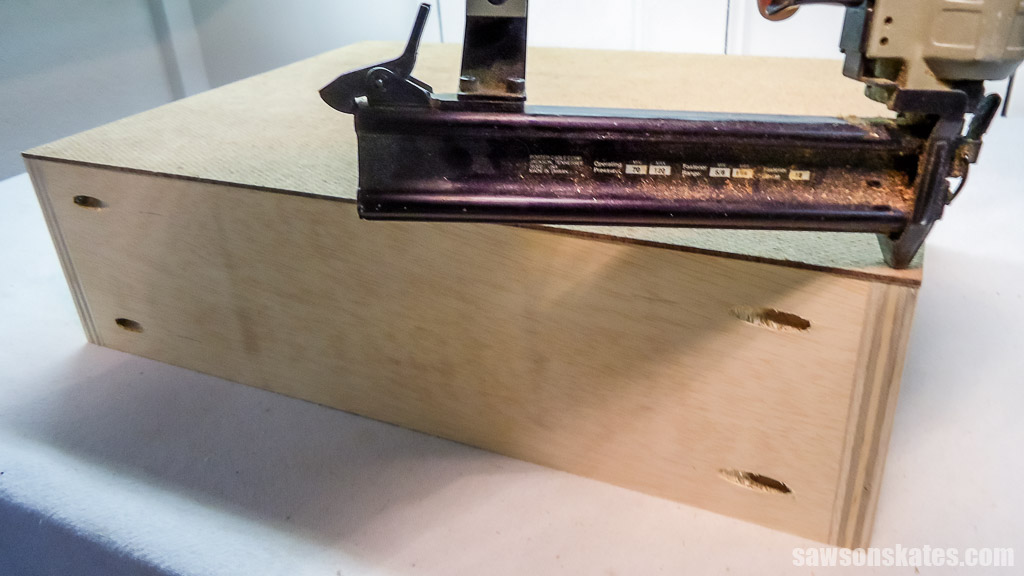
For the best fit, I recommend measuring the bottom of your drawer box and cutting two pieces of hardboard to that measurement.
Apply glue, position the hardboard on the bottom, and attach using brad nails.
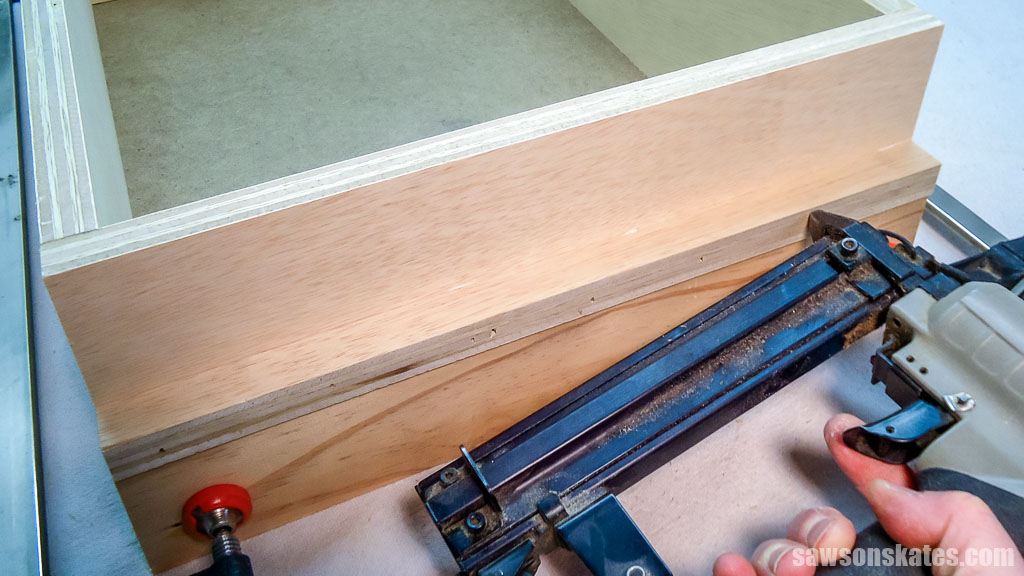
For the drawer slides, I ripped four pieces of plywood to width.
I clamped a board to the bottom of the drawer box’s side as a spacer, then positioned the slide and marked it for length. Once marked, I cut it using my miter saw.
Apply glue to the slide, place on the spacer, and attach using brad nails.
For the drawer fronts, I cut two pieces of plywood to size with a bevel on each edge.
To make the drawers easier to open, I used my router table and a cove bit to make a recess on the underside of each drawer front.

The drawer front needs clearance on each side to open correctly. To position it, I first placed the drawer box inside the carcass. Then, I placed hardboard scraps as spacers on the bottom.
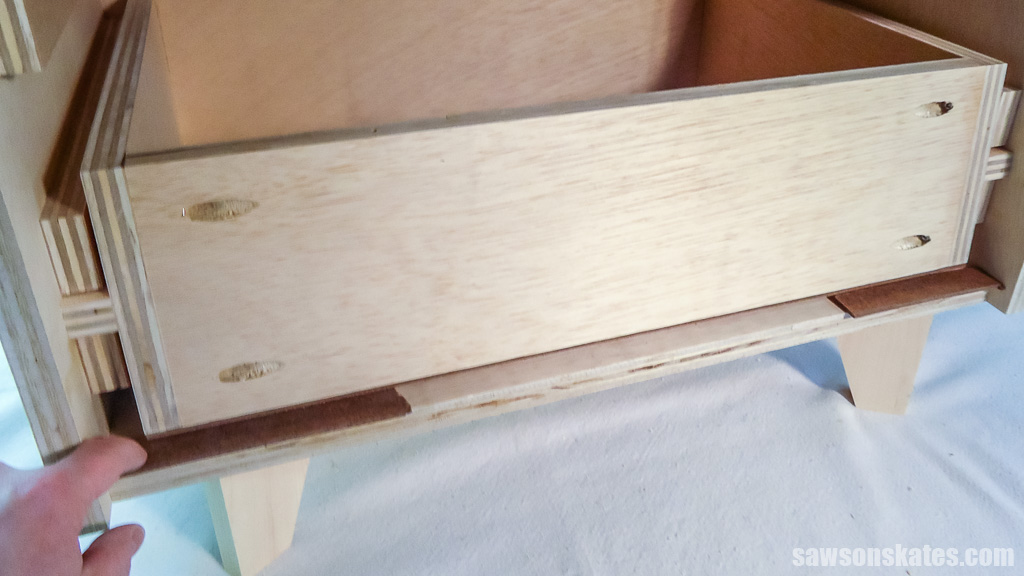
I also placed pieces of hardboard on both sides, ensuring an even gap all around.
I applied several pieces of double-sided tape to the front of the drawer box. Then, I positioned the drawer front and pressed it firmly into place.
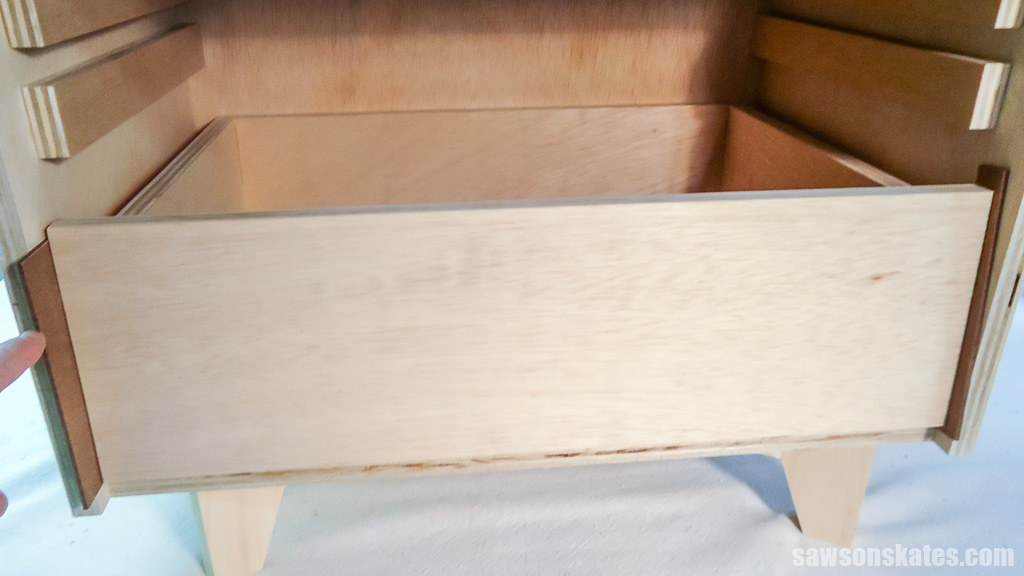
I removed the drawer, clamped the front to the box and drilled a countersink hole near each corner, and attached using 1-¼”wood screws.
Repeat these steps to attach the upper drawer front.
TIP: Rubbing candle wax on the drawer slides can help them glide more smoothly.
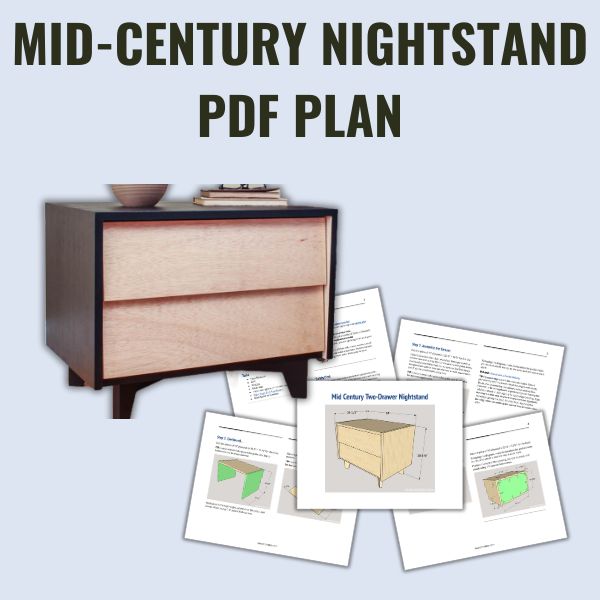
Includes:
- List of tools and materials
- Complete measurements (in inches)
- Easy-to-follow instructions
- Step-by-step photos
- Detailed diagrams
Final Thoughts
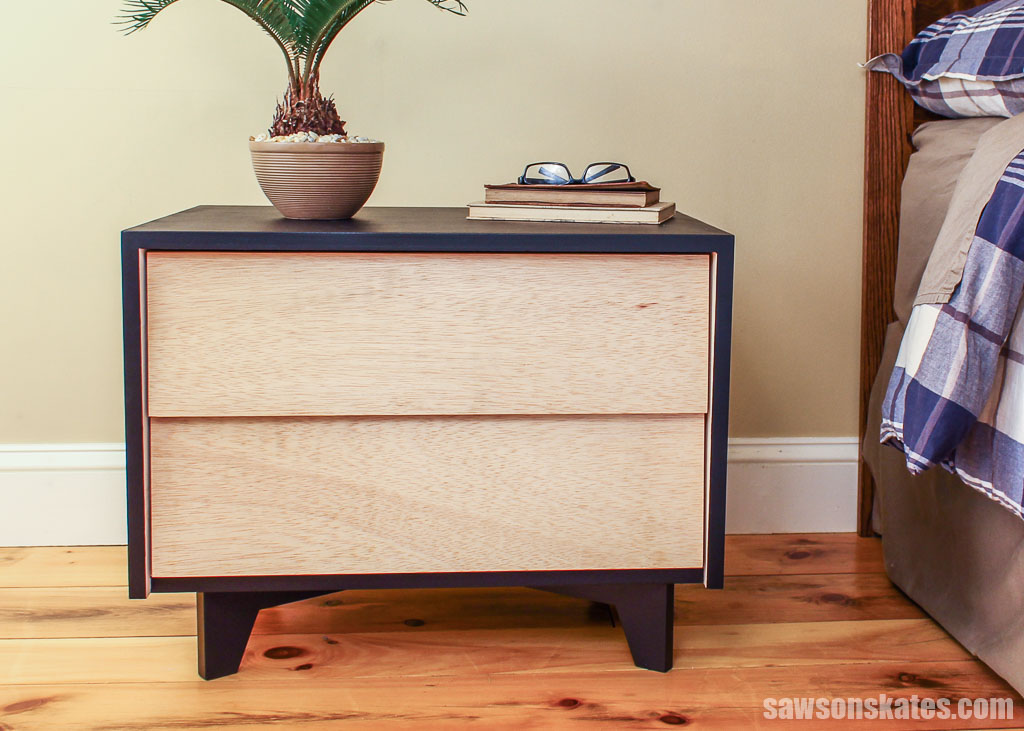
This DIY Mid-Century Modern nightstand is a great way to add style and function to a small space. With its sleek design, angled legs, and slanted drawer fronts, it brings just the right amount of retro charm.
Don’t wait. Get your PDF plan (including the detailed instructions and measurements) now!
Thank you for stopping by. If you enjoyed this tutorial, would you please take a moment and pin it to Pinterest? I’d really appreciate it!
Recommended For You
Pin This For Later

Hi there – I’m Scott, a woodworking enthusiast and creator of Saws on Skates, a site I started in 2015 to share easy-to-follow tutorials, space-saving shop tips, and project inspiration for DIYers at any skill level. Learn more about my woodworking journey here.
Wow, this turned out amazing Scott! You are super talented, that’s for sure. I just love it!
Thank you so much Carolann – I really appreciate your kind words!
I can’t believe you built this. It is amazing. Great tutorial and great job!
Thank you for stopping by Sherry and thank you for the compliments!
Wow, it’s beautiful! Someday I’ll find the time to build furniture, I need one of those Kraig jigs first. I’d love for you to share this at linkup, you can find it starting every Friday on my blog, http://www.domesticdeadline.com
Thank you for the compliments and for the invite!
This is such a gorgeous piece. I love the midcentury modern look and you nailed it! (Pun intended) Keep up the good work. 🙂
Thank you so much for stopping by and for the compliments!