DIY Bedside Table (Easy and Cheap)
Upgrade your bedroom on a budget. Learn how to make this affordable, functional DIY bedside table with a few 2×4s and this easy-to-follow tutorial.
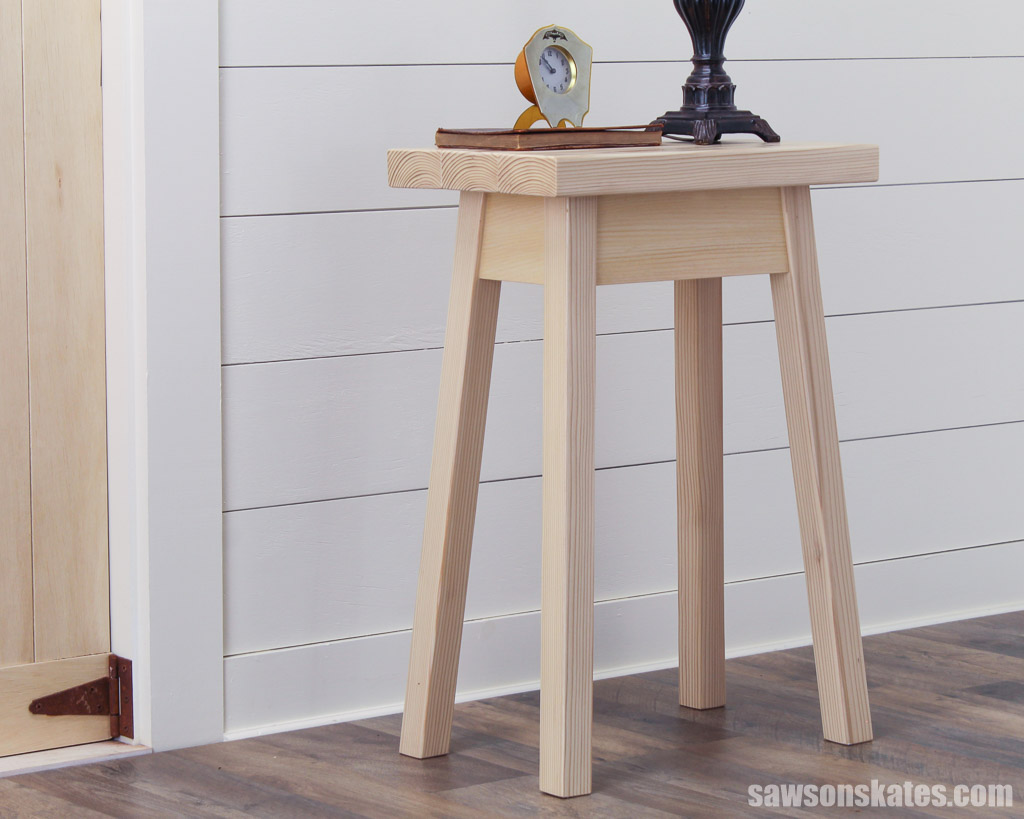
Looking to add rustic charm to your bedroom without breaking the bank? Don’t settle for those flimsy store-bought bedside tables when you can create something unique with solid wood instead. I’ll show you how to make this simple, sturdy DIY bedside table using a few basic tools and affordable 2×4s.
This versatile table isn’t just for the bedroom. Think about using one as a side table next to your couch or armchair, a plant stand, or a handy extra table anywhere in your home.
Table of Contents
- What Wood Should You Use?
- What Tools Do You Need?
- How to Make an Easy DIY Bedside Table
- Get the PDF Plan
This article contains affiliate links. If you purchase from these links, I may earn a small commission at no additional cost to you. Visit my site policies for more information.
Inspiration for This DIY Bedside Table
My friend lives across the country and recently purchased another vacation rental not far from my home. Ski season was just around the corner, and with only about a month to prepare, I was tasked with transforming the space into a cozy ski retreat. The project felt like one of those home improvement show challenges where the goal is to complete a room makeover in just a few days!
The space lacked bedside lighting, and my friend wanted something affordable. But I needed a quick and easy solution given the tight 30-day timeline.
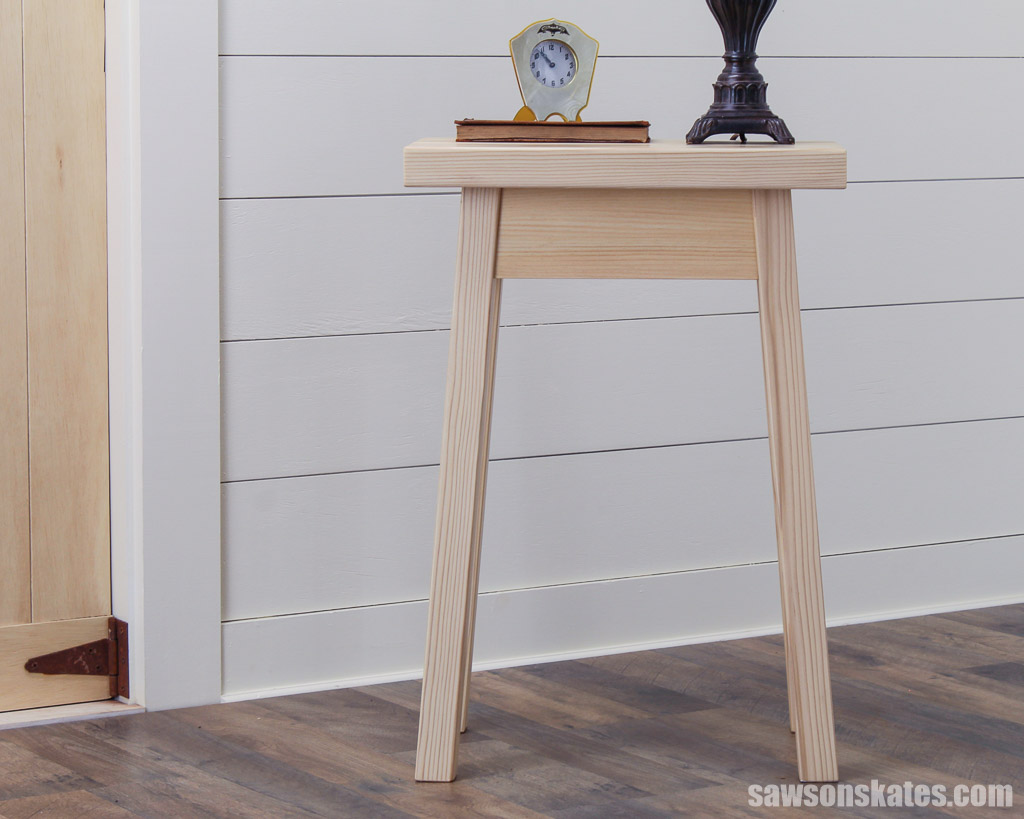
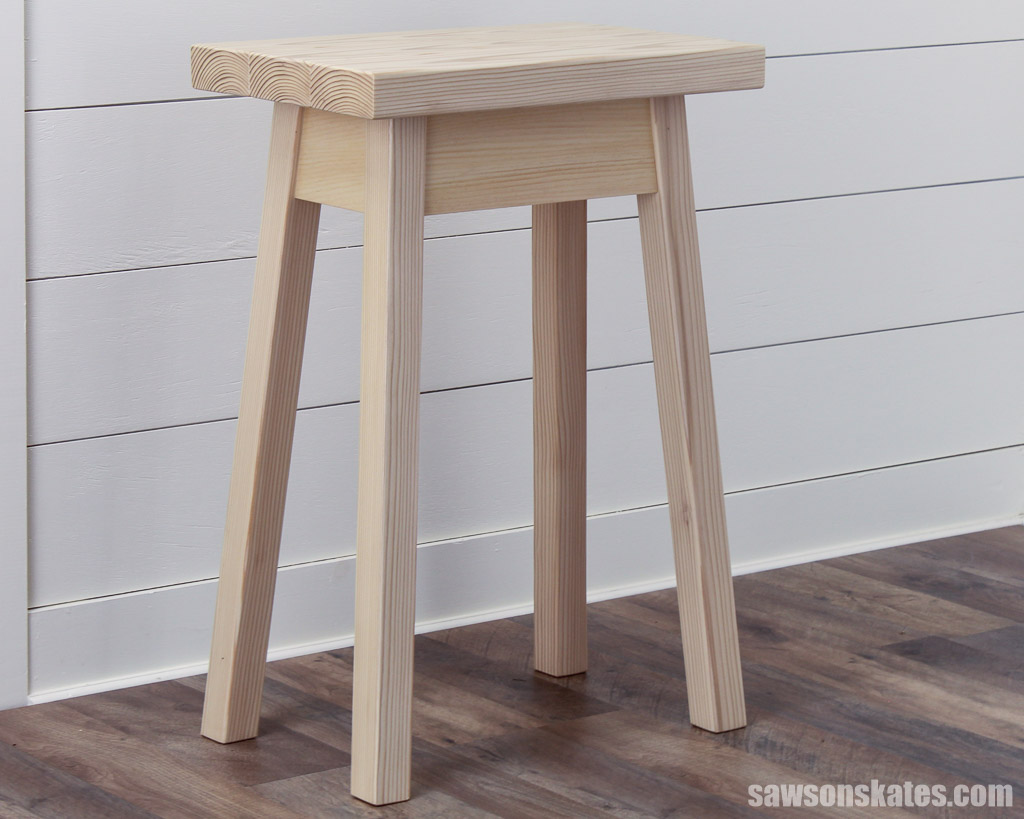
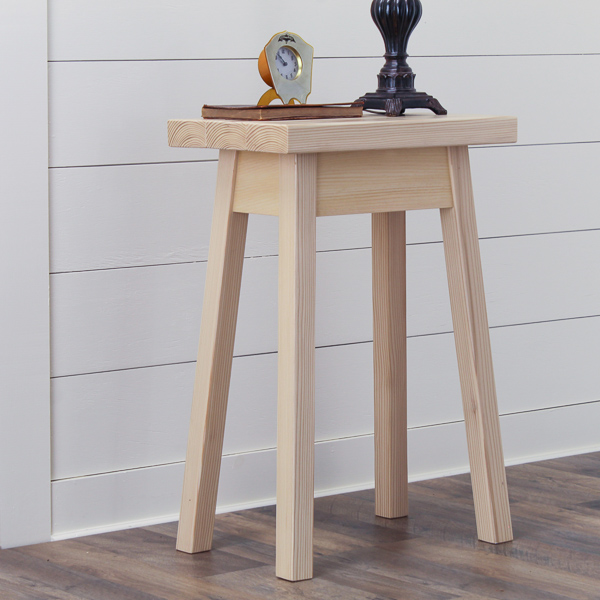
Drawing inspiration from this stool, I redesigned it to bedside table height. The splayed legs, slanting outward, lend a stylish and airy touch to the piece. Since guests typically stay for a short time, a drawer wasn’t needed, but you could incorporate one for additional storage.
What Wood Should You Use?
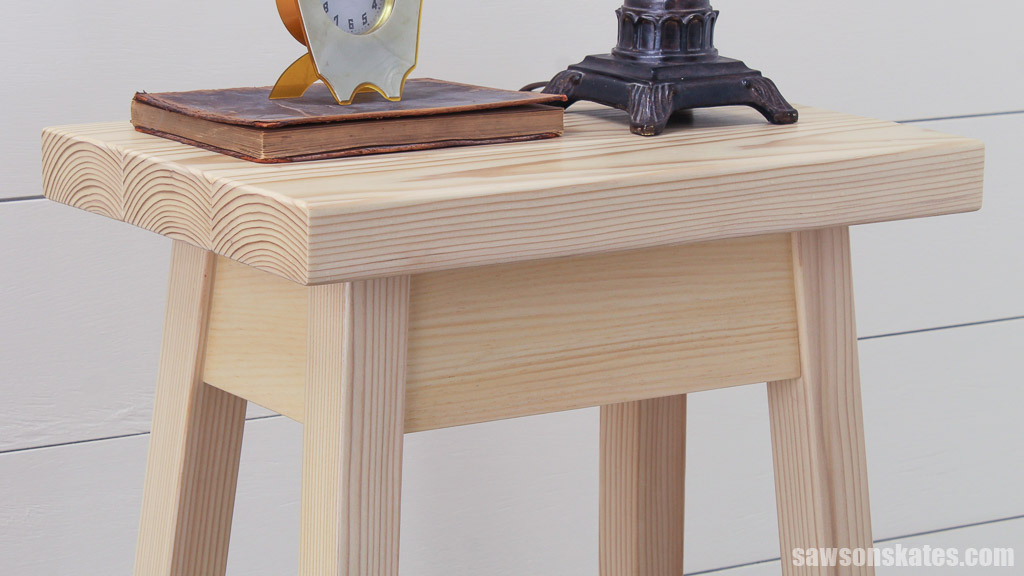
I made the bedside table’s top and legs using 2×4s and connected them with pine 1×4 aprons. While 2×4 lumber comes in various grades, I opted for ones with the least knots.
TIP: Knots are formed when a branch grows from a tree’s trunk and are weak spots that can affect the stability of your finished project.
Even though they cost a little more than the cheapest 2×4s, this project was still more affordable than buying a flimsy store-bought table.
Related: How to Buy Wood (Top Tips for Choosing Woodworking Lumber)
What Tools Do You Need?
I used four tools to make this bedside table:
- Drill
- Pocket hole jig
- Miter saw
- Table saw
To make the bedside table’s legs, I carefully cut 2×4s lengthwise using my table saw, which requires extra attention and safety precautions because of the blade height and kickback risk.
Related: Table Saw Kickback (Cause, Injuries & How to Avoid It)
If you’re concerned about ripping 2×4s, my beginner-friendly article, How to Cut 2×4s Lengthwise, breaks down the process into simple steps, including tips for reducing risks.
Although you can buy 2×2 lumber for the legs if you don’t have a table saw or are uncomfortable using one, finding boards that aren’t twisted or bowed can be challenging.
Related: How to Get into Woodworking Without a Table Saw
How to Make an Easy DIY Bedside Table
Printed Plan
Get the PDF plan here (includes detailed instructions, measurements, and bonus tips)
Materials
- Wood (per the printed plan)
- Wood Glue
- 1-¼” Fine-Thread Pocket Screws
- 2-½” Pocket Screws
- Figure 8 Table Top Fasteners
- #6 ¾” Wood Screws (if not included with the table top fasteners)
Tools
- Tape Measure
- Miter Saw
- Table Saw
- Pocket Hole Jig
- Drill
- ⅝” Forstner Bit
- Chisel
- Router (optional)
- ⅛” Roundover Bit (optional)
Step 1. Make the Legs
To make the bedside table’s legs, I carefully cut 2×4s lengthwise using my table saw, which requires extra attention and safety precautions because of the blade height and kickback risk.
Related: 21 Table Saw Safety Rules (& Mistakes to Avoid)
If you’re concerned about ripping 2×4s, my beginner-friendly article, How to Cut 2×4s Lengthwise, breaks down the process into simple steps, including tips for reducing risks.
I used my miter saw to cut two pieces of 2×4 (longer than I needed for the legs) and used my Grr-Ripper to feed the workpiece through the blade.
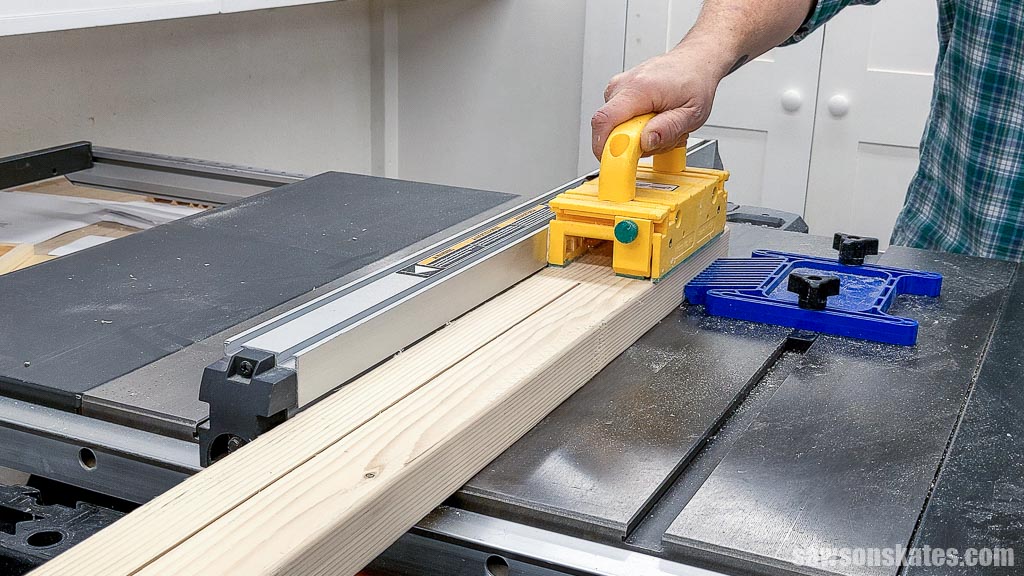
Then I removed the featherboard, replaced the Grr-Ripper’s leg, and ripped the other side of the workpiece to width.
The legs have parallel compound miters, meaning the miter saw’s blade is simultaneously swiveled from left to right and tilted from top to bottom to make the cuts.
Related: Single vs Double Bevel Miter Saw (Which to Buy & Why)
To make the compound miters, I set my miter saw’s bevel (at the back of the saw).
And I set the miter saw’s table (at the front of the saw).
Then, I made the first cut.
IMPORTANT: Leave the leg on the saw.
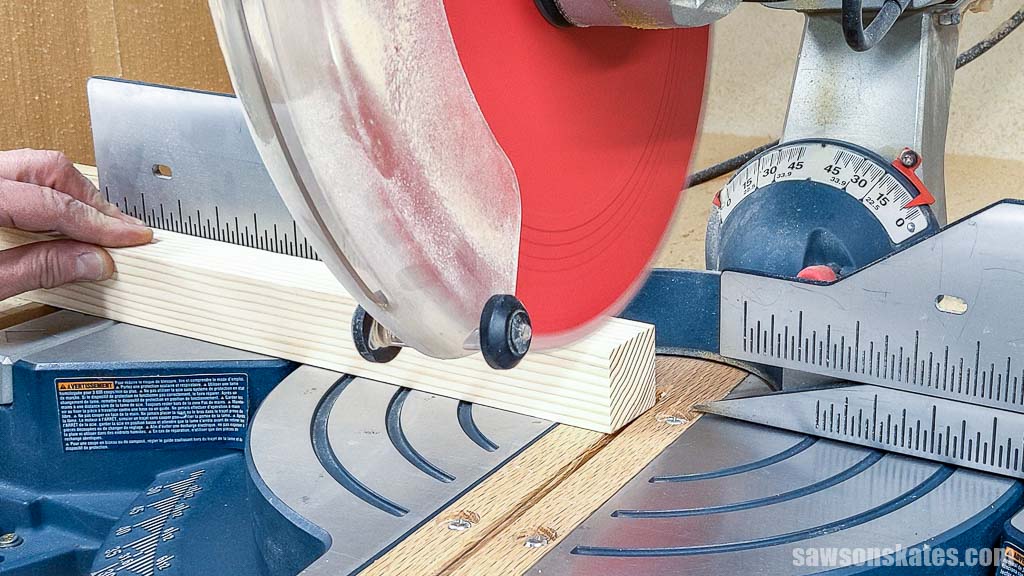
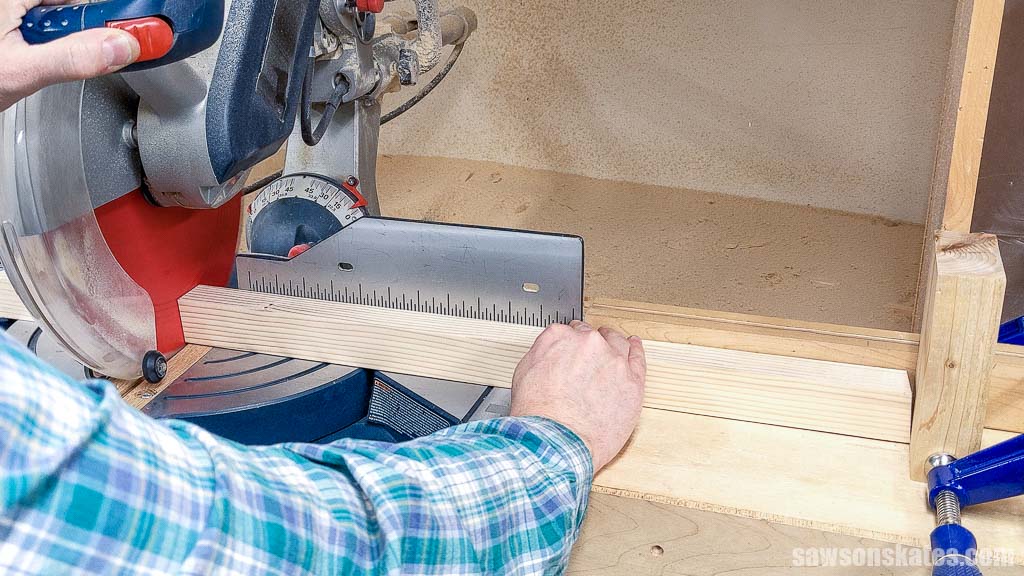
From the cut you just made, measure along the workpiece’s front edge, and make a mark on top.
Slide the leg so the mark corresponds with the saw’s blade.
TIP: If you can, place a stop at the end of the workpiece so you can cut the remaining legs to the same length.
Make the cut and repeat this step for the other three legs.
Related: Why Can’t I Make Accurate Cuts? (& How to Fix It!)
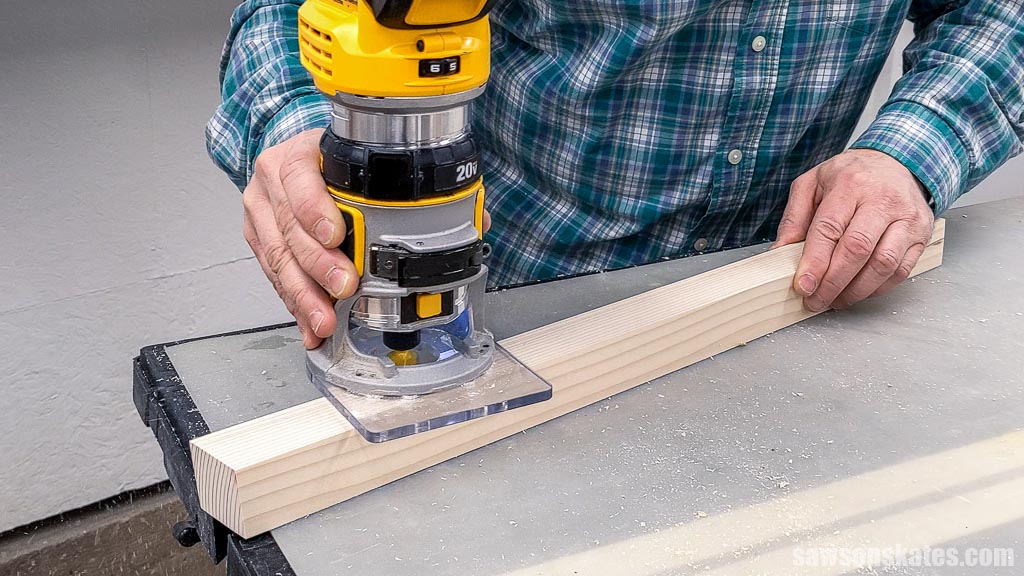
The cut edges of the legs are square, while the others are rounded. I used a router and a roundover bit to give them a consistent look. You can also use sandpaper if you don’t have a router.
Step 2. Attach the Side Aprons
Return the bevel adjustment (at the back of the saw) to zero and keep the miter saw table angled.
When cutting with a miter saw, tearout can occur as the blade exits the back of the workpiece.
I’ll need to flip the apron, which means you could see tearout on the finished side.
I attached a piece of zero-clearance tape that will support the wood fibers, reducing the risk of tear out.
Related: How to Make a Zero Clearance Insert for a Miter Saw
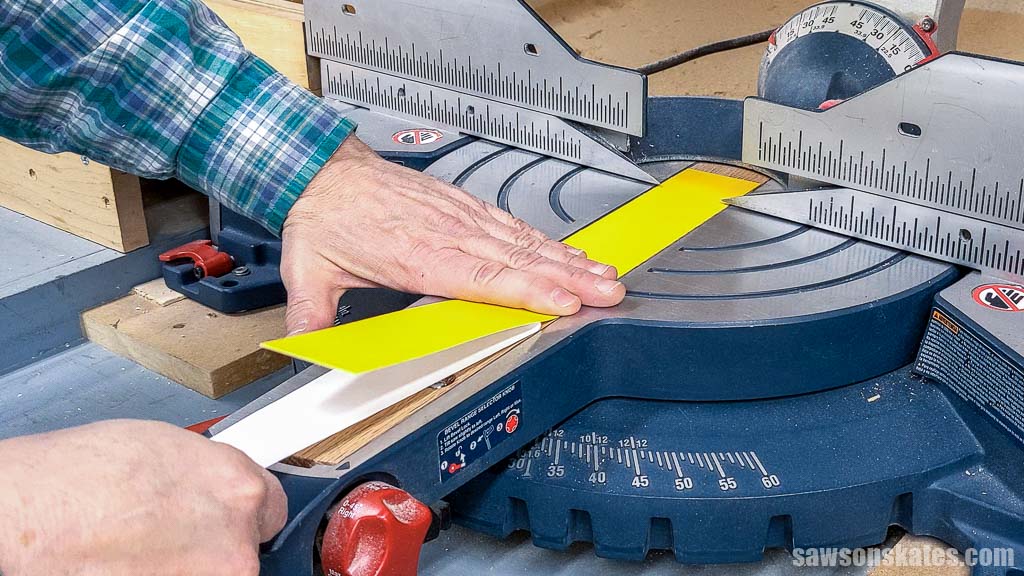
I cut an angle on one end of a board.
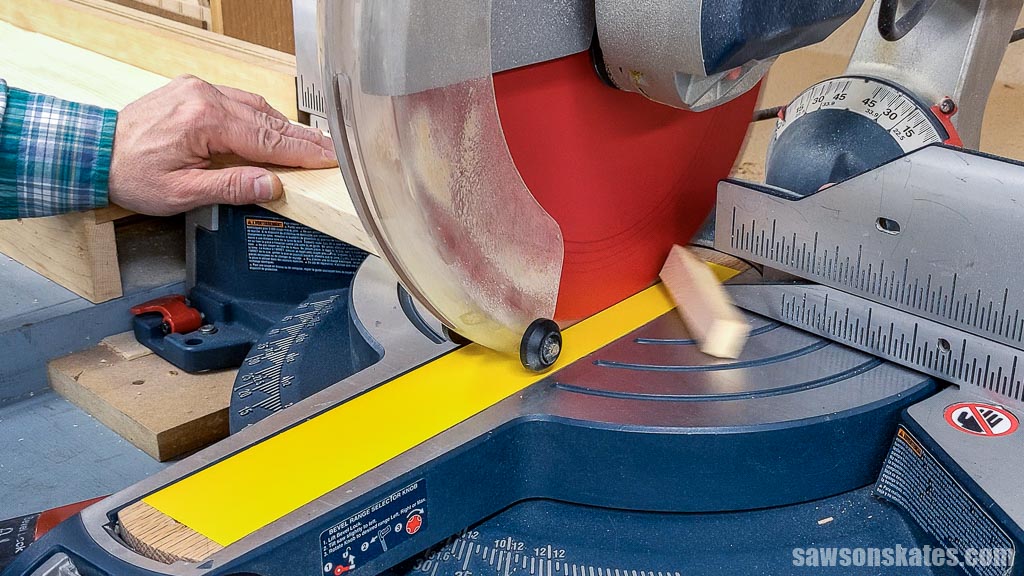
Then, I flipped the workpiece toward me.
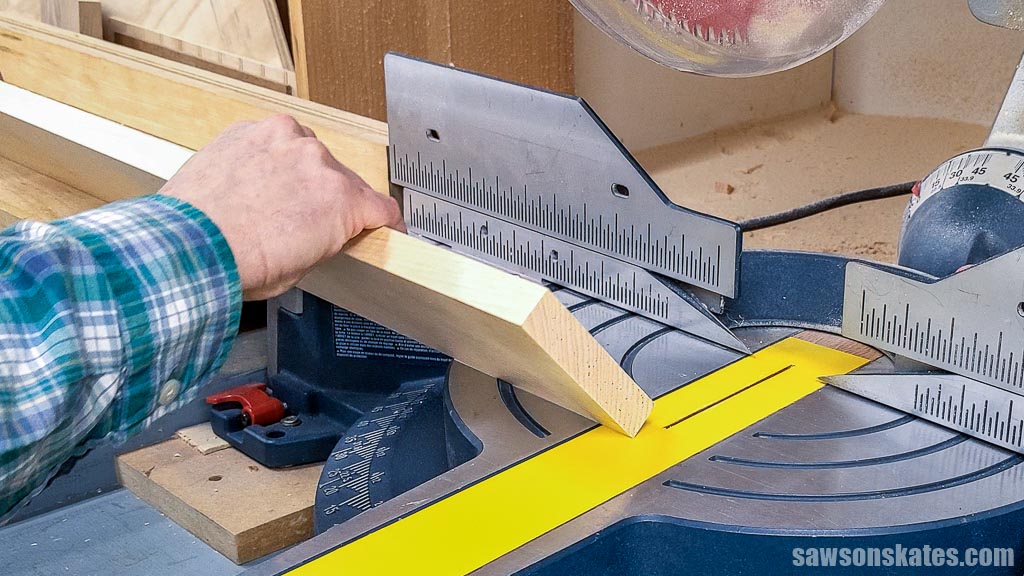
Next, I measured from the long side.
Slide the apron so the mark corresponds with the saw’s blade and make the cut.
TIP: If you can, place a stop at the end of the workpiece so you can cut the second apron to the same length.
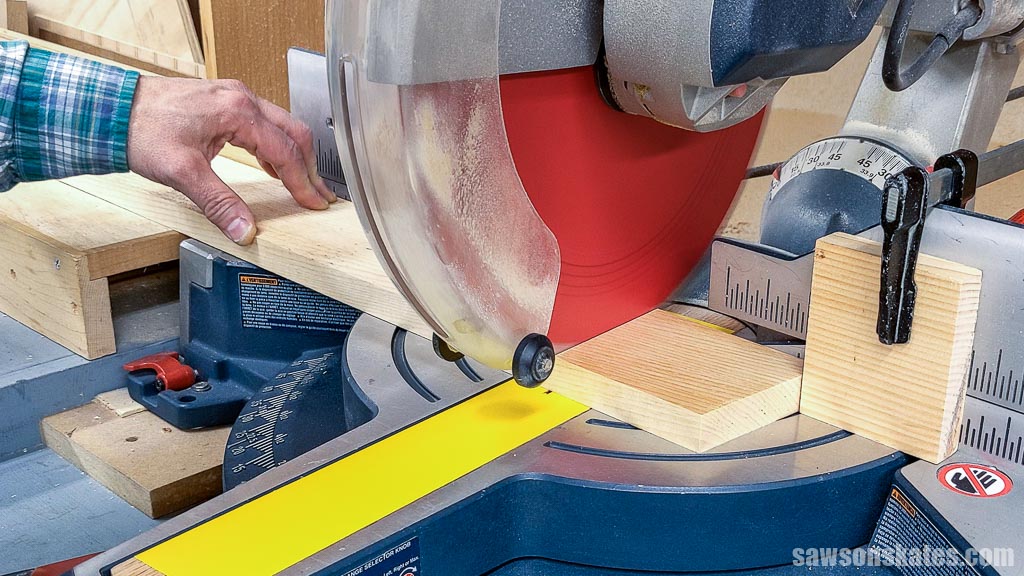
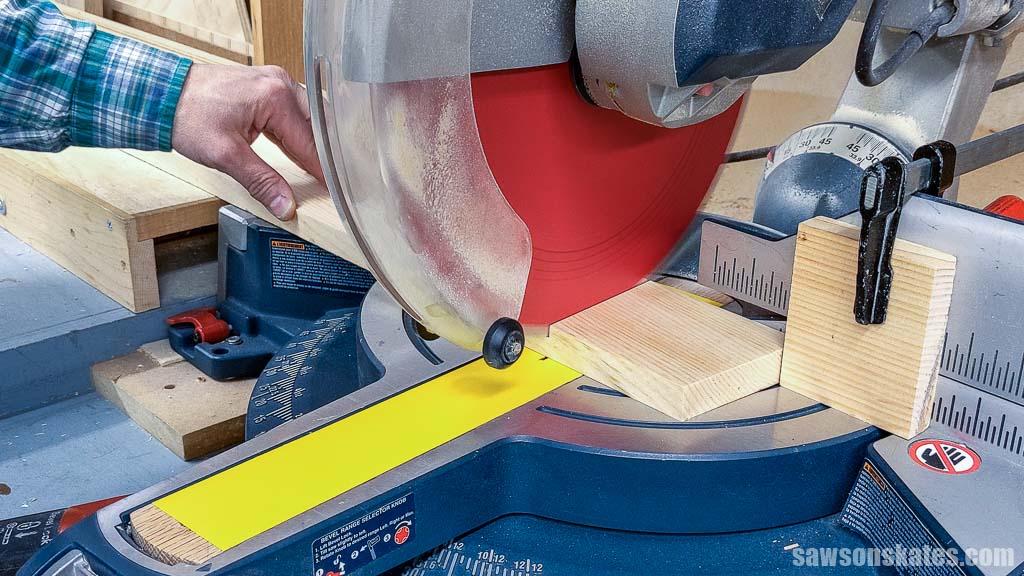
I flipped the workpiece again.
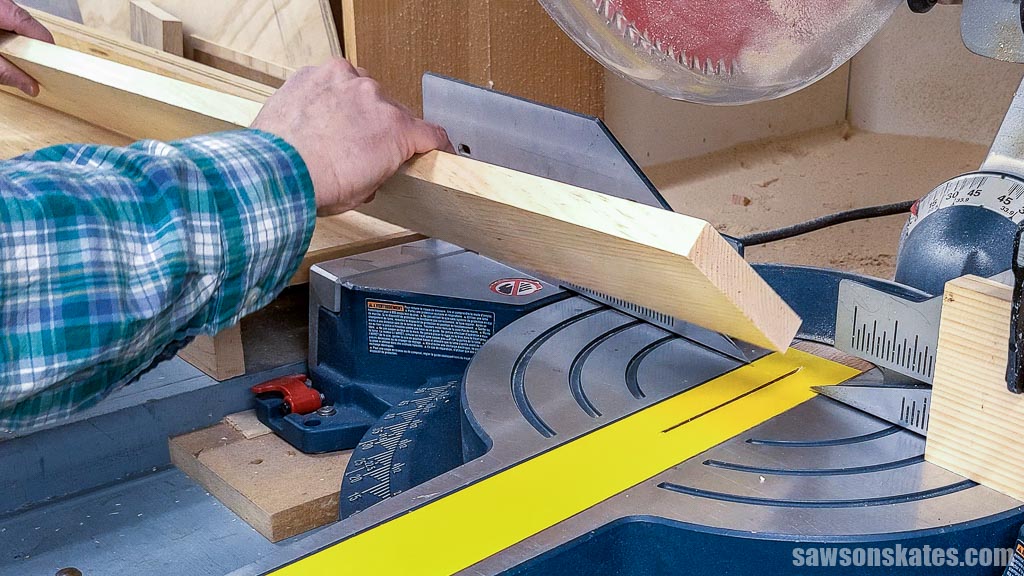
I positioned it against the stop and cut the second apron.
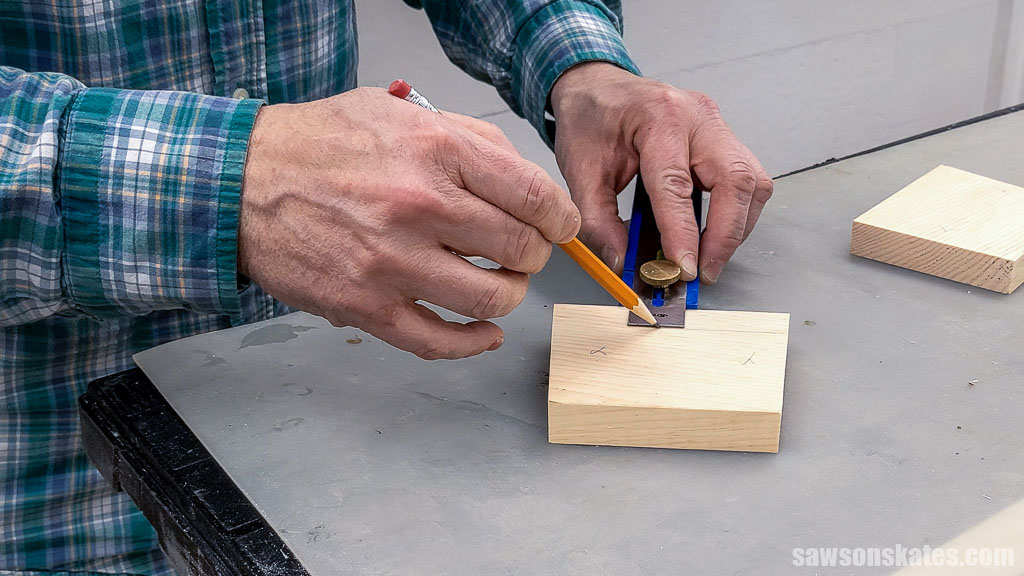
Using the diagram in the printed plan, I marked the location for pocket holes.
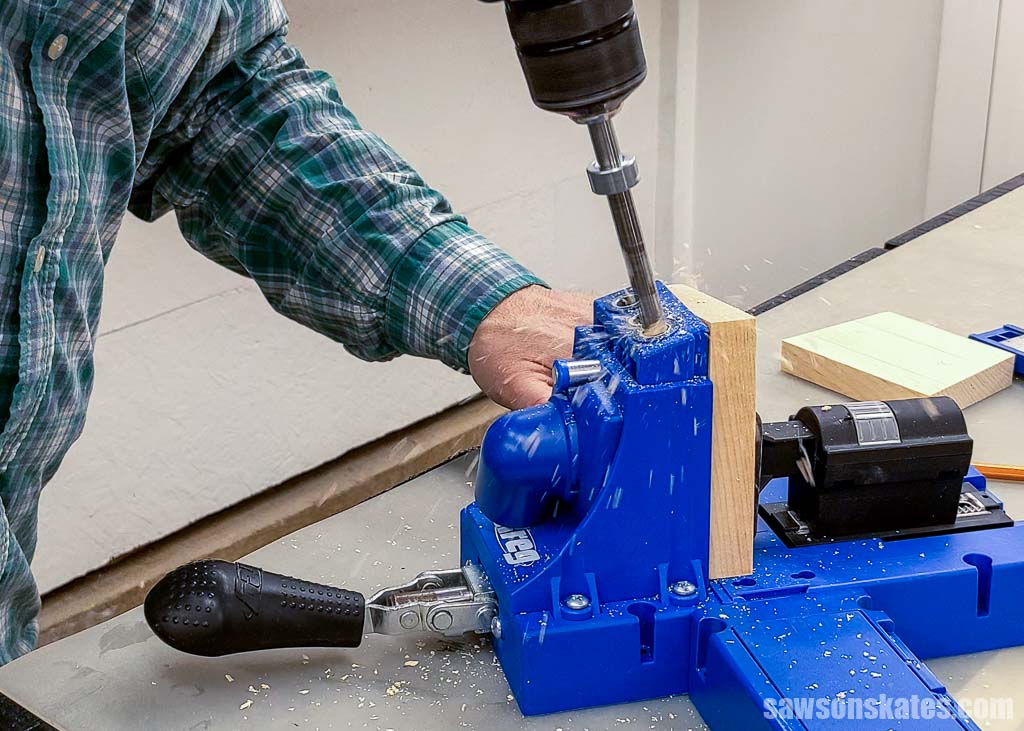
I set my Kreg Jig and aligned the mark with the center of the jig’s hole.
Then, I drilled a pocket hole at each location.
Related: How to Use a Pocket Hole Jig
It’s essential to correctly position the legs before attaching them to the aprons.
I arranged the legs as they would be when attached to the finished table, meaning they should slant outward at the bottom.
Next, I placed my hand on the top of a pair of legs, pivoted them towards me, and laid them on my workbench.
The aprons are flush with the tops of the legs and set in from their faces. To help position them, I placed scrap wood pieces on my workbench. Then, I placed the apron on the scrap wood with the pocket holes facing up.
Apply glue to the ends of the apron, clamp to the legs, and attach using fine-thread pocket screws.
Working with narrow pieces like these legs requires special attention to prevent cracking.
- While coarse-thread pocket screws are typically recommended for softwoods such as pine, I’ve found smaller fine-thread pocket screws are less likely to split the wood.
- Additionally, applying candle wax to the screw’s threads reduces friction and helps them slide smoothly through the wood.
- Finally, slowly driving the screws allows me to listen for any signs of stress and stop before a crack occurs.
Repeat these steps for the remaining pair of legs and apron.
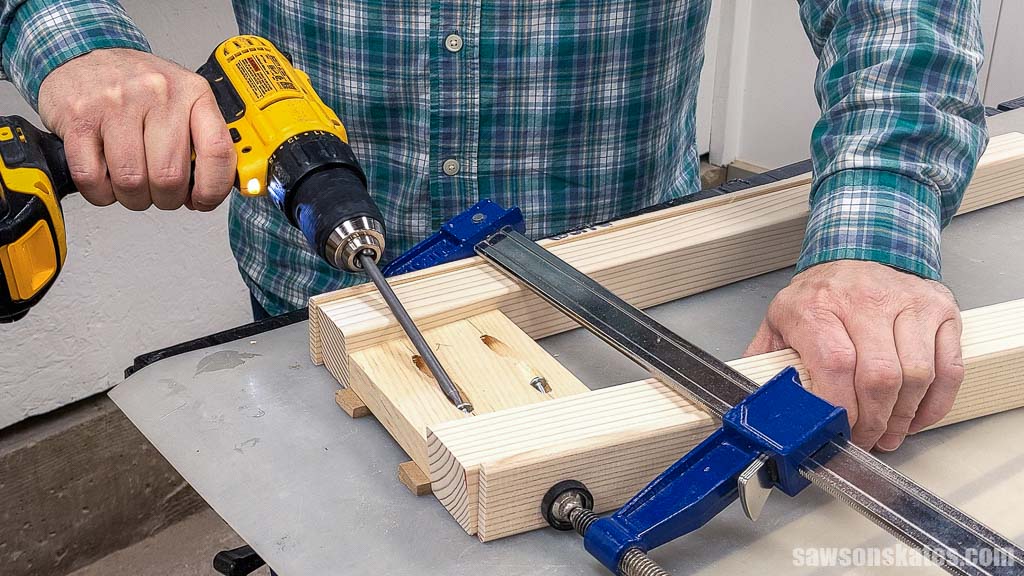
Step 3. Attach the Front and Back Aprons
Using the same method as you did for the side aprons, cut two pieces of wood to length with an angle on each end for the front and back aprons.
Using the diagram in the printed plan, mark the pocket hole locations and drill one at each mark.
The aprons are flush with the tops of the legs and set in from their faces. To help position them, I placed scrap wood pieces on my workbench. Then, I placed the apron on the scrap wood with the pocket holes facing up.
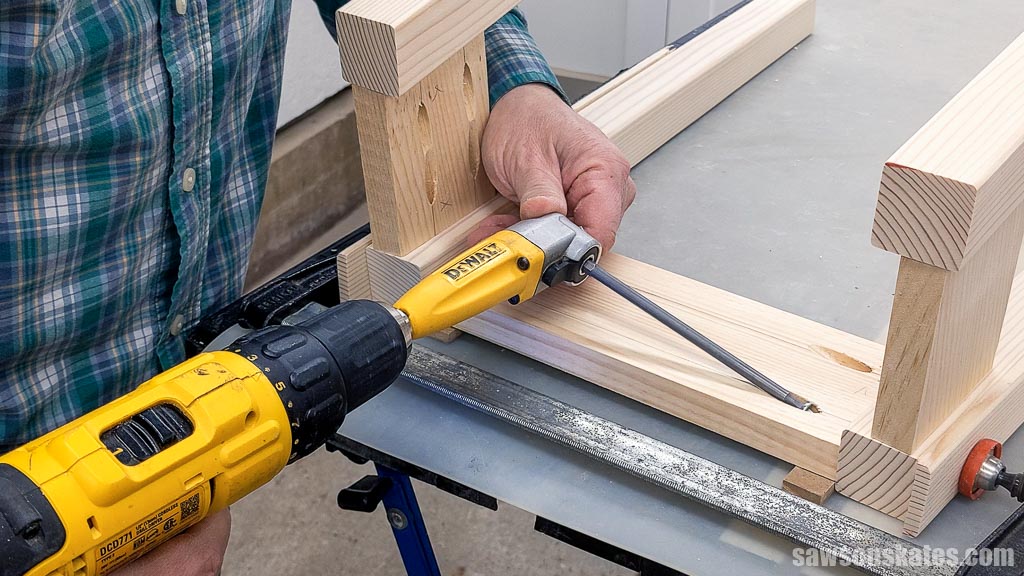
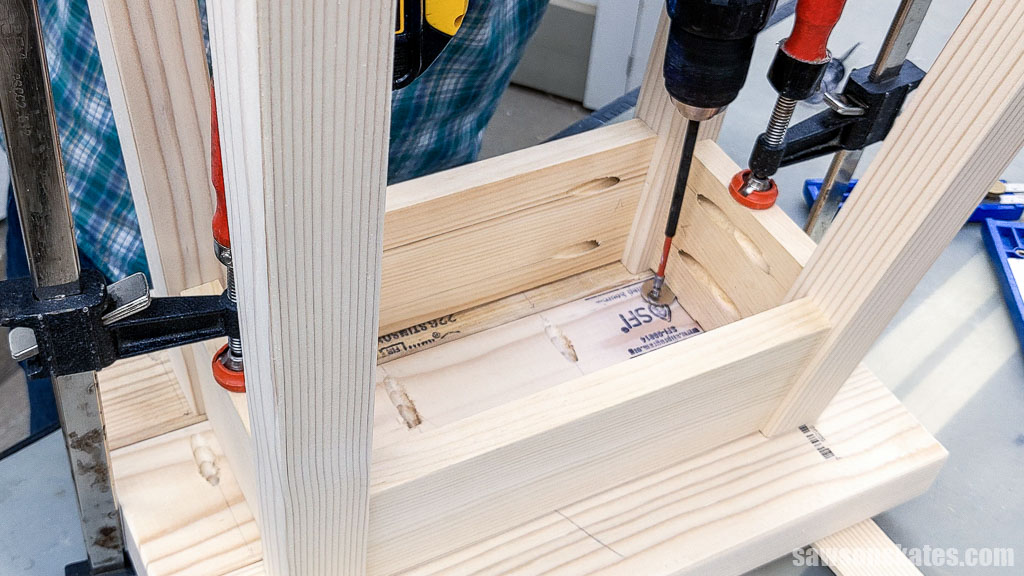
Next, I placed a leg assembly on either side of the apron. Apply glue to the apron’s ends, clamp to the legs, and attach using fine-thread pocket screws. Repeat for the remaining apron.
TIP: I used a right angle drill attachment to reach these pocket screws.
Step 4. Attach the Table Top Fasteners
On the side aprons, use the diagram in the printed plan to mark the locations for table top fasteners that will attach the top to the base.
Related: How to Attach a Table Top to a Base (The Right Way)
Next, I used a Forstner bit to drill down at each mark.
TIP: I used painter’s tape as a depth stop.
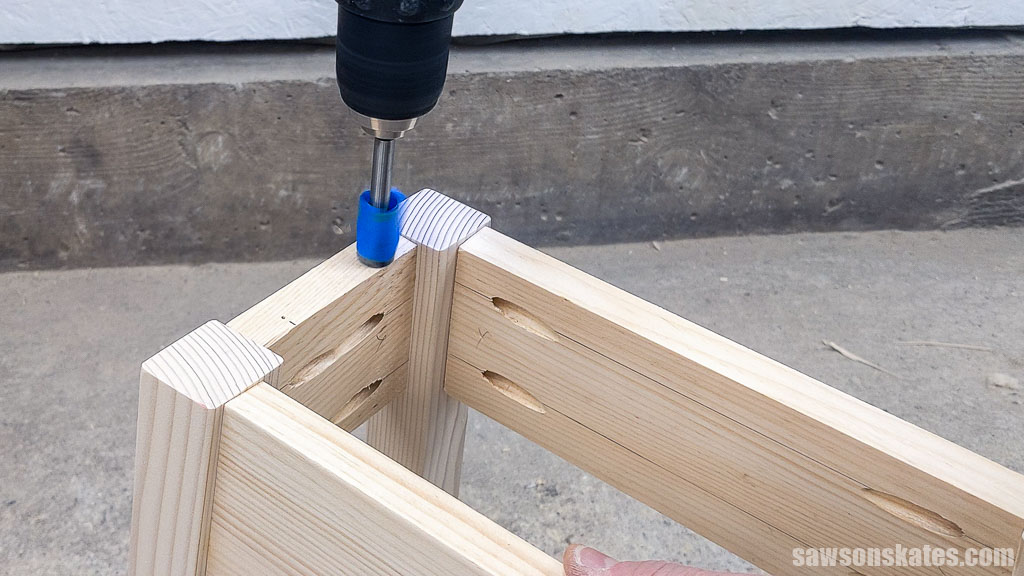
Related: What is a Forstner Bit? (& How to Use It)
Then, I used a chisel to square the hole’s edges.
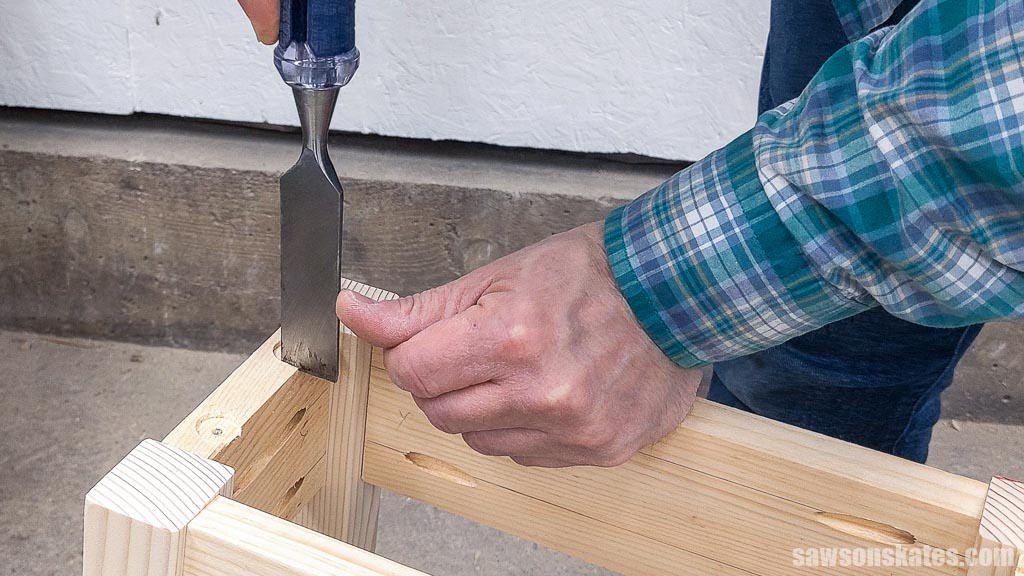
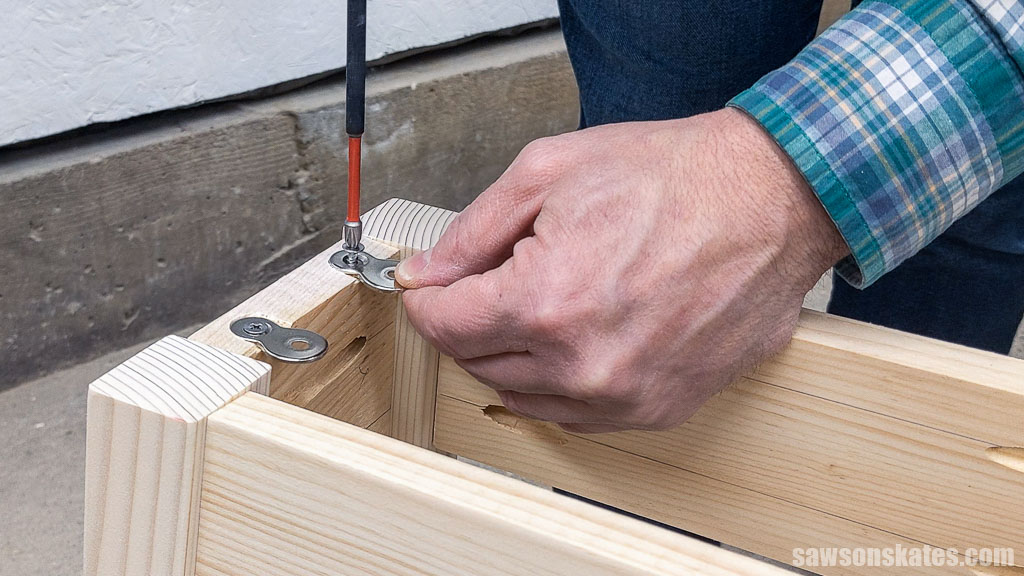
Attach a table top fastener in each hole using the screws that came with them or a #6 ¾” wood screw.
TIP: Tighten the screws until snug, but ensure the table top fastener can move slightly with finger pressure to allow for temperature and seasonal changes.
Step 5. Attach the Top
Cut three pieces of wood to length for the top.
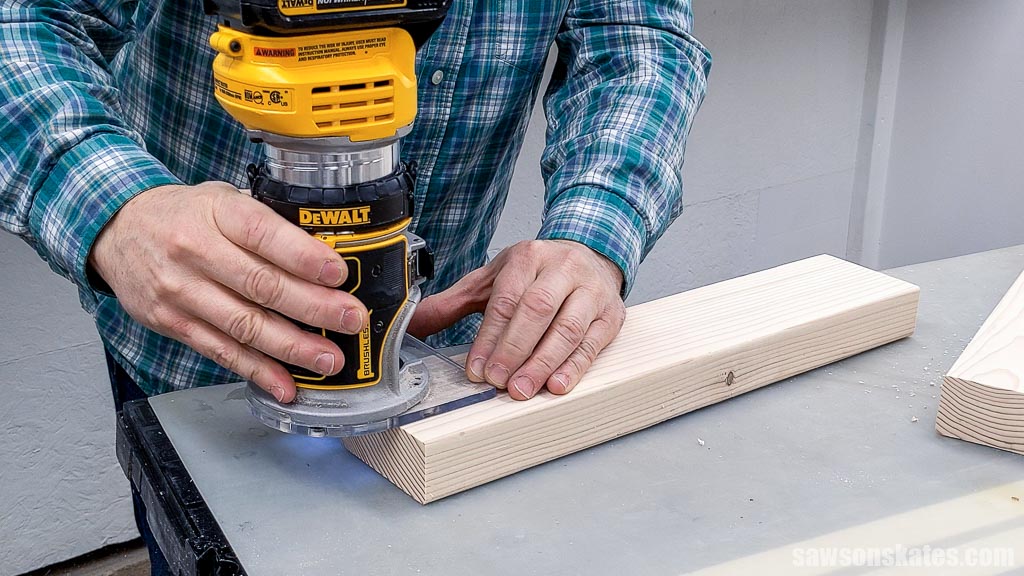
The cut edges of the top are square, while the others are rounded. I used a router and a roundover bit to give them a consistent look. You can also use sandpaper if you don’t have a router.
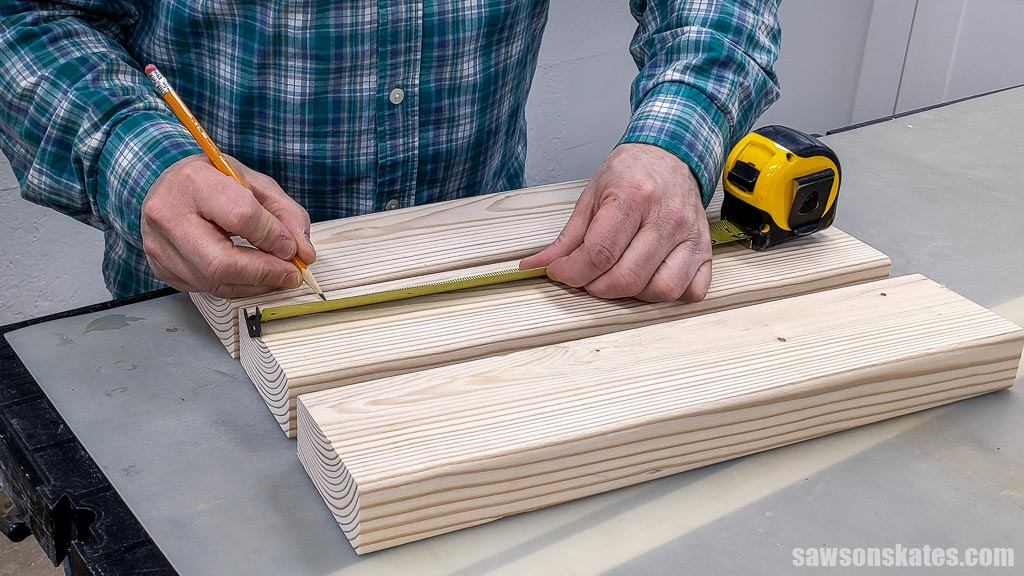
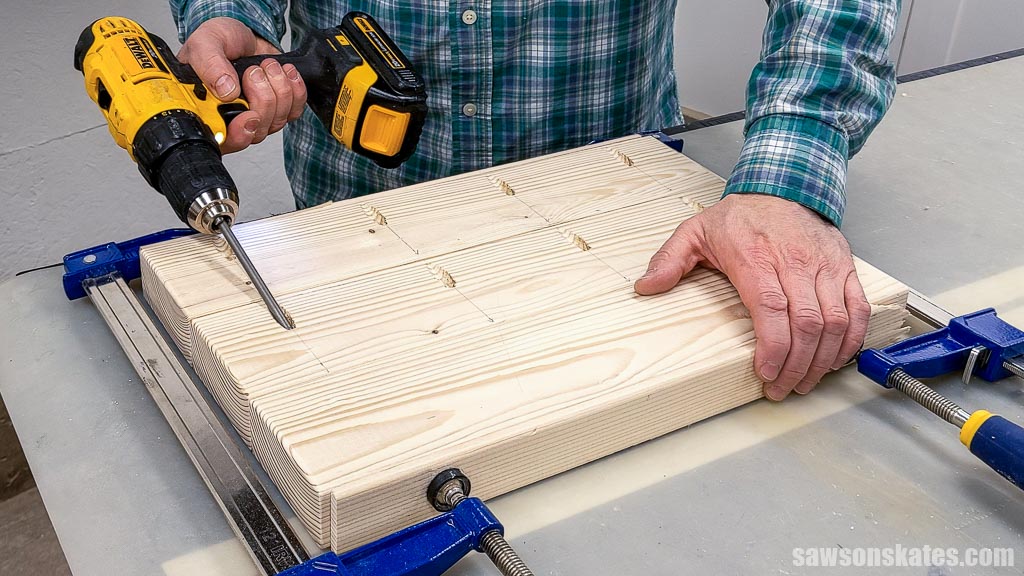
Use the diagram in the printed plan to mark the locations for the pocket holes. Set your pocket hole jig and drill the pocket holes.
Apply glue, clamp, and attach using pocket screws.
TIP: I used scrap wood left over from ripping the legs as clamping cauls. Cauls distribute the clamping force evenly and prevent damage to the edges of your workpiece.
Center the top and clamp.
Attach the top to the table top fasteners with the screws that came with them or wood screws.
When I placed my table on the floor, I noticed it had a slight wobble. To fix this, I used a sanding block to remove material from the bottom of the longer legs until it sat evenly on the floor.
Step 6. Finish the Bedside Table
I left my table natural and applied three coats of water-based polyurethane for a classic look. You can choose any finish you like to complement your decor.
Get Your Step-by-Step Plan
Includes:
- List of tools and materials
- Complete measurements (in inches)
- Easy-to-follow instructions
- Detailed diagrams
Final Thoughts
Making a DIY bedside table using 2×4s is an affordable way to add a rustic touch to your bedroom.
Don’t wait. Get your PDF plan (including the detailed instructions and measurements) now!
Thank you for stopping by. If you enjoyed this tutorial, would you please take a moment and pin it to Pinterest? I’d really appreciate it!

I noticed the top has the end grain all in the same direction. I thought conventional wisdome would alternate the end grain directions on edge joined pieces.
Hi Mike – Usually, alternating the growth rings is best; however, it would’ve created an undesirable grain pattern on this tabletop, so I opted for the most eye-appealing approach instead.
Thanks Scott 🙂
Nice, simple design, Scott. Thanks, and have an awesome Christmas! 🙂
What a beautiful small stand/table/trestle! Simple and elegant! Well done! Thanks!
Thank you so much for your table gift. I will start to build it just after New Year From way up North , Gerry Chabot