DIY French Cleat Biscuit Joiner Holder
Tired of digging through your shop for your biscuit joiner? A French cleat tool holder is the perfect way to keep it organized, accessible, and out of your way. I’ll show you how to build a simple, sturdy DIY French cleat holder for your plate joiner, complete with a storage shelf for biscuits. It’s a quick project that’ll make a big difference in your shop’s organization.
What Should I Build Next?
That's the question I help answer.
Every week, I send woodworking ideas to 17,000 DIYers who love building things.
You'd fit right in.
Navigation
This article contains affiliate links. If you purchase from these links, I may earn a small commission at no additional cost to you. Visit my site policies for more information.
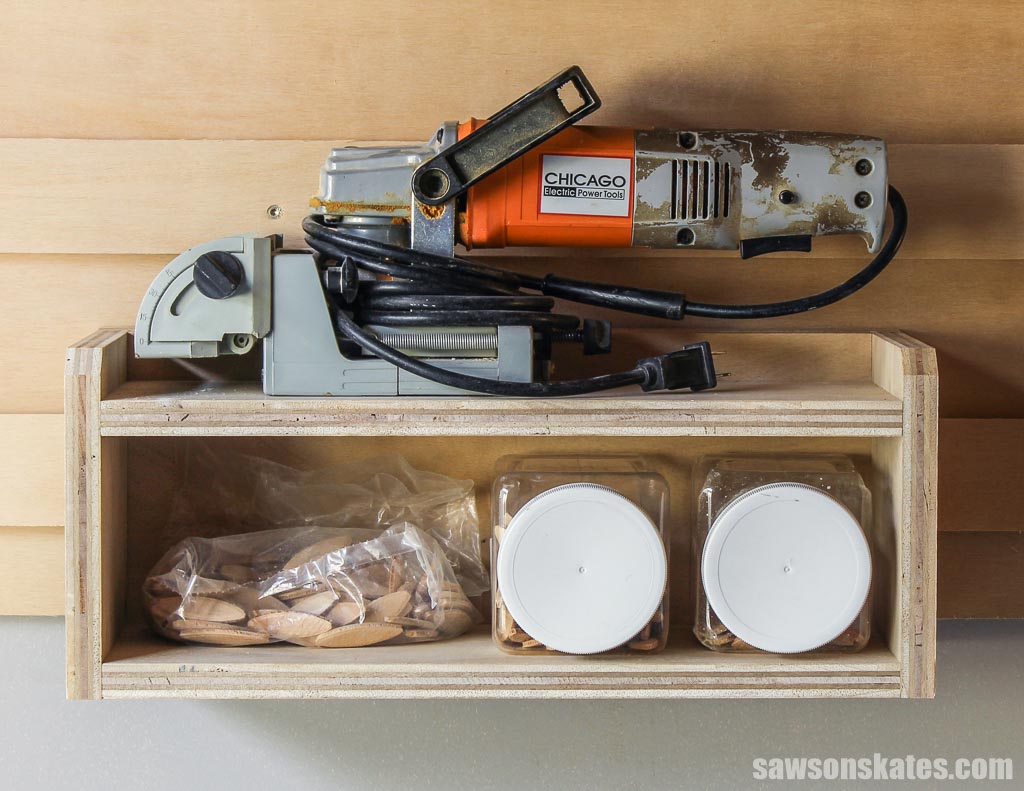
Before I got my first pocket hole jig, my biscuit joiner (or plate joiner) was my go-to for just about everything. I picked it up at Harbor Freight for around twenty bucks, and you can tell just by looking at it that I got my money’s worth, and it’s still going strong.
One of the first big projects I used it for was a Craigslist ad I answered years ago. A historic apartment building needed someone to replicate its wood window screens, and that little biscuit joiner more than paid for itself on that job alone.
These days, I don’t use it much since I do most of my joinery with pocket holes. When I do, it’s mostly for aligning face frames, etc. And since I’ve been relocating tools I rarely use from my shop to the French cleat tool wall in my garage, it’s finally time to move the biscuit joiner out there too.
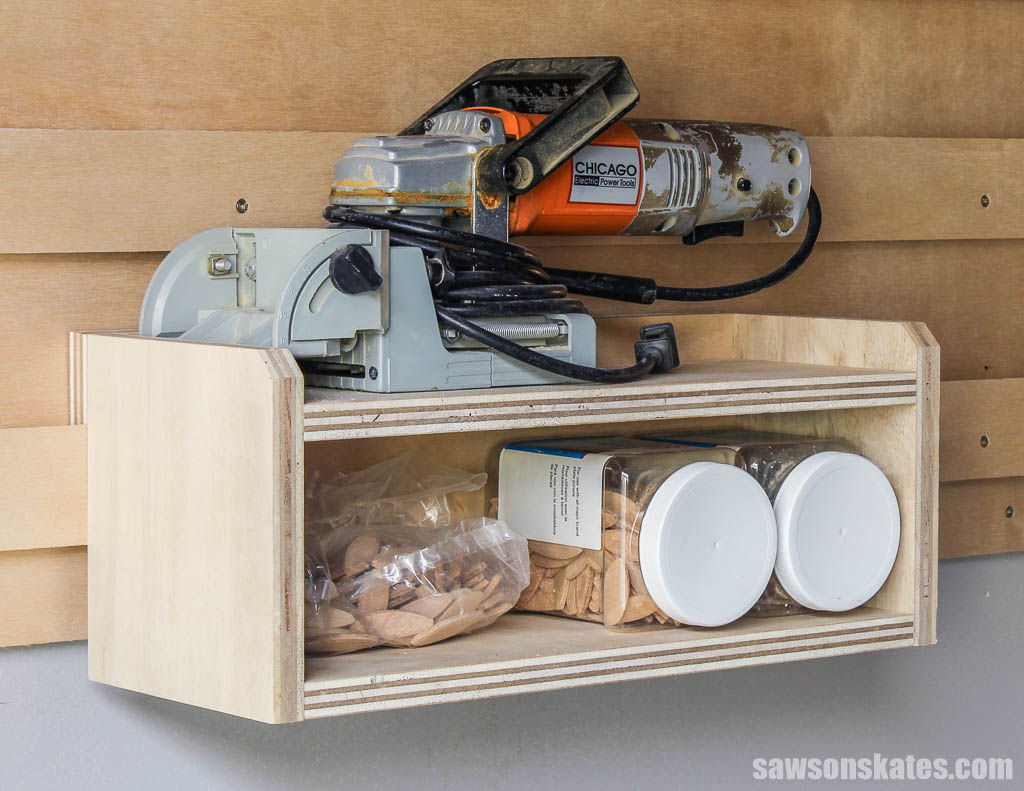
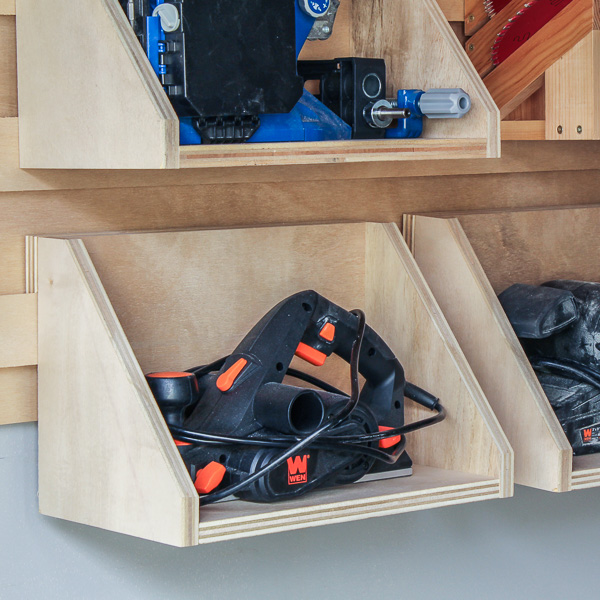
So, here’s what I came up with: a French cleat tool holder for my plate joiner, with a storage shelf below for biscuits.
How to Make a DIY French Cleat Biscuit Joiner Holder
Printed Plan
Get the PDF plan here (includes detailed instructions, measurements, and bonus tips)
Materials
- Wood (per the printed plan)
- 1-¼” Pocket Hole Screws
- 1-¼” Wood Screws
Tools
- Tape Measure
- Kreg Multi-Mark
- Table Saw or Circular Saw and Kreg Rip-Cut
- Pocket Hole Jig
- Drill
- Right-Angle Drill Attachment
- Countersink Drill Bit
Make the Sides
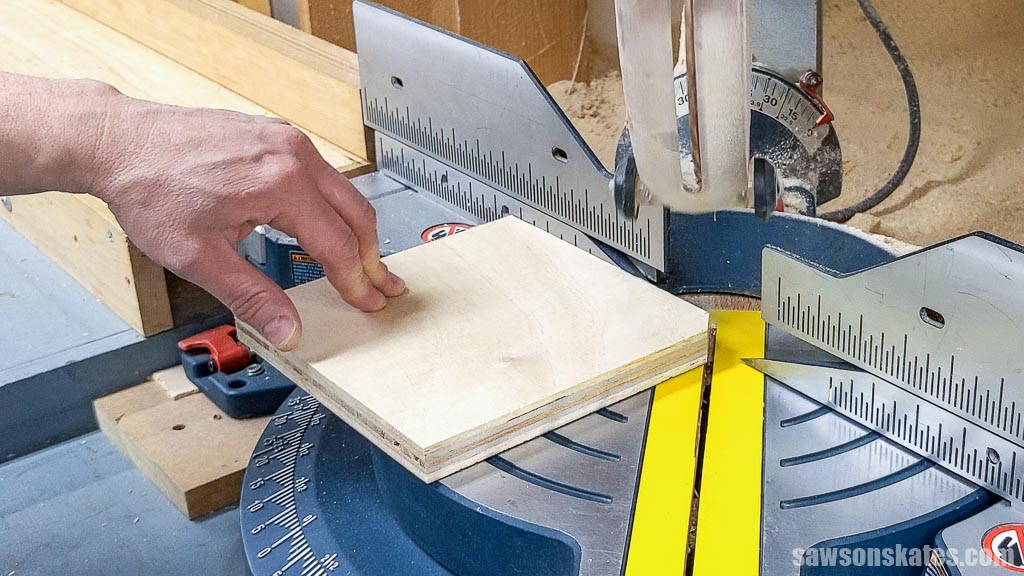
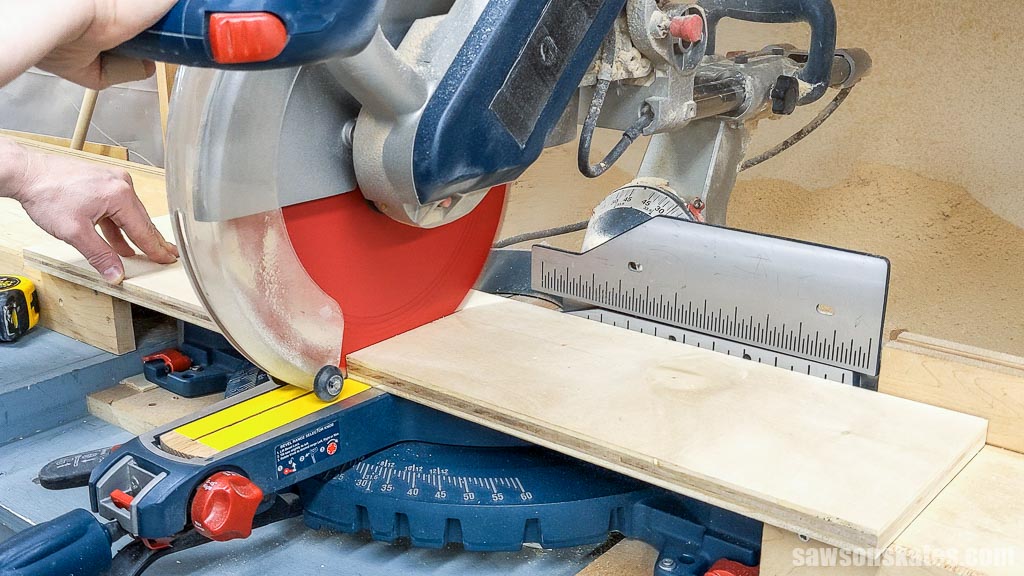
I started by ripping down a piece of plywood on the table saw. Then, I cut a couple of pieces to length for the sides on my miter saw.
Related: 21 Table Saw Safety Rules (& Mistakes to Avoid)
Next, I swung the miter saw over to 45 degrees and made a cut to knock off the side’s sharp corners.
Attach the Back
I ripped down a piece of plywood on the table saw for the back, then cut it to length at the miter saw.
Using the diagram in my printed plan, I marked the locations for pocket holes to connect it to the sides. Then I grabbed my pocket hole jig and drilled one at each spot. If you’ve got a brad nailer, you can use that to assemble it instead.
Related: How to Use a Pocket Hole Jig
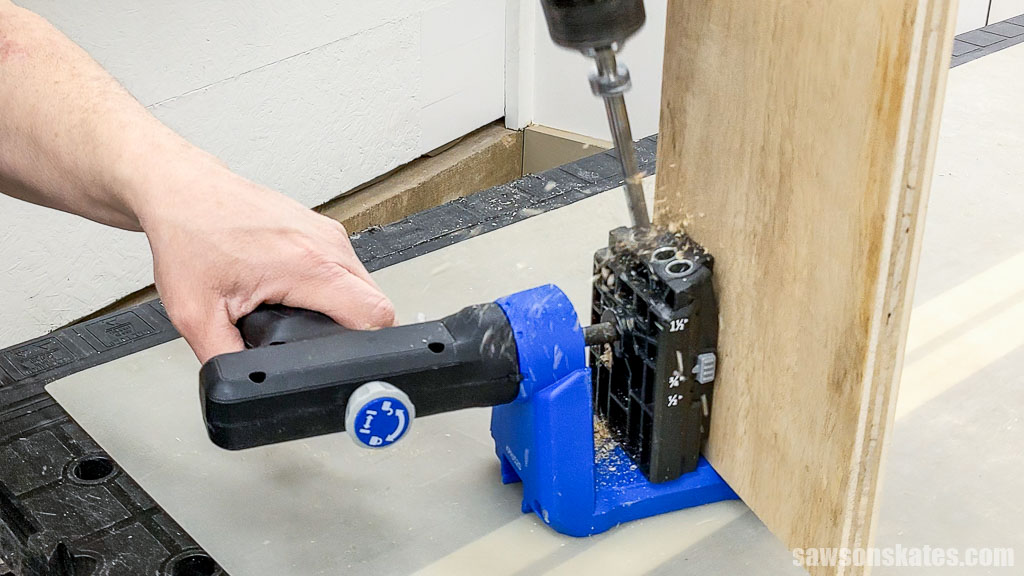
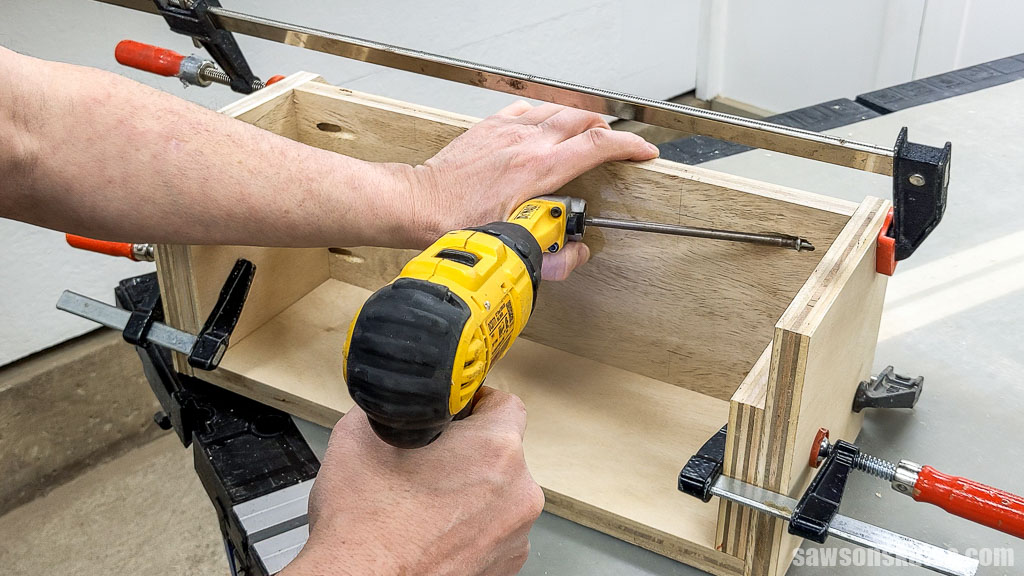
After that, I clamped everything together and joined the back to the sides using pocket hole screws.
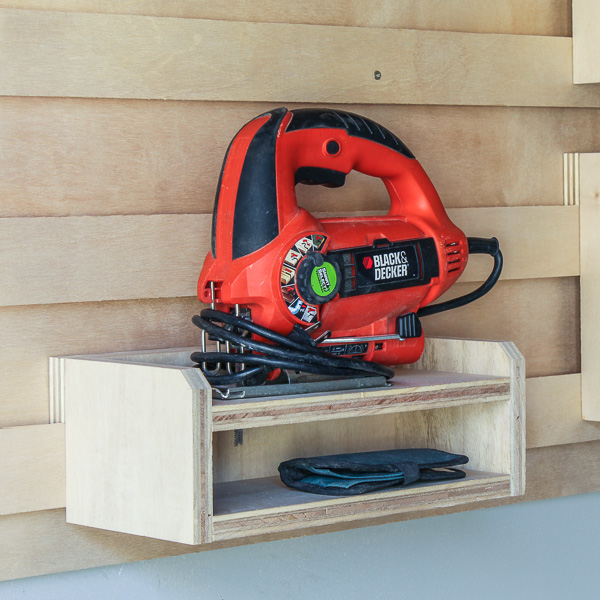
Attach the Shelves
I ripped another piece of plywood down to width, cut two shelves to length at the miter saw, and drilled some pocket holes so I could attach them to the sides.
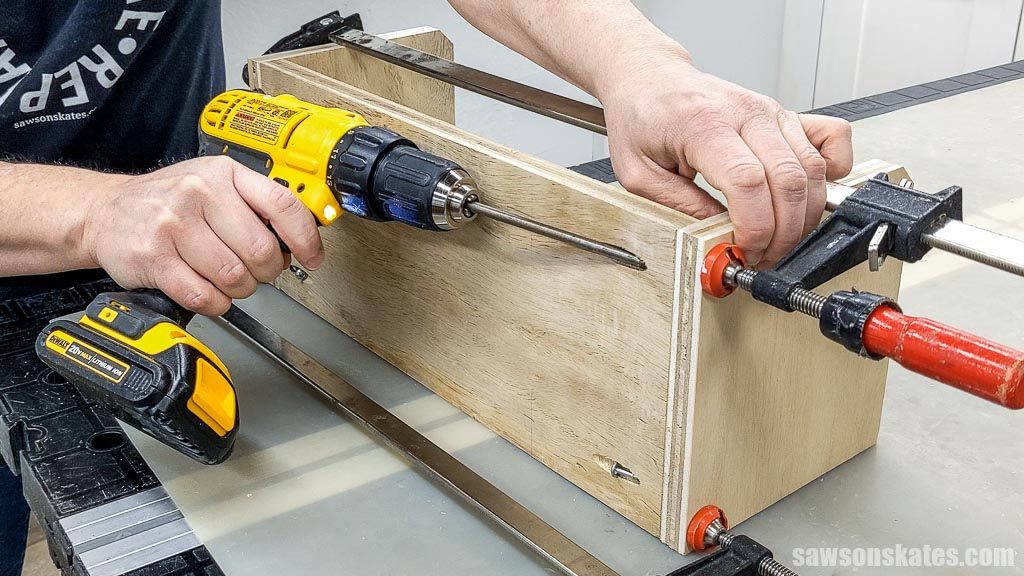
For the top shelf, I wanted it to sit up from the bottom, so I cut a couple of pieces of scrap wood to use as spacers and clamped them in place to help position the shelf.
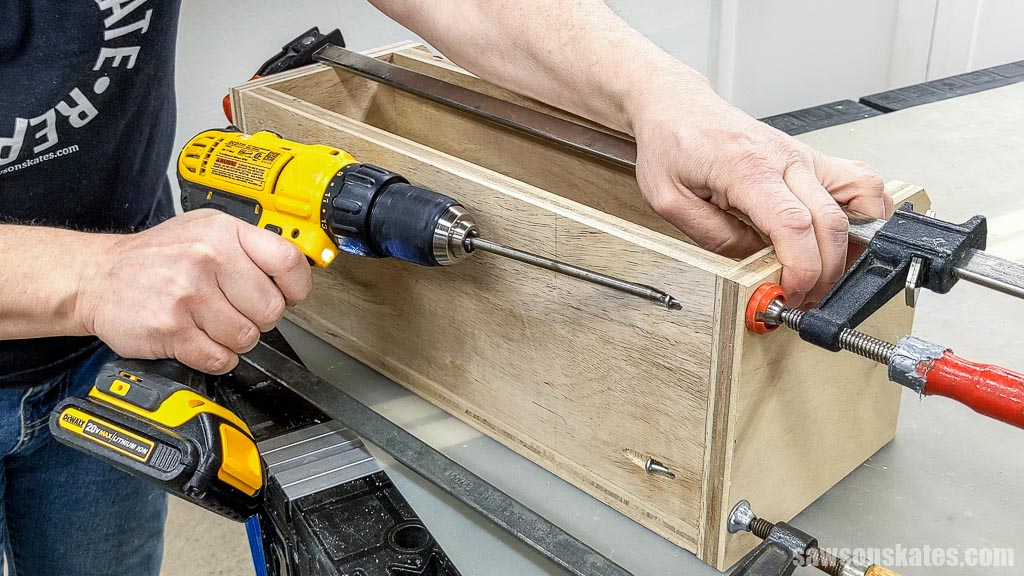
Once it was sitting where I wanted, I clamped it in place. There wasn’t much room to work in there, so I used a right-angle drill attachment to drive the pocket hole screws.
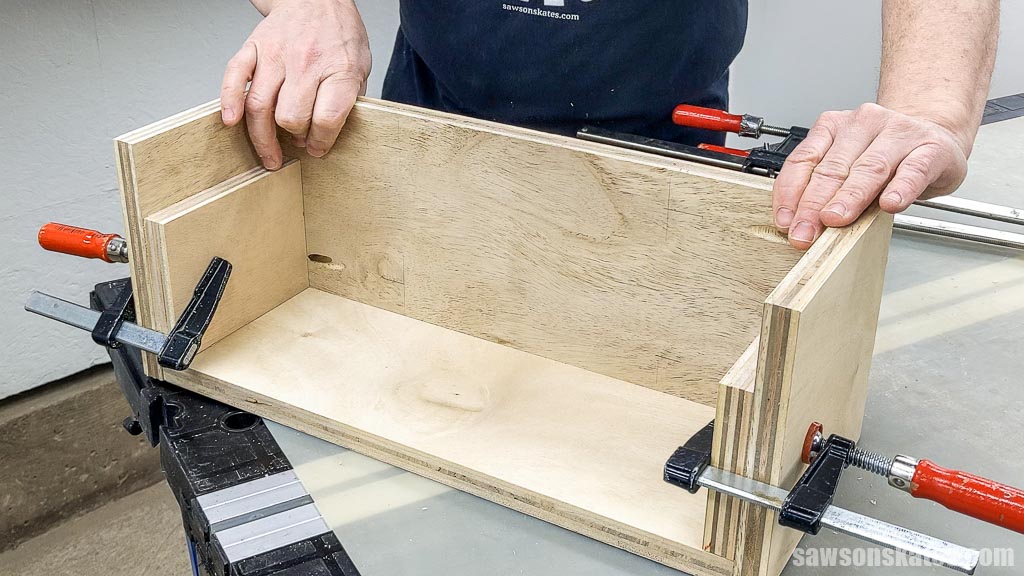
Then I repeated the same steps for the bottom shelf: clamped it in place and screwed it to the sides.
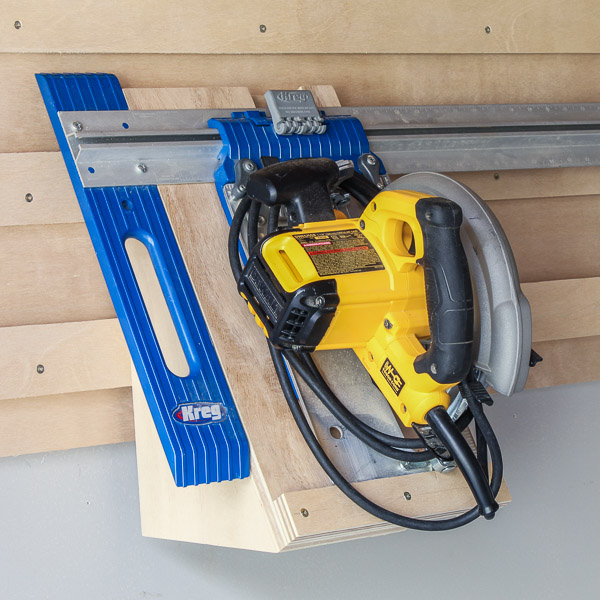
Attach the French Cleat
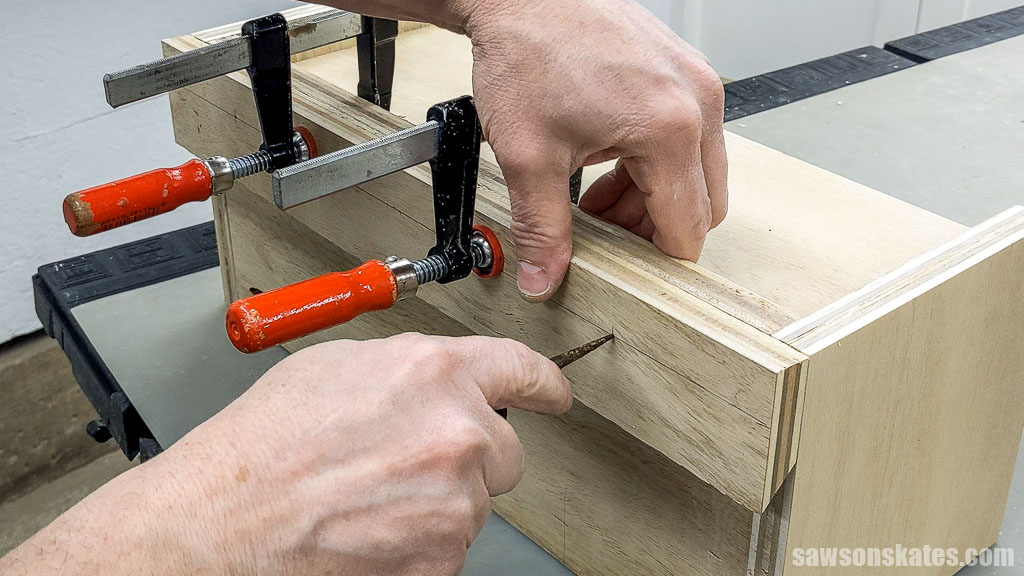
To finish up, I cut a French cleat to length and clamped it to the back.
Then I marked where the screws would go and used an awl to make little starter points so the drill bit wouldn’t wander.
Related: What is an Awl? (& How to Use It)
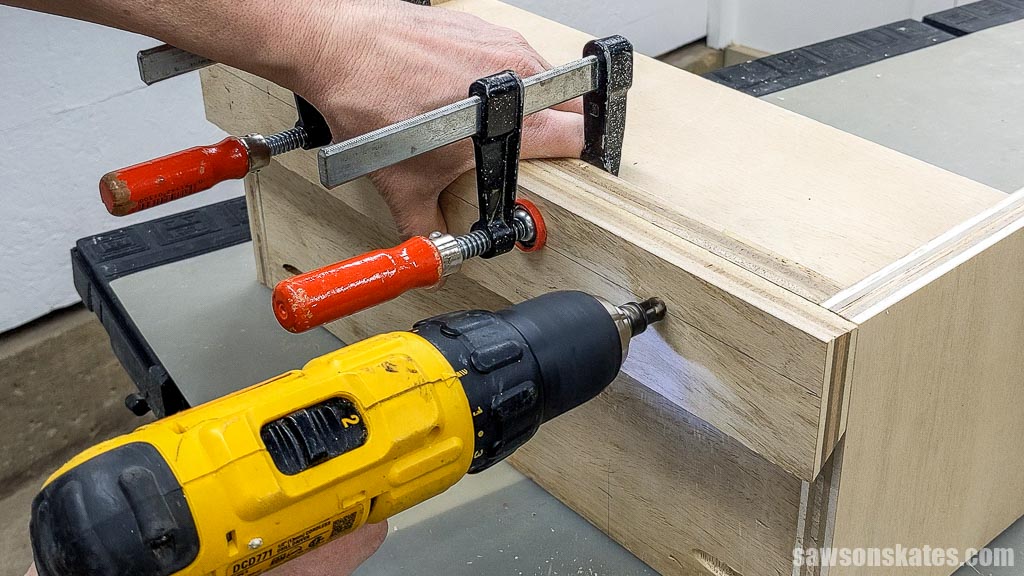
After that, I drilled some countersink holes and screwed the cleat in place with wood screws.
Related: How to Use a Countersink Bit
Video
Watch now, and I’ll show you step-by-step how I made the biscuit joiner rack.

Includes:
- List of tools and materials
- Complete measurements (in inches)
- Easy-to-follow instructions
- Step-by-step photos
- Detailed diagrams
or get the best value:
Final Thoughts
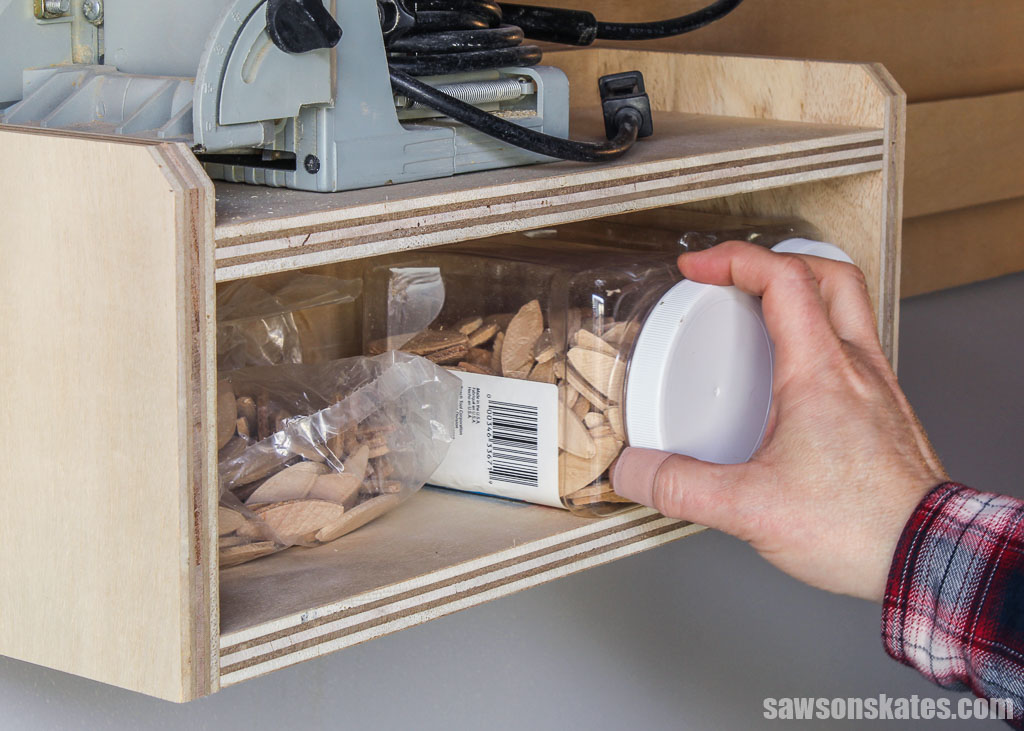
This French cleat holder was a quick, satisfying project that gave my old biscuit joiner a proper home and freed up space in my workshop. The added shelf for biscuits makes it even more convenient, and everything’s easy to grab when I need it. If you’ve got tools collecting dust or cluttering your bench, a simple cleat-mounted holder like this is a great way to get organized without a big time investment.
Don’t wait. Get your PDF plan (including the detailed instructions and measurements) now!
Thank you for stopping by. If you enjoyed this tutorial, would you please take a moment and pin it to Pinterest? I’d really appreciate it!
Recommended For You
Pin This For Later

Hi there – I’m Scott, a woodworking enthusiast and creator of Saws on Skates, a site I started in 2015 to share easy-to-follow tutorials, space-saving shop tips, and project inspiration for DIYers at any skill level. Learn more about my woodworking journey here.