DIY Open-Frame Snowman Lantern
This post contains affiliate links. If you buy through them, I may earn a small commission at no extra cost to you. As an Amazon Associate, I earn from qualifying purchases. Read my full disclosure policy.
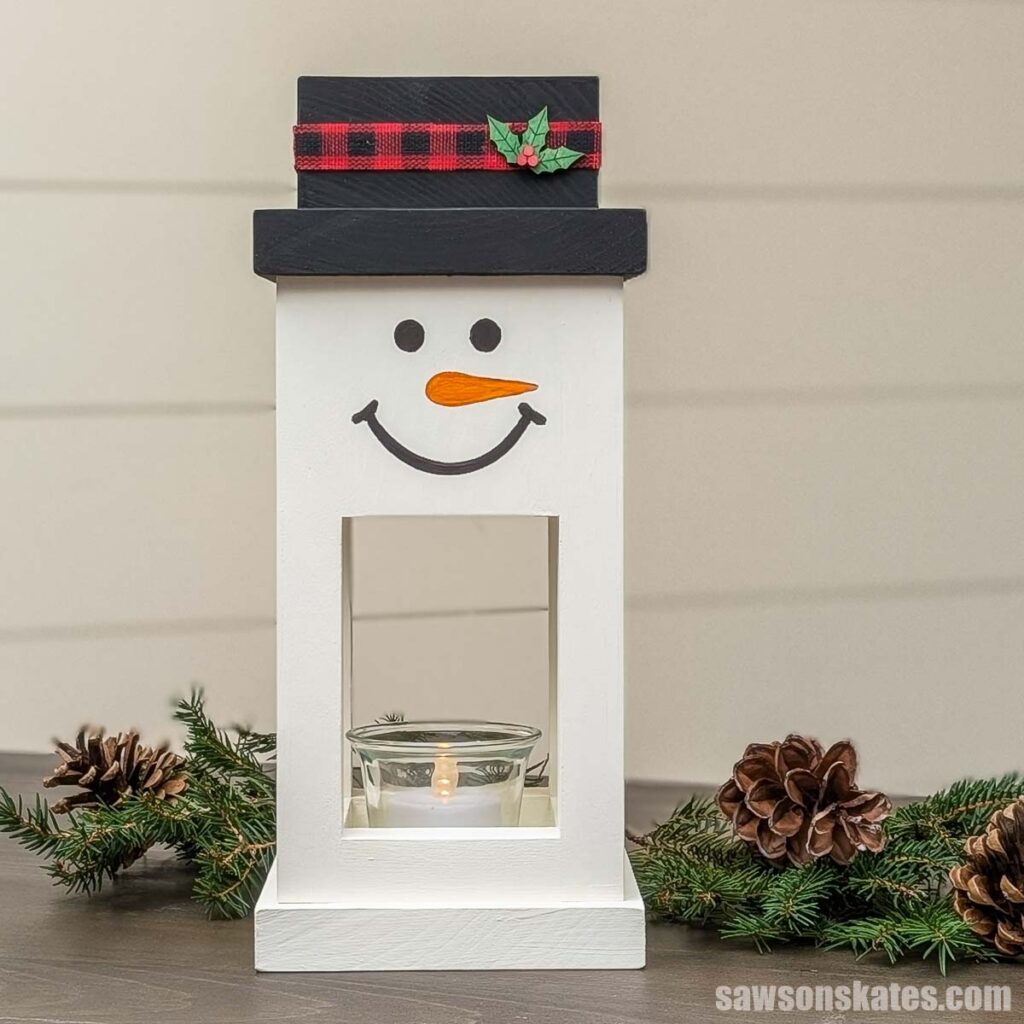
Build a DIY open-frame snowman lantern that fills your mantel with a warm candlelight glow. It also makes a great handmade holiday gift.
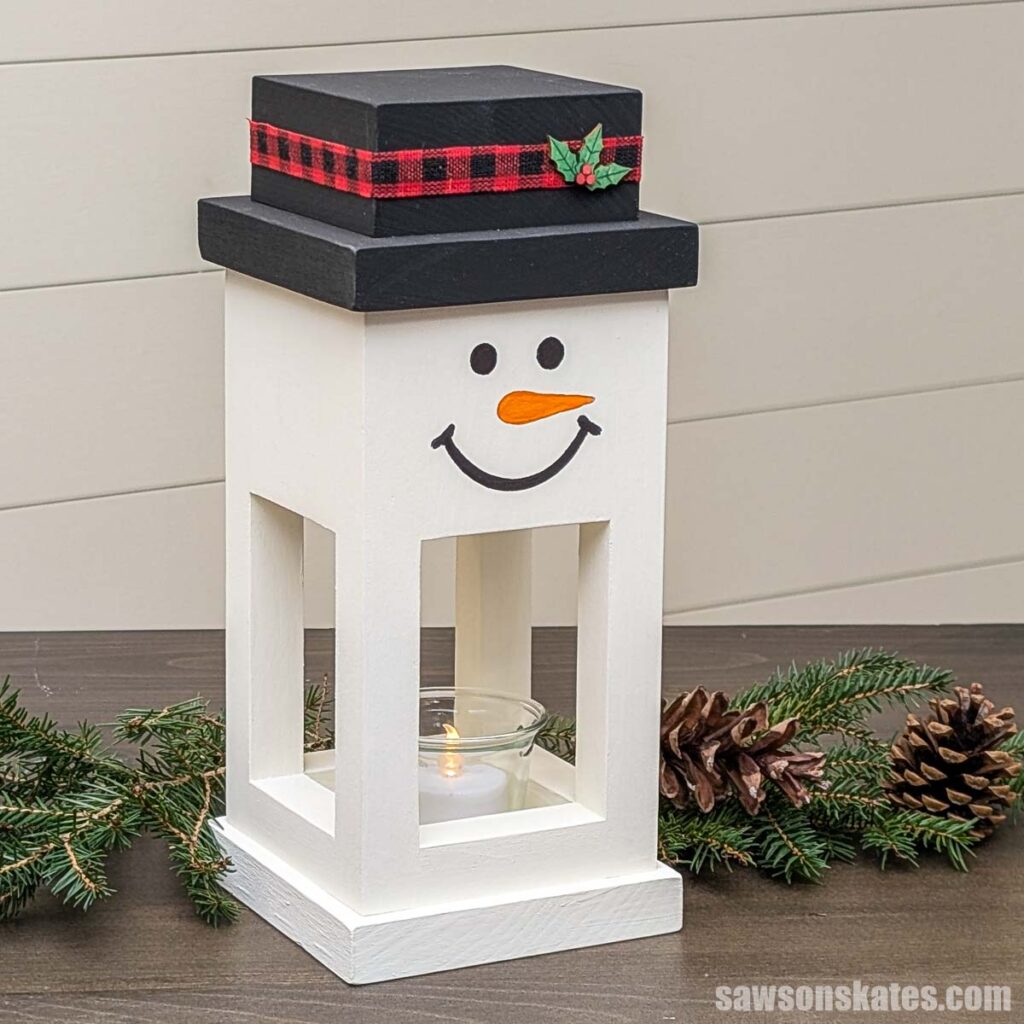
If you’re looking for a quick winter build for your mantel or side table, this little snowman lantern is a fun one to make. A painted smile and carrot nose give it plenty of personality, and the chunky black hat finishes off the look.
This is the second project Canva talked me into this season. While I was putting together a holiday guide, Canva (the design app I use for graphics) filled in some of my project photos with AI-generated placeholder images.
One of them was supposed to stand in for my slatted snowman lantern, but instead of slats, the version it generated had an open frame that let the candlelight shine through. It was adorable and I couldn’t stop thinking about it!
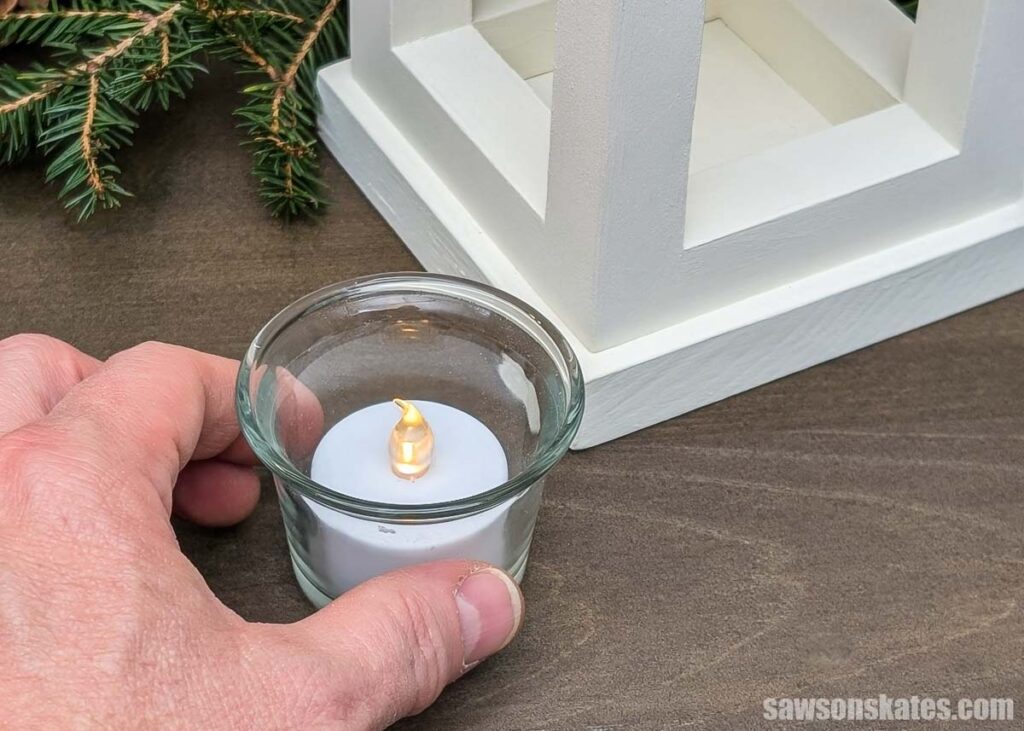
So I designed one in SketchUp and headed to the shop to build it. I love how it looks with an LED candle inside. The light reflects off the white posts and spills onto everything around it, giving the whole mantel a warm glow.
Use a Flameless Candle Only
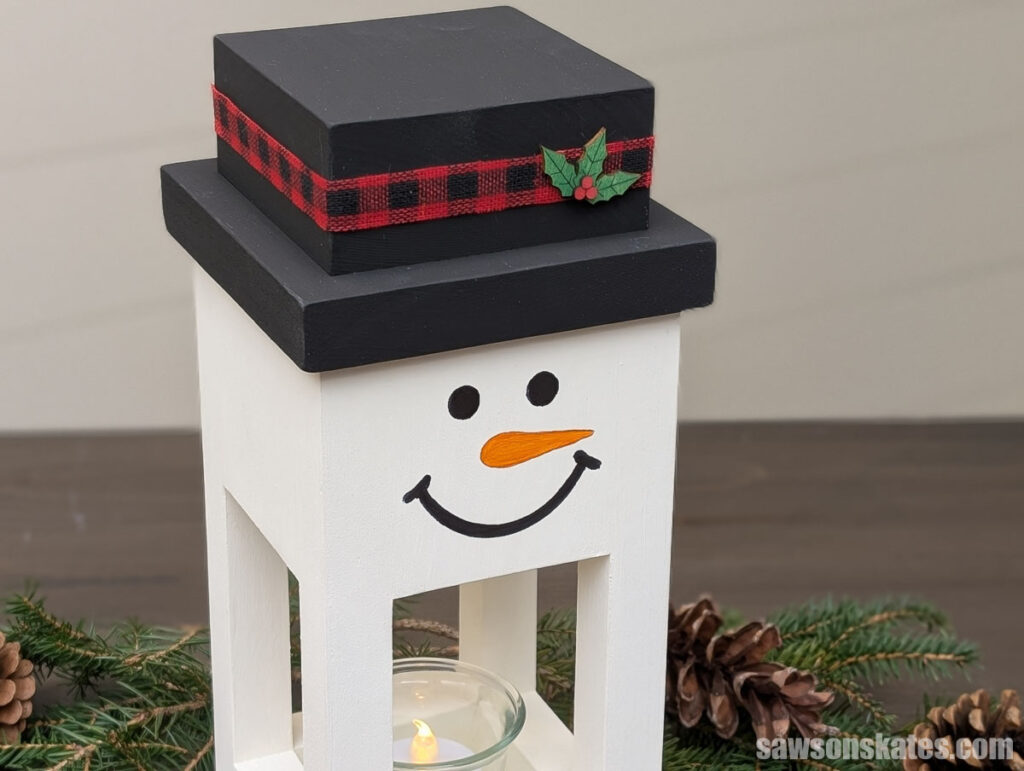
This lantern is made from wood, and the hat sits just a few inches above the candle. A real flame is a fire hazard, so I only use flameless LED candles.
They still give off a warm, flickering glow, and you don’t have to worry about leaving one lit on your mantel. Look for one with a built-in timer. It turns on every evening and shuts off on its own, so your snowman glows every night without you thinking about it.
How to Make an Open-Frame Snowman Lantern
Printed Plan
Get the PDF plan here (includes detailed instructions, measurements, and bonus tips)
Materials
- Wood (per the printed plan)
- Wood Glue
- 1-¼” Brad Nails
- Sandpaper
- Wood Filler
- Off-white and black chalk-style paint, orange craft paint
- ½” ribbon (for the hat)
- 1.5mm Plywood (optional for the holly and berries)
- LED Candle (using a real candle is a fire hazard)
Tools
- Tape Measure
- Miter Saw
- Hammer or Brad Nailer
- Clamps
- Kreg Multi-Mark (optional)
- Paintbrushes
- Hot Glue Gun (for attaching the ribbon)
- Laser or Cricut (optional for making the face template and cutting the holly and berries)
Step 1. Build the Lantern Frame
I cut four pieces of wood to length for the uprights. Then, I cut four pieces of wood to length for the sides.
TIP: I always have strips left over from ripping boards to width on my table saw. If you don’t have any, and you’re comfortable using a table saw, you can rip your own from a 1x board. Before you start, check out my table saw safety tips. You can also find square dowels in the molding aisle at many home improvement stores.
I applied glue to one side, positioned two uprights, and clamped them in place. Then, I attached them using brad nails.
SAFETY TIP: Keep your hands well away from the nailer when nailing into small pieces like these. A brad nail can hit a knot or a hard spot in the grain, turn, and come out the side of the board. Clamps are much safer than holding the pieces with your fingers.
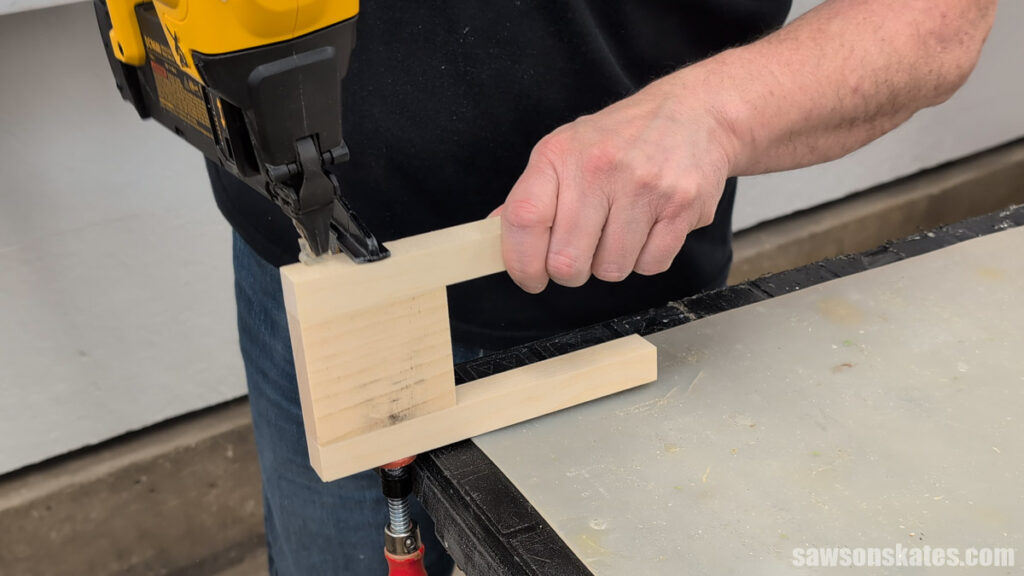
I repeated this step with the remaining uprights, which gave me two side sub-assemblies.
Next, I applied glue to the two remaining sides, positioned them between the sub-assemblies, and clamped them in place. I attached them using brad nails.
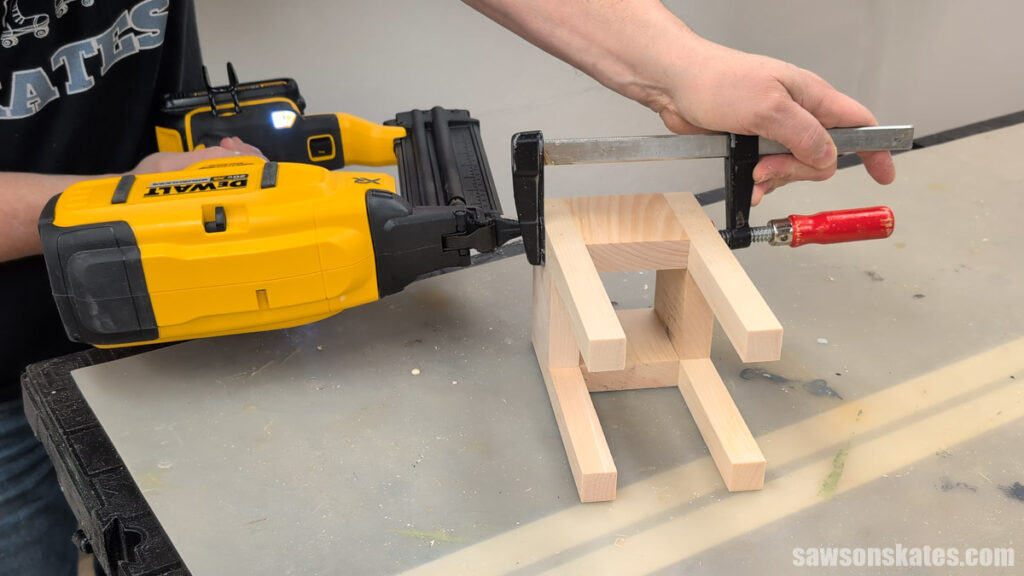
To finish the frame, I cut four pieces of wood to length for the bottom rails. I applied glue, positioned them at the bottom of the frame, and tacked them in place using brad nails.
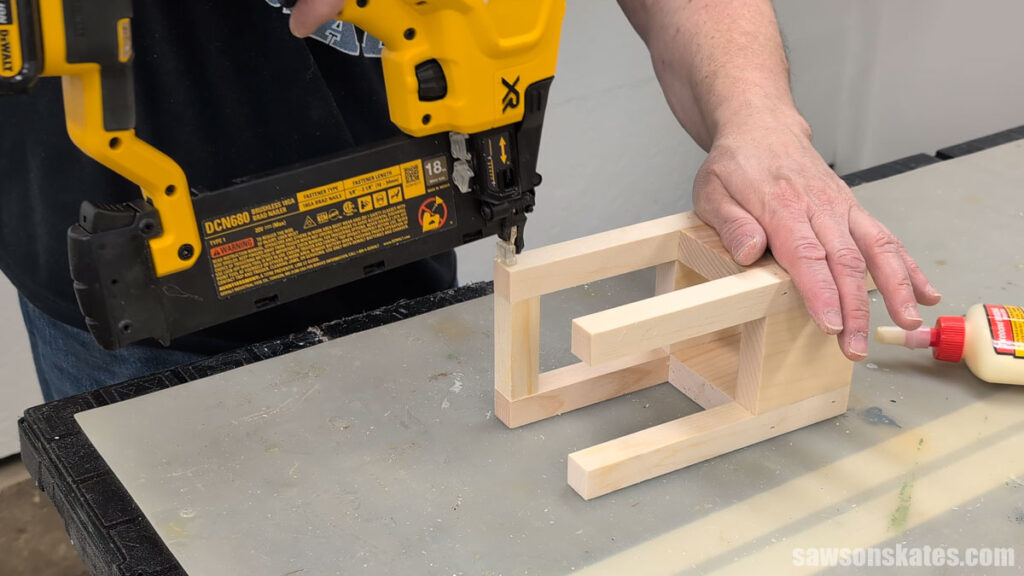
I wanted the lantern to look like it was cut from one solid piece, so I lightly sanded the frame with 120-grit sandpaper to smooth the joints.
Step 2. Attach the Base
I cut two pieces of wood to length for the base and the bottom of the hat.
Now is a good time to do a bit of painting before assembling any further. I applied one coat of off-white chalk-style paint to the frame and the base. I’ll apply a second coat once it’s assembled.
After the paint dried, I applied glue to the bottom of the frame and centered it on the base. Then, I attached it using brad nails.
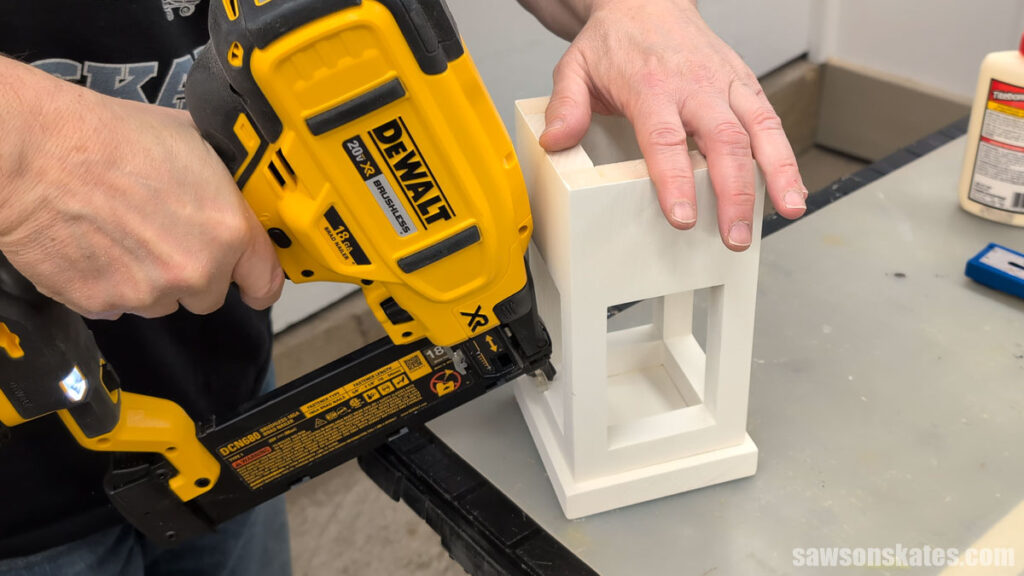
I filled the nail holes with wood filler, sanded them smooth once dry, and applied a second coat of paint.
Step 3. Paint the Face
The face template is included with the printable plan. I cut a stencil from a manila folder using my laser cutter.
TIP: If you have a Cricut or a similar cutting machine, this is the perfect place to use it. You can cut vinyl decals for the face instead of painting it as I did.
I positioned the stencil on the best-looking side of the lantern and traced it with a pencil.
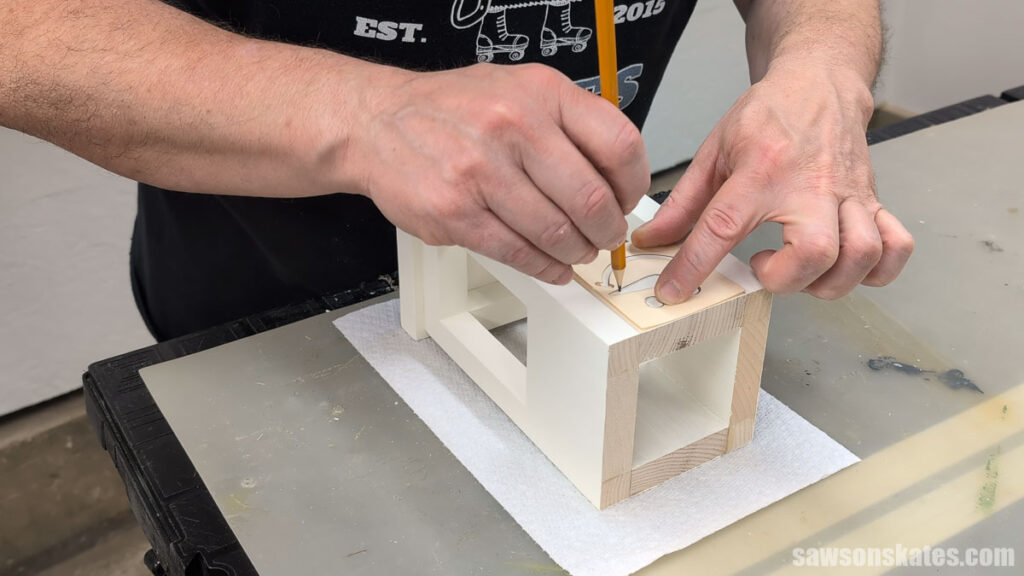
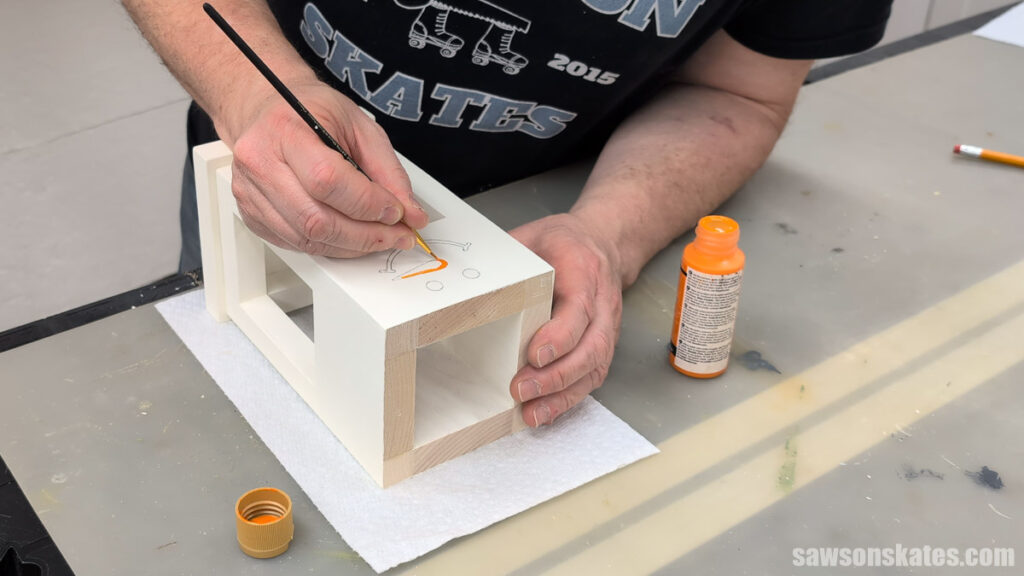
Then, I painted the eyes and mouth with black chalk-style paint and the carrot nose with orange craft paint.
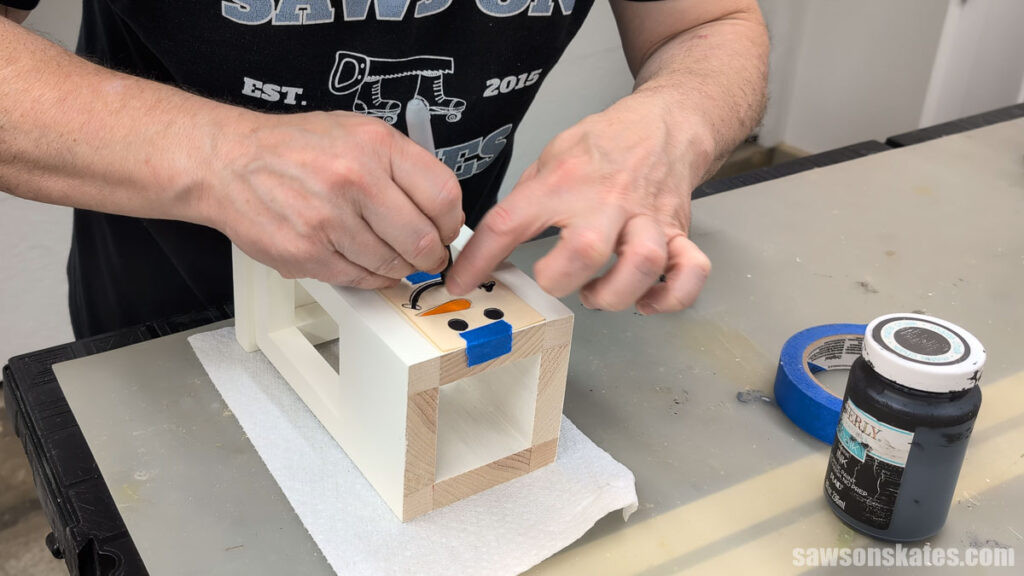
The eyes and mouth weren’t as crisp as I’d hoped, so I repositioned the stencil and traced them with a Sharpie marker. Much better!
Step 4. Attach the Hat
I painted the bottom of the hat from Step 2 with black chalk-style paint.
Once it was dry, I applied glue to the top of the frame and centered the hat on it.
To help position the nails, I made a pencil mark on each side.
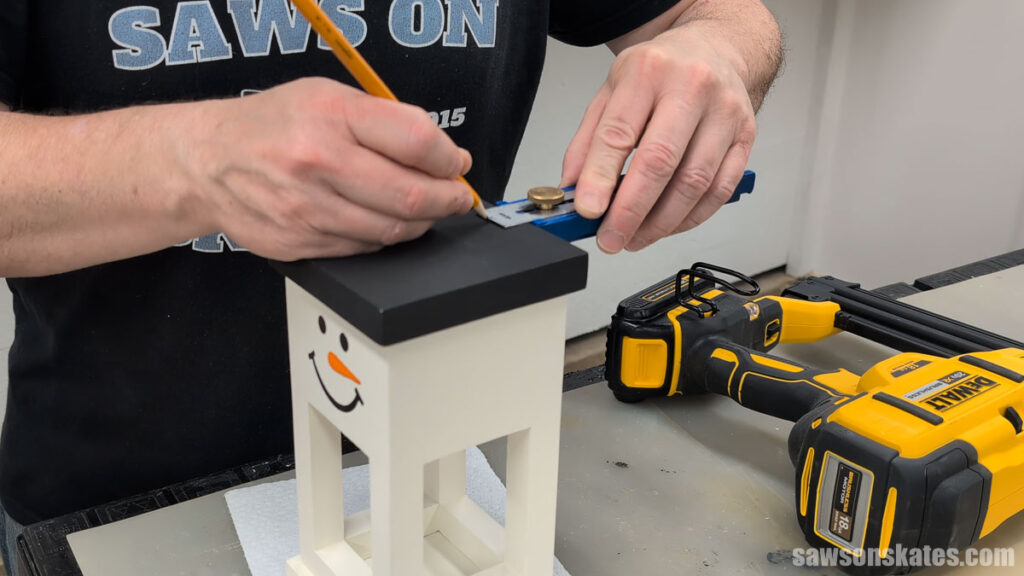
Then, I tacked the hat in place at each mark with brad nails.
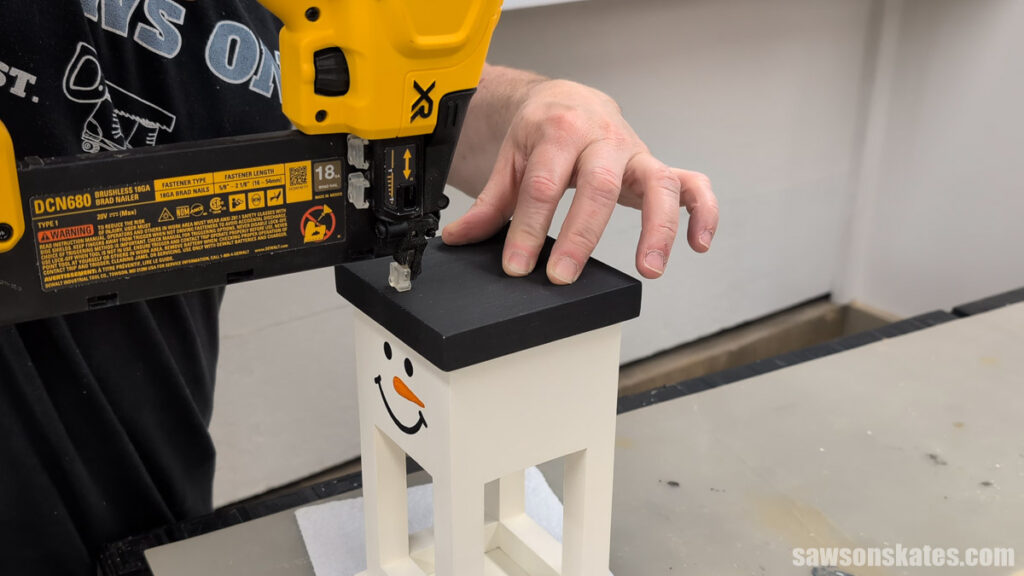
Next, I cut two pieces of wood to length for the top of the hat.
I applied glue to one piece, centered it on the bottom of the hat, and attached it using brad nails.
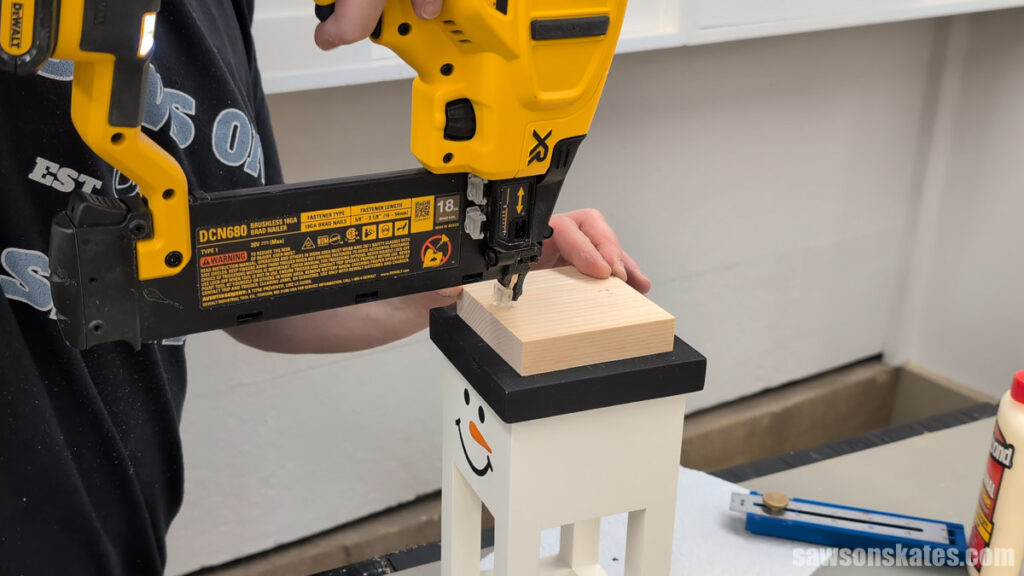
Then, I applied glue to the second piece and placed it on the first. To avoid filling more nail holes, I clamped it in place instead of nailing it. I tried painter’s tape first, but it didn’t hold well enough, so I switched to clamps.
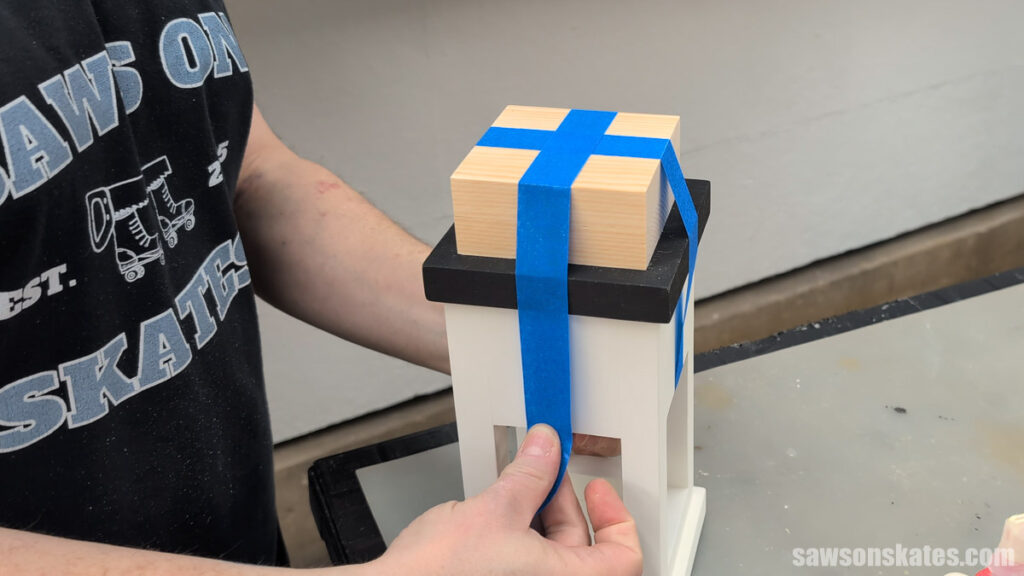
Once the glue dried, I painted the top of the hat with black chalk-style paint. I also touched up any spots on the bottom of the hat that got scuffed along the way.
Step 5. Finishing Touches
To finish the hat, I wrapped a piece of ribbon around it and attached it at the back with hot glue.
For the front, I cut holly leaves and berries from 1.5mm plywood on my laser. I included the holly laser-cut file with the printable plan. I painted the leaves green and the berries red, then glued them to the ribbon. Now this smiling snowman was ready for my mantel.
TIP: If you don’t have a laser, a small sprig of artificial holly from the craft store works just as well.
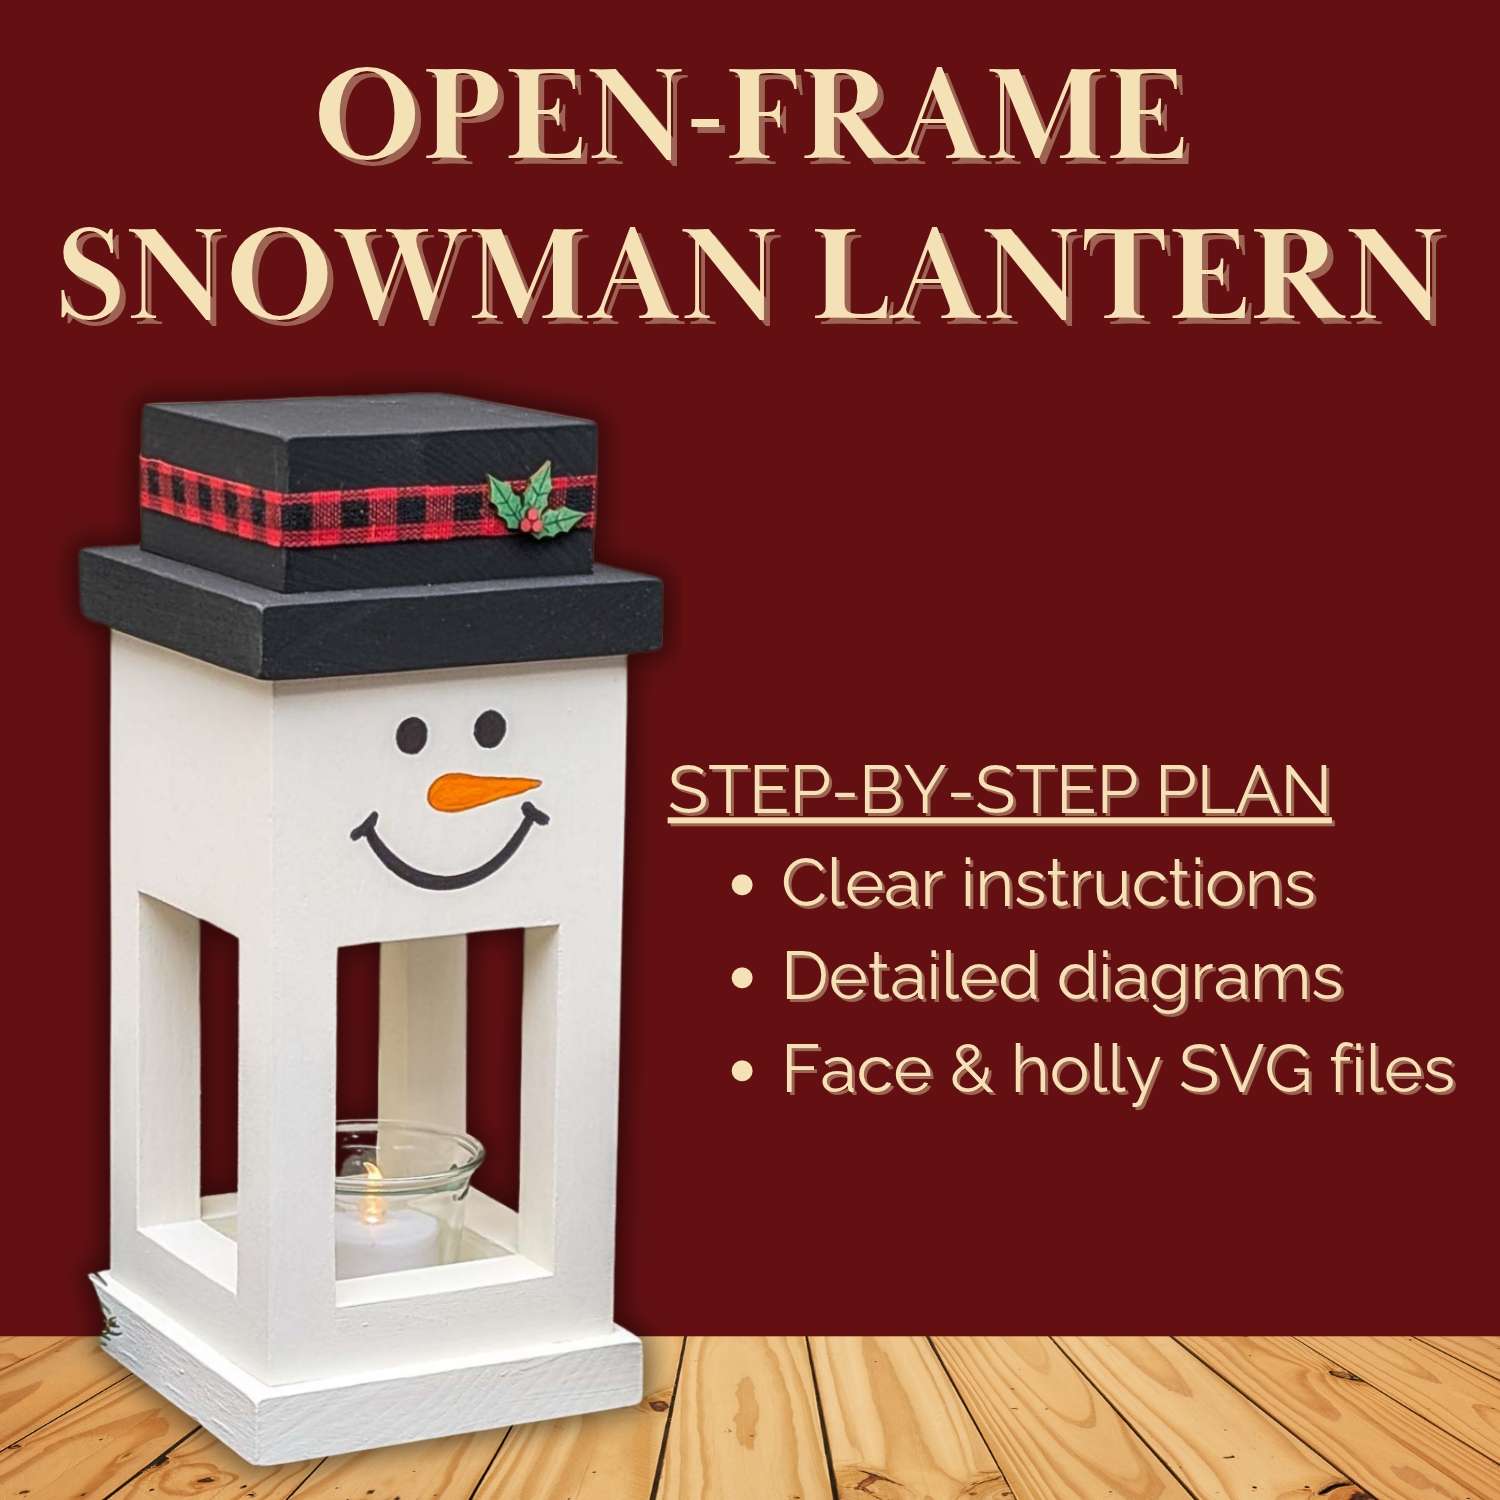
Includes:
- List of tools and materials
- Complete measurements (in inches)
- Easy-to-follow instructions
- Step-by-step photos
- Detailed diagrams
$5.99 Instant Download