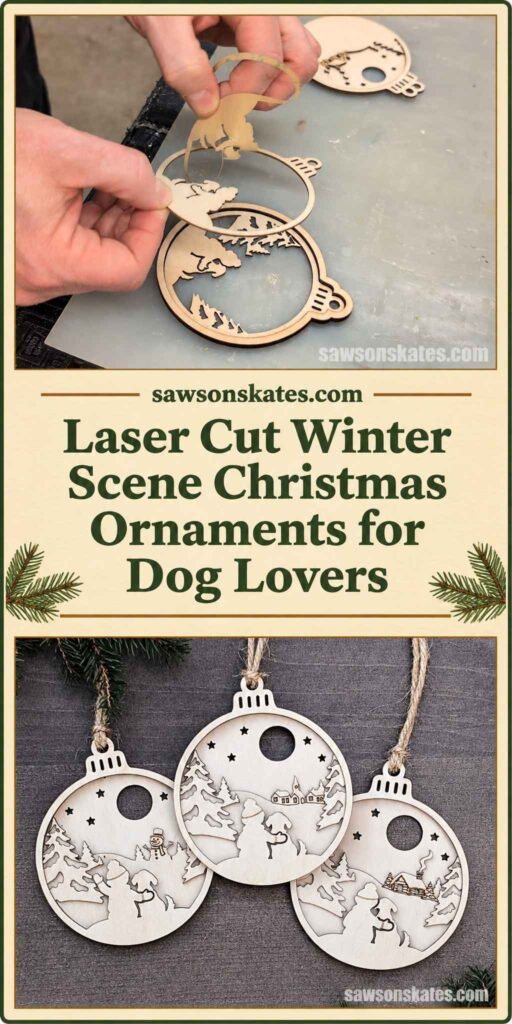
DIY Child and Dog Winter-Scene Christmas Ornaments
This post contains affiliate links. If you buy through them, I may earn a small commission at no extra cost to you. As an Amazon Associate, I earn from qualifying purchases. Read my full disclosure policy.
These DIY winter scene Christmas ornaments show the love between a child and their dog. Make the layered designs with a laser cutter for a sweet handmade gift.
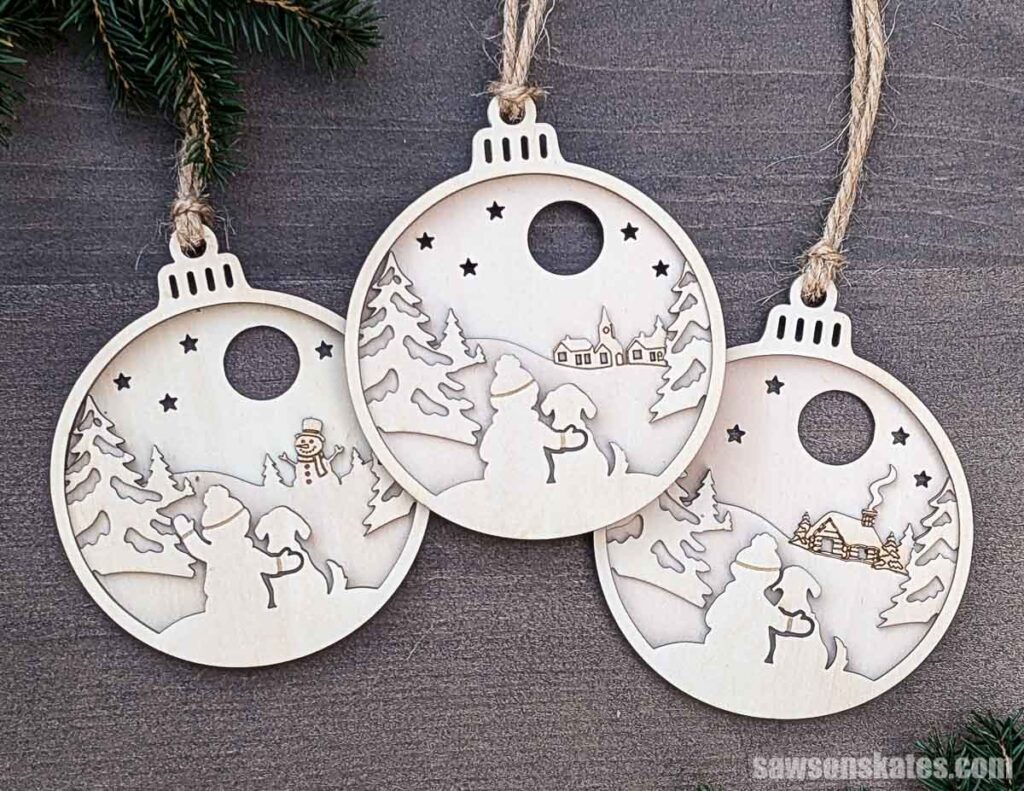
Nothing beats the love between a child and their pup, and I wanted to capture that in this set of three winter-scene Christmas ornaments.
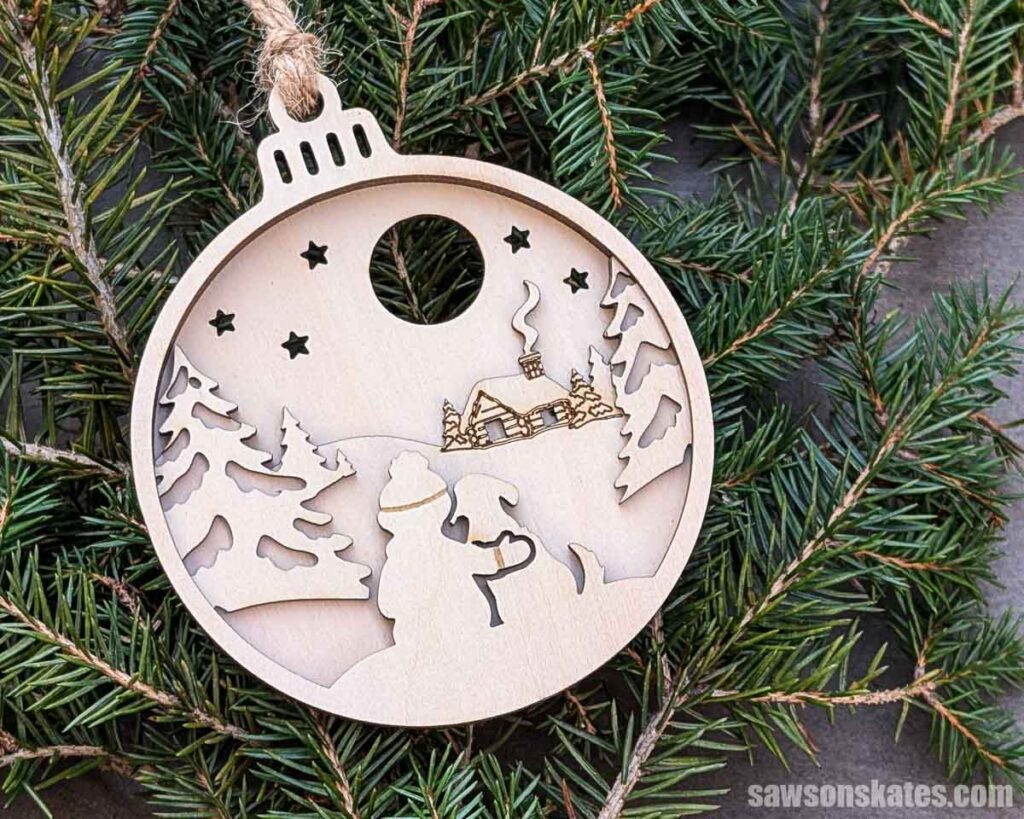
Each one shows the pair looking out over a snowy scene. I also added a few subtle touches, like the little heart that forms between them on the cabin ornament. Make one for your tree or the whole set to give as a gift.
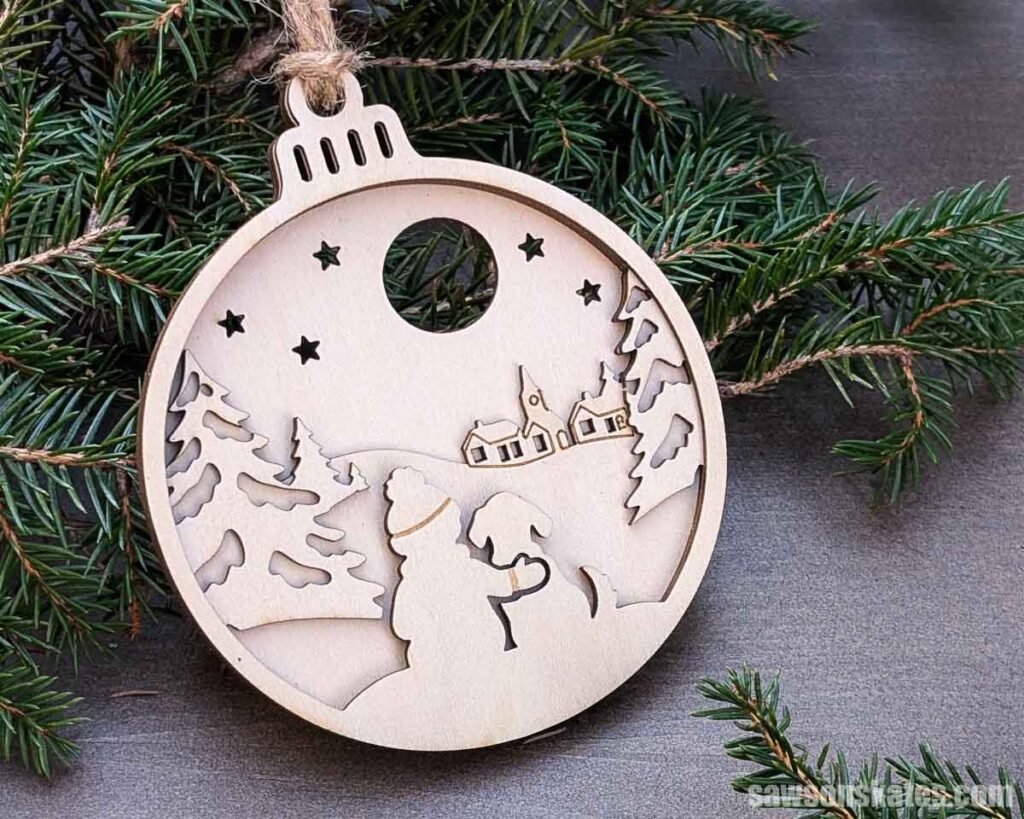
Village Ornament
The pair looks out over a quiet, snowy village, with a little church steeple rising above the rooftops.
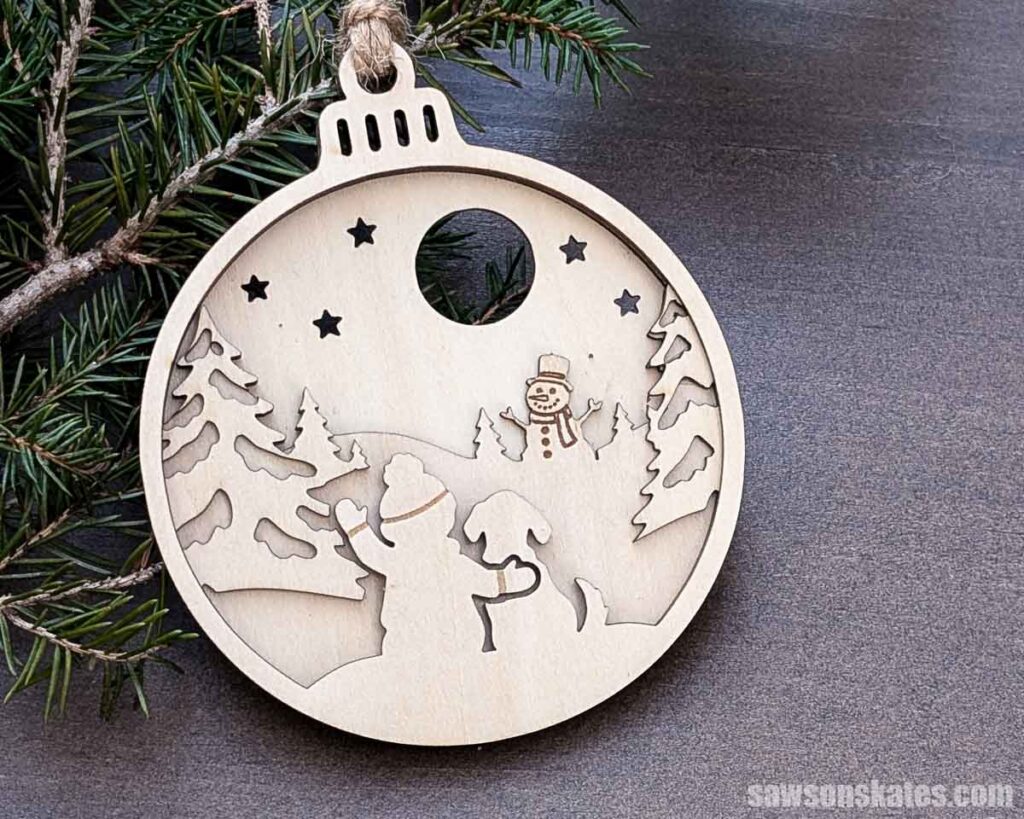
Snowman Ornament
A cheerful snowman waves from the hillside while the pair takes in the view.
Cabin Ornament
Look closely, and you’ll see a little heart formed between the child and their pup as they gaze toward a cozy cabin with smoke curling from the chimney.
How I Cut These Ornaments
I used my laser cutter to make these ornaments. Usually, I’d say you could use a scroll saw instead, and you probably could. However, with the intricate details in some layers and the need to match each layer’s outside shape exactly, it would definitely be more challenging with a scroll saw.
If you don’t have a laser cutter, here are a few of my other ornaments you can make with a scroll saw:
How to Make Child and Dog Winter-Scene Christmas Ornaments
Laser Cut Files
Get the laser cut files here.
Materials
- 1.5 mm Birch Plywood or Basswood (for the ornaments)
- ¼” Plywood (for the alignment jig)
- 3M 467MP Adhesive Transfer Tape
- Twine (for the hanger)
Tools
- Laser Cutter (I used this one) or scroll saw
- Honeycomb Panel (I used this one)
- Plastic kitchen spatula (for smoothing the transfer tape)
Before You Begin
The laser cut files include five layers. When I assembled mine, I left off the solid back layer because I liked how the tree lights shine through the moon and star openings.
Step 1. Upload and Scale the Files
You can design your own ornaments, or, for a shortcut, the laser-cut files are available below. I uploaded the files into xTool Studio and scaled them to 100 mm (about 4 inches).
Step 2. Cut Out the Ornaments
I made a test run of these ornaments, and I have to say, gluing the layers together was really tricky. It was hard to get enough glue to bond the parts without it squeezing out and leaving a sticky mess all over the ornament (and my hands).
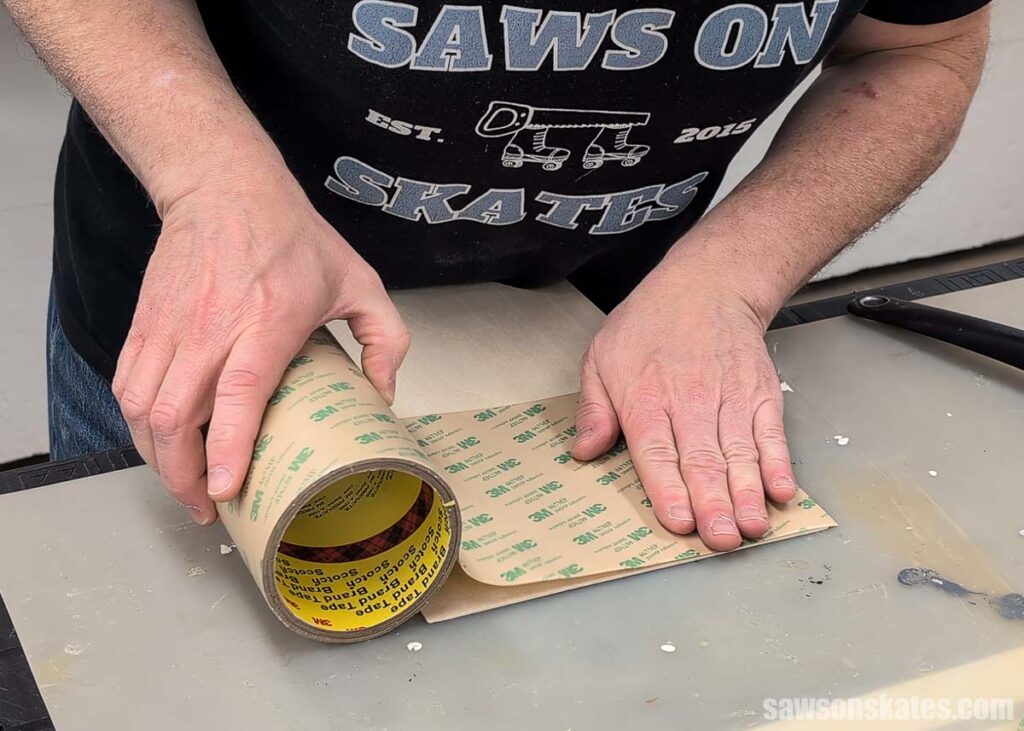
So I did some research and found this 3M 467MP adhesive transfer tape. It’s basically a big roll of double-sided tape.
I picked the best side of the plywood, applied the transfer tape to the back, and trimmed it to size.
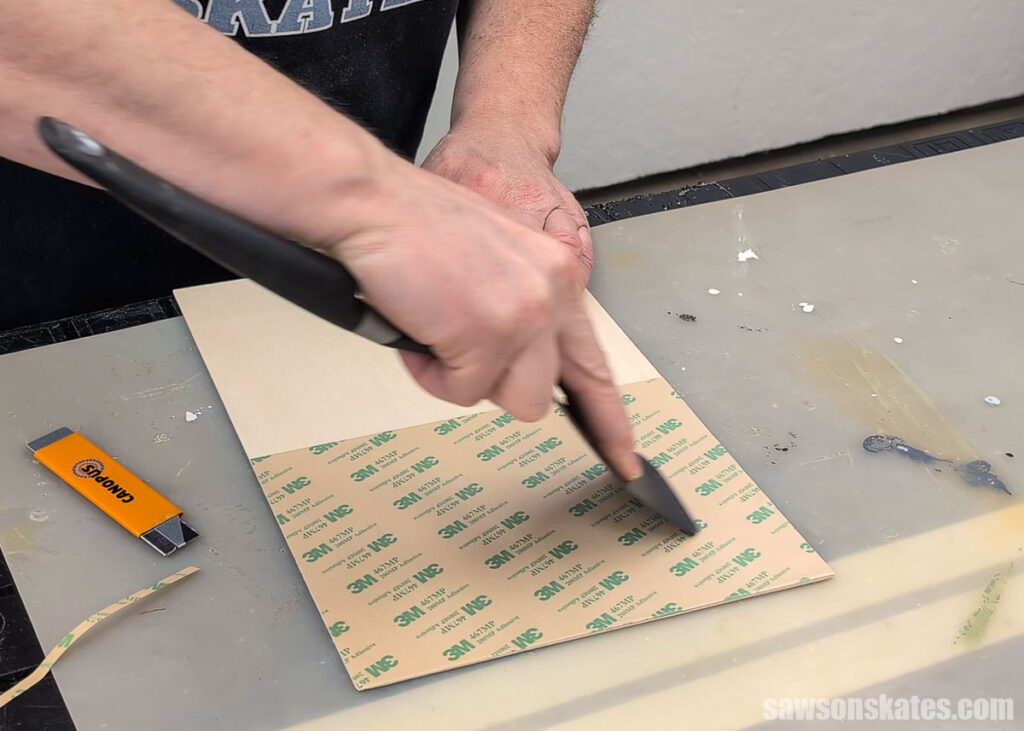
Then I used, of all things, a plastic spatula from my kitchen to smooth it out. The spatula worked really well!
TIP: The back layer of each ornament doesn’t need transfer tape, so set aside a plain sheet of plywood before you apply the tape to the rest. Don’t ask me how I know, lol.
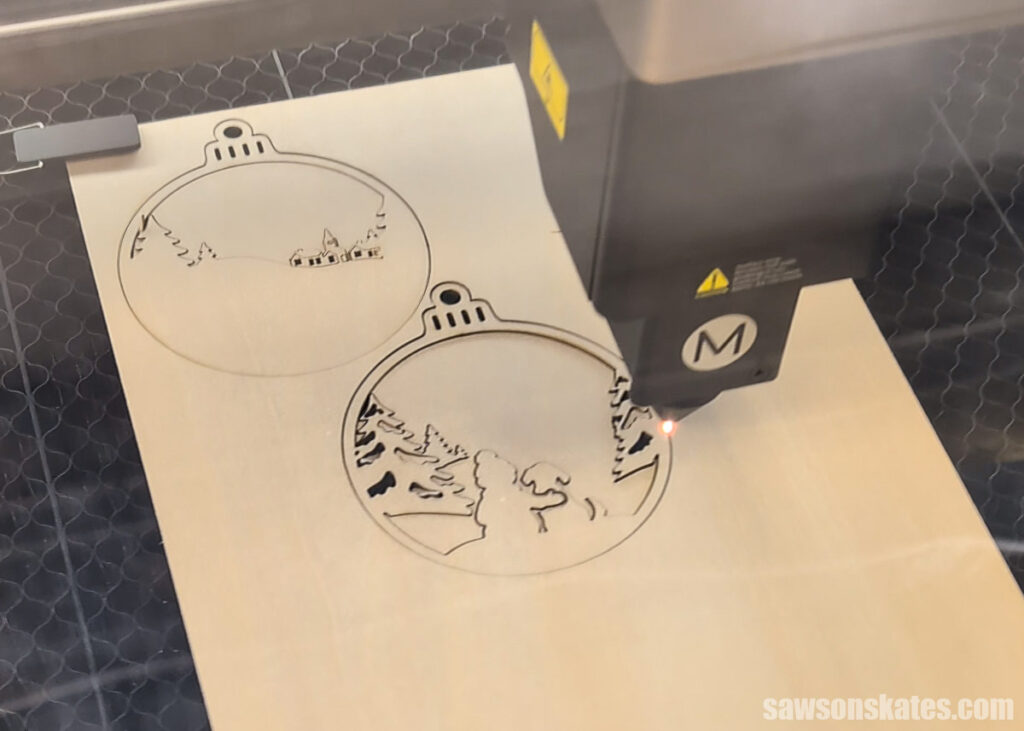
When I made my test run, some of the pieces fell through the slats on my laser bed.
xTool sent me a honeycomb panel to help with that. It’s a flat aluminum grid that sits on the bed, and its small cells support the material all the way across, so little pieces stay put instead of dropping through.
I installed the honeycomb panel, and it made a big difference.
Next, I followed my method for cutting wood with the xTool P3 to cut the ornaments from 1.5 mm birch plywood. This basswood is similar to what I used.
Step 3. Assemble the Ornaments
I kept my ornaments natural, but if you plan to paint yours, I recommend doing it before assembly. It’s much easier to paint each layer separately.
I also laser-cut a jig from ¼” plywood. It makes lining up the layers a breeze. Since the finished ornament is thicker than the jig, the order matters. You’ll build it from front to back, placing one new layer in the jig at a time.
I placed the second layer in the jig and peeled the backing off the first layer.
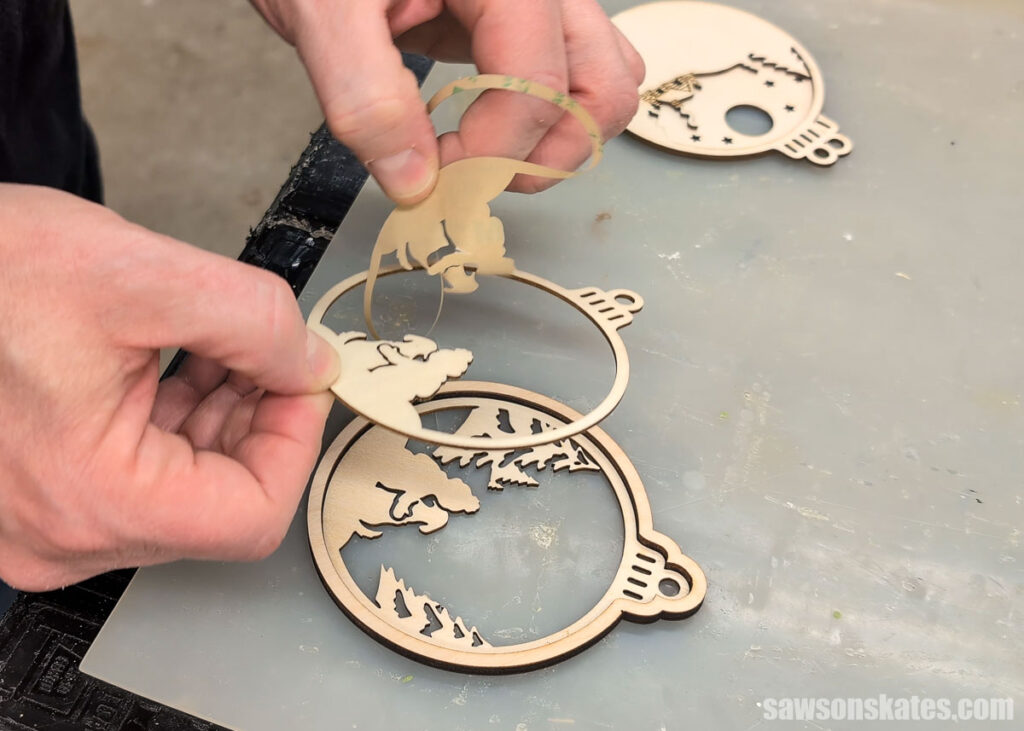
Then, I pressed it in place.
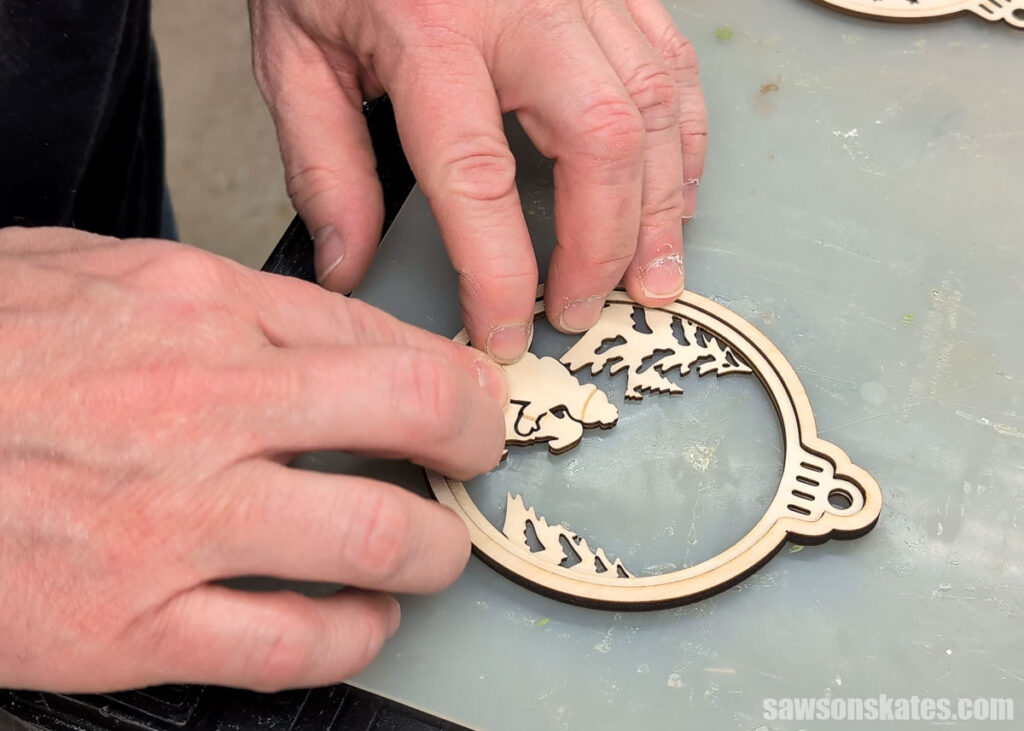
Next, I removed the joined layers, placed the third layer in the jig, peeled the backing off the second layer, and pressed the stack in place.
I repeated this step for the final layer.
Last, I cut a piece of twine for the hanger and attached it to the ornament. That’s it! Your ornament is ready to hang on your tree.
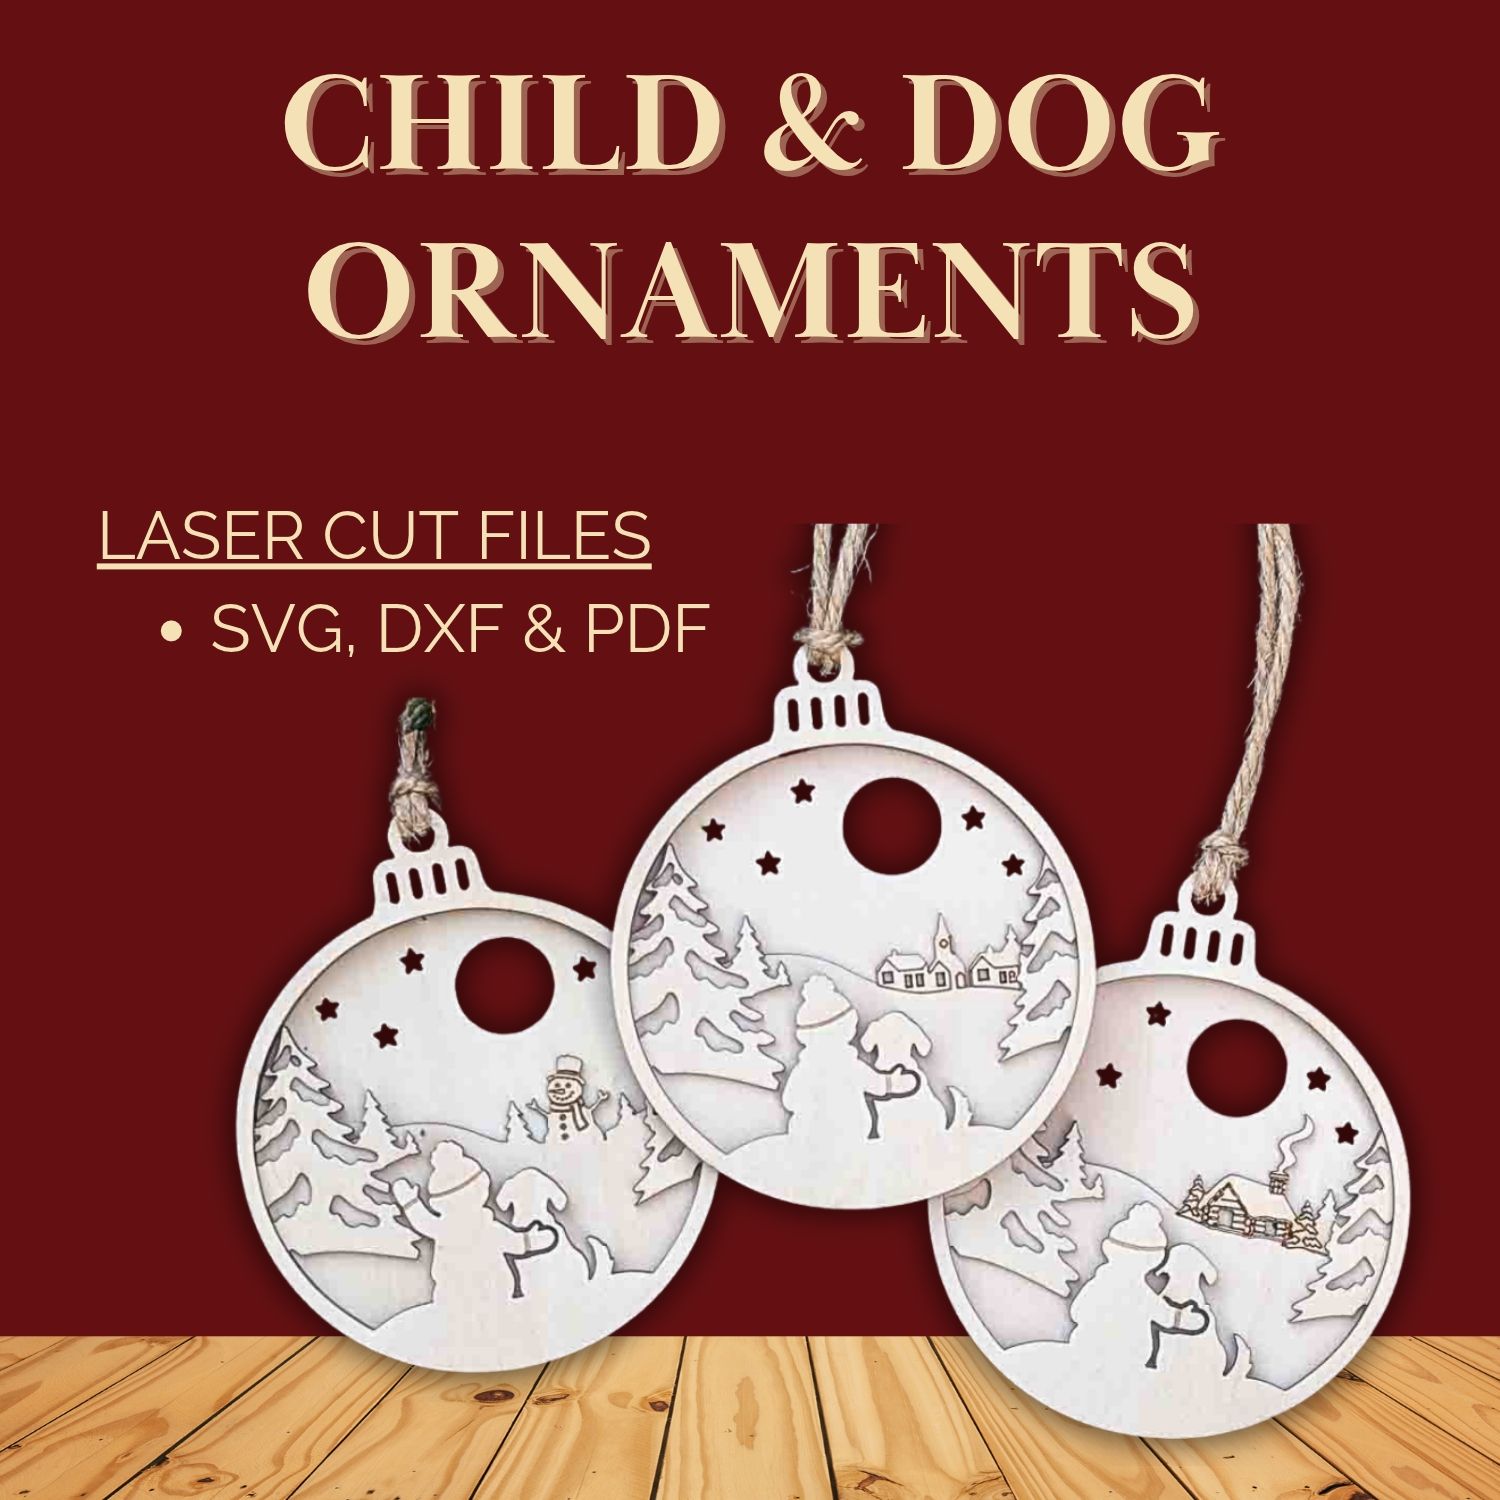
Cut Files Include:
- SVG, DXF, and PDF
- A reference sheet with the color codes and finished measurements
$4.99 Instant Download

Pin This For Later