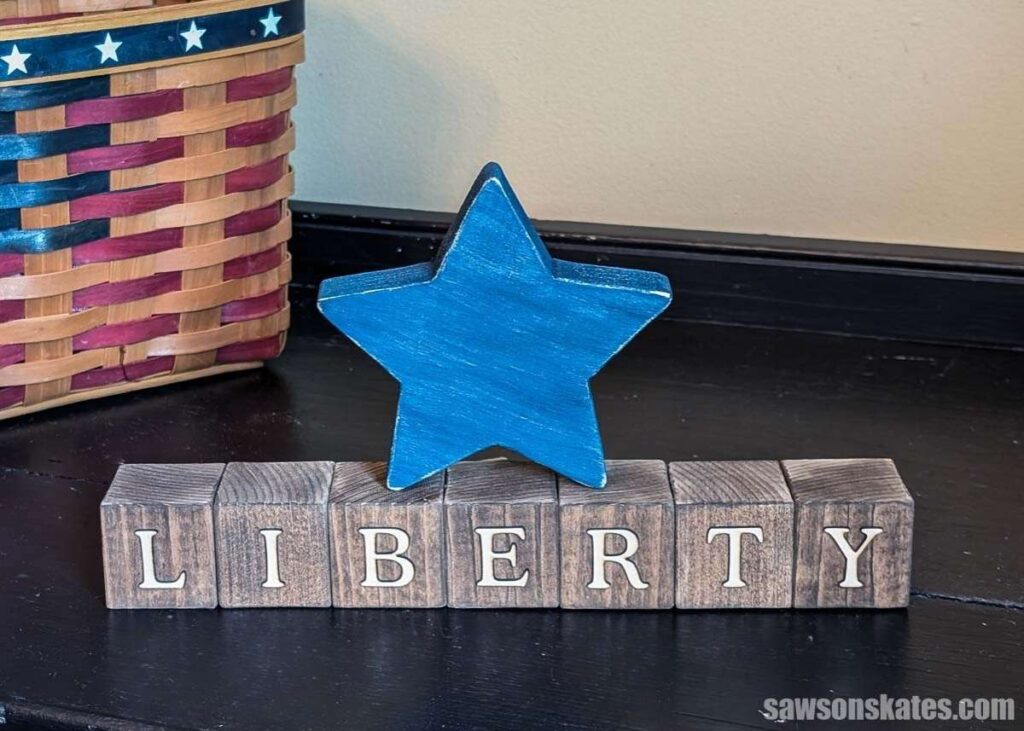
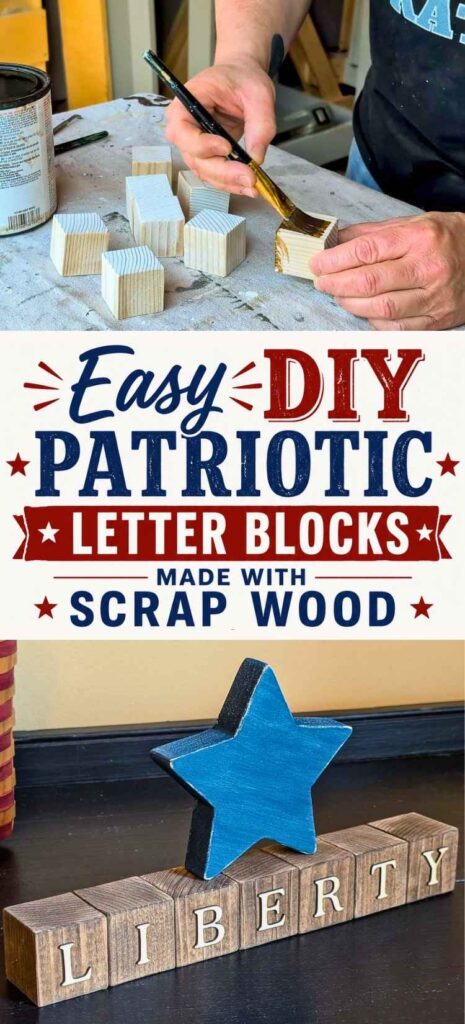
Easy DIY Patriotic Letter Blocks Celebrate the Fourth in Style
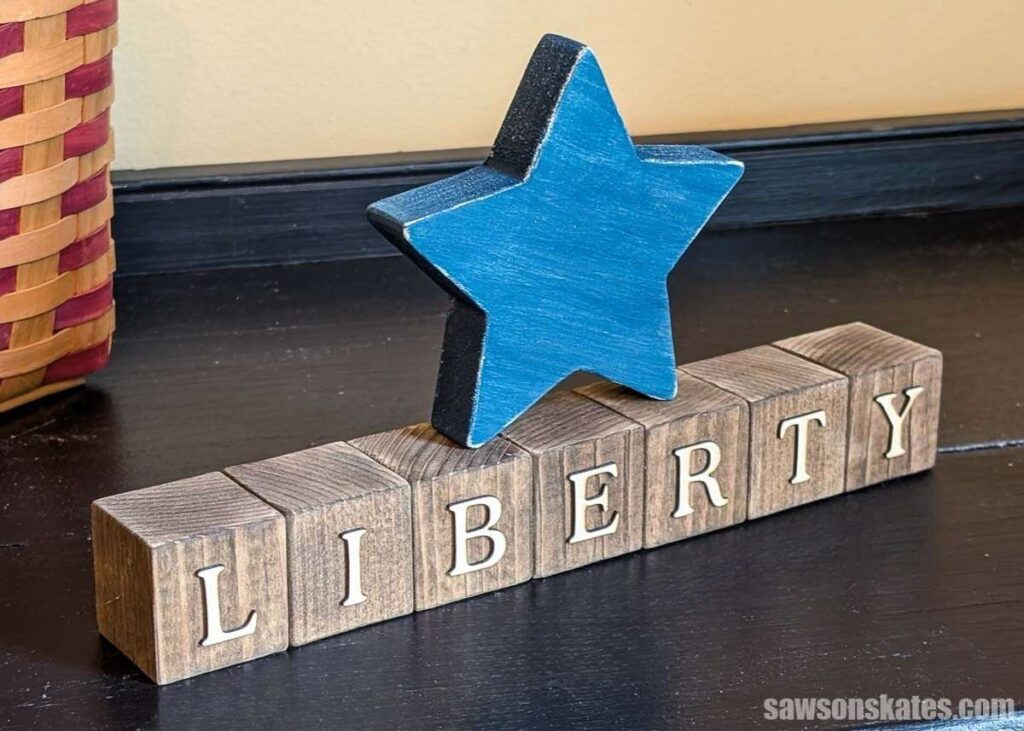
Turn scrap wood into patriotic letter blocks. This easy DIY is perfect for the Fourth of July or any holiday celebrating the old red, white, and blue.
What Should I Build Next?
That's the question I help answer.
Every week, I send woodworking ideas to 17,000 DIYers who love building things.
You'd fit right in.
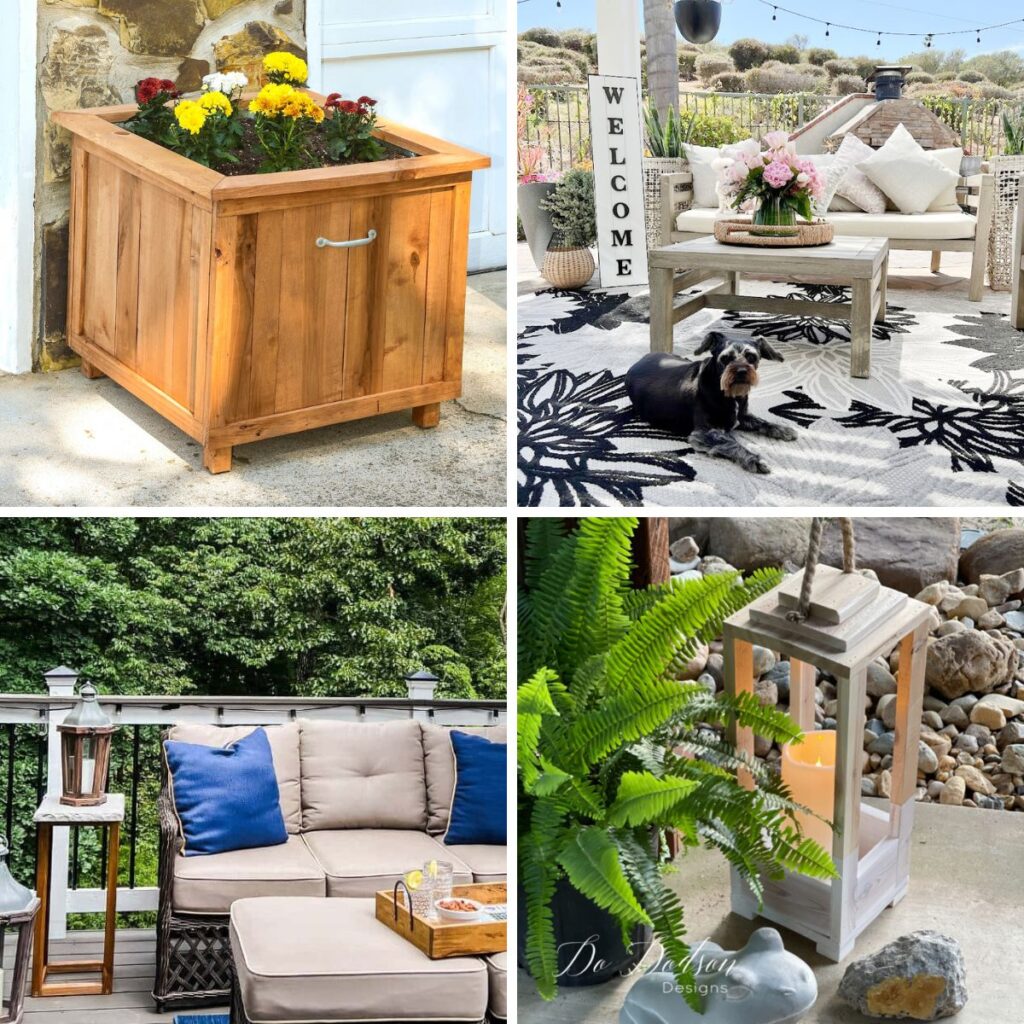
I’ve said it before, and I’ll say it again, my friend Colleen at Life on Kaydeross Creek always finds the best stuff! A few weeks ago, she sent me an image of wooden blocks topped with a star.
I loved it, and it immediately reminded me of the bucket of scraps in my shop that would be perfect for making the blocks. So here’s what I came up with. A super simple patriotic project made with leftover lumber you probably already have on hand. It’s perfect for the Fourth of July, any patriotic holiday, or even displaying year-round.
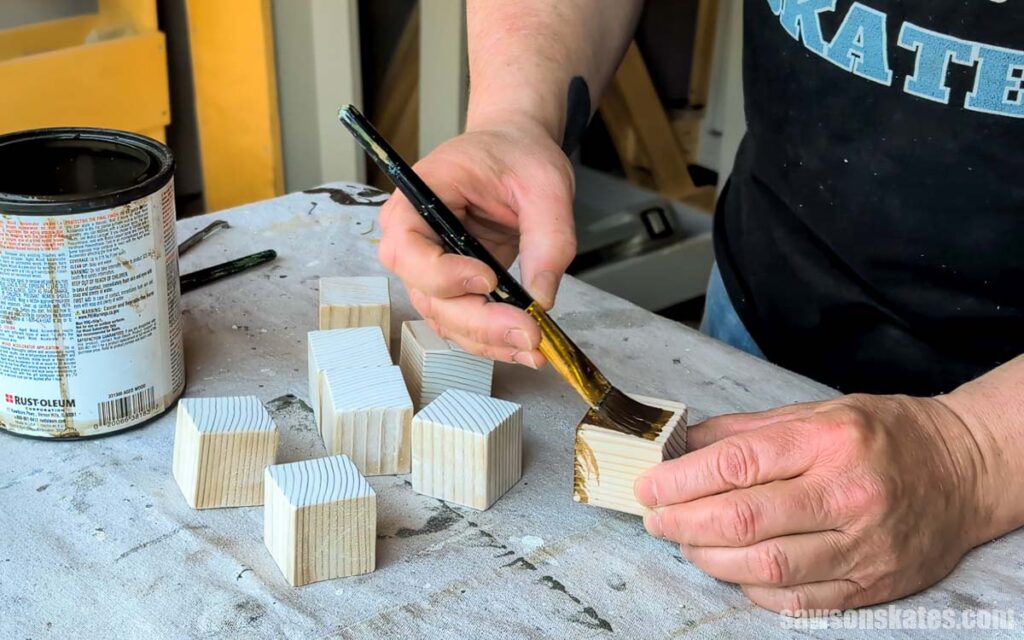
Step 1. Make the Wood Blocks
I cut seven 1-½” x 1-½” blocks.
I made my blocks using scraps left over from making the legs for this bedside table. Those legs started as 2x4s that I ripped in half. If you’ve never done that before, check out my guide, How to Cut 2×4s Lengthwise With a Table Saw.
Next, I used Varathane Aged Wood Accelerator to give the blocks a deep, aged-brown color. I could’ve used wood stain, but that can get blotchy on pine without a prestain conditioner. Applying one would’ve meant an extra step, and I was trying to keep this quick and easy.
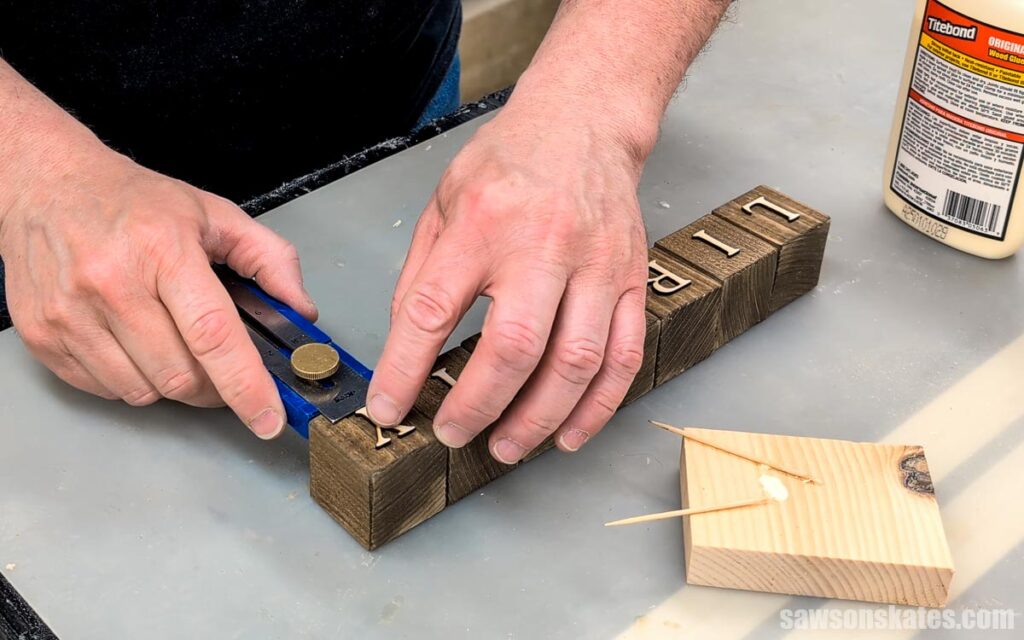
Step 2. Add the Letters
I made this project almost entirely from scrap wood. The only exception is the letters, which I cut using my laser engraver. Why did I go that route? Well, I thought the slightly raised letters would add a little dimension, and I knew they would let me put this project together quickly.
No laser engraver? No problem. You could trace the letters onto the blocks and paint them by hand. That’s exactly how I did projects like this before I had one. If you have a Cricut or similar machine, you could also cut vinyl decals and apply them to the blocks.
I applied a tiny bit of glue to the back of each letter and, using my Kreg Multi-Mark, positioned each one on the block.
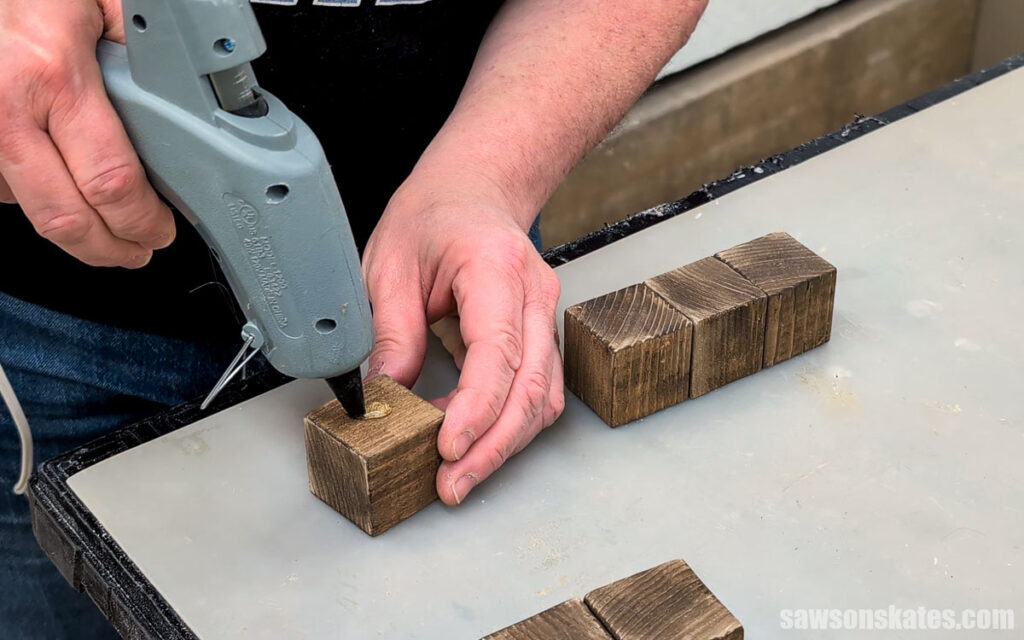
Once I added all the letters, I applied a dab of hot glue between each block to connect them. You could use wood glue, but that would take some time to dry. I was going for quick, and the hot glue dried almost instantly.
Step 3. Make the Star
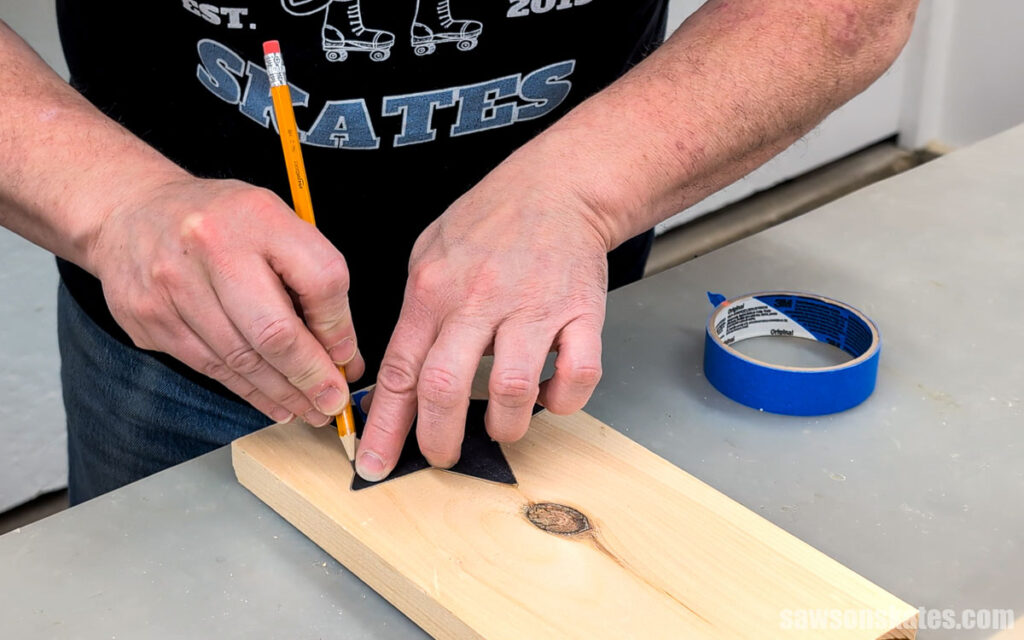
I traced a star on a piece of scrap wood.
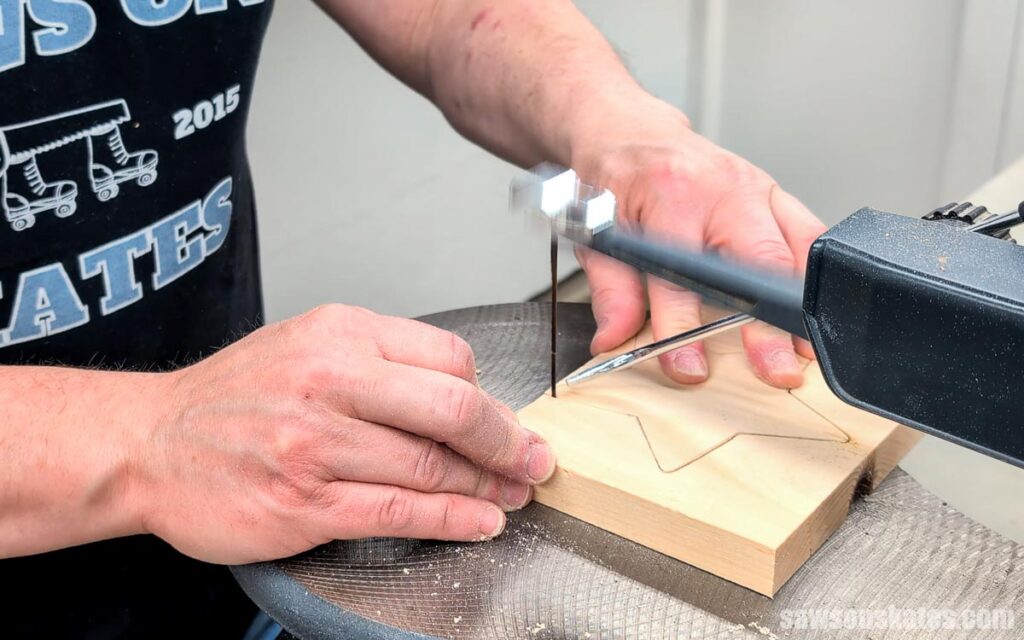
Then, I cut it out using my scroll saw.
I lightly sanded the edges and applied one coat of blue paint called “Atlantic” that I had leftover from another project.
I set the star on top of the blocks, but you could glue it if you wanted to attach it more permanently.
Final Thoughts
This project came together in just a couple of hours, and that’s my favorite kind of project. Quick, easy, and made almost entirely from wood that was just sitting in my shop, taking up space.

Pin This For Later
Thank you for stopping by. If you enjoyed this project, would you please take a moment and pin it to Pinterest? I’d really appreciate it!

Hi there – I’m Scott, a woodworking enthusiast and creator of Saws on Skates, a site I started in 2015 to share easy-to-follow tutorials, space-saving shop tips, and project inspiration for DIYers at any skill level. Learn more about my woodworking journey here.