DIY Snowman Candle Holder (Scrap Wood & Mason Jar)
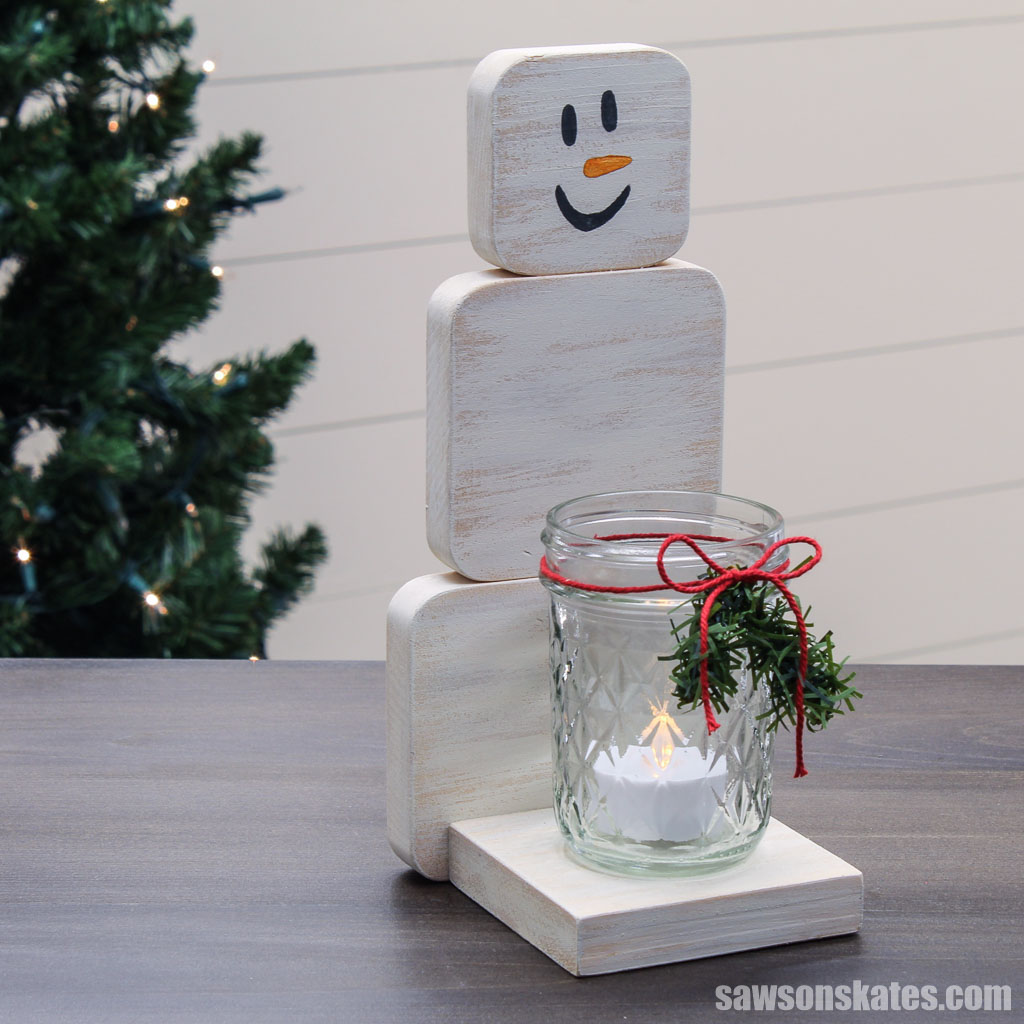
Add some winter cheer to your home with this wooden candle holder shaped like an adorable snowman! It’s easy to make with scrap wood and a mason jar.
What Should I Build Next?
That's the question I help answer.
Every week, I send woodworking ideas to 17,000 DIYers who love building things.
You'd fit right in.
Looking for a quick and easy way to add some festive vibes to your home this winter? Look no further than this wooden snowman candle holder! You can complete this project in just a few simple steps with a few pieces of scrap wood and a mason jar.
Beginner woodworkers will appreciate that it only requires a few basic tools, while experienced DIYers will enjoy how quickly it comes together. In either case, you’ll be amazed at the result and the cozy warmth it brings to any decor.
Table of Contents
- Inspiration for This DIY Wooden Snowman Candle Holder
- What Tools Do You Need?
- What Wood Should You Use?
- How Do You Draw the Snowman’s Face?
- How to Make a DIY Wood Snowman Mason Jar Candle Holder
- Get the PDF Plan
This article contains affiliate links. If you purchase from these links, I may earn a small commission at no additional cost to you. Visit my site policies for more information.
Inspiration for This DIY Wooden Snowman Candle Holder
This adorable wooden snowman was inspired by a photo of a Christmas tree candle holder a friend shared with me a few years ago. She said, “I saw these cute candle holders and thought you could make something similar!”
I loved the idea, but I wanted to put my own twist on it. So I grabbed some scrap wood and a mason jar and set to work!
This fantastic project is so simple to make, and you can enjoy it throughout the entire winter season, not just during Christmas!
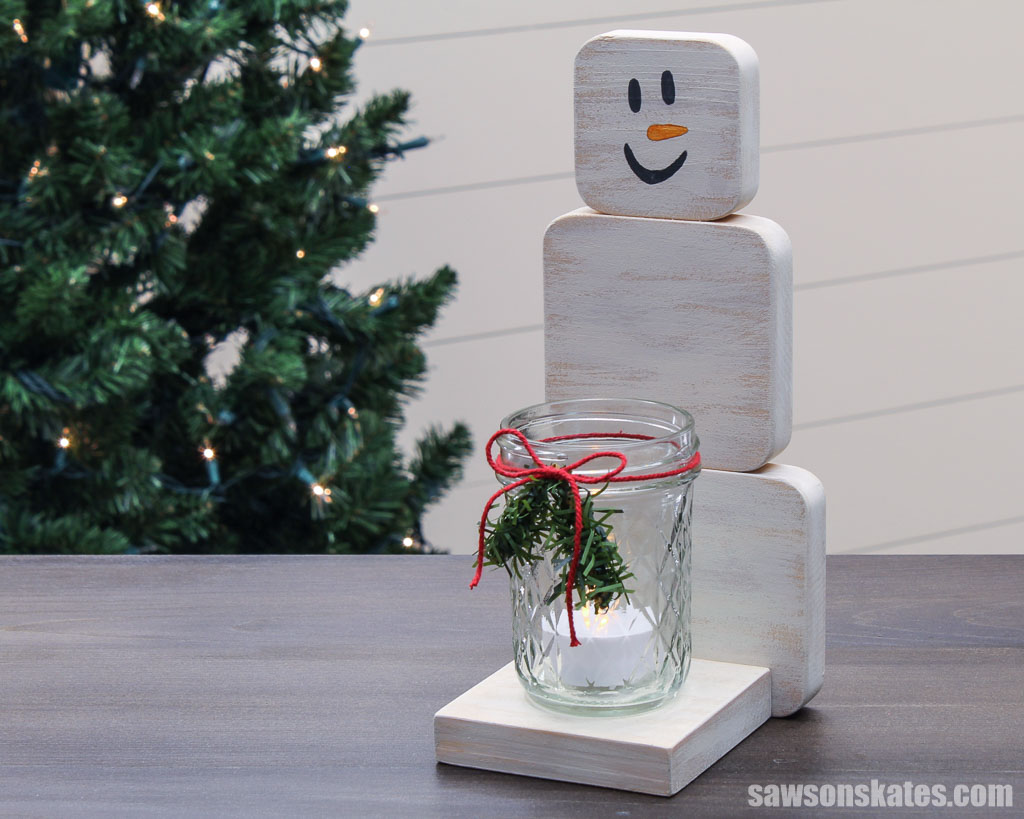
You can use it to light up your mantelpiece, as a centerpiece on your dining table, or as a beautiful decoration in any room. And since it’s made of wood and has a rustic look, it’ll fit right in with any winter home decor.
You may also enjoy 30 Christmas Wood Crafts (Easy Ideas Anyone Can Make)
What Tools Do You Need?
To make this DIY snowman candle holder, all you will need are some basic tools like a miter saw and a drill. I also used a disc sander to round the corners, but I’ll share some other ways to get the same look if you don’t have one.
Miter Saw
I used a miter saw to cut the parts for the candle holder. If you don’t have a miter saw, you could use a handsaw and miter box instead.
Drill
To attach the snowman’s base, I used a drill to make countersink holes and attached it with screws.
Disc Sander (optional)
To give the wood pieces a traditional snowman shape, I used a disc sander to round off their corners. If you don’t have a disc sander, no worries, sanding block will work just as well.
Related: Best Sanders for Furniture (Which One to Buy & Why)
What Wood Should You Use?
I used scrap pieces of pine 1×2s, 1×3s, and 1×4s, to make my snowman candle holders, but any wood will work. If you have poplar, oak, or other woods on hand, then use those!
Related: 71 Scrap Wood Projects (Clever Ways to Reuse Old Wood)
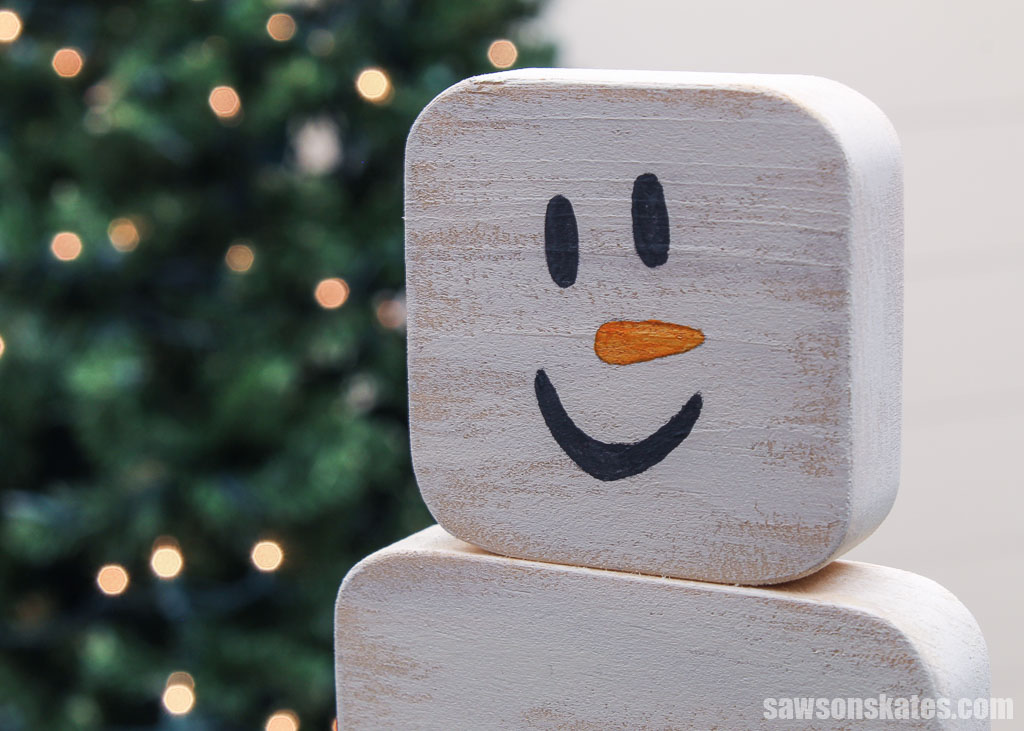
How Do You Draw the Snowman’s Face?
Making the snowman’s face could be tricky if you’re like me and don’t have a natural talent for drawing. But don’t worry, the pattern included with the printable plan takes all the stress from drawing the eyes, mouth, and even that carrot nose!
Grab your plan, print the pattern, and trace it. It’s that easy!
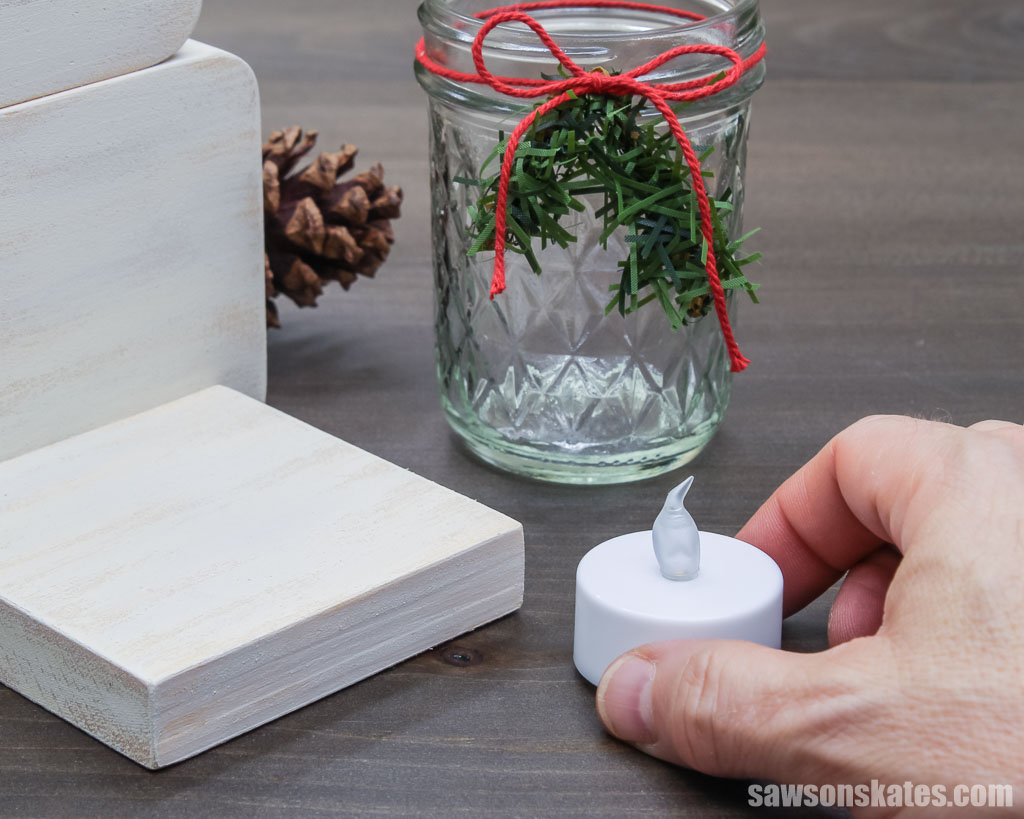
What Candles Should You Use?
For safety, I suggest only using flameless LED candles in this holder. Real candles are a fire risk and should be avoided.
How Do You Finish the DIY Snowman Candle Holder?
I wanted my candle holder to have a rustic look, so first, I dry brushed a pale gray paint on the pieces.
Dry brushing is when you load very little paint on the brush and scrape off the excess. Then you lightly dragged the brush across the surface, allowing some of the wood to show through and creating a weathered look.
Then I dry brushed a coat of white paint. Again, I allowed some of the wood and gray color to show through, creating a fantastic dimensional look.
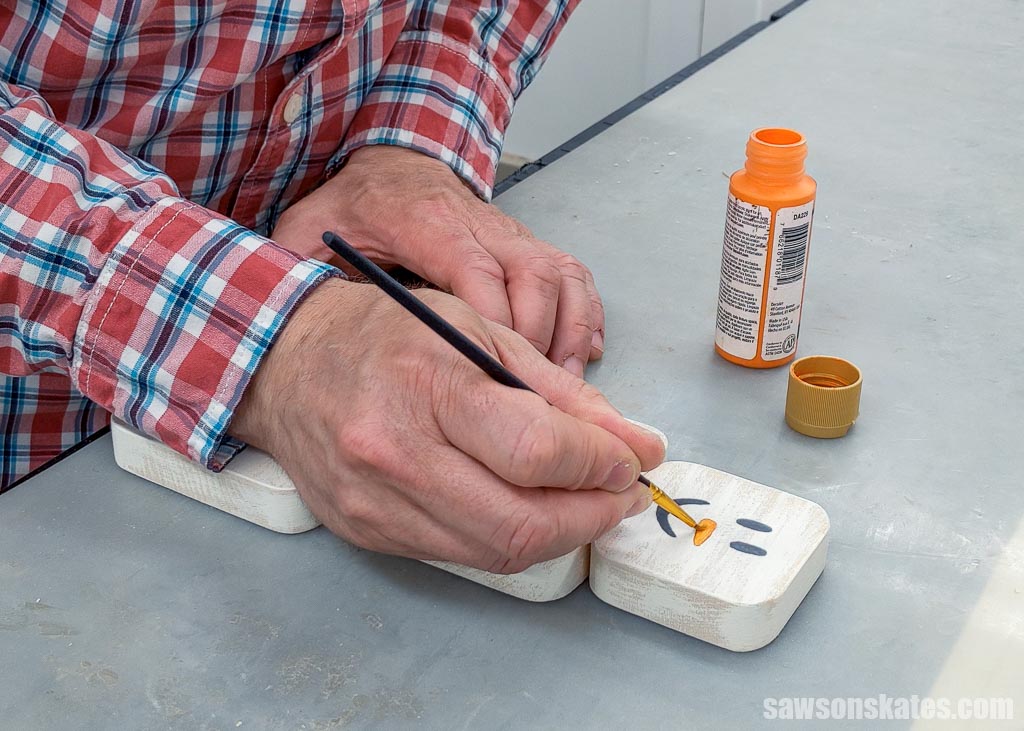
After the paint dried, I traced the face template using carbon paper that I had leftover from another project. Next, I used craft paints to bring his face to life.
DIY Wood Snowman Mason Jar Candle Holder
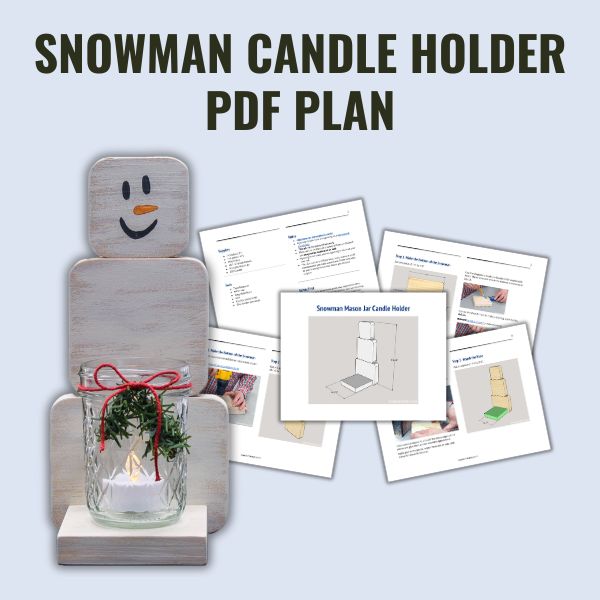
Printed Plan
Get the PDF plan here (includes detailed instructions, measurements, and bonus tips)
Supplies
- Wood (per the printed plan)
- Wood Glue
- #8 1-¼” Wood Screws
- 8 oz Jelly/Mason Jar
- LED Candle
Tools
- Tape Measure
- Miter Saw
- Kreg Multi-Mark
- Drill
- Countersink Drill Bit
- Disc Sander (optional)
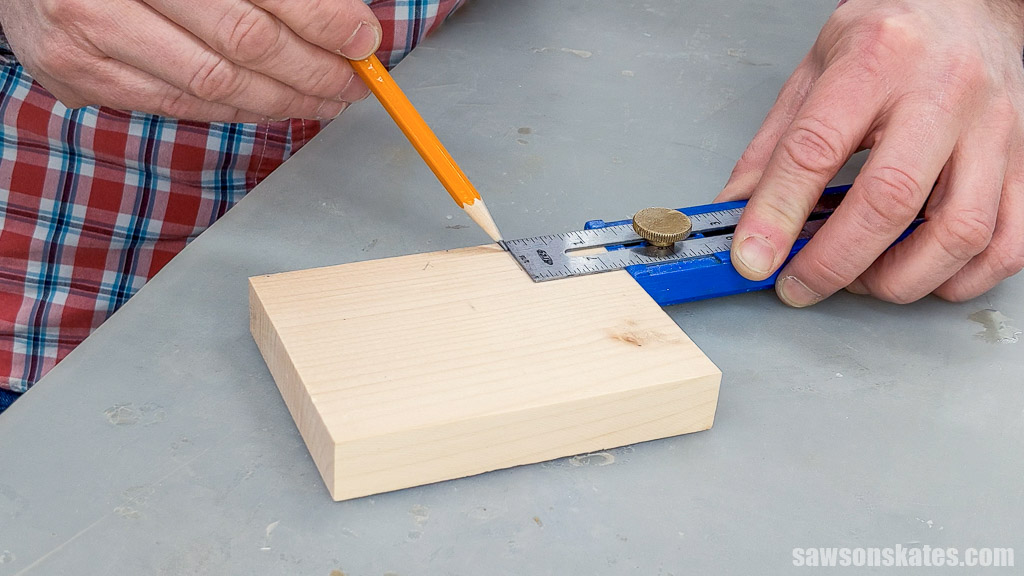
Step 1. Make the Bottom of the Snowman
Cut one piece of wood to length for the bottom.
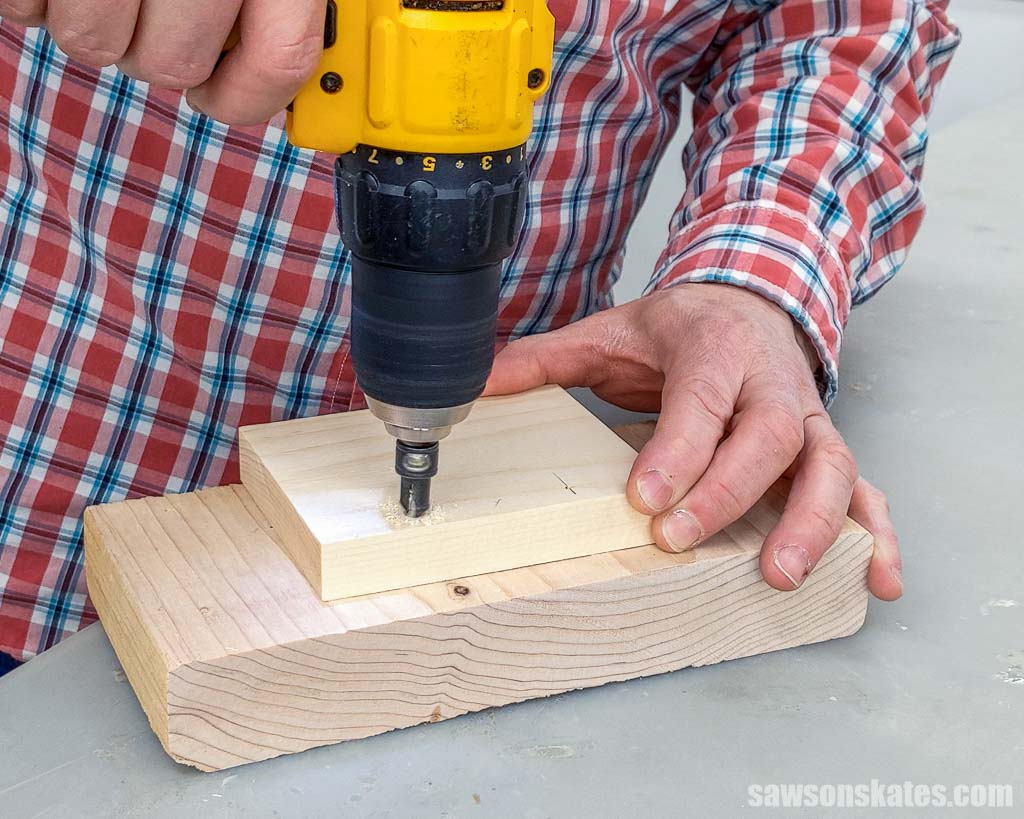
Use the diagram in the printed plan to mark the locations for countersink holes. These holes will attach the bottom to the base in Step 3.
Use an awl at each mark to make a starting point for the drill bit.
Related: What is an Awl? (+ How to Use It)
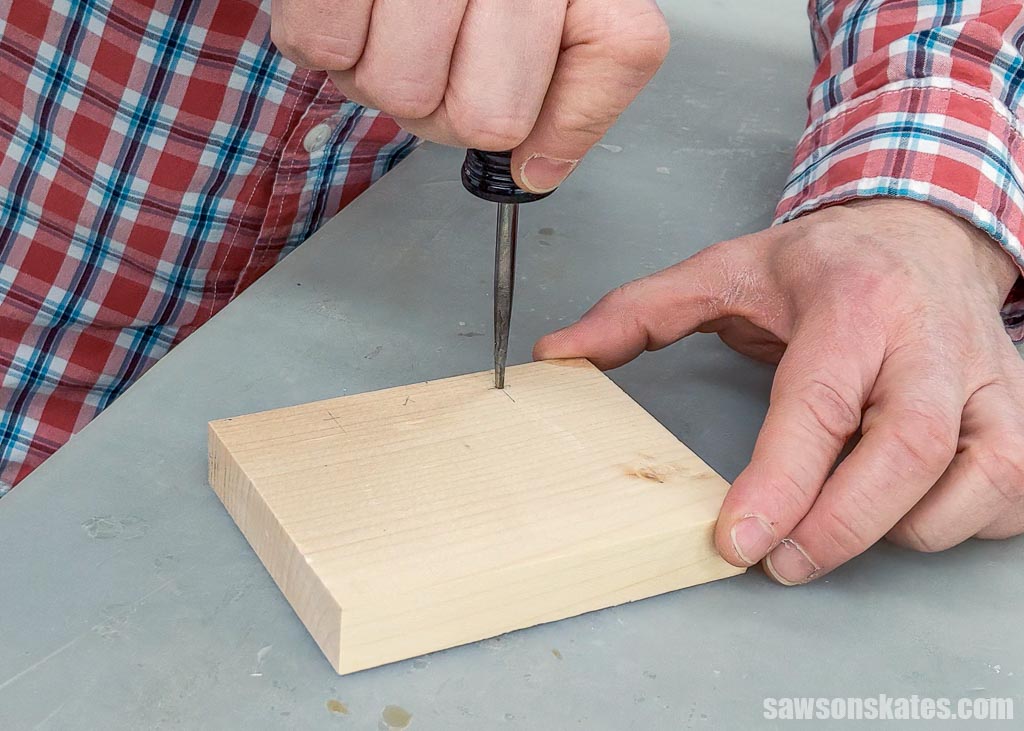
Then, use a countersink drill bit to make a hole at each location.
Related: How to Use a Countersink Bit
Step 2. Assemble the Snowman
Cut one piece of wood to length for the middle and one piece of wood to length for the head.
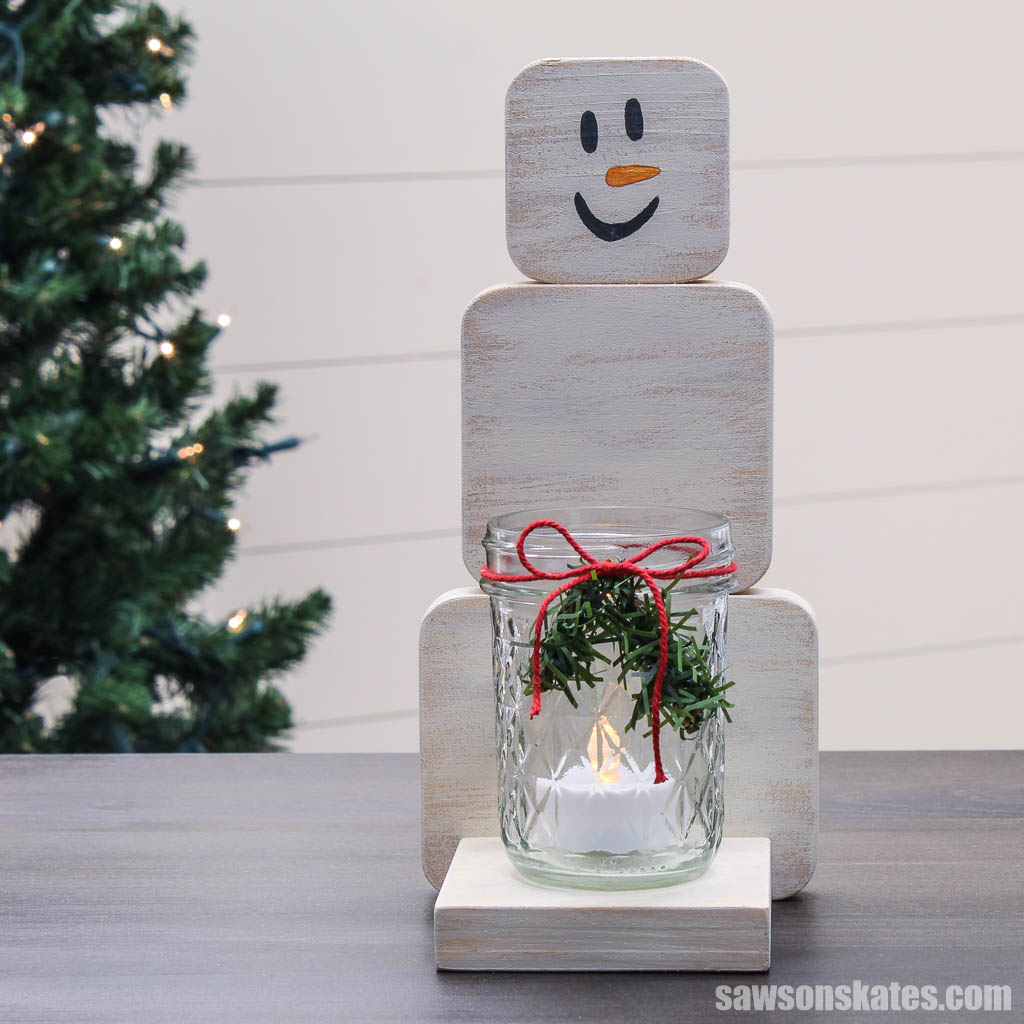
I wanted the pieces to have a rounded snowball shape, so I traced a coin (I think I used a quarter) on each corner and used a disc sander to round them off. If you don’t have a disc sander, you could use a sanding block to get the same look.
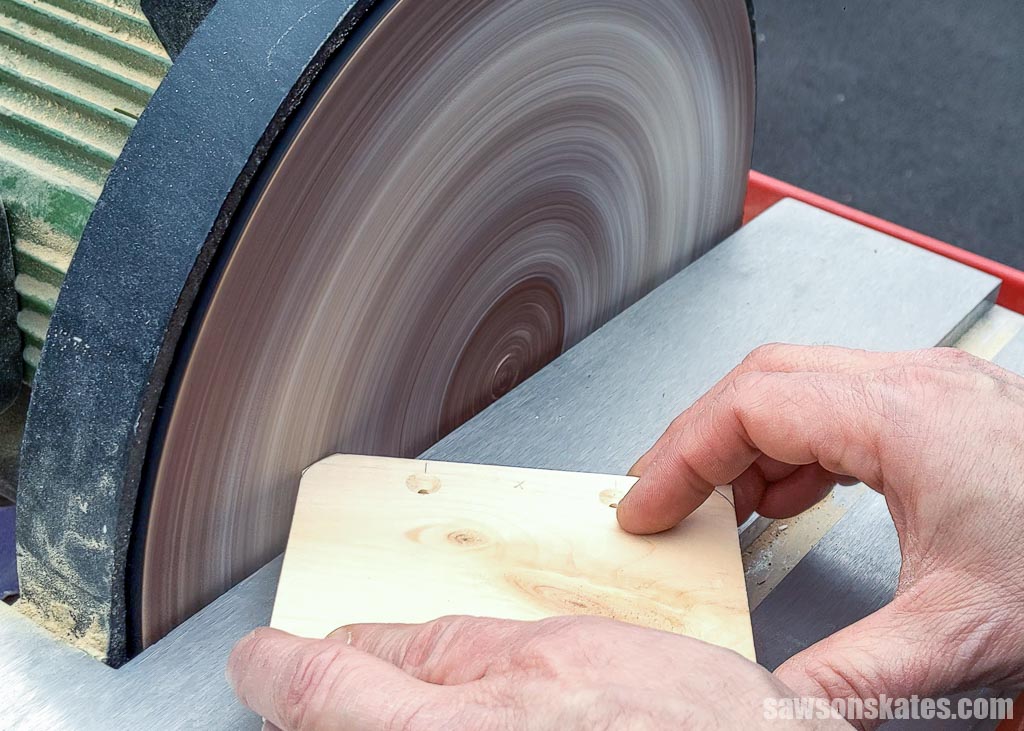
I also used sandpaper to smooth the sharp edges of the pieces and give them a more rounded appearance.
Apply glue to the pieces, center from side to side, and clamp for about 30 minutes.
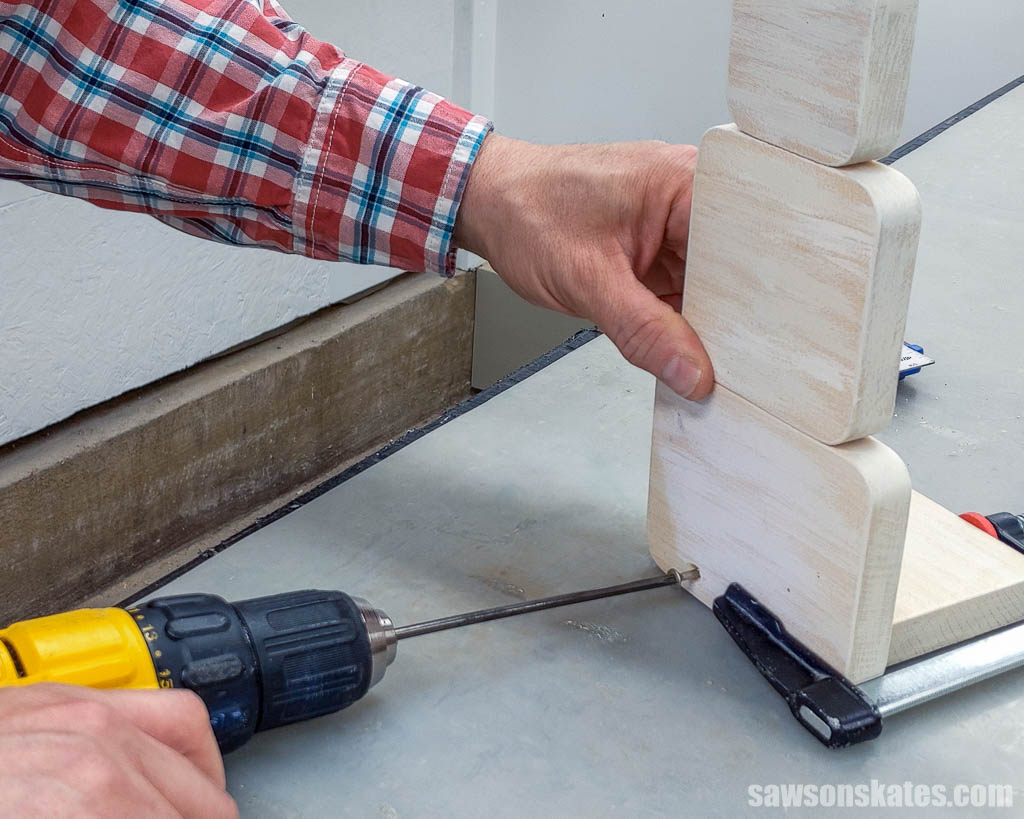
Step 3. Attach the Base
Cut one piece of wood to length for the base.
TIP: I thought it was easier to paint the snowman and base before attaching them.
Apply glue and center the base on the bottom.
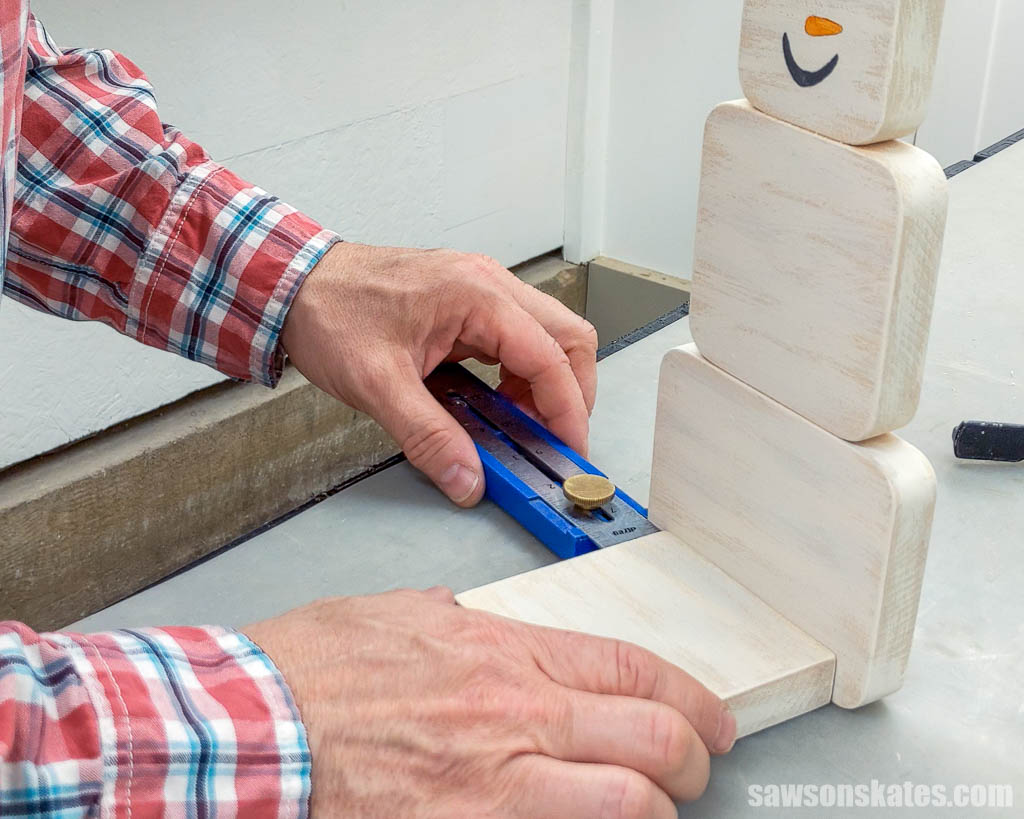
Then clamp in position.
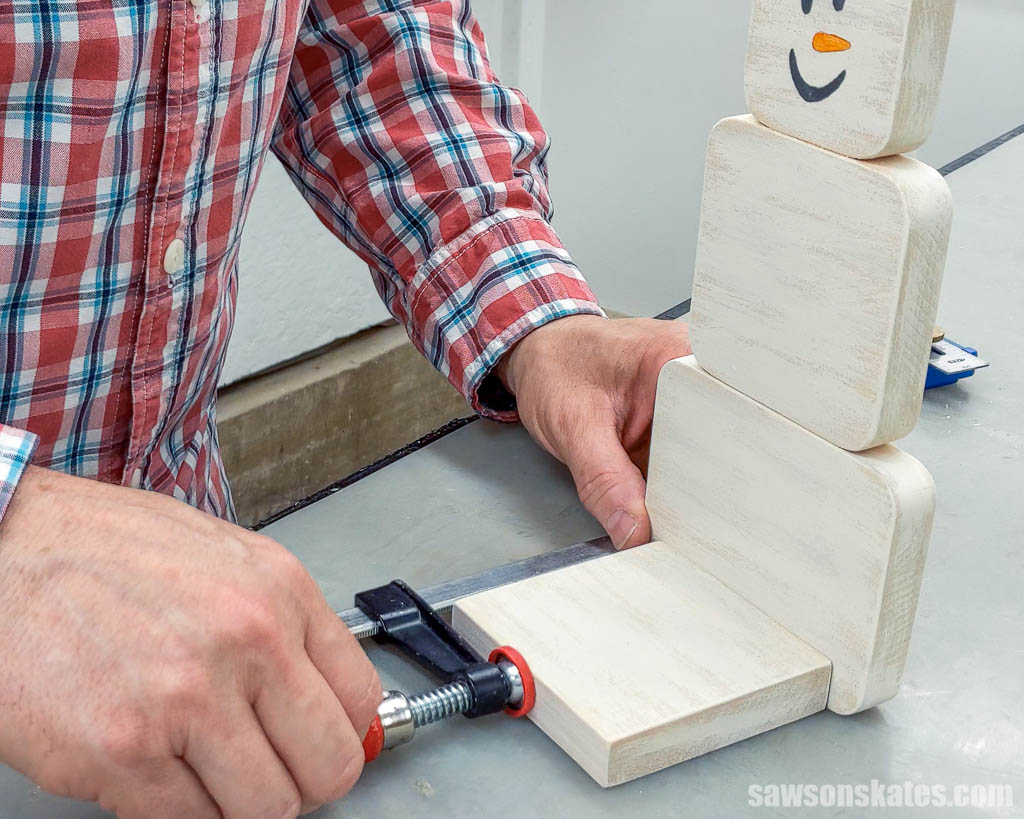
Finally, attach using wood screws.
Then add your mason jar and LED candle, and your DIY snowman candle holder is ready to light up your home!
Includes:
- List of tools and materials
- Complete measurements (in inches)
- Easy-to-follow instructions
- Step-by-step photos
- Snowman template
- BONUS: SVG file
or get the best value:
Final Thoughts
This DIY snowman candle holder is a fun and easy project. With just a few basic tools, some scrap wood, and a mason jar, you can create something unique that will add warmth and charm to any room!
Get your PDF plan (including the detailed instructions and measurements) now!
Thank you for stopping by. If you enjoyed this tutorial, would you please take a moment and pin it to Pinterest? I’d really appreciate it!
Recommended For You
Pin This For Later

Hi there – I’m Scott, a woodworking enthusiast and creator of Saws on Skates, a site I started in 2015 to share easy-to-follow tutorials, space-saving shop tips, and project inspiration for DIYers at any skill level. Learn more about my woodworking journey here.