DIY Wood Trivet with Feet (Easy Elegance)
Make a stylish wood trivet with elegant dovetailed feet. This easy-to-follow guide shows you how to create this charming, functional table essential.
What Should I Build Next?
That's the question I help answer.
Every week, I send woodworking ideas to 17,000 DIYers who love building things.
You'd fit right in.
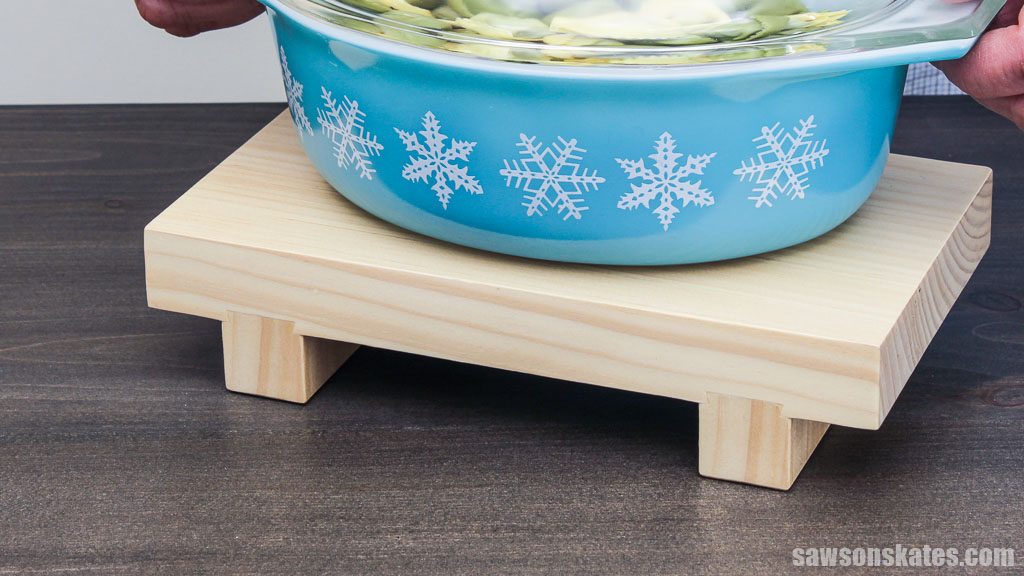
Tired of hot dishes scorching your table? This beginner-friendly DIY wood trivet is the solution. Featuring charming dovetailed feet, this functional showpiece adds height to your tablescape while protecting surfaces from heat damage. So grab your tools and get ready to impress your guests with this creative project.
Table of Contents
- What Wood Should You Use?
- What Tools Do You Need?
- What Finish Should You Use?
- How to Make a DIY Wood Trivet with Feet
- Get the PDF Plan
This article contains affiliate links. If you purchase from these links, I may earn a small commission at no additional cost to you. Visit my site policies for more information.
Inspiration for This DIY Wood Trivet
Thrift stores are treasure troves for inspiration, and this time, a simple wooden trivet with dovetailed feet caught my eye. The clever joinery added an unexpected touch of elegance to the basic design, and for just $1.99, it was coming home with me!
Inspired by this find, I created my own take: a simple pedestal-style trivet that elevates dishes, protects surfaces, and adds a touch of style to any table.
What Wood Should You Use to Make a Footed Trivet?
The inspiration piece for this project was made from 5/4 pine (spoken as five-quarter), which I had in my scrap wood cart from another project. While this thickness is easily found in my area, DIYers have reached out, saying it’s not readily available elsewhere.
Related: Beginner’s Guide to Wood Sizes

However, the beauty of this project is its versatility. You can substitute almost any type of wood or thickness.
To further enhance the design, consider using hardwoods like oak or walnut. Alternatively, you can experiment with contrasting wood colors for the top and feet, allowing the dovetail joint to take center stage as a stunning visual element.
What Tools Do You Need to Make a Raised Trivet?
I used two tools to make this wooden trivet:
- Miter saw: I used my miter saw to cut the parts to length.
- Router table: I used my router table and a dovetail bit to make the dovetail joint.
What Finish Should You Use For a Wood Hot Pad with Feet?
I recommend a durable top coat like polyurethane for a project that will face frequent heat and moisture like this trivet. While Polycrylic might seem appealing, it’s not as resistant against heat and moisture compared to poly.
Related: Polycrylic vs Polyurethane (Are They The Same?)
How to Make a DIY Wood Trivet with Feet
Printed Plan
Get the PDF plan here (includes detailed instructions, measurements, and bonus tips)
Materials
- Wood (per the printed plan)
- Wood Glue
Tools
- Tape Measure
- Miter Saw
- Router Table
- Dovetail Bit (ensure the shank size is compatible with your router’s collet before buying a bit.)
- Grr-Ripper
Step 1. Cut the Parts
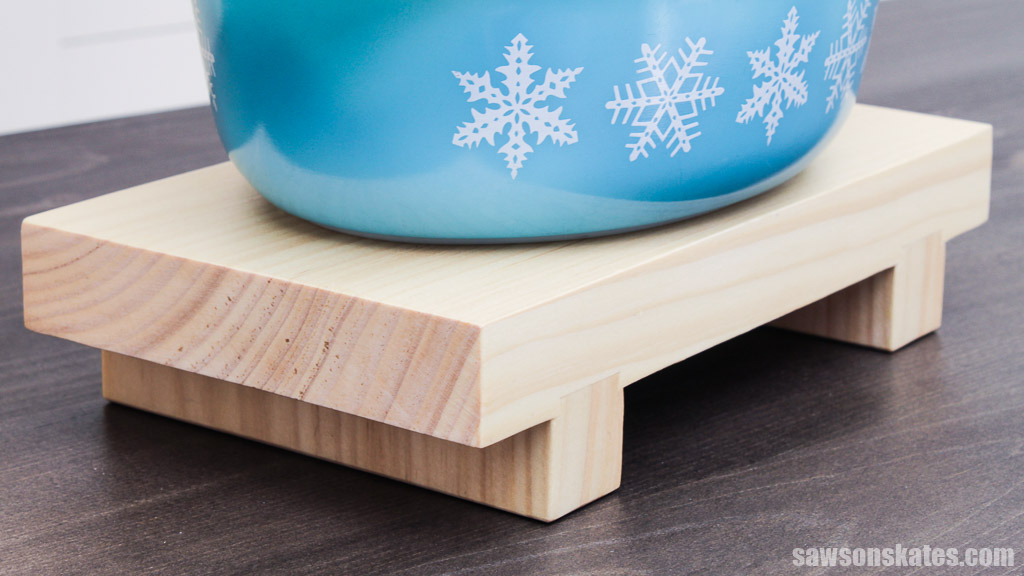
I cut the trivet’s top and feet from the same board because I wanted them to have a consistent grain pattern. However, after completing the project, I wondered if contrasting grain patterns might have created a more visually interesting piece.
Before cutting the board, I used my random orbital sander to smooth the entire surface, especially considering the small size of the feet, which could be challenging to handle later.
Related: How to Sand DIY Wood Furniture (Faster, Easier & Better Results)
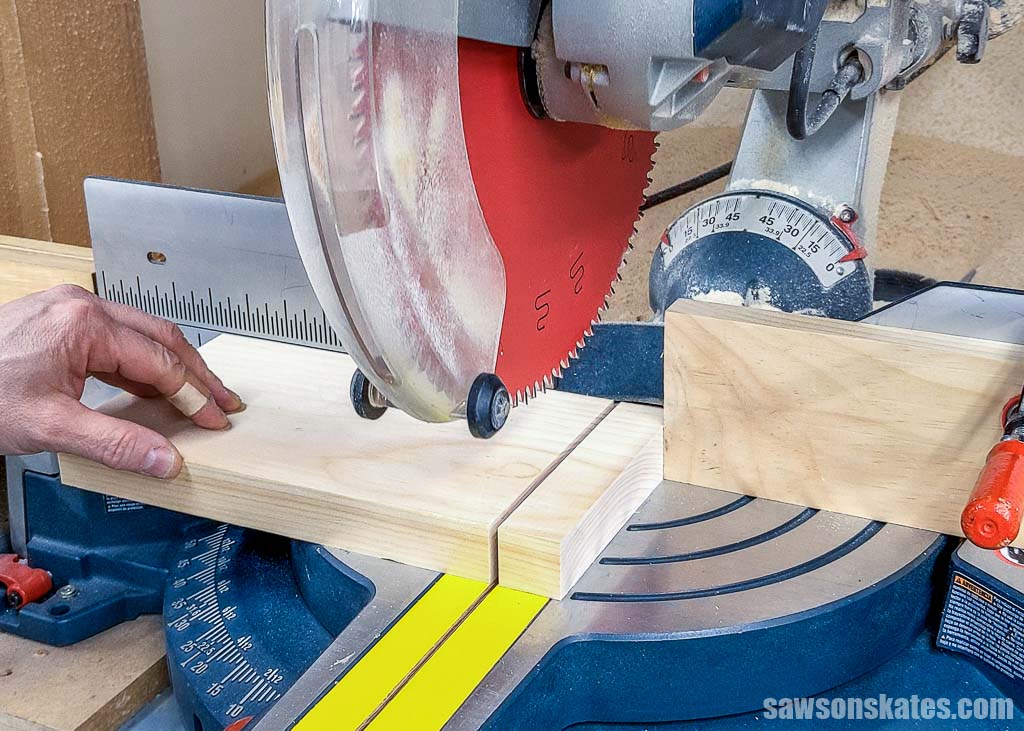
TIP: The feet are small, so I cut them first to avoid getting my hand close to the blade.
Cut two pieces of wood to length for the feet and one piece to length for the top.
TIP: For the best results, I recommend testing your router table’s setup with scrap pieces before working on your project’s actual parts. Make one or two extra feet pieces and three or four top pieces. The top practice pieces don’t need to be full-length.
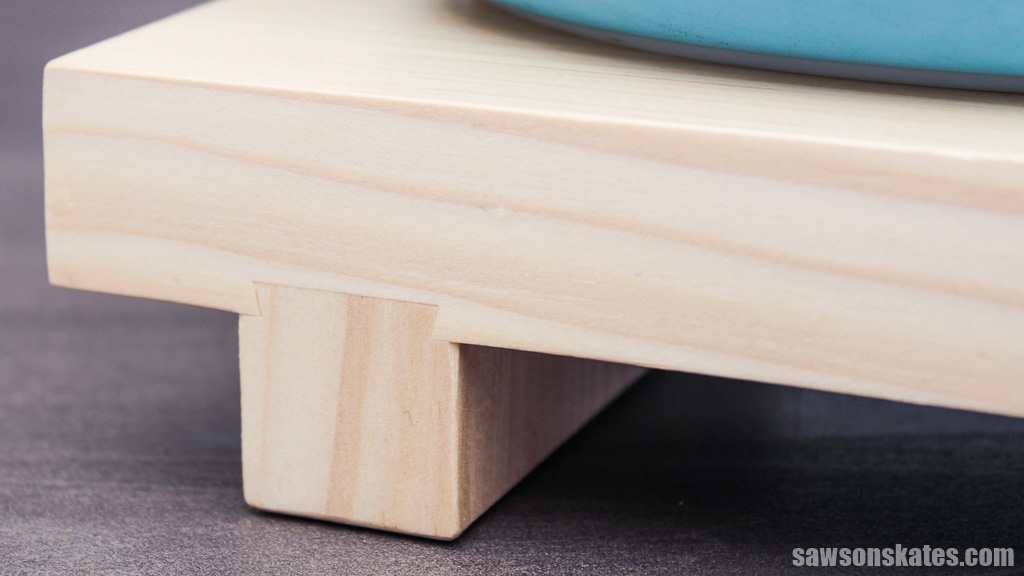
Step 2. Make the Feet
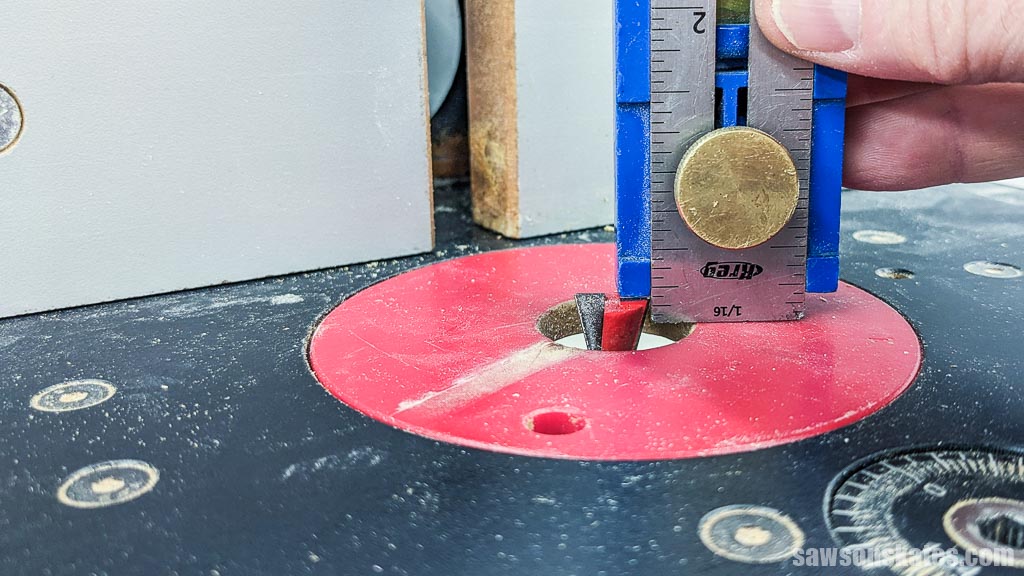
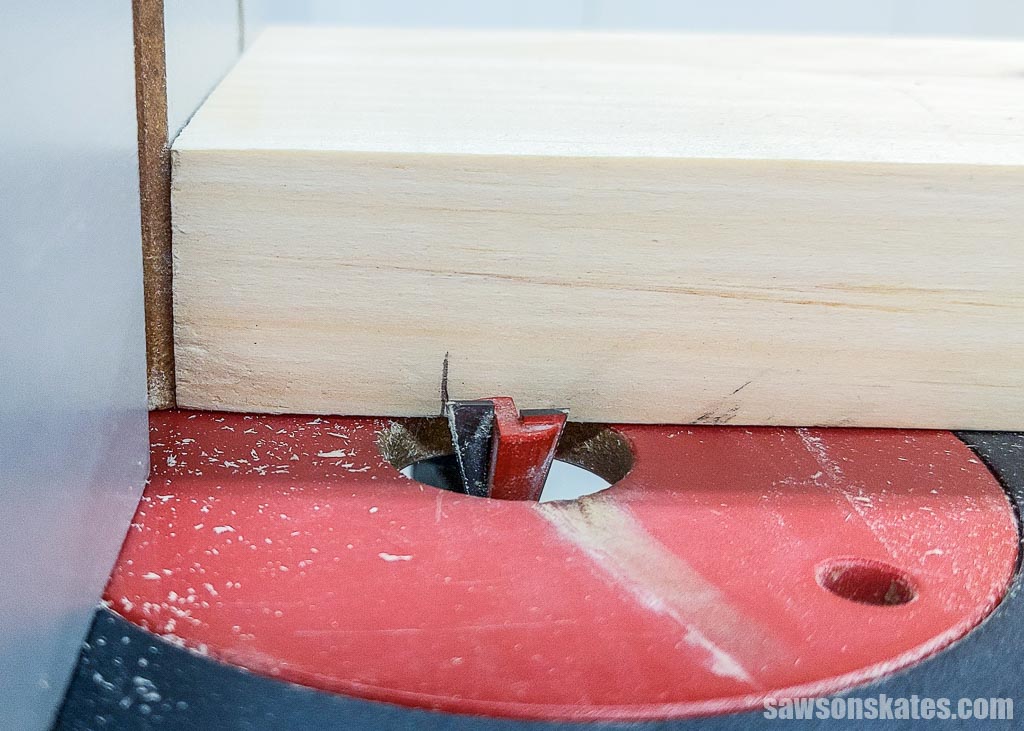
To make the foot’s tail that will fit into the top’s socket, I installed a dovetail bit in my router table.
Related: How to Use a Router Table for Beginners.
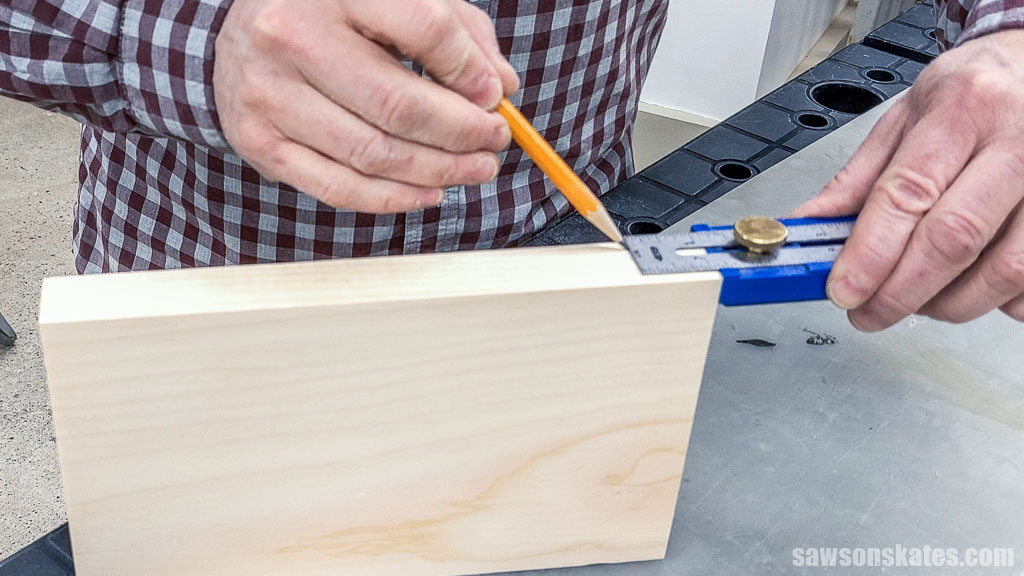
Then, I used my Kreg Multi-Mark to set the bit’s height.
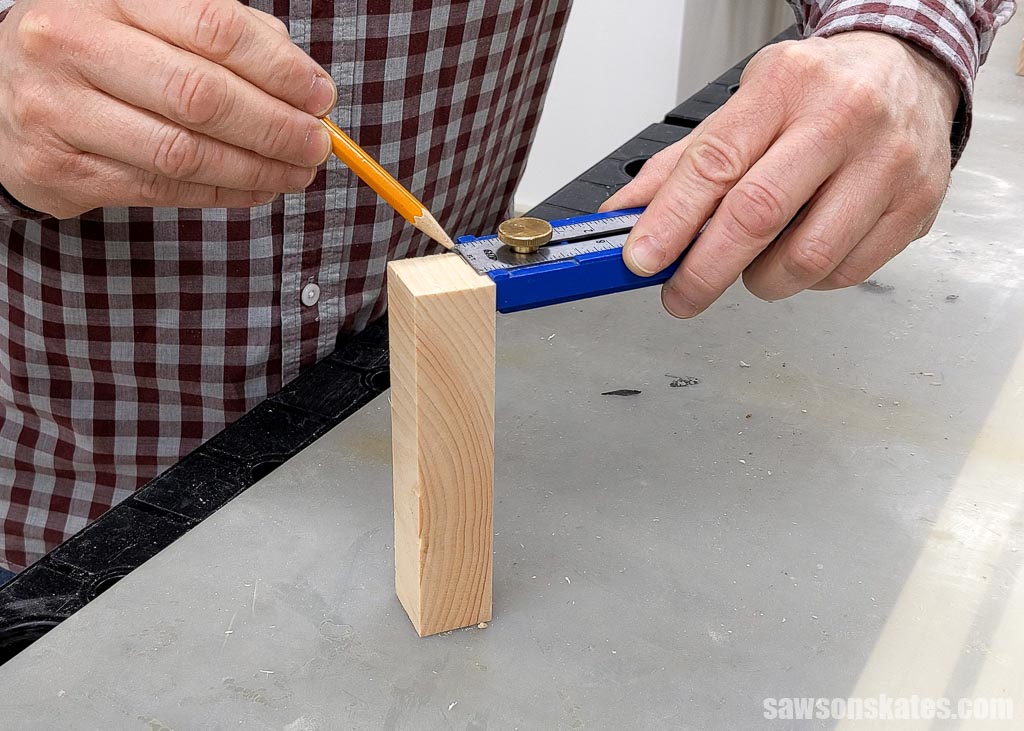
I made a mark for the joint’s shoulder.
Next, I adjusted my router table’s fence so the bit’s cutting edge touched the pencil line.
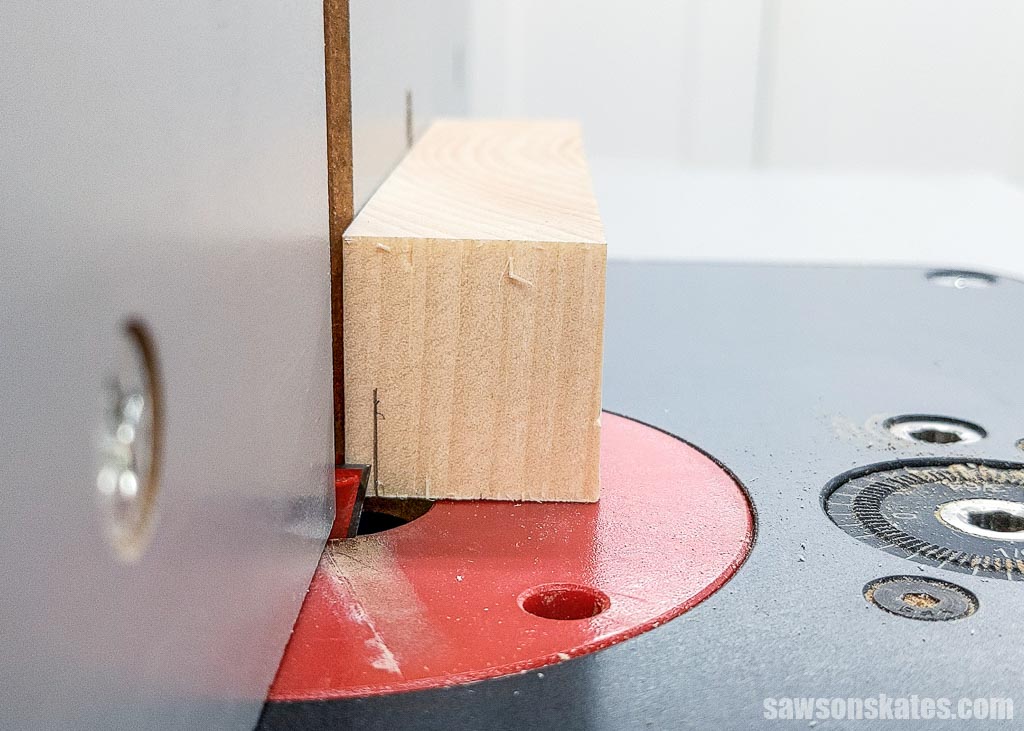
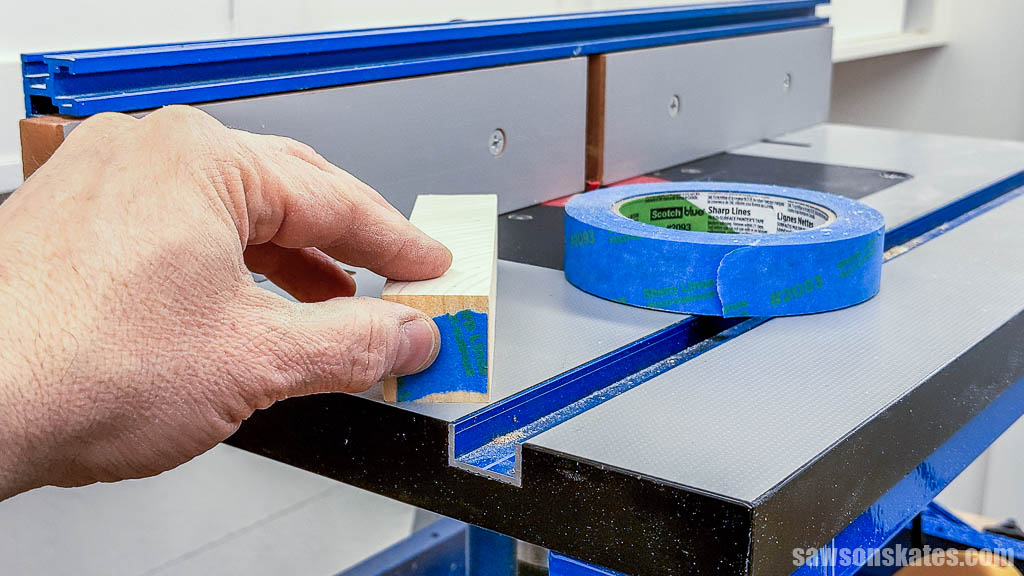
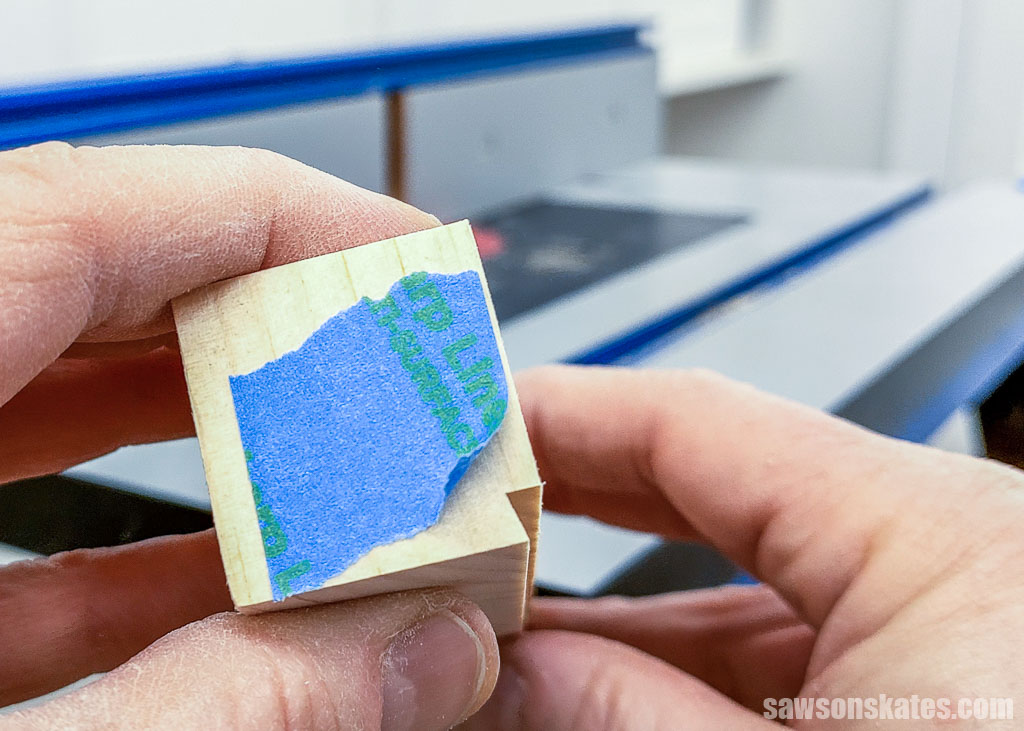
The back edge is prone to chipping, so I recommend placing a piece of painter’s tape on the cutline. Alternatively, you can support the workpiece with a sacrificial board.
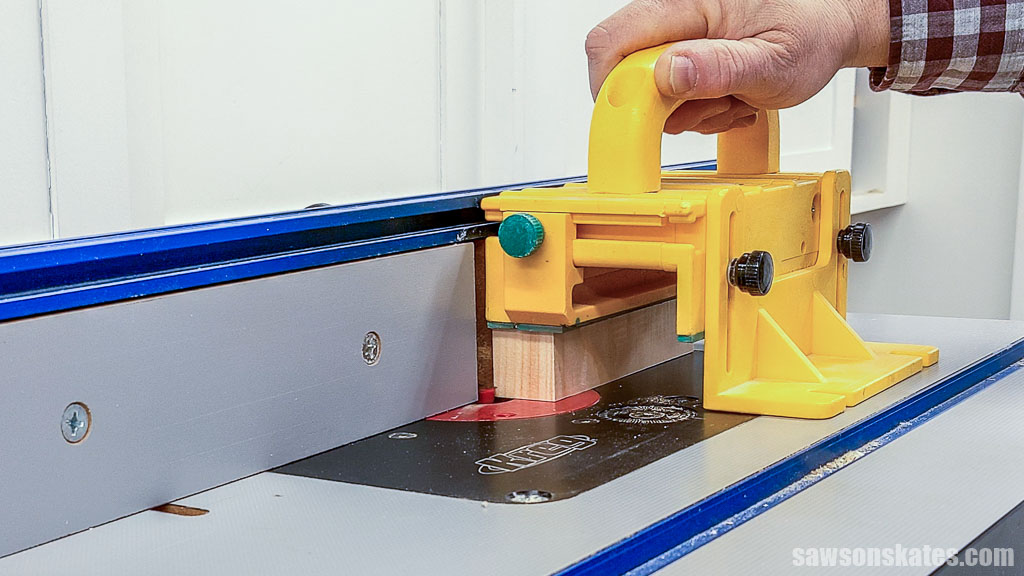
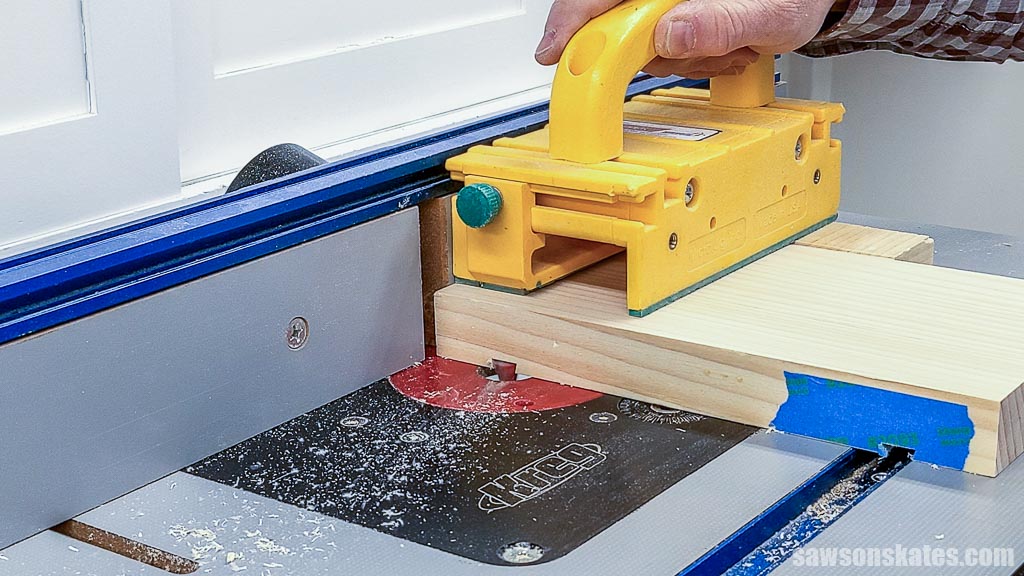
Using my Grr-Ripper, I guided the workpiece through the bit, maintaining a slow pace, letting the bit do its job, particularly as it exited the material, to minimize the risk of tearout.
I was pleased with the result, so I repeated these steps for the remaining edge and second foot.
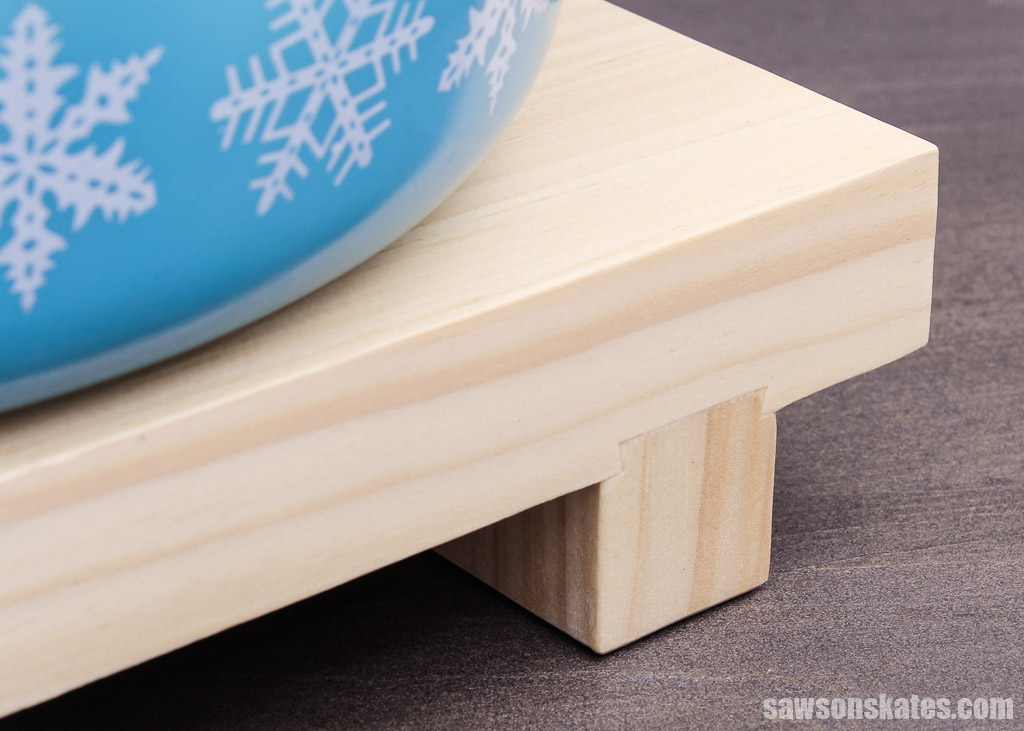
Step 3. Make the Top
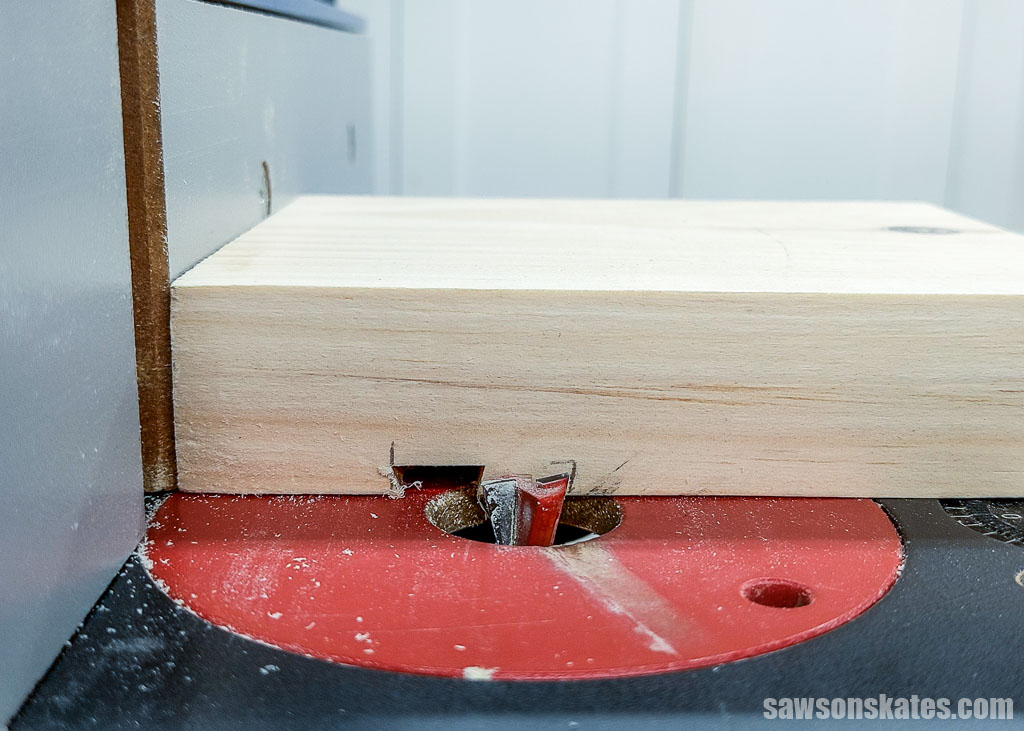
The socket sets in from the edge. I set my Kreg Multi-Mark and made a mark on the top.
Remember those test pieces I mentioned in Step 1? They come in especially handy here because you’ll need to test-fit the feet into the socket. I regret only making one top practice piece, so I only had one chance to adjust the socket’s second cut. To avoid this, I highly recommend making at least three or four test pieces. This gives you more opportunities to fine-tune the socket, ensuring a perfect fit.
I adjusted my router table’s fence so the bit’s cutting edge touched the pencil line.
I took a double precaution to minimize the risk of tearout on the back edge. I applied painter’s tape along the cut line and used a sacrificial board for additional support. While this approach might be redundant, it prioritizes a clean cut.
TIP: Make this cut on all of your test pieces and your project’s top.
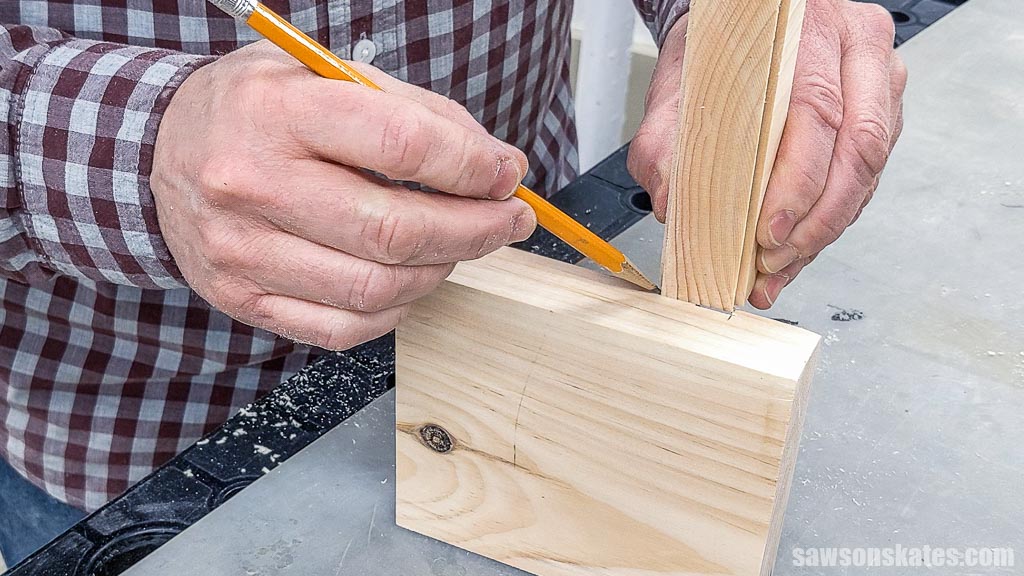
Next, on my test piece, I positioned the foot against the cut I just made and marked the other edge.
Learning as I went, I initially placed the router bit too close to the pencil line, removing more material than intended.
Ideally, I should have positioned the bit farther away from the line to remove less material. Then, I could have moved it toward the line if the foot fit too snugly.
I was aiming for a snug fit while still allowing some room for the glue.
- Too loose: Move the bit toward the fence.
- Too tight: Move the bit away from the fence.
Once I had the bit adjusted, I cut the socket’s second side.

Step 4. Assemble the Trivet
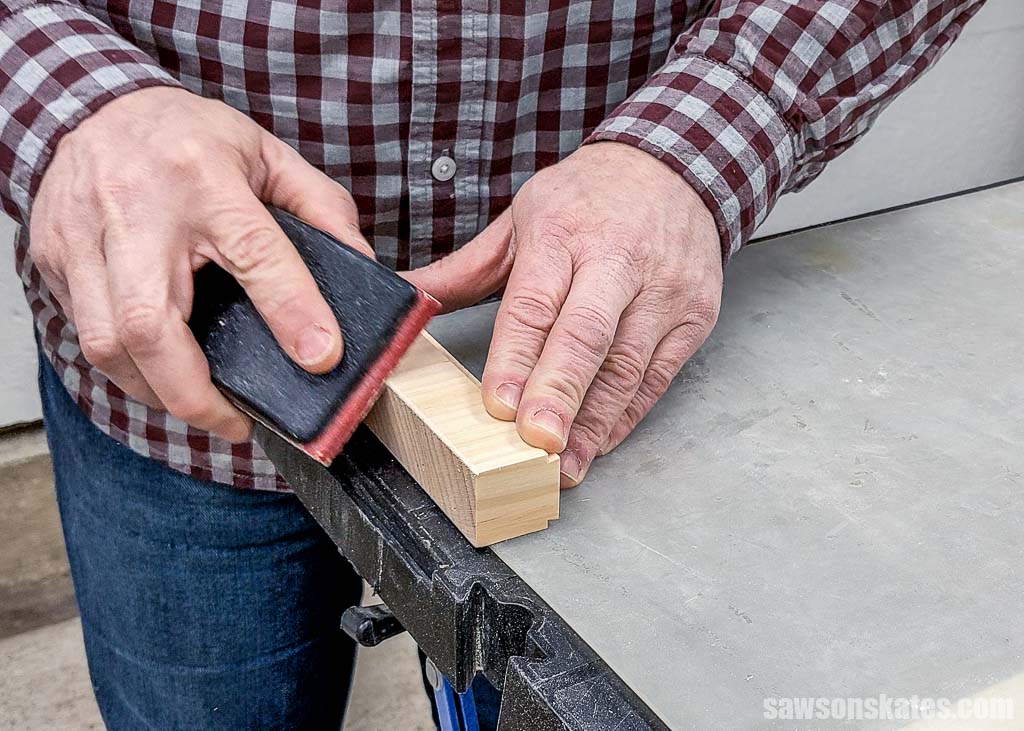
The foot’s endgrain is prone to chipping, so I used a sanding block to slightly bevel its edges, reducing the risk of it tearing out when it’s moved on a table.
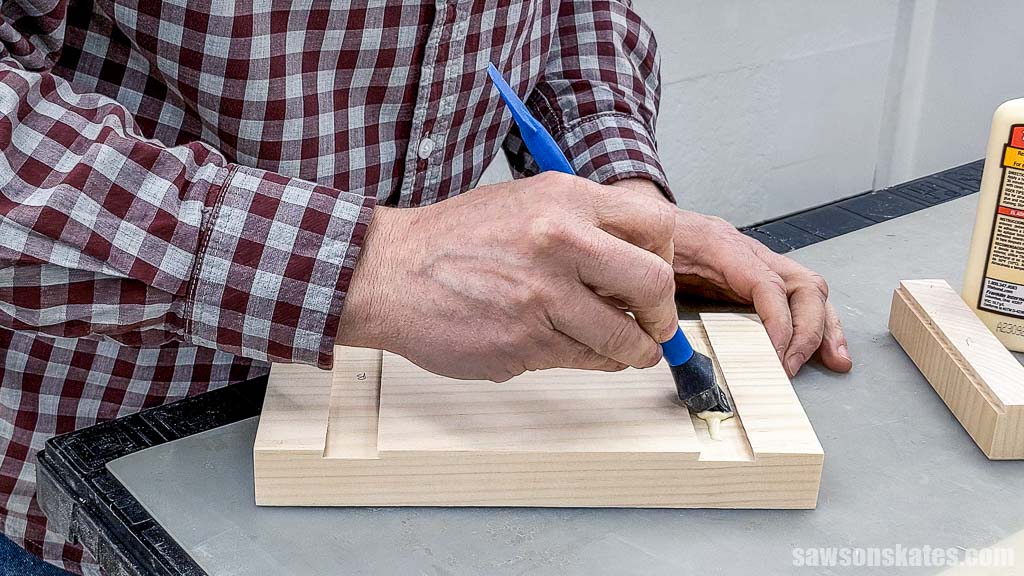
Next, I used a brush to apply glue to the socket.
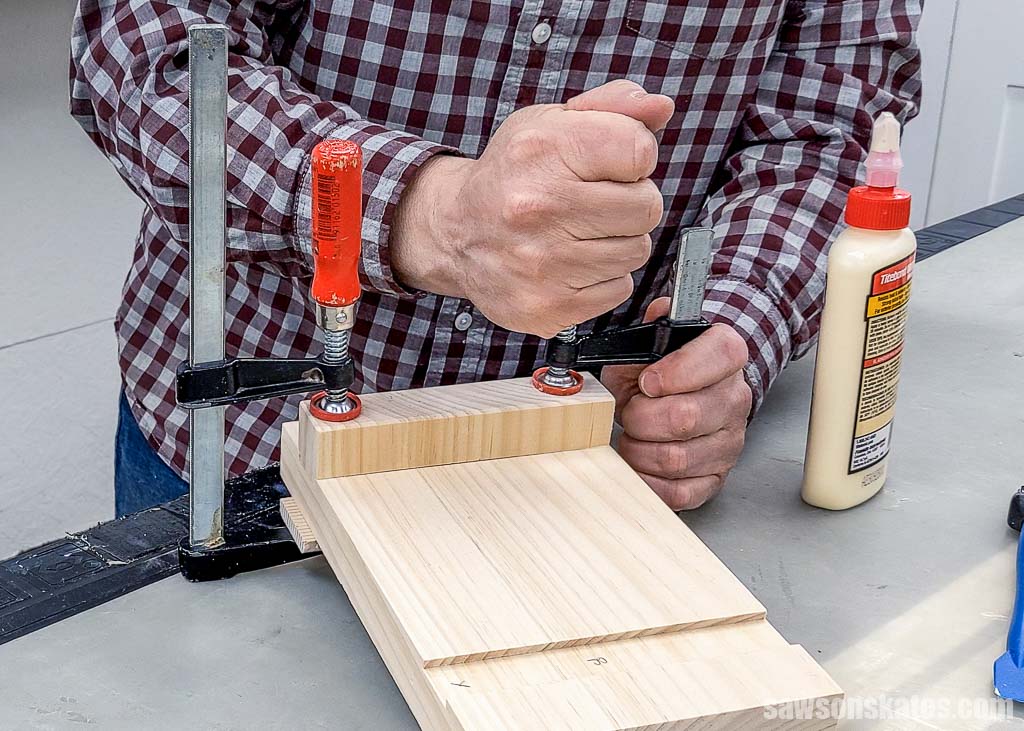
Then, I inserted the foot and clamped it to the top until the glue was dry.
Step 5. Finish the Trivet
Please see What Finish Should You Use for more information.
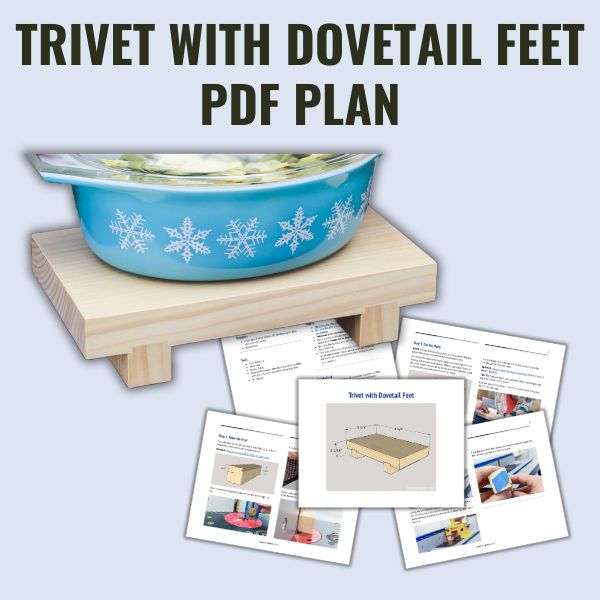
Includes:
- List of tools and materials
- Complete measurements (in inches)
- Easy-to-follow instructions
- Step-by-step photos
- Detailed diagrams
Final Thoughts
With a few simple cuts and some basic woodworking techniques, you can create a beautiful, functional trivet that protects your surfaces and adds a classy touch to your table.
Don’t wait. Get your PDF plan (including the detailed instructions and measurements) now!
Thank you for stopping by. If you enjoyed this tutorial, would you please take a moment and pin it to Pinterest? I’d really appreciate it!
Recommended For You

Pin This For Later

Hi there – I’m Scott, a woodworking enthusiast and creator of Saws on Skates, a site I started in 2015 to share easy-to-follow tutorials, space-saving shop tips, and project inspiration for DIYers at any skill level. Learn more about my woodworking journey here.