Table Saw Tune Up (10 Tips for Peak Performance)
Unleash your table saw’s full potential. Learn how to tune it up for safety, accuracy and optimal performance with these simple adjustments.
Are you tired of struggling with your table saw, never quite getting the results you want? In this tune-up guide, I’ll walk you through setting up your table saw for optimal performance, ensuring it’s ready to tackle any project that comes its way.
Originally published May 22, 2018, updated January 9, 2024.
This article contains affiliate links. If you purchase from these links, I may earn a small commission at no additional cost to you. Visit my site policies for more information.
Why Tuning Up Your Table Saw Matters
Accuracy and safety are the lifeblood of any woodworking project. A misaligned blade can lead to wonky cuts, wasted materials, and even kickback – a potentially dangerous situation where the wood binds and rockets back toward you.
Related: Table Saw Kickback (Cause, Injuries & How to Avoid It)
Tuning up your table saw ensures consistent, precise results while keeping it well-maintained is one way to reduce injury risks.
Related: 21 Table Saw Safety Rules (& Mistakes to Avoid)
Here are some key adjustments that have the biggest impact on accuracy and safety:
- Blade Alignment: The blade must be parallel to the miter slot, ensuring your cuts are accurate and helping to prevent binding.
- Fence Alignment: The rip fence guides your workpiece through the cut and must be parallel to the blade for consistent results and to prevent binding.
- Blade Angle: The blade must be precisely set to your desired angle to achieve accurate results.
Are you ready to unleash your table saw’s full potential? I’ll dive deep into each adjustment in the following sections, providing clear instructions and helpful tips and tricks.
IMPORTANT: Always unplug your table saw before making any adjustments.
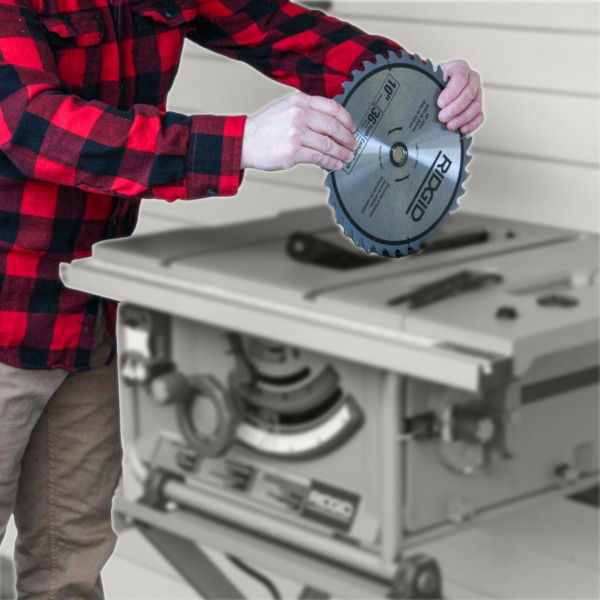
1. Inspect the Blade
The blade is the heart of your table saw, its sharp teeth transforming raw lumber into workpieces for your project. But just like a dull knife struggling to cut through a juicy tomato, a neglected blade can leave your lumber riddled with chips, burns, and frustration. So, unplug your saw and give that blade a thorough once-over.
Teeth
Examine the teeth for visible signs of wear and tear. Replace the blade if you find cracked, chipped, or missing teeth.
Balance
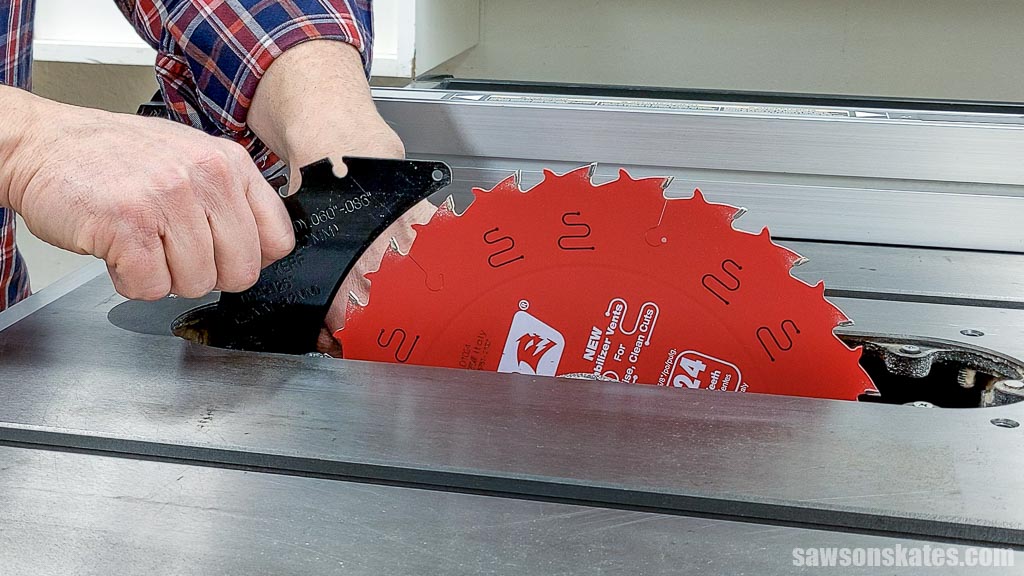
A warped saw blade can affect the quality and accuracy of your cuts. To inspect it, raise the blade to its maximum height and slowly spin it by hand.
If you notice wobbling, remove the blade:
- Check the arbor, the shaft that holds the blade, ensuring it’s free of sawdust that could prevent it from seating correctly and causing it to wobble.
- Place the blade on a flat surface. It should lay flat with no gaps between the blade and the surface. If you see gaps or it doesn’t lay flat, it’s likely warped and should be replaced.
Let it Go
Even the best blades reach the end of their road. Replace the blade if you find damage, significant dullness, or any safety concerns. Buying a new, sharp blade is an investment in your safety and project quality.
2. Clean the Blade
Teeth caked with resin affect the quality and performance of your cuts, reducing efficiency and increasing the risk of burning your workpieces.
Resin is a sticky substance produced by coniferous trees such as pine, causing buildup and affecting the blade’s performance. Removing resin buildup from your blade ensures crisp, clean cuts.
I use a specialized blade cleaner and a brush to remove the buildup from my blades. Always follow the manufacturer’s instructions when using any cleaning products.
Related: How to Clean Saw Blades
3. Tune Up the Blade Alignment
Checking a table saw’s blade alignment, called paralleling, means adjusting it so that its cutting edge runs perfectly parallel to the table saw’s fence and miter slots, which is crucial for ensuring:
- Safety: A misaligned blade can cause the wood to bind or kickback, potentially leading to serious injury.
- Accuracy: If the blade isn’t parallel, your cuts will be off, resulting in uneven or crooked boards.
- Quality: A misaligned blade can cause burn marks on your workpieces, rubbing against them instead of cutting cleanly through them.
There are two common ways to parallel a table saw blade:
- Dial indicator: A dial indicator, mounted on the table saw’s miter slot, precisely measures the distance between a fixed point at the front and back of the blade.
- Combination square: A combination square, resting in the miter slot, checks for gaps between a fixed point at the front and back of the blade.
While dial indicators offer superior accuracy, let’s be real: many of us are more likely to have a combination square in our toolbox, so that’s what I’ll focus on here.
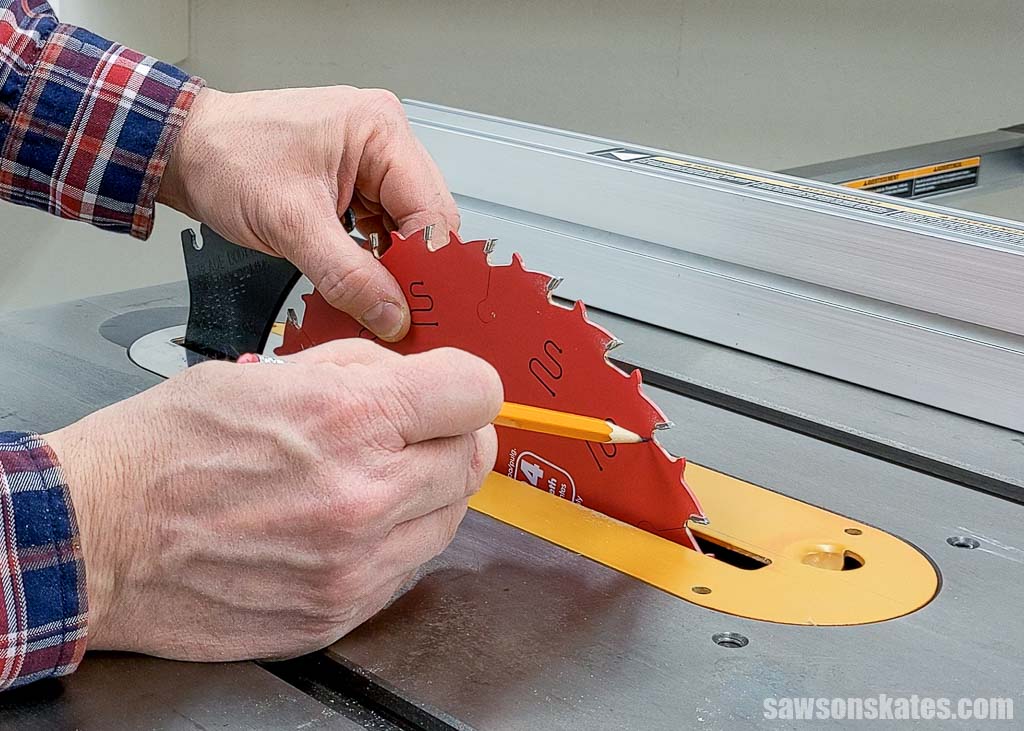
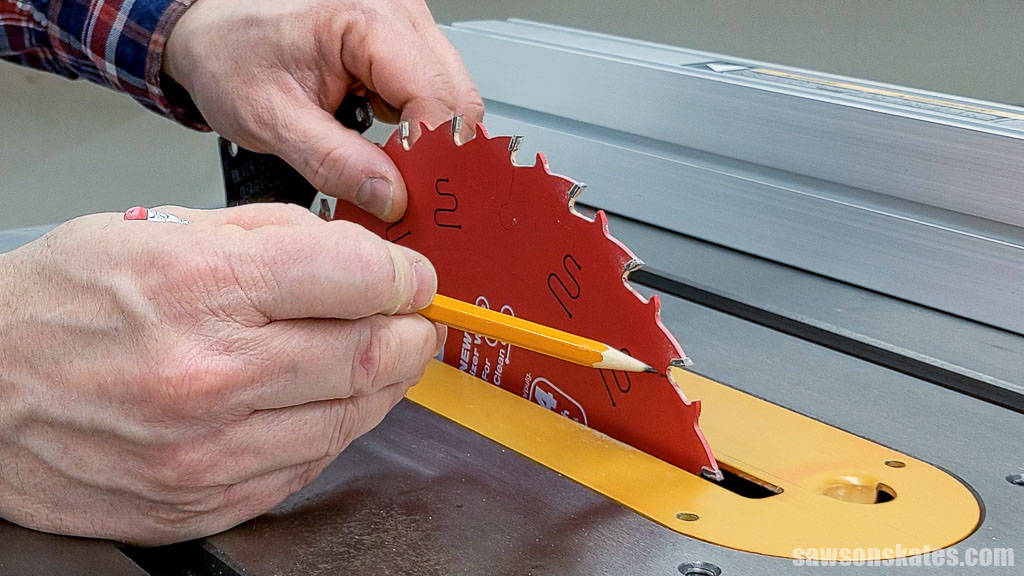
Step 1: For your safety, begin by disconnecting the saw from the power outlet. Then, raise the blade and make a reference mark next to one of the front teeth.
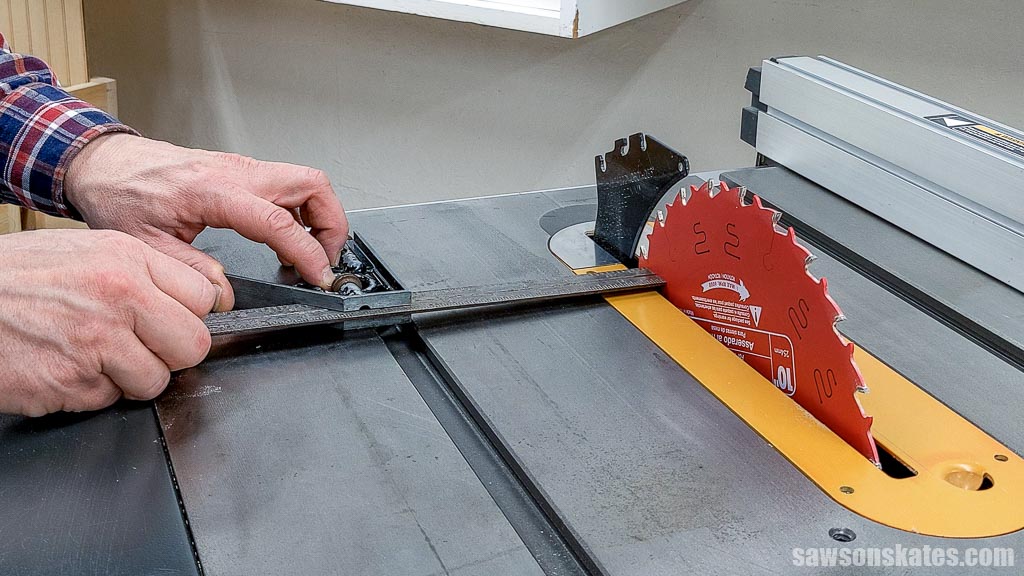
Step 2. Place the combination square’s L-shaped part, called the head, into the miter groove. Move the square’s rule toward the blade, aligning it with your reference mark, then tighten the lock nut.

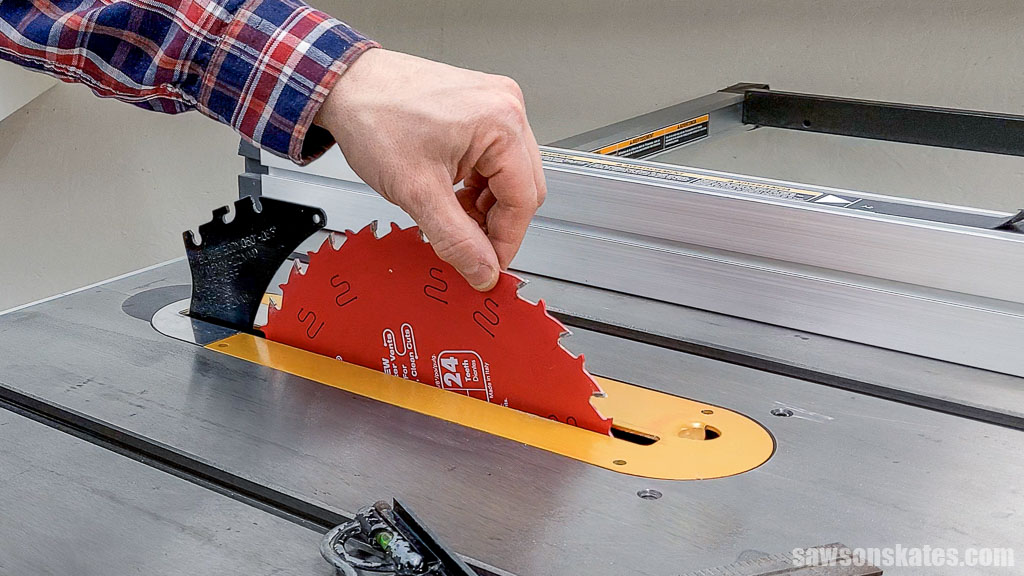
Step 3: Rotate the blade so your mark is at the back of the saw.
Then, reposition the square to align with your mark and compare the distances. The blade is parallel to the miter slot if they are the same.
However, discrepancies indicate the blade is not parallel:
- The rule pushes against the blade, but the square’s head is not flush against the miter groove
- The square’s head is flush with the miter slot, but you notice a gap between the rule and the blade
If the blade is not parallel, you’ll need to adjust the trunnion, the mechanism controlling blade alignment with the miter slot and fence.
Adjusting this mechanism varies by saw, so I recommend consulting your owner’s manual. Don’t worry; it’s typically a straightforward process that involves loosening bolts that hold the trunnion, shifting it slightly to align the blade with the miter groove, and retightening the bolts.
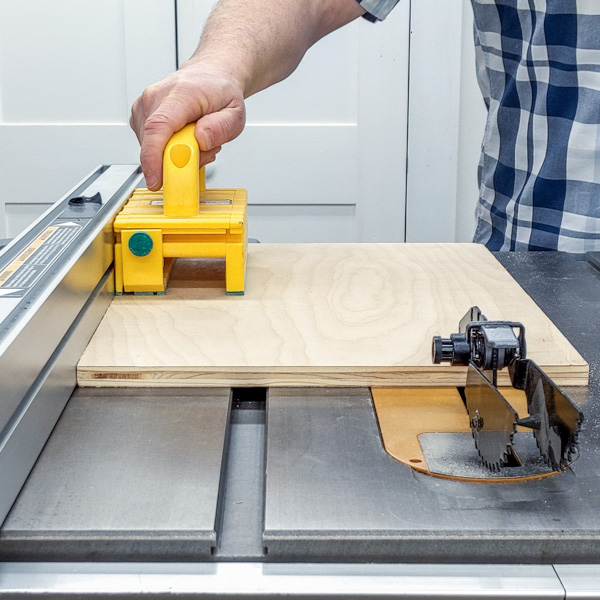
4. Tune Up the Rip Fence Alignment
Checking a table saw’s rip fence alignment, or paralleling, means adjusting it perfectly parallel to the saw blade. This adjustment ensures when you push workpieces along the fence, they will be cut at a consistent width. Any deviation from parallel can lead to similar issues as a misaligned blade, affecting the safety, accuracy, and quality of your cuts.
Woodworkers are divided on whether the rip fence should be parallel to the blade or angled slightly away at the back to prevent binding.
While some prefer a slight angle, I’m in the parallel-fence camp, thanks to Chuck Bender’s advice. At a table saw class, Chuck, former Senior Editor of Popular Woodworking Magazine, advocated for aligning the rip fence parallel to the blade.
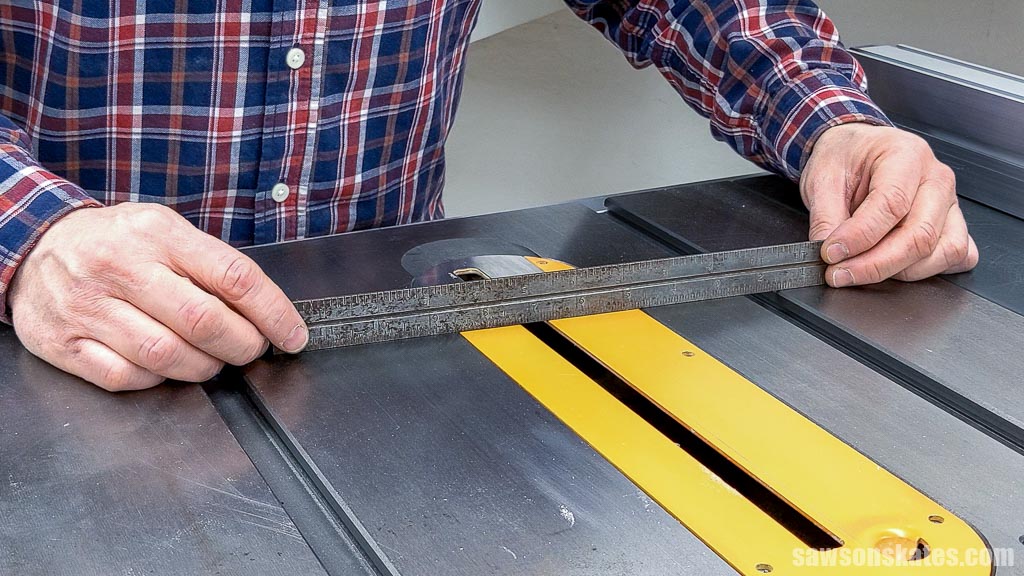
The procedure described in my saw’s manual for making the rip fence parallel is more complex than I think it needs to be. Here’s an easy way to do it:
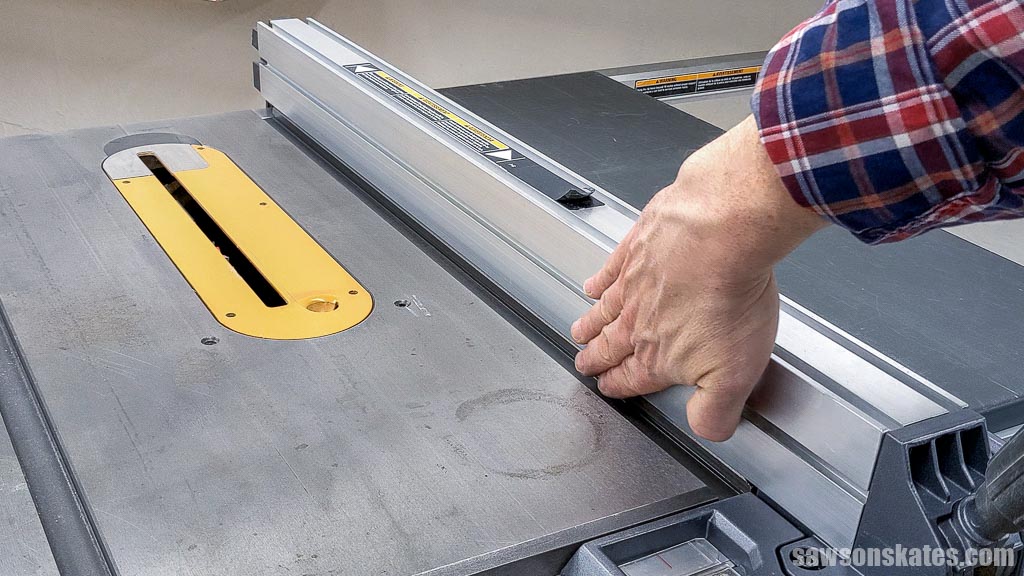
- Slide your rip fence until it touches the edge of the miter slot.
- Forget the fancy tools. Run your fingers along the fence and miter slot’s length from front to back.
- If you don’t feel any gaps between the rip fence and the miter slot, your fence is parallel to the blade.
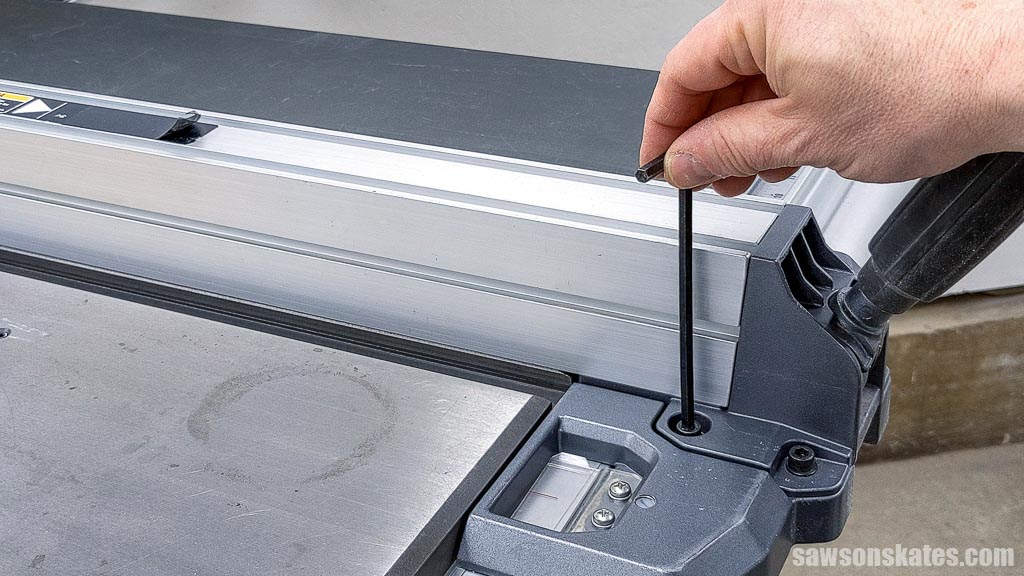
If your rip fence deviates from the miter groove from front to back, it’s not parallel and will need to be adjusted.
Adjusting the fence varies by saw, so I recommend consulting your owner’s manual. It’s usually a simple procedure that involves loosening set screws, shifting the fence to align it with the miter slot, and retightening the screws.
5. Tune Up the Miter Gauge Alignment
A table saw’s miter gauge helps you make precise angled cuts and crosscuts. A misaligned gauge results in inaccurate cuts, causing problems when assembling your projects.
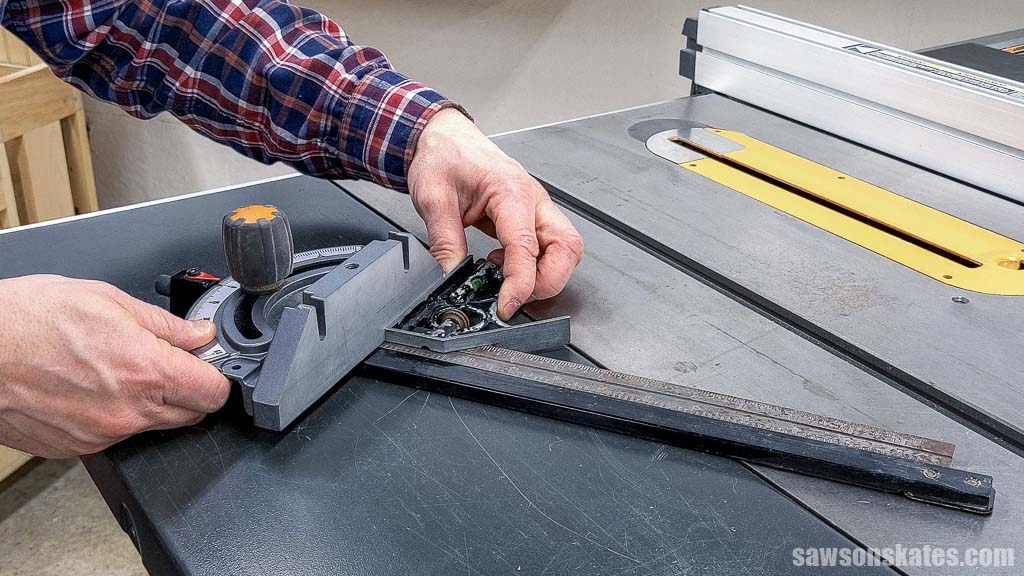
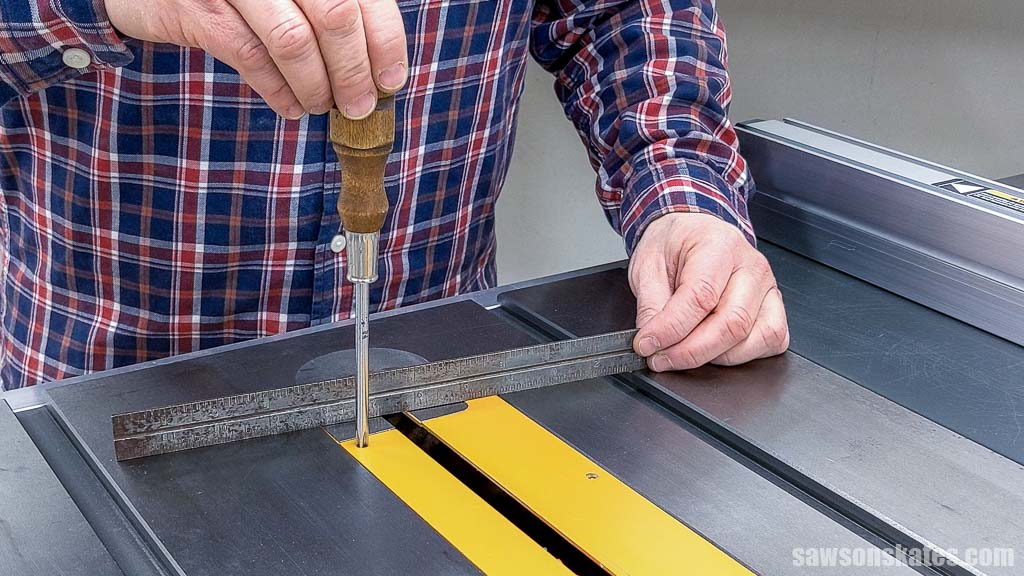
Calibrate your miter gauge for accurate cuts:
- Use a combination square to check if the miter gauge rod aligns perfectly with the base at 90 degrees.
- If the rod is slightly off, loosen the knob, nudge it into alignment, and retighten the knob.
6. Tuning the Blade Angle
Precisely setting your table saw’s blade angle ensures accurate cuts, which is essential for any successful woodworking project.
I’ve found the easiest way to adjust the blade is with a digital angle gauge, taking out the guesswork and allowing you to set it precisely for any angle you choose.
Related: How to Use a Digital Angle Gauge

7. Set the Stops
While you’re adjusting your table saw’s blade angle, be sure to set the stops if your saw has them. The stops ensure you can quickly reset to common angles, such as 90 and 45 degrees saving time and ensuring consistency in your cuts.
My table saw uses set screws in the table to adjust the 0 and 45 degree stops. Consult your owner’s manual for how to adjust the stops on your particular saw.
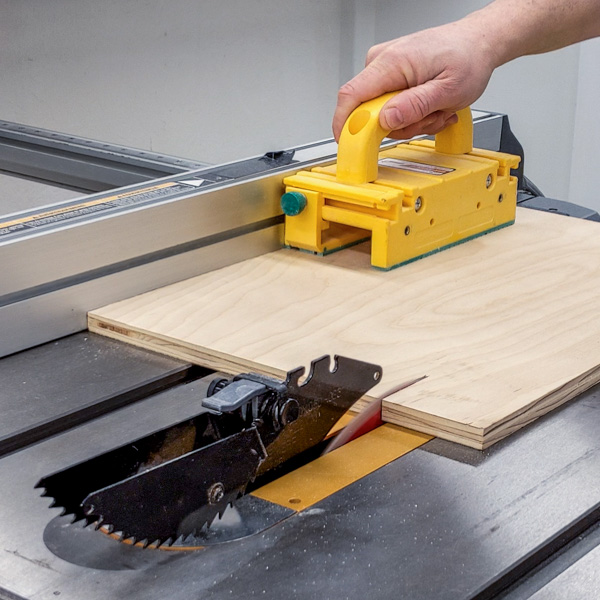
8. Tuning the Riving Knife
Positioned behind the blade, the riving knife is an essential safety feature helping to prevent kickback.
Here’s a quick overview of how to adjust it. Consult your table saw’s manual for specific instructions.
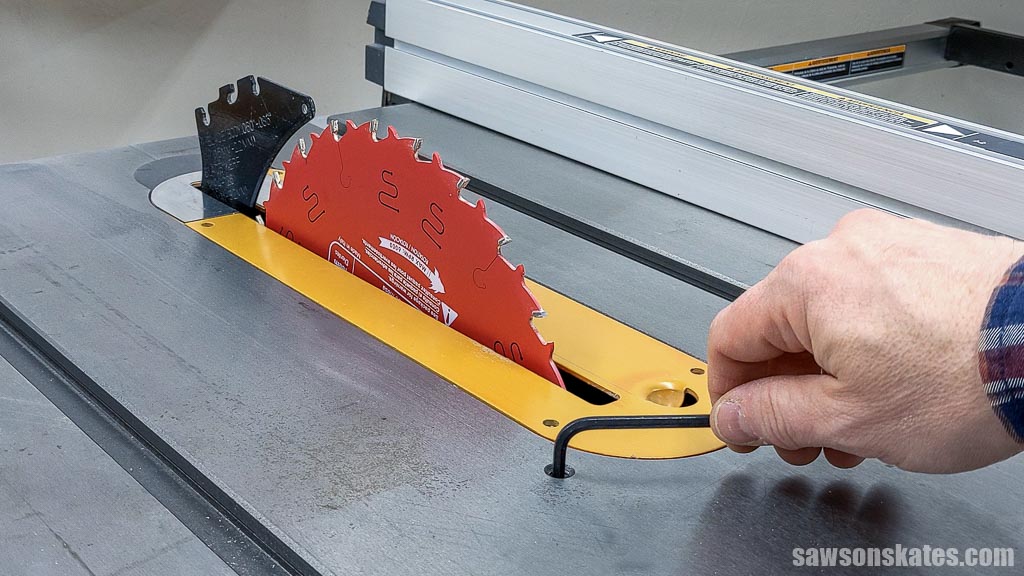
- Raise the blade to its highest position for better access to the riving knife.
- Locate the riving knife adjustment mechanism, which typically involves screws or levers near the base of the riving knife.
- Position the riving knife so that it’s perfectly aligned with the blade from front to back and top to bottom. Any deviation could cause a workpiece to bind and kick back.
- Tighten the adjustment mechanism. Getting the riving knife on my saw aligned was like solving a puzzle. I’d adjust it front to back, then the top to bottom adjustment would nudge the other out of whack. It took some patience and back-and-forth adjustments, but eventually, I got it.
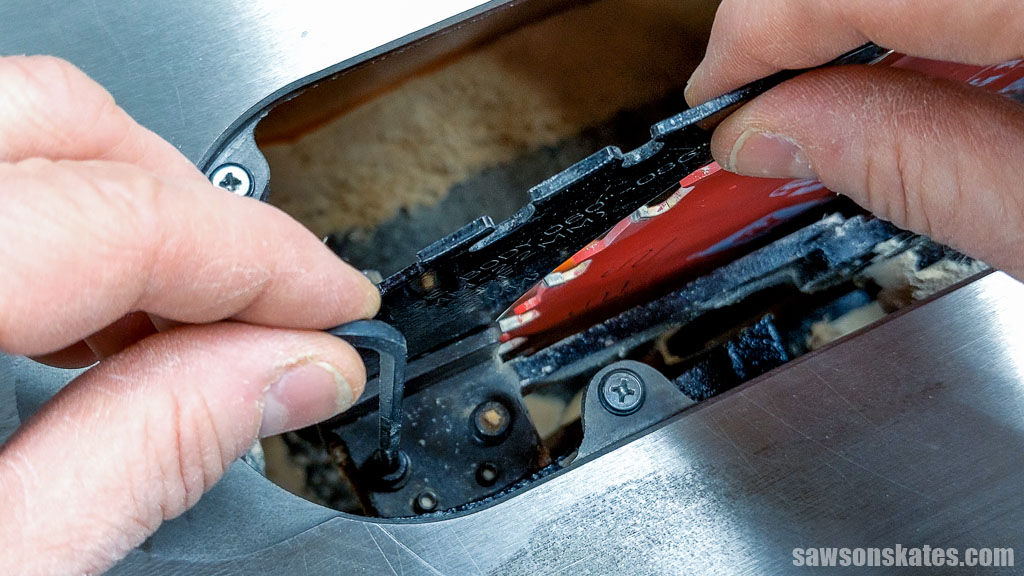
9. Level the Throat Plate
The throat plate surrounds a table saw’s blade opening, supporting the workpiece as it passes through. An uneven throat plate can snag a workpiece, preventing you from finishing the cut or causing it to kick back.
- Grab a straightedge, like your combination square’s rule, and place it across the throat plate.
- Check for any gaps between the plate and the table.
- If there are gaps, locate the leveling screws around the plate’s edges.
- Turn the screws to raise or lower the throat plate until it sits flush with the table surface.
10. Apply Wax
There are several benefits to waxing your table saw, the most important of which is safety. A waxed table saw top allows the wood to slide smoothly and evenly across the surface, reducing the risk of the wood binding or kicking back.
Waxing also helps to:
- Reduce friction: This makes pushing the wood through the blade easier, saving effort.
- Prevent rust: Wax can help to protect the metal parts of your table saw from rust, which can extend the life of your tool.
- Keep your table saw clean: Wax can help to prevent sawdust and other debris from sticking to the table saw top, making it easier to clean.
Related: How to Wax Your Table Saw
Final Thoughts
A well-tuned table saw is essential for any woodworker. By following these steps and making regular adjustments and maintenance, you can ensure your table saw stays in top working condition, providing accurate cuts and ensuring safety in your workshop. Remember to consult your owner’s manual for specific instructions on adjusting your table saw.
Interested in woodworking but need help figuring out where to start? Join the FREE Saws on Skates® Beginner Woodworking VIP list and gain instant access to top-notch tool comparisons, tool tutorials, and free woodworking plans. Join for FREE now!
Recommended For You
Pin This For Later

Hi there – I’m Scott, a woodworking enthusiast and creator of Saws on Skates, a site I started in 2015 to share easy-to-follow tutorials, space-saving shop tips, and project inspiration for DIYers at any skill level. Learn more about my woodworking journey here.
Good point, Jim. What I should have said was while a blade with fewer teeth is usually recommended for rip cuts, I prefer to use a blade with more teeth when building my furniture projects. I will update the the blade section to reflect this point. Thank you – Scott