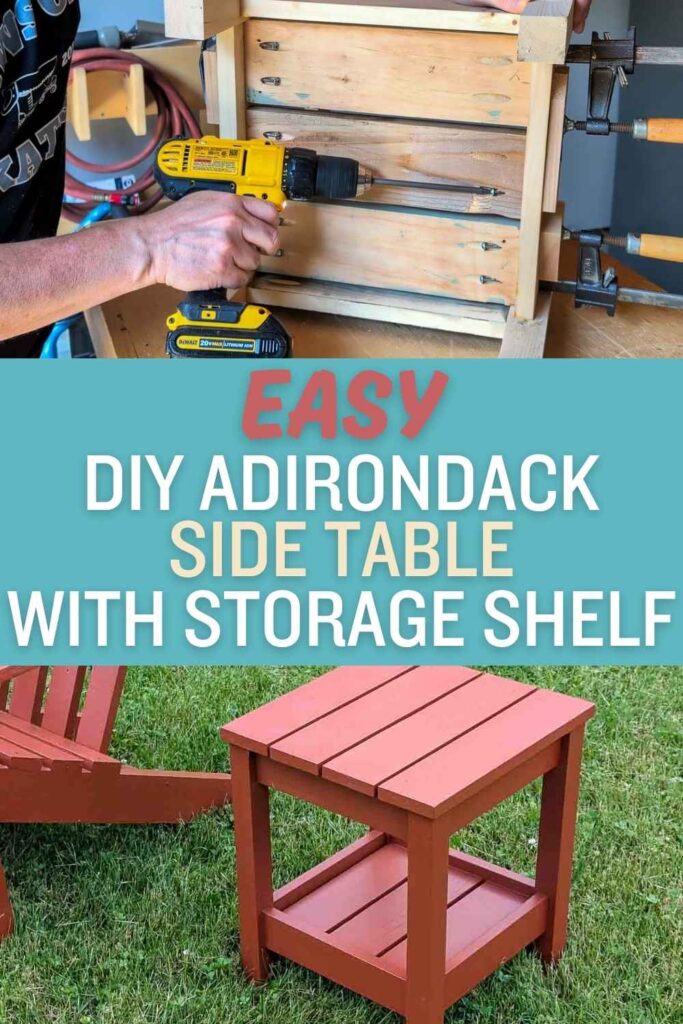
DIY Adirondack Side Table with Shelf Built from Scrap Wood
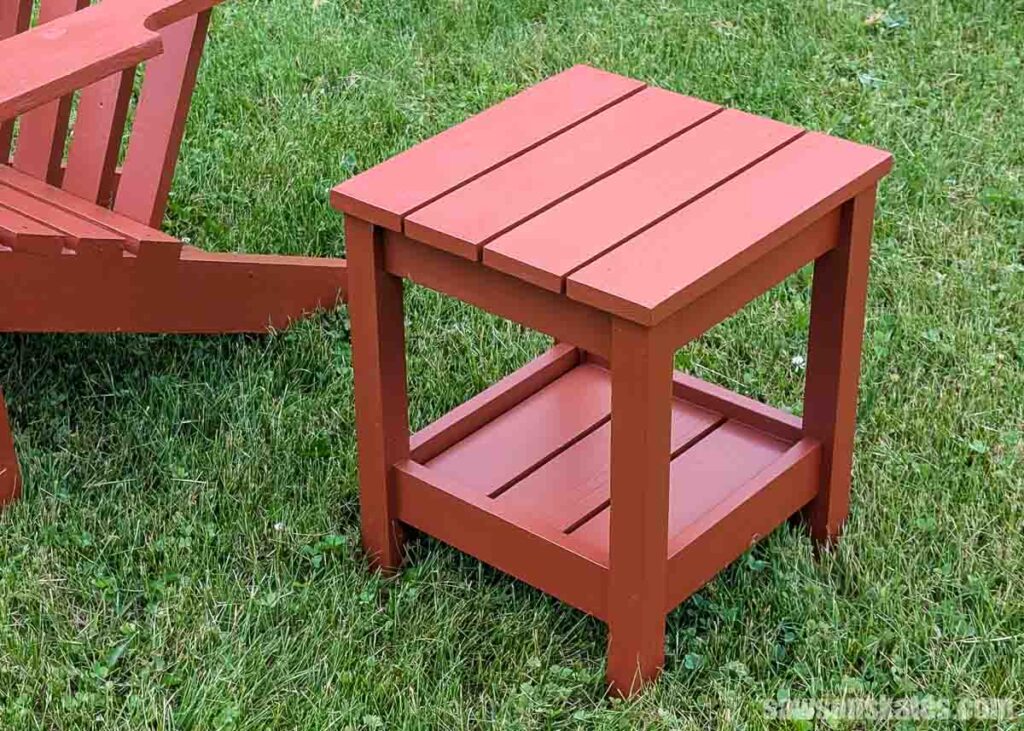
A dumpster find inspired this DIY Adirondack outdoor side table with shelf, built entirely from scrap wood perfect for enjoying a drink in the backyard.
What Should I Build Next?
That's the question I help answer.
Every week, I send woodworking ideas to 17,000 DIYers who love building things.
You'd fit right in.
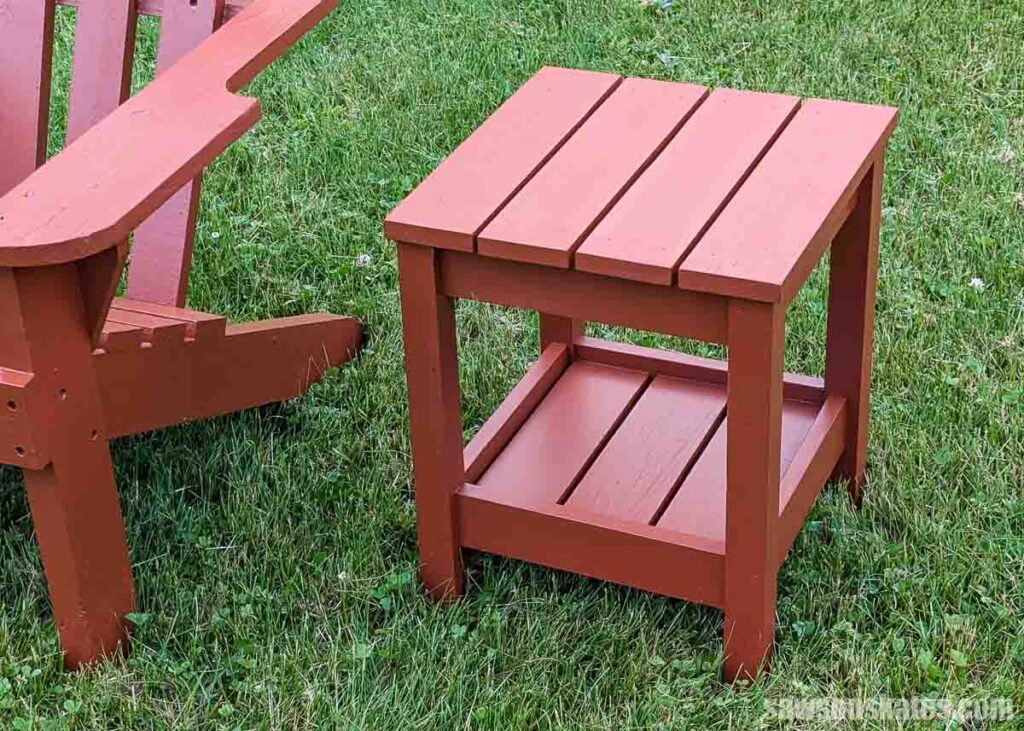
A while back, I found a pair of Adirondack chairs by the dumpster in surprisingly good shape, so I decided to take them home.
Once I got them there, I thought it would be great to have a matching side table. So I opened SketchUp and started designing one. Now, I know it doesn’t exactly match the chairs, but I think it’s a good complement to them.
If you’re not familiar with SketchUp and want to start designing your own projects, I have a beginner-friendly class you can check out here.
One thing I really like about this project is the lower shelf, which is perfect for a plant, book, glasses, sunscreen, or really anything.
Building It for Free with Scrap Wood
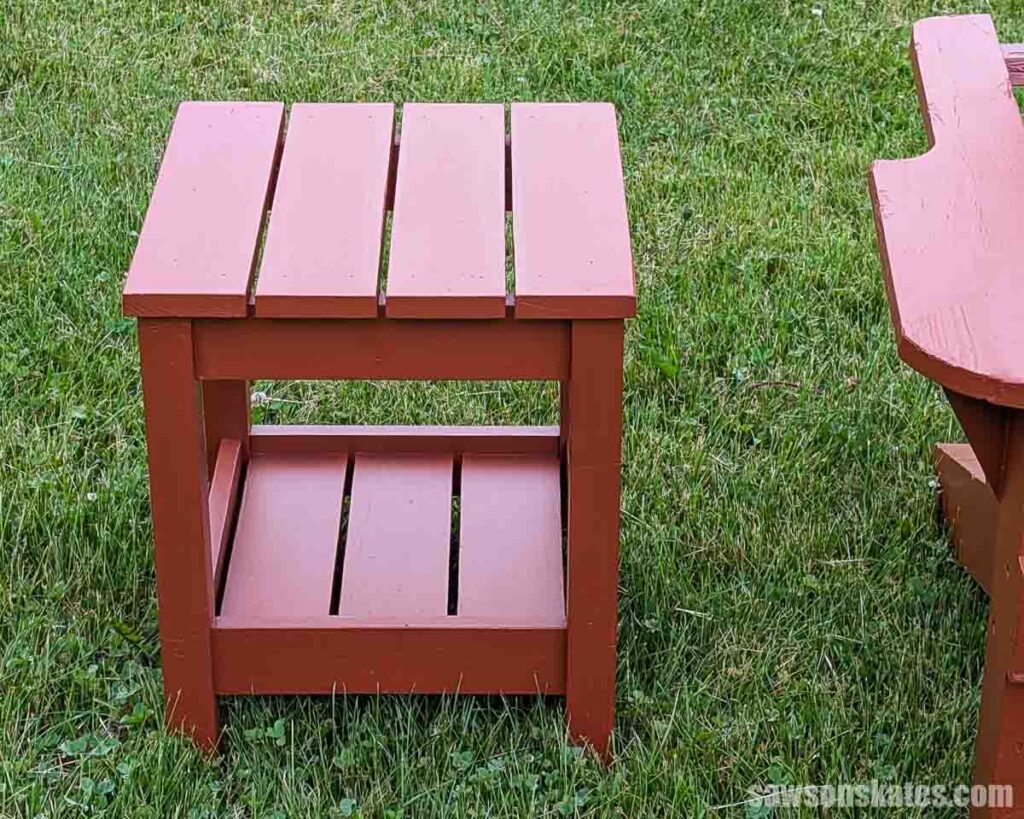
Once I had the design, my next goal was to build it entirely for free using scrap wood I already had on hand. So if you look closely, it’s not perfect. Some pieces had nail and screw holes, knots, you name it. But I already had the wood, so why buy more?
I should also mention that it’s pine, which is not rot-resistant or insect-resistant, so it may not last as long as cedar or redwood. But since I literally made it for free, I’m not going to lose sleep over it. If it rots, I’ll just build another one. Or maybe it will give me an excuse to design something new. Who knows!
How to Make a DIY Adirondack Side with Shelf
Printed Plan
Get the PDF plan here (includes detailed instructions, measurements, and bonus tips)
Materials
- Wood (per the printed plan)
- Exterior Wood Glue
- 1-¼” Exterior Pocket Hole Screws
Tools
- Tape Measure
- Kreg Multi-Mark
- Miter Saw
- Table Saw (optional)
- Drill
- Right Angle Drill Attachment
- Pocket Hole Jig
Step 1. Make the Leg Assemblies
I cut four pieces of wood to length for the legs. I should mention that I didn’t have the correct width on hand, but I did have wider ones, so I cut them to size using this method.
And I cut eight pieces of wood to length for the rails and drilled pocket holes in each end.
The lower rail sets up from the bottom of the leg. So, at the bottom of the legs, I temporarily attached two pieces of wood that will act as spacers.
The rails set in from the inside of the legs. To help with spacing, I attached MDF to the back of the rails using painter’s tape.
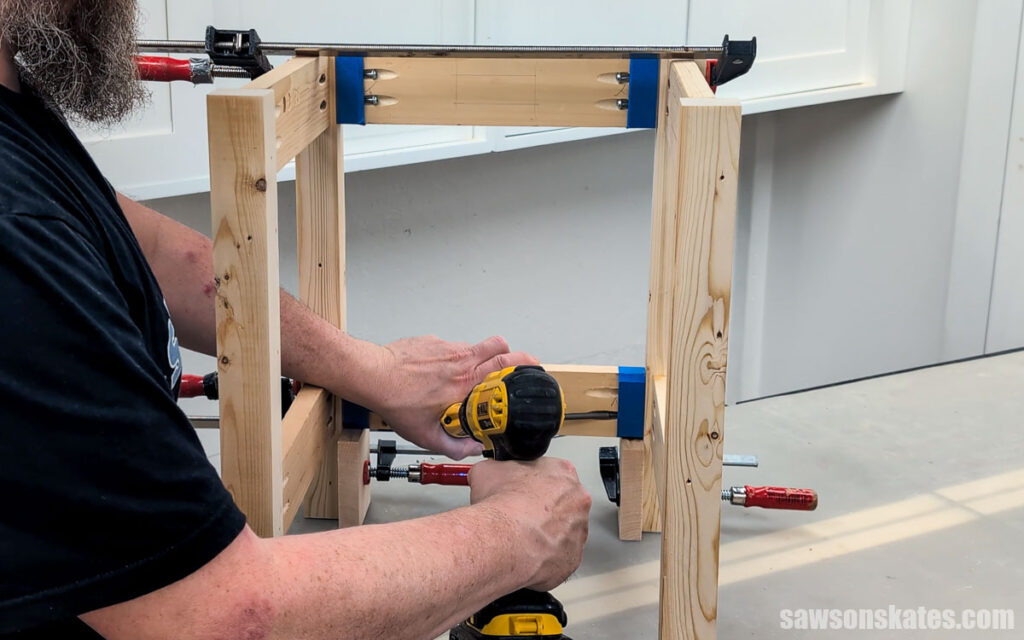
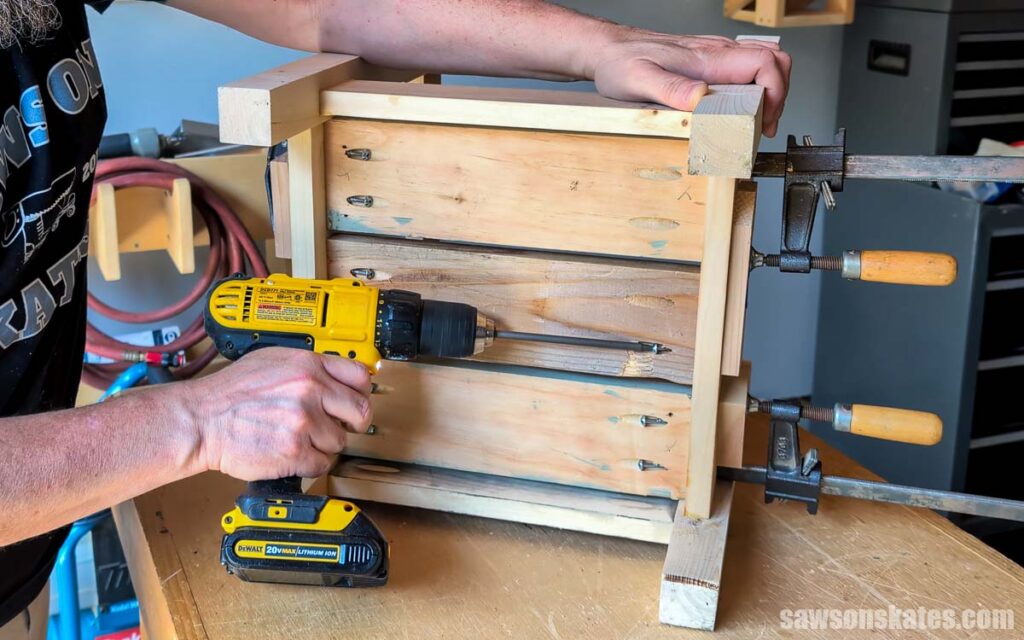
I applied glue to the ends of the rails, positioned them on the legs and clamped them in place. I attached them using Blue Kote exterior pocket hole screws.

I repeated these for the second leg assembly.
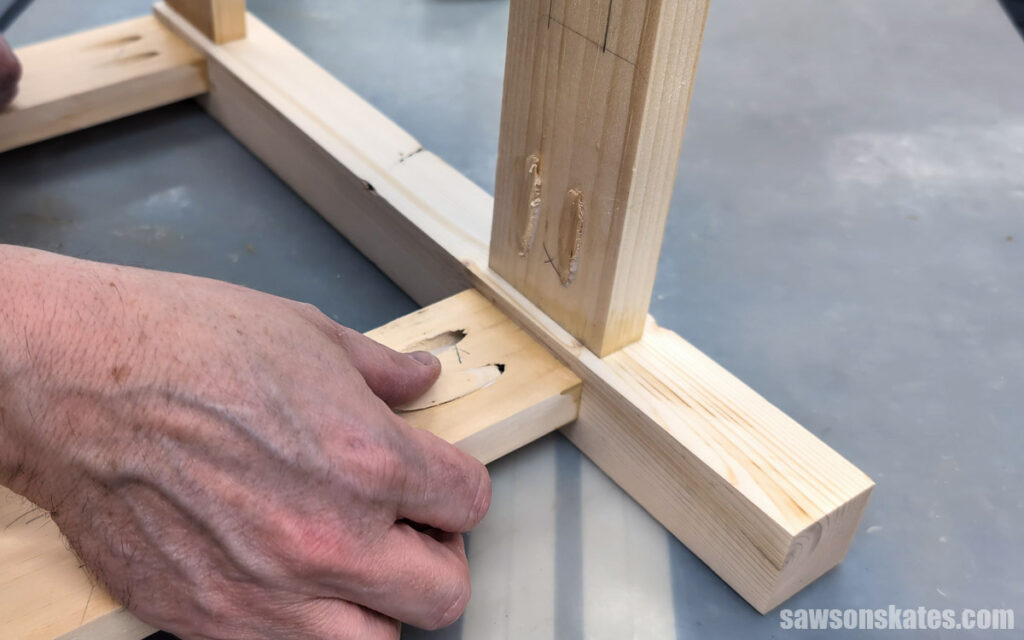
Then, I repeated these steps to join the two leg assemblies; however, because space was limited, I needed to use my right-angle drill attachment to reach the pocket hole screws.
The inside faces of the lower rails will be visible on the finished piece, so to give it a polished look, I filled the pocket holes with pocket hole plugs.
Step 2. Attach the Shelf
I cut three pieces of wood to length for the slats.
The slats set down from the top of the rails, so I used some scrap material as spacers. For the spacing between the slats, I used scrap pieces of MDF.
Once the slats were in position, I attached them using Blue Kote exterior pocket hole screws.
Step 3. Attach the Top Slats
I cut four pieces of wood to length for the slats.
I positioned the top slats (making sure they followed the same direction as the shelf slats), again spacing them using pieces of MDF.
I attached them using brad nails.

Step 4. Finish
I applied several coats of a shellac-based primer, followed by two coats of a urethane enamel paint.
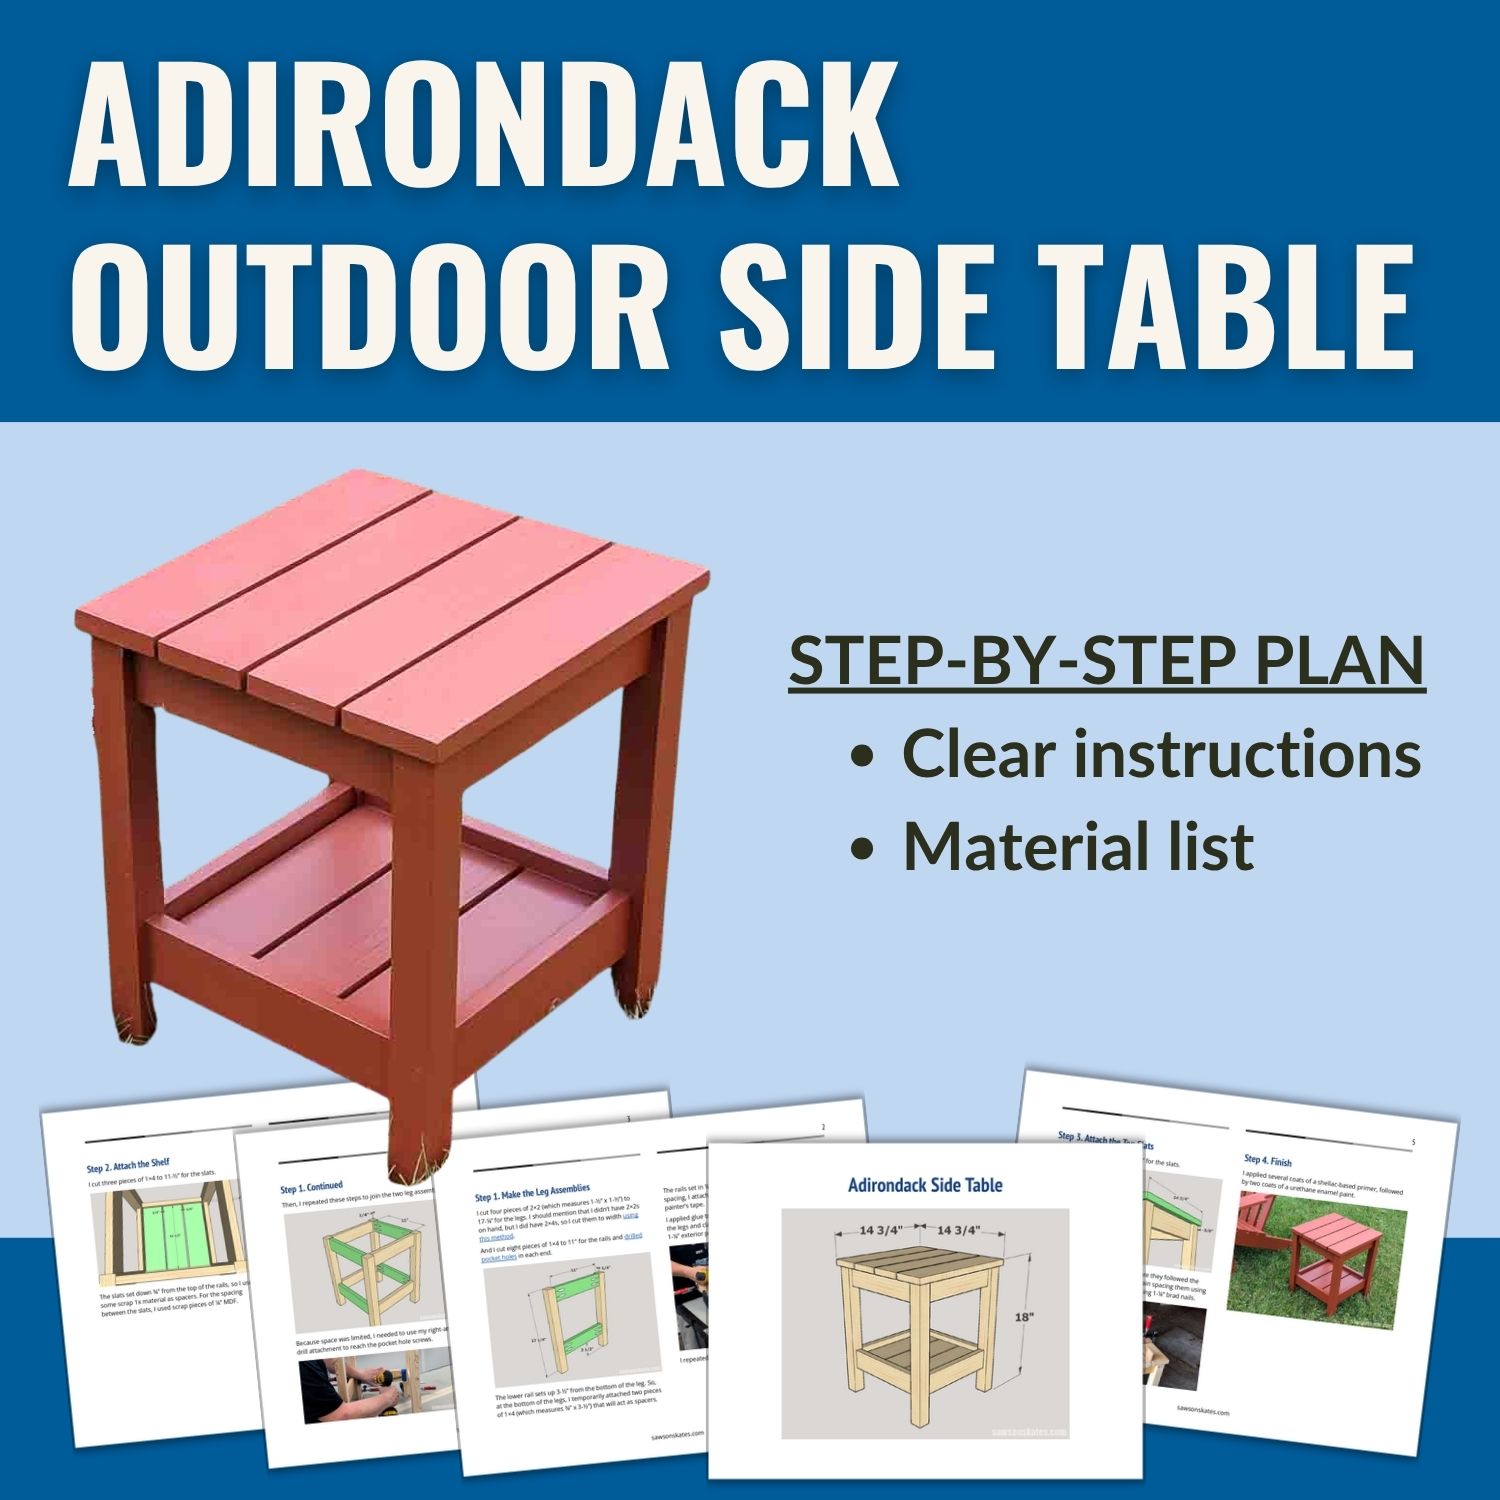
Includes:
- List of tools and materials
- Complete measurements (in inches)
- Easy-to-follow instructions
- Step-by-step photos
- Detailed diagrams
Final Thoughts
This is one of those projects that came together almost by accident, and I love how it turned out. A dumpster find, some scrap wood, and an afternoon are really all it took. Is it perfect? No. But it’s out on the deck, it’s holding my drink, and it cost me nothing but time. That’s a win in my book.
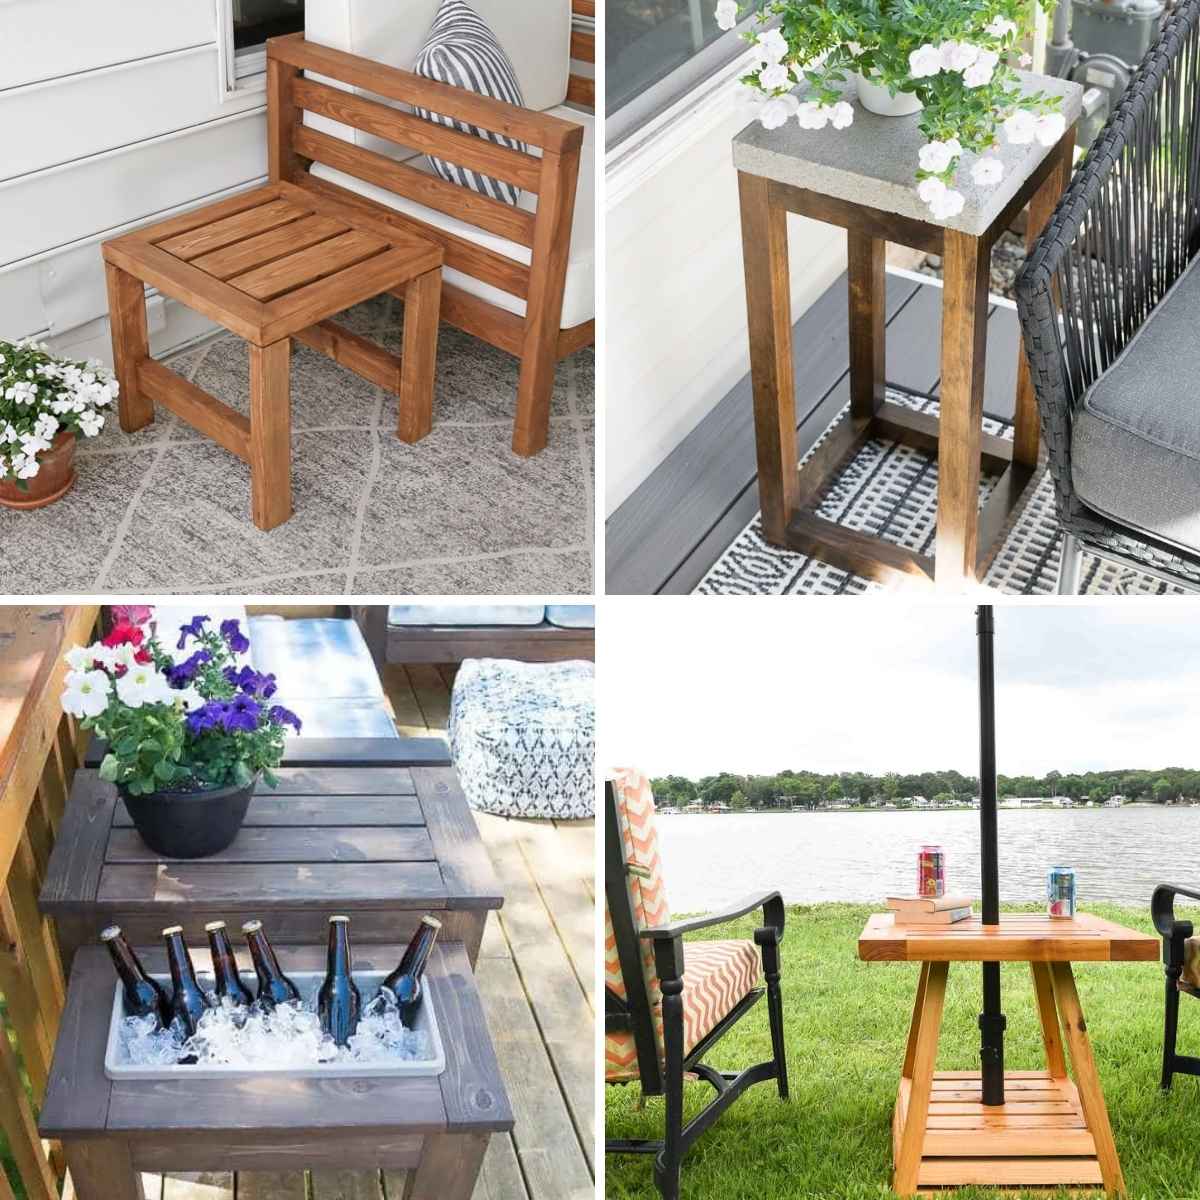
Recommended For You

Pin This For Later

Hi there – I’m Scott, a woodworking enthusiast and creator of Saws on Skates, a site I started in 2015 to share easy-to-follow tutorials, space-saving shop tips, and project inspiration for DIYers at any skill level. Learn more about my woodworking journey here.