DIY Small Picnic Table Plans (4ft, 5ft & 6ft Sizes)
Summertime is all about enjoying outdoor meals with family and friends, and a picnic table is the perfect gathering spot. If you’re short on space and need a compact solution, I’ve got you covered. I’ll show you how to build a small, easy-to-make picnic table that’s just the right fit for patios, decks, and cozy backyard spaces.
What Should I Build Next?
That's the question I help answer.
Every week, I send woodworking ideas to 17,000 DIYers who love building things.
You'd fit right in.
Table of Contents
- Small Picnic Table Plans: Available in 3 Sizes
- What Wood Should You Use?
- Customize Your Picnic Table
- Step-by-Step Tutorial
- Get the PDF Plan
This article contains affiliate links. If you purchase from these links, I may earn a small commission at no additional cost to you. Visit my site policies for more information.
Inspiration for This Small DIY Picnic Table
Over the years, I’ve received dozens of requests to publish a set of DIY picnic table plans. I haven’t because I’ve been given several hand-me-down outdoor tables, so I didn’t need another table.
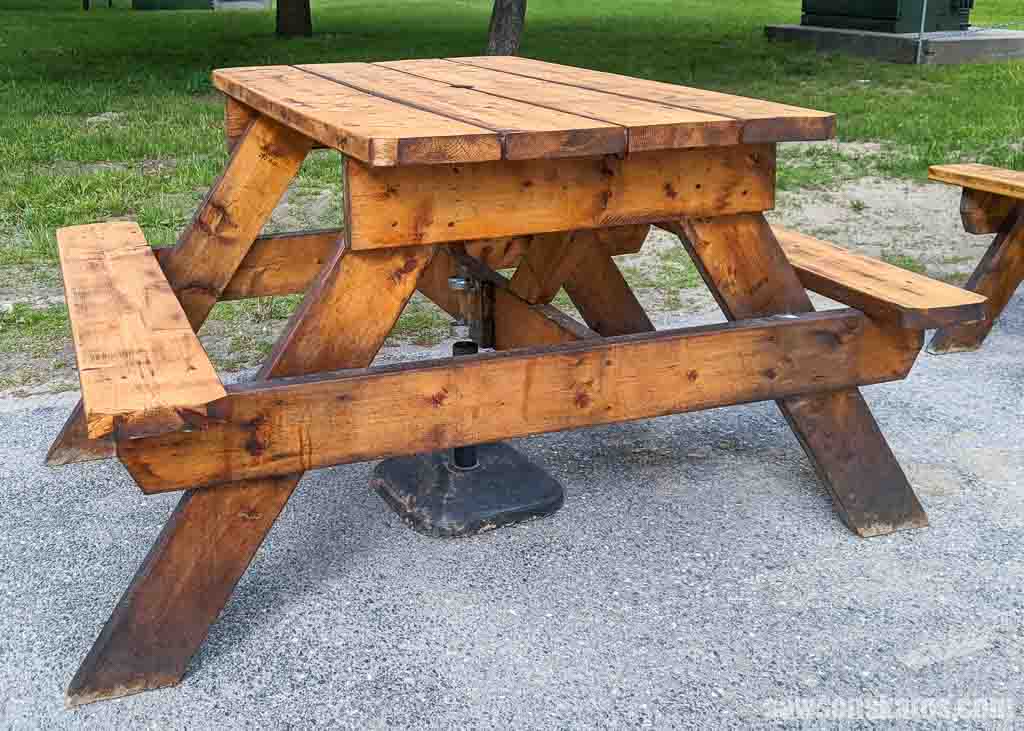
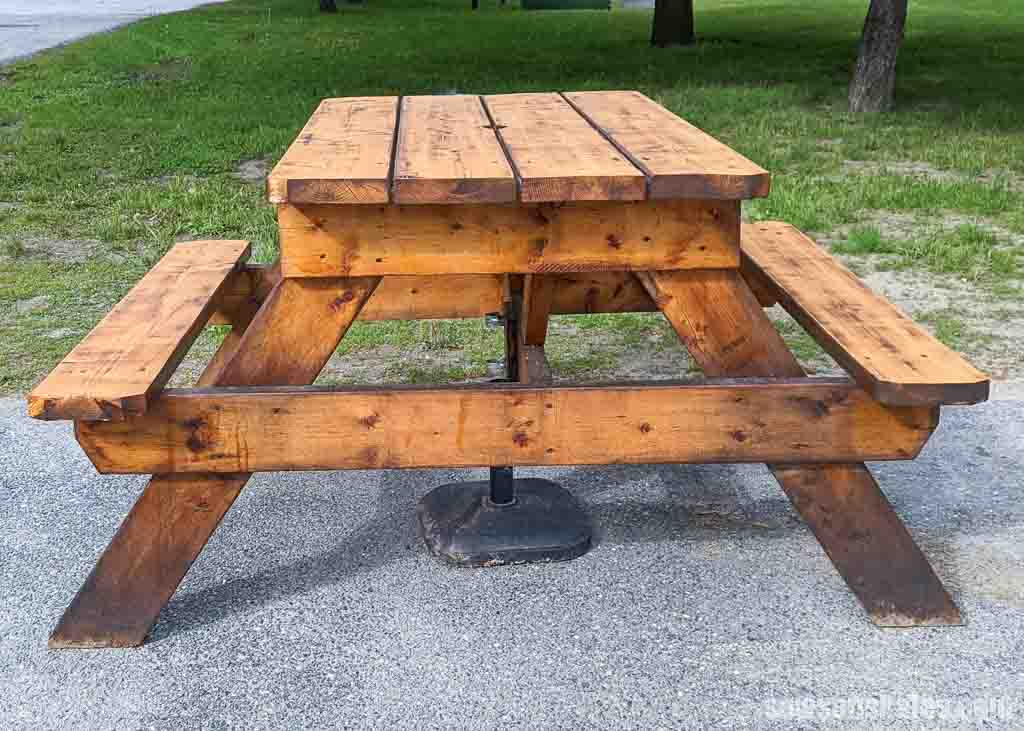
Recently, I was on a road trip and fell in love with this small picnic table. After all, I’m a firm believer in keeping things small. My tiny workshop measures only 12×13! While I liked that it was smaller than a traditional picnic table, I also appreciated the simplicity and sturdiness of the design.
Related: My 12×13 Small Woodshop Layout
As a woodworker, I had a tape measure in my car, so I immediately began taking measurements, notes, and photos so I could share this idea with you. I’d love to give credit to whoever designed it, but the employees at the business didn’t have any info about where it came from.
Related: How to Use a Tape Measure Correctly (Tips for Success)
I made a few tweaks to their design in the printed plan, such as using smaller boards for the angled cross braces and positioning the top boards an ⅛” apart to allow for wood movement. I also lowered the benches because the original version was nearly 2-inches higher than the average height for a picnic table bench.
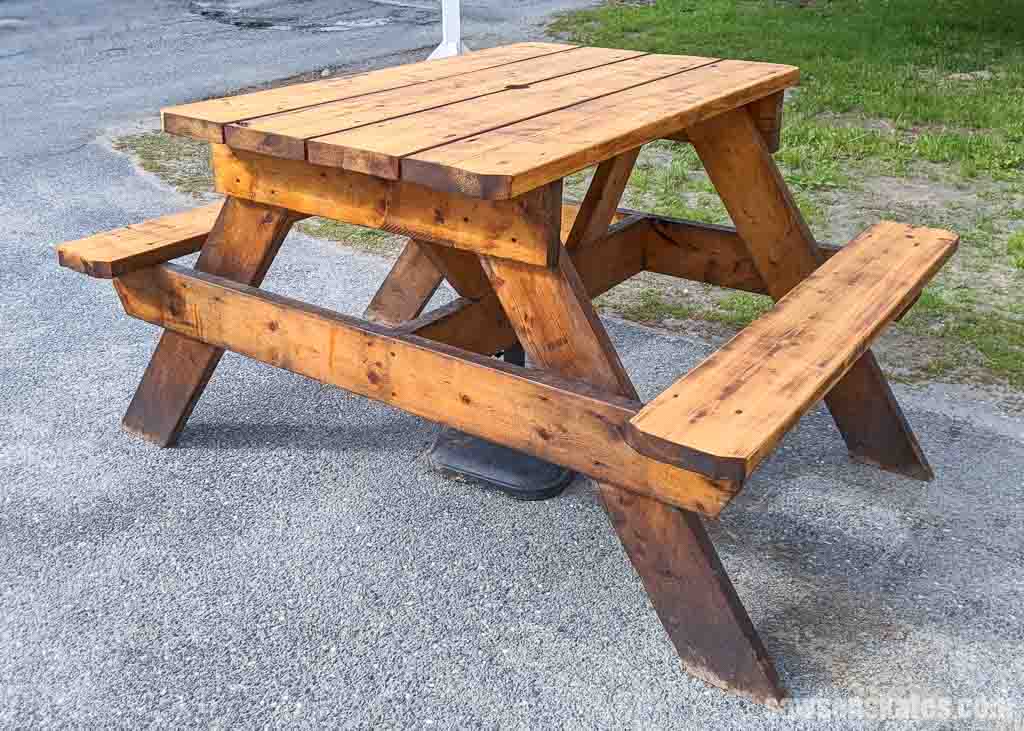
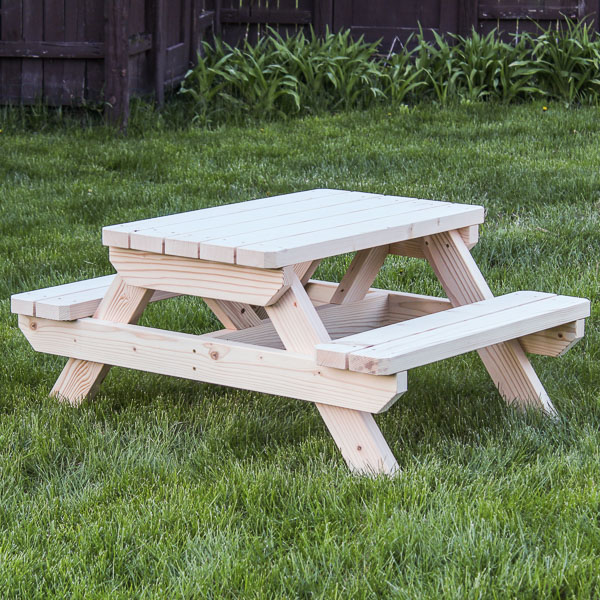
This picnic table hits all the marks: it’s small, simple, sturdy, and best of all, it’s easy to build.
Small Picnic Table Plans Available in 4ft, 5ft, and 6ft Sizes
My original small picnic table design measures about 4 feet long. However, based on feedback from readers, I’ve expanded the options to include 5-foot and 6-foot versions.
|
Picnic Table |
Tabletop |
Tabletop |
Seat |
|---|---|---|---|
|
4-Foot |
47-½” |
29-⅜” |
7-¼” |
|
5-Foot |
60″ |
29-⅜” |
11-⅛” |
|
6-Foot |
72″ |
33-¼” |
11-⅛” |
TIP: Click the buttons below and scroll on the image to see the picnic table’s dimensions.
4ft Picnic Table Plan
This is the original size, measuring 47-½ inches. I designed it to maximize material efficiency, allowing you to cut two components from a single eight-foot board.
5ft Picnic Table Plan
I designed this 5-foot picnic table in response to reader requests, adding extra length and wider seating for improved comfort.
6ft Picnic Table Plan
The 6-foot version features a slightly wider tabletop and more spacious seating, all while keeping a compact footprint.
How Many People Does the Picnic Table Seat?
The 4-foot picnic table will seat four adults comfortably. If you have young kids, they may be able to squeeze in too
If you need extra seating, you can build two 4-foot tables and place them side by side or choose the longer 5-foot or 6-foot version instead.
What Tools Do You Need?
This small picnic table is a super simple DIY project that requires only basic woodworking skills and two common woodworking tools: a miter saw and a drill.
Miter Saw
For this project, you can use a miter saw to cut all of the components to length. It’s even better if you have a sliding miter saw because you’ll be able to use it to cut the angles for the legs. If you don’t have a sliding miter saw, you’ll need to use a speed square, and circular saw to cut these angles.
Related: Table Saw vs Miter Saw (Differences + Which to Use)
Drill
You’ll use a drill to make the countersink holes and drive the screws that join the parts together. You can also use an impact driver to attach the screws instead.
Related: Impact Driver vs Drill: Which to Use & Why
TIP: Countersink holes are drilled before driving screws to allow the screw head to sit flush with or below the surface of the wood. This will prevent the screw from poking out and getting in the way when you’re trying to use the table.
What Wood Should You Use?
You’ll want to carefully consider which wood to use when building any piece of outdoor furniture.
This inspiration picnic table was built using pressure-treated lumber for the legs and pine framing lumber for the remaining components. You can find these materials at your local home center or lumberyard.
Pressure-treated lumber is a durable, rot-resistant option for the legs because they will be in contact with the ground.
Related: Why I Don’t Use Pressure Treated Wood for DIY Planter Boxes
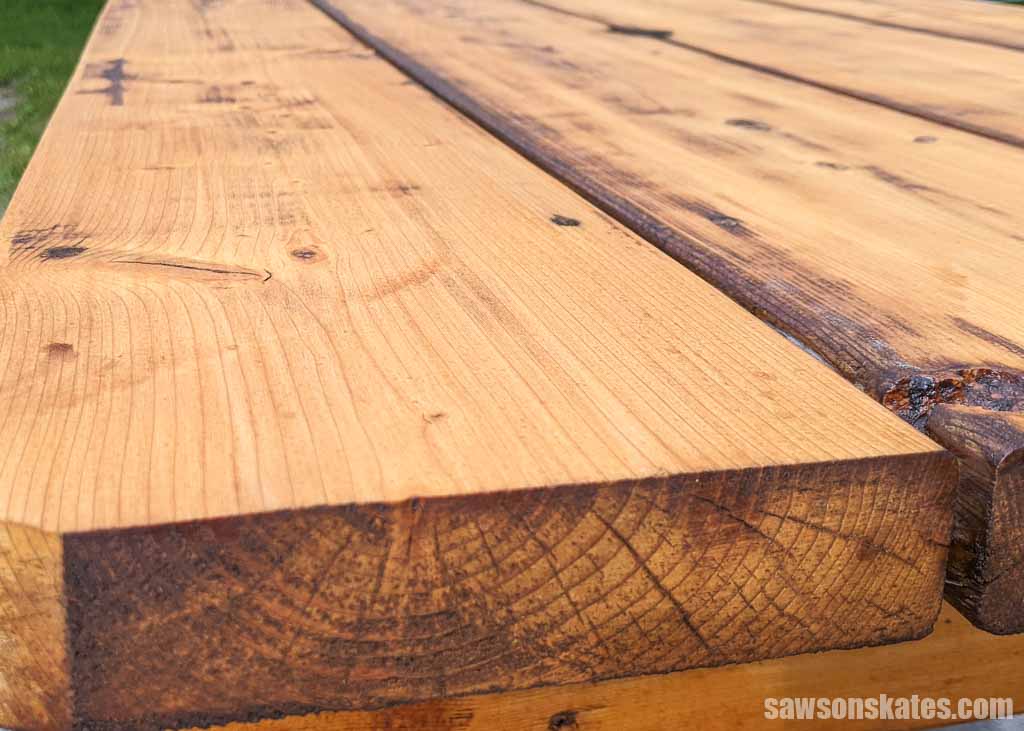
Pine framing lumber is a relatively affordable choice for the remaining components. The drawback is pine is not rot-resistant like pressure-treated wood, which means it should be sealed to protect it from the elements. Even with sealing the pine, it may need to be replaced after a few seasons.
You could also build this project with rot-resistant woods such as cedar or redwood. These woods are more expensive than pine and pressure-treated lumber, but they will last much longer.
Customize Your DIY Picnic Table
One of the great things about this design is it’s easy to customize. For example, you could use different woods such as cedar or redwood, make the table longer to seat more people, add a hole in the center of the table for an umbrella, or use different fasteners to join the parts.
Adjust the Size
It’s easy to modify the dimensions to build a larger table. Simply adjust the length of the boards accordingly. If you decide to make it longer, you may need additional bracing to support the top and the benches.
Add an Umbrella
The inspiration table had a hole in the center of the table for an umbrella. The stretcher between the two leg assemblies was offset to accommodate the umbrella’s pole.
I centered the stretcher in the printed plan, but you could easily offset it if you want to use an umbrella with your table.
Carriage Bolts
The inspiration table was fastened together using screws. This is a strong way to join the parts, but I recommend drilling countersink holes for a professional appearance and to prevent the screw heads from poking you while you’re using the table. An alternative would be to use carriage bolts, washers, and nuts instead of screws.
How Do You Finish the DIY Picnic Table?
This inspiration table was finished with an exterior stain. Another option is to finish it with a clear sealer such as spar urethane.
Spar urethane helps protect the wood from water damage, sun damage, and temperature changes. For maximum protection, you could apply the sealer before assembly, and another coat after the picnic table is built.
Related: Spar Urethane vs Polyurethane: Differences + Which to Use
I recommend using a clear sealer so the natural beauty of the wood can show through. You can always paint the table if you want, but I think it looks best in its natural state.
How to Make a DIY Small Picnic Table
Printed Plan
Get the PDF plan here (includes detailed instructions, measurements, and bonus tips)
Materials
- Wood (per the printed plan)
- 2-½” Wood Screws
Tools
- Tape Measure
- Drill
- Kreg Multi-Mark
- Sliding Miter Saw
- Awl
- Countersink Drill Bit Set
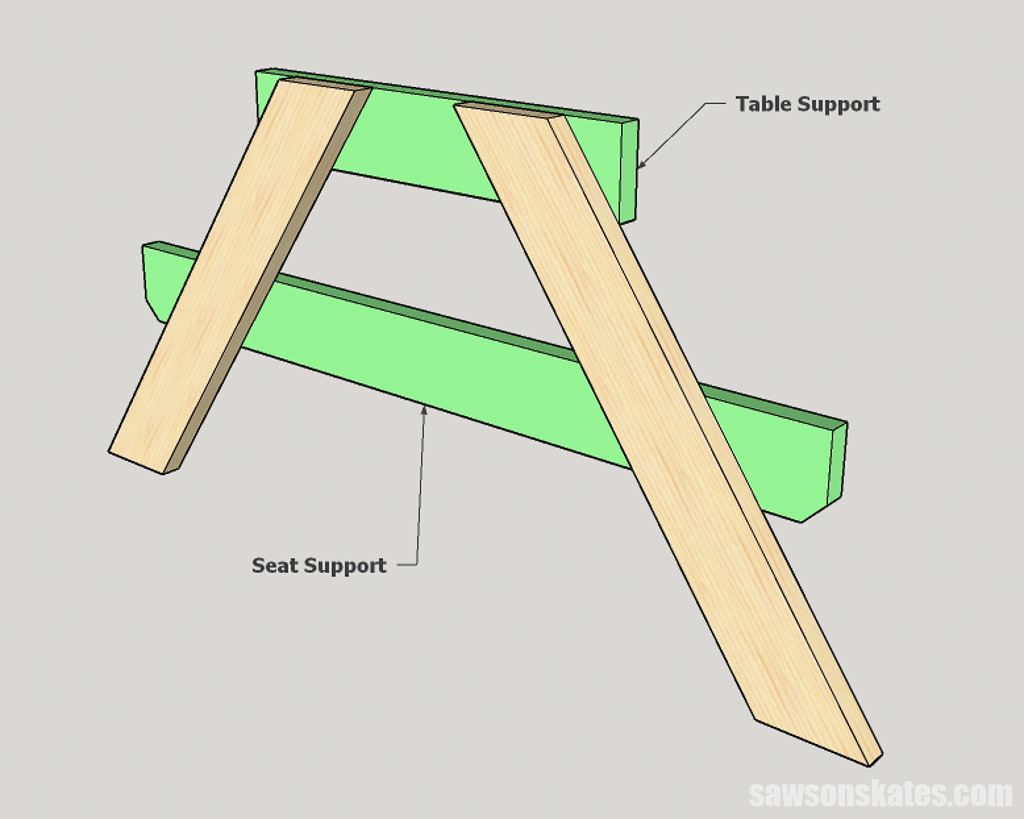
Step 1. Make the Leg Assemblies
Cut four pieces of wood to length with parallel angles on each end for the legs.
If you have a sliding miter saw, you’ll likely be able to make these cuts. Otherwise, you’ll need to use a speed square and a circular saw.
Related: 7 Miter Saw Tricks Every DIYer Should Know
Cut two pieces of wood to length for the table supports.
Cut two pieces of wood to length for the seat supports. Use the diagram in the printed plan to cut a 45-degree angle on the underside of each end.
Use the diagram in the printed plan to mark the locations for countersink holes that will attach the supports to the stretcher in Step 2. Use an awl to make a starting point for the drill bit.
Related: What is an Awl? (+ How to Use it)
Next, use a countersink drill bit to drill a hole at each mark.
Related: How to Use a Countersink Drill Bit
Place the legs on a flat surface. Use the diagram in the printed plan to position the table and seat supports and clamp them to the legs. Attach using 3″ exterior screws. Repeat for the second leg assembly.
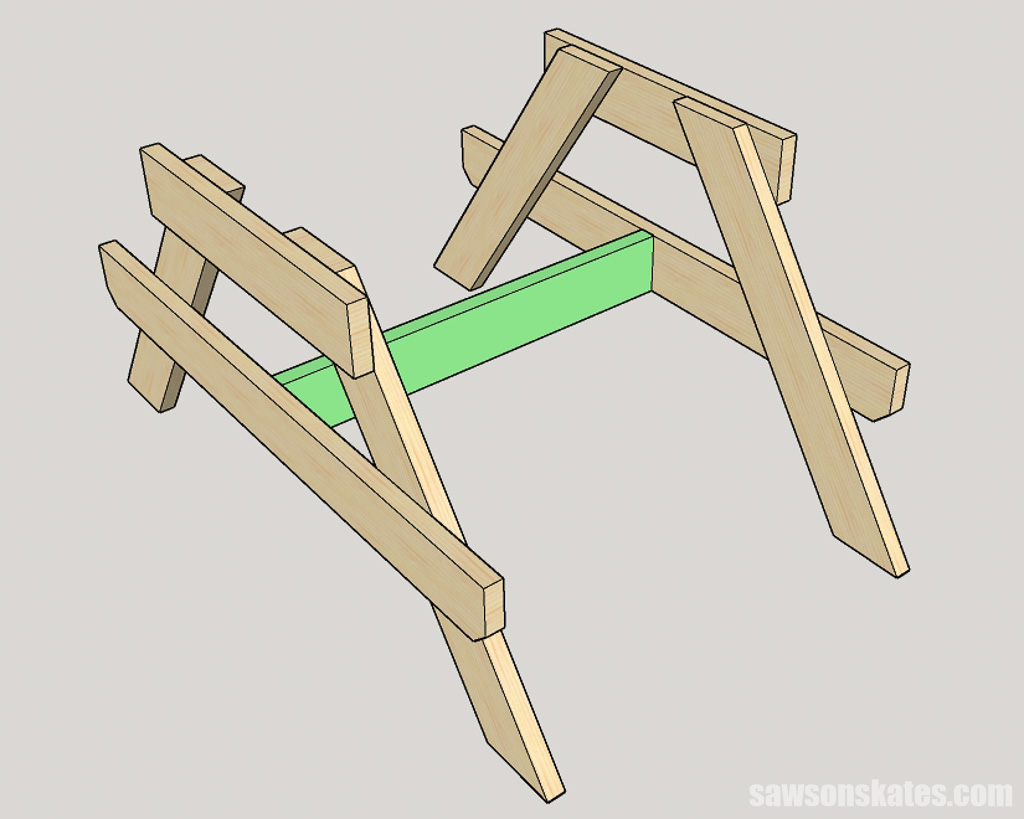
Step 2. Attach the Stretcher
Cut one piece of wood to length for the stretcher.
Position between the leg assemblies and attach using 3″ exterior screws.
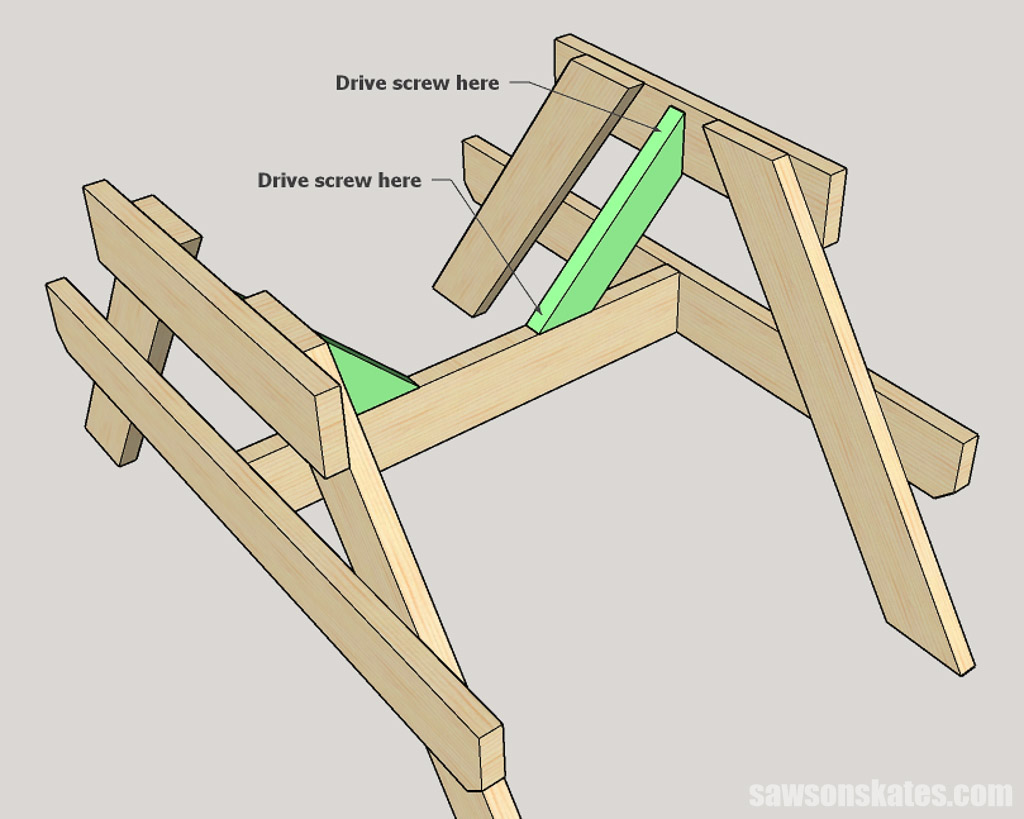
Step 3. Attach the Table Braces
Cut two pieces of wood to length with an angle on each end for the braces.
Position on the stretcher and leg assembly and attach using 3″ exterior screws.
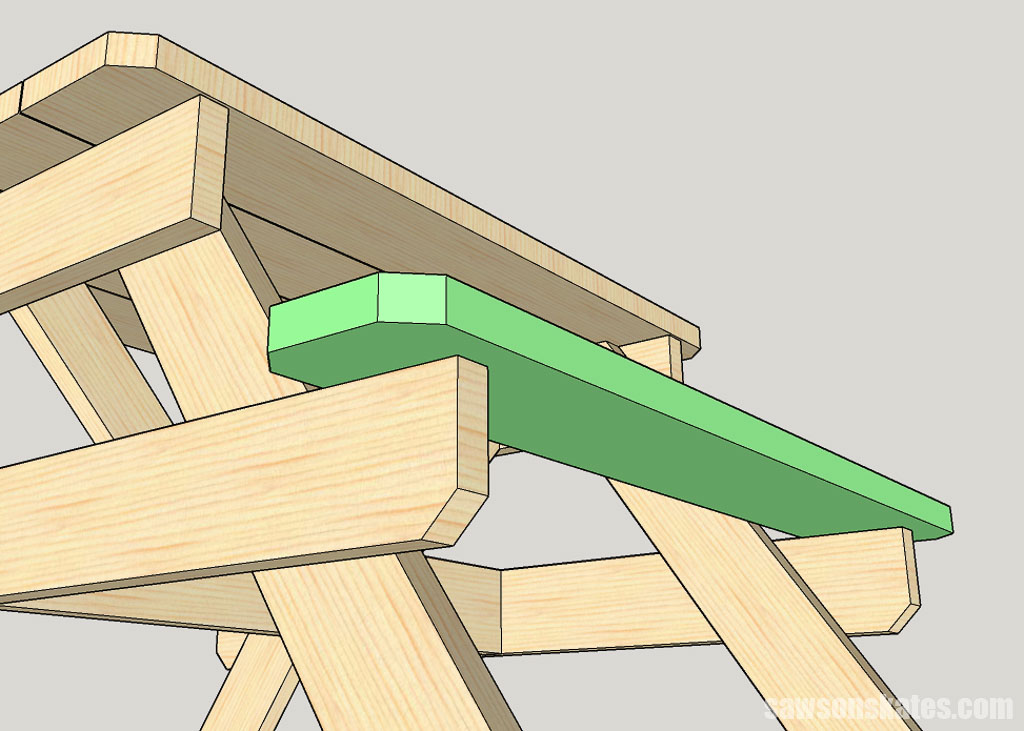
Step 4. Attach the Tabletop Boards
Cut four pieces of wood to length for the top. On two pieces, use the diagram in the printed plan to cut angles on the corners.
Position the top pieces on the table supports so there is an gap between each board, and the outer pieces overhang the support.
Attach each board to the table support with two screws in each end. First, mark the location for the holes, make a starting point with an awl, and drill using a countersink bit. Attach using 3″ exterior screws.

Step 5. Attach the Seats
Cut two pieces of wood to length for the seats. Use the diagram in the printed plan to cut angles on each corner.
Using the diagram in the printed plan, position the seat on the seat supports and attach each board to the support with two screws in each end. First, mark the location for the holes, make a starting point with an awl, and drill using a countersink bit. Attach using 3″ exterior screws.
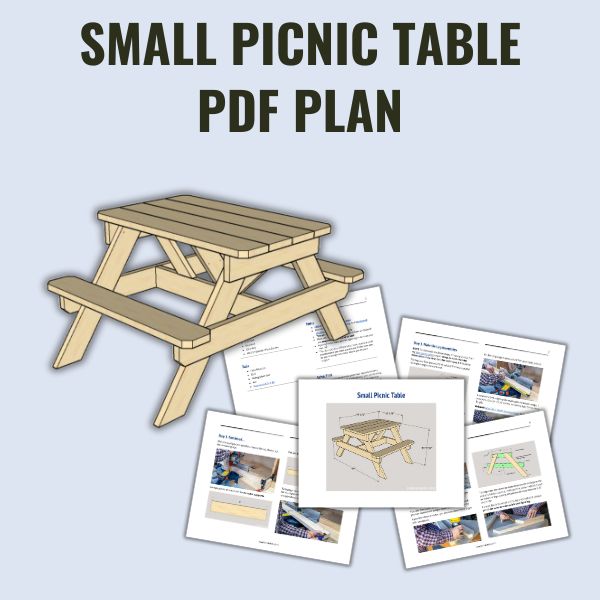
Includes:
- List of tools and materials
- Complete measurements (in inches)
- Easy-to-follow instructions
- Step-by-step photos
- Detailed diagrams
Final Thoughts
This small DIY picnic table is the perfect size for a patio, deck, or backyard and a great spot to enjoy a meal outdoors with family and friends. The best part is that it’s super simple to build and only requires eight boards!
Thank you for stopping by. If you enjoyed this tutorial, would you please take a moment and pin it to Pinterest? I’d really appreciate it!
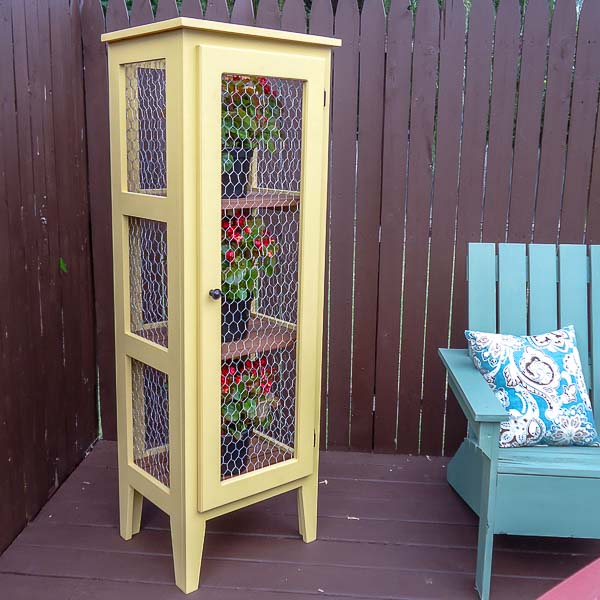
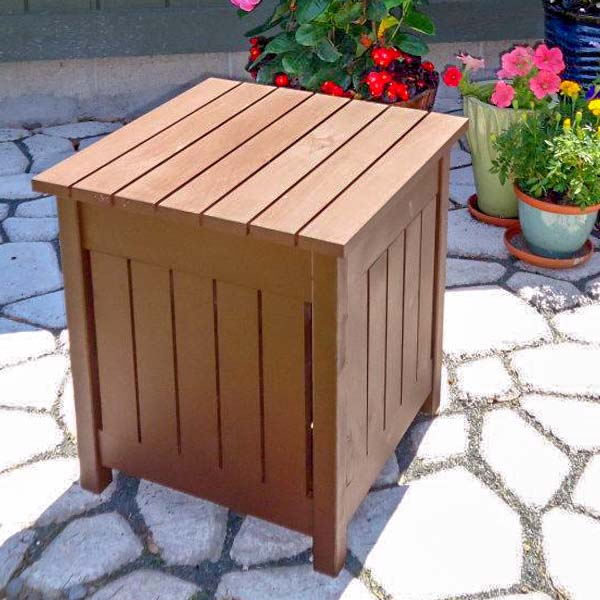
Recommended For You
Pin This For Later

Hi there – I’m Scott, a woodworking enthusiast and creator of Saws on Skates, a site I started in 2015 to share easy-to-follow tutorials, space-saving shop tips, and project inspiration for DIYers at any skill level. Learn more about my woodworking journey here.
What software do you use to render your sketches of your projects?
Hi Lee – I use SketchUp to design my plans.