DIY Broom Closet
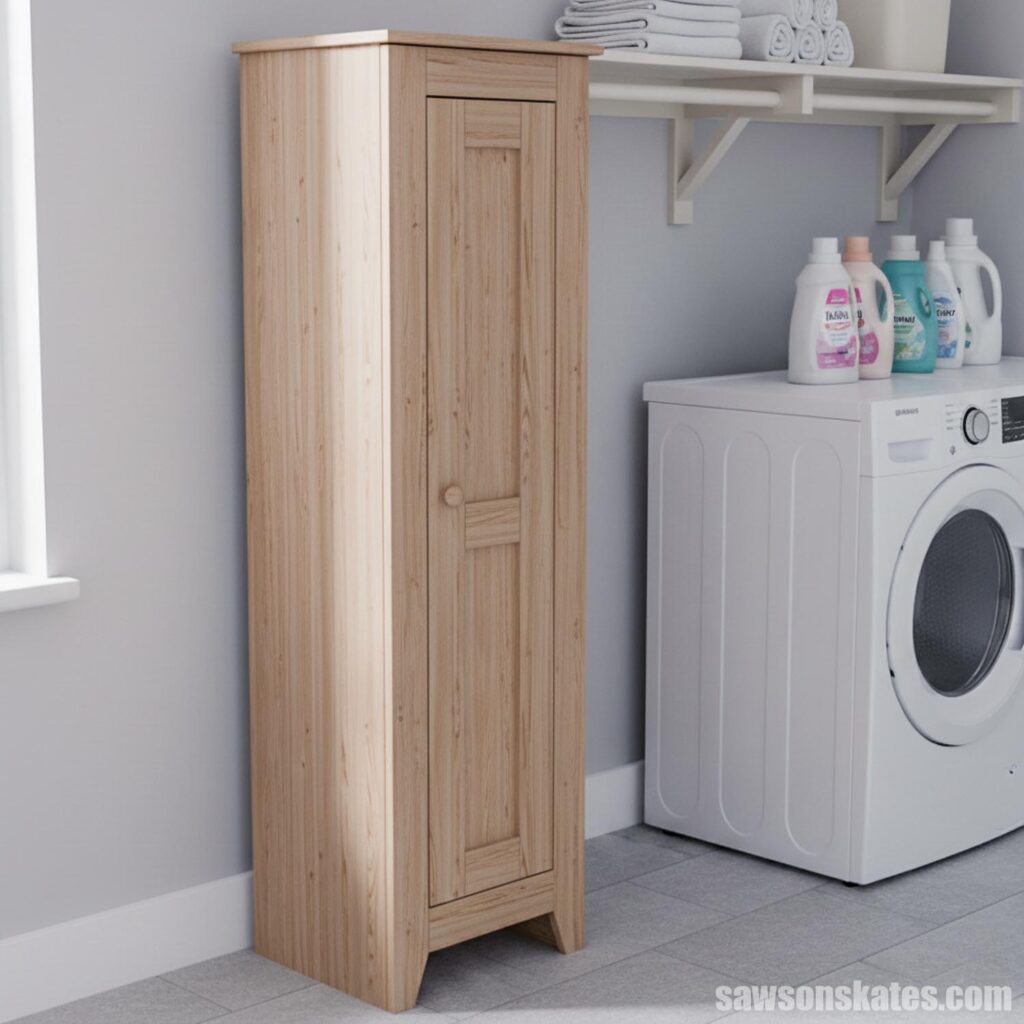
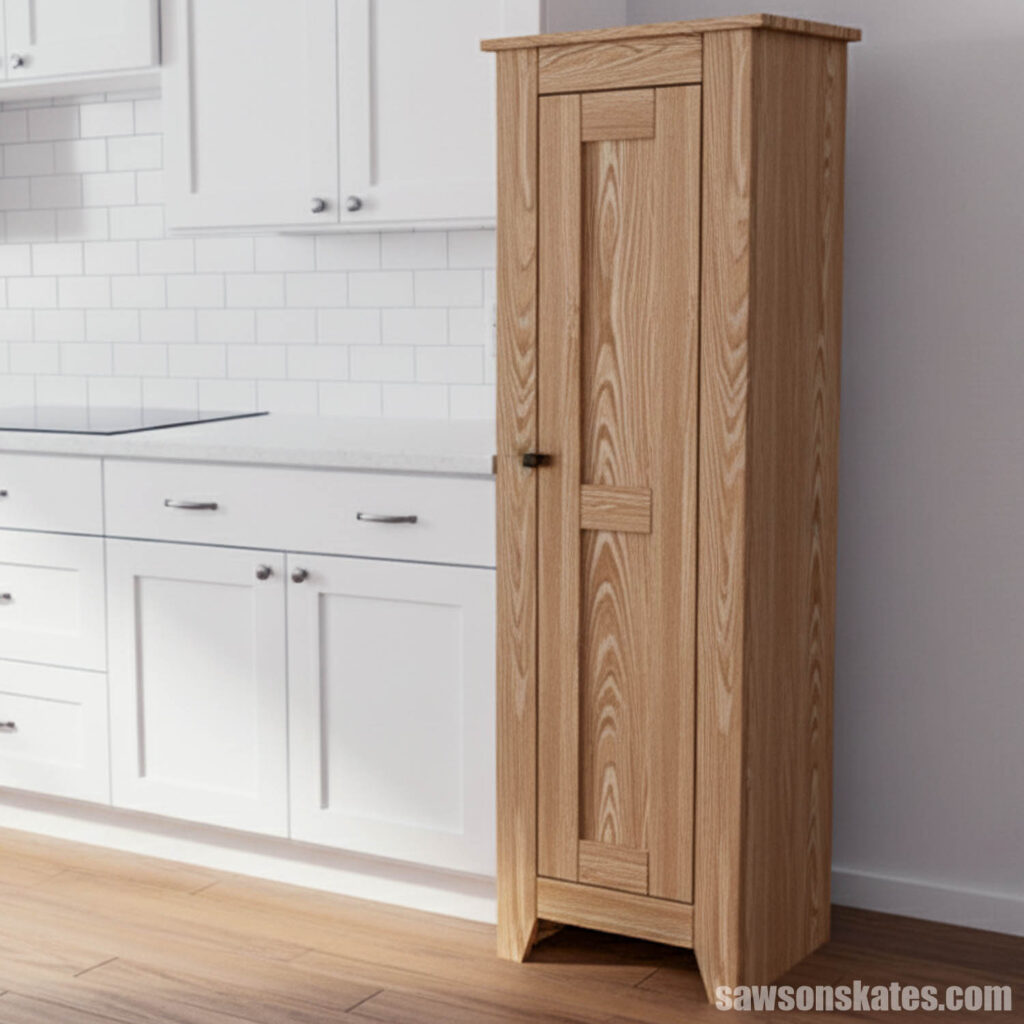
Build a narrow storage cabinet that fits almost anywhere. Perfect for cleaning supplies, linens, pantry staples, or crafts, with customizable style options.
What Should I Build Next?
That's the question I help answer.
Every week, I send woodworking ideas to 17,000 DIYers who love building things.
You'd fit right in.
I’ve mentioned in a few posts that my friend Colleen, who’s a home decor blogger, often sends me project ideas. A few years ago, she suggested making an antique-style broom closet. I loved the idea, but at the time, I didn’t need one (and didn’t know anyone who did).
So when I was brainstorming ideas for Sketch & Specs, Colleen’s broom closet, or narrow storage cabinet, popped back into my mind.
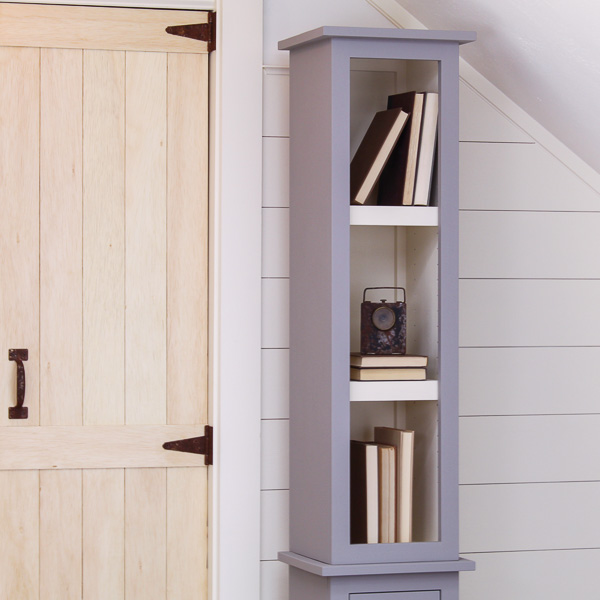
NOTE: I designed this cabinet in SketchUp to lay out the dimensions and construction details, then used AI to create a “finished” image so you can see what the project could look like once built.
Style Options
I designed it with a primitive vibe, imagining a beadboard door and back panel. But I get that not everyone shares my love for antique style. If you prefer a more modern look, you can narrow the face frame and door parts, and swap the beadboard for flat panels.
Materials and Joinery
As for materials, I designed the cabinet using boards glued into panels, but you could swap plywood for the sides, bottom, and shelves. And while I designed it with pocket hole construction in mind, you can use any joinery method you like.
Related: How to Use a Pocket Hole Jig (& Beginner Pitfalls to Avoid)
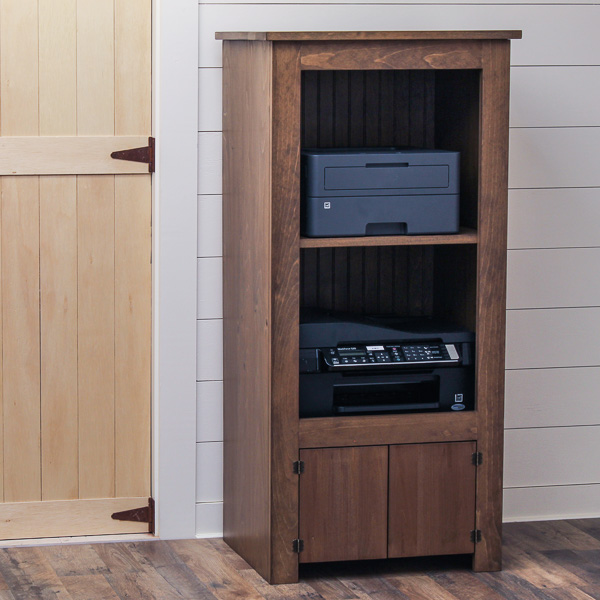
Adjustable Shelves
Speaking of shelves, if you want to use this as an actual broom closet, you could skip the adjustable shelves. Just a heads up: I forgot to shave about ⅛” off the shelves’ depth in these sketches to give them some wiggle room to move them within the cabinet. So if you’re adding them, you’ll want to make that tweak.
Door Details
The door panels are recessed into a rabbet in the door frame. If you decide to attach the panels to the back instead, the shelves will need even more clearance so they don’t get in the way when closing the door.
Inset vs Overlay Doors
One more option: I designed the door as an inset, meaning it sits within the face frame. Inset doors need about a ⅛” gap on all sides, which can be tricky (and frustrating!) to get just right.
An easier alternative is an overlay door, which sits on top of the face frame and overhangs the opening by about ½” on each side. It slightly changes the look but makes alignment much easier, and any imperfections are much less noticeable.
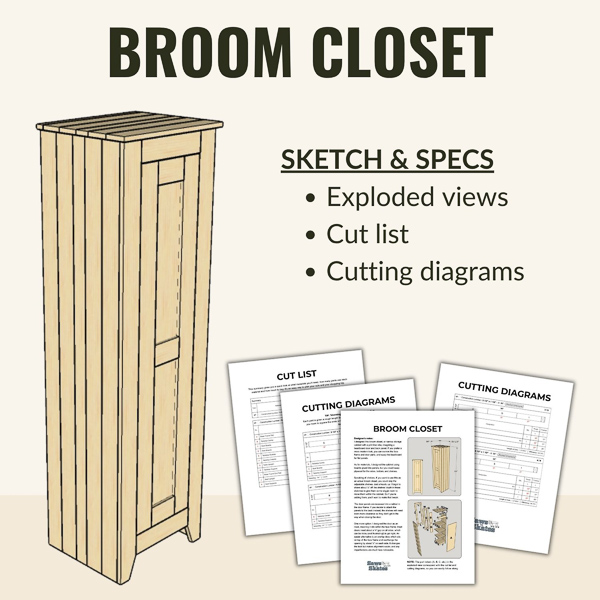
About Sketch & Specs:
This project is part of my Sketch & Specs series, which includes:
✔️ Exploded view diagrams
✔️ Cut list
✔️ Cutting diagrams
NOTE: This isn’t a step-by-step tutorial. It’s designed for DIYers who prefer visuals and specs to guide them.
Includes:
- Exploded views
- Cut list
- Cutting diagrams
- Available in inches and metric
Final Thoughts
Whether you build it as a primitive-style broom closet or a sleek modern storage cabinet, this project is easy to adapt to your style, your space, and your tools.
It’s a versatile storage solution, perfect for narrow spaces that works just as well for cleaning supplies as it does for linens, pantry items, or craft storage.
Recommended For You

Pin This For Later

Hi there – I’m Scott, a woodworking enthusiast and creator of Saws on Skates, a site I started in 2015 to share easy-to-follow tutorials, space-saving shop tips, and project inspiration for DIYers at any skill level. Learn more about my woodworking journey here.