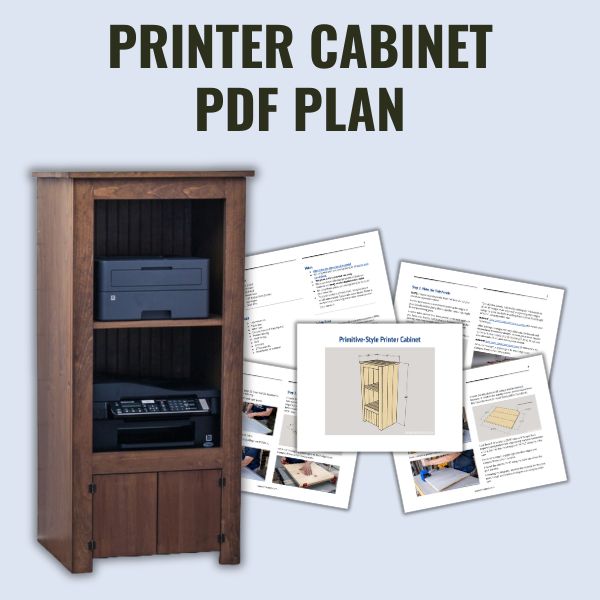
DIY Primitive-Style Printer Cabinet
Need a spot for your printer supplies? With its compact footprint and ample storage, this primitive-style cabinet is the perfect solution.

What Should I Build Next?
That's the question I help answer.
Every week, I send woodworking ideas to 17,000 DIYers who love building things.
You'd fit right in.
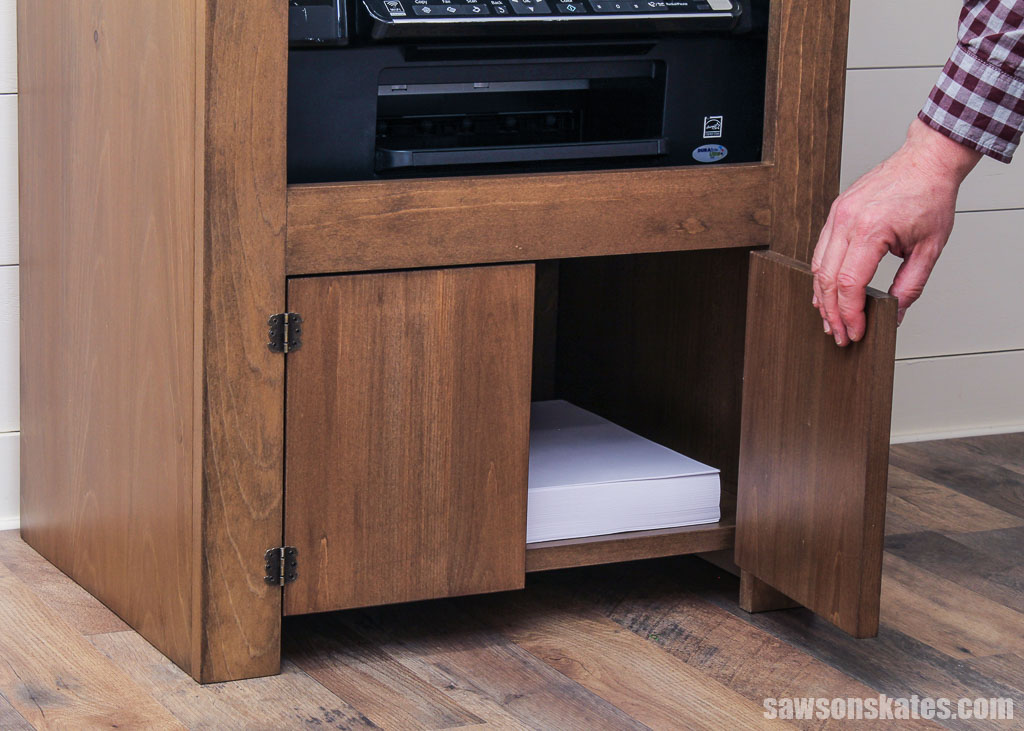
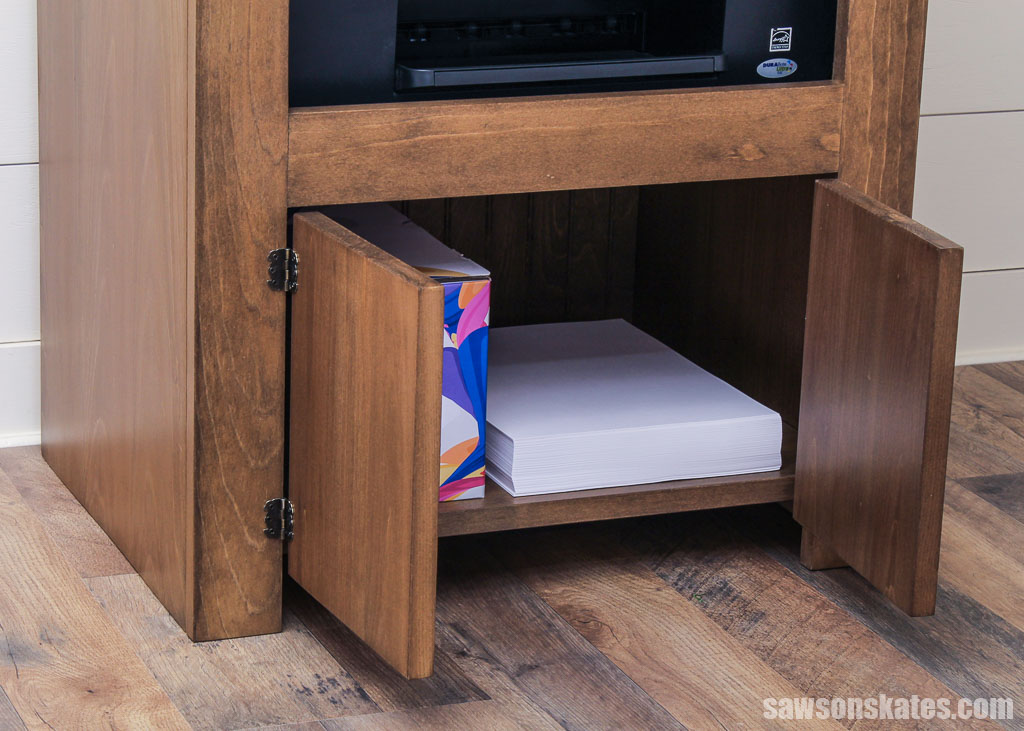
Is your home office short on storage space? Looking to add a rustic touch without sacrificing functionality? With its compact footprint and plenty of storage for your printer, scanner, and extra paper, this primitive-style cabinet is the perfect solution for even the tightest spaces. I’ll show you how to build it in this step-by-step tutorial.
Table of Contents
This article contains affiliate links. If you purchase from these links, I may earn a small commission at no additional cost to you. Visit my site policies for more information.
Inspiration for This Project
One of the things I love about making my own furniture is the ability to design pieces for awkward spaces. For years, I did my computer work at my dining room table. I grew tired of seeing my “workstation” during my off hours. So a few years ago, I transformed a closet into my “cloffice,” a closet office.
Even though it’s super tiny, only about 2 feet by 6 feet, this little space is one of the best things I’ve ever done for my business. When I’m done for the day, I can close the door and leave work behind. Well, kind of. I still think about it, but at least I don’t have to see it until tomorrow.
One of the challenges I faced, even when working at the dining room table, was that I didn’t have a spot for my printer, so it lived in my bedroom closet. Whenever I needed to print something, I had to go upstairs to the printer. While it wasn’t that far, it felt like a pain if I only needed to print one sheet.
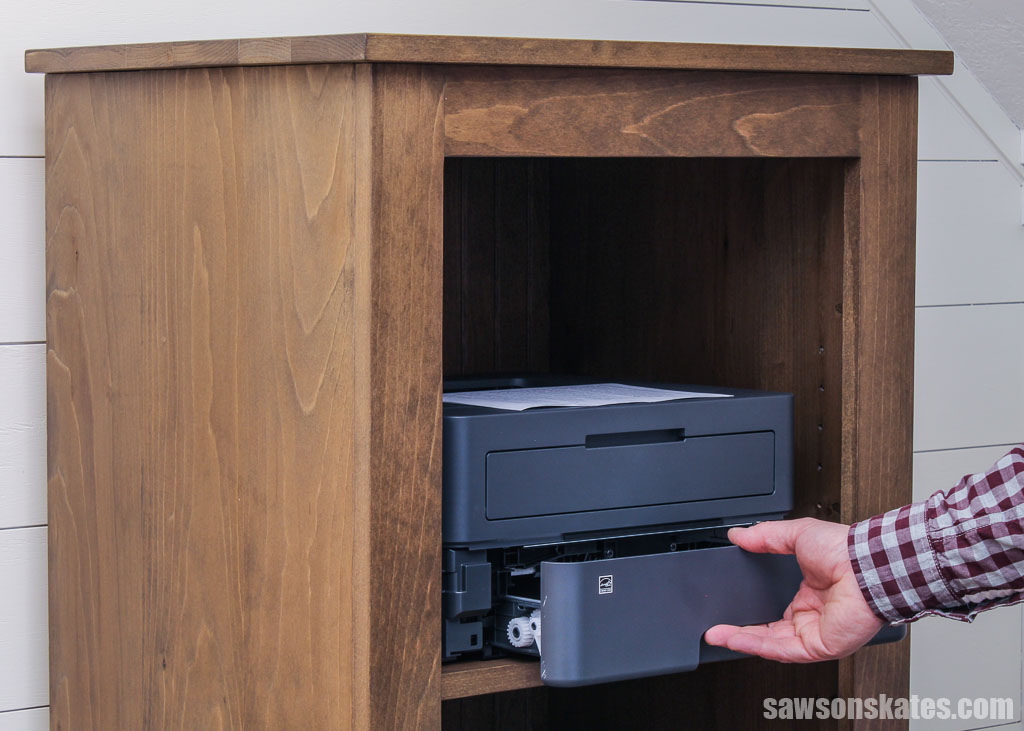
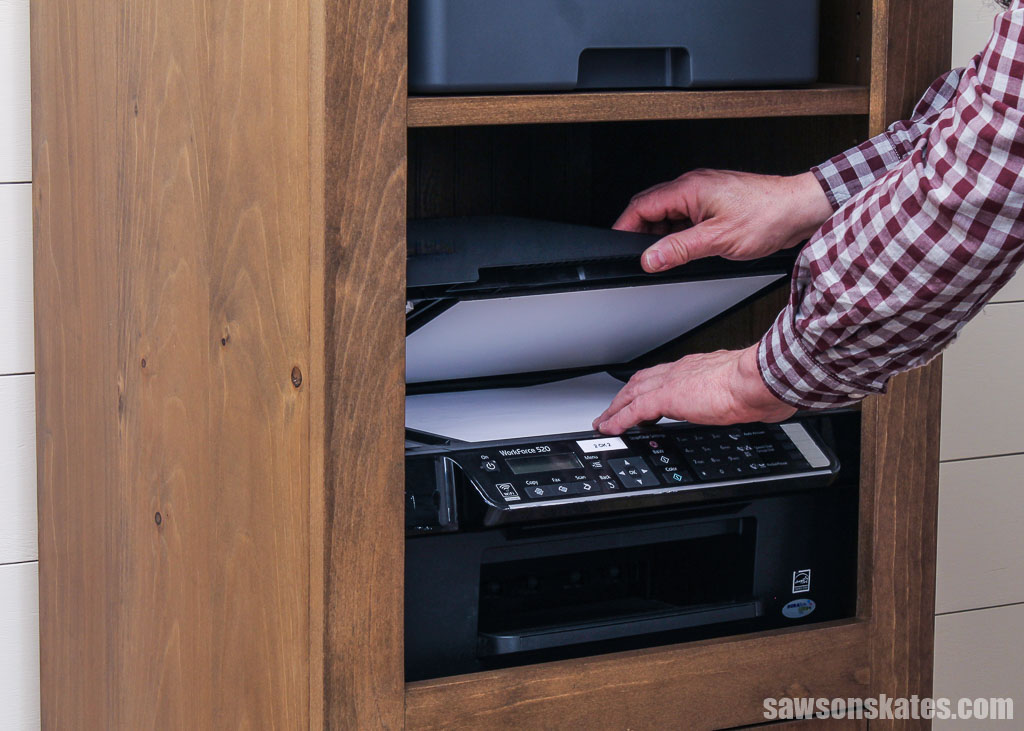
One day, it hit me: I should build a printer cabinet. I could design it to fit the small space and have a spot for my laser printer, scanner, and extra paper. And the cloffice could use some light, so the top would be an excellent place for a lamp. And since I was custom designing it, and one of the furniture styles I find pleasing is primitive, I would go with that.

After I finished building this cabinet, I noticed my friend Karen had a similar one in her guest bedroom that she used for a small TV. Then, my friend Matt helped me move the cabinet into my house, and he mentioned that he also had a similar cabinet that he used as a TV stand. So, I think this project would make an excellent small-sized entertainment center. You could also add doors to the cabinet and use it for storage.
What Wood Should You Use?
I built my printer cabinet with pine boards and a scrap piece of beadboard paneling left from making these cabinet doors.
While you could make your cabinet with plywood, I prefer to avoid it because maneuvering the large sheets in my workshop can be challenging.
What Tools Do You Need?
I used a handful of tools to make my cabinet:
- Table saw
- Miter saw
- Circular saw and Kreg Rip-Cut
- Drill
- Pocket hole jig
- Shelf pin jig
- Brad nailer or hammer
How to Make a Primitive-Style Printer Cabinet
Printed Plan
Get the PDF plan here (includes detailed instructions, measurements, and bonus tips)
Materials
- Wood (per the printed plan)
- Wood Glue
- 1-¼” Pocket Hole Screws
- (4) Hinges (I used these)
- Shelf Pins
Tools
- Tape Measure
- Table Saw
- Miter Saw
- Circular Saw and Kreg Rip-Cut
- Pocket Hole Jig
- Shelf Pin Jig
- Drill
- Drill Bits
- 2” Forstner Bit
- Brad Nailer or Hammer
Step 1. Make the Side Panels
NOTE: I made my side panels from boards, but you could use plywood instead.
For the best results, I recommend jointing the edges of your boards before gluing them together, ensuring a tight fit and preventing gaps.
I used a table saw for this, but a jointer is the best option if you have one. And for full disclosure, I sometimes skip the jointing step if my boards’ edges are already reasonably square.
Related: Jointer vs Planer (Differences & Which to Buy First)
To make the panels, I started by cutting six boards about a ½” longer than required and jointing their edges using my table saw before cutting them to their final length using my miter saw.
Related: How I Joint Edges Without a Jointer (for Panels and Table Tops)
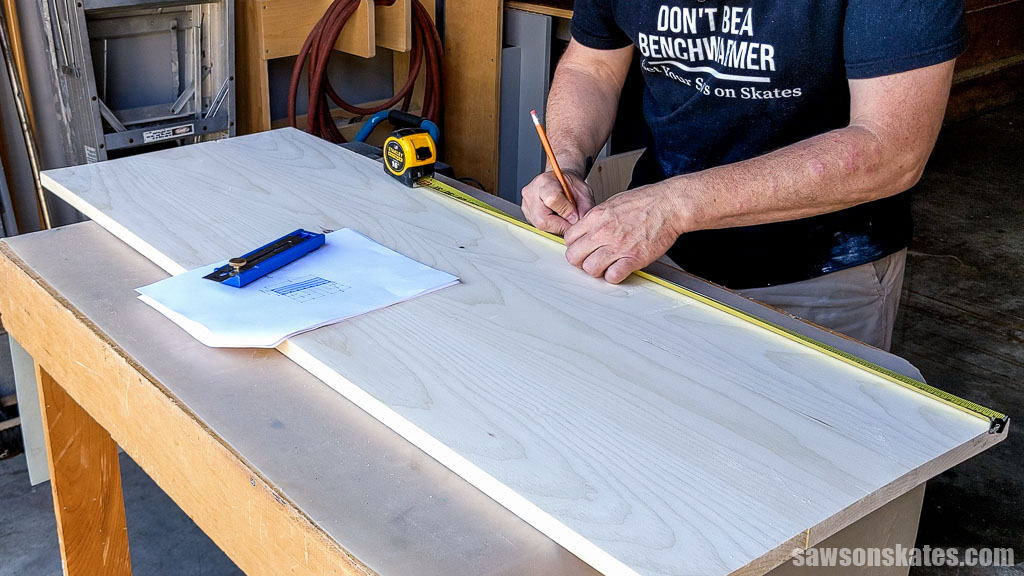
After jointing the edges, the boards will be relatively straight, so I can get a clean, square cut when I trim the board to its final length. First, I’ll cut one end, measure, and then cut the second.
Related: Why Can’t I Make Accurate Cuts? (& How to Fix It!)
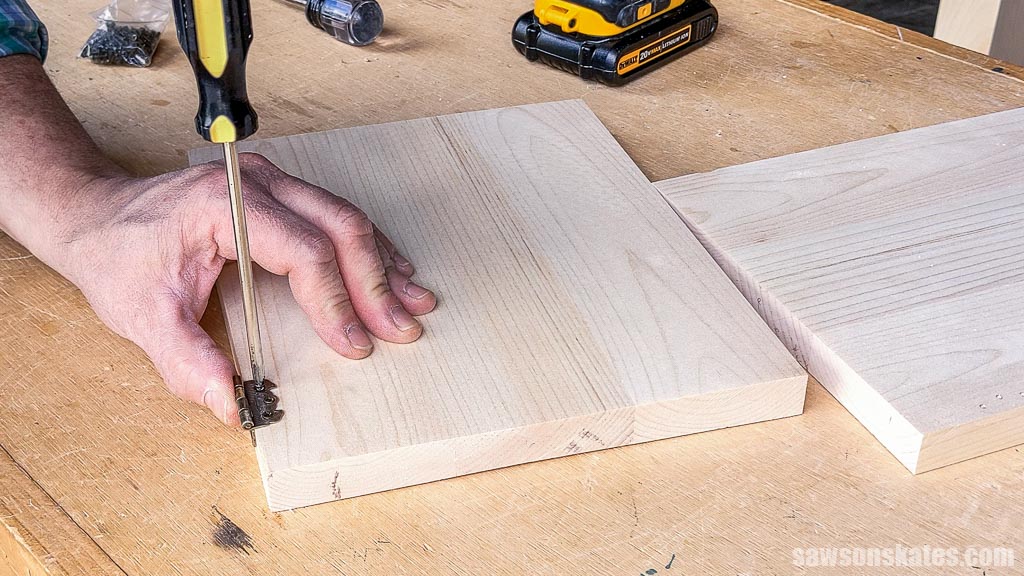
Once cut to length, I applied glue to their edges and clamped them to form two panels.

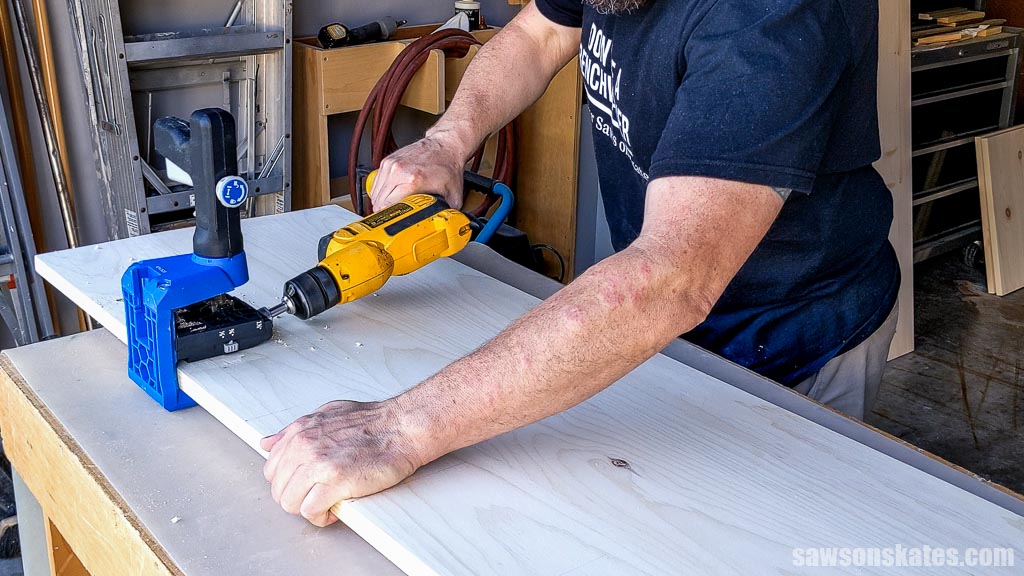
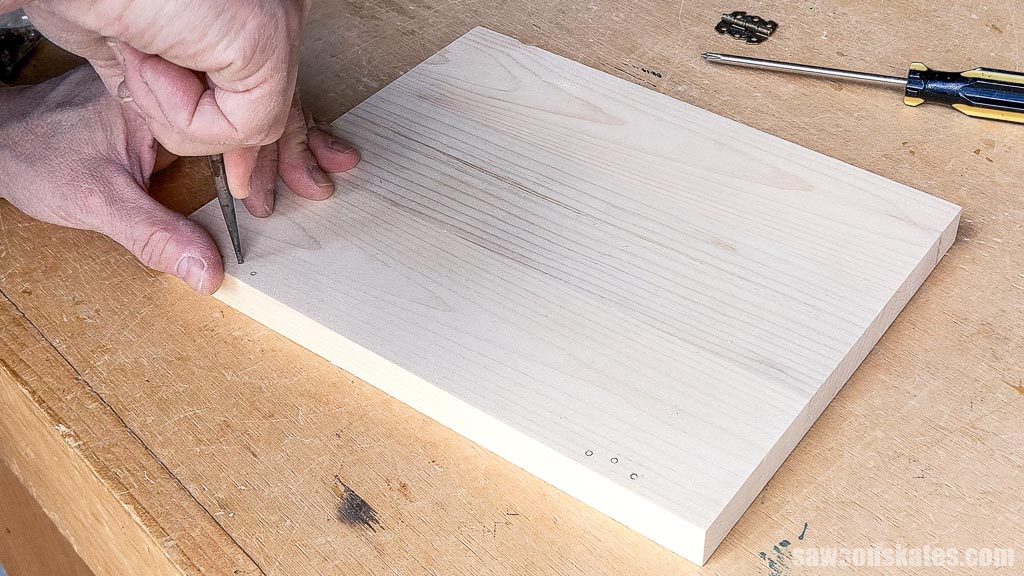
Following the diagram in the printed plan, I marked the location for pocket holes when the glue was dry.
NOTE: Be sure to make a left and right panel.
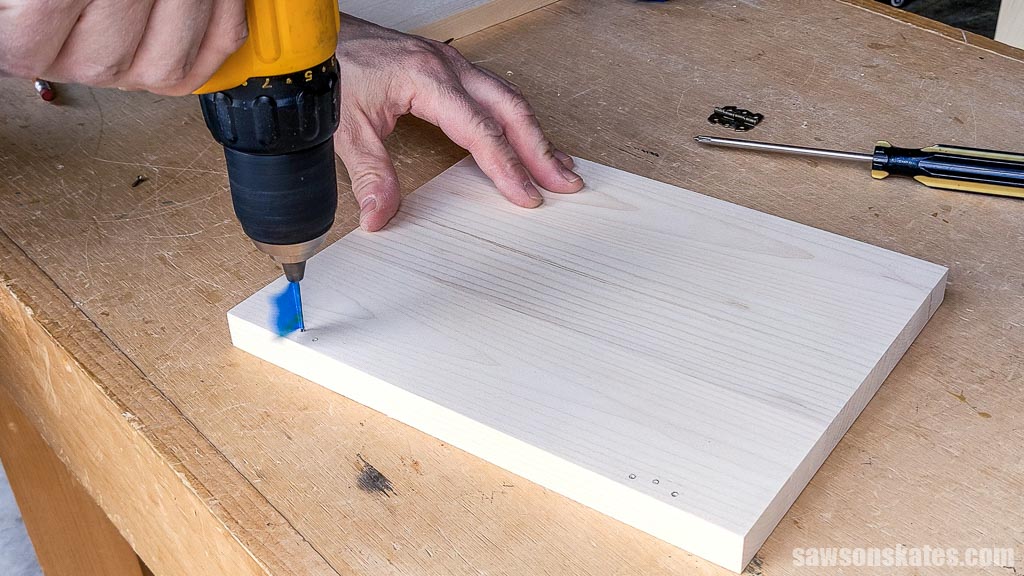
Then, I drilled a pocket hole at each mark.
Related: How to Use a Pocket Hole Jig (Beginner Pitfalls to Avoid)
Step 2. Make the Shelves
I made the fixed shelves following the same method as the side panels, cutting six boards about a ½” longer than required and jointing their edges using my table saw before cutting them to their final length using my miter saw.
Once cut to length, I applied glue to their edges and clamped them to form two panels.
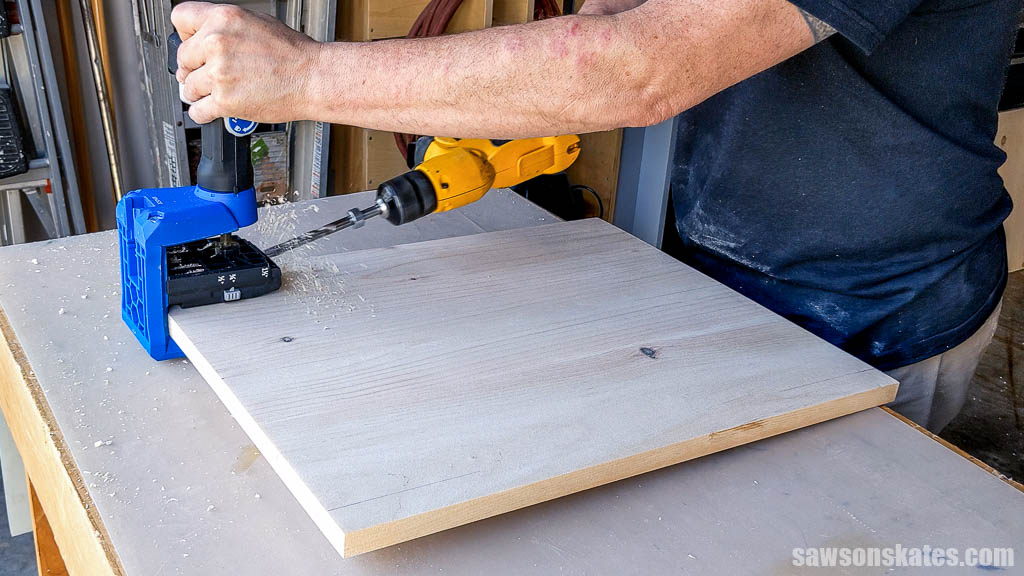
Following the diagram in the printed plan, I marked the location for pocket holes when the glue was dry and drilled one at each mark.
I made the adjustable shelf using a similar method; however, it needs to be slightly shorter and narrower than the fixed shelves so it moves freely within the cabinet.
I cut three boards about ½” longer than required and jointed their edges using my table saw before cutting them to their final length using my miter saw.
Once cut to length, I applied glue to their edges and clamped them to form a panel.
I ripped the shelf to width using my table saw when the glue was dry.
Following the diagram in the printed plan, I marked the location for the cord passthrough and made a 45-degree cut using my miter saw.
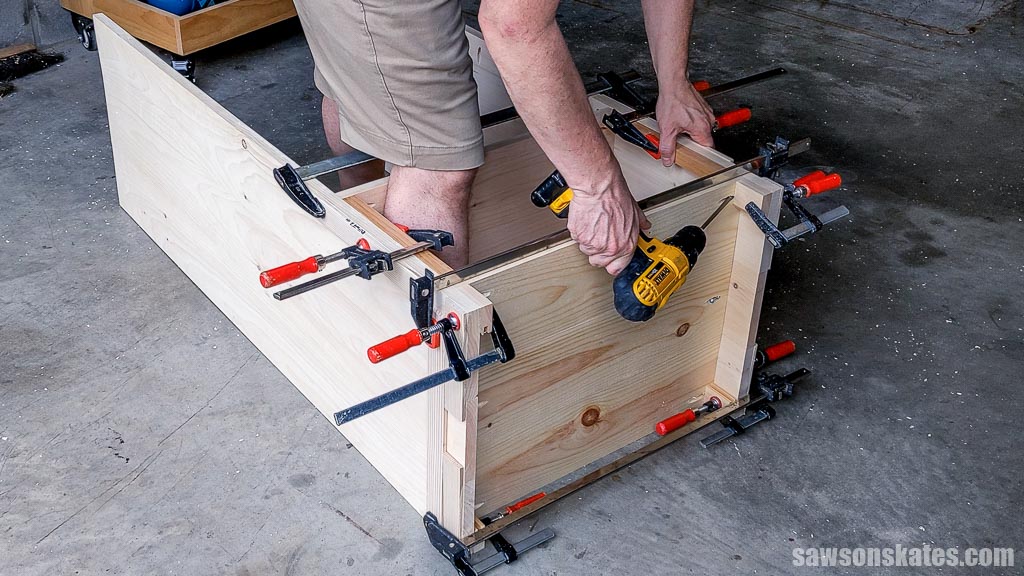
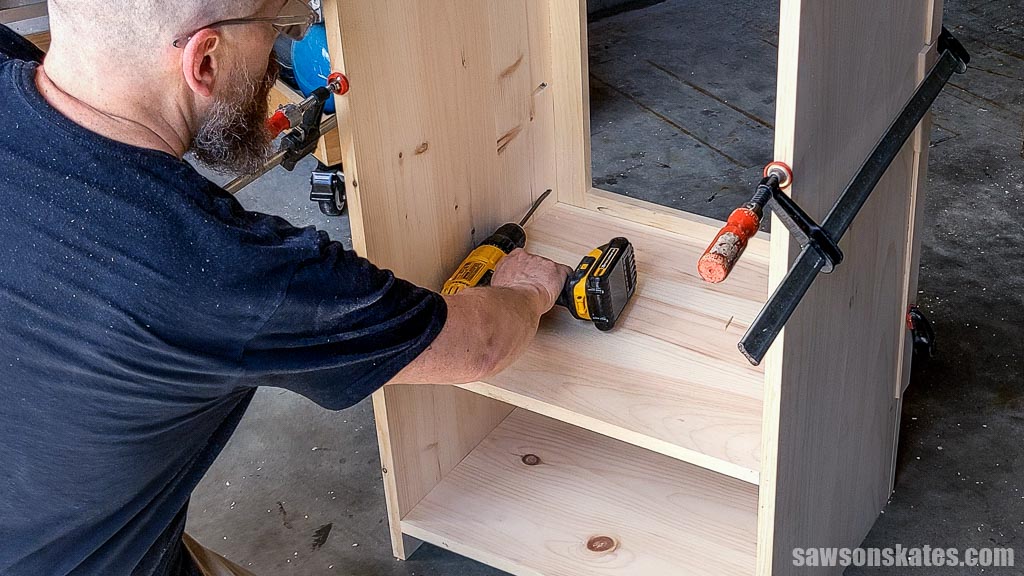
Step 3. Assemble the Case
To help position the shelves, I cut four pieces of scrap wood to act as spacers.
I clamped the shelves to the sides and attached them using 1-¼” pocket hole screws.
Step 4. Attach the Face Frame
Using my miter saw, I cut two pieces of wood to length for the stiles.
Wood widths can vary, so for the best fit of the rails, I clamped the stiles side by side, positioned a board, and marked it for length.
With my miter saw, I cut two pieces to this length for the upper and lower rails.
Using a pocket hole jig, I drilled pocket holes in each end.

To help position the lower rail, I cut two pieces of scrap wood to length and clamped to the bottom of each stile.
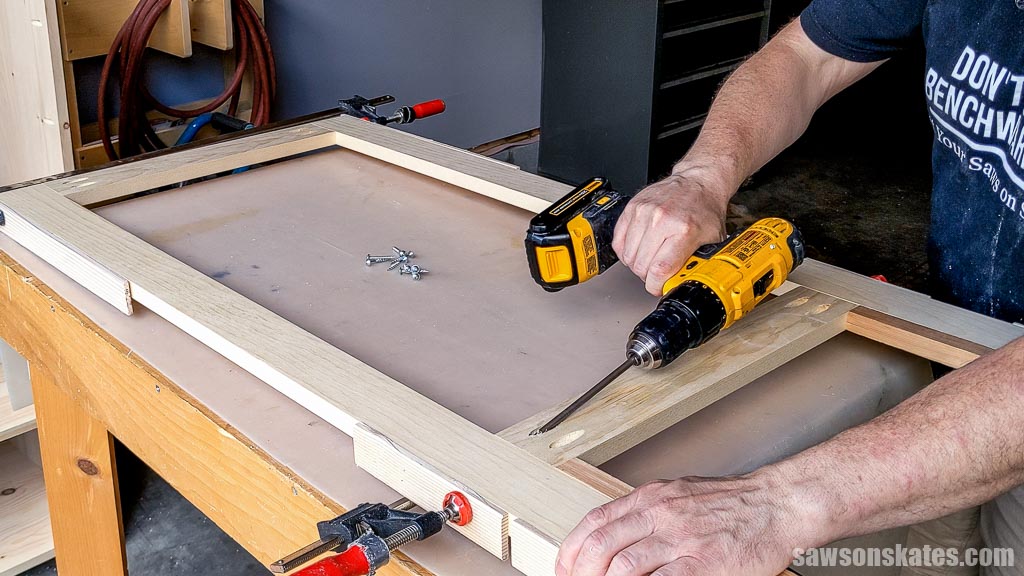
I applied glue to the rails, clamped them to the stiles, and attached them using 1-¼” pocket hole screws.
NOTE: While I frequently use pocket holes to assemble my projects, the drawback is they don’t ensure perfect alignment between the stiles’ sides and the case. One thing I could’ve done to improve the fit is cut biscuit slots in the back of the stiles and edges of the case. If you have a biscuit jointer, I recommend taking this extra step.
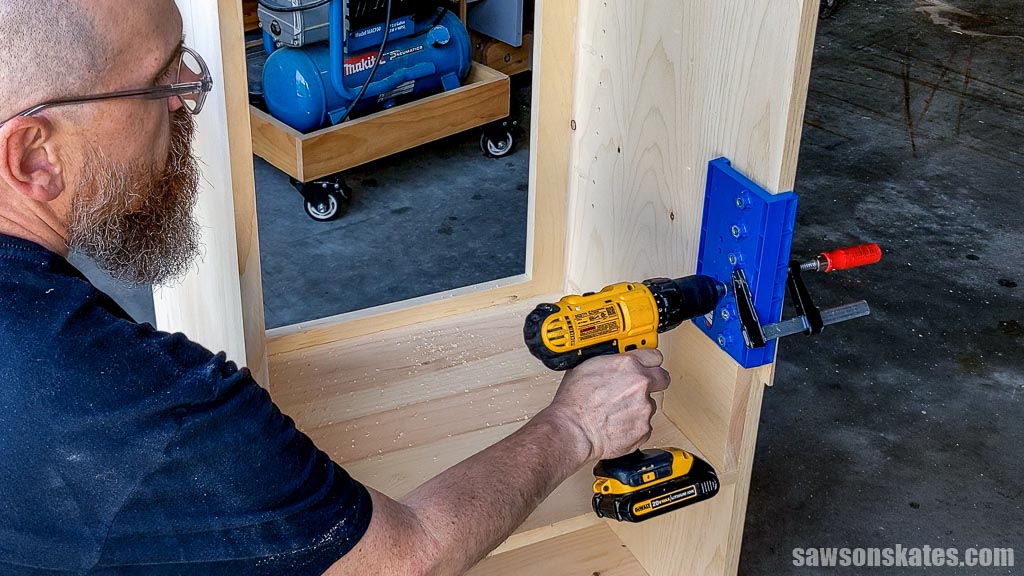
I positioned the face frame on the case, clamped it in place, and attached it using 1-¼” pocket hole screws.
After attaching the face frame, I filled the case’s pocket holes with pocket hole plugs, then sanded them smooth after the glue was dry.
Related: How to Make Pocket Hole Plugs
I typically wouldn’t address the back of a project at this stage, but I’m using beadboard, and I want to ensure the grooves are centered from side to side, so I’m taking care of it now.
You can follow the diagram in the printed plan to cut the back to size if you’re using a solid piece without grooves.
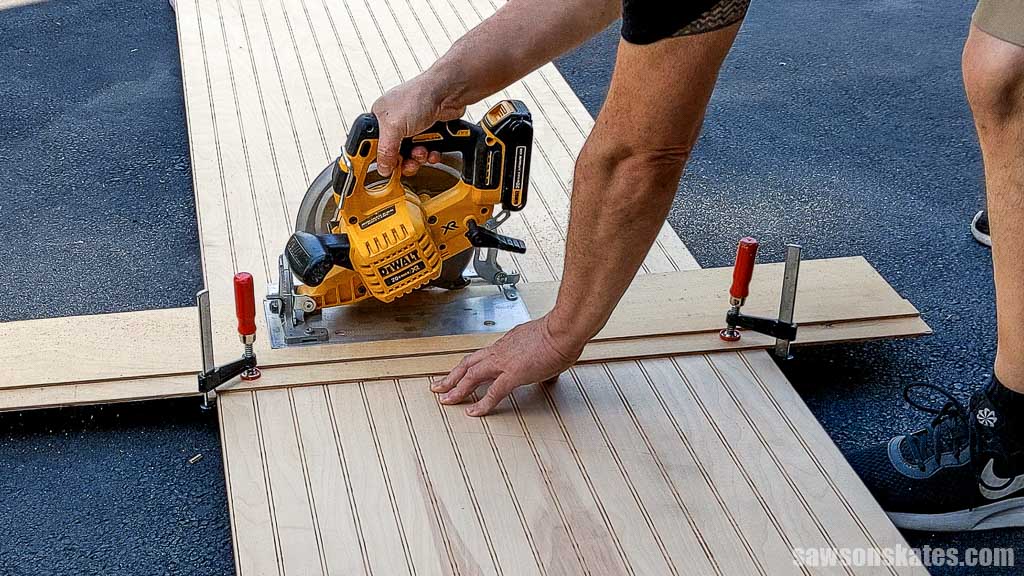
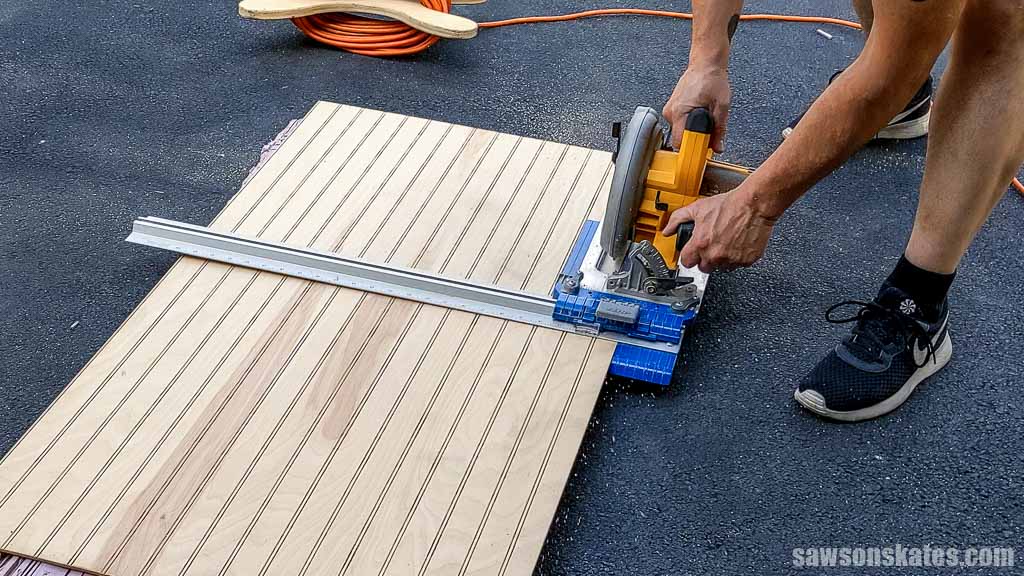
Using a DIY crosscut guide and a circular saw, I cut a scrap piece of beadboard to length.
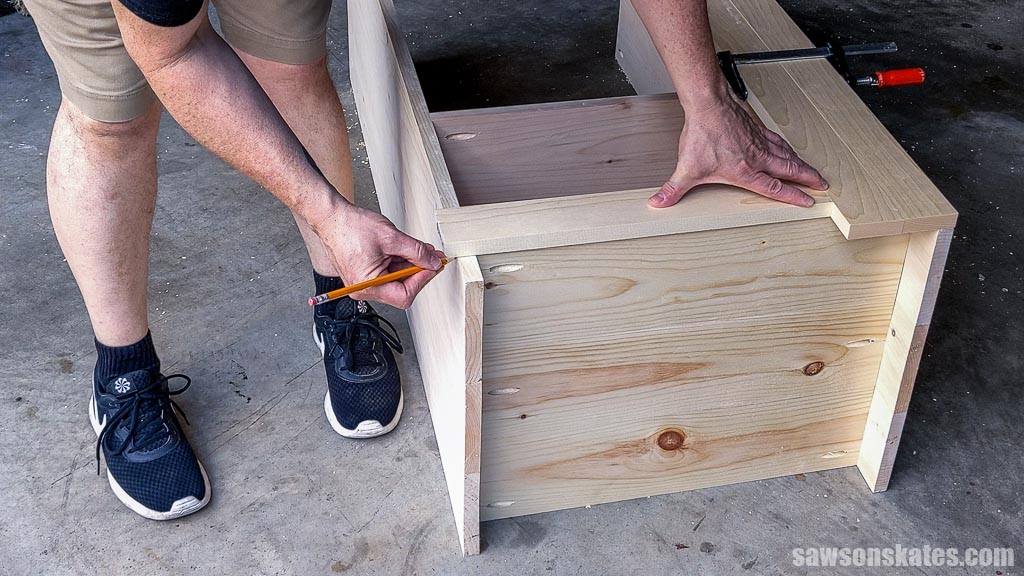
I positioned the beadboard on the back of the case, ensuring the grooves were centered from side to side. Using a pencil, I marked the left and right sides. Don’t cut on these marks; otherwise, the back will be too narrow.
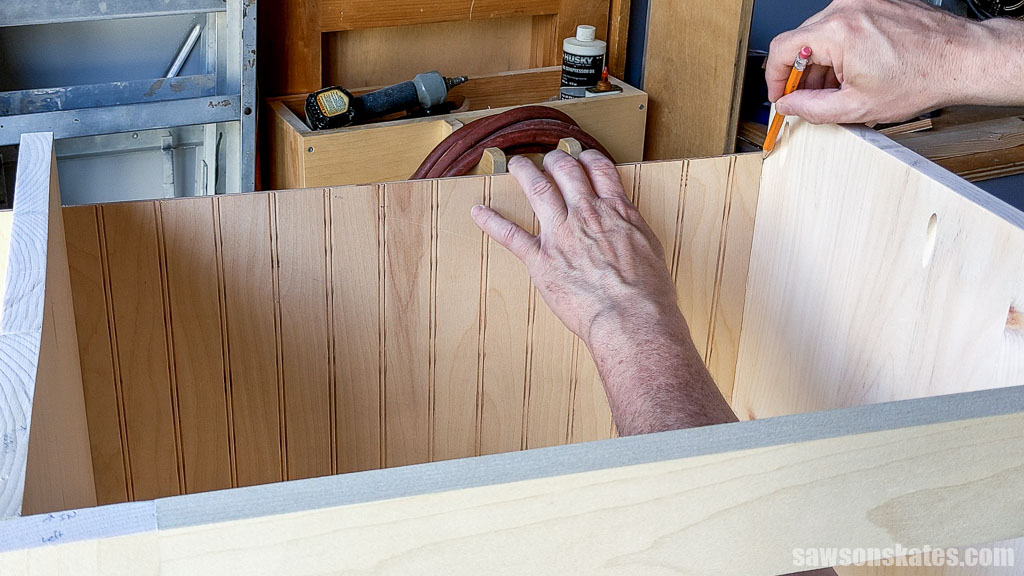
Next, I measured outward from each mark. You’ll want to cut on these marks; otherwise, as I said, the back will be too narrow.
I cut the back to width using my circular saw and a Kreg Rip-Cut.
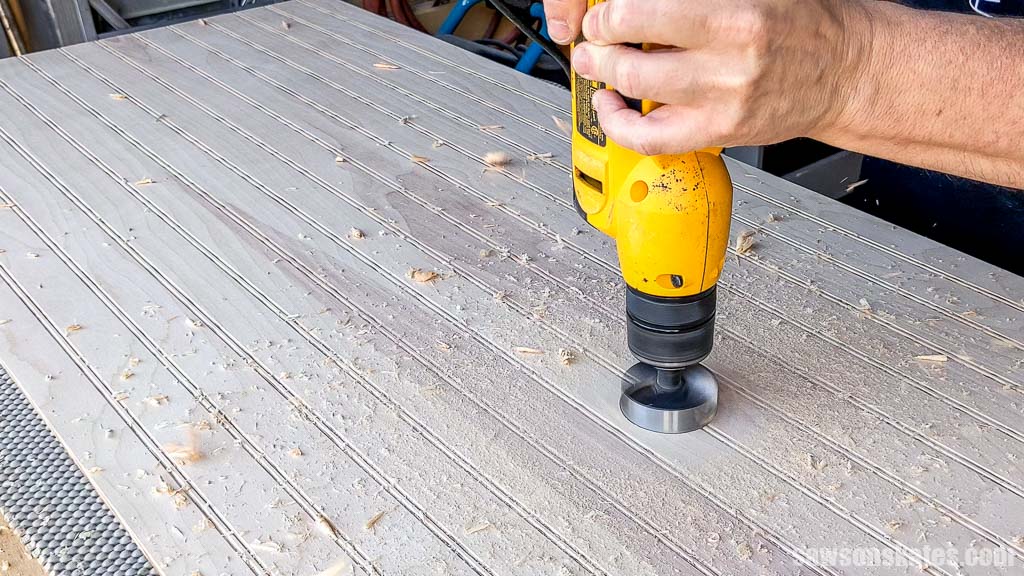
Following the diagram in the printed plan, I marked the location for a cord passthrough and used an awl to make a starting point for the drill bit.
Related: What is an Awl? (& How to Use It)
With a Forstner bit, I made a hole at the mark.
Related: What is a Forstner Bit? (& How to Use It)
TIP: To make the finishing process easier, I didn’t attach the back at this time. Instead, I applied the stain and sealer before attaching it to the case.
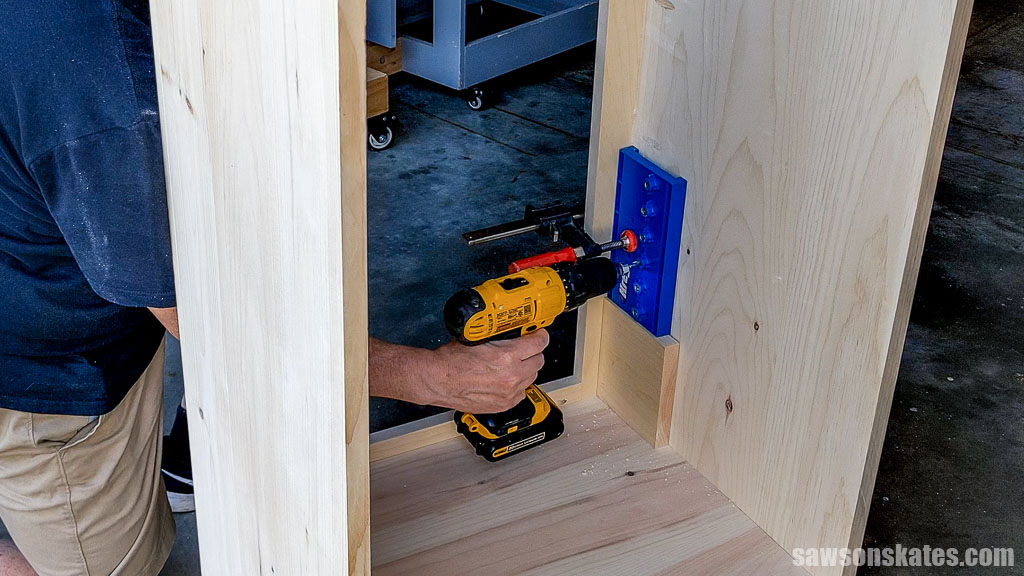
Using a shelf pin jig, I made the holes for the removable shelf.
Related: How to Make Adjustable Shelves with a Shelf Pin Jig
I placed a piece of scrap wood on the lower shelf to create a spacer, preventing the first shelf pin from being too close to the opening’s edge.
To prevent drilling through the pocket holes, I removed the jig’s guide and placed it against the back of the face frame, allowing me to position the shelf pin holes about 2-½” from the front edge.
I drilled the shelf pin holes along one edge and for the other side.

On the back, I attached the guide, offsetting the shelf pin holes about 1” from the back edge.
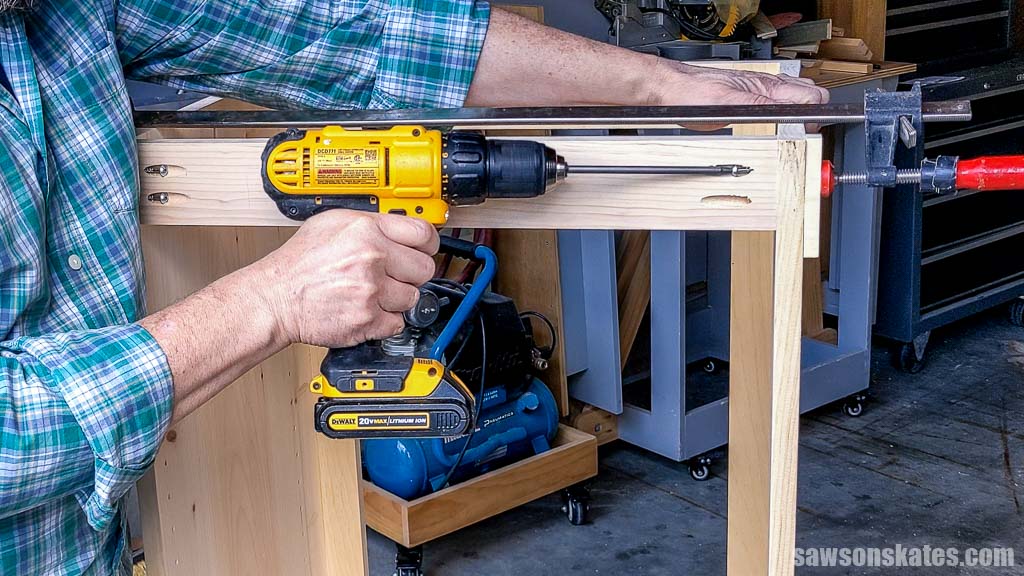
Once the shelf pin holes were drilled, I cut a board to length for the cleat and drilled pocket holes in each end.
I positioned it on the back of the cabinet and attached it using 1-¼” pocket hole screws.
Step 5. Make the Doors
I made two doors using six boards that I ripped slightly wider than required using my table saw and cut to them to length using my miter saw.
Once cut to length, I applied glue to their edges and clamped them to form two panels.
I wanted the door panels slightly wider than required because the door needs clearance on each side. Instead of aiming for precision right away, I took a gradual approach to “sneak up” on the perfect fit.
With my table saw unplugged, I placed the panel next to the blade and gently snugged the rip fence next to it. This method allowed me to shave off a thin amount of material. I flipped and repeated this process on the other side.
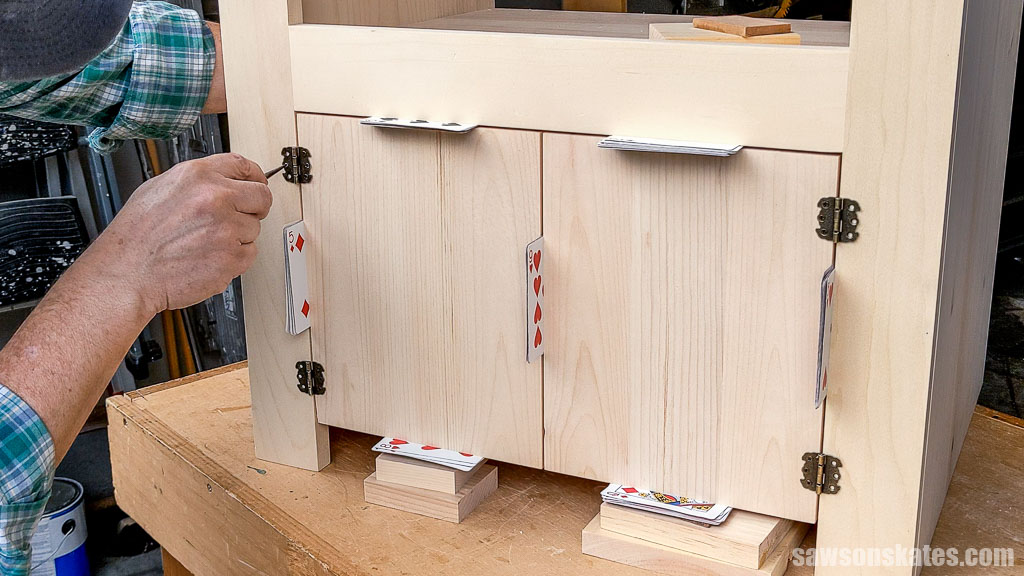
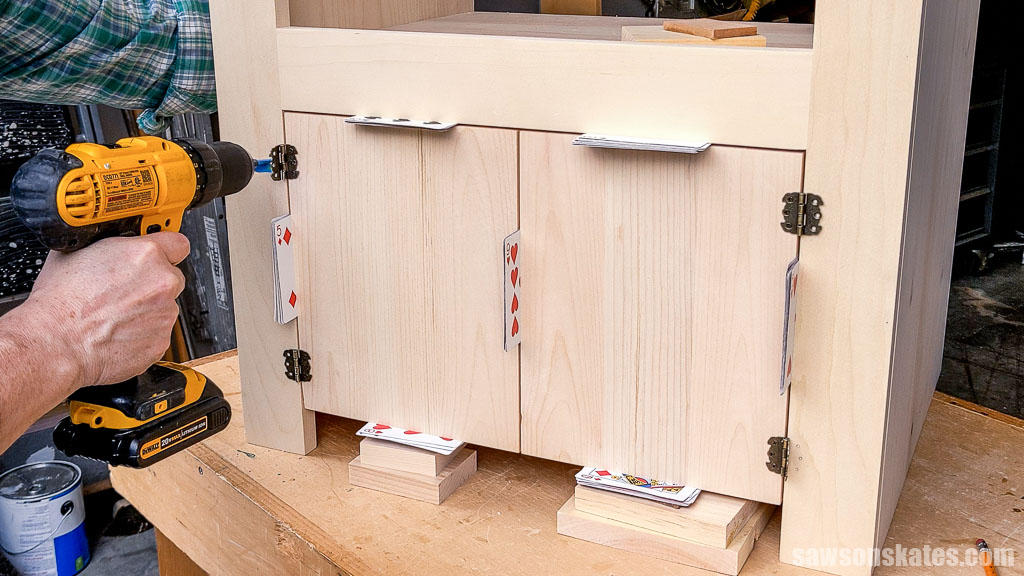
I continued flipping and shaving, test fitting in the cabinet after each pass until eight playing cards fit snugly between the middle and sides of the doors.
I positioned the hinges 1″ from the top and bottom of the doors using my Kreg Multi-Mark.
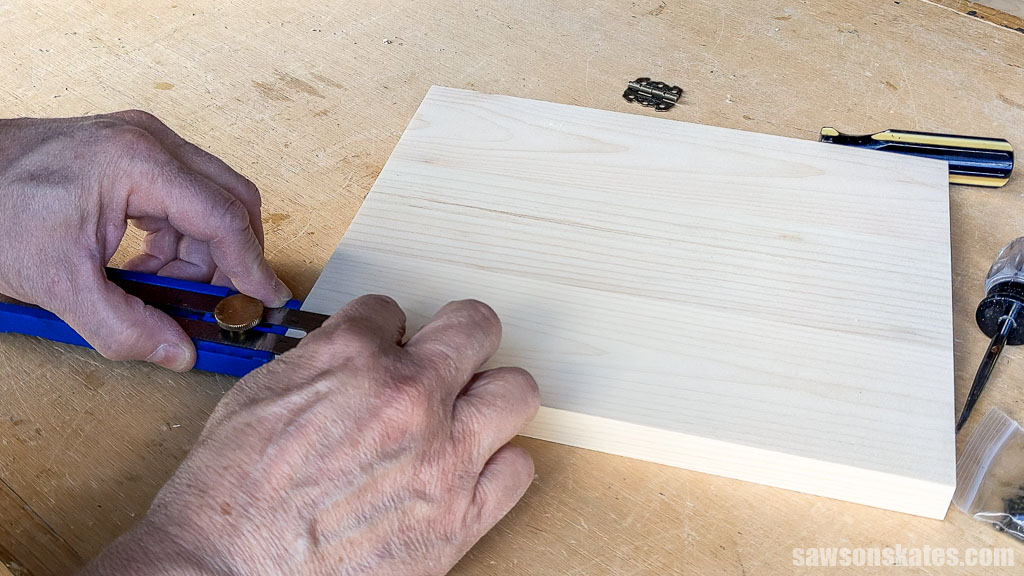
Using a pencil, I marked their hole locations on the door.
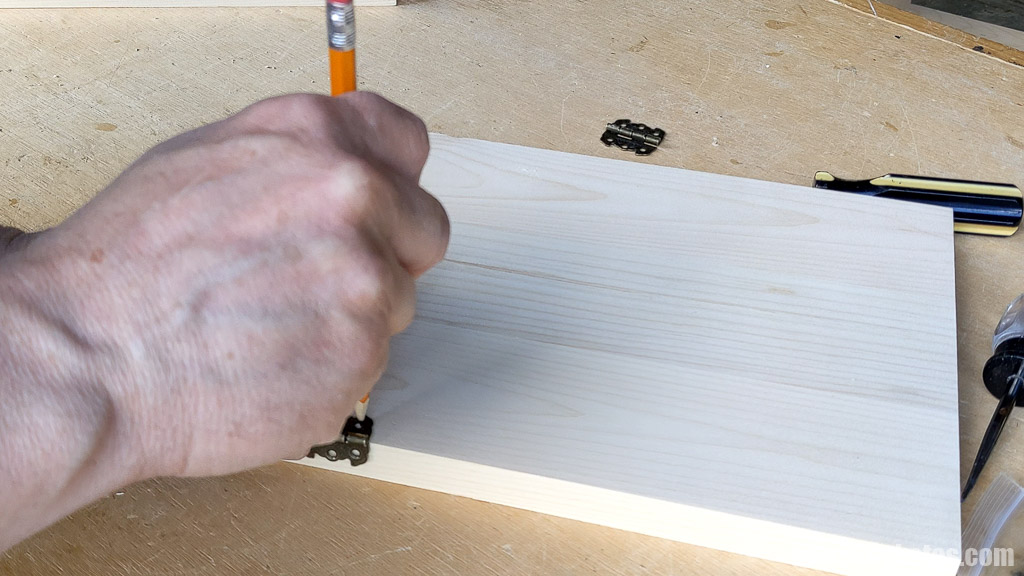
I made a starting point for the drill bit using an awl.
Using a drill bit and painter’s tape as a depth stop, I made a pilot hole for the screws.
Related: How to Drill Pilot Holes (Why, When & Correct Size)
I attached the hinge to the door using the screws that came with them.
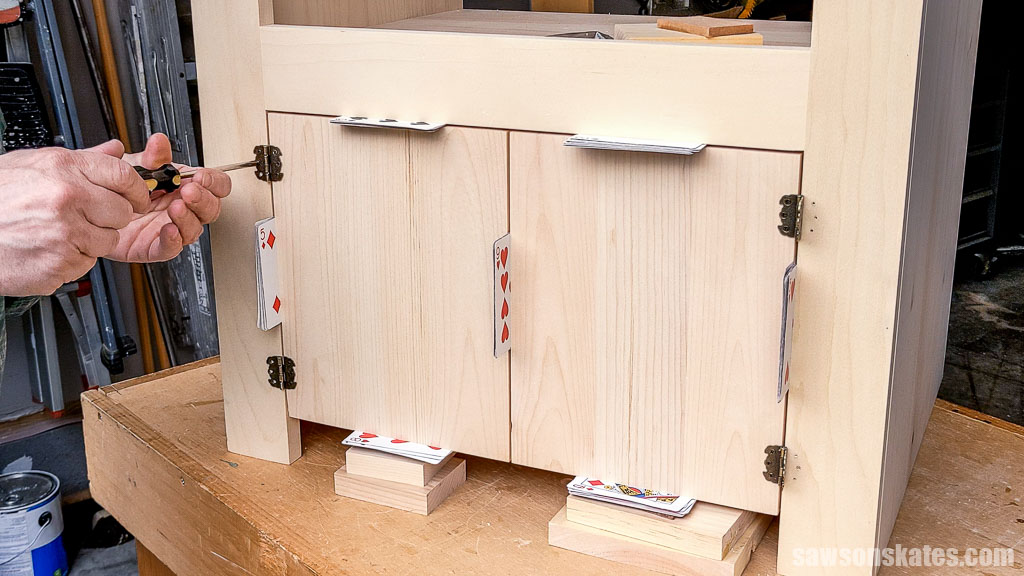
Again, using playing cards, I positioned the doors in the opening and marked their hole locations on the face frame using an awl.
Using a drill, I made pilot holes for the screws.
And I attached the hinges to the face frame.
NOTE: I chose an overhanging design for the door, creating a built-in handle; however, you can add knobs for a more traditional look.
Step 6. Make the Top
I made the cabinet’s top following the same method as the shelves and side panels, cutting six boards about a ½” longer than required and jointing their edges using my table saw before cutting them to their final length using my miter saw.
Once cut to length, I applied glue to their edges and clamped them to form a panel.
TIP: To make the finishing process easier, I didn’t attach the top at this time. Instead, I applied the stain and sealer before attaching it to the case.
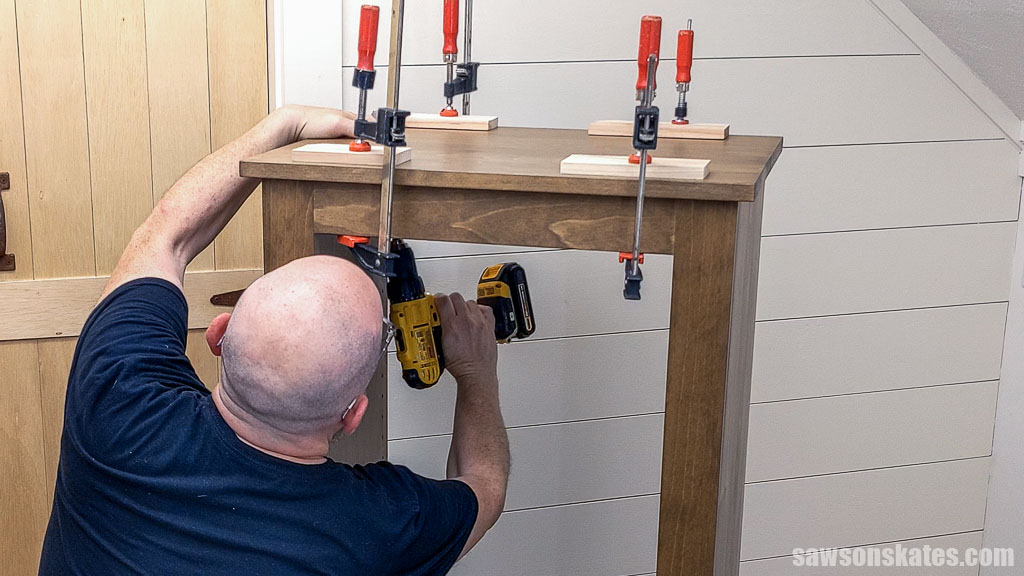
Step 7. Final Assembly
I applied an aged wood accelerator, sealed it with spray lacquer and three coats of a matte sheen polyurethane alternative.
Related: Varathane Aged Wood Accelerator (Review & 5 Woods Tested)
Once the finish was dry, I centered the top on the case and attached it using 1-¼” pocket hole screws.
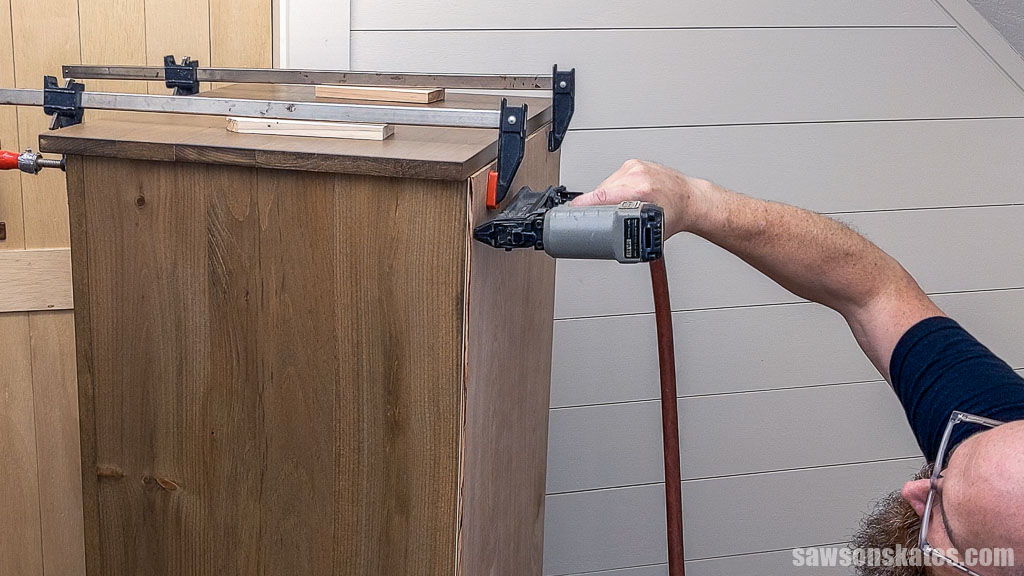
I positioned the back on the case and attached it using brad nails.
That’s it. The cabinet is ready to organize my printing essentials.
Video
Watch now, and I’ll show you step-by-step how I made the printer stand.
Includes:
- List of tools and materials
- Complete measurements (in inches)
- Easy-to-follow instructions
- Step-by-step photos
- Detailed diagrams
Final Thoughts
Don’t let lack of storage hold you back. With this DIY printer cabinet, you can transform your home office into a functional, inviting space. This project is a great way to flex your woodworking skills while adding a rustic personality to your workspace.
Don’t wait. Get your PDF plan (including the detailed instructions and measurements) now!
Thank you for stopping by. If you enjoyed this tutorial, would you please take a moment and pin it to Pinterest? I’d really appreciate it!
Recommended For You
Pin This For Later

Hi there – I’m Scott, a woodworking enthusiast and creator of Saws on Skates, a site I started in 2015 to share easy-to-follow tutorials, space-saving shop tips, and project inspiration for DIYers at any skill level. Learn more about my woodworking journey here.