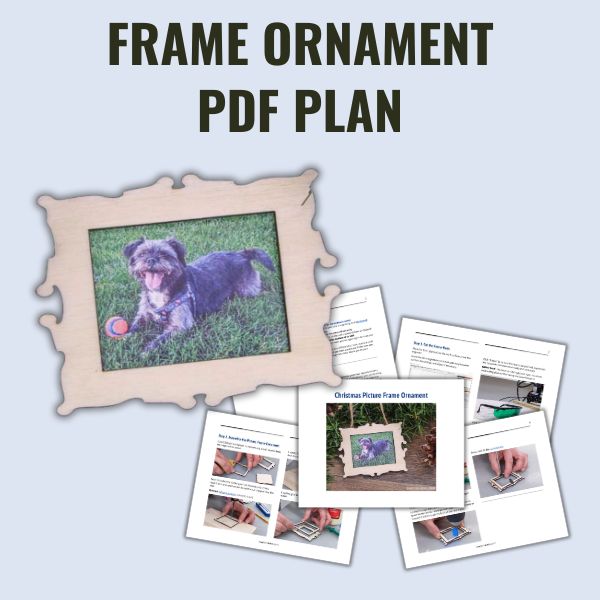
DIY Christmas Picture Frame Ornaments
Personalize your holiday decor with these DIY Christmas picture frame ornaments. They’re easy to make and a creative way to share your family memories.
What Should I Build Next?
That's the question I help answer.
Every week, I send woodworking ideas to 17,000 DIYers who love building things.
You'd fit right in.
DIY Christmas Photo Frame Ornaments
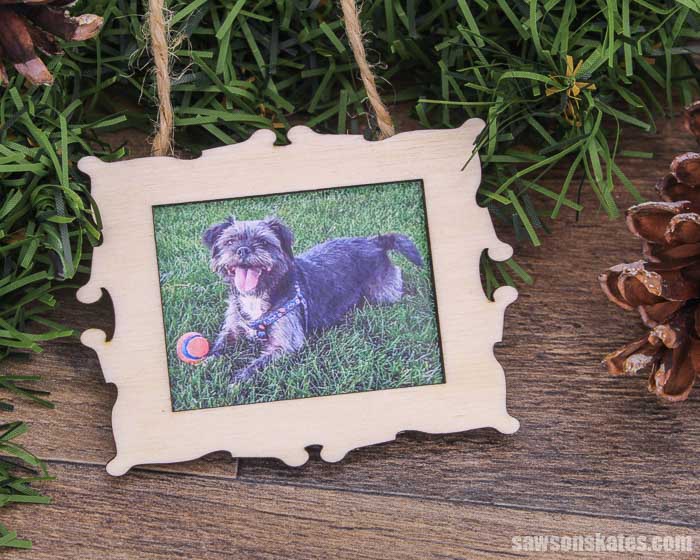
Are you looking for a unique way to share your family memories? Or do you need a special gift to give this holiday season? These DIY Christmas picture frame ornaments are the answer.
These wooden ornaments are an excellent way to show off photos of loved ones. They make great gifts too. Include a kid’s picture, and they become the perfect present for parents and grandparents.
This step-by-step tutorial includes easy-to-follow instructions, detailed photos, and an ornament template.
Table of Contents
- What Tools Do You Need to Make a Frame Ornament?
- What Wood Should You Use?
- How Do You Finish the Photo Ornaments?
- How to Make DIY Christmas Picture Frame Ornaments
- Get the Plan and Template
This article contains affiliate links. If you purchase from these links, I may earn a small commission at no additional cost to you. Visit my site policies for more information.
What Tools Do You Need to Make a Frame Ornament?
These frame ornaments are easy to make, and you won’t even need a saw! I made these frames using my laser engraver, a drill, and a screwdriver.
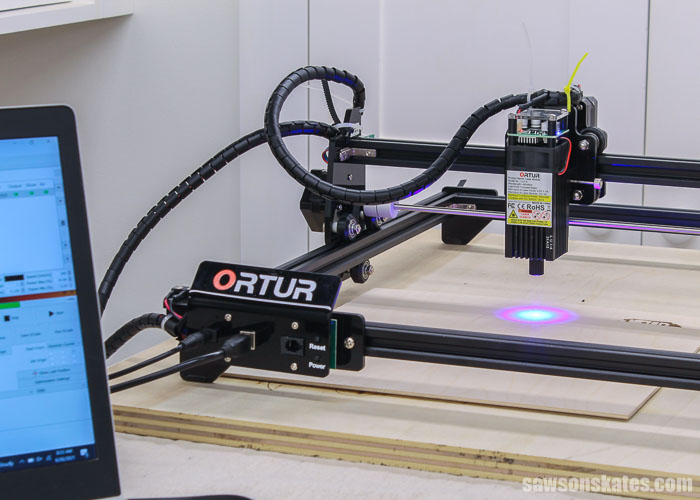
Laser Engraver
I used my Ortur Laser Master 2 laser engraver to cut out these ornaments, but you might be able to make a similar ornament using a scroll saw.
Related: How to Assemble an Ortur Laser Master 2
You will also need software to tell the laser engraver what to do. I used LightBurn for this project, and the ornament template included in the printed plan is in the SVG and LightBurn file formats.
The Ortur Laser Master 2 works well for engraving wood, but you can also use it to cut wood up to 3mm thick. That said, when cutting wood, it often makes scorch marks, and sometimes it doesn’t cut all the way through.
One way to help the laser engraver cut better is to add “air assist.” Air assist blows any debris out of the cut line so the laser can reach where you want it to cut. It will also blow the smoke away. The smoke can reduce the effectiveness of the laser.
It’s not pictured in photo above, but I purchased a 3D printed nozzle from Etsy and attached it to the laser. Unfortunately, it appears the one I purchased is no longer being produced, but other makers offer a similar product.
Then I connected the nozzle with a hose to this heavy-duty aquarium air pump.
Drill
I used a drill to make two small holes for screws. The screws are for turn buttons that hold the back in place. I used a screwdriver to drive the screws into the holes.
Related: How to Make a DIY Screwdriver Holder
What Wood Should You Use?
I used this 3mm baltic birch plywood to make my picture frame ornaments.
How Do You Finish the Photo Ornaments?
These photo ornaments could be left natural, painted, stained, or a combination of paint and stain.
I applied a few coats of this polyurethane alternative to my frames.
Related: Why I Switched to This Polyurethane Alternative
DIY Christmas Picture Frame Ornaments
Printed Plan
Get the PDF plan here (includes detailed instructions, measurements, and bonus tips)
Supplies
- 3mm Plywood
- Wood Glue
- Painter’s Tape
- Twine
- Turn Buttons
Tools
- Tape Measure
- Ortur Laser Master 2
- Drill
- ⁵/₆₄” Drill Bit
- Screwdriver
Step 1. Cut the Frame Parts
Place the 3mm plywood on the work surface under the laser engraver.
Open the ornament file in LightBurn. A link to the ornament file is included in the printed plan. Confirm the settings and adjust if necessary.
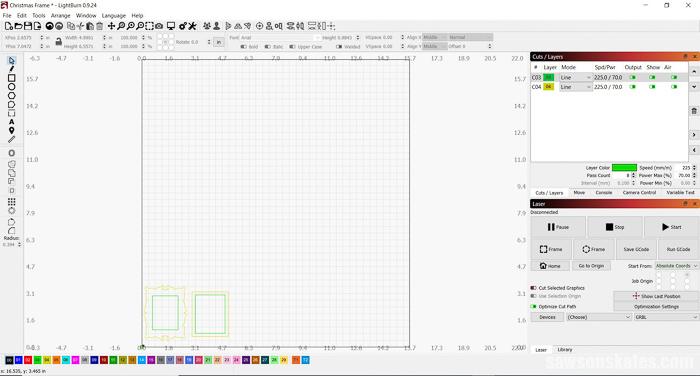
Click “Frame” to be sure the cut path of the laser will stay inside the dimensions of the plywood and adjust if necessary.
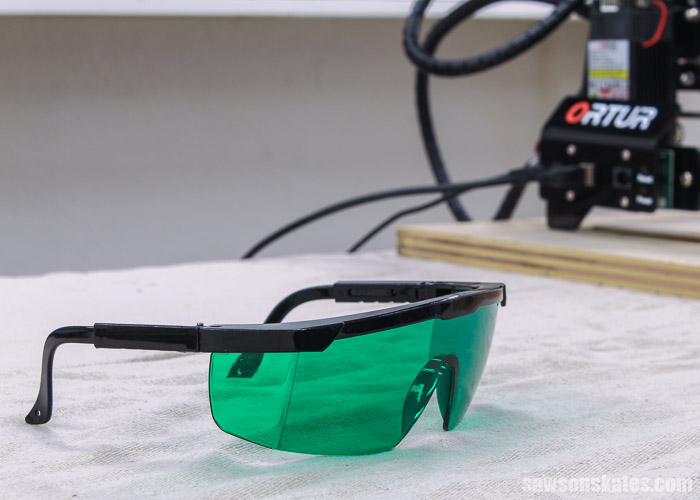
⚠️ IMPORTANT: The laser can damage your eyes. You must wear safety glasses when using the Laser Master 2.
Click “Start.” It will take about 35 minutes to cut the ornament.
Step 2. Assemble the Picture Frame Ornament
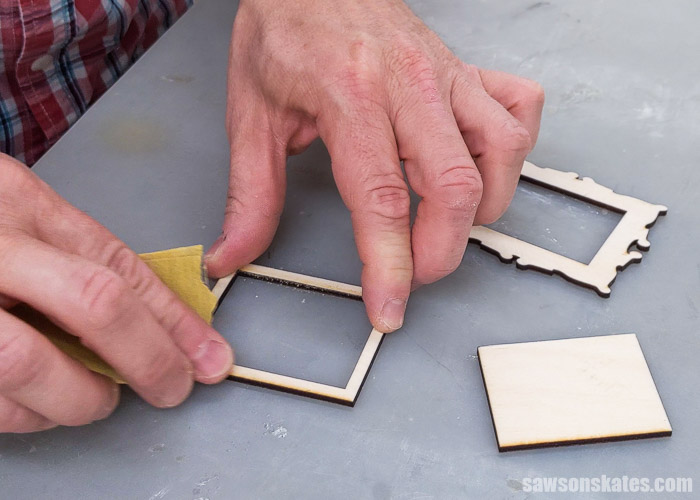
I used 220 grit sandpaper to remove any scorch marks from the edges of the wood.
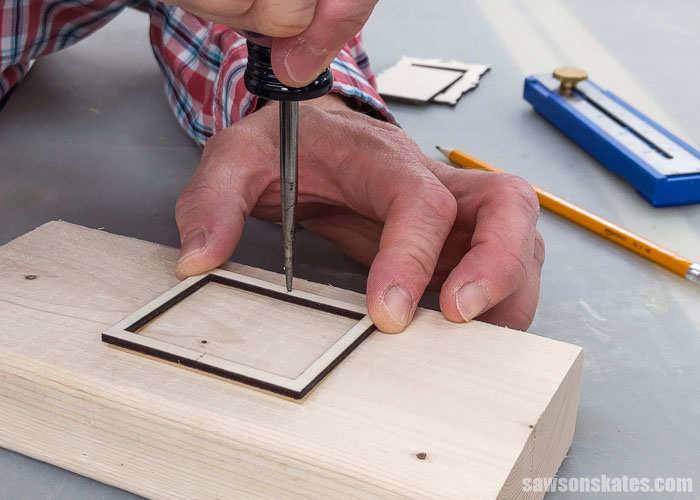
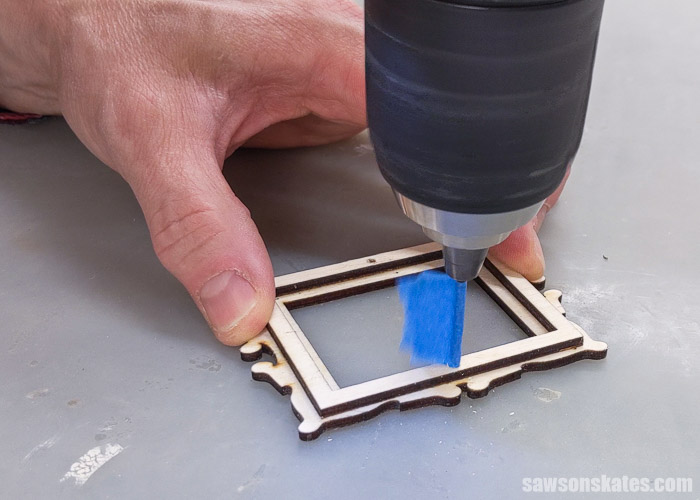
Next, I located the center point on the long sides of the back frame and used an awl to make a starting point for the drill.
Related: What is an Awl (+ How to Use It)
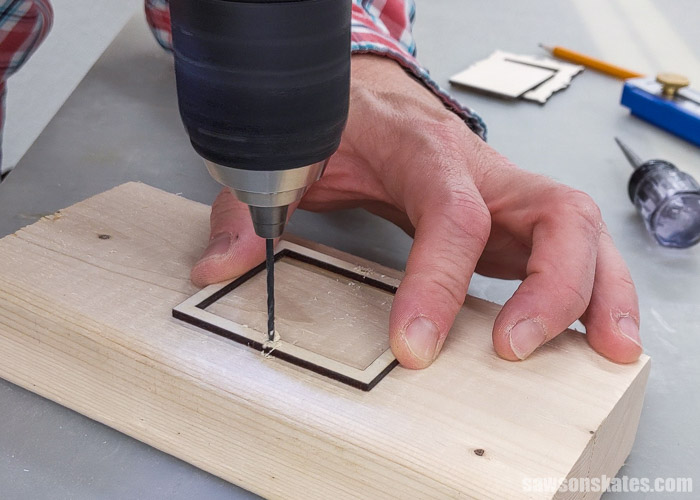
I used a drill bit to make a hole for the screw that will hold the turn buttons in place.
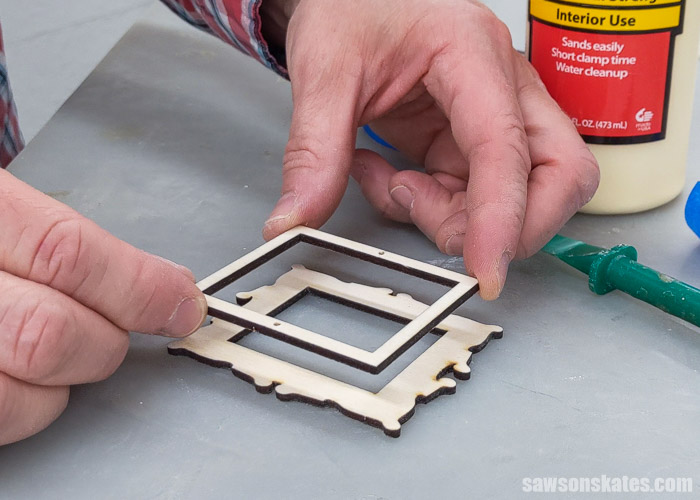
I applied glue to the back frame and centered it on the face frame.
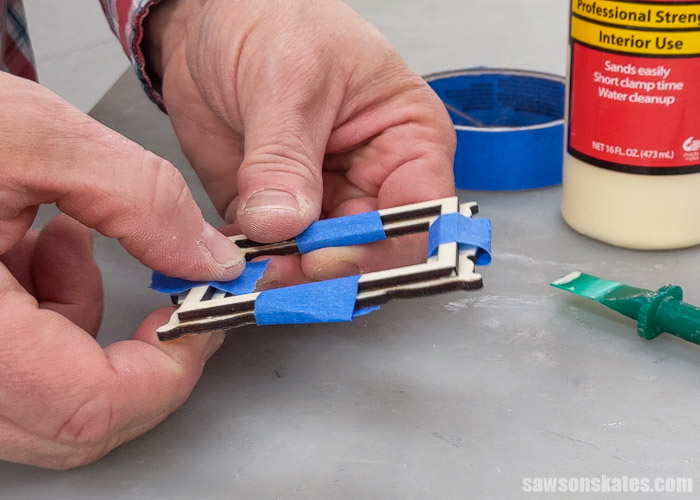
I used pieces of painter’s tape to hold the pieces in place while the glue dried.
When I tried to attach the turn buttons, the screws began to push the frames apart.
I drilled through the back of the face frame to allow some space for the screw. I used painter’s tape as a depth stop so I wouldn’t drill through the front of the face frame.
Next, I test fit the turn buttons.

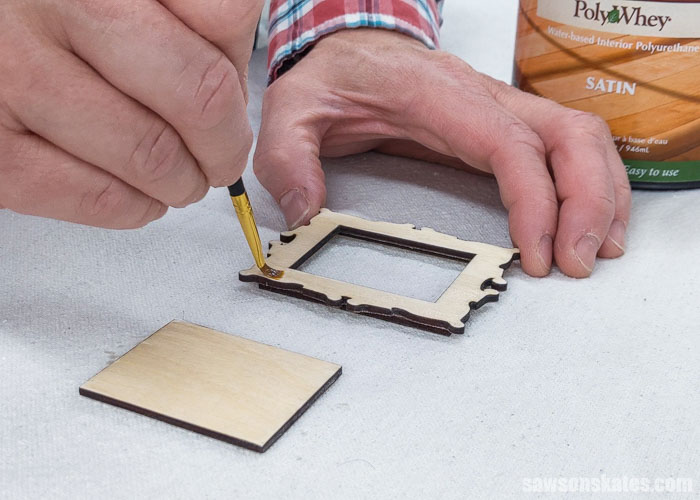
Step 3. Finish the Picture Frame Ornament
I used an artist’s brush to apply a few coats of this polyurethane alternative.
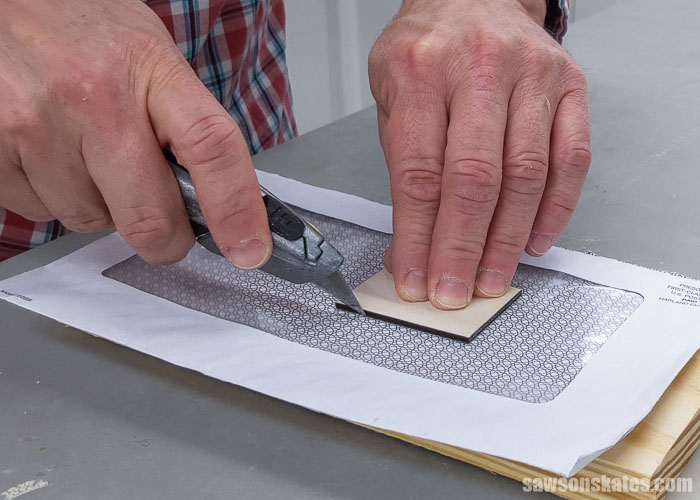
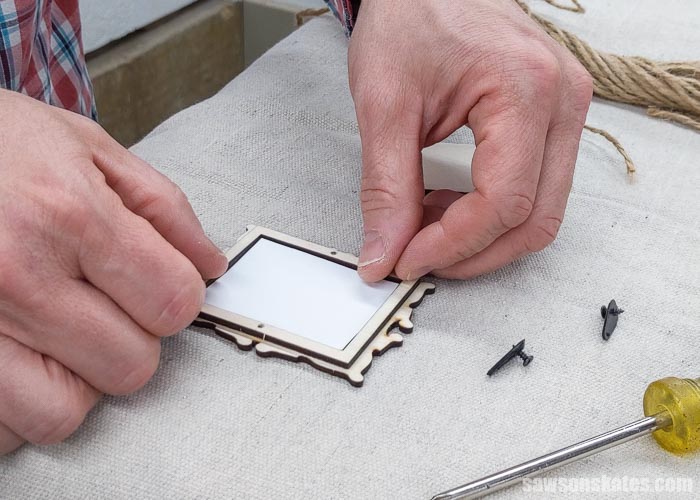
An easy, inexpensive way to make a piece of “glass” is to use the plastic window from an envelope. I placed the back on the envelope and cut it with a utility knife. You could also make the “glass” from plastic sheet protectors, etc.
First, I placed the plastic in the frame.
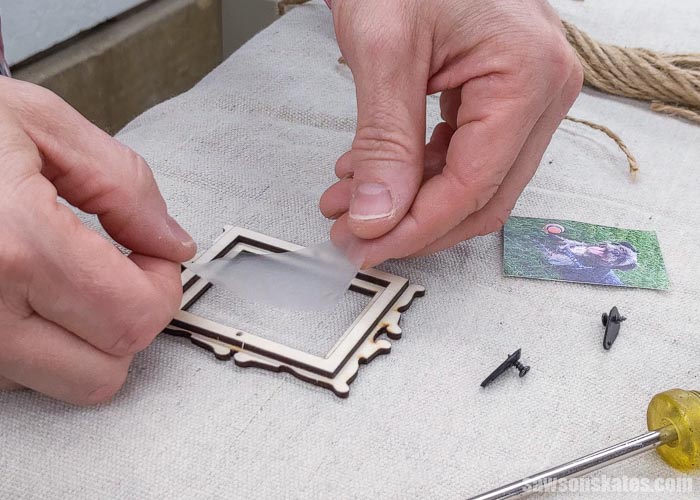
Next, I placed the photo in the frame.
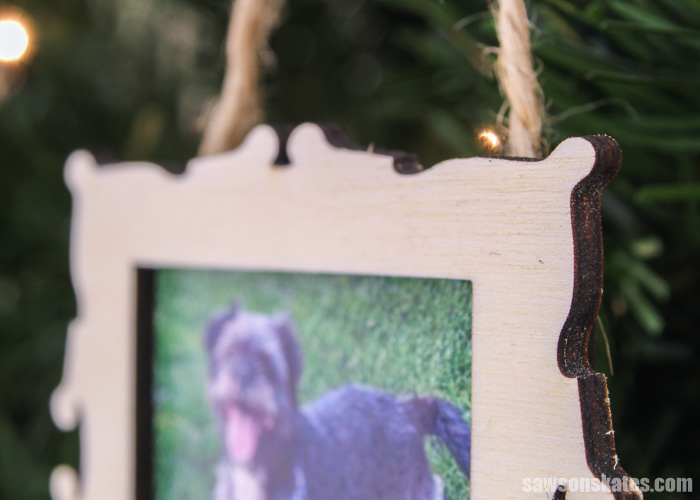
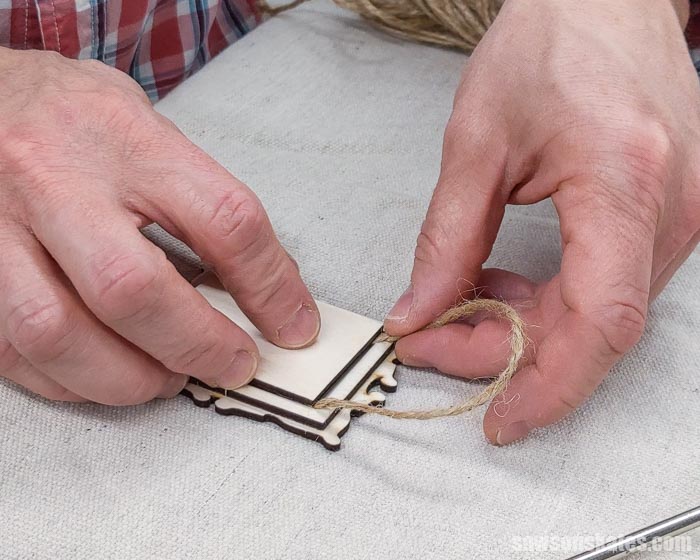
I cut a piece of twine and sandwiched the ends between the frame and the back.
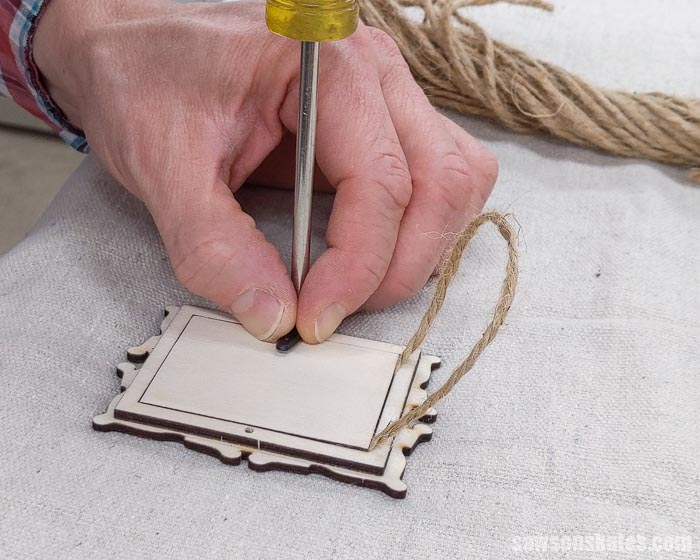
Then, I installed the turn buttons.
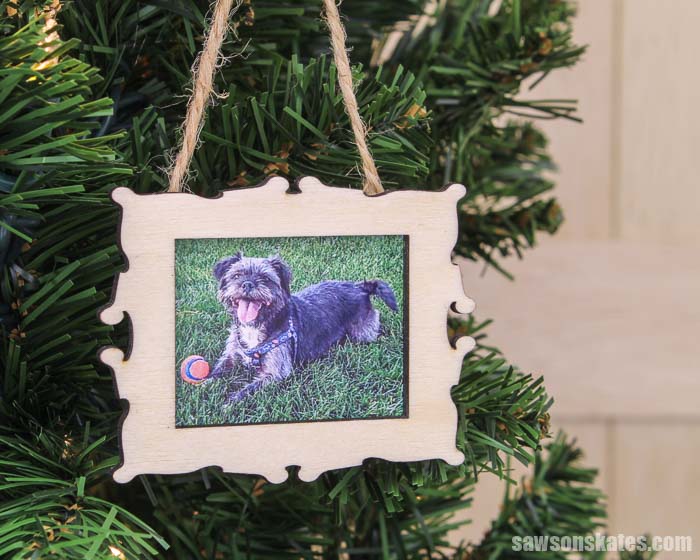
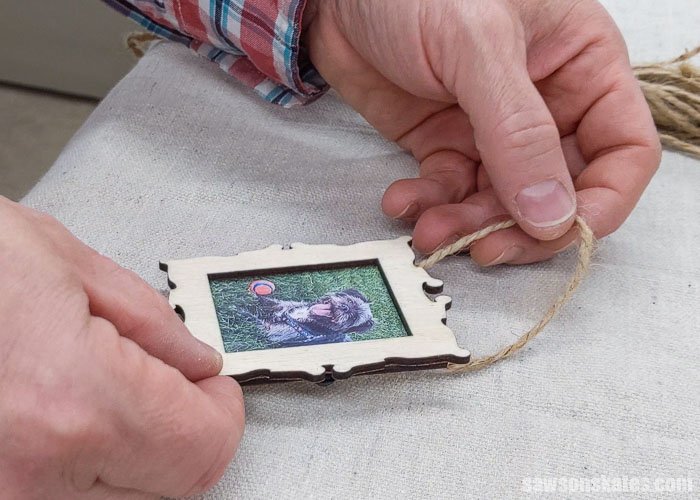
The ornament is ready to hang on the tree or give as a gift.
Includes:
- List of tools and materials
- Complete measurements (in inches)
- Easy-to-follow instructions
- Step-by-step photos
- Detailed diagrams
- SVG and LightBurn Files
Final Thoughts
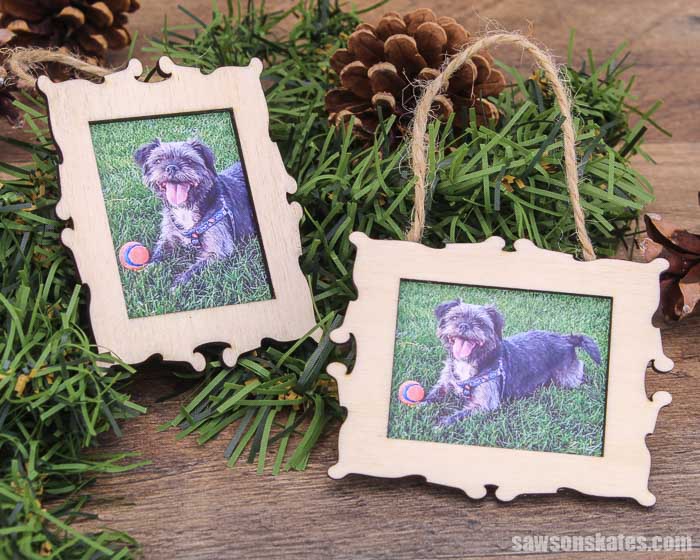
These wooden Christmas picture frame ornaments are an excellent way to show off photos of loved ones on your Christmas tree. And they make great gifts too. Include a kid’s picture, and they become the perfect present for parents and grandparents.
Get the PDF plan, SVG, and LightBurn files (including the detailed instructions and measurements) now!
Thank you for stopping by. If you enjoyed this tutorial, would you please take a moment and pin it to Pinterest? I’d really appreciate it!
Recommended For You

Pin This For Later

Hi there – I’m Scott, a woodworking enthusiast and creator of Saws on Skates, a site I started in 2015 to share easy-to-follow tutorials, space-saving shop tips, and project inspiration for DIYers at any skill level. Learn more about my woodworking journey here.
I am very interested in purchasing a laser cutter. So tell me what do do for ventilation when you are in the process of cutting wood or other materials? I have read some real terrible stories about the lasers.
Hi Frank – There is some smoke produced when using the laser. I try to use it in an area where there is as much ventilation as possible. I’ve used it in my garage in the warmer months and kept an eye on it through the window.