DIY French Cleat Pencil & Tape Measure Holder
Are you tired of lost pencils and tape measures? This easy French cleat holder keeps them neatly organized on your wall and ready for action.

What Should I Build Next?
That's the question I help answer.
Every week, I send woodworking ideas to 17,000 DIYers who love building things.
You'd fit right in.
Does “Where did I put my tape measure?” and “I lost my pencil again!” sound familiar?
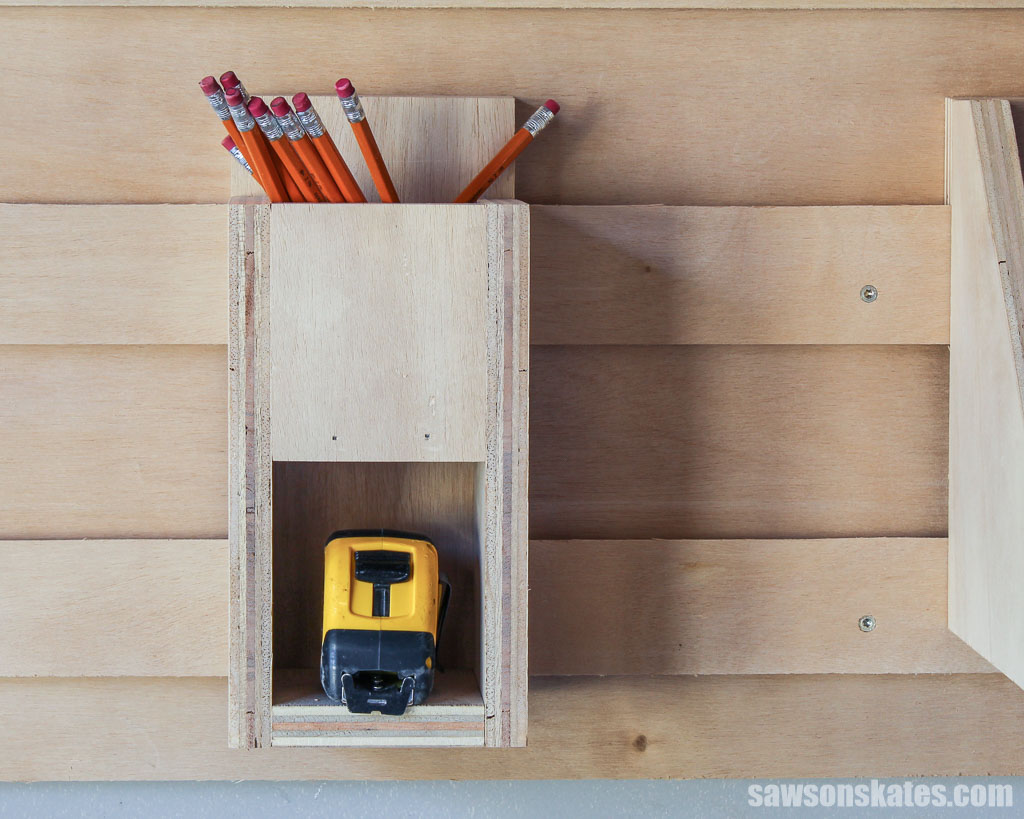
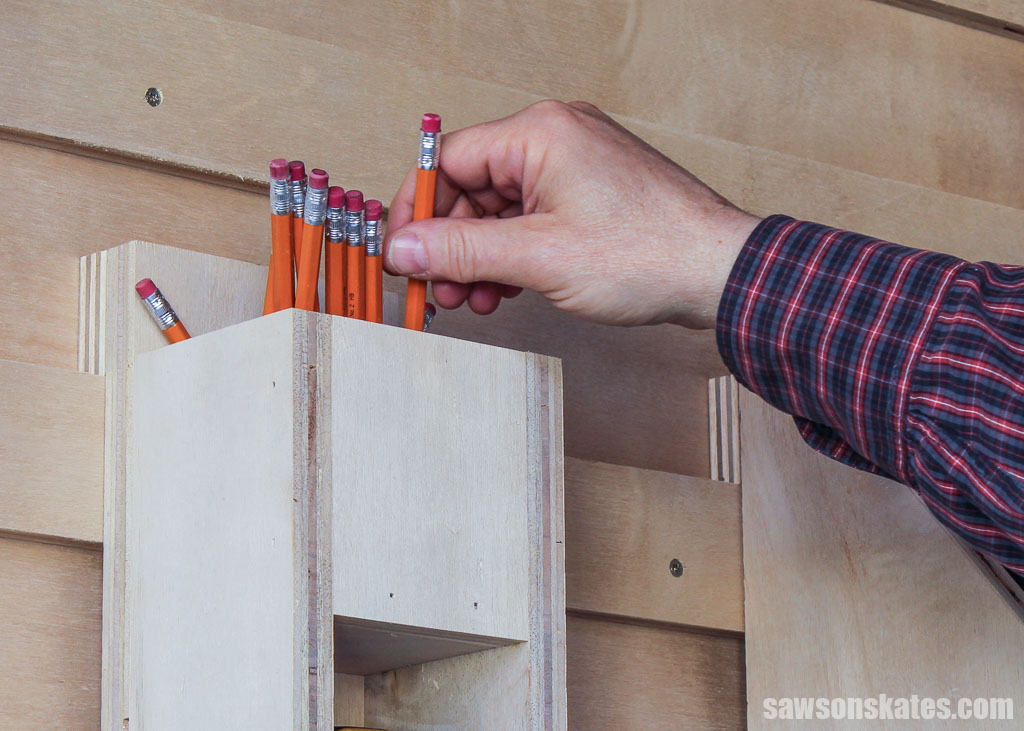
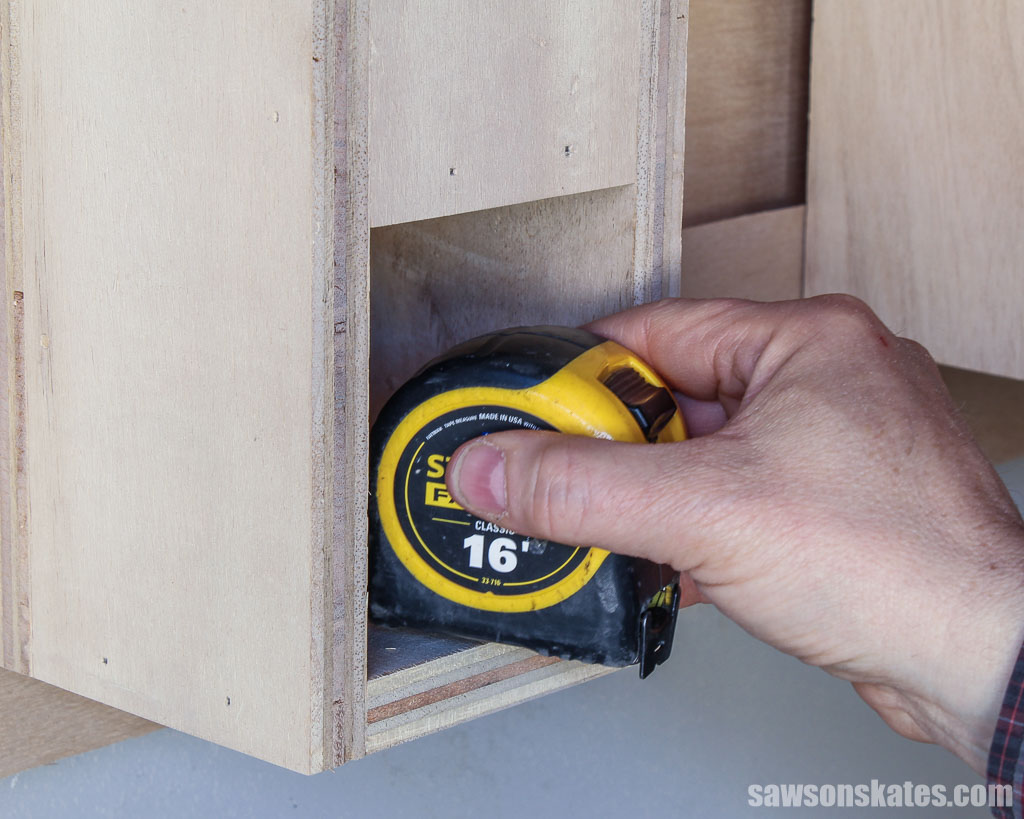
Put an end to the frustration with this ingenious DIY French cleat pencil and tape measure holder!
This clever solution keeps your most needed (and often misplaced) measuring and marking tools organized and right where you need them.
I’ll show you how to build one for your workshop in this easy step-by-step tutorial.
Table of Contents
This article contains affiliate links. If you purchase from these links, I may earn a small commission at no additional cost to you. Visit my site policies for more information.
Inspiration for This Project
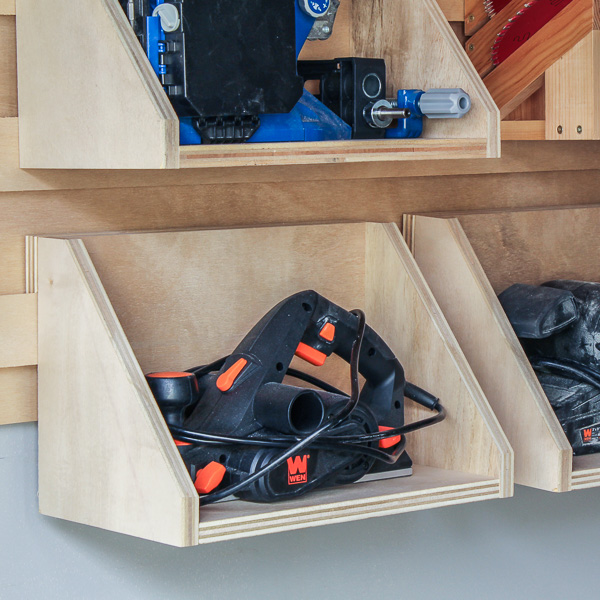
I recently installed a French cleat wall in my garage. This versatile hanging system uses interlocking angled cleats, offering a secure hold that’s easily reconfigurable.
Related: How to Make a French Cleat (2 Easy Ways)
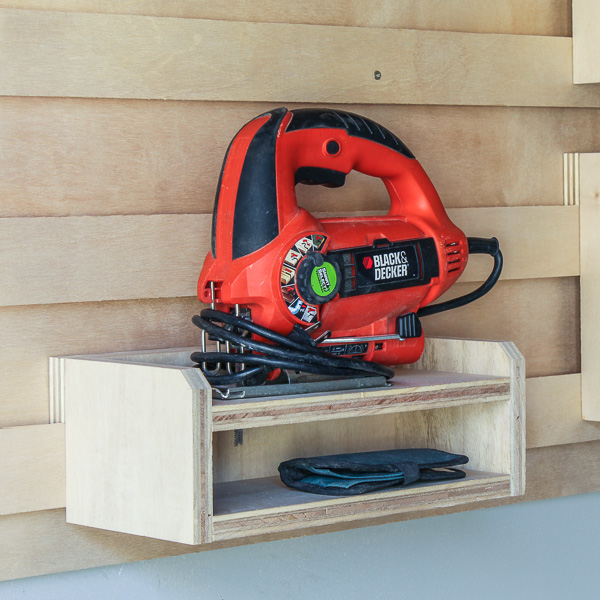
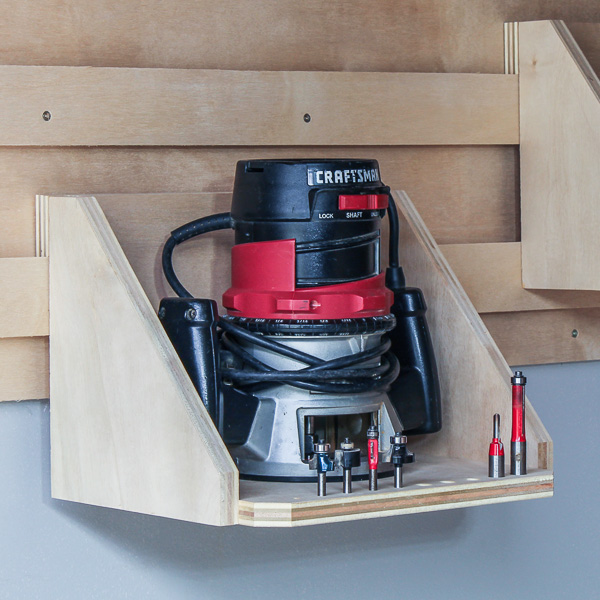
I’m making great progress on my French cleat storage. So far, I’ve built a shelf for my router, a jigsaw holder, and a tool shelf for my planer and belt sander.
This time, I’m tackling two of my most often misplaced workshop tools: pencils and tape measures. This organizer keeps them at the ready, making measuring and marking a breeze during woodworking projects.
What Wood Should You Use?
Instead of my usual go-to pine, I made this project using leftover plywood from building my French cleat wall, tool shelf, jigsaw holder, and router shelf.
What Tools Do You Need?
I used three tools to make my pencil and tape measure organizer:
- Table saw: I used my table saw to rip the plywood to width, but you could use a circular saw and Kreg Rip-Cut instead.
- Miter saw: I used my miter saw to cut the holder’s parts to length.
- Brad nailer: I used my brad nail and wood glue to assemble the organizer.
How to Make a DIY French Cleat Pencil & Tape Measure Holder
Printed Plan
Get the PDF plan here (includes detailed instructions, measurements, and bonus tips)
Materials
- Wood (per the printed plan)
- Wood Glue
- 1-¼” Brad Nails
- 1-¼” Wood Screws
Tools
- Tape Measure
- Kreg Multi-Mark
- Table Saw or Circular Saw and Kreg Rip-Cut
- Drill
- Countersink Drill Bit
- Brad Nailer or Hammer
Step 1. Make the Sides
This project is made entirely from leftover plywood that I repurposed from my previous French cleat tool shelf, jigsaw holder, and router shelf builds.
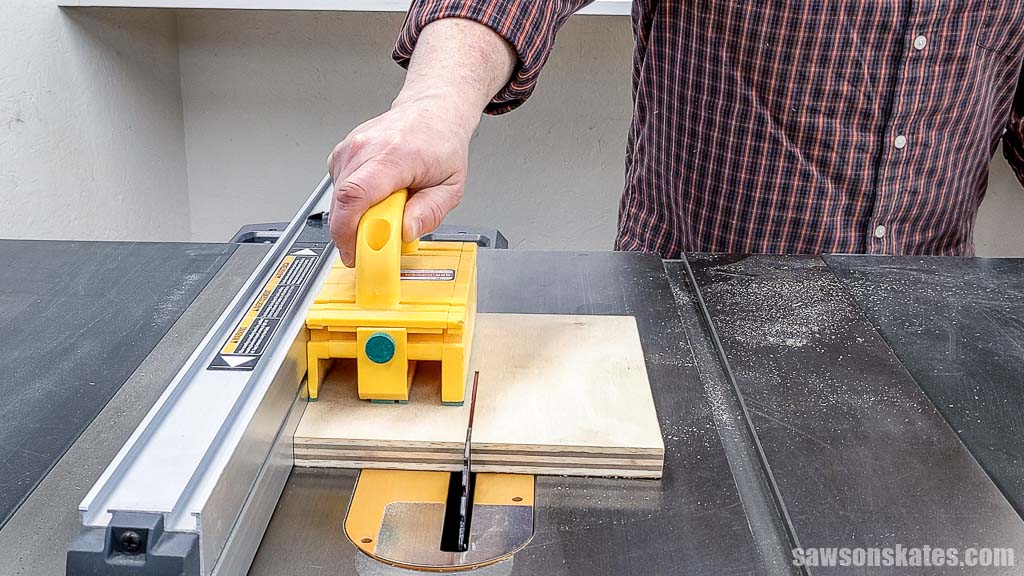
Using my table saw, I ripped a piece of plywood to width.
Related: 21 Table Saw Safety Rules (& Mistakes to Avoid)
I switched to my miter saw to cut two pieces to length for the sides.
TIP: I set a stop so I could cut the second side to the same length.
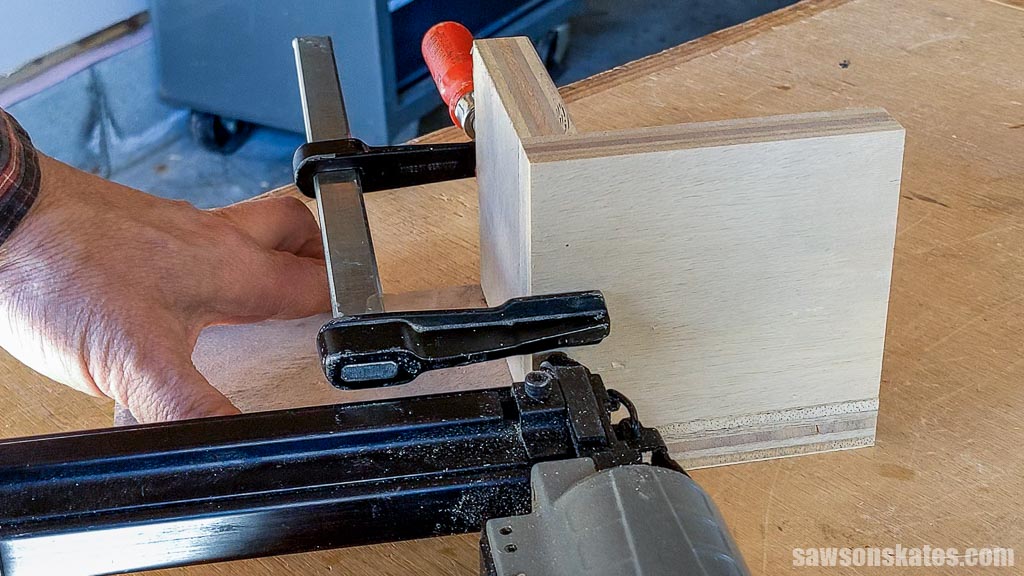
Step 2. Attach the Front
The front and two shelves are the same width.
Using my table saw, I ripped a piece of plywood to width to make these three parts.
At the miter saw, I cut one piece to length for the front.
I applied glue to the edge, positioned it on the side, and clamped it in place.
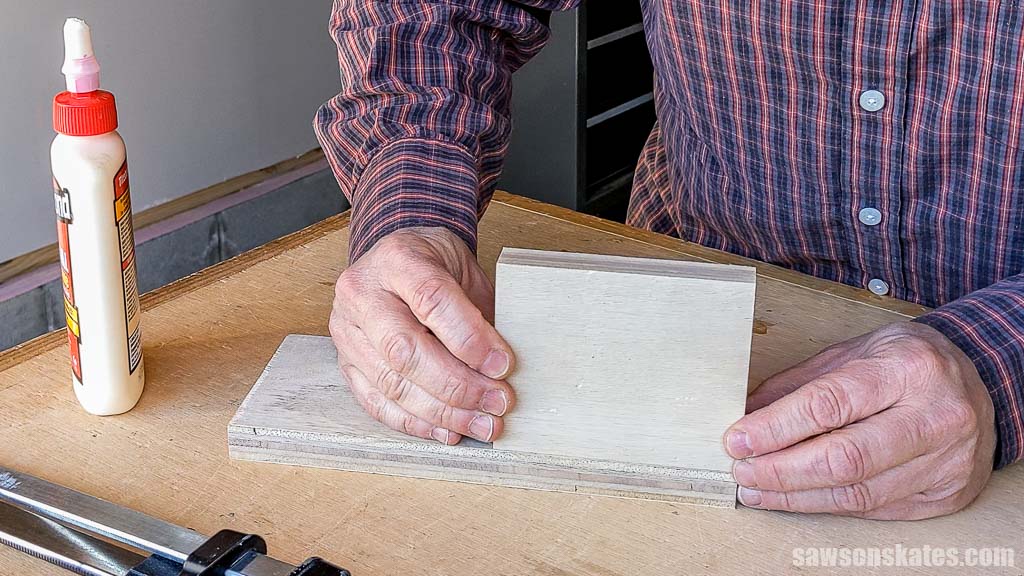
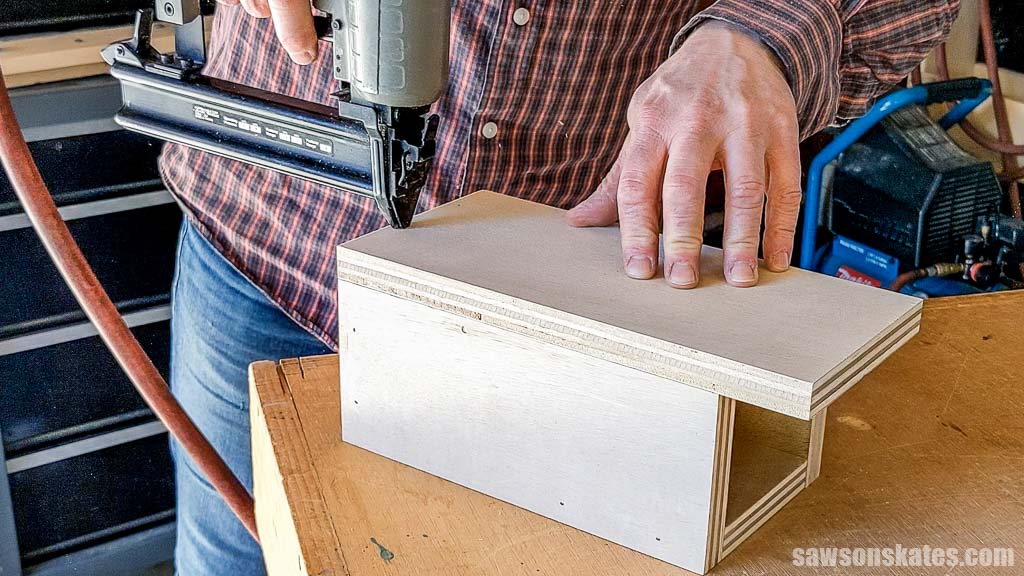
I attached it using brad nails.
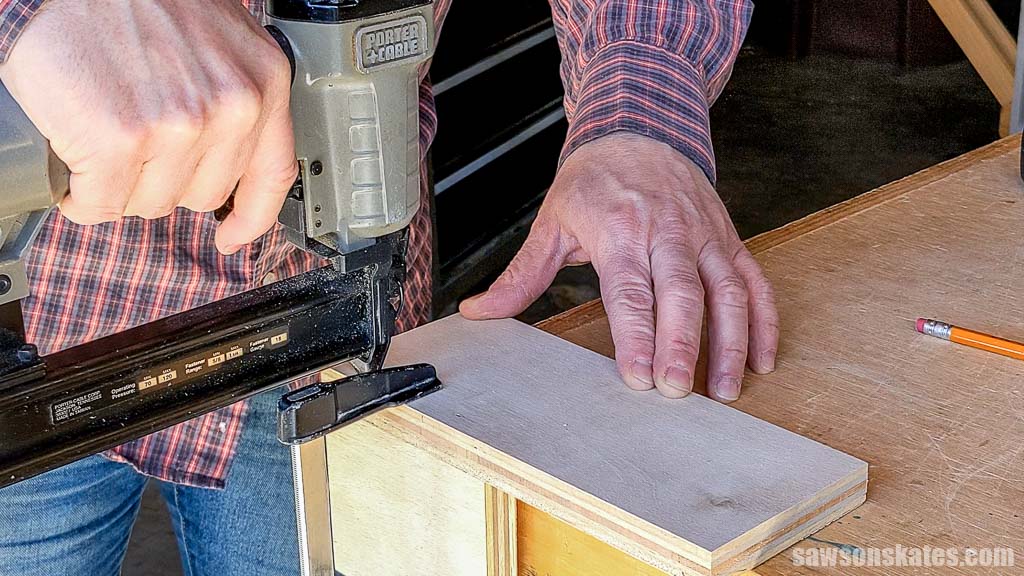
Step 3. Attach the Shelves
For an exact fit, I placed the remaining material from Step 2 on the side and marked it for length.
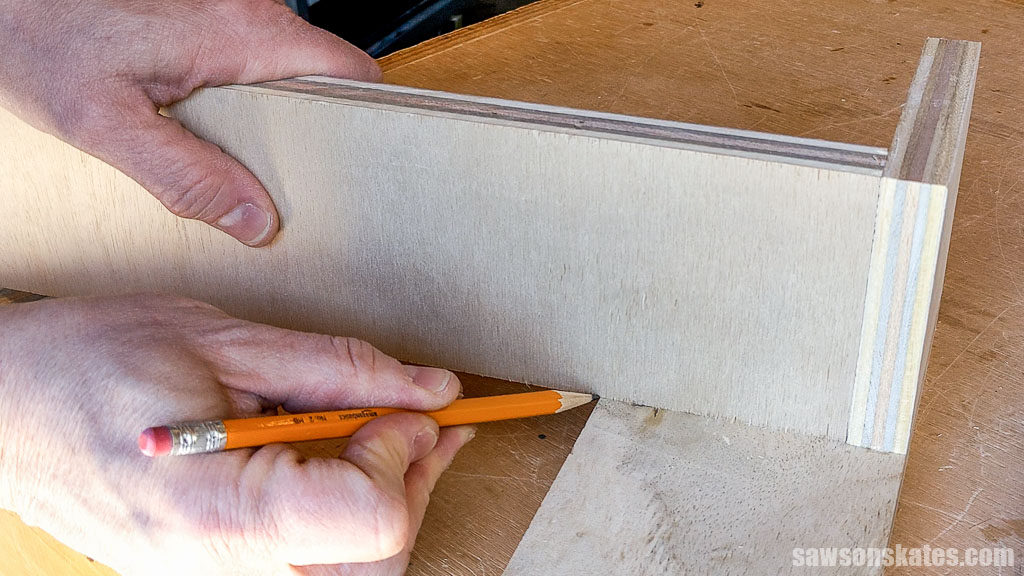
I cut two pieces using my miter saw: one for the middle shelf and one for the bottom.
TIP: I set a stop so I could cut the second shelf to the same length.
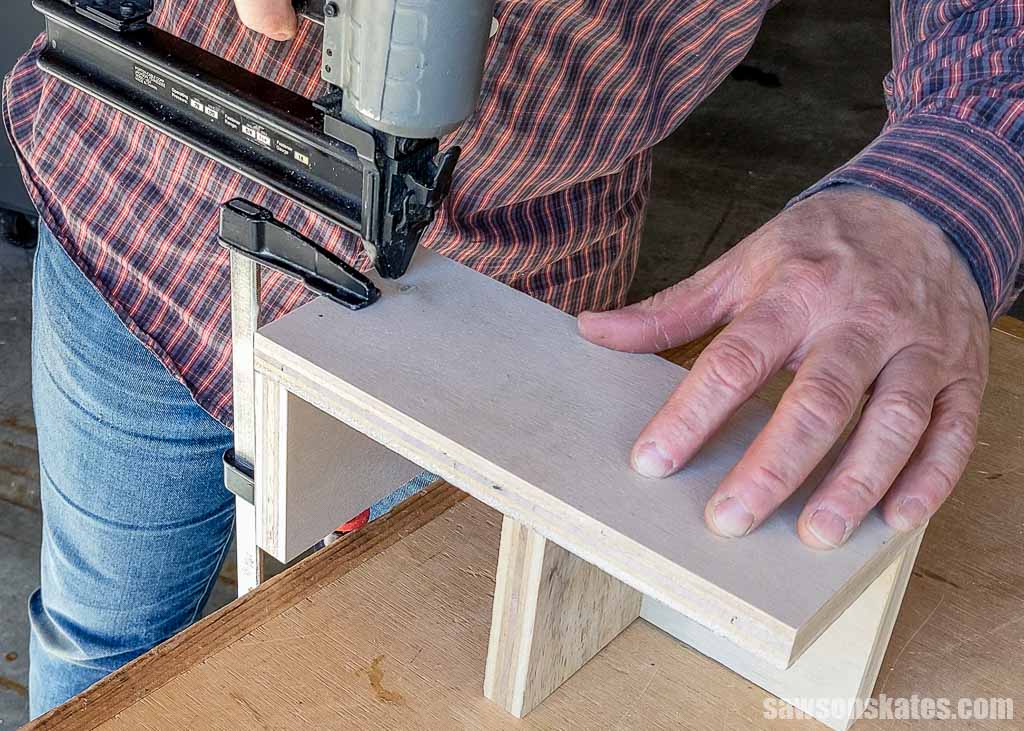
I applied glue to the middle shelf and clamped it in position.
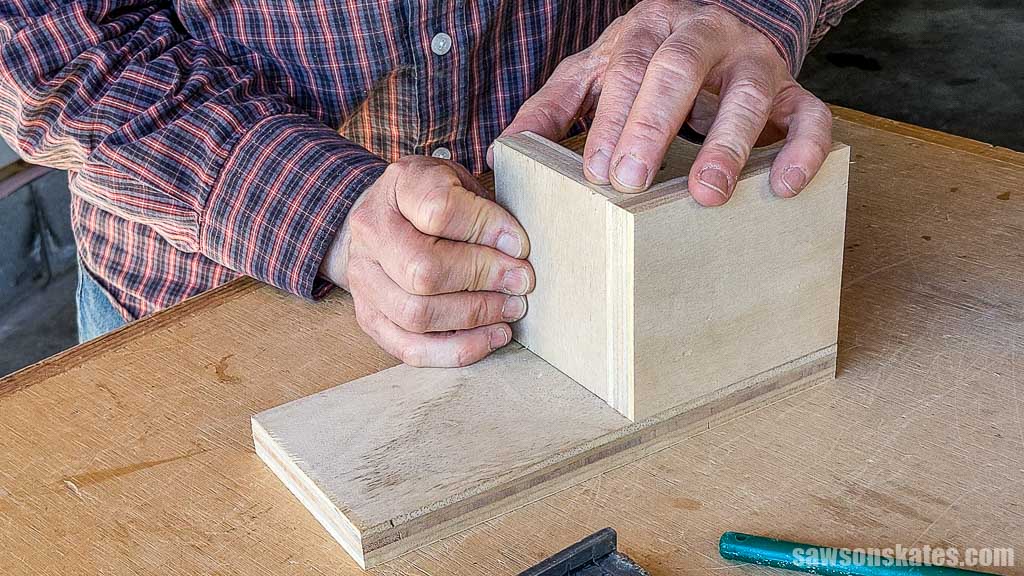
I attached it to the side and front using brad nails.
I repeated this step to attach the bottom shelf, applying glue to it, clamping it to the side, and attaching it using brad nails.
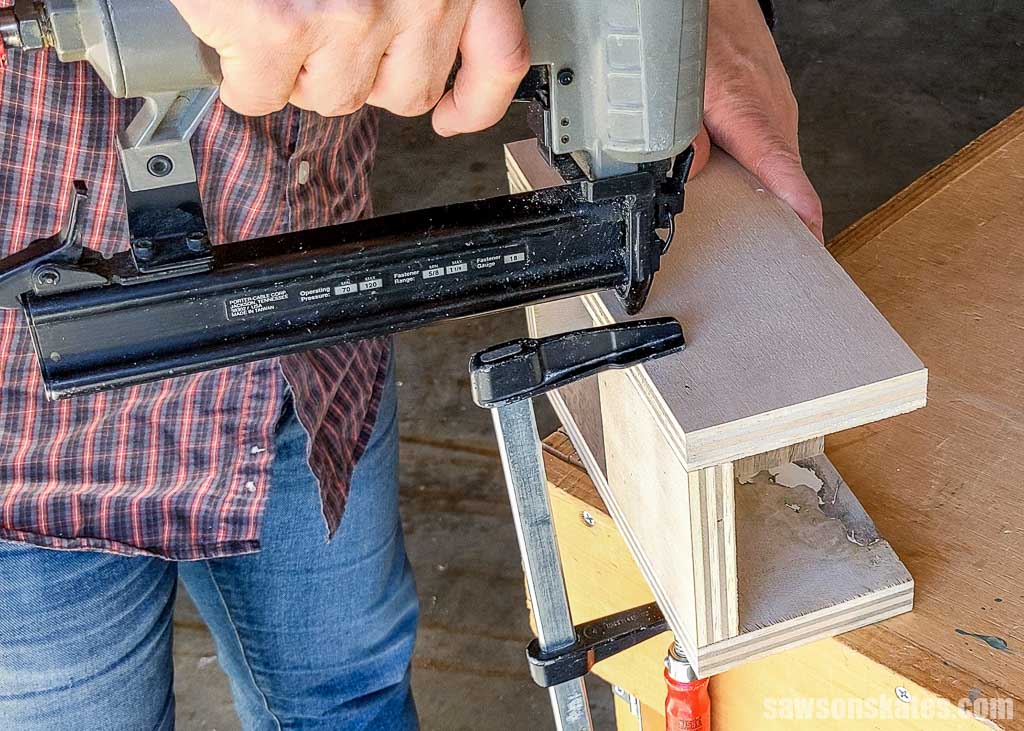
Next, I applied glue to the edges of the front and shelves and clamped the second side in position.
I attached the side using brad nails.
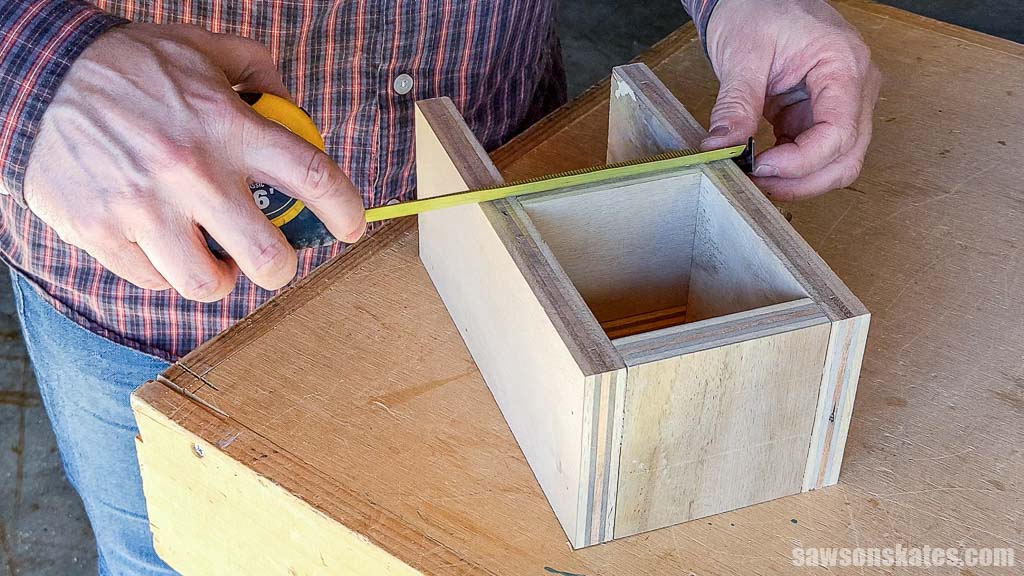
Step 4. Attach the Back
To get an exact fit for the back, I measured from side to side.
At the table saw, I ripped a piece of plywood to width.
I switched to my miter saw to cut it to length.
I applied glue to the sides and shelves, positioned the back, and attached it using brad nails.
Step 5. Attach the French Cleat
I cut a French cleat to length and clamped it in position.
Related: How to Make a French Cleat
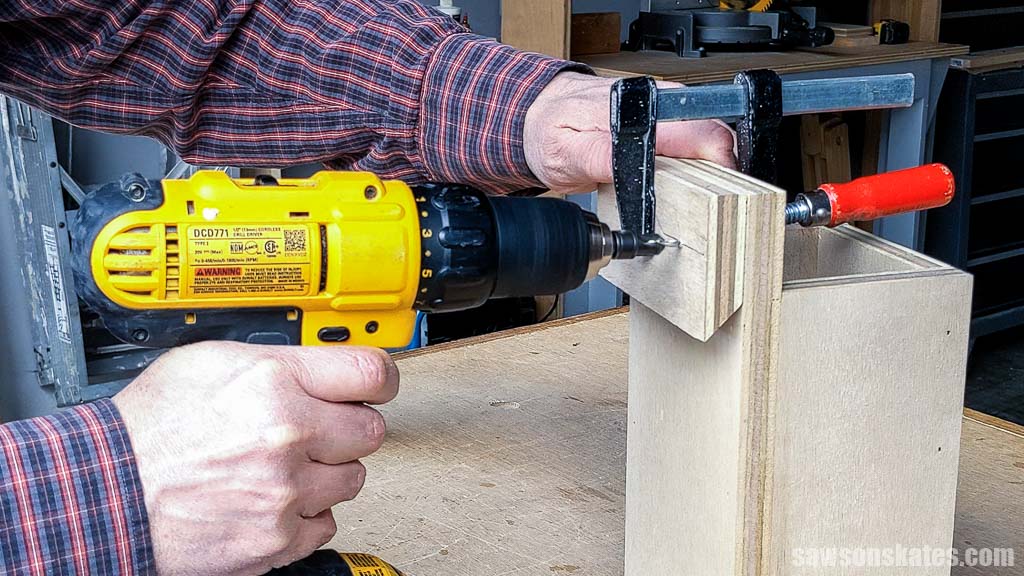
I marked the locations for countersink holes and used an awl to make a starting point for the drill bit.
Related: What is an Awl? (& How to Use It)
Then, I used a countersink bit to drill a hole at each mark.
Related: How to Use a Countersink Bit
I attached the cleat using wood screws.

Video
Watch now, and I’ll show you step-by-step how to make a DIY French cleat pencil and tape measure holder.
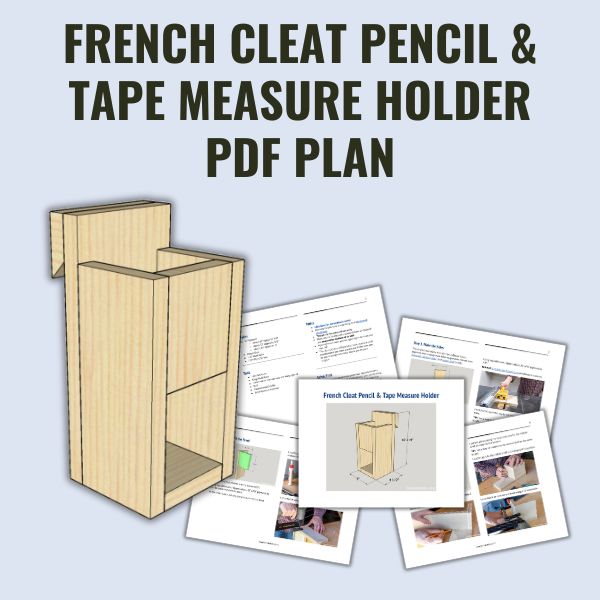
Includes:
- List of tools and materials
- Complete measurements (in inches)
- Easy-to-follow instructions
- Step-by-step photos
- Detailed diagrams
or get the best value:
Final Thoughts
Frantic searches for misplaced pencils and tape measures are a thing of the past with this easy-to-make French cleat holder. This simple solution keeps your essentials organized and readily accessible, streamlining your workflow and saving you time in the workshop.
Don’t wait. Get your PDF plan (including the detailed instructions and measurements) now!
Thank you for stopping by. If you enjoyed this tutorial, would you please take a moment and pin it to Pinterest? I’d really appreciate it!
Recommended For You
Pin This For Later

Hi there – I’m Scott, a woodworking enthusiast and creator of Saws on Skates, a site I started in 2015 to share easy-to-follow tutorials, space-saving shop tips, and project inspiration for DIYers at any skill level. Learn more about my woodworking journey here.