DIY French Cleat Tool Shelf (Easy Organization)
Build this simple French cleat shelf to organize your favorite tools (planers, sanders, you name it) for easy access and a clutter-free workshop.
What Should I Build Next?
That's the question I help answer.
Every week, I send woodworking ideas to 17,000 DIYers who love building things.
You'd fit right in.
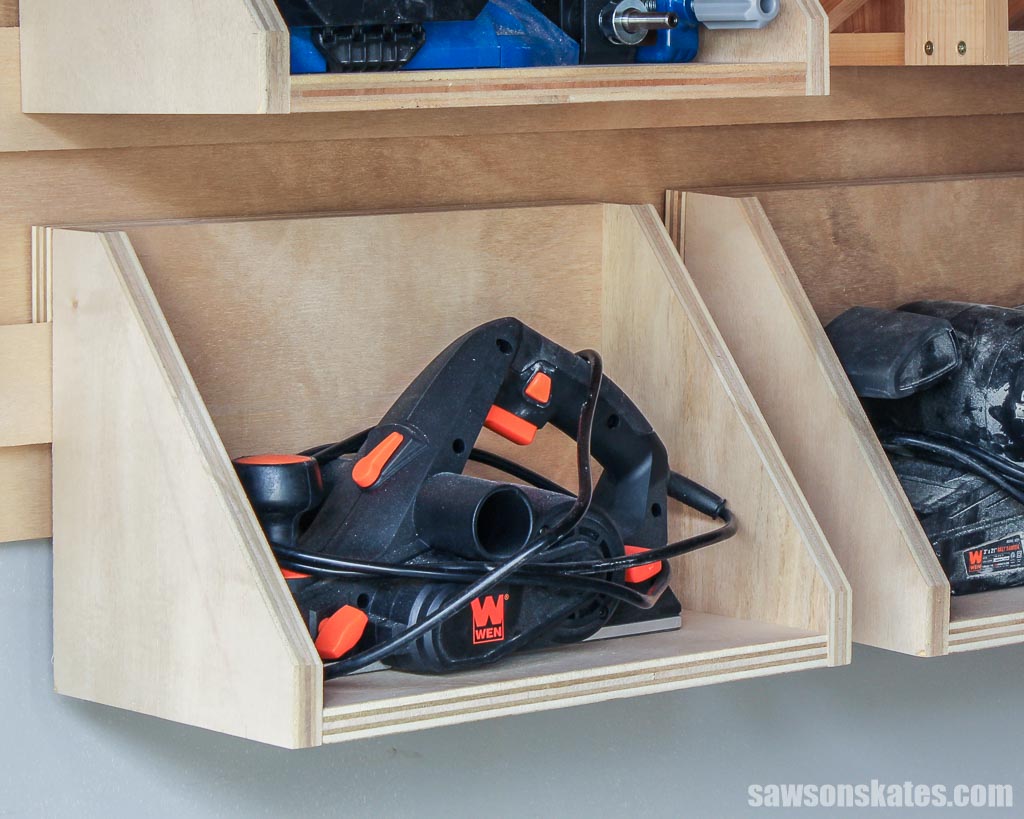
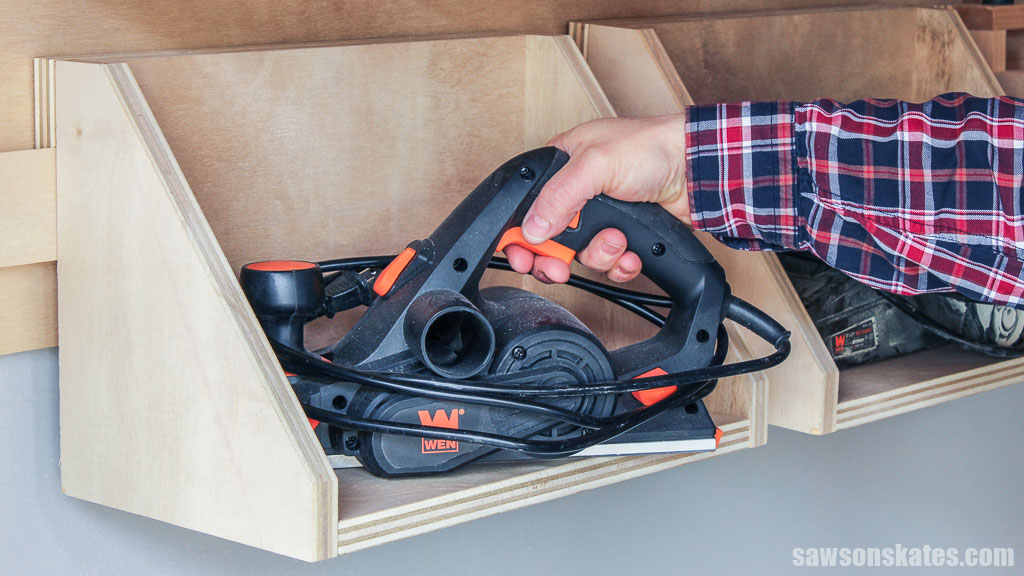
Spend more time searching for tools than using them? This French cleat tool shelf is the answer. I’ll show you how to build a simple organizer that puts planers, sanders, and more at your fingertips. Let’s reclaim your workshop and say goodbye to clutter!
Table of Contents
- Inspiration for This French Cleat Tool Shelf
- What Wood Should You Use?
- What Tools Do You Need?
- How to Make a DIY French Cleat Tool Storage Shelf
- Get the PDF Plan
This article contains affiliate links. If you purchase from these links, I may earn a small commission at no additional cost to you. Visit my site policies for more information.
Inspiration for This French Cleat Tool Shelf
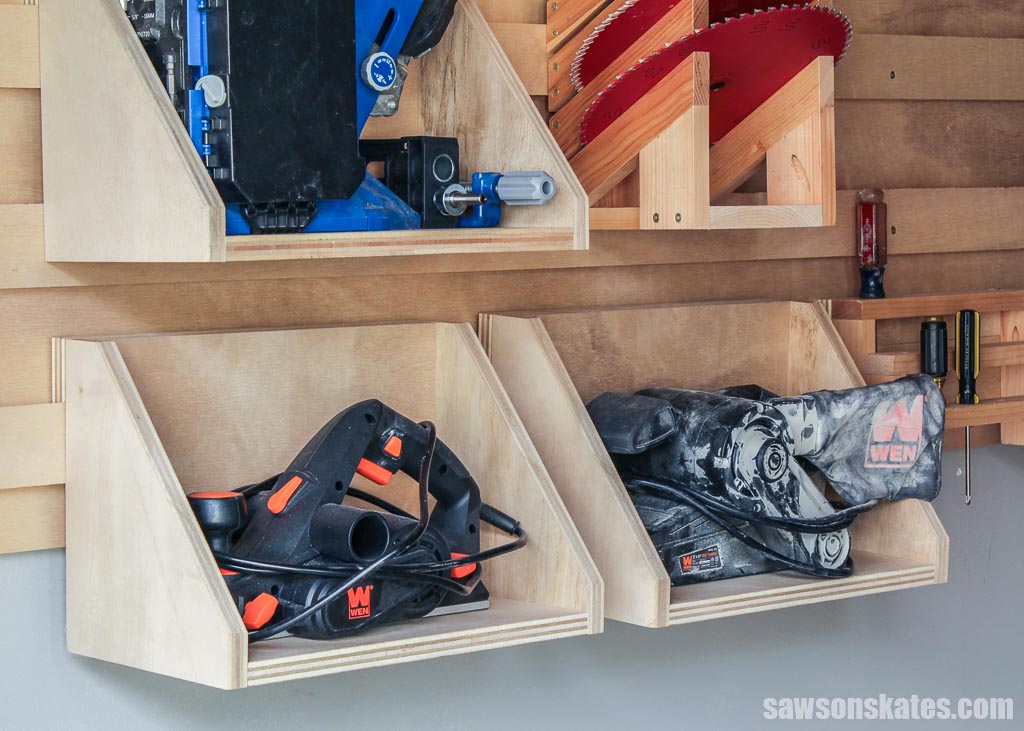
A recent garage renovation left me with a long, empty wall—the perfect canvas for some French cleats. I have a collection of tools I use occasionally, but not enough to warrant space in my small workshop, so they usually end up in a cluttered pile. This new wall space presented the ideal solution: additional storage, especially for those less frequently used tools.
Related: How to Make a French Cleat
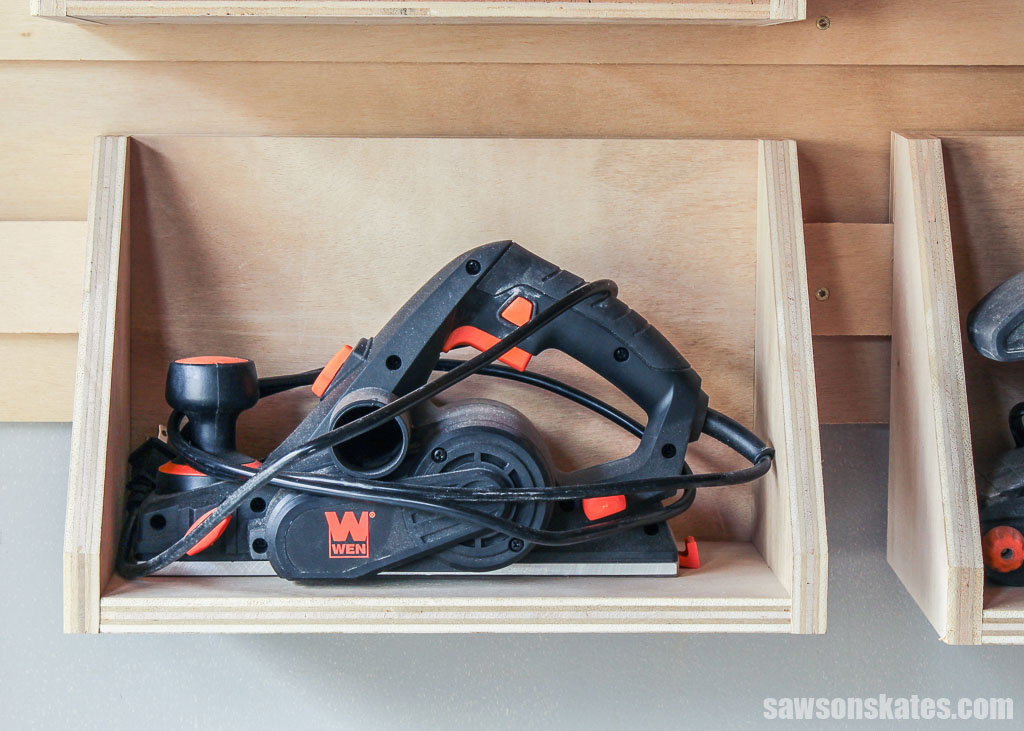
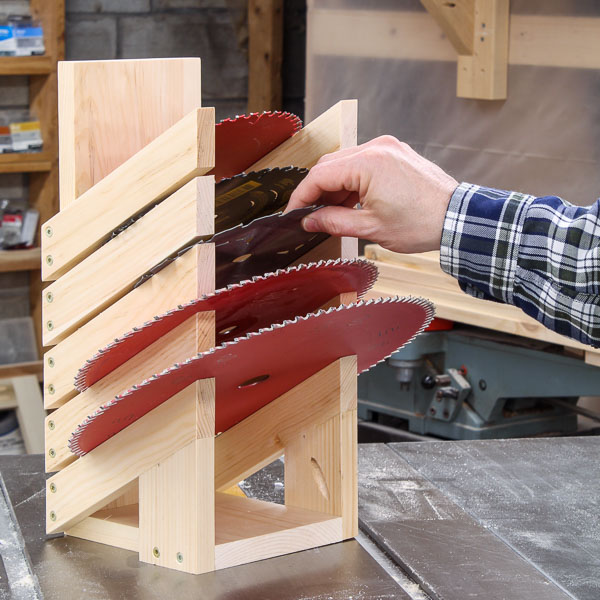
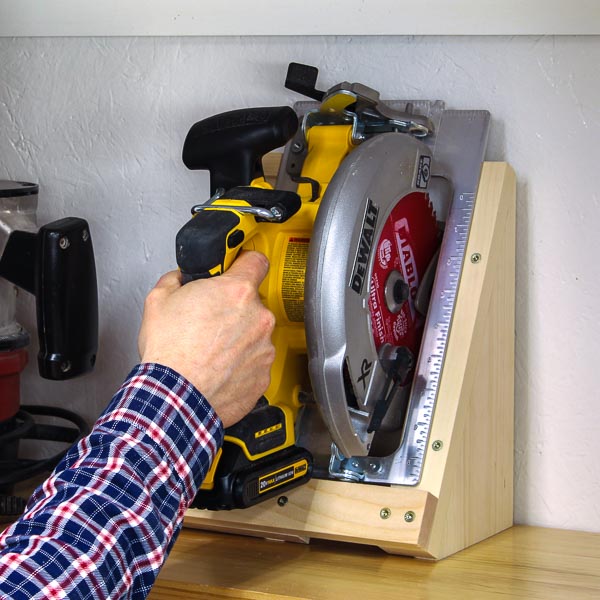
Here’s what I came up with: a simple, sturdy, reconfigurable shelf ideal for organizing my hand planer, belt sander and Kreg Jig 720.
What Wood Should You Use to Make a French Cleat Storage Shelf?
I don’t frequently use plywood, but I had some leftover from making the French cleat wall, so that’s what I used to make my storage shelf.
What Tools Do You Need to Build a French Cleat Tool Storage Shelf?
I used four tools to make this tool shelf:
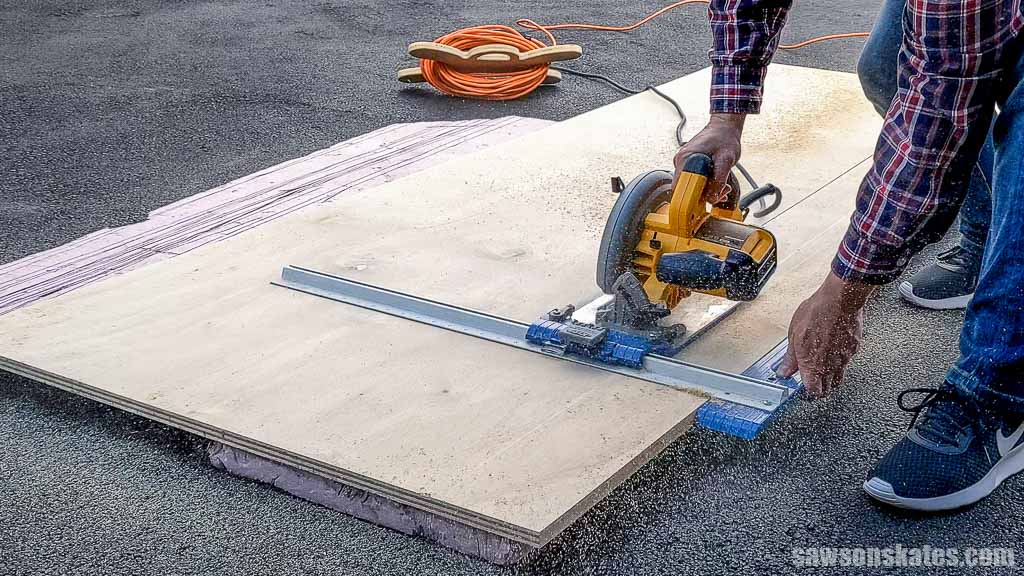
- Circular saw: I used a circular saw and Kreg Rip-Cut to rip the plywood to width.
- Miter saw: I used my sliding miter saw to cut the parts to length.
- Pocket hole jig: I used pocket hole joinery to assemble the shelf.
- Drill: I used my drill to make the pocket holes and drive the pocket hole screws.
How to Make DIY French Cleat Tool Shelf
Printed Plan
Get the PDF plan here (includes detailed instructions, measurements, and bonus tips)
Materials
- Wood (per the printed plan)
- 1-¼” Pocket Hole Screws
- 1-¼” Wood Screws
Tools
- Tape Measure
- Kreg Multi-Mark
- Table Saw or Circular Saw and Kreg Rip-Cut
- Pocket Hole Jig
- Drill
- Countersink Drill Bit
Step 1. Make the Bottom
NOTE: While I built three shelves, I’ll focus on the steps involved in making one shelf for simplicity.
The bottom and the sides are the same size, so I used my circular saw and a Kreg Rip-Cut to rip the plywood to width.
Then, I cut the piece to length for the bottom.
NOTE: I used my sliding miter saw to make this cut, which can handle wider materials than a non-sliding saw. If you don’t have one, you can use a circular saw instead.
Next, I used the diagram in the printed plan to mark the location for pocket holes.
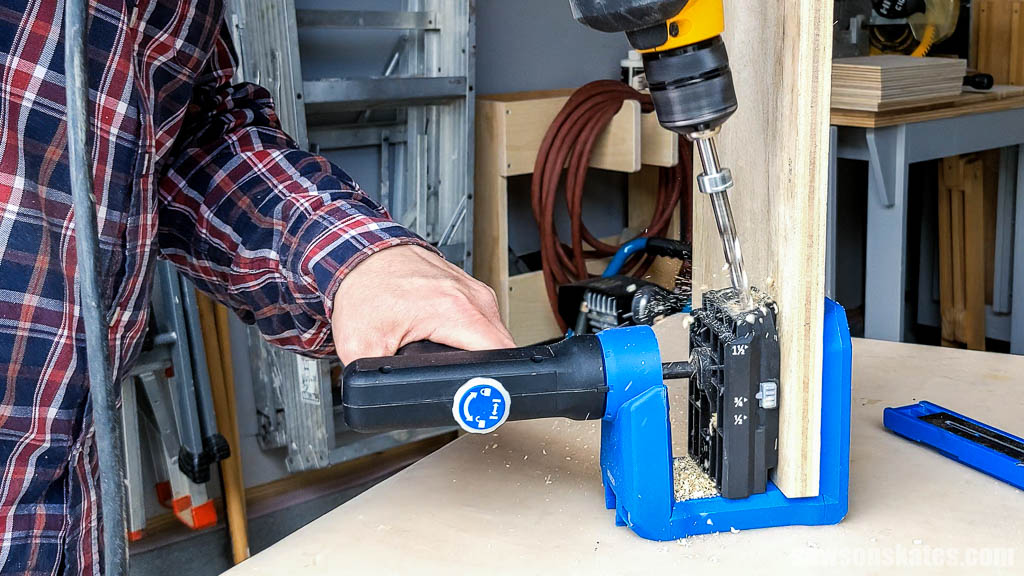
I set my pocket hole jig and drilled one at each mark.
Related: How to Use a Pocket Hole Jig
Step 2. Attach the Back
Again, I used my circular saw and Kreg Rip-Cut to rip a piece of plywood to width for the back.
Then, I cut it to length.
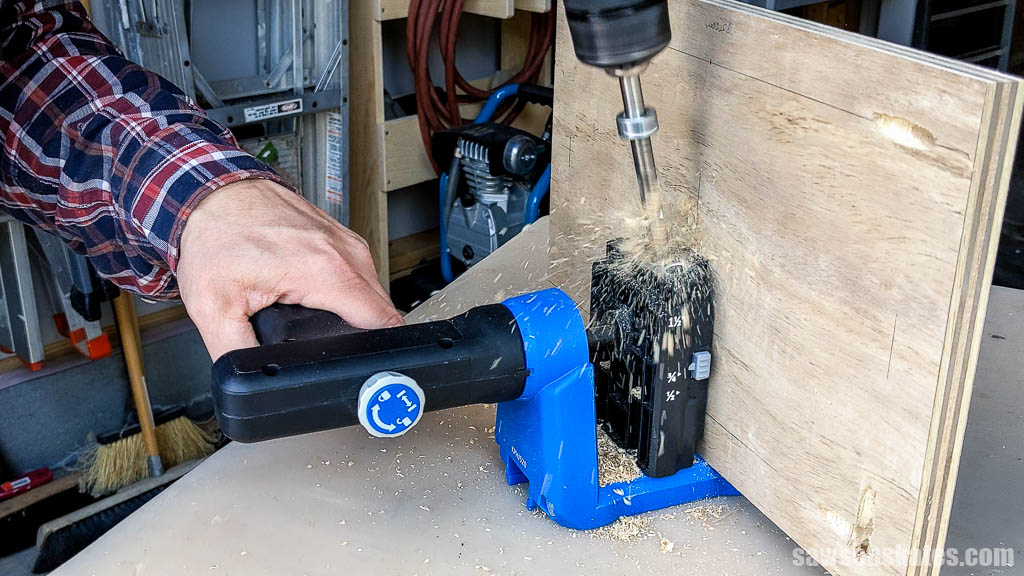
I used the diagram in the printed plan to mark the location for pocket holes and drilled one at each mark.
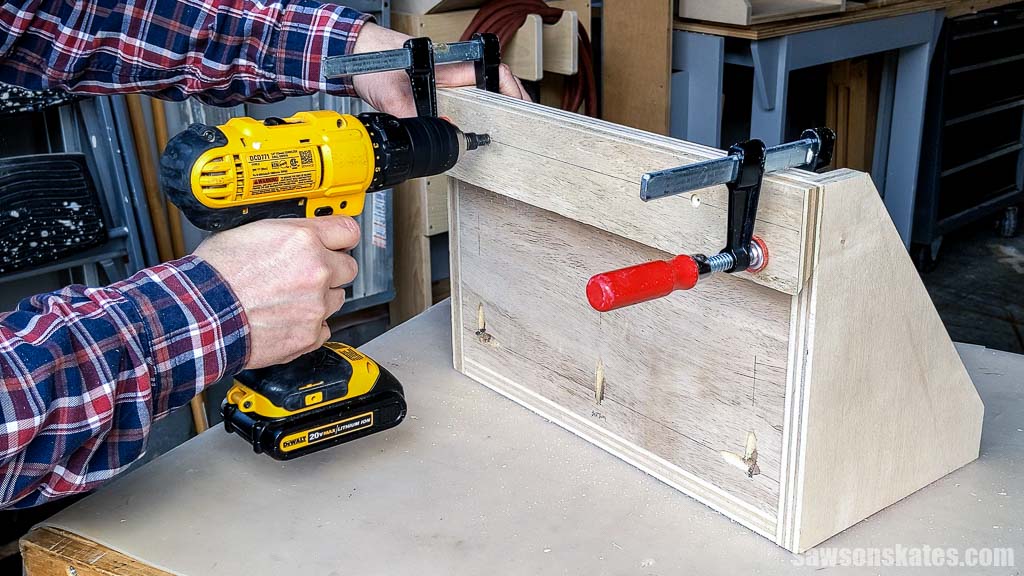
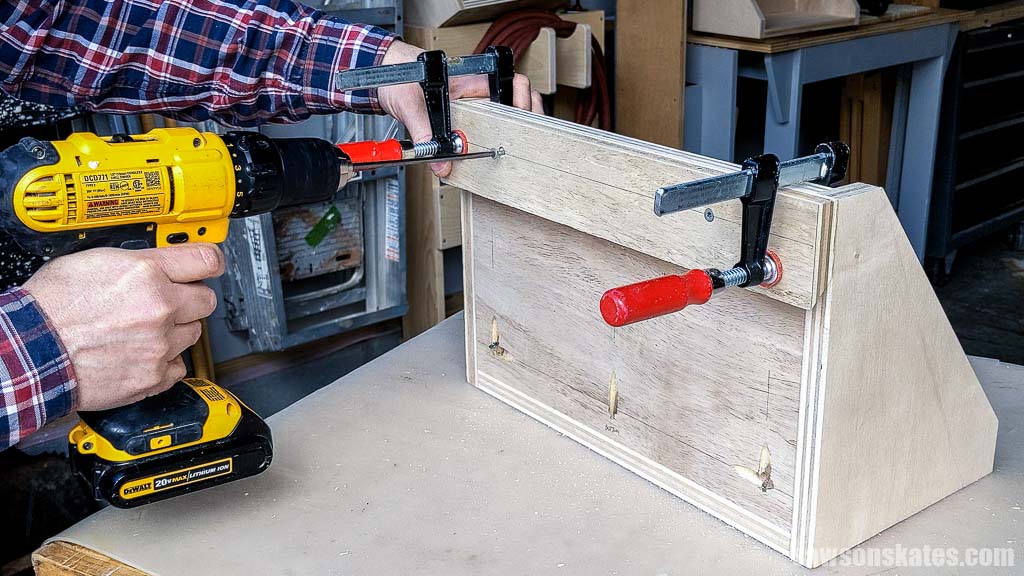
I positioned the back on the bottom and clamped it in place.
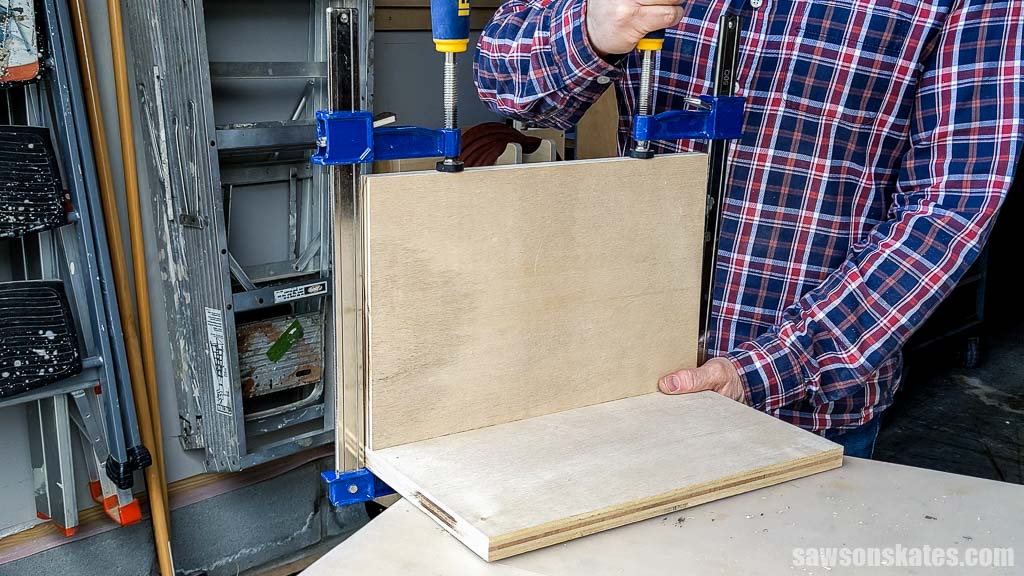
Then, I attached it using pocket hole screws.

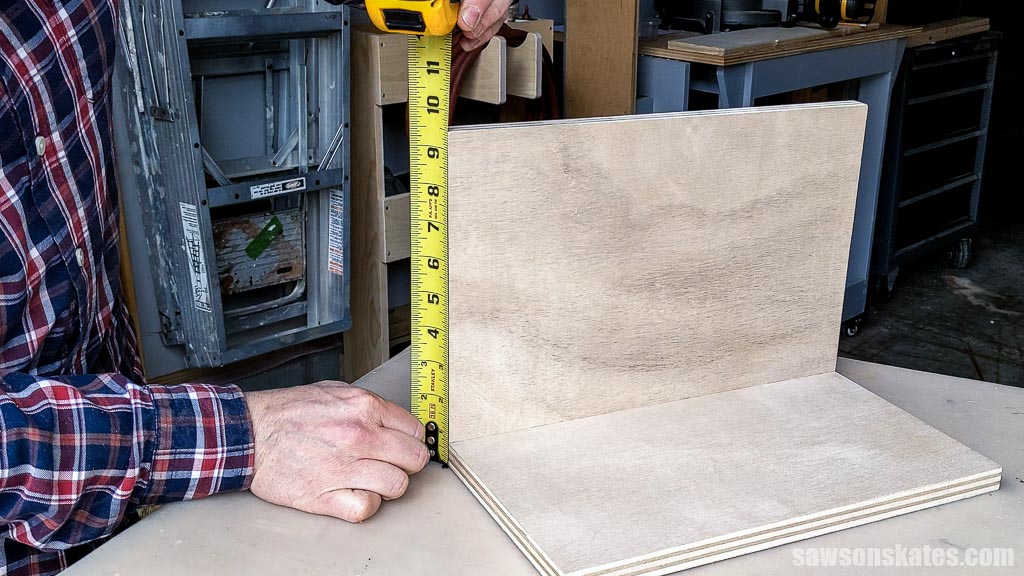
Step 3. Attach the Sides
For the best fit, I recommend measuring from the bottom to the top to determine the height for the sides.
I cut two pieces of plywood (left over from Step 1) to length for the sides.
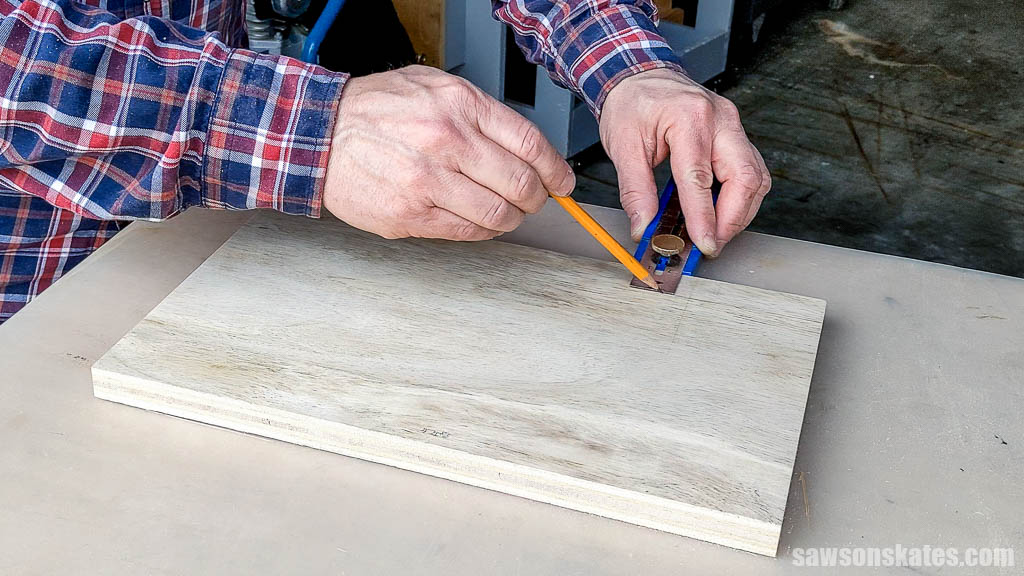
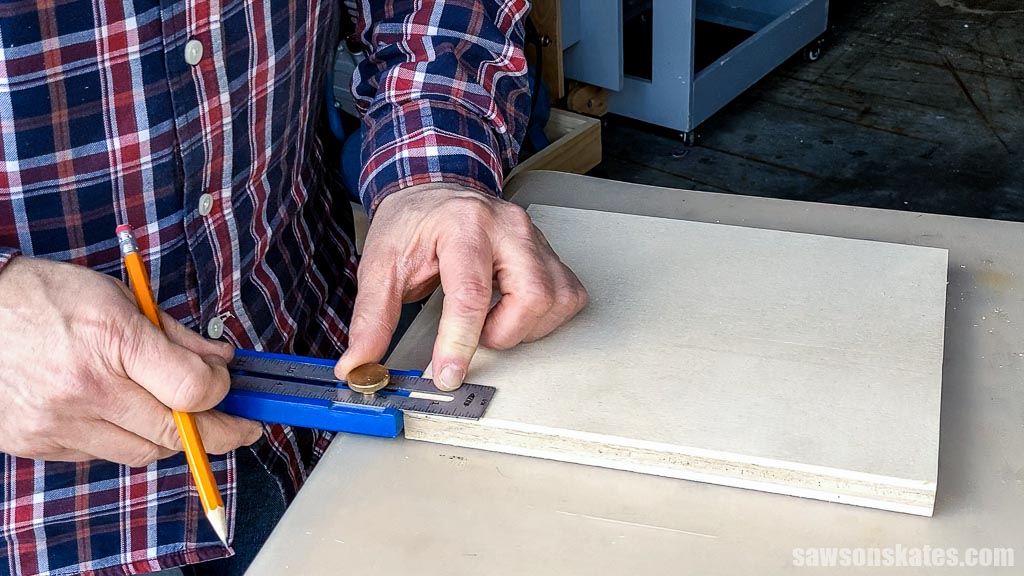
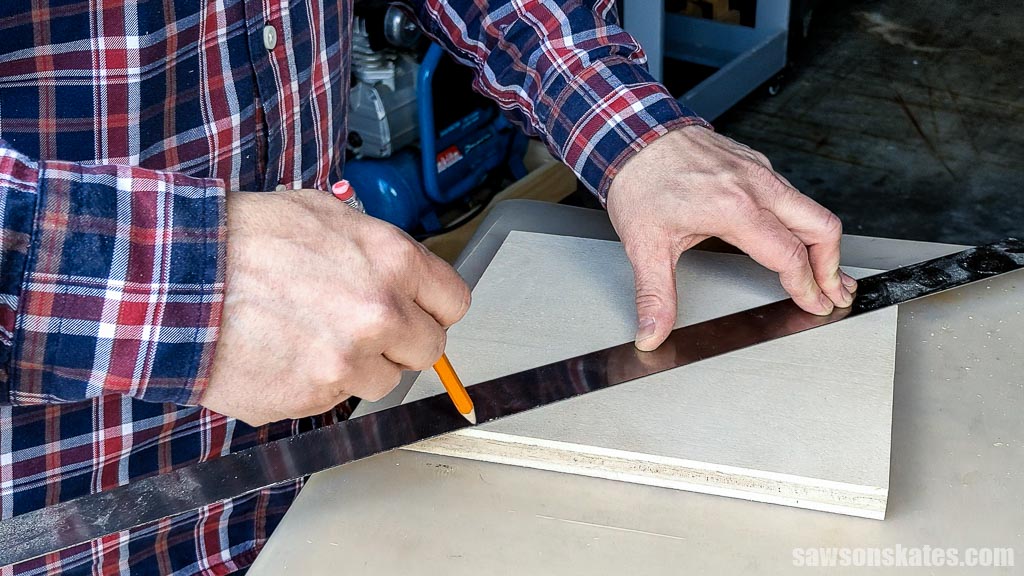
Then, I used the diagram in the printed plan to mark the angled cuts. First, I made a mark at the bottom.
Then, at the top.
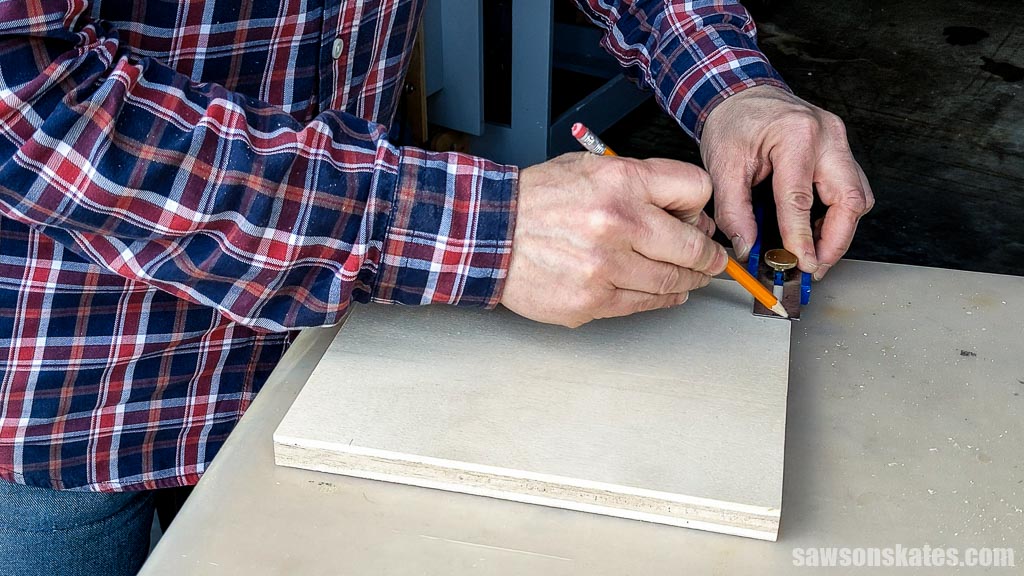
And I connected the marks with a straightedge.
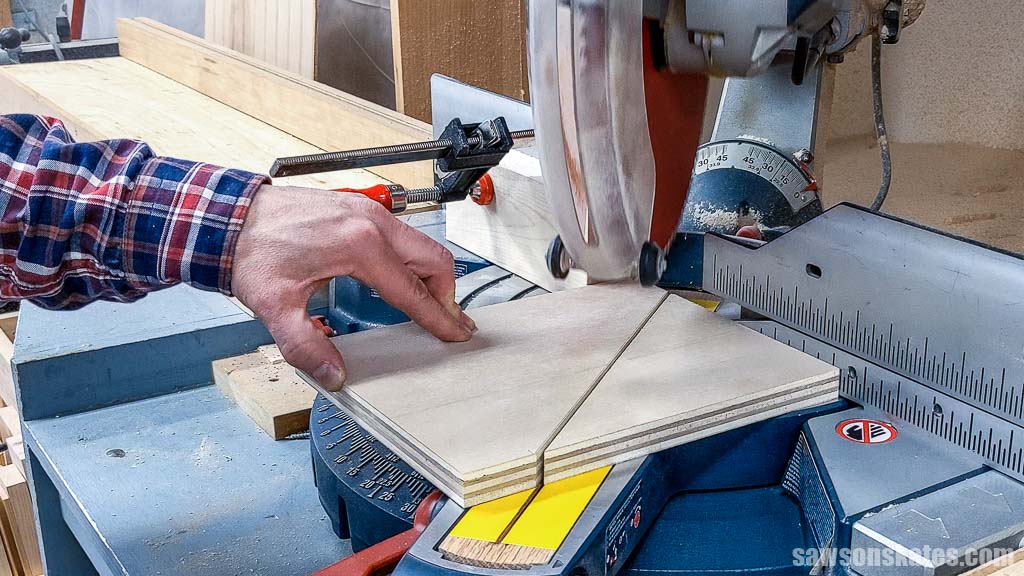
I used my miter saw to cut the angle.
NOTE: I used my sliding miter saw to make this cut, which can handle wider materials than a non-sliding saw. If you don’t have one, you can use a circular saw instead.
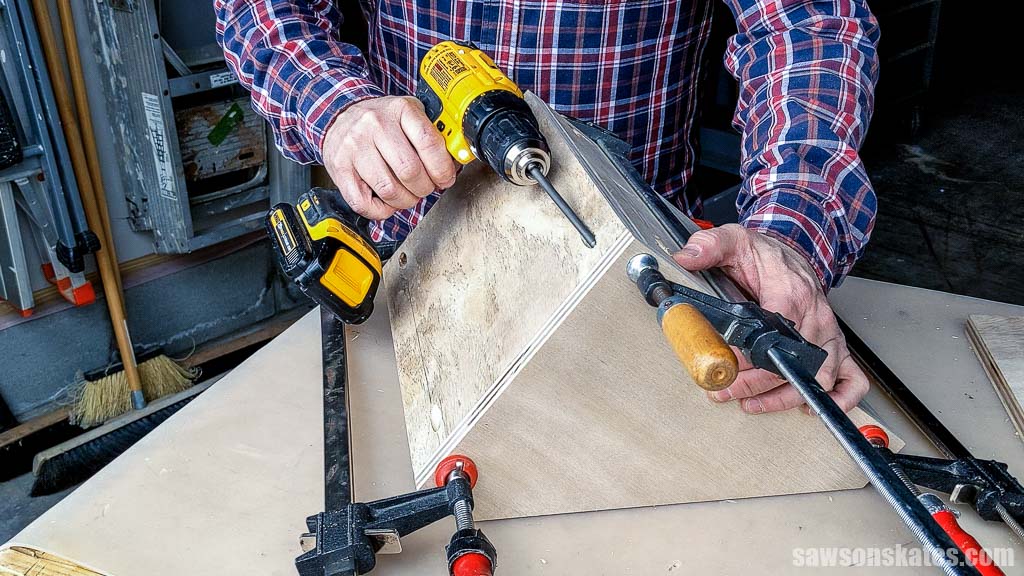
I clamped the side in position and attached it using pocket hole screws. I repeated this step for the other side.
Step 4. Attach the French Cleat
I cut a French cleat to length and clamped it in position.
Related: How to Make a French Cleat
I marked the locations for countersink holes and used an awl to make a starting point for the drill bit.
Related: What is an Awl? (& How to Use It)
Then, I used a countersink bit to drill a hole at each mark.
Related: How to Use a Countersink Bit
I attached the cleat using wood screws.
That’s it. Your storage shelf is ready to get your tools organized!
Video
Watch now, and I’ll show you step-by-step how to make a DIY French cleat shelf.

Includes:
- List of tools and materials
- Complete measurements (in inches)
- Easy-to-follow instructions
- Step-by-step photos
- Detailed diagrams
or get the best value:
Final Thoughts
There you have it. This functional, reconfigurable French cleat tool shelf is ready to transform your workspace and keep your tools within easy reach.
Don’t wait. Get your PDF plan (including the detailed instructions and measurements) now!
Thank you for stopping by. If you enjoyed this tutorial, would you please take a moment and pin it to Pinterest? I’d really appreciate it!
Recommended For You

Pin This For Later

Hi there – I’m Scott, a woodworking enthusiast and creator of Saws on Skates, a site I started in 2015 to share easy-to-follow tutorials, space-saving shop tips, and project inspiration for DIYers at any skill level. Learn more about my woodworking journey here.
What is that you hung it on Ther are no instrutions forthat
I apologize for that Arlene. I thought I included a link for How to Make a French Cleat in the tutorial.