Easy DIY Wooden Pumpkin Lantern (2 Patterns!)
This easy-to-make pumpkin lantern is the perfect way to add some Halloween spirit to your home. FREE printable plans and 2 patterns included!
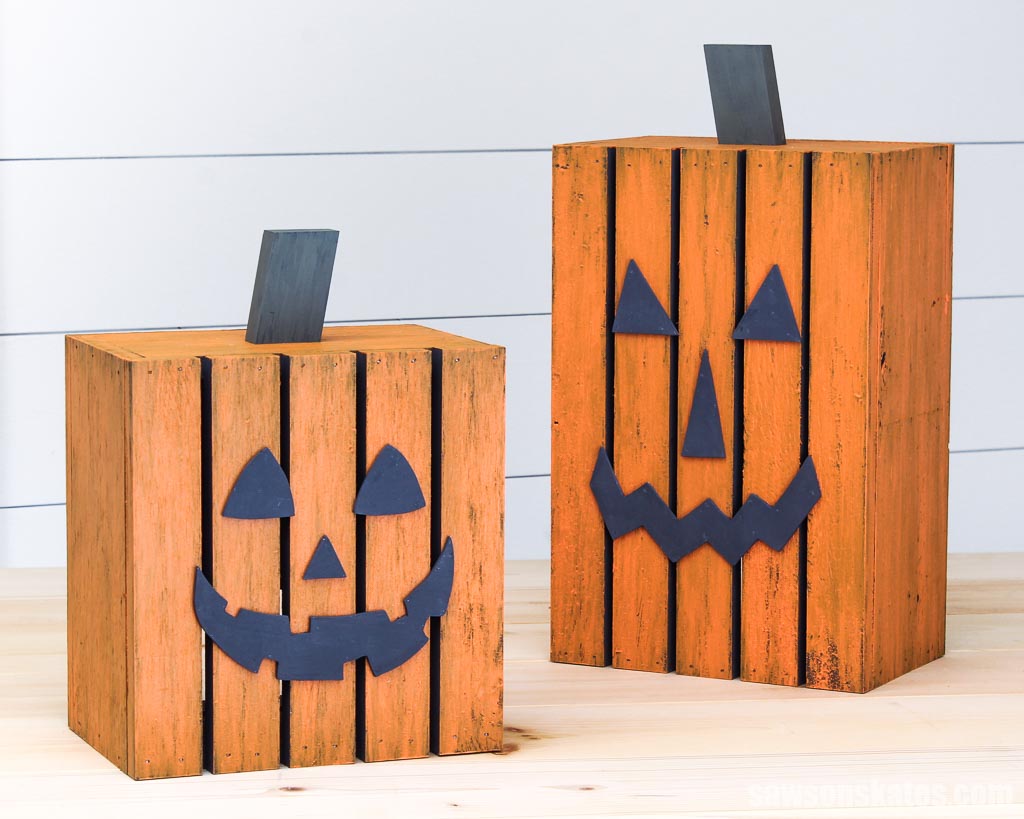
If you’re searching for a creative Halloween decoration, look no further than this festive wooden Jack-O-Lantern! This is a great DIY project for beginners. It’s simple to make and only requires a few common tools and supplies.
The free step-by-step plan includes detailed instructions for making a short and tall pumpkin lantern, a material list, and two face patterns. Let’s get started!
This tutorial contains affiliate links to supplies and tools. Purchases made using these links help support the Saws on Skates website and allows me to share more projects and tips with you. There is no cost to you for using these links. Visit my site policies for more information.
Table of Contents
- Inspiration for This DIY Wooden Jack-O-Lantern
- What Tools Do You Need?
- What Wood Should You Use?
- What Candles Should You Use?
- How Do You Finish the DIY Pumpkin Lantern?
- How to Make a DIY Wooden Jack-O-Lantern
- Get the Free Printed Plan
Inspiration for This DIY Wooden Jack-O-Lantern
I’ll admit it. When it comes to trends, I’m usually late to the game. But when I started seeing Halloween lanterns popping up all over Facebook woodworking groups, I knew I had to give it a try.
Many of the lanterns used a single cedar board for the pumpkin’s face, but a pair I found on a popular retailer’s website used a series of horizontal planks instead. That’s when I decided I wanted to try something a bit different.
I love the idea of using multiple boards because it gives the lantern more dimension and character, but I thought they should be placed vertically to mimic the lines on a pumpkin.
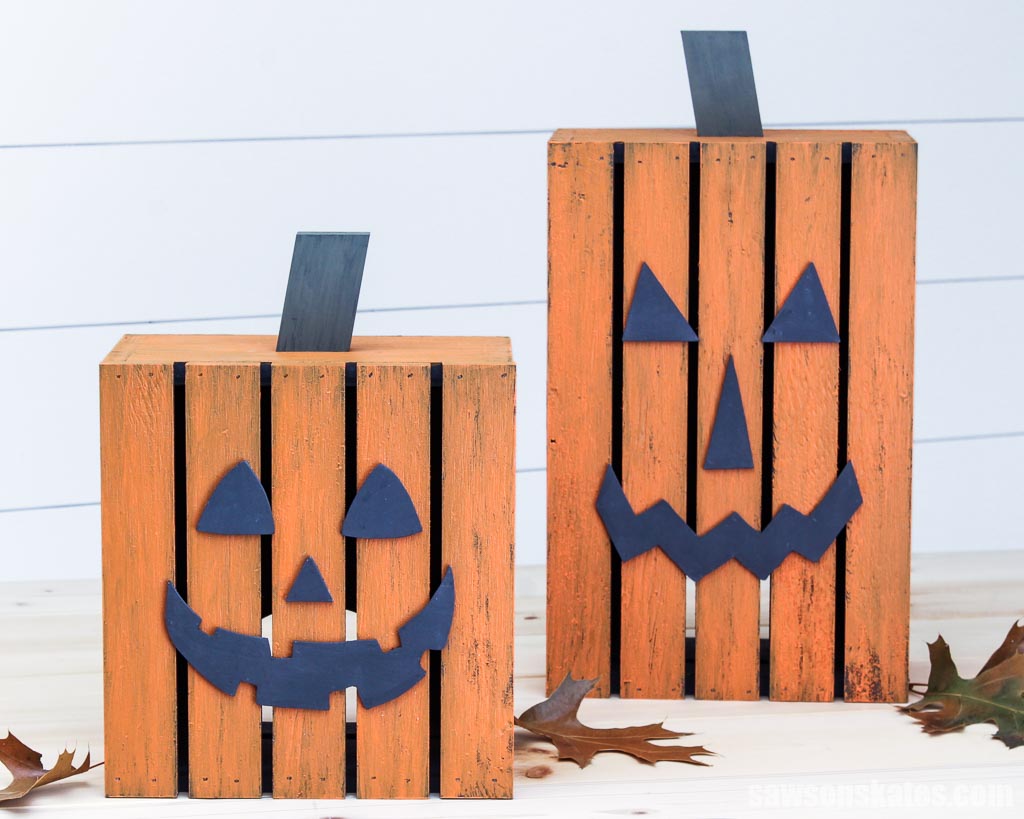
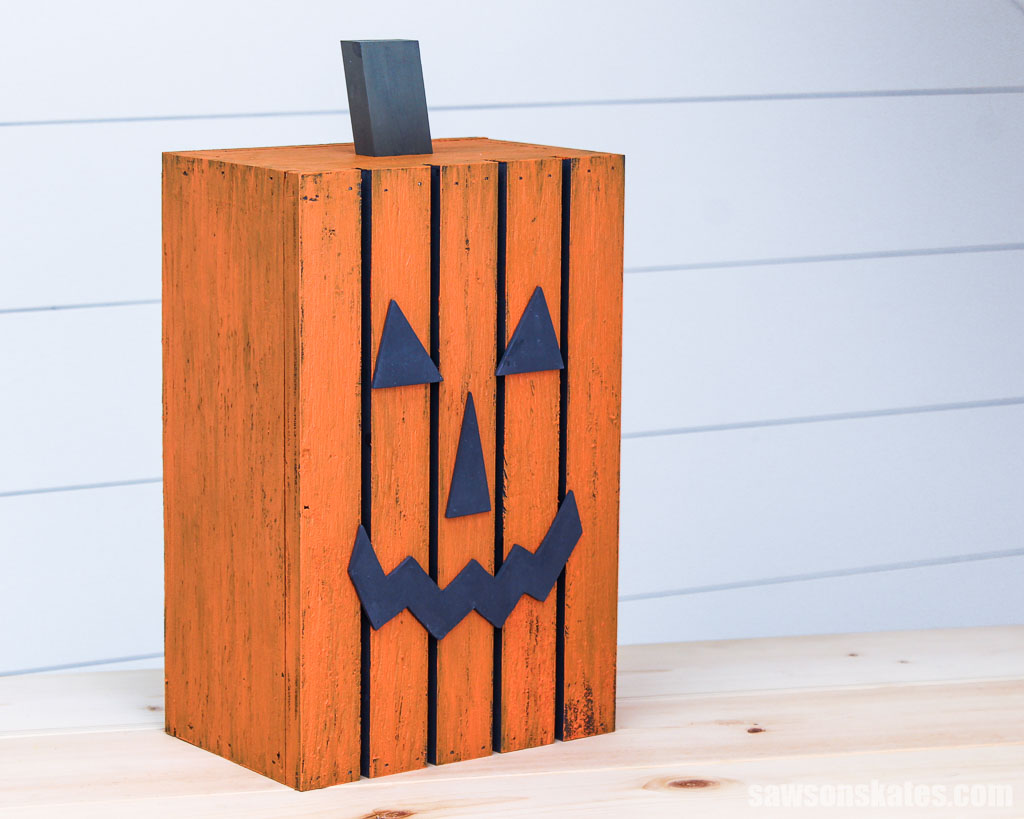
Here’s what I came up with, a short and tall pumpkin lantern with a series of vertical boards. Both are easy to make with a few common tools and supplies. So, if you’re looking to add a little bit of Halloween spirit to your home, front porch, or mantel, give these wooden Jack-O-Lanterns a try!
What Tools Do You Need?
This simple project requires only a few tools, such as a miter saw and a scroll saw. I also used a brad nailer and a pin nailer to speed up the building process, but these tools are optional.
I designed the plan to use boards, but I ended up using plywood, so I also needed a circular saw and a jigsaw. I’ll explain more about why I made this change in the wood section below.
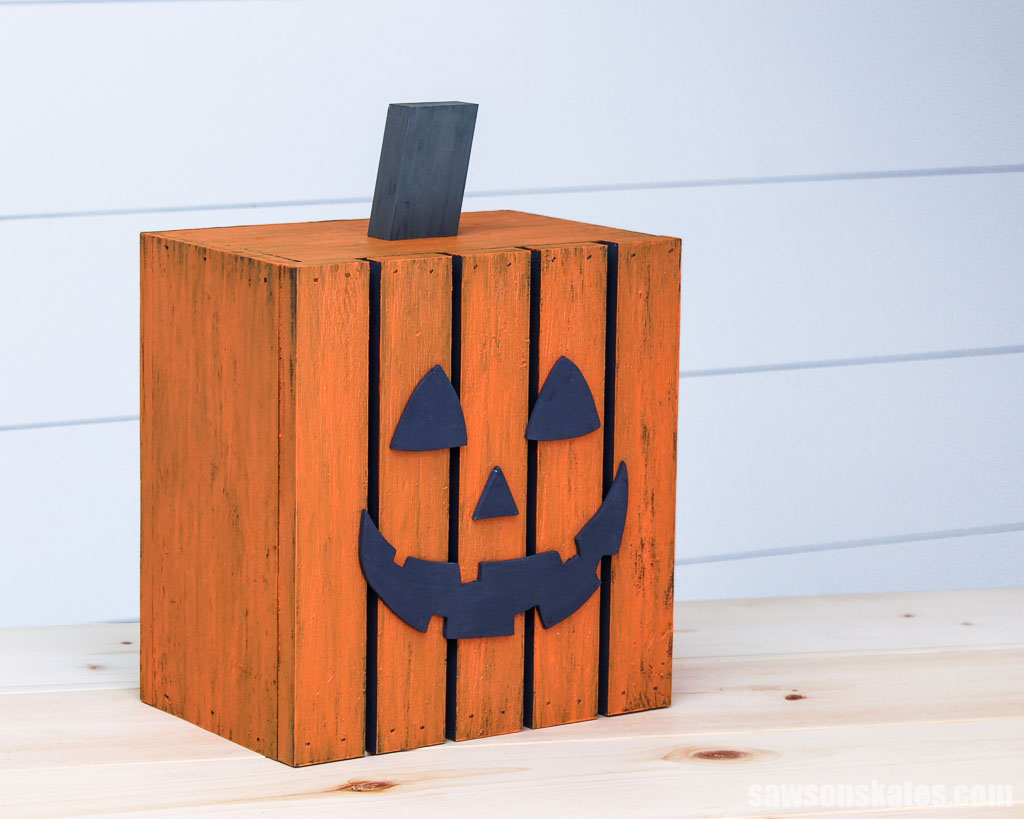
Miter Saw
I used a miter saw to cut all of the parts to length for this project.
Scroll Saw
I used a scroll saw to cut the pumpkin’s face. If you don’t have a scroll saw, you might be able to use a jigsaw instead. If you try a jigsaw, keep in mind these parts are small, so take your time, be careful, and please watch your fingers.
Nailers (optional)
I used a brad nailer to assemble the lantern and a pin nailer to attach the pumpkin’s face to it. You could also use a hammer and nails if you don’t have either of these tools.
Related: Pin Nailer vs Brad Nailer (Differences + Which to Use)
Pocket Hole Jig (optional)
There are several ways to attach the pumpkin’s stem to the lantern. You could use nails or a Kreg Jig like I did to make pocket holes and attach it with screws.
Related: Which Kreg Jig Should You Buy? (Here’s the Answer)
What Wood Should You Use?
These lanterns are designed to be made from pine boards, which are relatively inexpensive and widely available at most home improvement stores. They don’t require much material, so you might even be able to use scrap wood.
Related: 71 Scrap Wood Projects (Clever Ways to Reuse Old Wood)
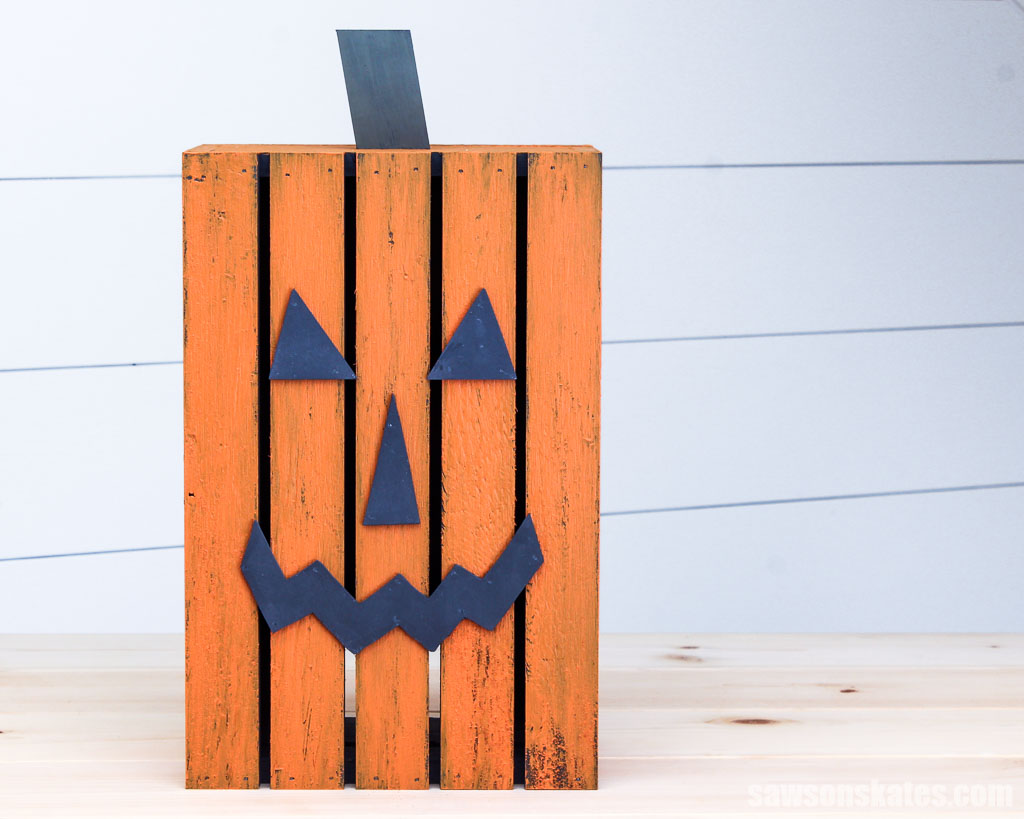
I had some extra T1-11, a type of plywood siding, leftover from doing some repairs on my garage. So instead of buying new boards, I ripped the T1-11 into strips using a circular saw and my Kreg Rip-Cut.
Related: 4 Ways to Make Straight Cuts with a Circular Saw
T1-11 is a little thinner than pine boards, so your lanterns might look slightly different than mine, but they’ll still look great!
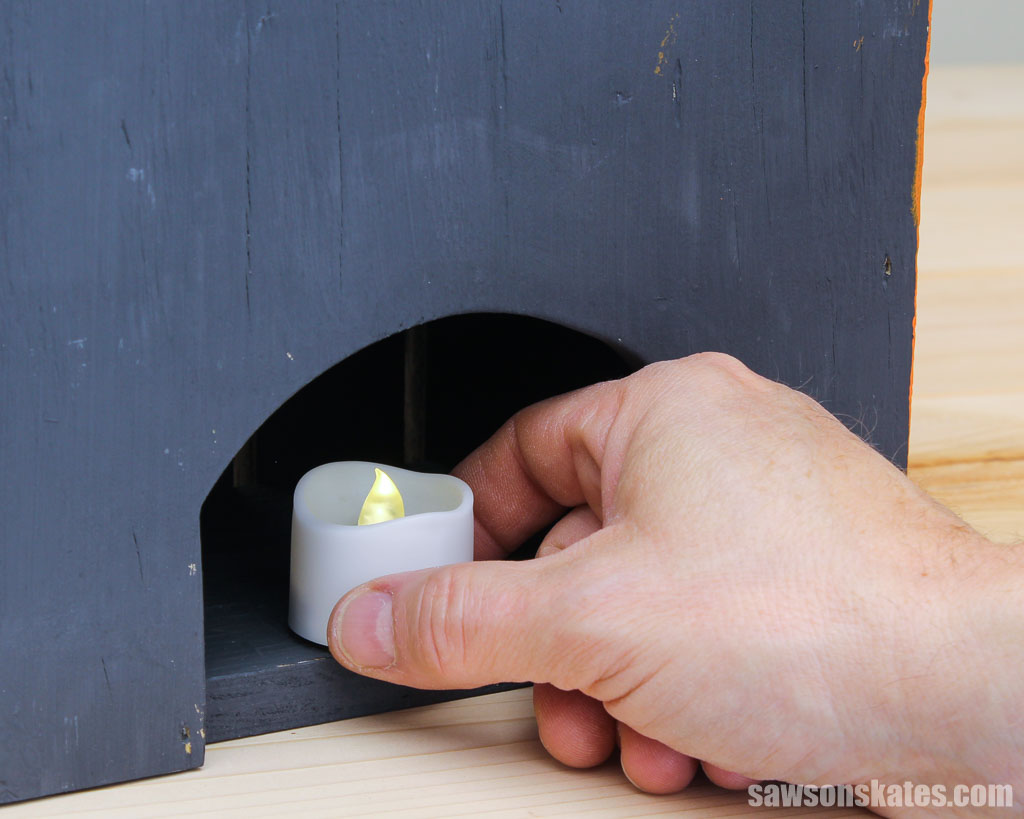
The printed plan uses several boards to make the back, but I only needed one piece for each lantern because I used plywood. I used a jigsaw to cut an opening for the flameless tealight candle.
I used some 3mm plywood, which I had leftover from making these picture frame ornaments, to make the faces for my jack-o-lanterns.
If you don’t have 3mm plywood or you don’t want to buy any, don’t worry! You can use almost any thin plywood-like material. For example, I used old pieces of ⅛” beadboard paneling to make these mitten ornaments, but nearly any thin material like lauan, hardboard, etc., might work.
What Candles Should You Use?
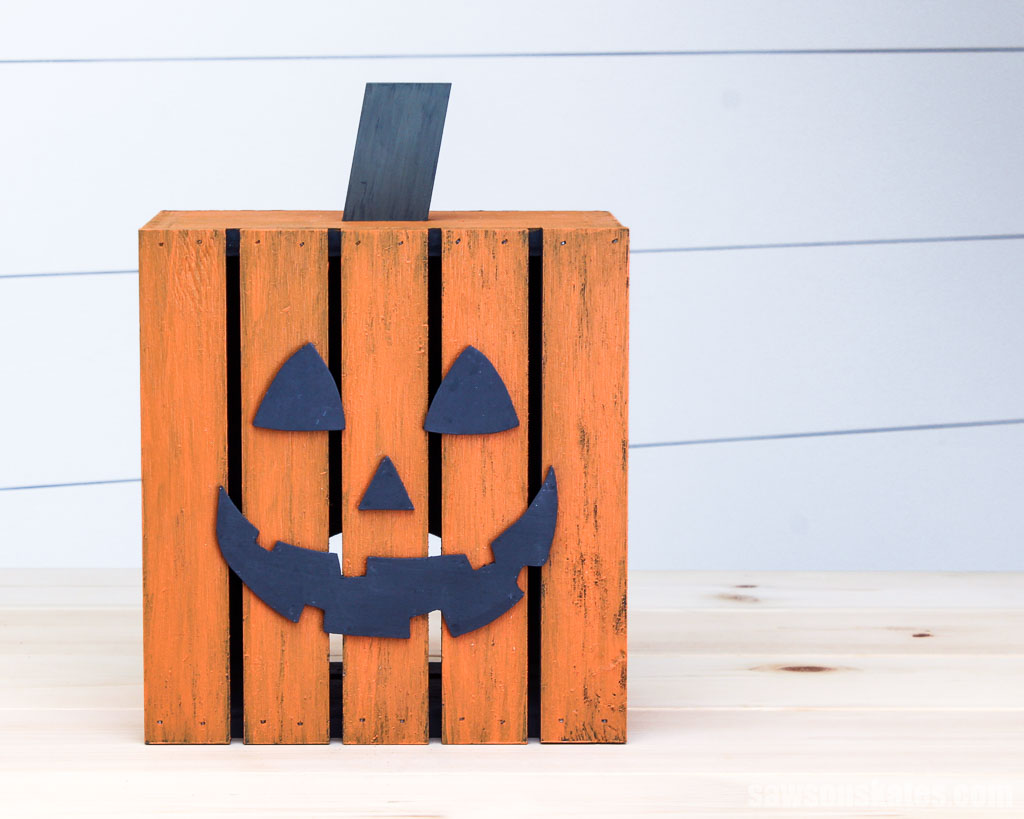
These lanterns are made of wood, so the only type of candle you should use are flameless LED candles. Please do not use real candles. They are a fire hazard!
I use battery-operated tealight candles like these because:
- They’re safe to use indoors
- They don’t produce heat
- They last for hours without needing to be replaced
- They have a realistic flickering effect
- Some have a remote, so you can turn them on and off without opening the lantern
- Some have a timer function, so you can set them to turn on and off automatically
How Do You Finish the DIY Pumpkin Lantern?
I wanted a weathered look for my lanterns, but you could also paint them a solid color or leave them unfinished if you prefer.
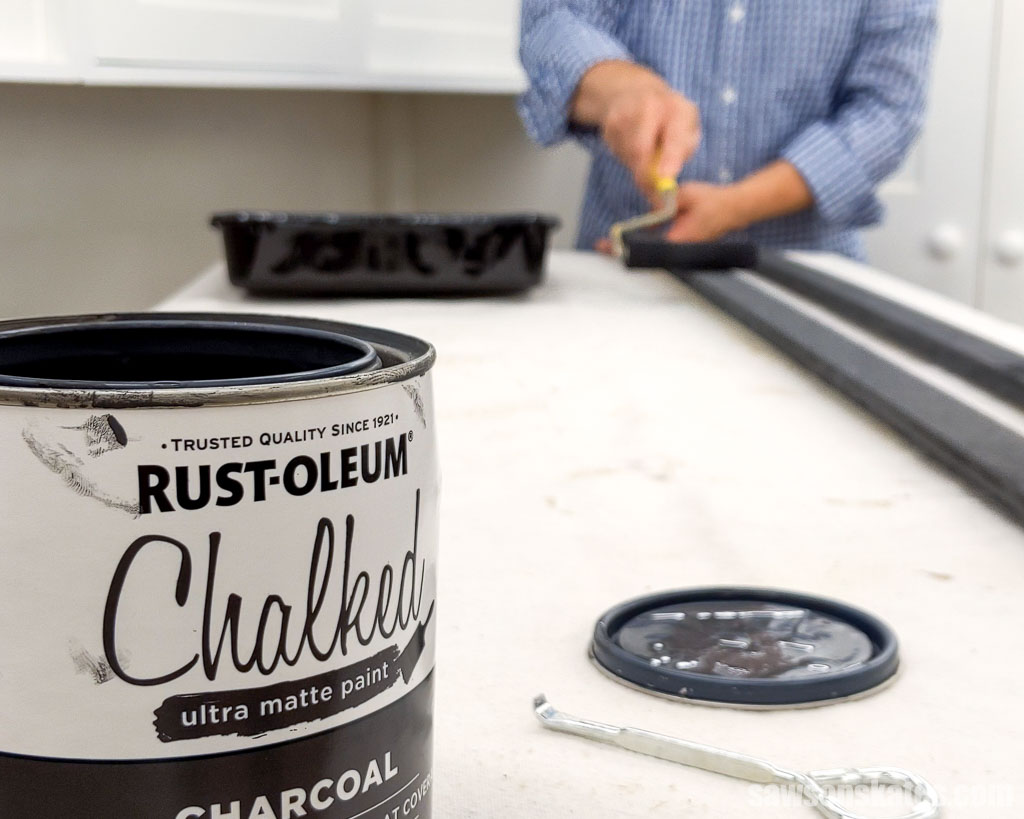
First, I applied a coat of charcoal chalk-type paint. As I mentioned earlier, I used plywood, so I thought it would be easier to use a roller to apply the paint to the strips before I assembled the project.
I applied a few thin coats of orange craft paint after I assembled the lanterns.
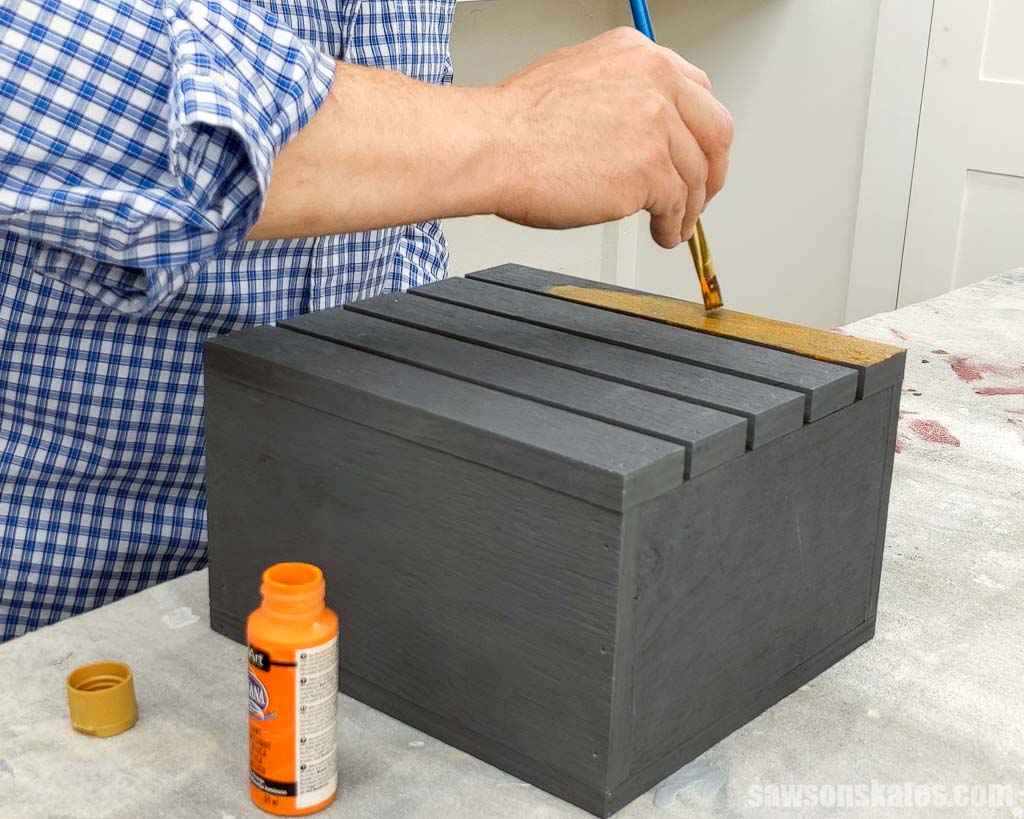
I allowed some of the black paint to show through, which I think gives this project some personality.
How to Make a DIY Pumpkin Lantern
Printed Plan
- Get the FREE plan here (includes detailed instructions, measurements, and bonus tips).
Supplies
- Wood (per the printed plan)
- Wood Glue
- 1-¼” Brad Nails
- ½” Pin Nails
- 1-¼” Pocket Screws (optional)
Tools
- Tape Measure
- Miter Saw
- Scroll Saw
- Brad Nailer (optional)
- Pin Nailer (optional)
- Kreg Jig (optional)
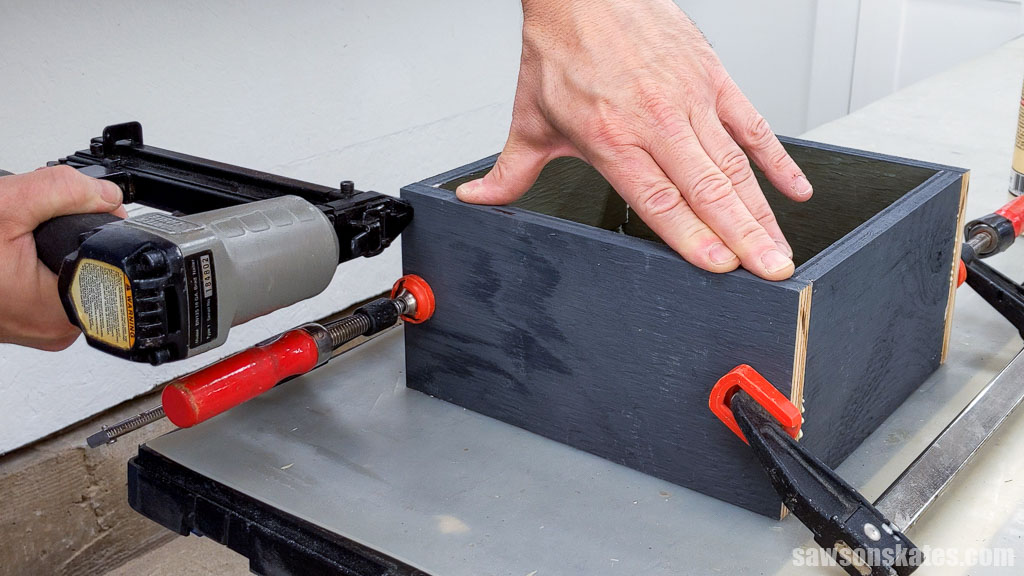
Step 1. Make the Box
Cut two pieces of wood to length for the top and bottom and two pieces of wood to length for the sides.
Apply wood glue to the ends of the top and bottom, position the sides, and attach using brad nails.
Step 2. Attach the Slats
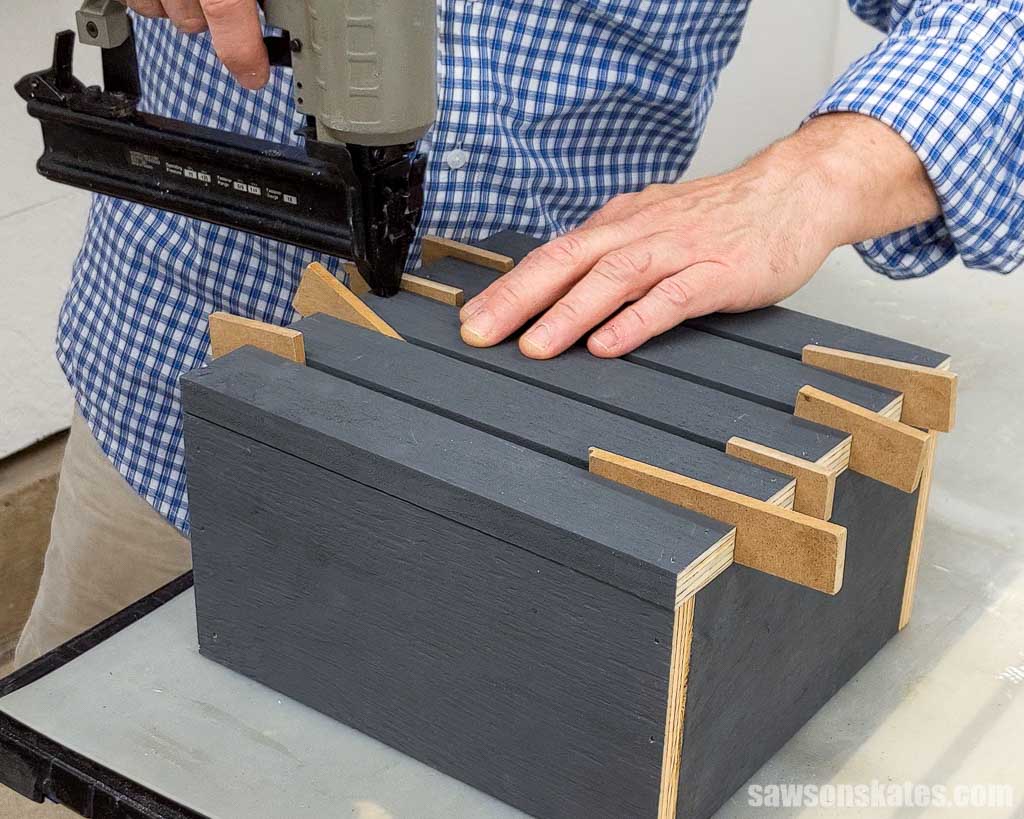
Cut five pieces of wood to length for the slats.
Use the diagram in the printed plan to position the slats on the box and attach using brad nails.
💡 TIP: I placed pieces of MDF between the slats to help position them.
Step 3. Attach the Back
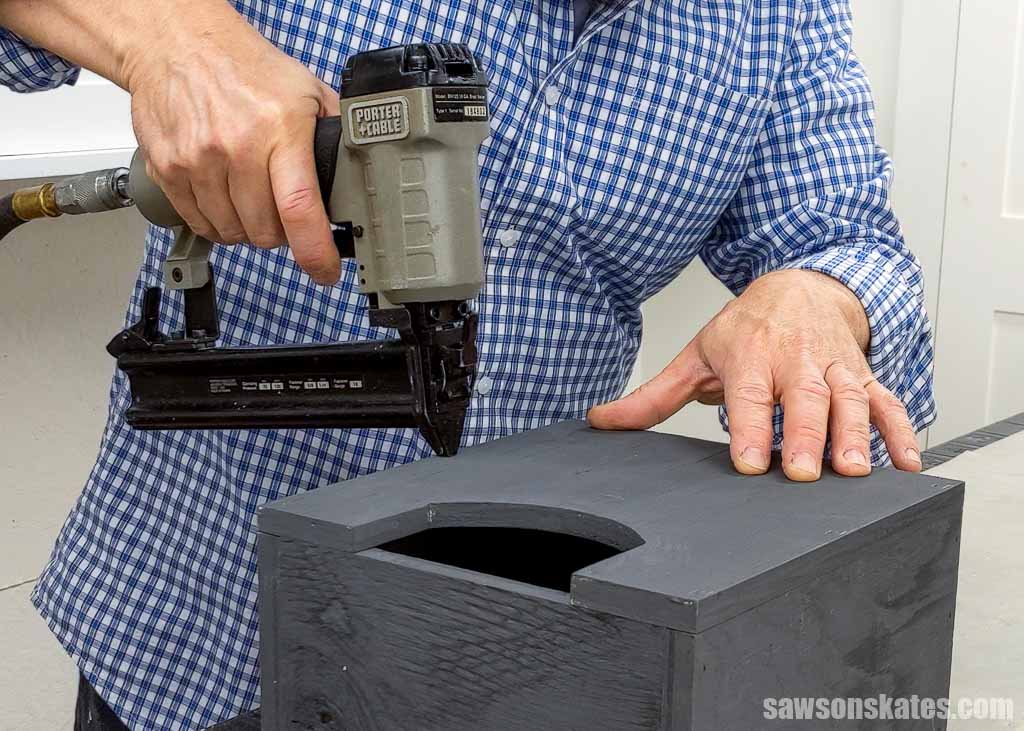
Cut three pieces of wood to length for the back.
Position the pieces on the back and attach using brad nails.
📝 NOTE: The back is open at the bottom, so that you can insert the flameless LED candle.
The printed plan uses several boards to make the back, but I only needed one piece for each lantern because I used plywood. I used a jigsaw to cut an opening for the flameless candle.
Step 4. Paint the Pumpkin Lantern
See How Do You Finish the DIY Pumpkin Lantern for more information.
Step 5. Attach the Face
Print the face pattern at the end of the printed plan.
💡 TIP: Make sure the scale is set to 100% when printing the PDF pattern.
I prefer my patterns to be rigid so that it acts as a guide for the pencil to follow. I made my pattern by spraying adhesive on a manila folder and placing the jack-o-lantern face on top. Next, I cut out the design with scissors.
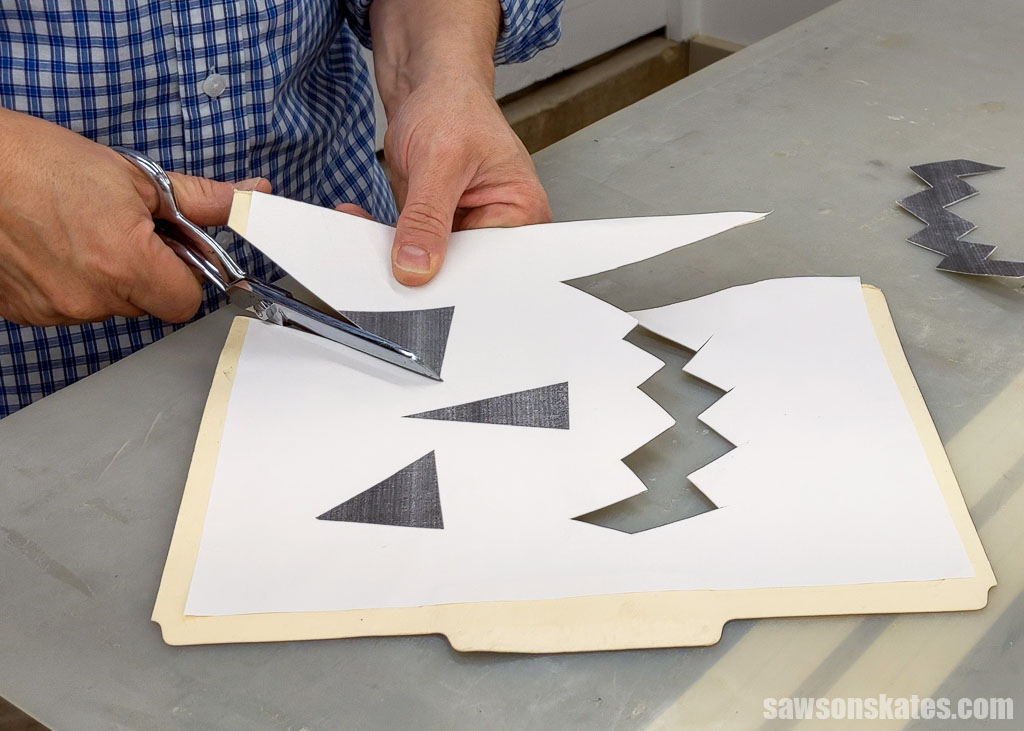
I positioned the pattern on the plywood and drew around it with a pencil. I used 3mm plywood for my pumpkin’s face, but you could use almost any thin plywood-like material such as lauan, paneling, hardboard, etc.
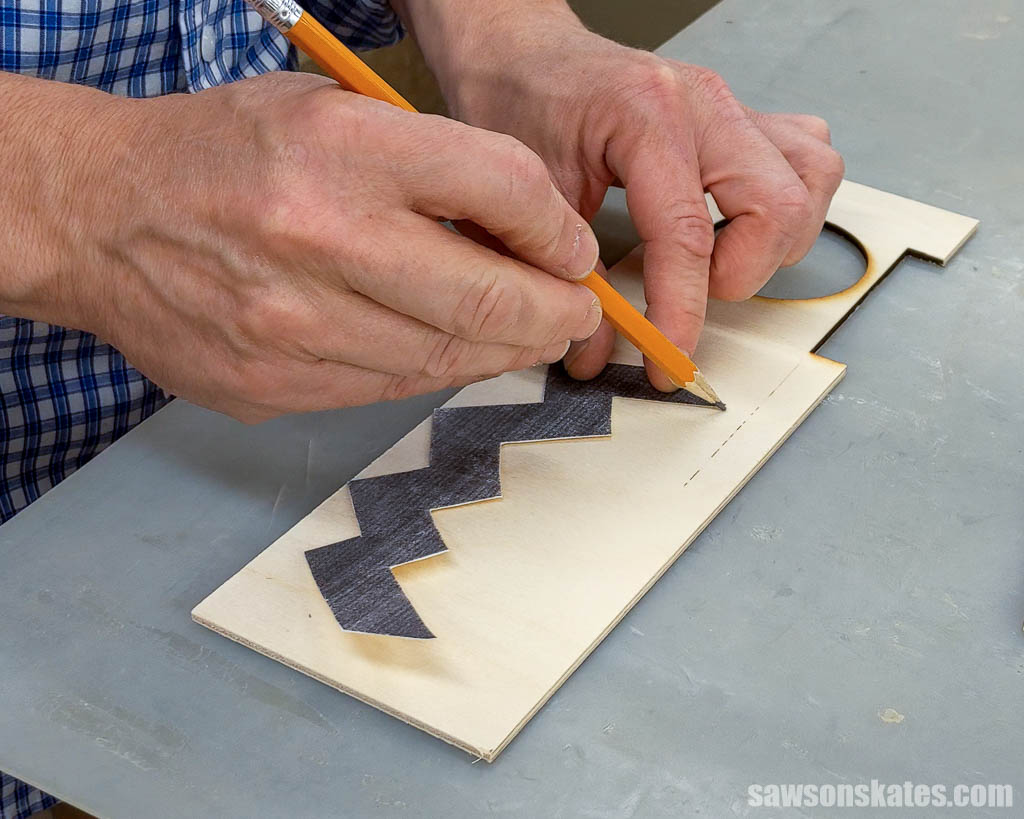
After I traced all of the face shapes, I used my scroll saw to cut them out.
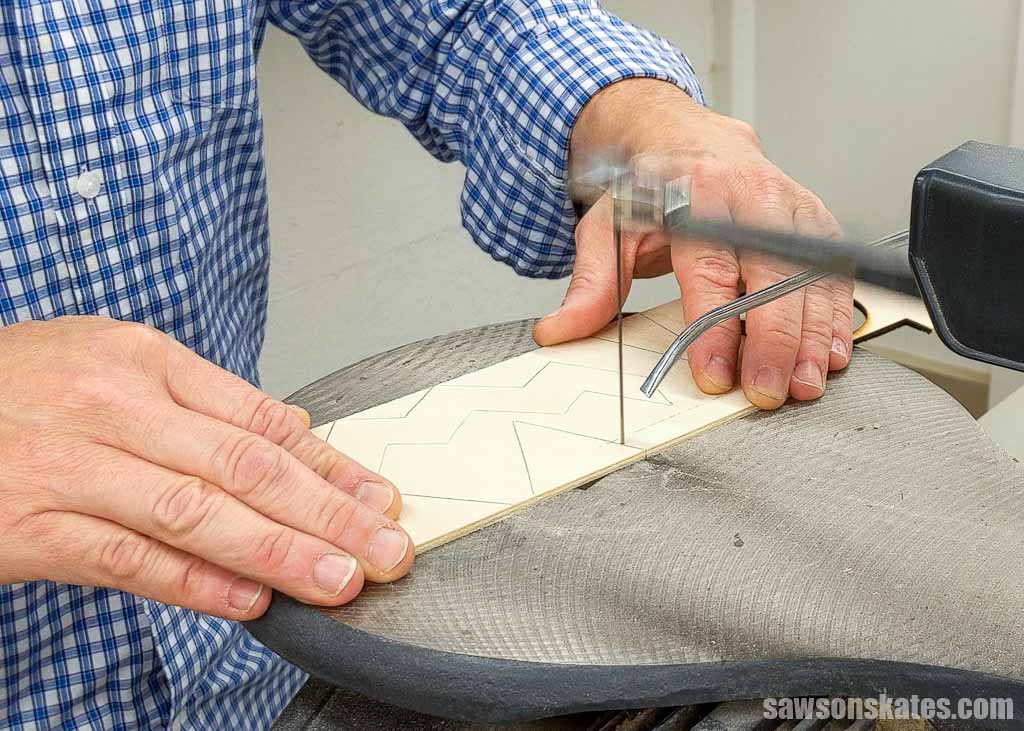
Next, I sanded the shapes with 120 grit sandpaper to remove any rough edges.
Then, I painted the shapes with the same charcoal chalk-type paint I used for the lantern.
When the paint was dry, I positioned shapes on the lantern and attached them with glue and pin nails.
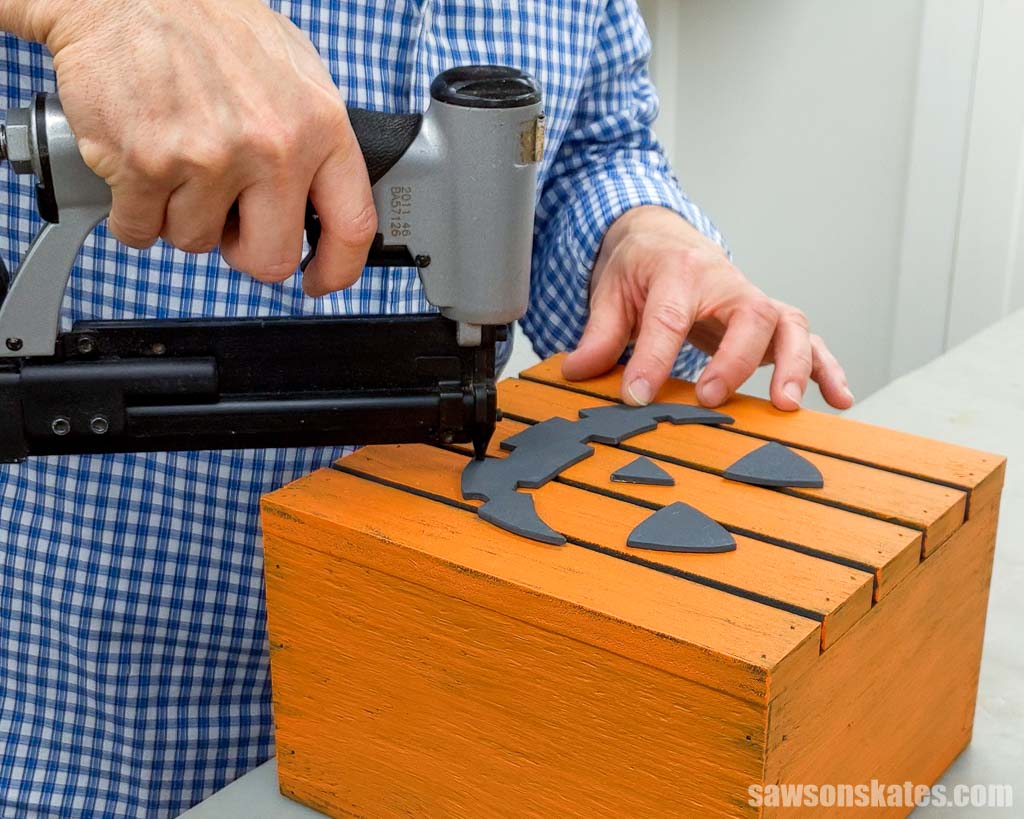
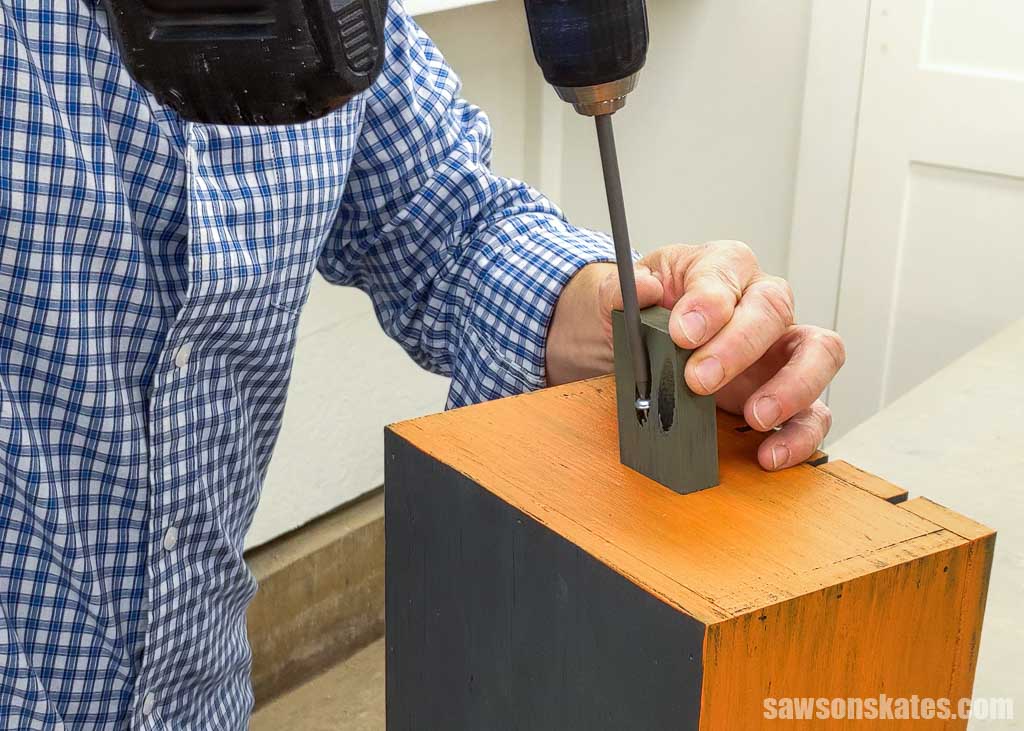
Step 6. Attach the Stem
Cut one piece of wood to length with parallel angles on each end for the stem and drill pocket holes in one end.
Related: How to Use a Pocket Hole Jig
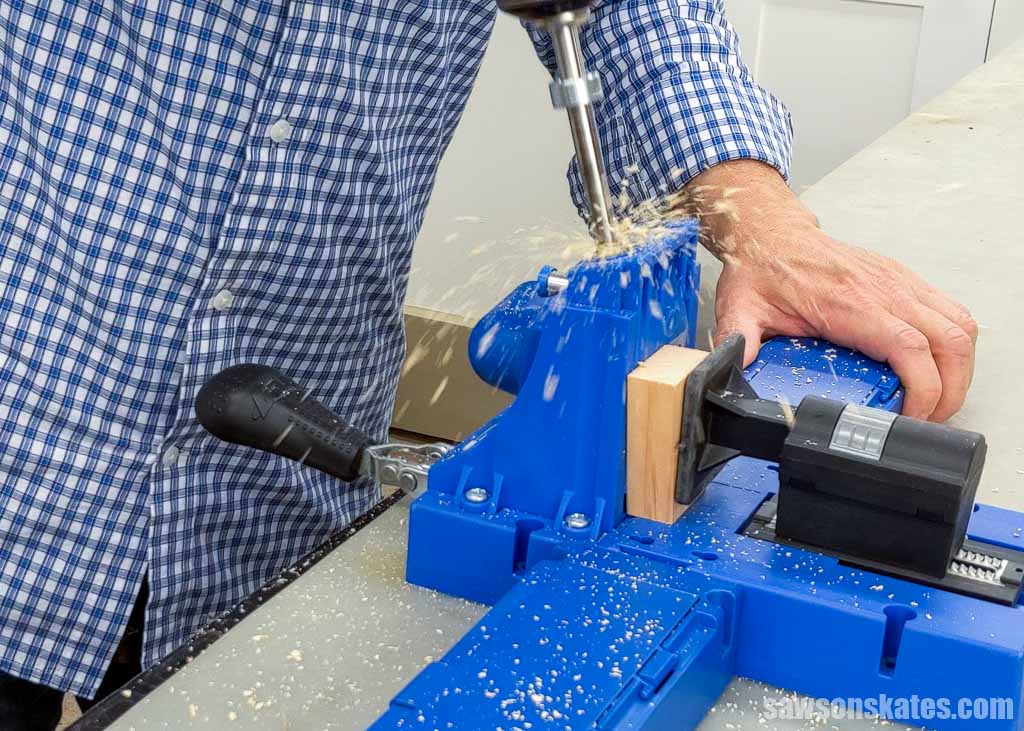
Center the stem on the top and attach using pocket screws.
Final Thoughts
Add a bit of Halloween flair to your home with these DIY wooden Jack-O-Lanterns. They’re easy to make with just a few tools and some simple supplies. You can finish them any way you want or leave them unfinished for a rustic look.
Get your free plan (including the detailed instructions and measurements) now!
Thank you for stopping by. If you enjoyed this tutorial, would you please take a moment and pin it to Pinterest? I’d really appreciate it!

