DIY Halloween Cat Decoration
Decorate your haunted house with this retro-style DIY Halloween cat! Don’t be scared. It’s easy to make with scrap wood, paint, and this printable template.
What Should I Build Next?
That's the question I help answer.
Every week, I send woodworking ideas to 17,000 DIYers who love building things.
You'd fit right in.
DIY Halloween Cat Decoration
Clear the cobwebs off your workbench and make this wooden DIY Halloween cat!
It’s the purrfect decoration for your haunted house or mausoleum.
All you need to do is scare up some scrap wood and craft paints.
Don’t be frightened by the thought of hand painting the spooky details of this retro-style cat.
If you can paint by numbers, then you can do it. I’ll show you step-by-step how simple it is to do.
Get your printable cat template and make one today!
This tutorial contains affiliate links to supplies and tools. Purchases made using these links help support the Saws on Skates website and allows me to share more projects and tips with you. There is no cost to you for using these links. Visit my site policies for more information.
Table of Contents
- Halloween Cat Decoration Inspiration
- What Do You Need to Make a Halloween Cat?
- How Do You Make the Wheels?
- DIY Halloween Cat Decoration Tutorial
- Get the PDF Plan
Halloween Cat Decoration Inspiration
This Halloween cat decoration was inspired by a trinket that my aunt and I found at a garage sale. The trinket was a cat and it was a bizarre little thing!
It was made of paper mache and painted red and white. The name “Peppermint” was hand-lettered on its belly. But the strangest thing was this cat was on wheels!
My aunt and I laughed at the absurdity of it. It was ugly and adorable at the same time. Peppermint came home with me and has been sitting on a shelf in my kitchen ever since.
I’ve always thought Peppermint would make a great Halloween decoration. I pictured it painted in a retro style and the wheels would make it feel like a vintage pull toy.
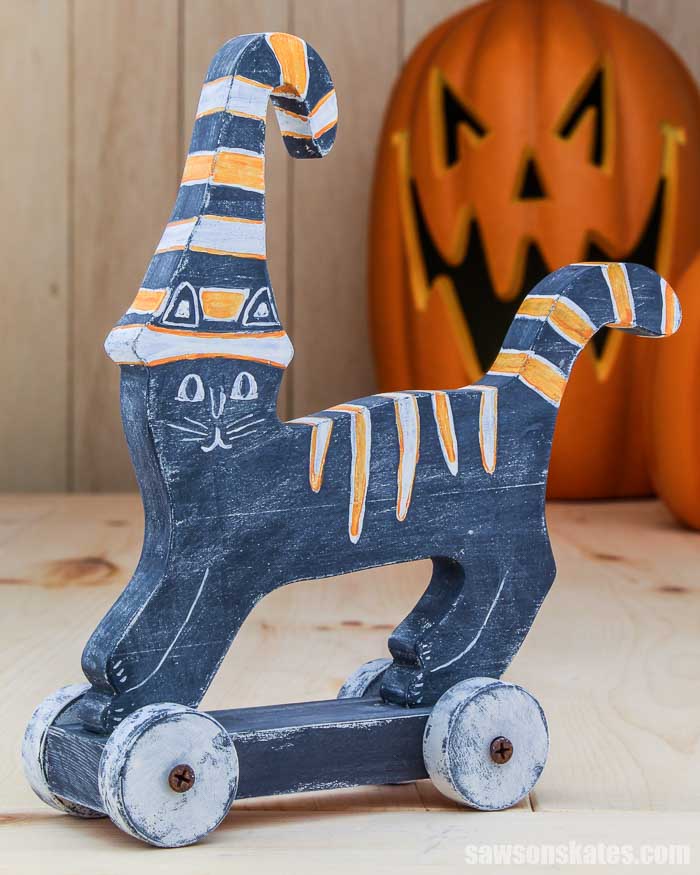
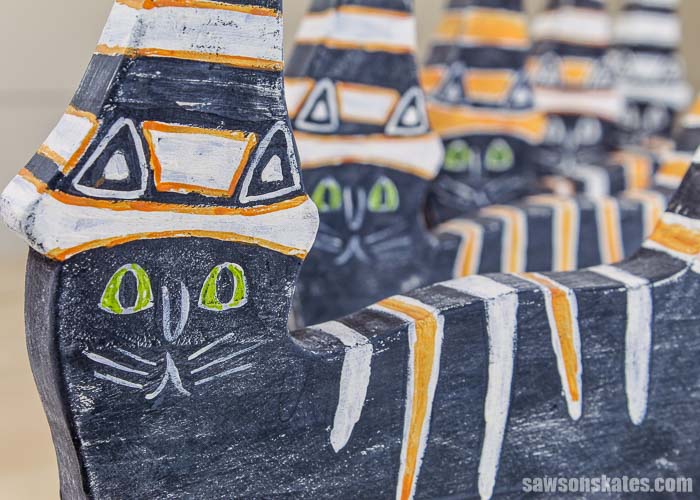
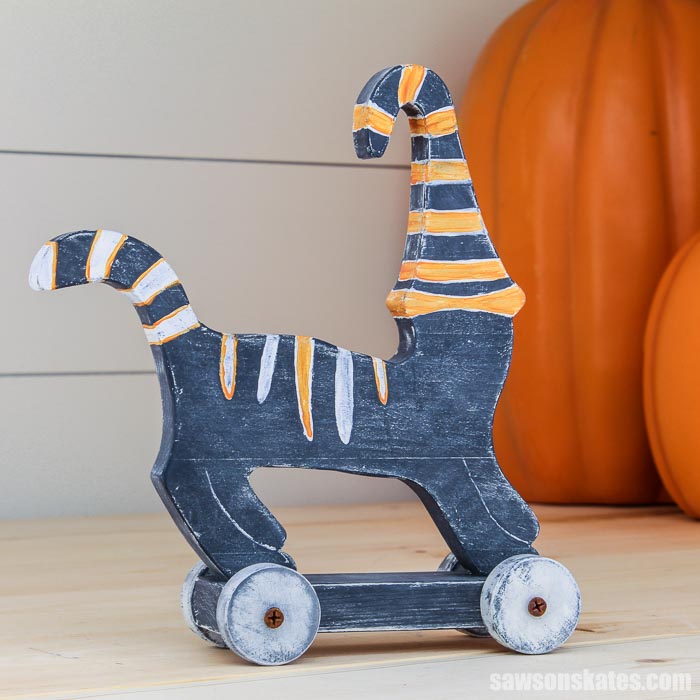
So here it is. A retro-style Halloween cat decoration. The original was named “Peppermint”, so I might name this Halloween version “Candy Corn.”
What Do You Need to Make This Halloween Cat?
This Halloween cat is an easy project. The first thing you’ll need is the printable PDF cat template.
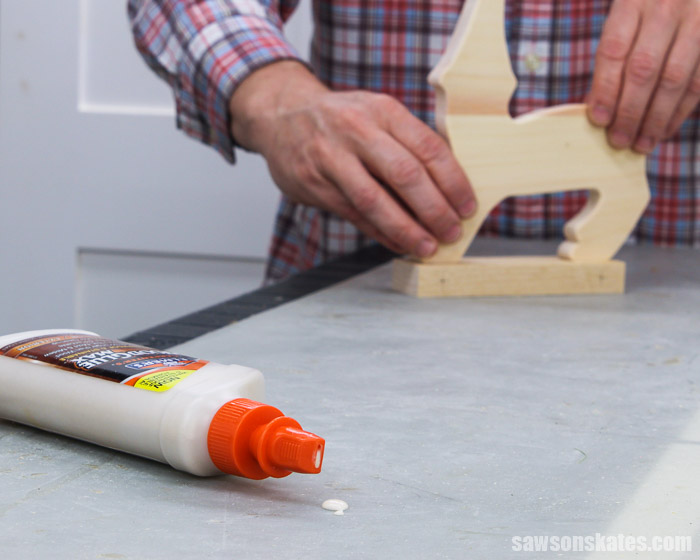
I glued a few pieces of scrap wood together to make the blank for the cat. I haven’t tried it, but you might also be able to make the cat with a scrap piece of plywood.
Related: How to Decide What Scrap Wood to Keep
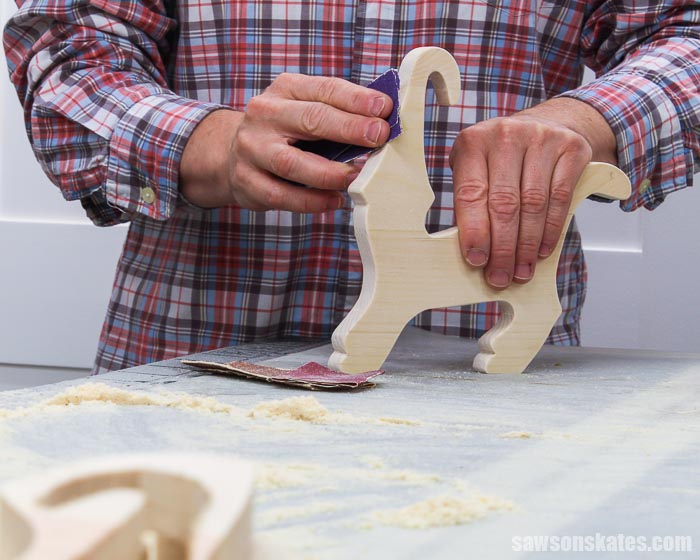
I cut out the cat with a scroll saw, but you might be able to use a jig saw or a bandsaw instead. The most time-consuming part of making the cat was sanding the edges smooth.
Related: 11 Secrets for Sanding Wood Projects Like a Pro
Then, the cat was glued to a 1×2 base and painted in a retro style.
Related: Beginner’s Guide to Wood Sizes
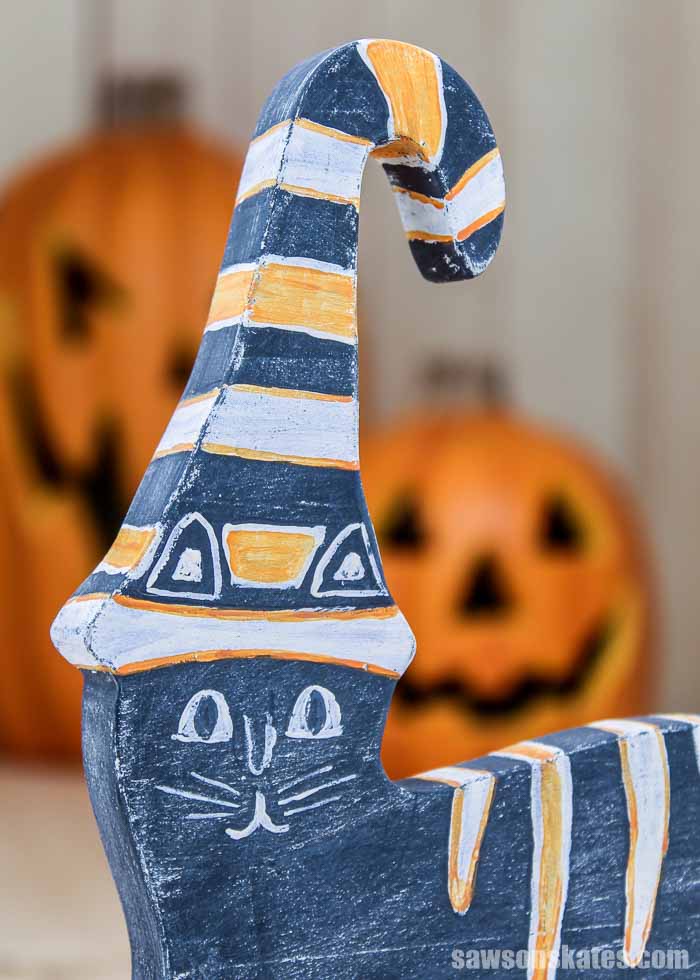
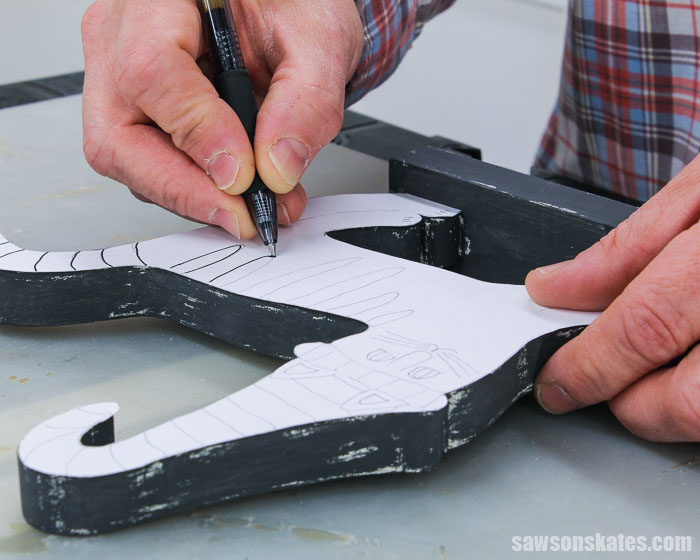
The retro-style details of the cat are easy to paint thanks to the printable template. Just place the template on the cat and trace the lines with a ballpoint pen. I used this technique on both the DIY vintage camper napkin holder and the DIY “flower power” wood bus planter.
The ballpoint pen leaves a slight indentation in the wood which makes it easy to see where to apply the paint.
Related: How to Look Like a Freehand Painting Pro
How Do You Make the Wheels?
You could make your own wheels with scrap wood using a hole saw and drill press like I did for the DIY vintage camper napkin holder and the DIY “flower power” wood bus planter.
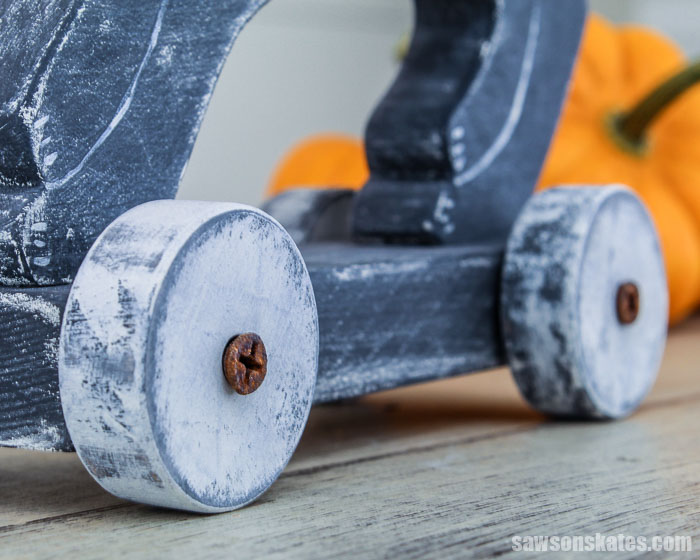
But I took a little help from the store for this project. I bought these 1-½” wooden toy wheels instead of making my own wheels.
DIY Halloween Cat Decoration
Printed Plan
- Click here to get the PDF plan (includes detailed instructions, measurements, and bonus tips)
Supplies
- Wood (per printed plan)
- 1-½” Wooden Toy Wheels
- Wood Glue
- #8 1-¼” Wood Screws
- Craft Paint Brushes (I used #2 flat brush and #0 round brush)
- Craft Paints
- White Chalk-Type Paint (I used this one)
- Charcoal Chalk-Type Paint (I used this one)
- Manilla Folder (optional)
- Spray Adhesive (optional)
Tools
- Tape Measure
- Drill
- Miter Saw
- Scroll Saw
- Scissors
Step 1. Print the Template
Print the cat template at the end of the printed plan. I printed two templates for my project.
The first template I used to trace the cat onto the wood blank. I prefer templates that I need to trace around to be more rigid. So I applied some spray adhesive to a manila folder and placed the template on top. Then I cut out the template with scissors. The manila folder provides a lip for the pencil to trace around.
The second template was used to trace the details onto the cat. This template does not need to be rigid.
Step 2. Make the Cat
I cut a few pieces of scrap wood to length and edge glued them to form a blank.
When the glue was dry, I placed the feet of the cat on the edge of the blank, and traced the template with a pencil.
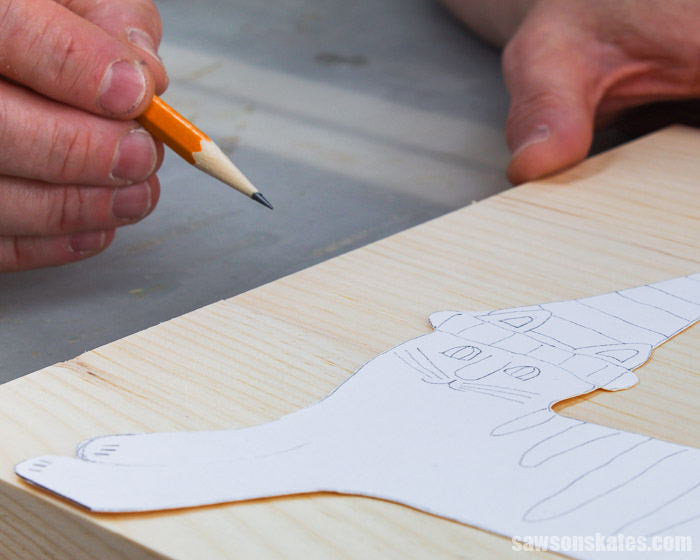
Next, I cut out the cat. I used a scroll saw, but you might be able to use a jig saw or a bandsaw instead.
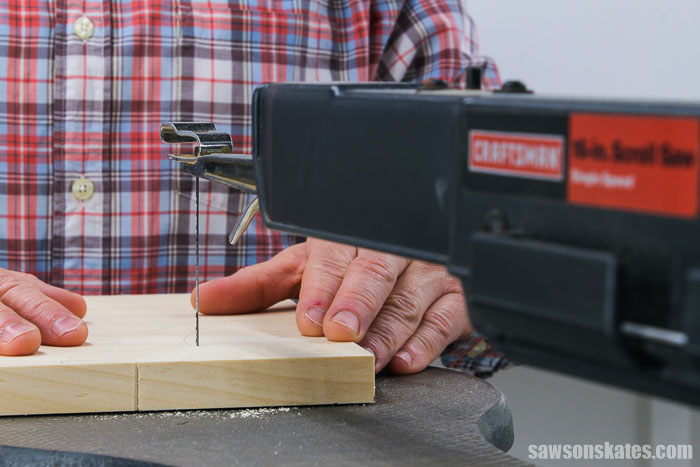
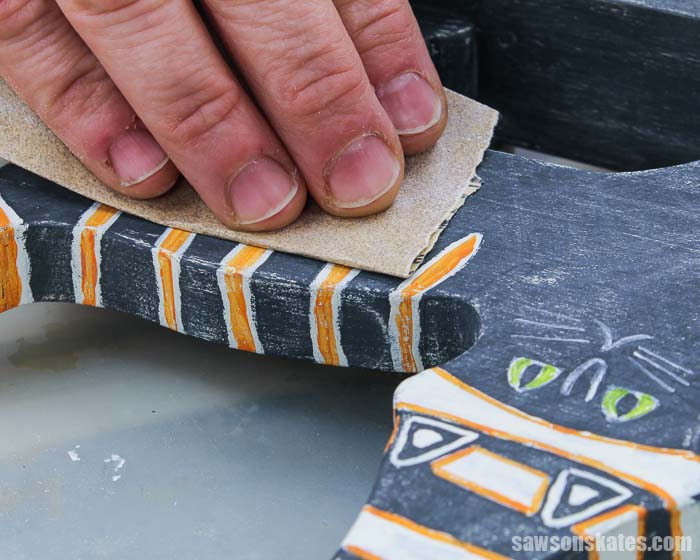
The edges of the cat were sanded smooth with 60, 80, 100, and 120 grit sandpaper.
Step 3. Attach the Base
Cut 1 piece of wood to length for the base. Use the diagram in the printed plan to mark locations for the wheels.
Apply glue to the feet of the cat and center on the base. Allow the glue to dry completely before moving on to the next step.
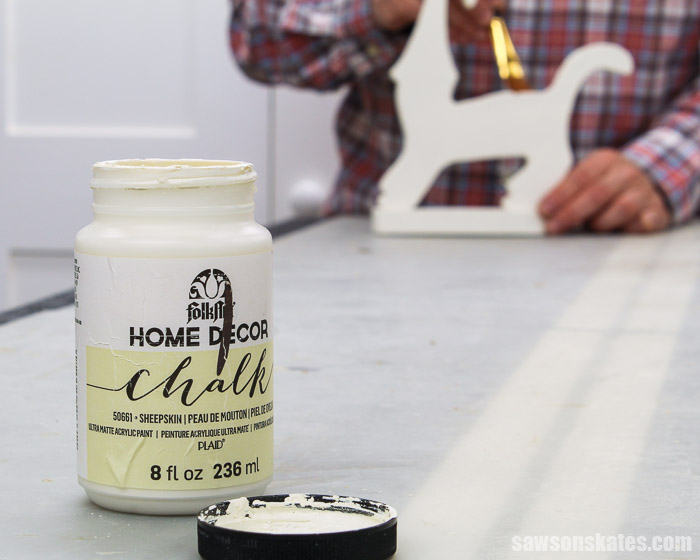
Step 4. Paint the Cat
The first thing I did was apply one coat of this white chalk-type paint.
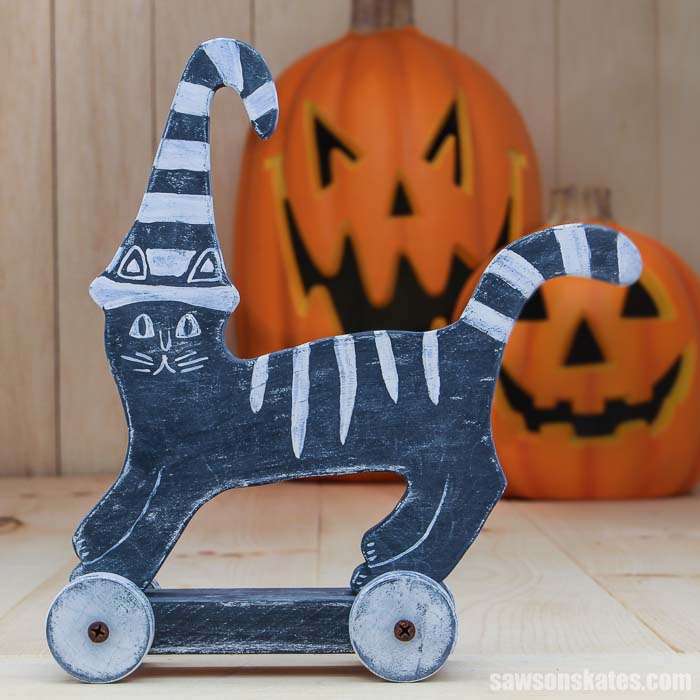
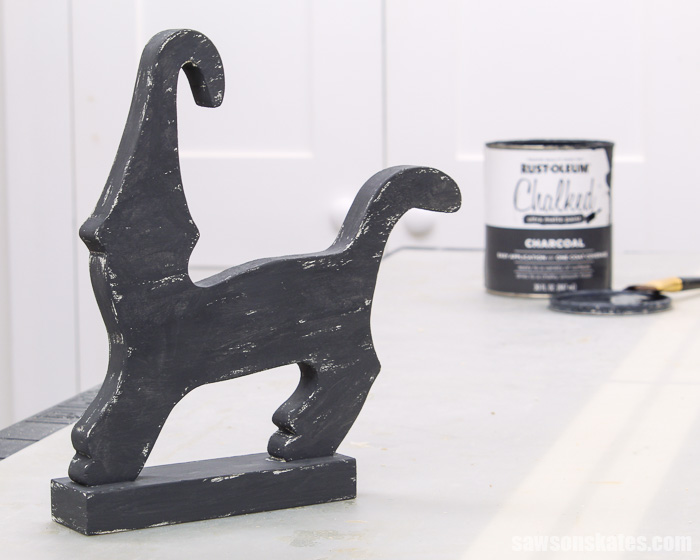
Then I applied one coat of this charcoal chalk-type paint. I wanted this project to have a worn, vintage look so I didn’t apply a solid coat of either the white or black paint. In other words, I left areas where the wood showed through the white paint and the white paint showed through areas of the charcoal paint.
The details of the cat are easy to paint thanks to the printable template. Just place the template on the cat and trace the lines with a ballpoint pen. I used this technique on both the DIY vintage camper napkin holder and the DIY “flower power” wood bus planter.
I traced the template on both sides of the cat.
But I only traced the face on one side.
The ballpoint pen leaves a slight indentation in the wood which makes it easy to see where to paint. To make painting even easier, I traced the indentations with a pencil, and connected the lines on the front and back of the cat.
Related: How to Look Like a Freehand Painting Pro
I used a flat brush and this white chalk-type paint to paint the stripes on the body and hat. I used a round brush and this white chalk-type paint to paint the face, legs, and nails.
Next, I used round brush and orange craft paint to paint areas of the hat and body stripes.
Related: DIY Craft Paint Storage Caddy

For the wheels, I applied a coat of this charcoal chalk-type paint. Then, I applied one coat of this white chalk-type paint. I wanted this project to have a worn, vintage look so I didn’t apply a solid coat of white or black paint. In other words, I left areas where the wood showed through the white paint and the white paint showed through the charcoal paint.
The cat and wheels were lightly sanded with sandpaper.
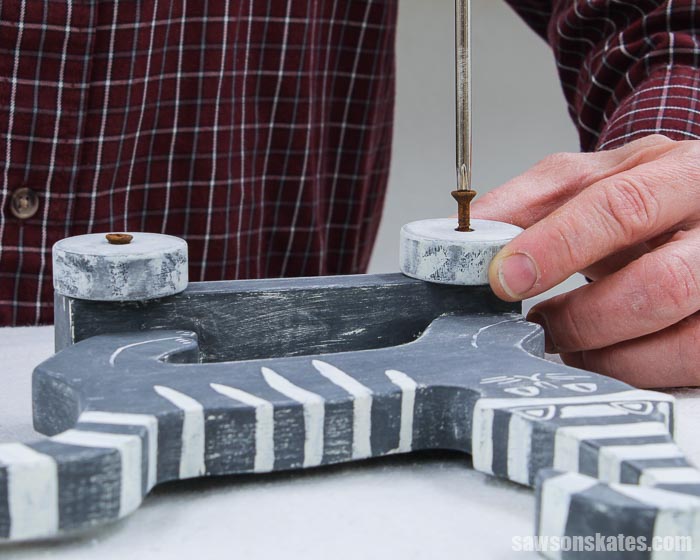
Step 5. Attach the Wheels
The wheels were attached using wood screws. I aged the screws to give them a worn, vintage look.
Related: How to Age Metal
Includes:
- List of tools and materials
- Complete measurements (in inches)
- Easy-to-follow instructions
- Step-by-step photos
- Detailed diagrams
- Cat template
or get the best value:
Final Thoughts
Decorate your haunted house or mausoleum with this retro-style DIY Halloween cat! It’s easy to make with scrap wood, craft paints, and the printable template.
Click here to get the PDF plan (including the detailed instructions and measurements) now!
Thank you for stopping by. If you enjoyed this tutorial, would you please take a moment and pin it to Pinterest? I’d really appreciate it!
Recommended For You
Pin This For Later

Hi there – I’m Scott, a woodworking enthusiast and creator of Saws on Skates, a site I started in 2015 to share easy-to-follow tutorials, space-saving shop tips, and project inspiration for DIYers at any skill level. Learn more about my woodworking journey here.