
DIY Simple Church Christmas Card Holder
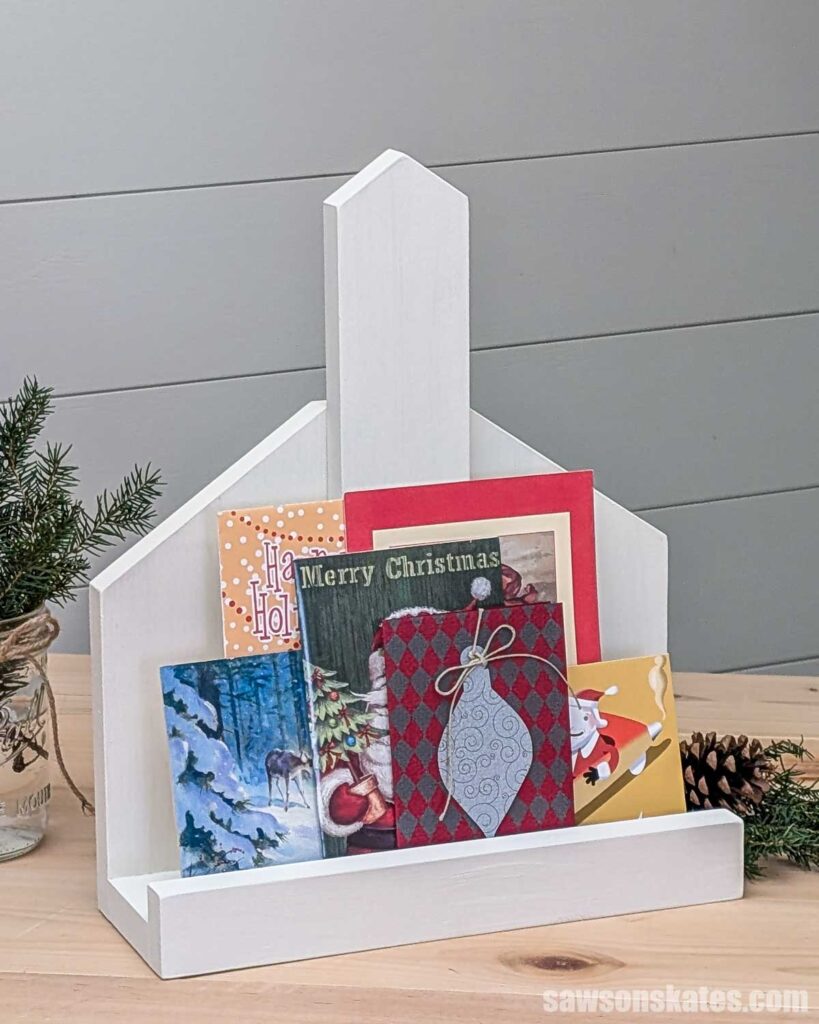
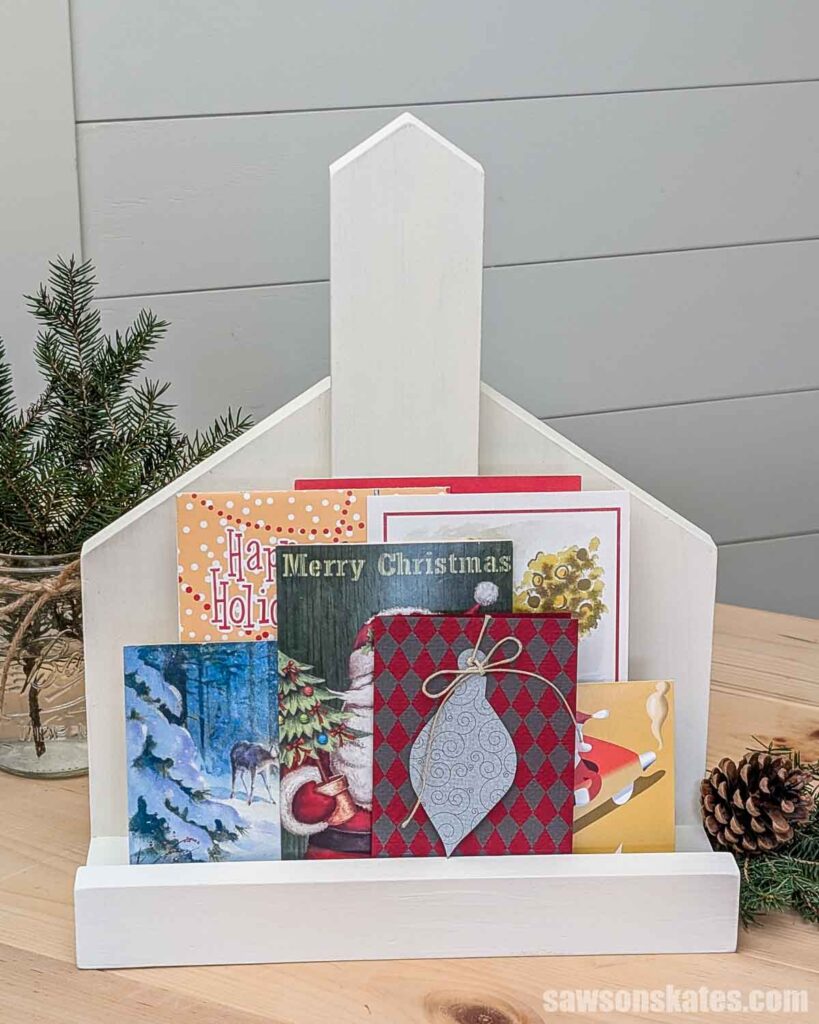
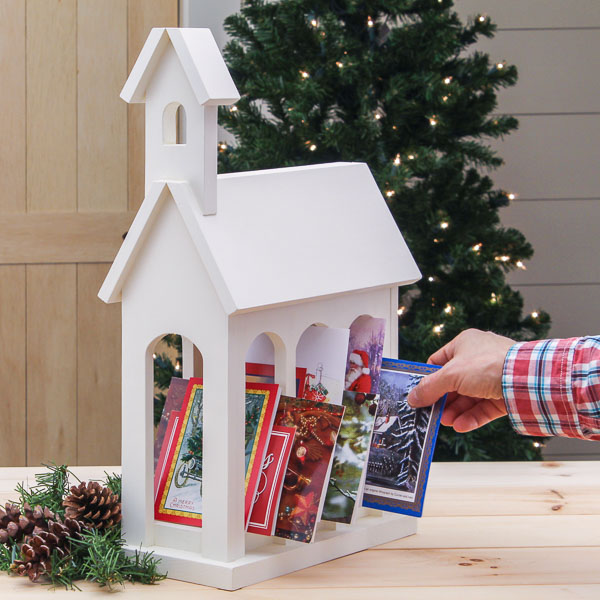
Build a simple church card holder from scrap wood. This easy DIY plan is an attractive way to display your Christmas cards throughout the holidays.
What Should I Build Next?
That's the question I help answer.
Every week, I send woodworking ideas to 17,000 DIYers who love building things.
You'd fit right in.
I’ve said it many times. Inspiration can come from anywhere.
This time, I was creating a Christmas guide, and Canva, the app I use for my design work, inserted AI-generated placeholder photos for the projects I wanted to include from my site.
For example, I have this card holder that’s shaped like a 3D church. Canva created its own placeholder image so I could drop my photo in later.
But here’s the thing. I thought Canva’s AI card holder was really cute!
So, using the image as inspiration, I opened SketchUp, the program I use to design my projects, and built a model of it.
A few scrap boards and a few brad nails later, I have an adorable, simple church card holder!
But I need your help deciding what to do about the steeple. More on that below.
Steeple Window Ideas
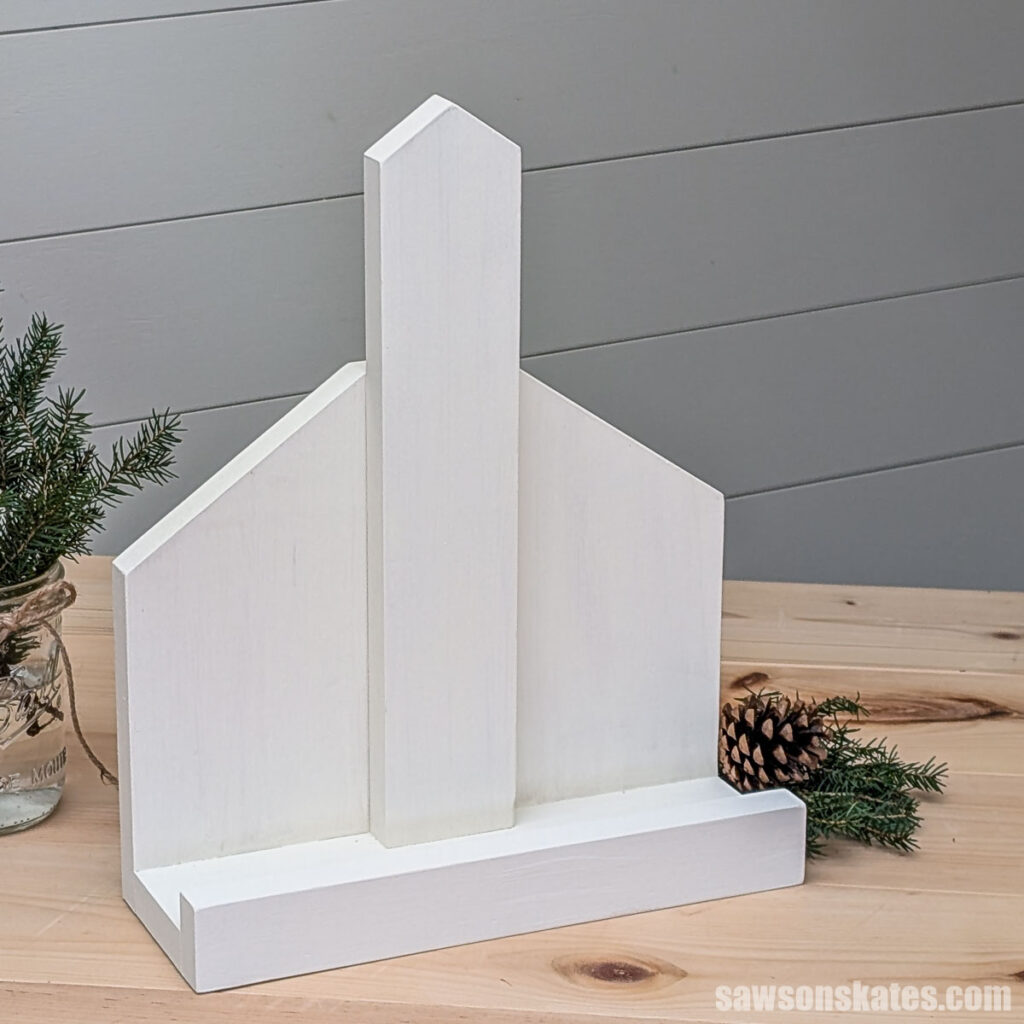
I’m really torn about how to finish the steeple!
My original idea was to cut an opening in the top. But when I test-fit the pieces, I liked the simplicity, so I left it solid.
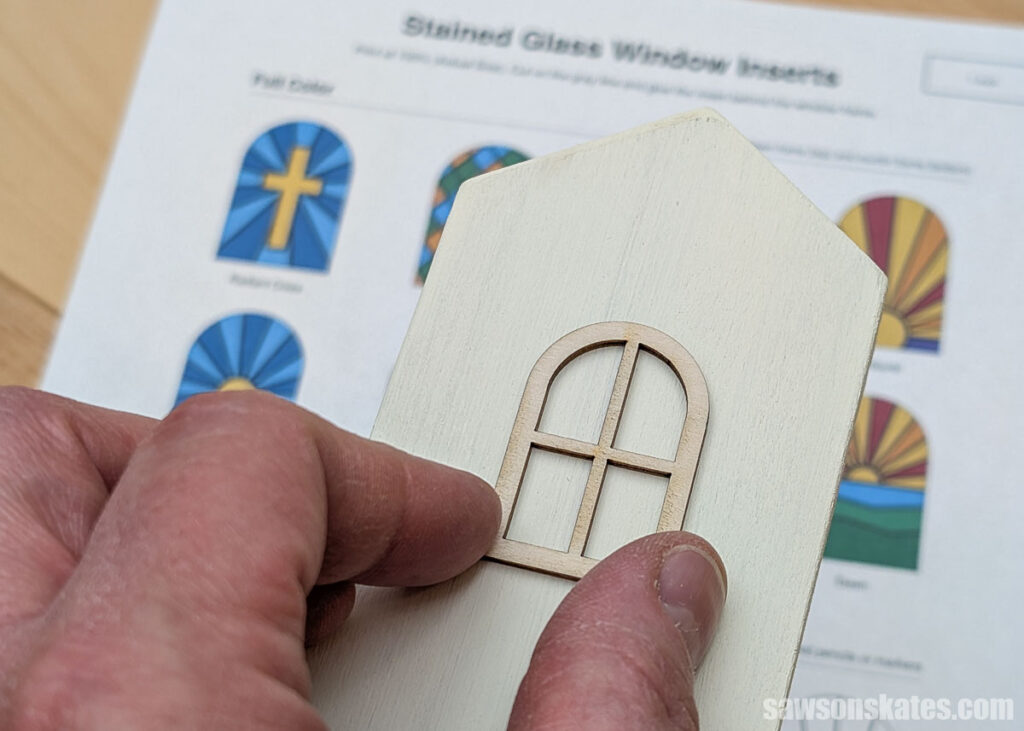
Then, I thought about making a window frame with my laser cutter. Should it be a simple frame, or should it have muntins? Those are the thin strips that divide a window into smaller panes, like a cross in the middle of the glass.
And should the window area be painted charcoal, or should it look like stained glass? BONUS: I included a printable sheet of stained glass window inserts in the plan!
There are so many options, and I can’t decide. Leave a comment and tell me which one you’d pick!
How to Make Simple Church Christmas Card Holder
Printed Plan
Get the PDF plan here (includes detailed instructions, measurements, and bonus tips)
Materials
- Wood (per the printed plan)
- Wood Glue
- 1-¼” Brad Nails
- Sandpaper
- Wood Filler
- Off-White Chalk-Style Paint
Tools
- Tape Measure
- Miter Saw
- Hammer or Brad Nailer
- Clamps
- Kreg Multi-Mark (optional)
Before You Begin
I tried something new while taking the assembly photos, and unfortunately, they didn’t turn out as crisp as usual. They still show each step, and the diagrams in the printed plan have all the measurements you’ll need.
Step 1. Make the Church Body
Cut two pieces of wood to length for the church’s body.
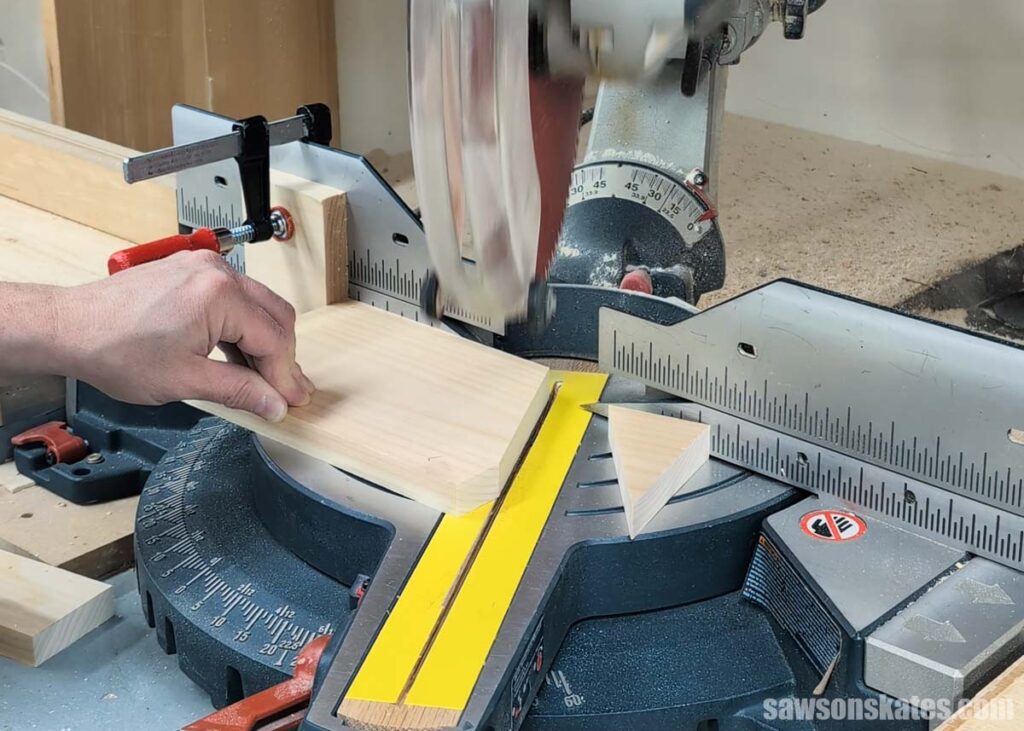
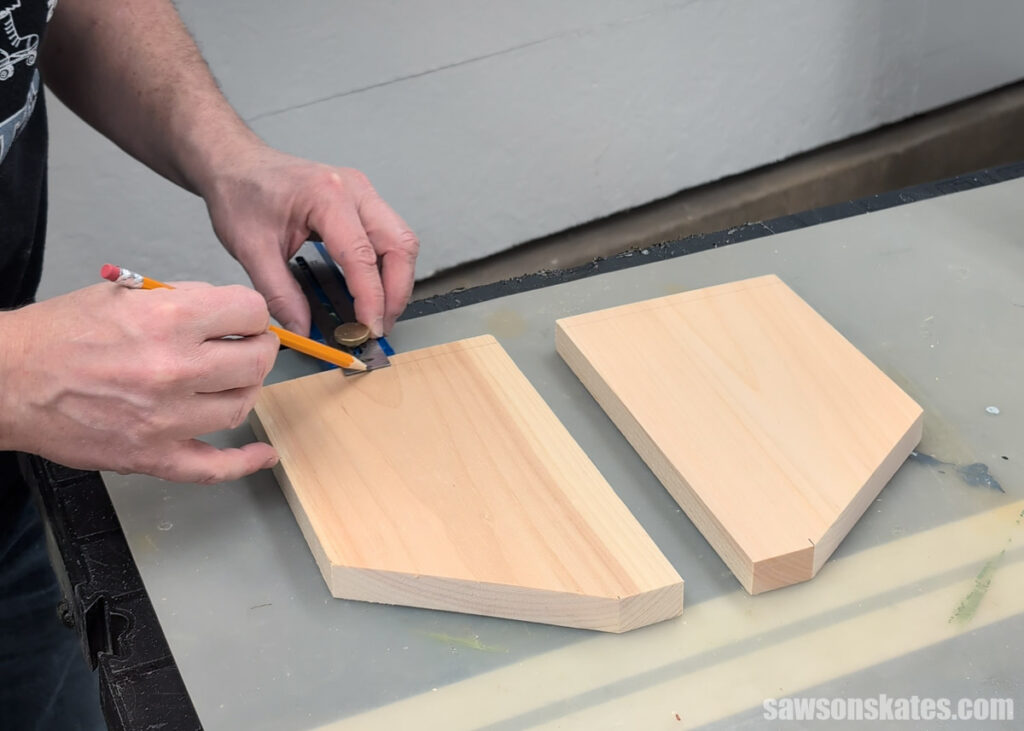
Following the diagram in the printed plan, I marked the angled cut.
Then, I cut an angle on each piece.
TIP: I set a stop on my miter saw so each cut was identical.
In Step 2, I’ll attach the base with brad nails. To help guide the nails, I marked a line from the bottom on the back of the church body.
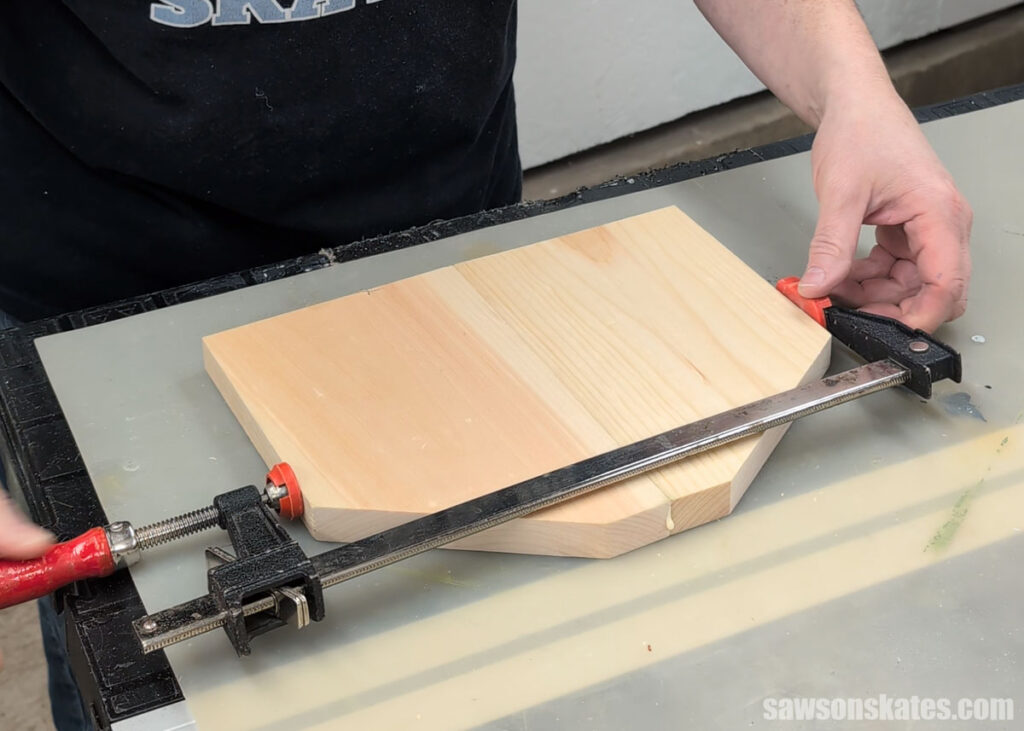
I applied glue to the edge, rubbed the pieces back and forth to spread the glue, and clamped them in place.
Step 2. Attach the Base
TIP: The church body should still be clamped.
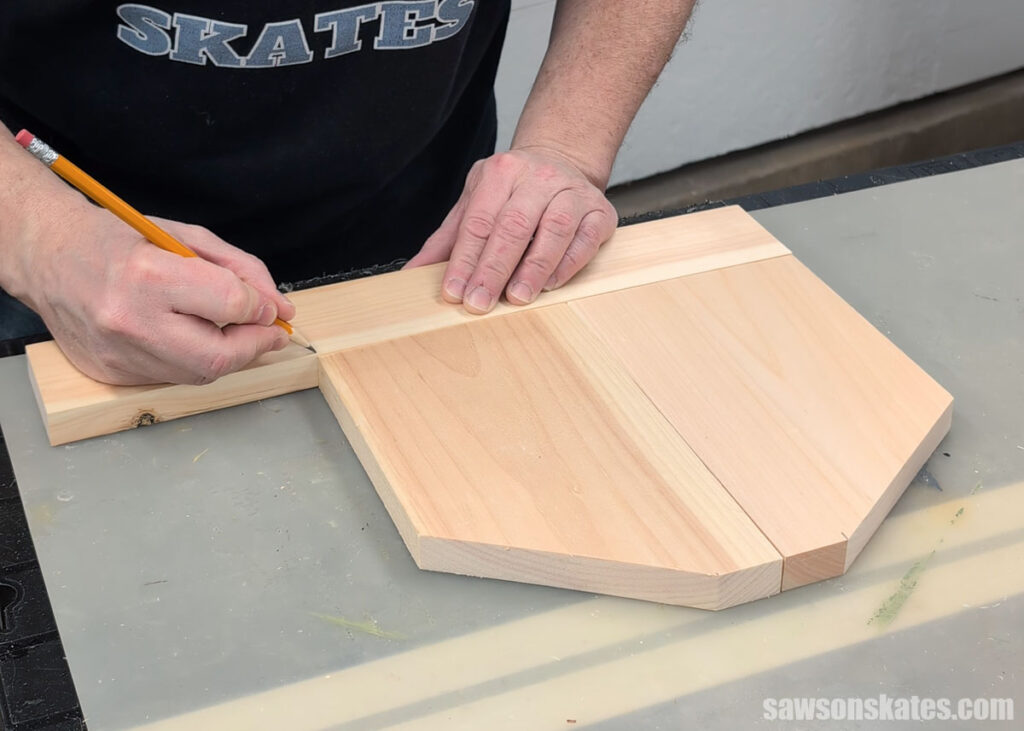
I placed a board at the bottom of the body, marked it for length, and cut it using my miter saw.
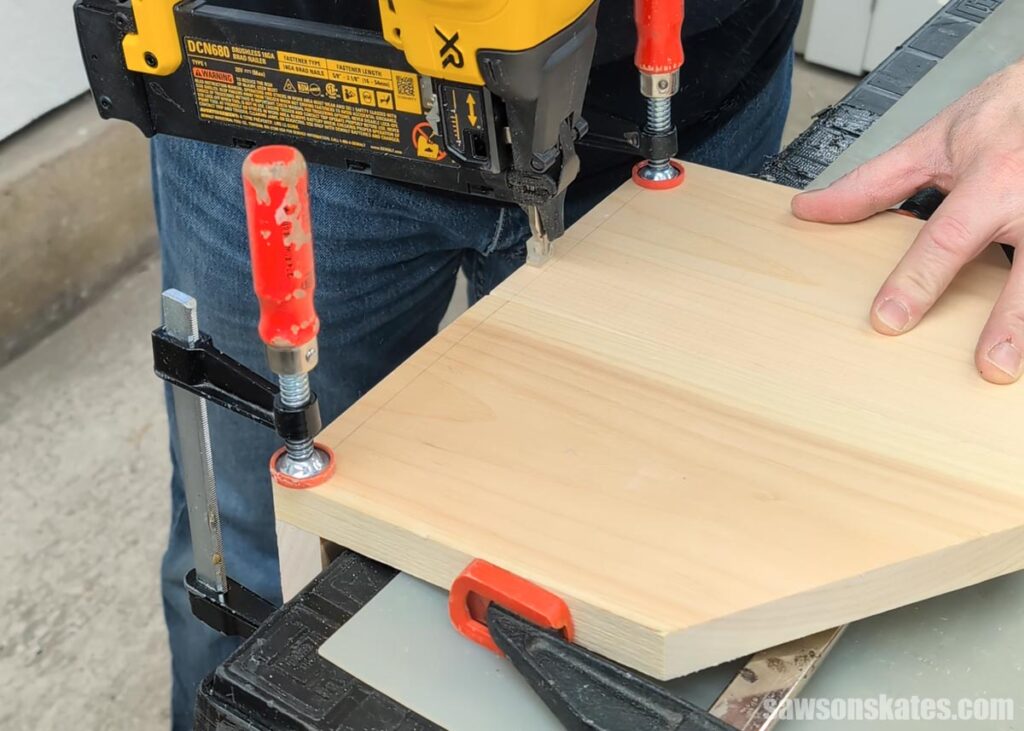
I applied glue to the base, positioned it on the front of the body, and clamped it in place.
I attached it from the back using brad nails.
Step 3. Attach the Steeple
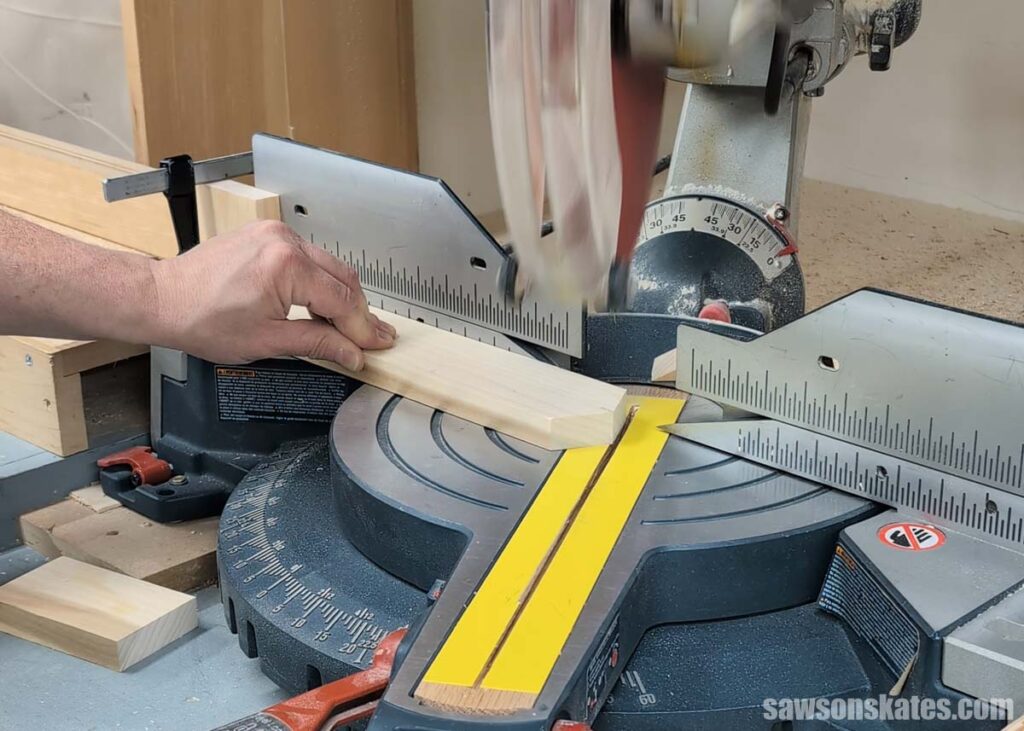
Cut one piece of wood to length for the steeple.
I marked the center of the board, then cut angles on each side.
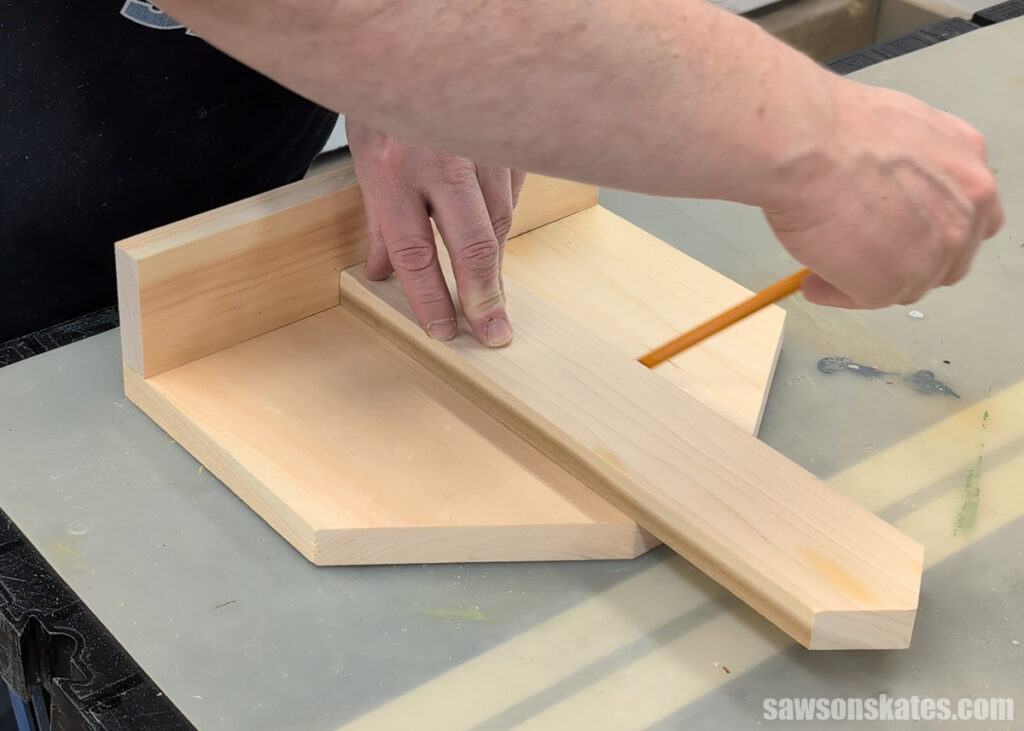
I centered the steeple on the body and marked each side.
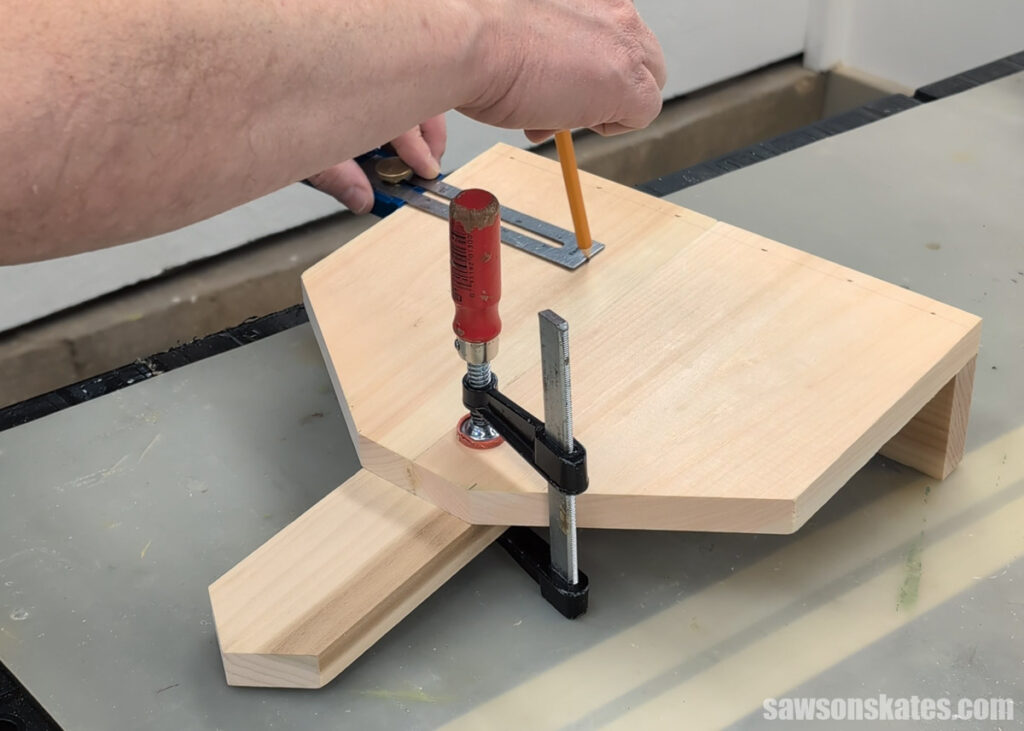
I applied glue within the pencil marks, positioned the steeple, and clamped it in place.
On the backside, I marked how far the steeple sets in from each side, which guided where to place the nails.
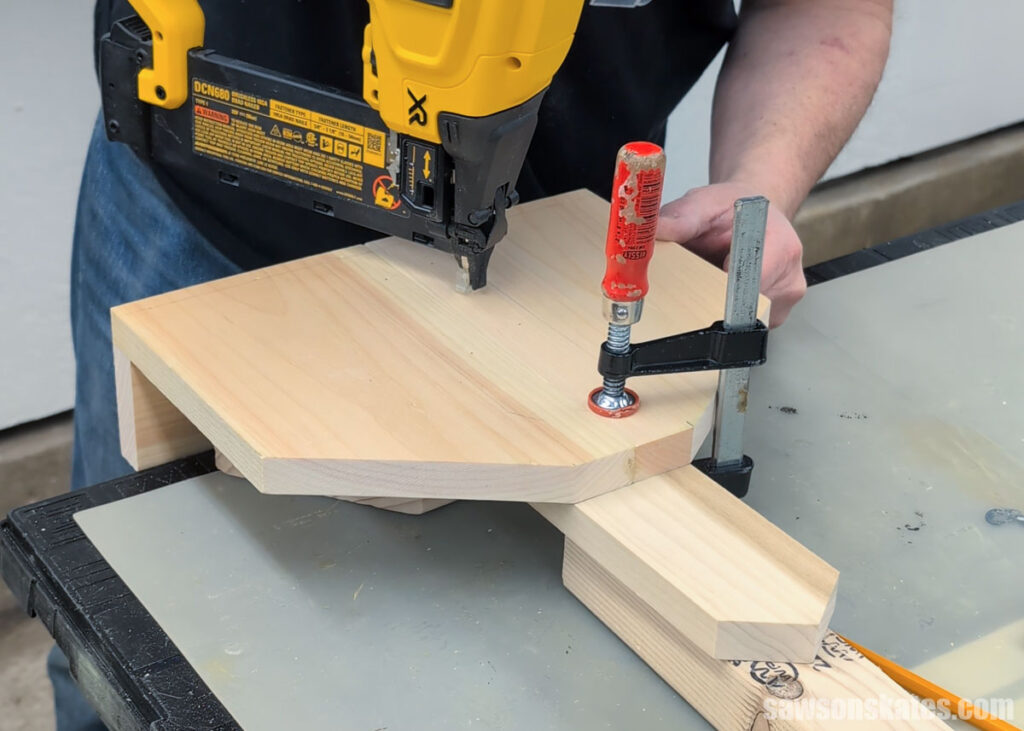
I attached the steeple using brad nails.
Step 4. Attach the Rail
I marked the front rail for length using the same method as the base in Step 2.
To help guide the nails, on the front side of the rail, I marked a line from the bottom.
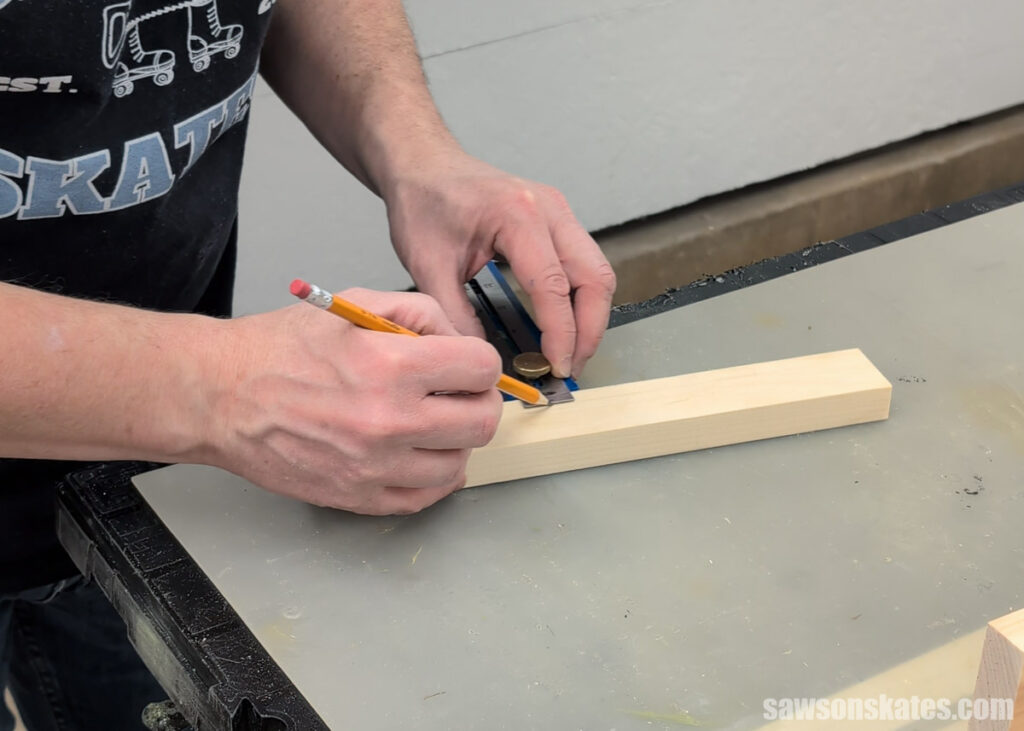
I applied glue to the base, positioned the rail, and clamped it in place.
I attached it using brad nails.
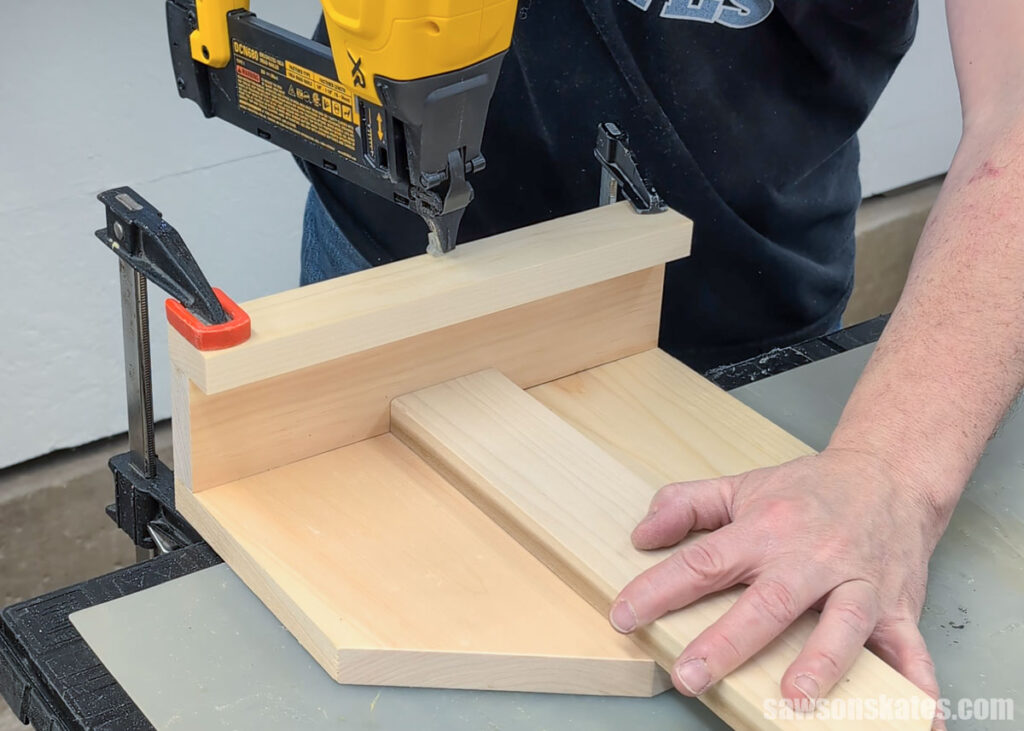
Step 5. Finish the Card Holder
I filled the nail holes with wood filler and knocked off the sharp edges with sandpaper.
Then, I applied a coat of off-white chalk-style paint.
Finally, decide if you’d like a window on your steeple. Then, your card holder is ready to display your holiday cards or give as a gift!
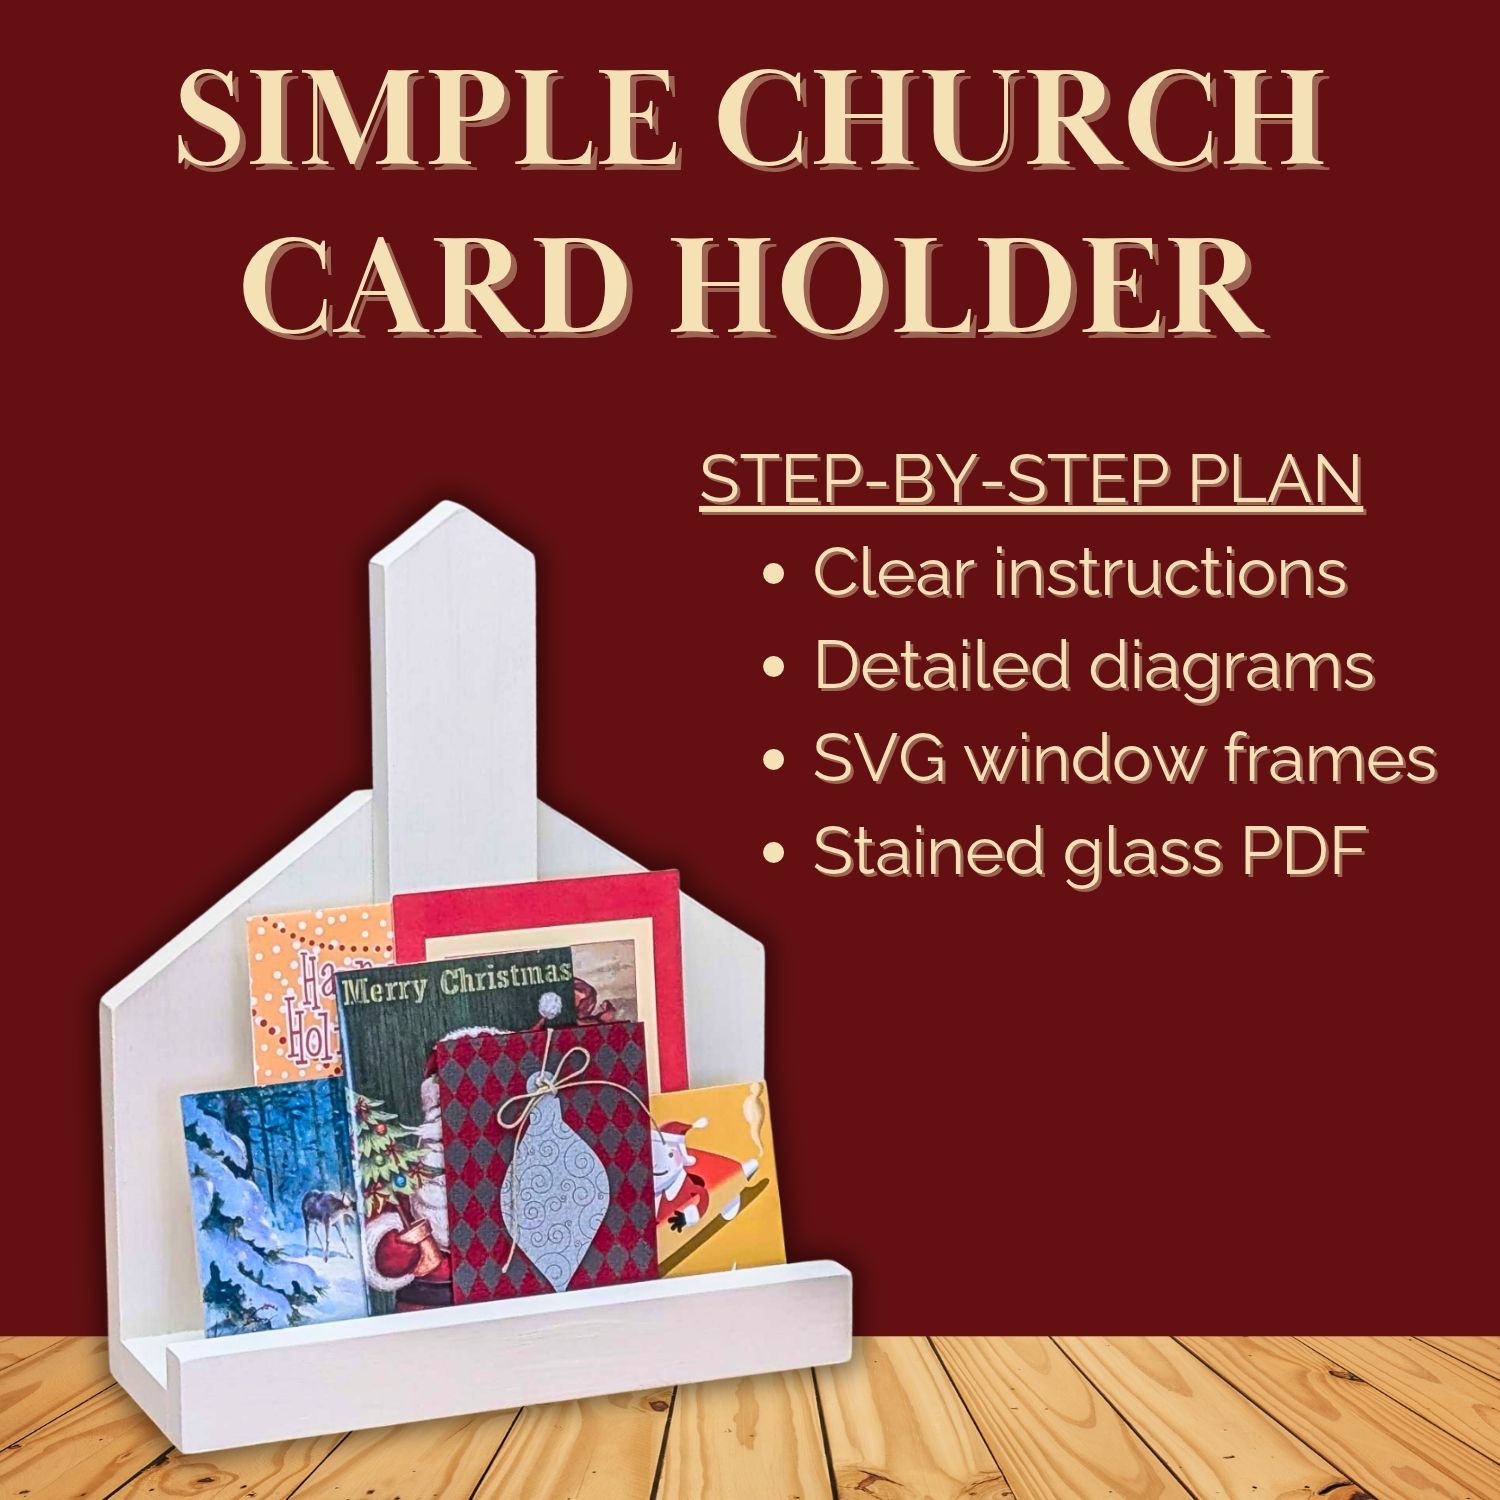
Includes:
- List of tools and materials
- Complete measurements (in inches)
- Easy-to-follow instructions
- Step-by-step photos
- Detailed diagrams
- BONUS
- SVG window frames
- Stained glass PDF
Recommended For You

Hi there – I’m Scott, a woodworking enthusiast and creator of Saws on Skates, a site I started in 2015 to share easy-to-follow tutorials, space-saving shop tips, and project inspiration for DIYers at any skill level. Learn more about my woodworking journey here.