The Simple Rule for Joining Different Thicknesses with Pocket Holes
Using pocket holes to join materials of different thicknesses can be confusing. Here’s the simple rule to remember how to set up your Kreg Jig to join thicker and thinner materials.
You may also enjoy these 9 Solutions to Common Pocket Hole Problems.
Joining different thickness with pocket holes is one of the most common joints we use for building DIY furniture projects, but how should we set up our Kreg Jig to join thicker and thinner materials? Here’s the simple rule to remember when joining different thicknesses.
This tutorial contains affiliate links to supplies and tools. Purchases made using these links help support the Saws on Skates website and allows me to share more projects and tips with you. There is no cost to you for using these links. Visit my site policies for more information.
A few months ago I updated the site to make it easier for you to find pocket hole related tips and added a page where you can ask your pocket hole questions. Ever since the “pocket hole hotline” has been lighting up with questions! First, we looked at pocket hole plugs and 9 Secrets to Make the Best Pocket Hole Plugs. Then, we looked at Need to Know Pocket Hole Tips for Edge Joints.
Today, we’re answering new pocket hole questions from Riaz, Roy and Jackie. Riaz plans to “join pieces of different thickness” and wondered how to set up the drill guide, the drill bit depth collar and what size screws to use when joining workpieces. Roy wants to join a 3/4” workpiece to a 1-1/2” workpiece and would like to know what size screw to use.
And Jackie asked:
I am building a desk out of 2 x 4’s. The instructions say the end pocket holes will have 2-1/2” screws and the pocket holes on the long edges will have 1-1/4” screws [to attach to 1x6s]. I have the K5, so I set my block for 1-1/2” thickness, but when I set my drill bit depth to 1-1/4” screws it takes my collar too high on the drill bit. Am I doing something wrong? I had to remove the collar to make it work.”
Joining materials of different thicknesses with pocket holes can be confusing. How should we set up our Kreg Jig to join thicker and thinner materials? Today we’ll learn the simple rule that will help us remember how to set up our pocket hole jig for joining different thicknesses with pocket holes.
The Simple Rule for Joining Different Thicknesses with Pocket Holes
There’s one, simple rule for drilling pocket holes when joining materials of different thicknesses and that rule is “Think Thin”. When setting up the drill guide, drill bit depth collar and choosing screws for different thicknesses always set up to join the thinnest piece you’re working with. In other words “Think Thin”.
Set the Drill Guide
Let’s take Jackie’s example and say we want to join a 2×4 workpiece to a 1×6 workpiece. How should we set up the drill guide to join these two pieces?
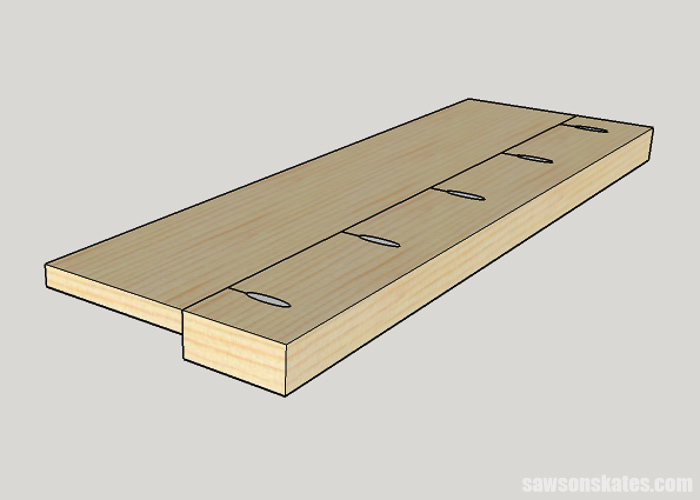
“Think Thin” and set up the drill guide for the thinnest material you’re working with. In this case, our thinnest material is the 1×6. A 1×6 is actually 3/4″ thick, so we’ll set up the drill guide to drill pocket holes in 3/4” material.
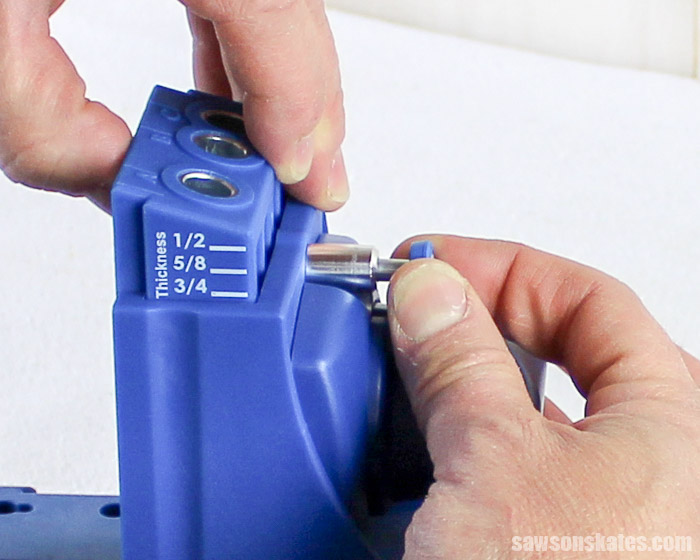
For the Kreg Jig Mini, Kreg Jig R3, Kreg Jig K4, Kreg Jig K5 set the drill guide for the thickness of your thinnest workpiece. Do you have a Kreg Jig Mini? Then skate over to the Kreg Jig Mini Makes Hard-to-Reach Repairs Easy post and grab your FREE 9-page Ultimate Kreg Jig Mini Setup Guide while you’re there!
Set the Drill Bit Depth Collar
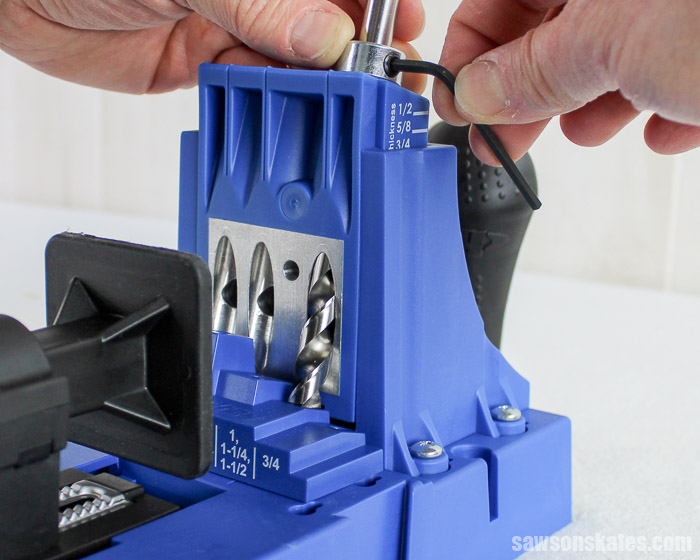
In Jackie’s example, we’re joining a 2×4 workpiece to a 1×6 workpiece. We’ve already set up the drill bit guide, but how should we set up the drill bit depth collar to join these two pieces? “Think Thin” and set up the drill bit depth collar for the thinnest material you’re working with. In this case, our thinnest material is the 1×6. Remember, a 1×6 is actually 3/4″ thick.
IMPORTANT: For the Kreg Jig Mini, Kreg Jig R3 and Kreg Jig K4 set the depth collar for the thickness of your workpiece.
For the Kreg Jig K5 set the depth collar for the length of the screw you’ll be using to attach your workpieces. Jackie mentioned she’s using the Kreg Jig K5, so we’ll also use it for our example below. The pocket screw length used to attach 3/4″ workpieces is 1-1/4″, so we’ll set our depth collar for a 1-1/4″ pocket screw.
Choose the Screw Length
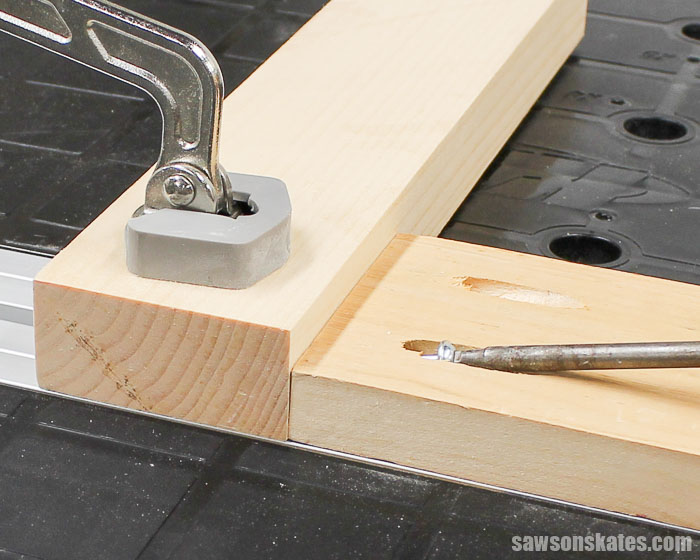
So far we’ve set up the drill bit guide for our thinnest material and the drill bit depth collar for our thinnest material. Our next step is to attach the workpieces, but what length pocket screw should we use? “Think Thin” and choose a pocket hole screw length for the thinnest material you’re working with.
In Jackie’s example our thinnest workpiece is 3/4”, so we need to choose a pocket screw that we would typically use for joining 3/4” material. For 3/4” material, we would typically use a 1-1/4” pocket screw, so that’s what we’ll use to join our example. Please check out 9 Pocket Hole Mistakes You Don’t Want to Make for more recommendations on pocket screw lengths for your projects.
More Tips for Pocket Hole Joints
Now that we have mastered joining materials of different thickness with pocket holes, let’s take a look at tips for joining other common joints with pocket holes.
Edge Joints
Edge joints are used to join the edges of boards to form a wider piece. Common uses for edge joints are to make panels and table tops for DIY furniture projects. Skate over to Need to Know Pocket Hole Tips for Edge Joints for more information.
Miter Joints
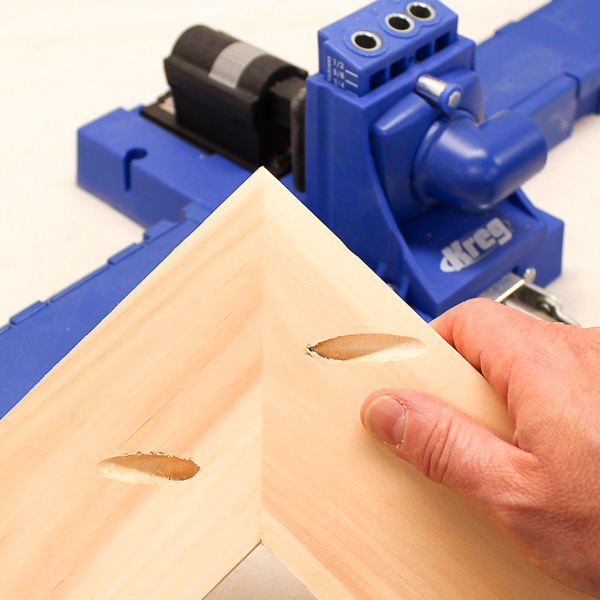
Miter joints can add a decorative element to picture frames, door frames, and DIY furniture projects. Drilling pocket holes on miter joints requires a little extra thought and planning but is just as easy as drilling pocket holes on butt joints and edge joints once you get the hang of it. Skate over to Drilling Pocket Holes on Miter Joints Requires Careful Planning for more information and be sure to grab your FREE Drilling Pocket Holes on Miter Joints Cheat Sheet while you’re there!
FREE Pocket Hole Mistakes Guide
Master your pocket hole projects with this FREE ten-page Pocket Hole Mistakes You Don’t Want to Make Guide! The guide is overflowing with useful hints and easy tips to help you avoid time-consuming mistakes. Click below, get your FREE guide, and tackle your next pocket hole project with confidence!

Pocket Hole Questions
Having some pocket hole problems? Can’t get your Kreg Jig setup properly? Are your pocket hole joints loose? Do your pocket holes crack? If you have a question about pocket holes and you didn’t find the answer in Kreg Jig Tips and Tricks directory then skate over to this form and ask your pocket hole question!
Final Thoughts
Using pocket holes to join materials of different thicknesses can be confusing. Use the simple rule “Think Thin” to remember how you should set up your Kreg Jig to join thicker and thinner materials.
Thank you for stopping by. If you found this information helpful, would you please pin it to Pinterest? Other DIYers would appreciate it and I would too! Thank you – Scott

All these tips are great if you have the latest and greatest Kreg jig kit or device, but doesn’t do anything for the much older Kreg jig that is one l-shaped piece of metal.
Unless I missed something in my quick read.
But all I all good info.
Thanks, Tim
Hi Tim – These tips are applicable for all Kreg Jigs, so your jig will work just fine.
Problem is there is no adjustment on the old metal Kreg body, like adjusting for different thicknesses as you talked about. It is all guess work and trial and error, practicing on scrap first. So no your artical doesn’t really v
Fit the older metal bodies.
Thanks for the replie,
Tim
How do you know the size of the screw to use? I want to screw 2×4 to 4×4.
Hi Mike – Thank you for stopping by. To attach a 2×4 (which is 1-1/2″ thick), you’ll want to use a 2-1/2″ pocket screw. Also, I have a handy wood thickness/screw length chart in the 9 Pocket Hole Mistakes You Don’t Want to Make Post.
Can we take a different example, and see if I’m looking at it right? Let’s attach a 1x shelf to a 1x side. According to the Kreg website, you should use a 1-3/4″ screw. That is straightforward, since both are the same thickness.
If you swap the side with a 2x board, the hole in the shelf wouldn’t change, but you can use a longer screw.
So, in my mind, if you are attaching a 1x shelf to a 2x side, you would do the hole based on the 3/4″ thickness of the shelf, no matter what the thickness of the side. But you could use a screw anywhere between 1-3/4″ and 2-1/2″ (adding the extra 3/4″ for the thicker side).
Would this line of thinking give you the correct results?
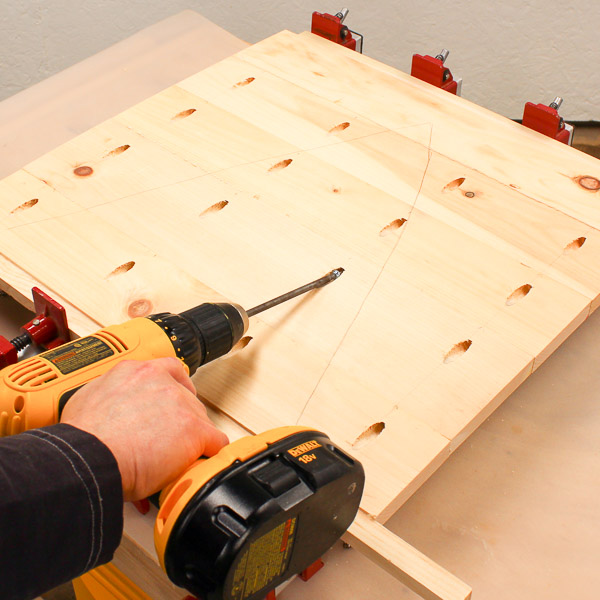
You mention “think thin” but the picture shows pocket holes in the 2×4. I would swap the picture with one that has pocket holes in the 1×6
Hi Chris – Thank you for stopping by. “Think thin” refers to settings on the jig not which workpiece has the pocket holes drilled into it. You can drill pocket holes in the thicker or thinner workpiece as long as the jig is set for the thinnest material you’re working with.
A handy tool that Kreg has is the Selector Wheel. It lets you dial in the thicknesses of the wood being used and tells you how to set up your Kreg Jig and also what length screw to use. It can be purchased at the Kreg website or Amazon.
Hi Michael – Thank you for stopping by. I agree with you… that selector wheel is handy!
In the K5 example, how come you didn’t set Drill Bit Depth Collar to 3/4″ like for the Kreg Jig Mini, Kreg Jig R3 and Kreg Jig K4, but rather for the K5 you set it to 1 1/4″ ?
Hi Guy – The set up for the K5 is a little different than the other Kreg Jigs. The drill guide is set for the thickness of the material, but the drill be is set for the length of the screw you will be using.
I cannot find the answer to this anywhere, so I am going to ask you. I want to attach a 1.5″ x 1.5″ support rail to a 3/4″ plywood wall, about 15″s from the floor. What length screws should I use please? I will be making hte pocket holes in the 1.5 x 1.5 and screwing into the 3/4′ plywood and do not want to go all the way through to the other side of the plywood.
Thanks for any guidance,
Hi Gypsy – Thank you for stopping by. The rule for joining different thickness materials with pocket holes is “think thin”. In other words, adjust the settings for the pocket hole jig to the thinnest material you’re working with. The thinnest material you’re working with is ¾” plywood. A 1-¼” pocket screw is used to join ¾” material. So you’ll use a 1-¼” pocket screw for your project.
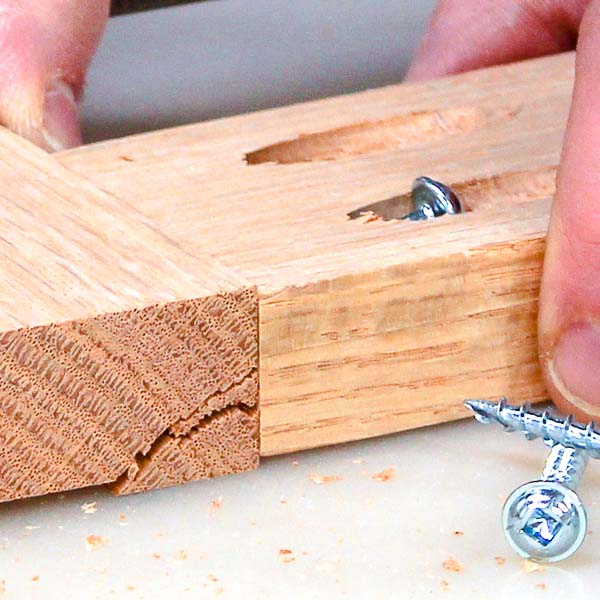
That said, it’s important to note that ¾” plywood is often thinner than ¾”. When using pocket holes on plywood it’s a good idea to set the drill bit so that it doesn’t drill the pocket hole as deep as it normally wood. It’s also a good idea to try your set up on some test pieces to be sure everything is adjusted correctly before drilling the pocket holes on the pieces for your project.
I want to butt join a 3/8” thick piece of walnut to a 3/4” Thick piece I would be angle drilling the 3/8 piece and pirercing the 3/4 piece using the smaller head screws. Have you done this or will the 3/8 piece be too “thin” after the hole is drilled at the end of the board or will the angled hole drill completely through the 3/8 piece?
Hi Fred – The thinnest material you can join with pocket holes is 1/2″. So this 3/8″ material would be too thin to join with pocket holes.