3 Reasons Why I Don’t Use Polyurethane
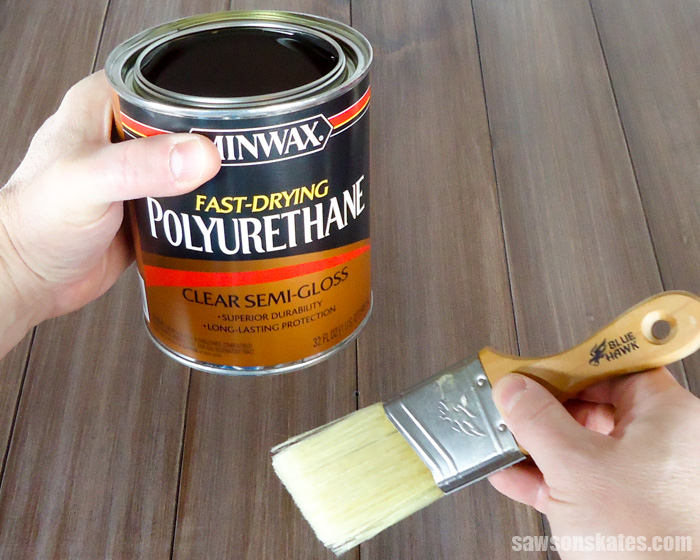
Polyurethane has its place, but for me, I generally don’t use it for my DIY furniture projects. Polyurethane is too finicky, the application is difficult and it doesn’t give the look I want for my projects. These are three reasons I don’t use polyurethane and today I’m sharing what finish I use instead.
For your convenience, this post contains affiliate links to supplies or tools I used to complete this project. Purchases made using these links help support the Saws on Skates website and allow me to share more DIY projects. and DIY tips with you. There is no cost to you for using these links. Click here to visit my site policies.
Properly Prep Your Project
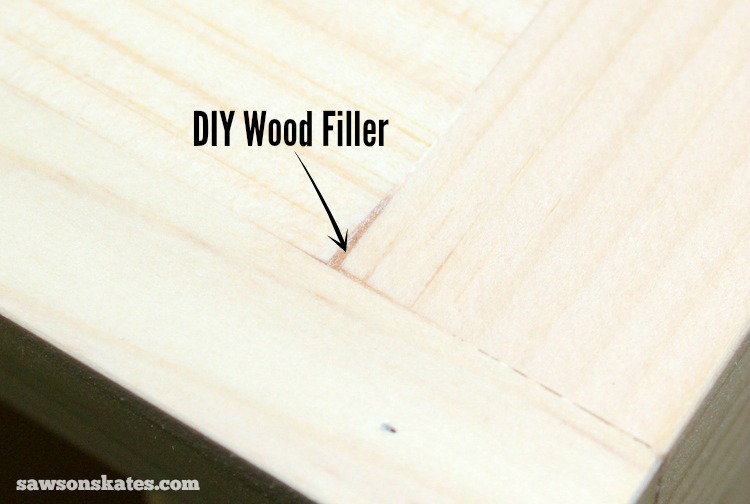
Before I share why I’m not a fan of polyurethane, first I properly prepare my DIY furniture project for a finish coat. The first step to a flawless finish is to properly sand the project. Next, I inspect the piece and fill any nail holes, gaps or cracks with an easy to make DIY wood filler.
My DIY wood filler is made with sanding dust from the furniture project I’m working on, so the filler always perfectly matches the wood color of my project.
If I’m staining the project, first I apply a coat of black tea. Applying tea helps prevent blotchiness and gives my DIY furniture a rich, uniform color when the wood stain is applied. After the tea dries and the piece is sanded, I apply the wood stain. I’m a BIG fan of Rust-Oleum Ultimate Wood Stains. I love the one coat coverage, the quick drying time and Rust-Oleum stains always produce deep, rich stain colors.
What is Polyurethane?
Polyurethane is a product used to seal and protect wood. The durability of a polyurethane film finish depends on how thick the dried film is. Three coats of poly are usually needed to provide an adequate amount of durability.
Polyurethane can be applied with a brush, sprayer or spray can. A wipe-on poly is also available.
There are two types of poly. Oil-based and water-based. Oil-based poly cleans up with paint thinner. Water-based poly cleans up with water.
Oil-based poly slightly darkens and enhances the wood grain. Water-based poly has no depth of finish. In other words, it does not enhance the wood grain.
Poly is available in different sheens like matte, satin, semi-gloss and gloss.
Related: Polycrylic vs Polyurethane: Are They the Same?
What is Polyurethane Used For?
Poly is used to seal and protect wood. It prevents oil, grease, and water from penetrating wood doors, floors, cabinets, and furniture. It’s a durable finish that also protects against heat and scratches.
3 Reasons Why I Don’t Use Polyurethane
Finicky Finish
Polyurethane is way too fussy for me. Just look at the instructions on the back of the container… polyurethane must be applied in a dust free environment. That rules out applying polyurethane in my workshop or applying polyurethane outside. In my small house, that means I’m applying poly to my furniture projects in my kitchen!
Air bubbles are also an issue with polyurethane. Never shake a can of polyurethane or wipe your brush on the rim of the can because you’ll introduce bubbles into the finish. The bubbles will dry in your finish and leave the surface bumpy. The only way to get rid of the bubbles is to sand, which means more time and effort.
Just like air bubbles, drips can be an issue with polyurethane. Drips must be corrected right away while still wet. If drips are allowed to dry they’ll need to be cut out with a razor blade and sanded. Again, this is an extra step that will consume your time and effort
Application is Difficult
Applying polyurethane is difficult. The product must be applied with a brush in long, even strokes. You must also keep a wet edge. If you touch an area with your brush that is dry or drying, you’ll pull the finish which could leave bumps when it finally dries. These bumps will need to be sanded.
To apply additional coats, you’ll need to lightly sand with 220 grit sandpaper or steel wool. Again, this means more time and effort.
The Final Look
While polyurethane provides a clear, durable finish, to me it looks plastic-like. Polyurethane does not become part of the wood. If you look closely, you can see it just sits on top of the surface.
Where to Use Poly
Don’t get me wrong, polyurethane has its place. It’s great for floors, doors, woodwork around windows and doors and furniture that will get lots of abuse like dining tables and kitchen cabinets.
What I Use Instead
For my furniture projects, I use a top coat that is waaaay less finicky, the application is a snap and the finish looks like a hand rubbed finish you might find on a quality antique. I use Bob’s Miracle finish for wood!
Bob’s Miracle finish for Wood is a DIY wipe on top coat you make yourself. It’s three simple ingredients: gloss spar varnish, boiled linseed oil and paint thinner.
Easy Finish
Because Bob’s Miracle finish for wood is a wipe on top coat, you don’t have to worry about applying in a dust free environment. You simply wipe it on, allow it to penetrate the wood for a few minutes, then wipe off. This means you can apply outside with plenty of fresh air and not have to worry about dust or insects getting trapped in your finish.
Air bubbles and drips aren’t a concern either. Again, you’ll wipe it on and wipe it off. So bubbles and drips are virtually impossible.
Easy Application
Did I mention Bob’s Miracle finish for wood is a wipe on top coat? That means the application is sooo easy! Wipe it on with a rag, allow to penetrate and wipe it off with a clean rag. That’s it! No brushes, no worrying about keeping a wet edge and no sanding in between coats.
Final Look
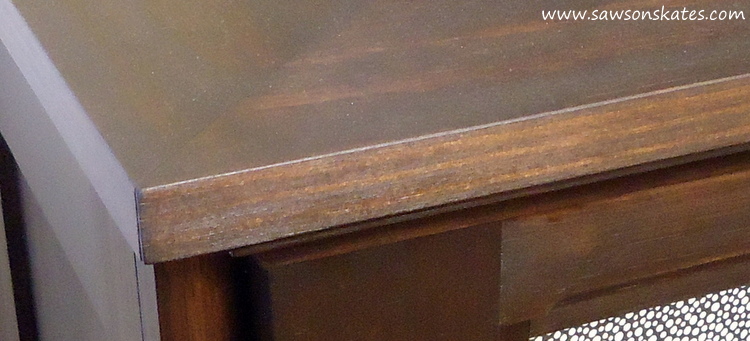
Because Bob’s Miracle finish for wood actually penetrates into the wood, it becomes part of the wood itself. It doesn’t have that plastic, floating on top of the wood look that poly has. For me, Bob’s Miracle finish for Wood has the exact look I want for my furniture projects. A timeless, not too shiny, hand rubbed look you might find on a quality antique.
Where to Use
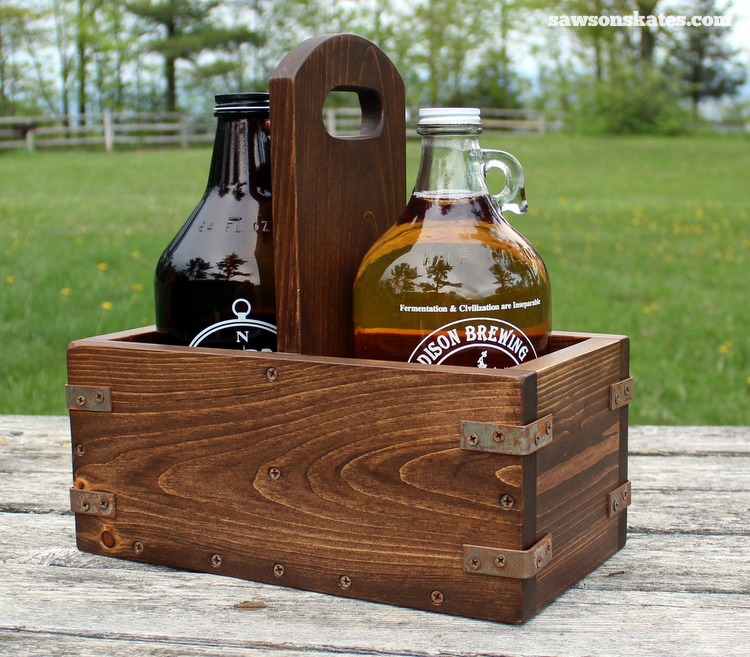
I’ve used Bob’s Miracle Finish for Wood on many of my DIY furniture projects. I’ve used it on my bar cart, vintage industrial chalkboard shadowbox, craft beer growler carrier, air conditioner dresser, knockoff chalkboard shelf, electric fireplace mantle, knockoff stool, wine cabinet and apothecary cabinet. So yes, I’ve used it on quite a few projects!
UPDATE: My Polyurethane Change of Heart
Earlier this year I was getting ready to paint the outdoor coffee table and estimated it was going to take me SEVEN HOURS to paint the pieces with a brush! That’s when I decided to buy a HomeRight Super Finish Max paint sprayer. Thanks to the sprayer I was able to spray a coat of primer and spray two coats of paint in only a few hours. WHAT A TIME-SAVER!
Since buying a paint sprayer I’ve been sprayin’ like crazy! I started with the outdoor coffee table. Then I sprayed the cedar clapboard siding of my house, updated the look of my air conditioner dresser with a coat of paint, and freshened up a pair of Adirondack chairs. I’ve also primed and painted a new project I’m working on.
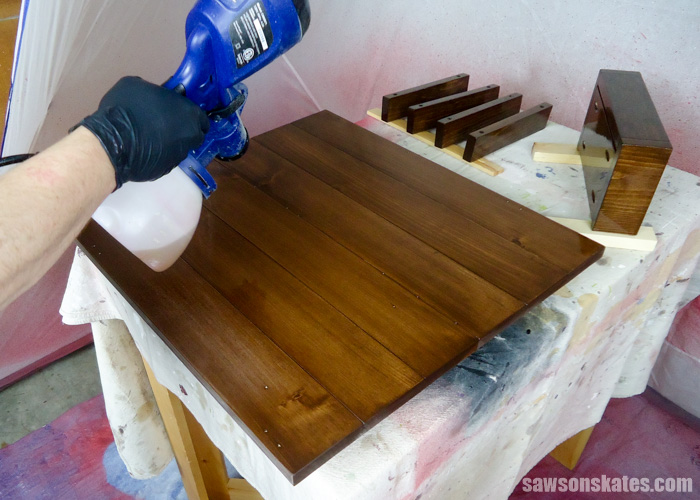
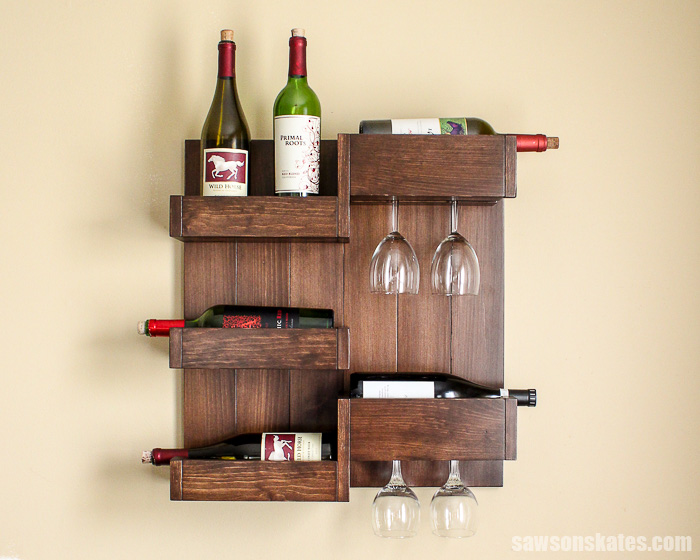
While reading the HomeRight Super Finish Max paint sprayer instructions I noticed it could be used to spray polyurethane. Really? I never thought of spraying poly. Could this be the way to solve the poly pitfalls I mentioned earlier? I had to test it out and my DIY wine bar was going to be the test project.
The results are in and I’m totally convinced… I will NEVER apply poly with a brush EVER again! The finish on the wall-mounted wine bar is amazing. The poly was quick to apply and the piece looks like it came from a factory.
There was no need to worry about bubbles, the application was sooo easy and the because the sprayer applies thin coats the finish didn’t look like plastic. If I’m going to apply poly I’m going to do it with a sprayer! Learn how easy it is to spray polyurethane here.
Final Thoughts
Poly has its place on floors, doors, trim and table tops, but for me, I prefer a hand rubbed look on my furniture projects. Who has time for finicky, difficult to apply finishes when you can make your own DIY finish that is easy to apply and gives amazing results? Make a batch of Bob’s Miracle finish for wood today!
If you found this information helpful, would you please pin it to Pinterest? I would really appreciate it!

Is your sprayer air driven or airless.
Hi Don – Thank you for stopping by. My HomeRight sprayer is airless.
Hi,
Love your website. Looking forward to trying out Bob’s Miracle Finish. I’m going to be installing Harvey Replacement windows soon. I was wondering how you might finish them on the interior. I don’t like the plasticky look of polyurethane, but I wonder because of their expense, and their exposure to heat/cold, etc. if poly would be the best. I use tung oil on a lot of my projects that don’t get a lot of wear and tear. What would be the benefits/drawbacks of poly, bob’s, laquer, or tung oil on the interior of replacement windows. Would be happy to hear your thoughts.
Thanks!
Hi Chris – Thank you for stopping by. Bob’s wouldn’t be my first choice if I were sealing wood windows, door trim, etc. It just won’t hold up. I use poly on my wood window projects. Good luck with your project.
Hi, Scott love all your tips. I built a hanging bed for my front porch and used spar urethane for the finish. Is there anything you’d recommend I can put on it to lengthen the life of the finish? It gets very little moisture or sun. I occasionally wipe it down with a damp cloth to remove dust and pollen.
Hi Rick – Thank you for stopping by. Spar urethane is a great choice for outdoor projects especially for the location you described. I think you should be good to go.
The spar varnish you have pictured is water based. I don’t think that will work. Is that really the product you used? You indicate it has to be oil based.
Hi Cindy – Yes, it should be oil-based spar varnish. I don’t see a water-based spar varnish pictured in this post. Where do you see this on your screen?
Hi Scott……just wondering if you have ever used a Wagner sprayer…
I’ve got a model 41700 I’ve never used..what do you think
Thanks, Denny
Hi Denny – Thank you for stopping by. Years ago I borrowed a Wagner sprayer from a friend to stain a fence. I’m not sure what model it was and I never had the opportunity to use it on an interior project. I would say give it a try on some scrap pieces of wood and see if you’re happy with finish.
I think that hand-applying poly depends on the quality of the product. I tried a Watco wipe-on poly and found it to be pretty awful- too thick, dried too fast and would have rag mark streaks in it no matter what I did. The General Finishes wipe-on poly, however, is a beautiful thing. Goes on easy and smoothly with a rag, and looks glowing and beautiful rather than plasticky. Spraying sounds interesting, but I’d have to invest in the equipment and find a space to keep it(!).