Easy DIY Air Compressor Cart (With Storage)
Tame your tank with this easy-to-make DIY air compressor cart. Built-in storage keeps tools close, hoses tangle-free, and wheels make it portable.
What Should I Build Next?
That's the question I help answer.
Every week, I send woodworking ideas to 17,000 DIYers who love building things.
You'd fit right in.
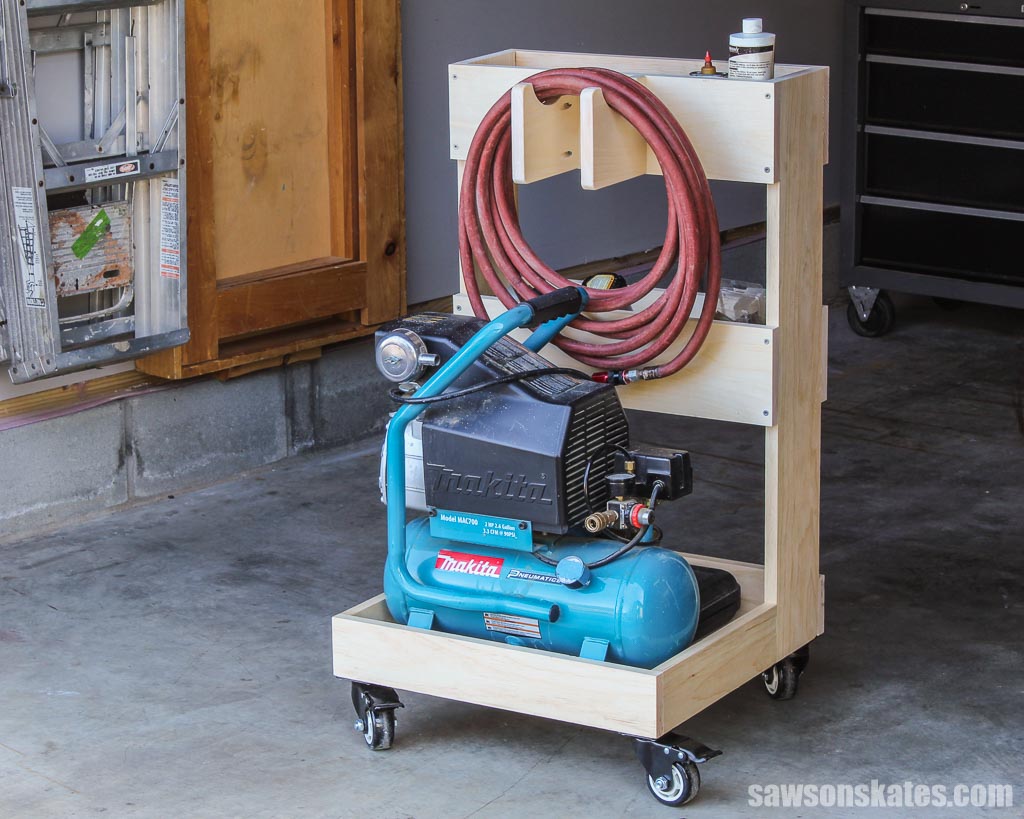
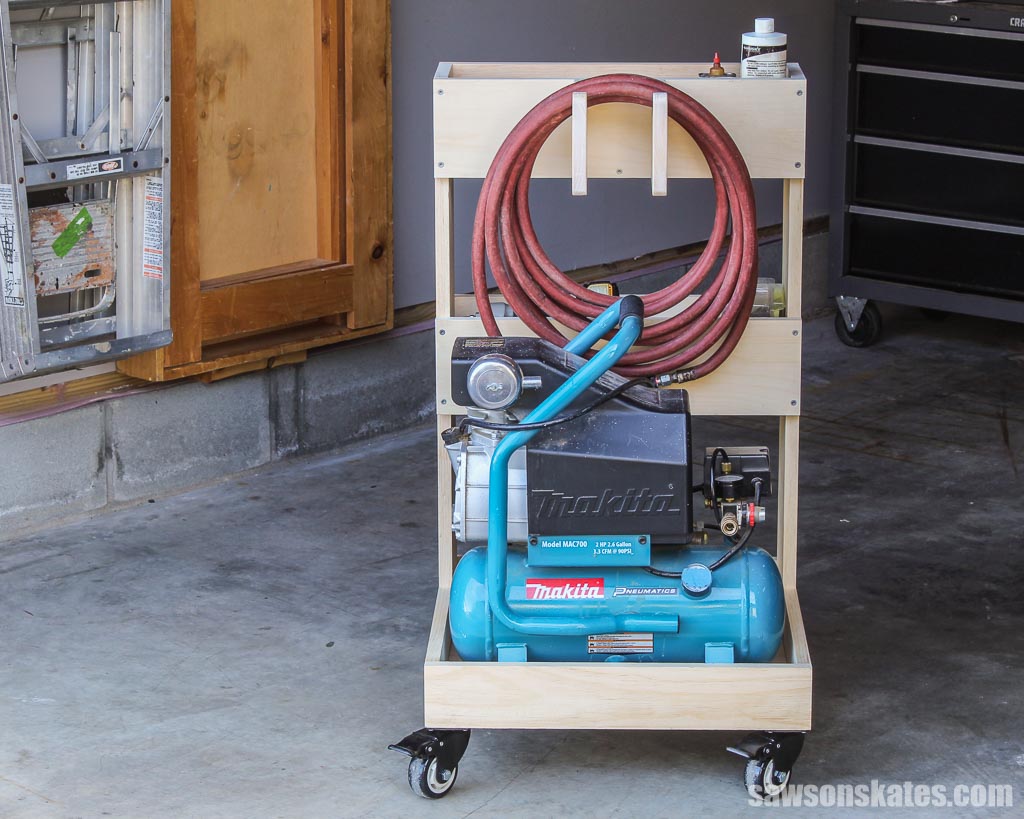
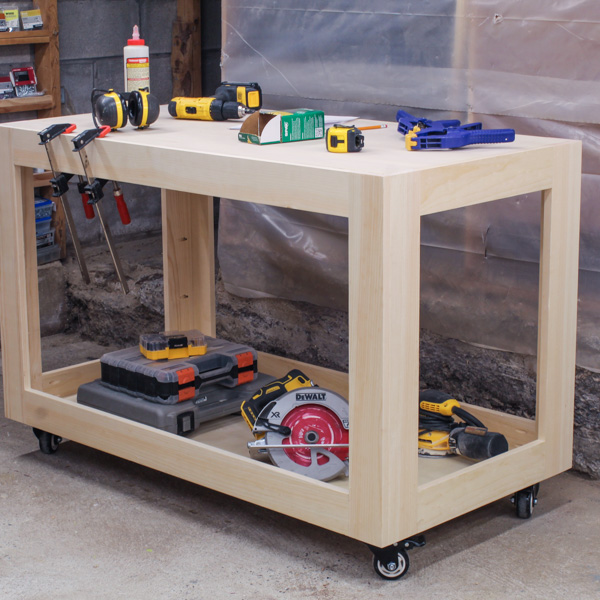
Tired of lugging your compressor? Ditch the tripping hazard and transform it into a mobile workstation with this DIY air compressor cart. Storage trays keep tools and supplies at your fingertips, a built-in hose hanger eliminates tangles, and wheels make it portable to conquer any project. Build your air compressor’s dream ride today.
Table of Contents
- Inspiration for This Air Compressor Cart
- What Wood Should You Use?
- What Tools Do You Need?
- How to Make a DIY Air Compressor Cart
- Get the PDF Plan
This article contains affiliate links. If you purchase from these links, I may earn a small commission at no additional cost to you. Visit my site policies for more information.
Inspiration for this DIY Air Compressor Cart
Struggling with scattered tools and a tangled hose while using your air compressor? Jack was.
He recently messaged asking about ideas for a pancake compressor cart with tool storage that can roll around.
I felt his pain but didn’t have a plan for one at the time; then I thought, “Wait a minute, I need one of those too!”
So, I put on my DIY hat and whipped up this super-easy rolling air compressor cart with a hose hanger and two deep storage trays.
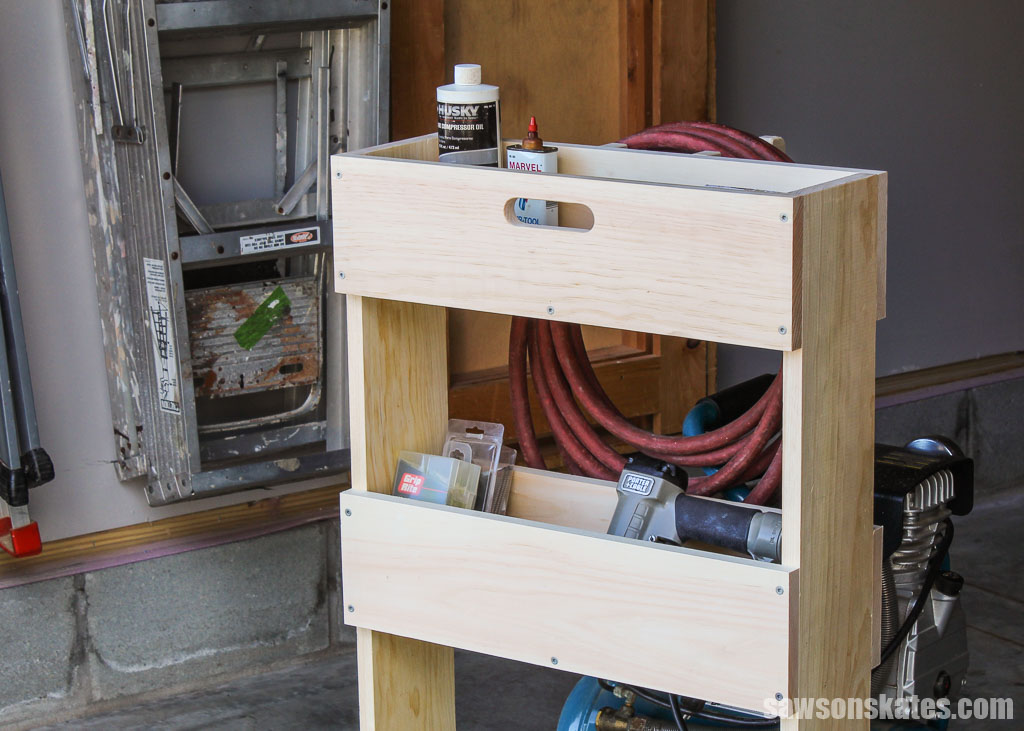
It’s perfect for keeping tools like nailers and supplies like nails, oil, and other essentials organized and within easy reach.
What Wood Should You Use?
To avoid wrestling with large plywood sheets in my tiny workshop, I built my compressor cart using a small scrap piece of plywood and off-the-shelf 1× lumber. While you can use plywood for the entire project, I find the smaller boards easier to maneuver in my small shop.
Related: Beginner’s Guide to Wood Sizes
What Tools Do You Need?
I used four basic tools to make this compressor cart:
- Drill
- Pocket hole jig
- Miter saw
- Scroll saw or jigsaw
I also used a circular saw and a Kreg Rip-Cut to rip the plywood bottom to size.
Related: 4 Ways to Make Straight Cuts with a Circular Saw

How to Make a DIY Air Compressor Cart
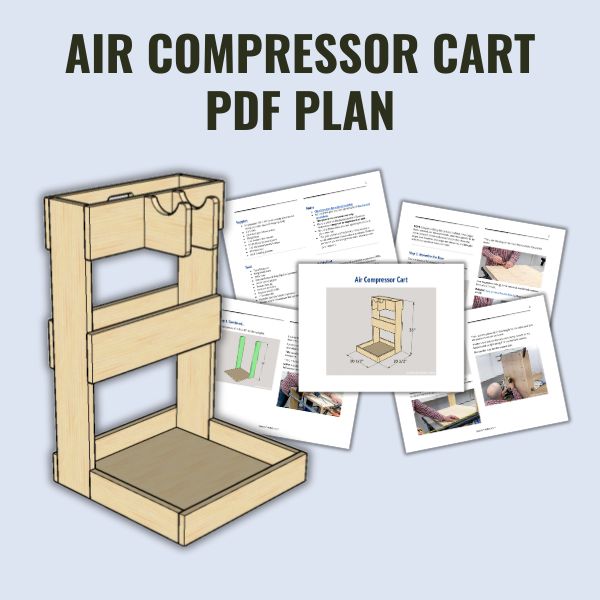
Printed Plan
Get the PDF plan here (includes detailed instructions, measurements, and bonus tips)
Materials
- Wood (per the printed plan)
- Wood Glue
- 1-¼” Pocket Hole Screws
- ¾” #8 Wood Screws Screws
- 1-¼” #8 Wood Screws Screws
- #10 Washers
- (4) 3″ Locking Casters
Tools
- Tape Measure
- Kreg Multi-Mark
- Miter Saw
- Circular Saw and Kreg Rip-Cut
- Scroll Saw or Jigsaw
- Pocket Hole Jig
- Drill and Drill Bits
- Countersink Drill Bit
- 1″ Forstner Bit
- Portable Spindle Sander (optional)
- Router and ⅛” Roundover Bit (optional)
Step 1. Assemble the Base
NOTE: I began building the cart but realized it was bigger than I wanted, so I disassembled it and redesigned it to be more compact. Some early assembly photos show the larger size; however, the steps are the same, and the printed plan reflects the updated measurements.
Cut one piece of plywood to size for the bottom.
TIP: I used a circular saw and a Kreg Rip-Cut to rip the plywood bottom to size.
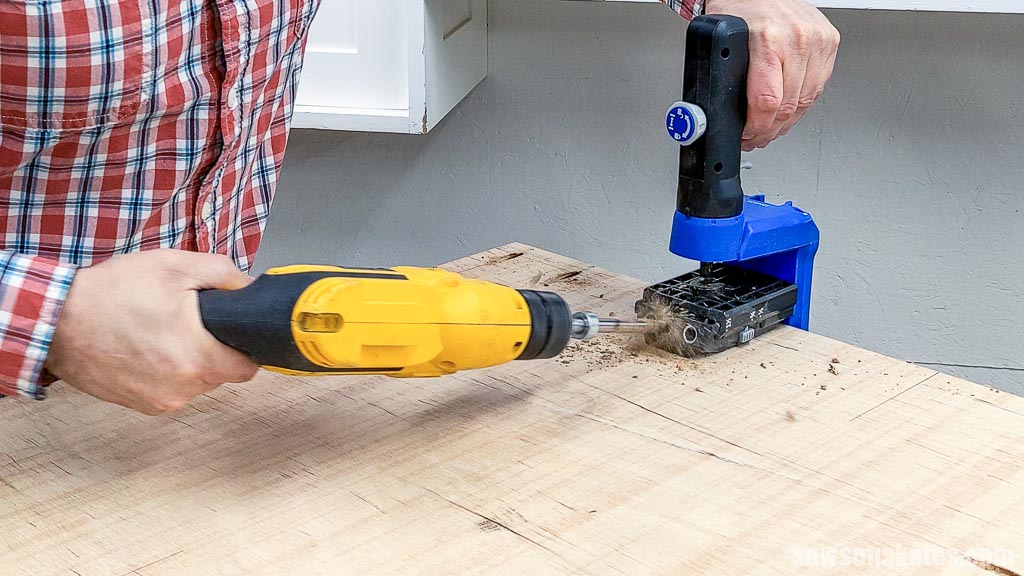
Then, use the diagram in the printed plan to mark the locations for pocket holes.
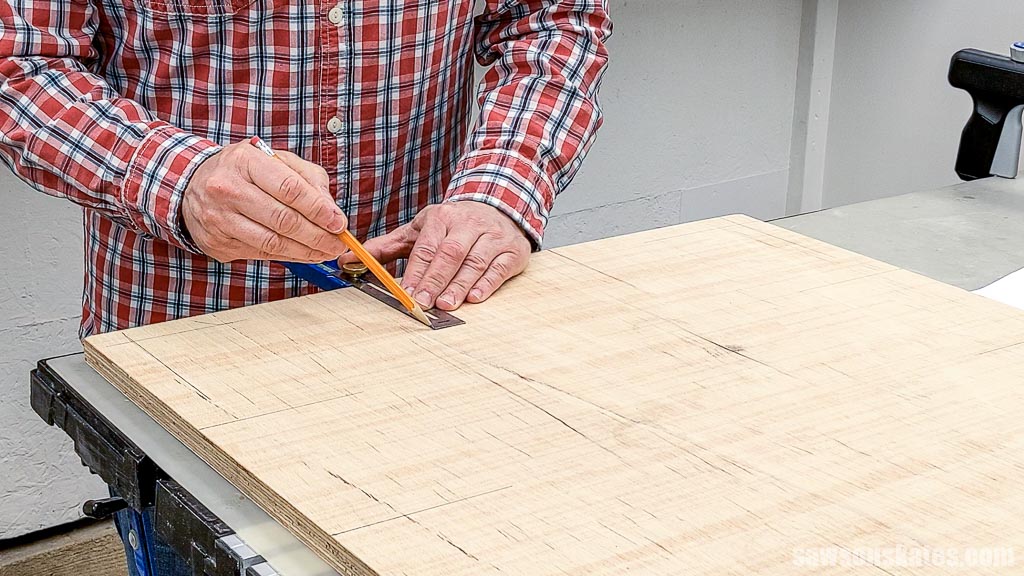
I set my pocket hole jig for the plywood’s thickness and drilled a pocket hole at each mark.
Related: How to Use a Pocket Hole Jig (Beginner Pitfalls to Avoid)
Cut two pieces of wood to length for the uprights.
I placed the bottom on my workbench, with the pocket holes facing up.
I positioned one upright on the bottom, clamped it in place, and attached it using pocket hole screws.
TIP: I used my foot to hold the upright in position while I clamped it.
Then, I repeated this step for the second upright.
NOTE: Handle the assembly with caution. The uprights lack full support at this stage and will be a little wobbly.

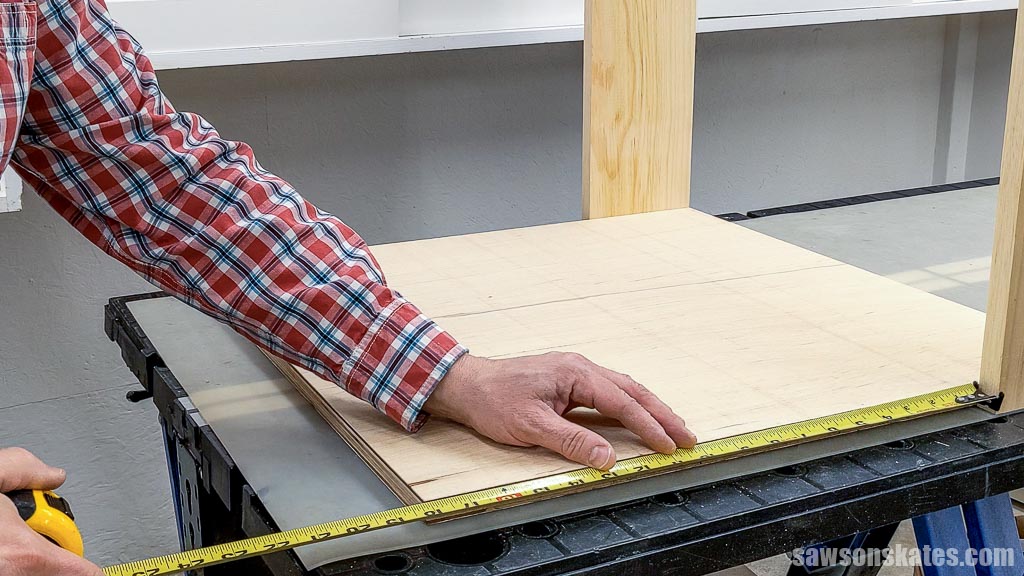
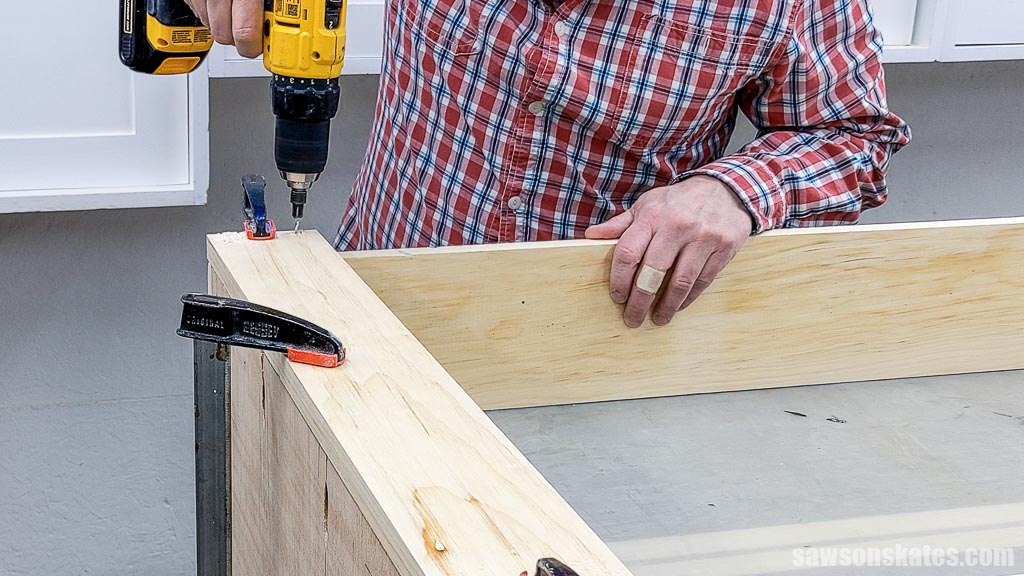
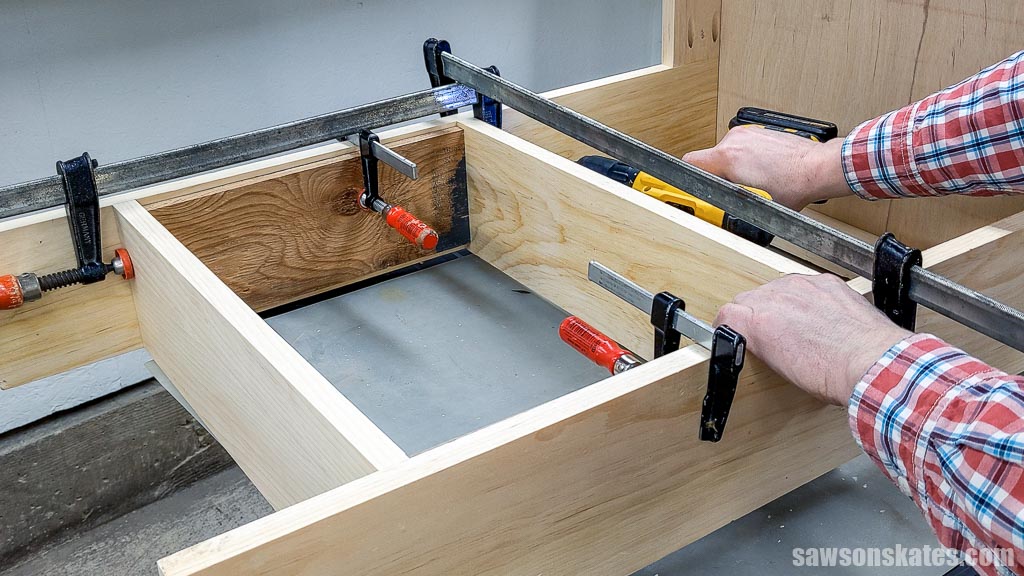
Wood widths can vary, so for the best fit, I recommend measuring the distance between the upright and the bottom corner to determine the length of the sides.
Then, cut two pieces of wood to length for the sides and drill two pocket holes on each end.
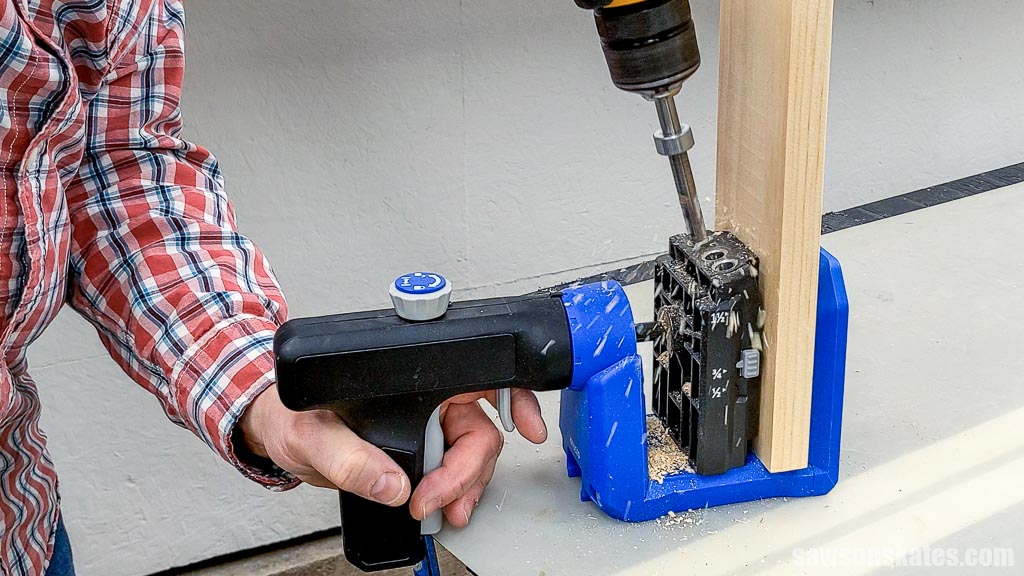
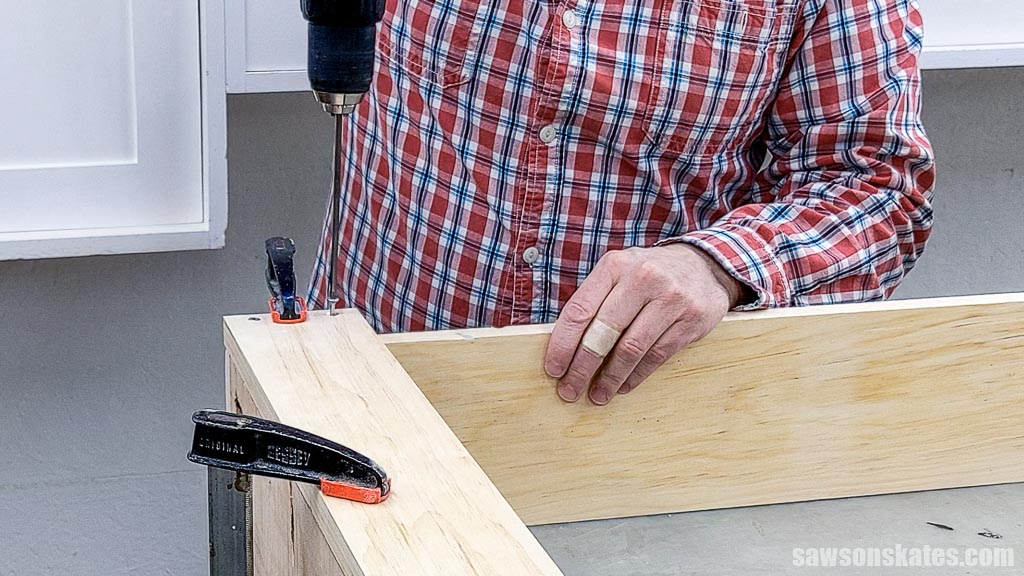
Position one side on the bottom and clamp. Attach to the bottom and upright using pocket hole screws. Repeat this step for the second side.
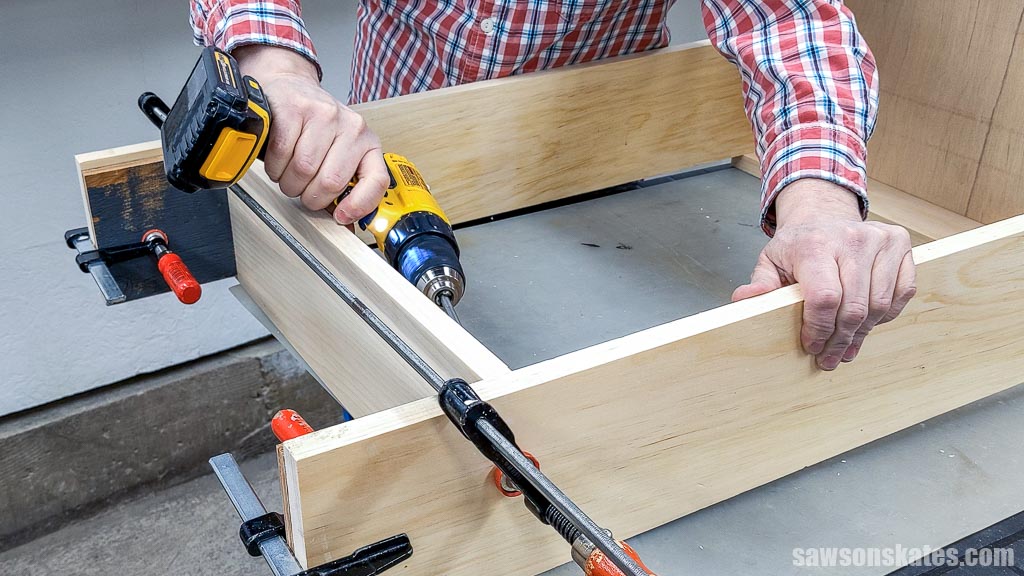
For the best fit, I recommend measuring from one side to the other to determine the length of the base’s front and back.
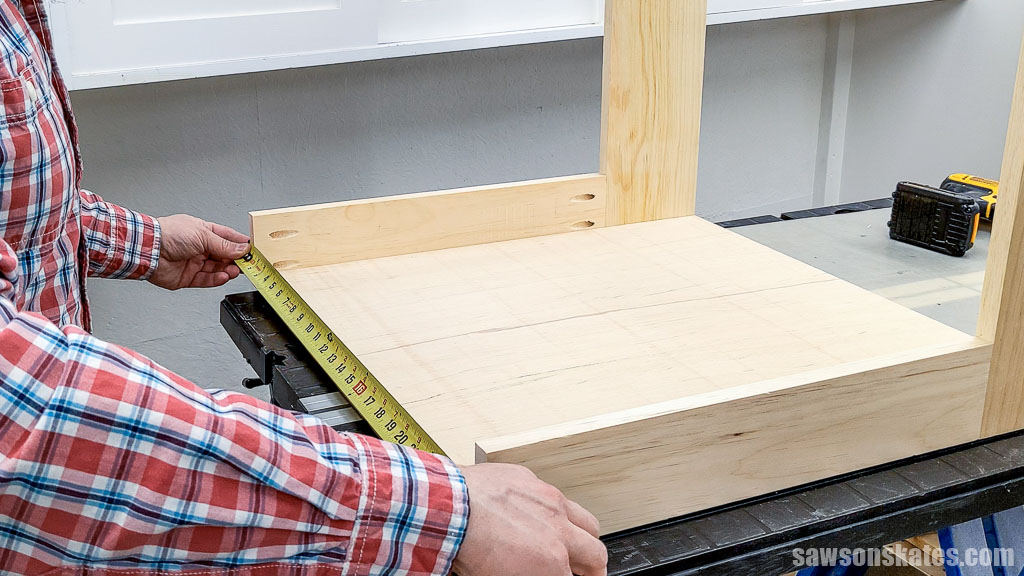
Then, cut two pieces of wood to length for the front and back.
Position the front on the base and clamp. Attach to the bottom and sides using pocket hole screws.
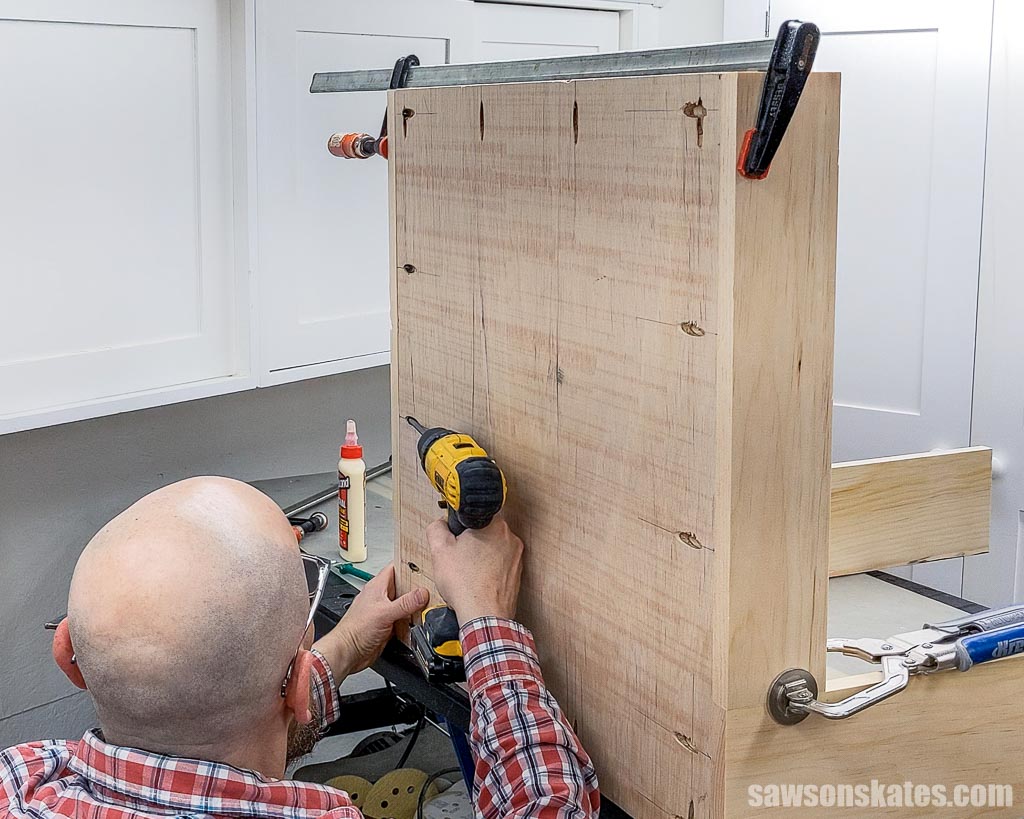
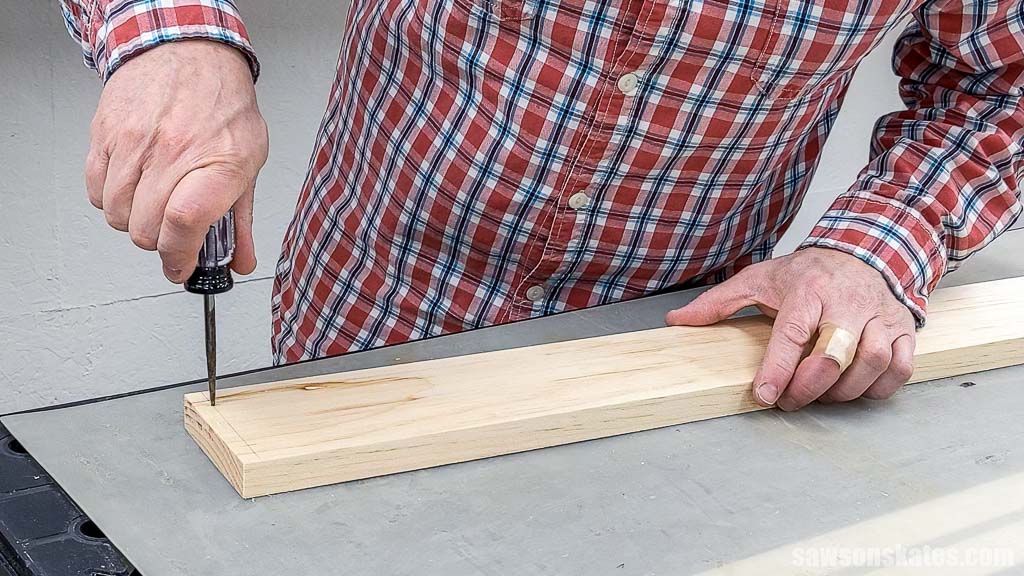
For the back, use the diagram in the printed plan to mark the locations for countersink holes.
Then, use an awl to make a starting point for the drill bit.
Related: What is an Awl? (& How to Use It)
Position the back on the uprights and clamp. Use a countersink bit to drill a hole at each mark.
Related: How to Use a Countersink Bit
Then, attach using wood screws.
Step 2. Attach the Storage Trays
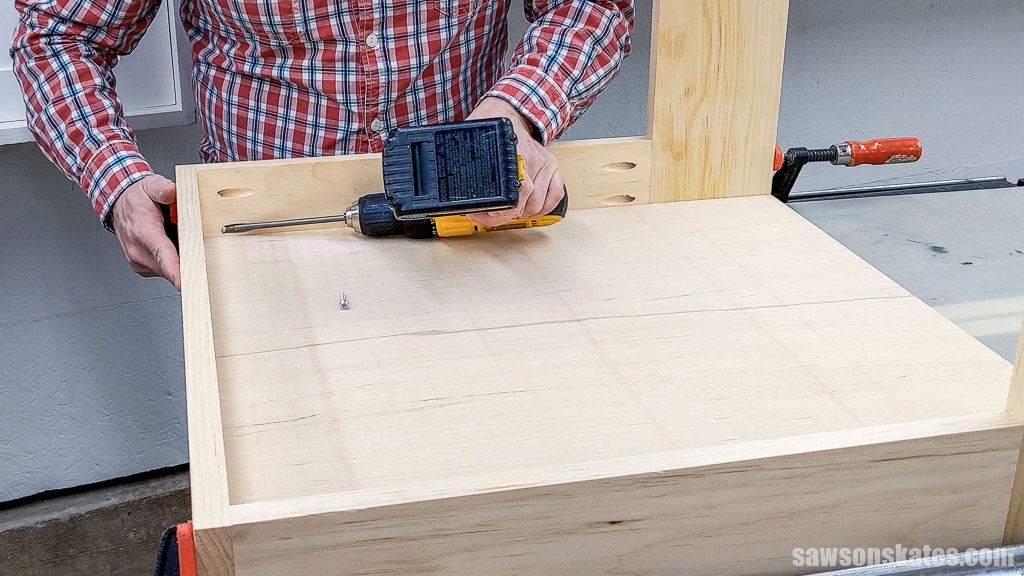
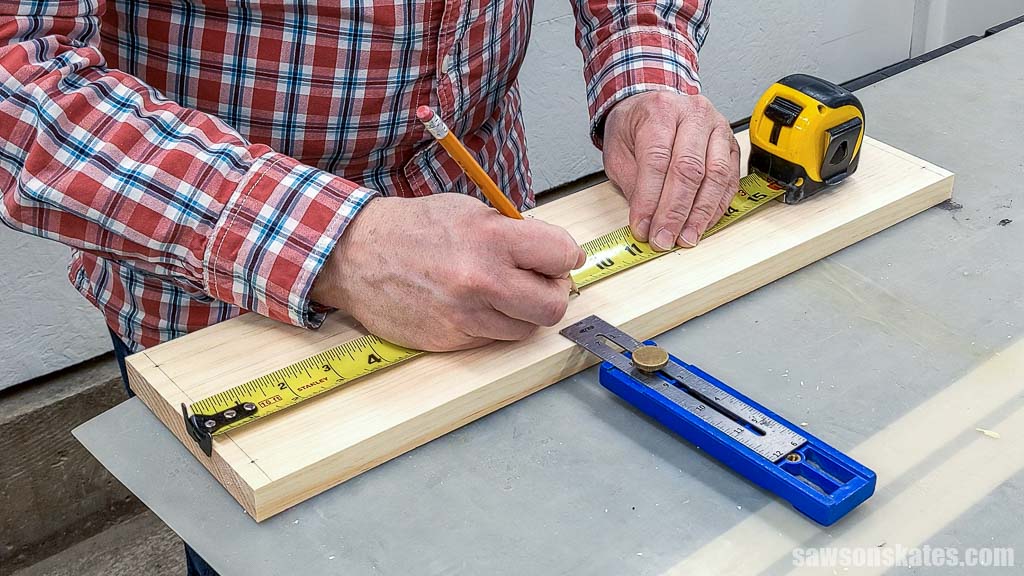
Cut two pieces of wood to length for the tray bottoms and drill two pocket holes in each end.
To help position the tray bottoms, I cut two pieces of scrap wood to length.
I clamped the scrap wood to the top of each upright and positioned one tray bottom beneath it. I clamped it to the uprights and attached using pocket hole screws.
I repeated this process for the second tray.
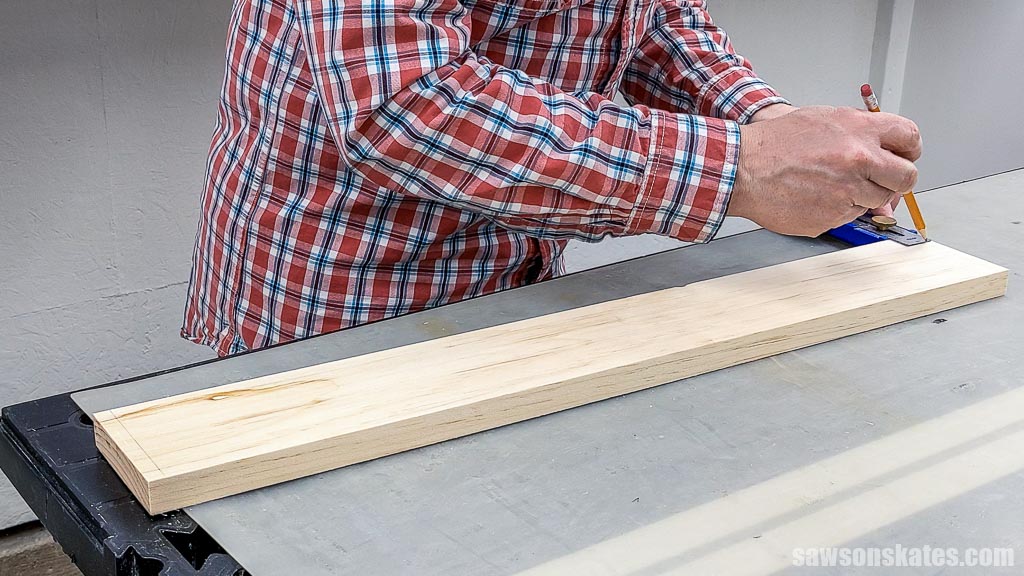
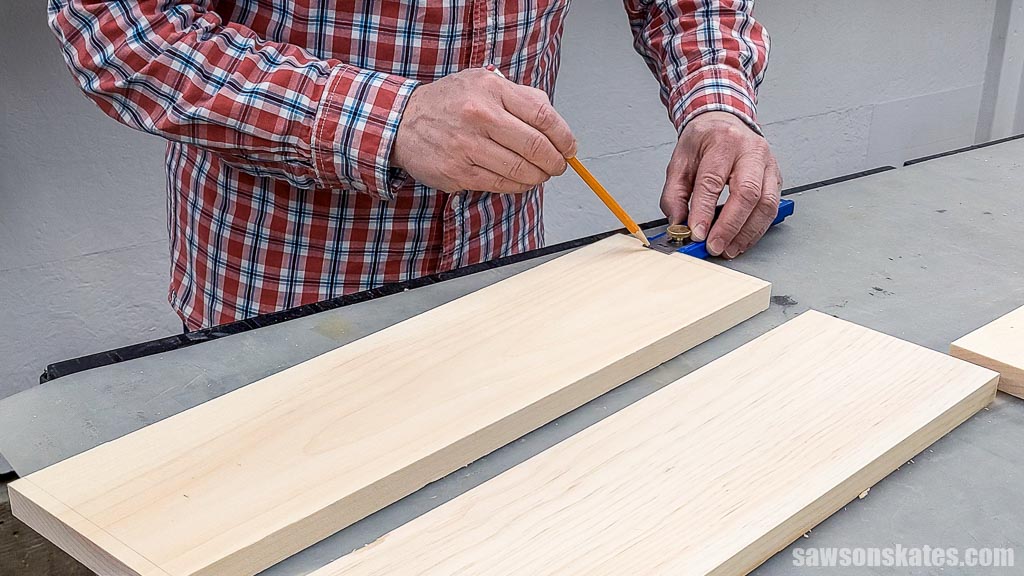
I cut four pieces of wood to length for the tray sides.
Use the diagram in the printed plan to mark the locations for countersink holes and use an awl to make a starting point for the drill bit.
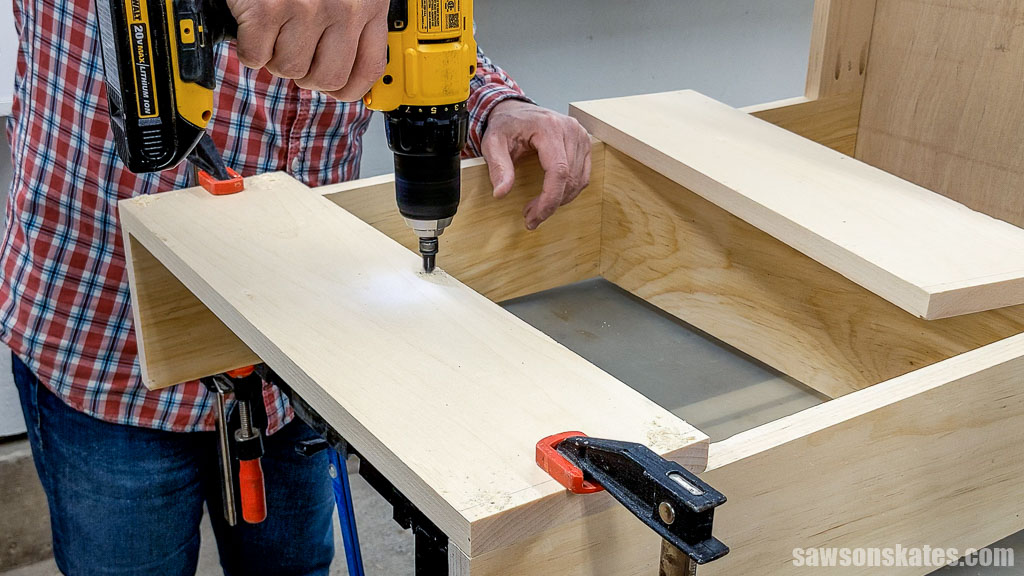
Position one tray side on the front of the uprights and clamp in position.
Drill countersink holes at each mark and attach using wood screws. Repeat this step for the lower tray.
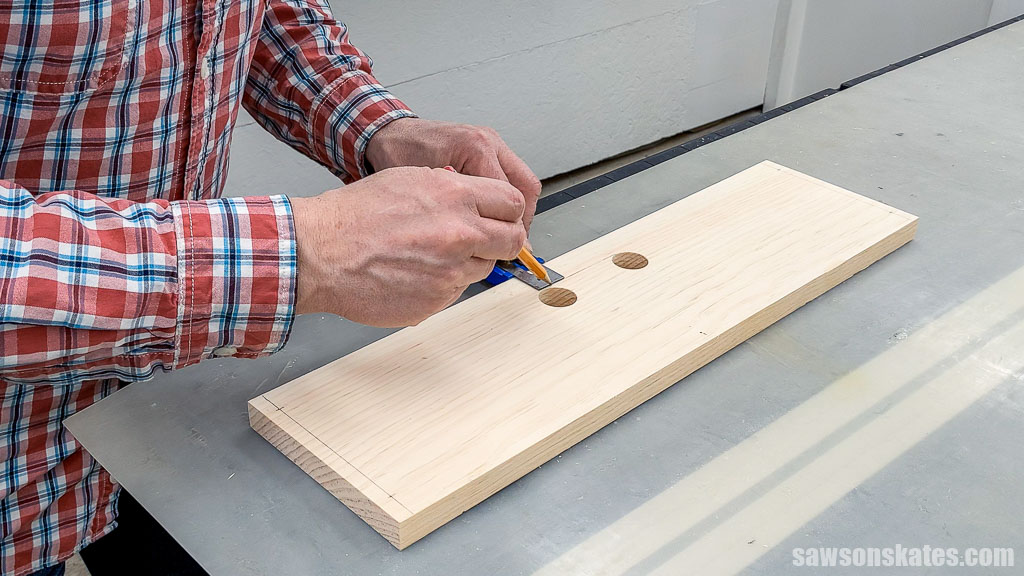
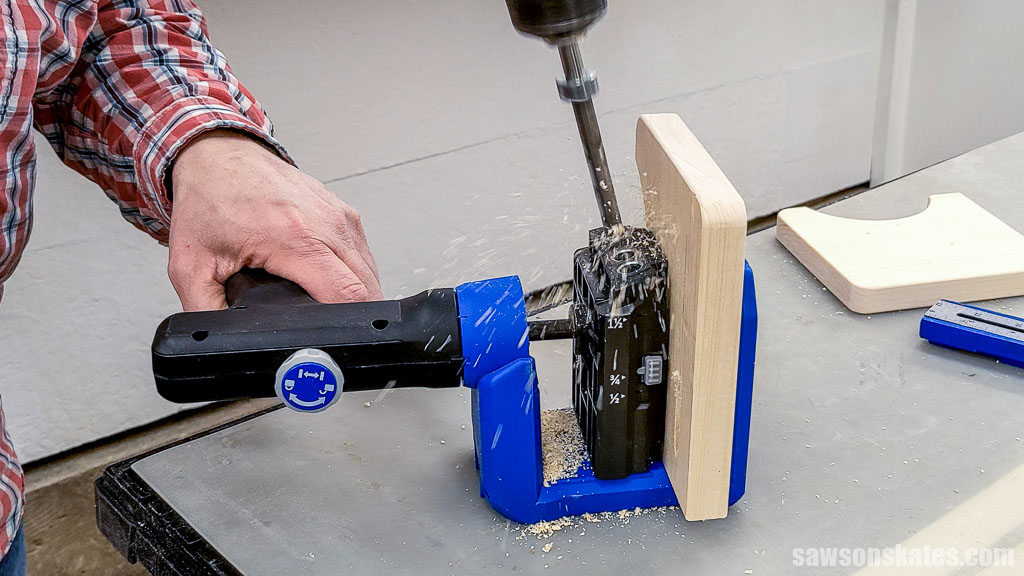
On the back, I incorporated a handle in the top tray’s side. Use the diagram to mark the location of holes and use an awl to make a starting point for the drill bit.
Using a Forstner bit, I drilled until the bit’s spur protruded from the backside.
Related: What is a Forstner Bit? (& How to Use It)
Then, I flipped it over, positioned the spur in the hole, and drilled the remaining way through the workpiece.

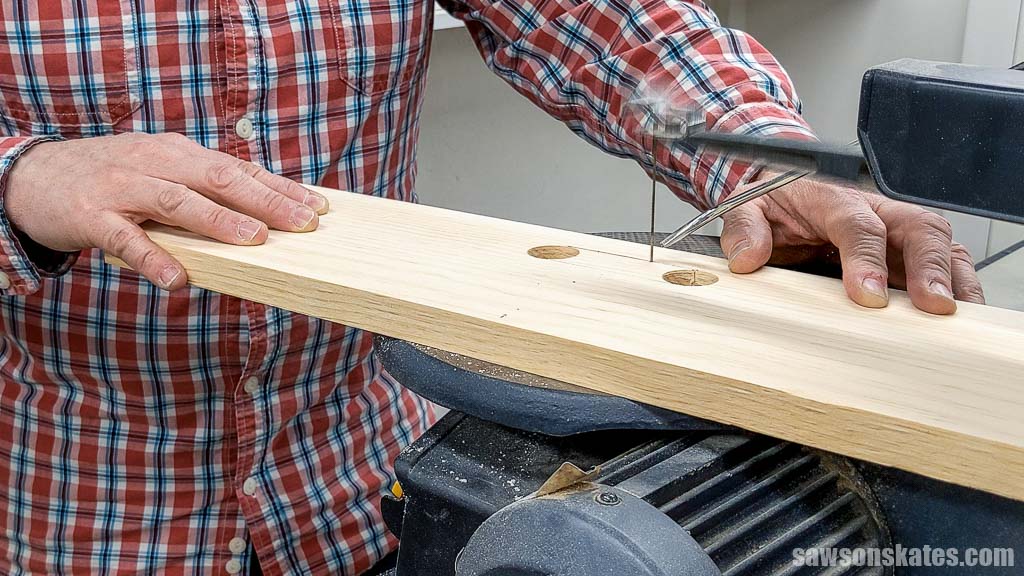
Next, I used a Kreg Multi-Mark to draw a line at the top and bottom of the holes.
Using a scroll saw, I removed the waste material. I could have used a jigsaw, but mine fell off my workbench, and the baseplate was damaged.
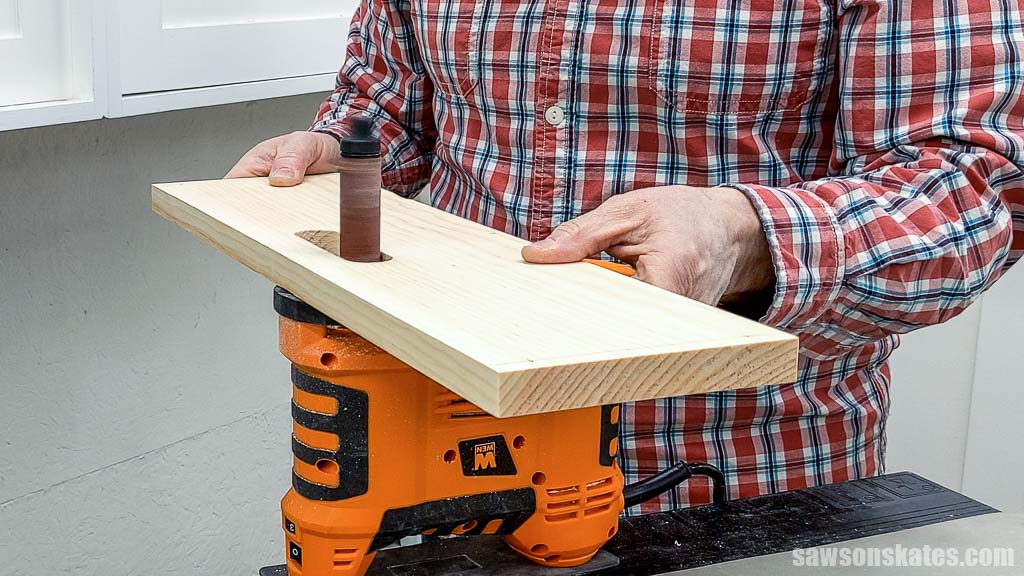
I smoothed the handle’s inside edges with my portable spindle sander, but you can use sandpaper instead.
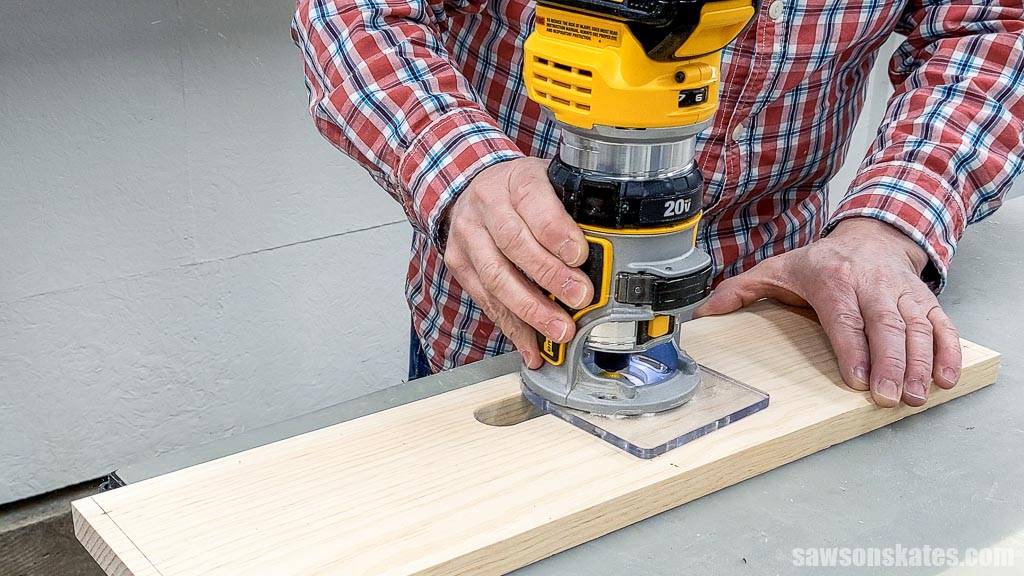
Next, I used my router and roundover bit to smooth the handle’s edges. Again, you can use sandpaper instead.
Just as I did for the fronts, I positioned the tray sides on the back, drilled countersink holes, and attached them using wood screws.
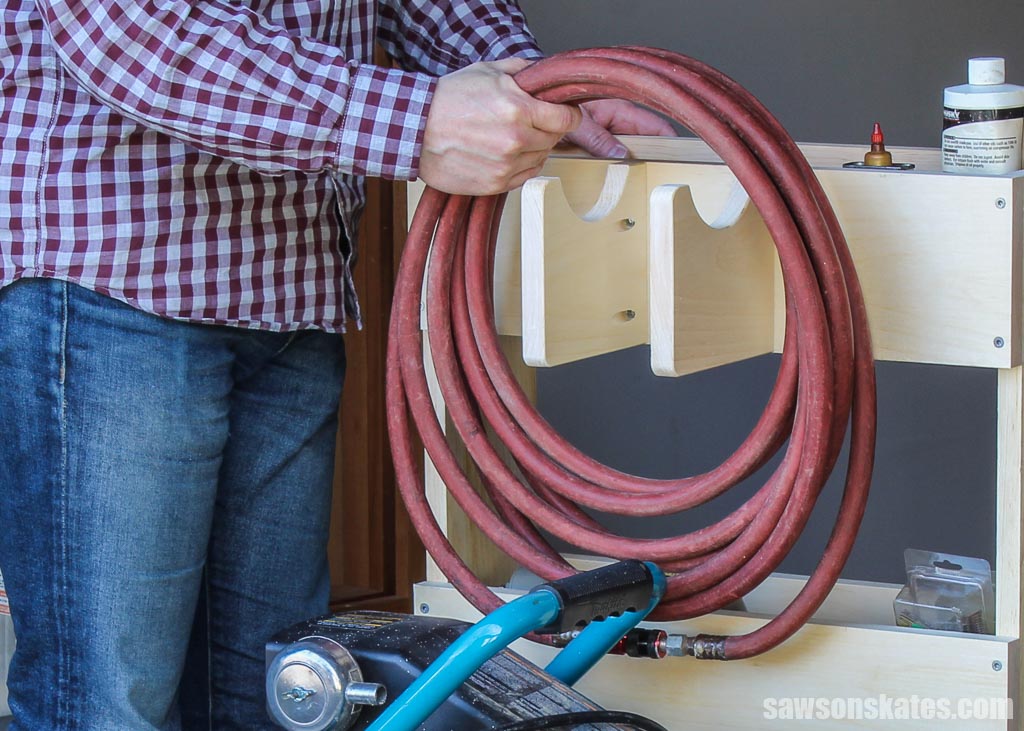
Step 3. Attach the Hose Holder
Cut two pieces of wood to length for the holders.
Next, I traced the template (at the end of the printed plan) onto the holders.
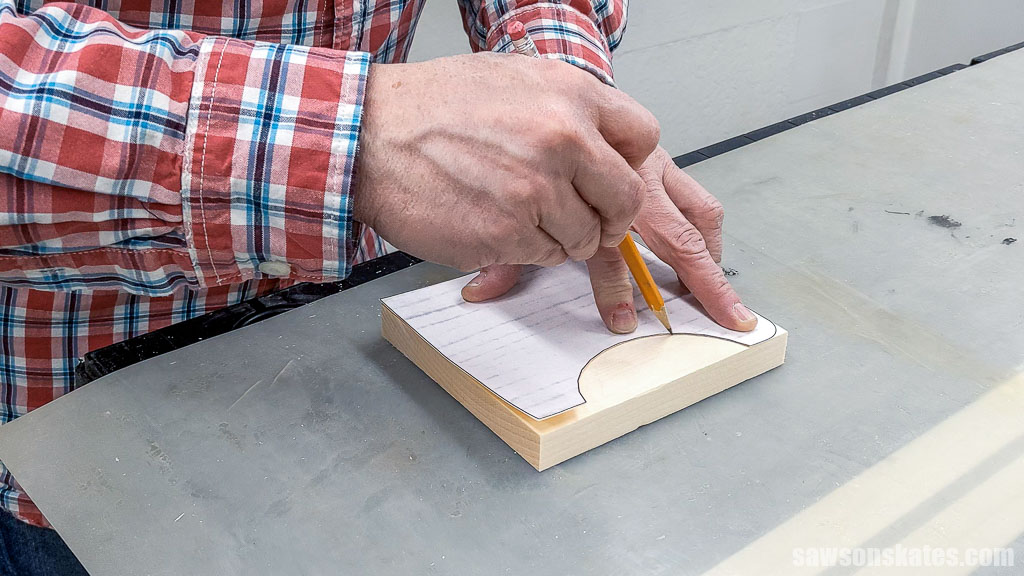
I used a scroll saw to cut them, but you might be able to use a jigsaw instead.
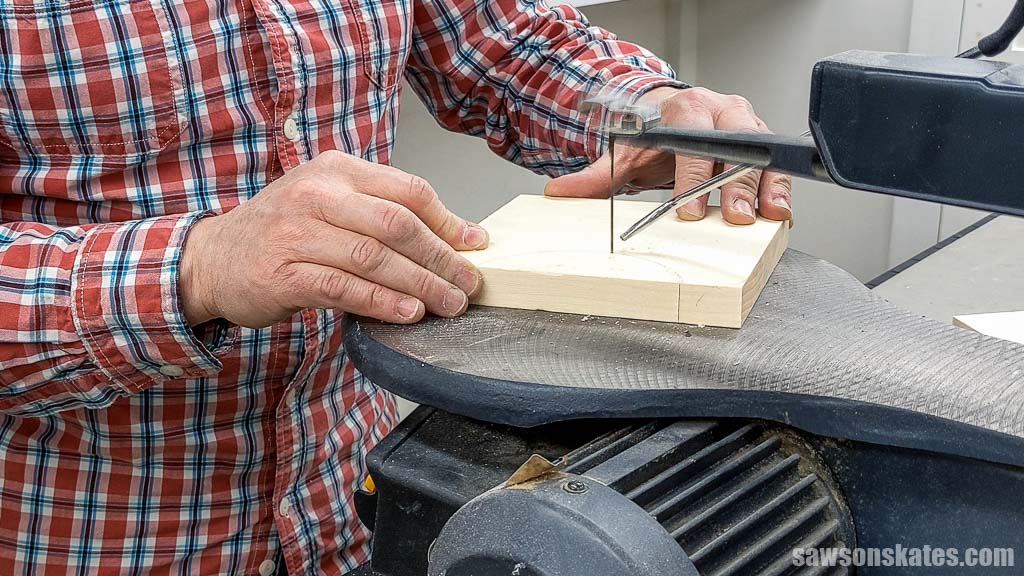
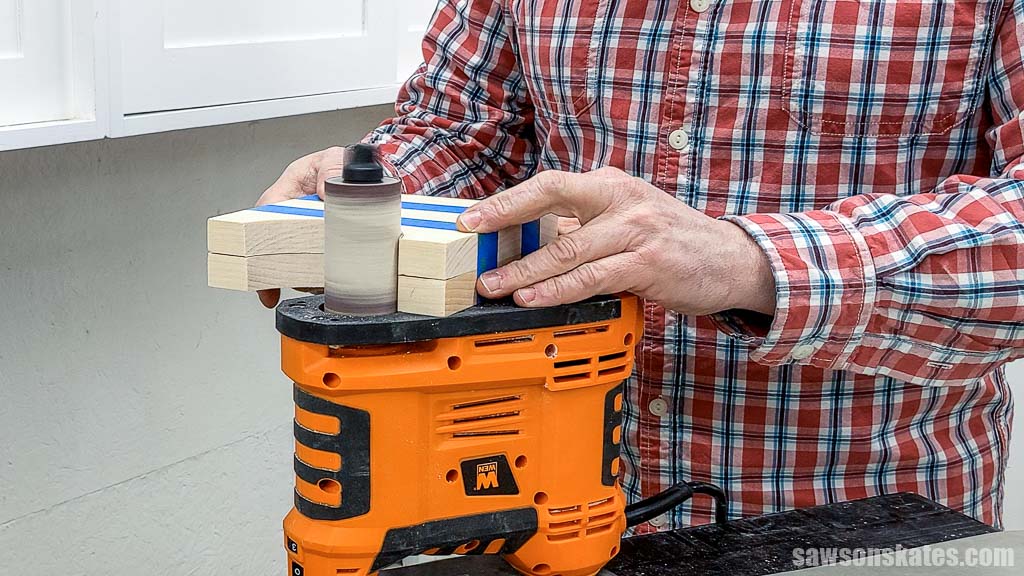
I used painter’s tape to join the holders temporarily and smoothed their inside edges with my portable spindle sander, but you can use sandpaper if you don’t have one.
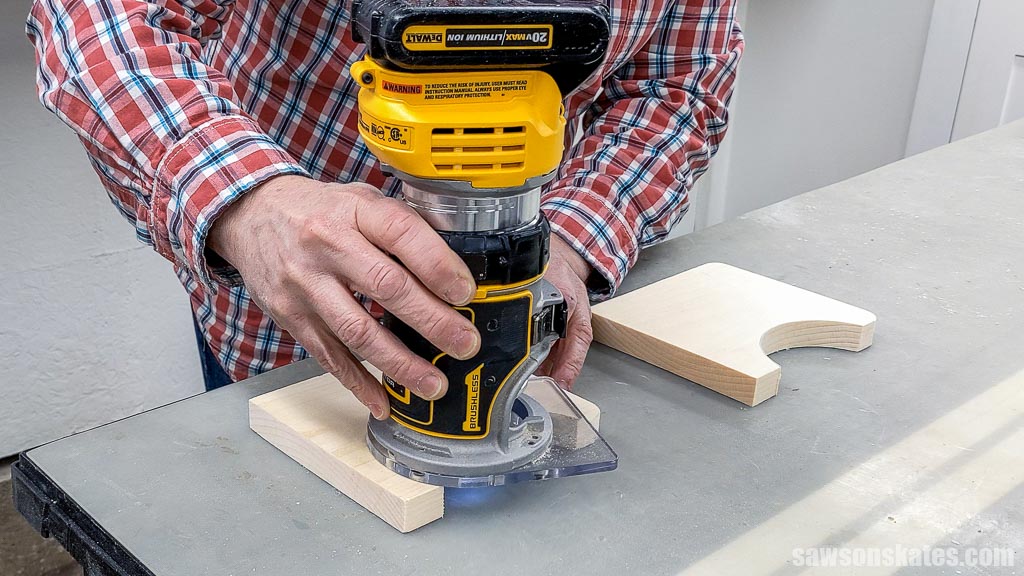
To give the holders a finished look, I rounded over the edges (except for the side that attaches to the tray) with my router and roundover bit.
Next, use the diagram to mark the locations for pocket holes and drill one at each mark.
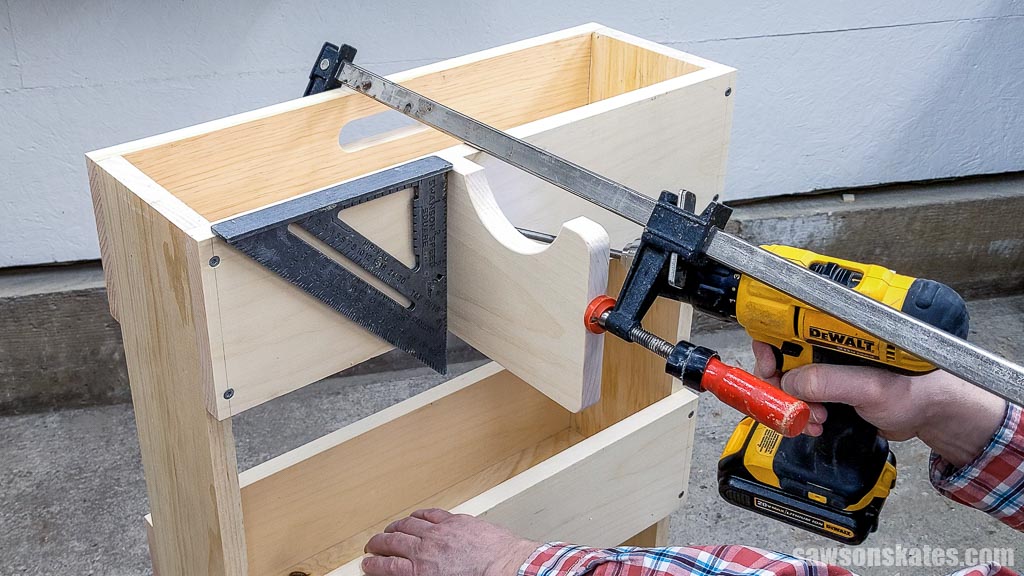
TIP: Be sure to make a left and right side so the pocket holes face inward on your finished project.
I used a speed square to position the cord holder and clamped it in place. Attach using pocket hole screws. Repeat for the other side.
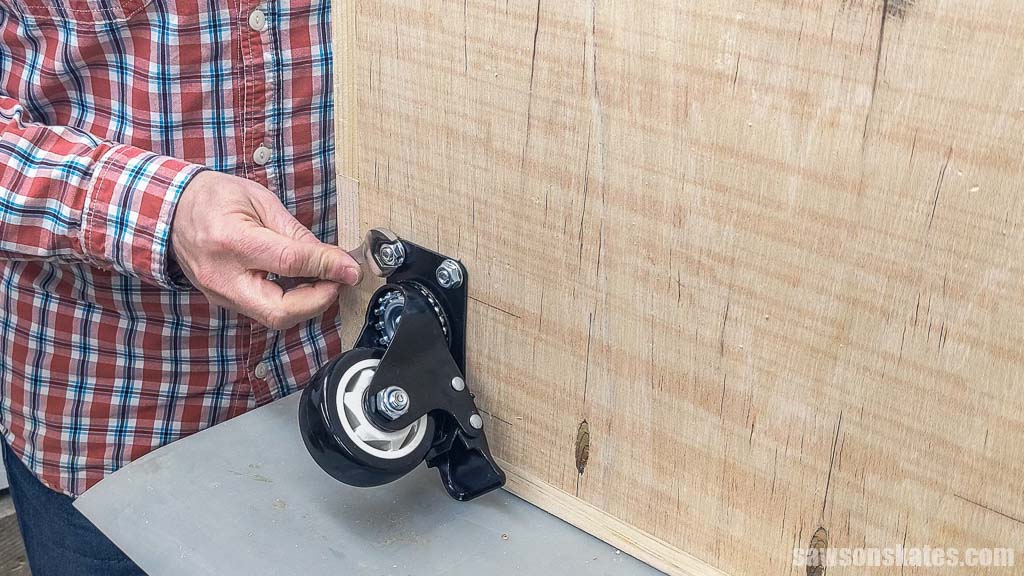
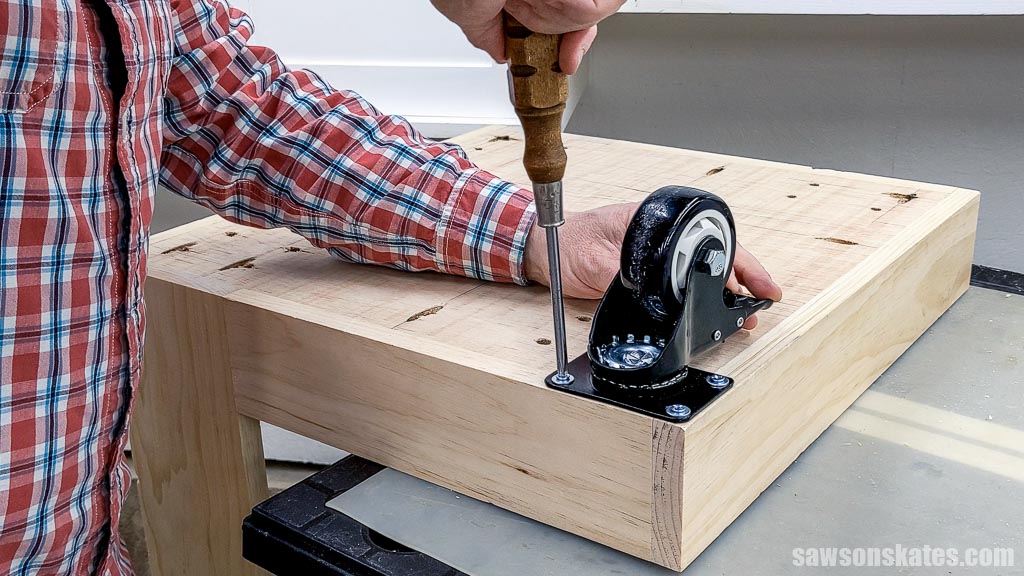
Step 4. Attach the Wheels
I first attached the wheels, set in about 1-½”, using the bolts that came with them. However, upon testing, the cart felt top-heavy. To address this, I repositioned the wheels to the corners for better stability.
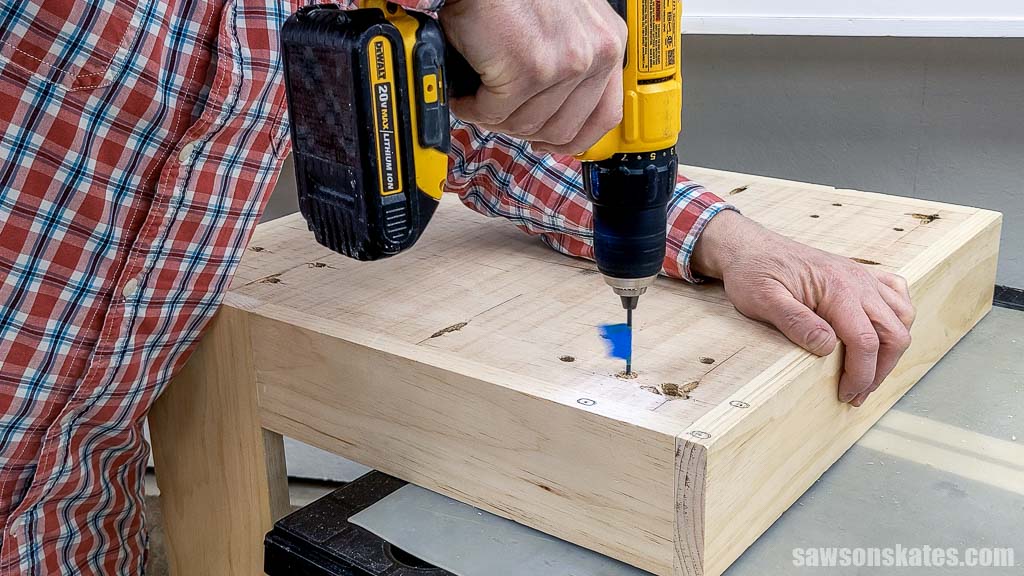
I positioned the caster on the base’s corner and traced its holes using a pencil.
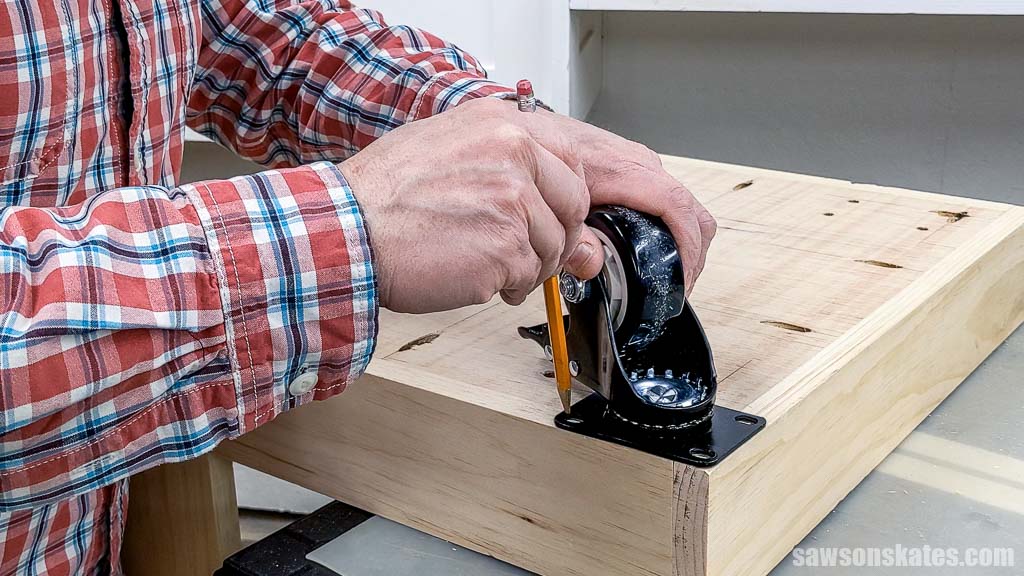
I used an awl to mark the center of each hole.
To avoid drilling through the plywood or damaging the pocket holes at the cart’s front and wood screws at the back, I attached painter’s tape as a depth stop.
Then, I drilled a pilot hole at each mark.
I attached the wheels using a washer and wood screws.
Video
Watch now, and I’ll show you step-by-step how to make a DIY air compressor cart.
Includes:
- List of tools and materials
- Complete measurements (in inches)
- Easy-to-follow instructions
- Step-by-step photos
- Detailed diagrams
Final Thoughts
No more tripping, no more tangled hoses, and no more project-stopping searches for tools; this DIY air compressor cart is your on-site command center, ready to tackle any task.
Don’t wait. Get your PDF plan (including the detailed instructions and measurements) now!
Thank you for stopping by. If you enjoyed this tutorial, would you please take a moment and pin it to Pinterest? I’d really appreciate it!
Recommended For You

Pin This For Later

Hi there – I’m Scott, a woodworking enthusiast and creator of Saws on Skates, a site I started in 2015 to share easy-to-follow tutorials, space-saving shop tips, and project inspiration for DIYers at any skill level. Learn more about my woodworking journey here.
I’ve been looking for this for a while. Thank you very much.
With just a little variation this also will work with my small oxygen and Acetylene tanks and Hoses/ torches.
Thank you Scott for this simple plan! WE are going to be remodeling our 101 year Craftsman style home within the next 2 months–with everything I need to complete BEFORE the remodeling begins–I am keeping this up front in my “Projects to do” folder–I may have to make the base a bit bigger for the pancake compressor–otherwise the plans look perfect. As the saying goes “Measure twice, cut once”–I need to get the compressor first!Thanks again for the plans!
Jack