DIY Workshop Utility Cart (Only 3 Tools)
Upgrade your shop with this easy DIY utility cart. With only three tools, you can transform cluttered chaos into organized bliss in just one weekend!
What Should I Build Next?
That's the question I help answer.
Every week, I send woodworking ideas to 17,000 DIYers who love building things.
You'd fit right in.
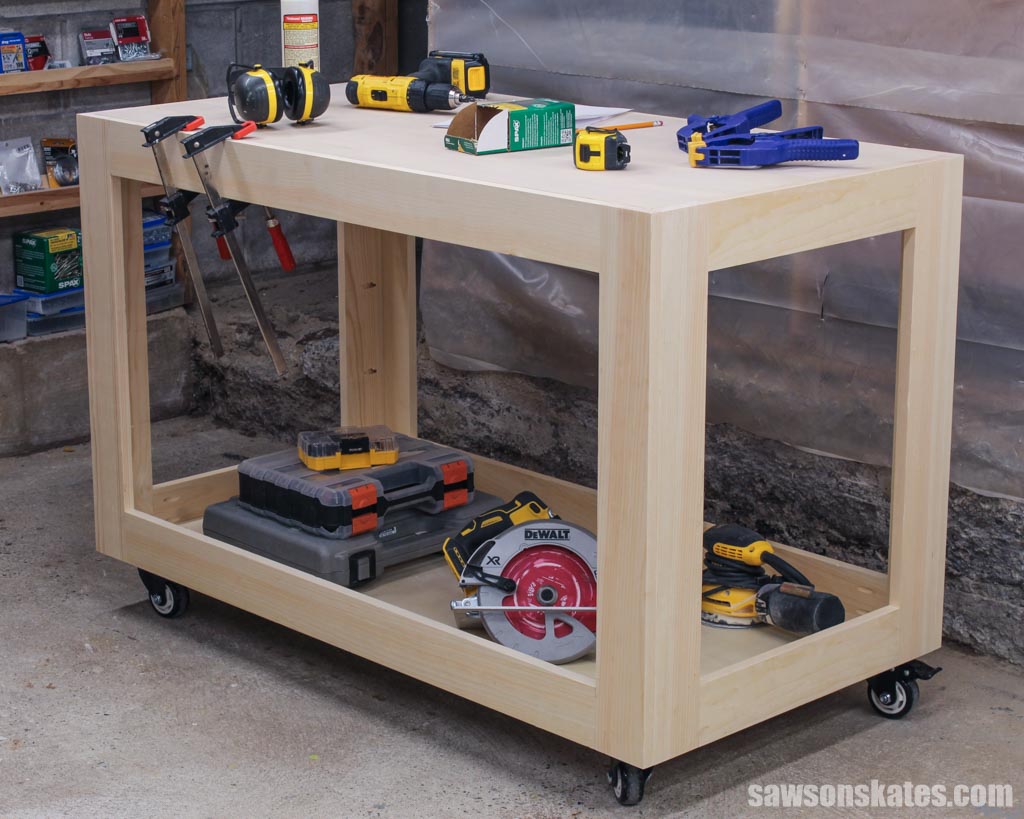
If you’re looking for a weekend project to make your workshop more organized and efficient, look no further than this DIY workshop utility cart! It’s perfect for storing your tools and materials and makes workshop projects a breeze.
With only three basic tools, a few simple supplies, and these step-by-step plans, you can build this handy rolling shop cart in no time. It’s excellent for beginners and anyone who wants to add extra storage and organization to their workshop. Let’s get started!
Table of Contents
- Inspiration for This DIY Workshop Utility Cart
- What Tools Do You Need?
- What Wood Should You Use?
- Customize Your Rolling Tool Cart
- How to Make a DIY Workshop Utility Cart
- Get the PDF Plan
This article contains affiliate links. If you purchase from these links, I may earn a small commission at no additional cost to you. Visit my site policies for more information.
Inspiration for This DIY Workshop Utility Cart
A while back, I bought a laser engraver, but it’s never had a permanent home. It usually sits on top of a storage tub until I want to use it, then I move it to my workbench. It’s not efficient, there’s a risk it could get broken while transporting it, and I know I would use it more if it had a dedicated place.
That’s when the idea for this DIY workshop utility cart was born. I wanted a dedicated space for the engraver, wheels so I could move around my shop, and a storage area for other tools and supplies.
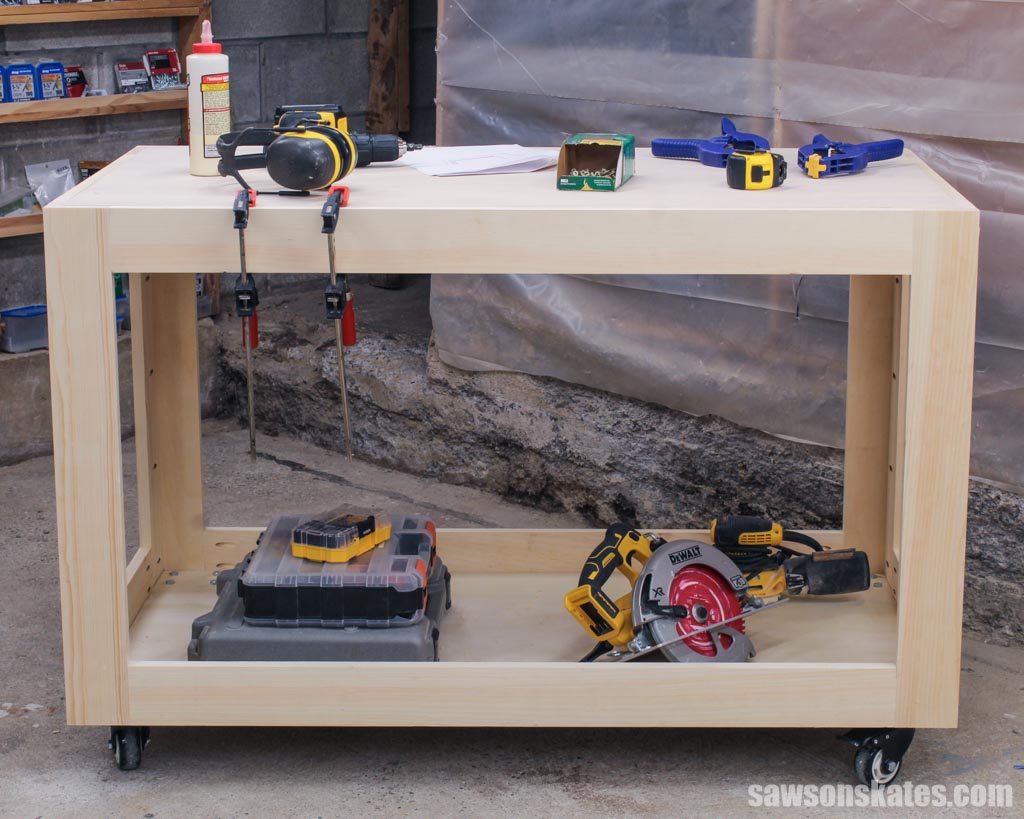
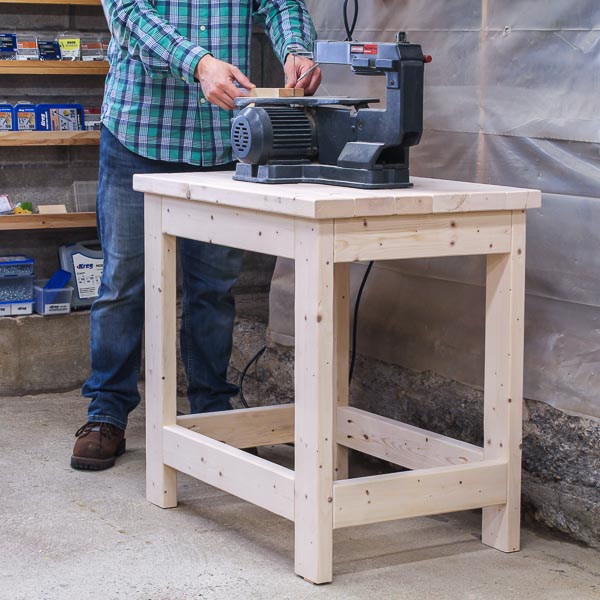
After some planning, I came up with this easy-to-make rolling shop cart!
This utility cart is perfect for my laser engraver, but you could also use it as a:
- Mobile workbench
- Assembly table
- Portable stand for tools such as a miter saw or scroll saw (see note below)
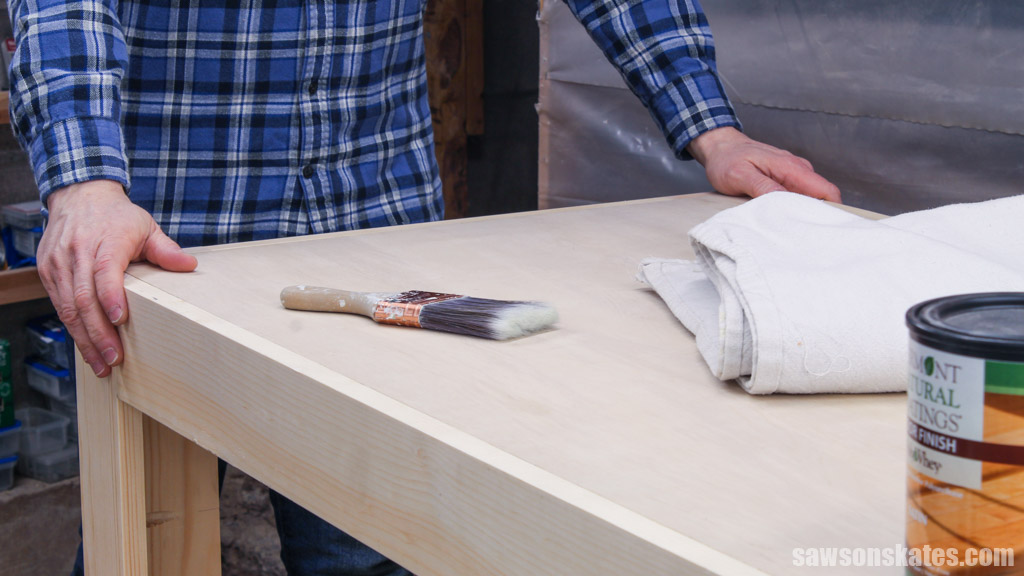
- Work table to apply paints, stains, and finishes
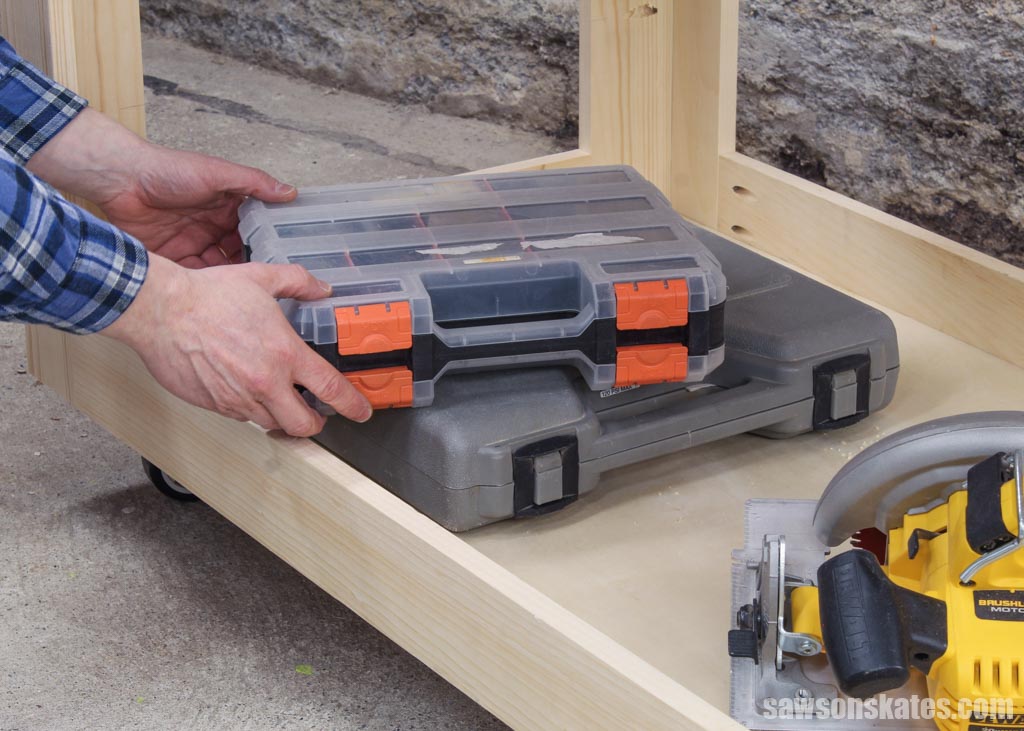
Plus, the bottom shelf is a fantastic place to store your tools and other workshop supplies.
The cart’s design is the perfect balance of speed and simplicity. All that’s required is making four simple frames and then joining them together. It couldn’t be easier or faster!
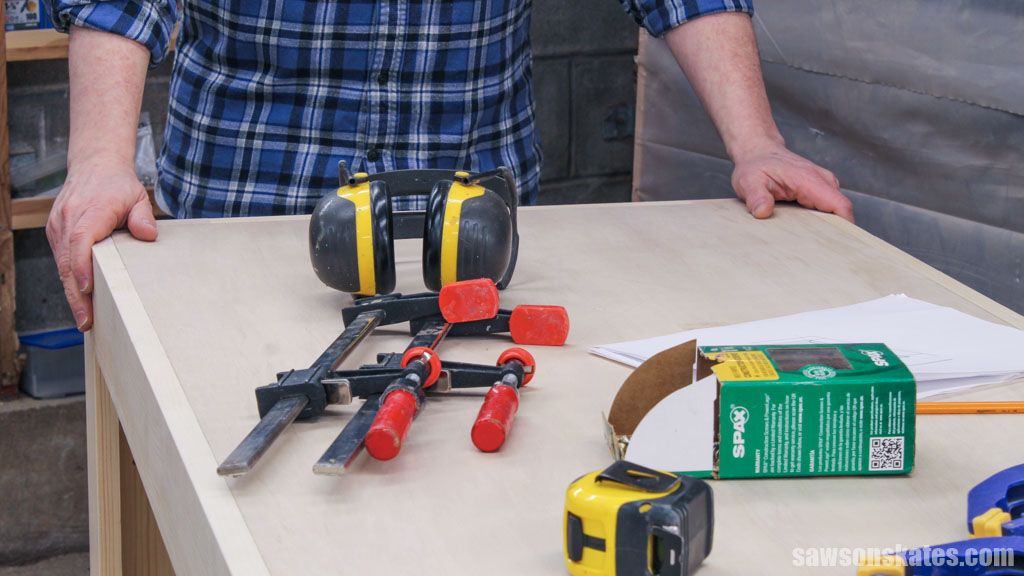
What Tools Do You Need?
You’ll only need three basic tools to make this rolling shop cart, a miter saw, a pocket hole jig, and a drill!
Miter Saw
I cut the cart’s components to their required lengths using my miter saw.
Drill
I used my drill to make the pocket holes and drive the pocket hole screws that joined the parts together.
Pocket Hole Jig
I made the pocket holes that join the parts with my Kreg K5 and Kreg 520, but you can use any pocket hole jig you have.
Related: Which Kreg Jig Should You Buy? (Here’s the Answer)
What Wood Should You Use?
I designed this utility cart so that you can make it with pine boards and two small sheets of plywood. I opted for these materials because they’re readily available at most home improvement stores, are easy to work with in a small shop, and can be transported in most cars.
For the best results, I recommend carefully inspecting the plywood before you buy it. You’ll want to make sure it is straight, flat, and free of defects. Also, you won’t be cutting the plywood, so the sheets must be the same size and shape for the cart to fit together correctly.
I looked through my home improvement store’s pile of plywood and found three of the best sheets. When I compared them, one was cut crooked, but the other two were square, so I chose them for my project.
Customize Your Rolling Tool Cart
I kept mine basic, but you can get creative and customize your cart to meet your needs.
Add Handles
If you plan to move your cart frequently, you might want to consider adding handles.
Add a Middle Shelf
One thing I would have done differently is to add a middle shelf which would divide the storage area into two sections and give me more flexibility when organizing my tools.
Add Cross Members
I’ll be using my cart for a lightweight laser engraver, but with time heavier tools like a miter saw or scroll saw may cause the plywood top to bow. You can add cross members between the front and back frames if you need your cart to support more weight.
Adding cross members is relatively easy by drilling pocket holes in the ends of several 1×3 boards and attaching them below the top shelf using pocket hole screws.
How to Make a DIY Workshop Utility Cart
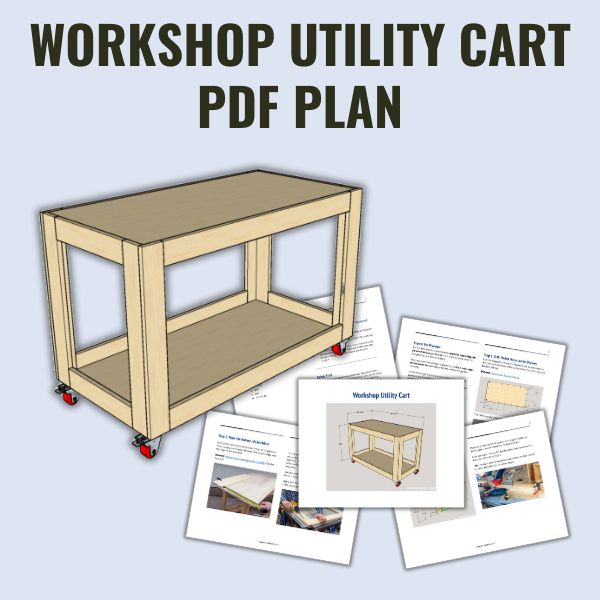
Printed Plan
Get the PDF plan here (includes detailed instructions, measurements, and bonus tips)
Supplies
- Wood (per the printed plan)
- Wood Glue
- 1-¼” Coarse-Thread Pocket Screws
- (4) Casters (I used this set)
Tools
- Tape Measure
- Kreg Multi-Mark
- Miter Saw
- Kreg Jig
- Drill
- Awl
- Drill Bit
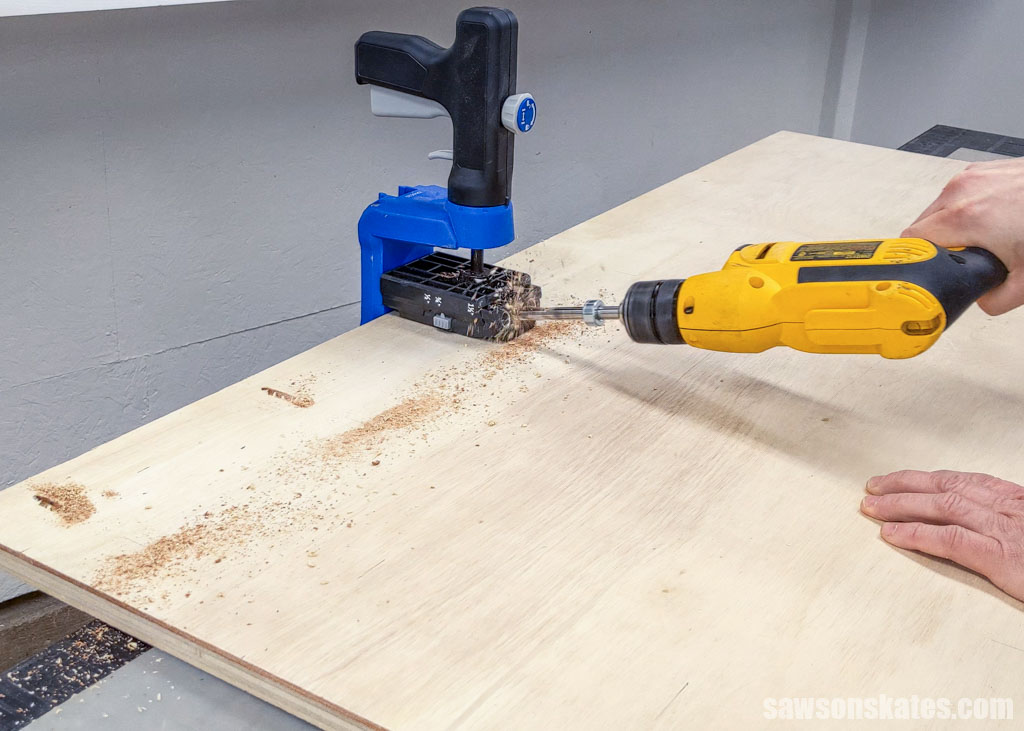
Step 1. Drill Pocket Holes in the Shelves
Use the diagram in the printed plan to mark the locations for pocket holes in the plywood sheets that will become the cart’s top and bottom shelves.

Then drill a pocket hole at each mark.
Related: How to Use Pocket Hole Jig
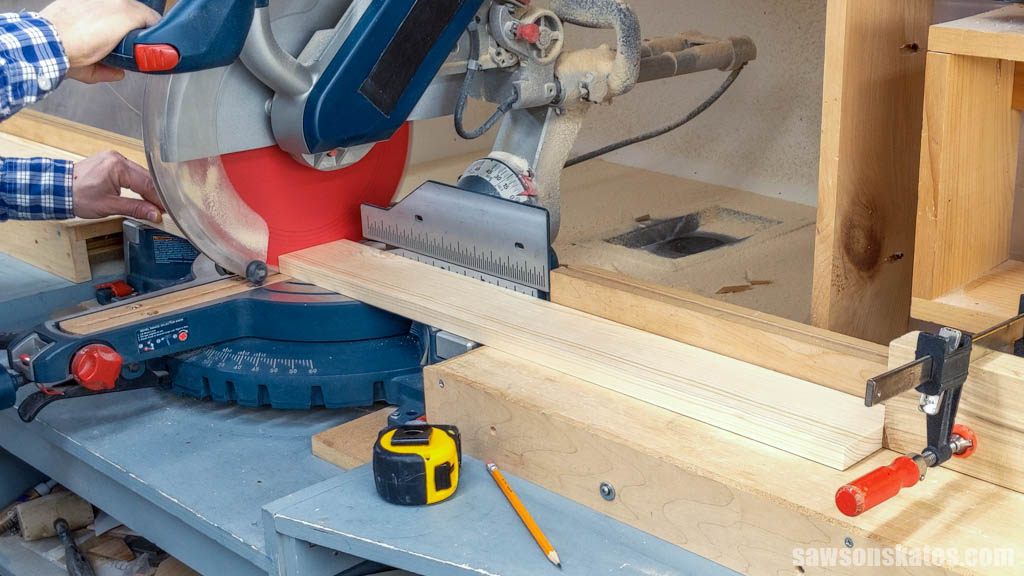
Step 2. Make the Sides
Plywood sheets and boards can range in width, so here’s what I recommend for the best results:
First, cut eight pieces of wood to length for the stiles. You’ll use four in this step and four in Step 4.
TIP: I set up a stop on my miter saw’s fence so that I could cut all of the stiles to the same length.
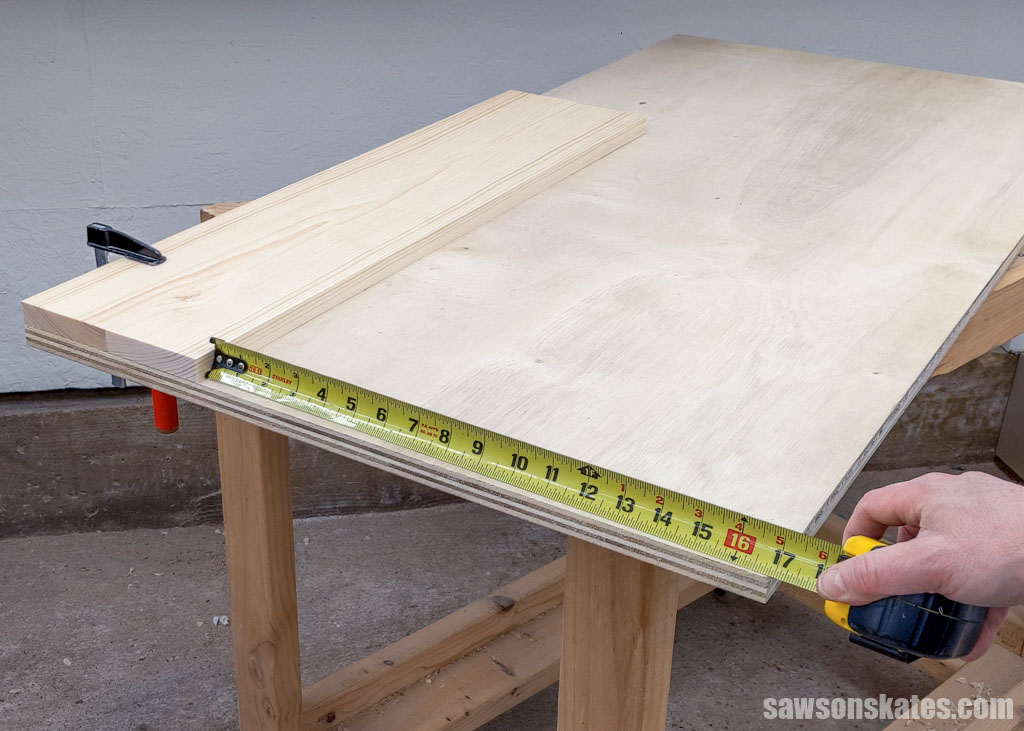
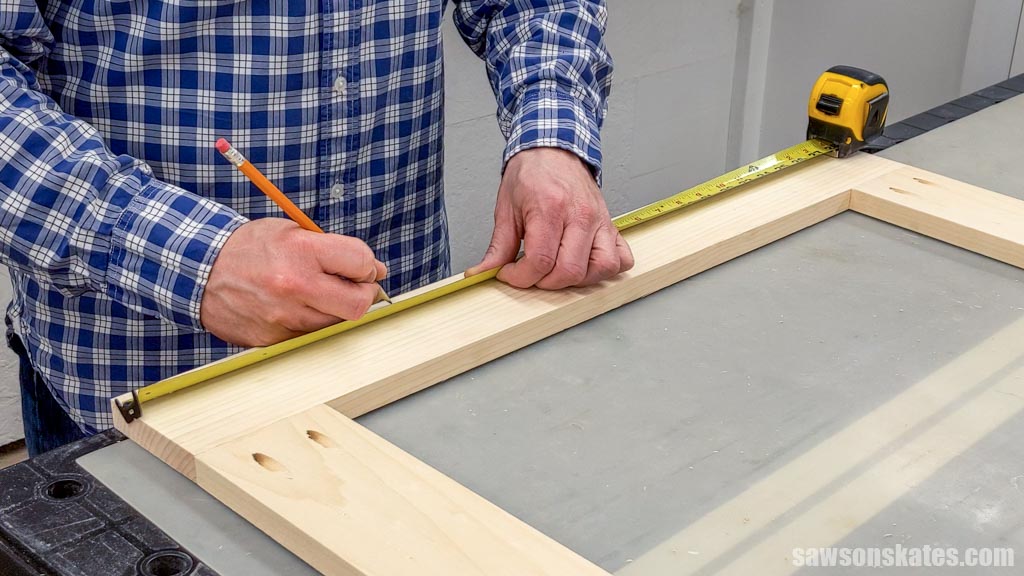
Next, place two stiles side by side on top of the plywood. Then, measure the space between the board’s edge and the edge of the plywood. You’ll use this measurement to cut the rails to length.
Related: How to Use a Tape Measure Correctly (Tips for Success)
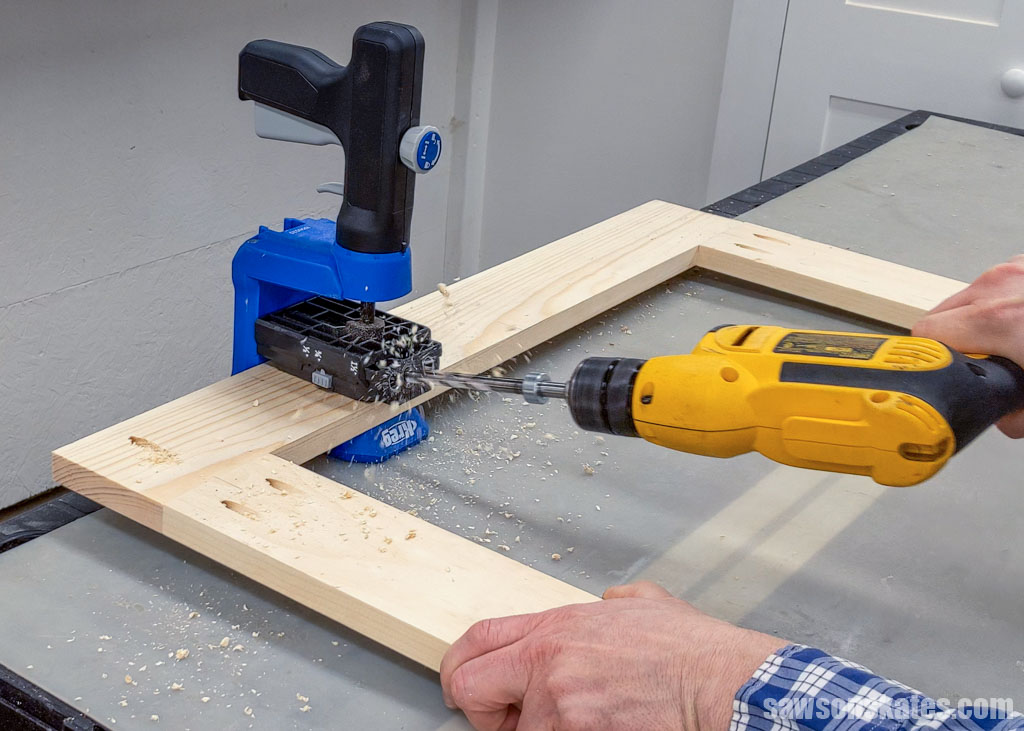
Cut four pieces of wood to length for the rails and drill pocket holes in each end.
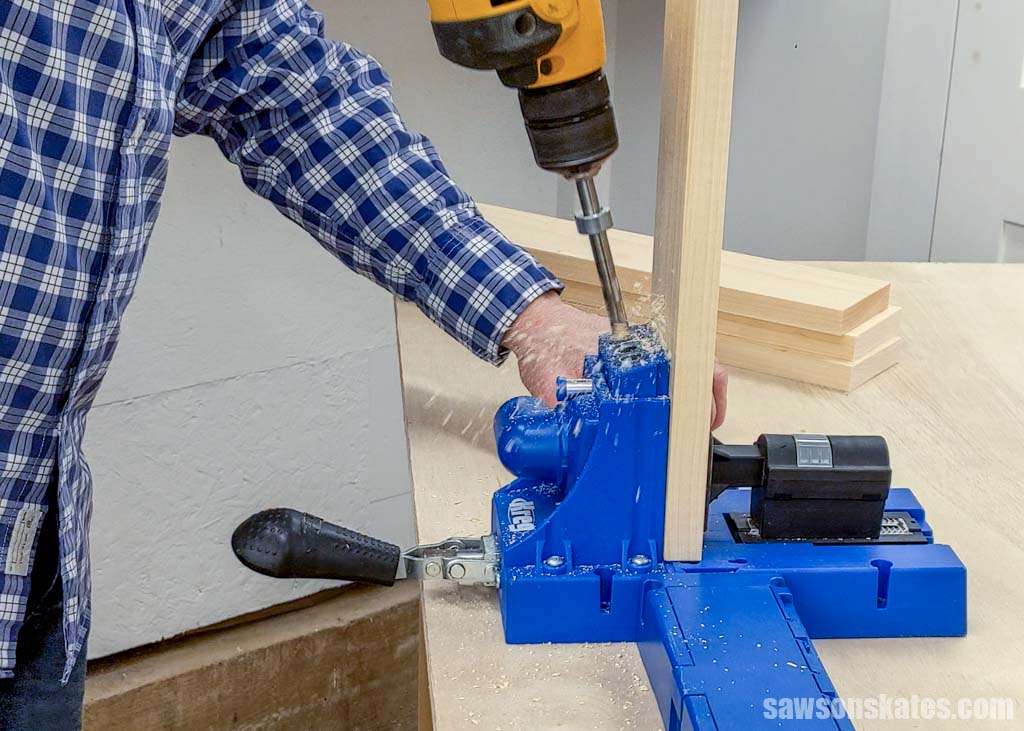
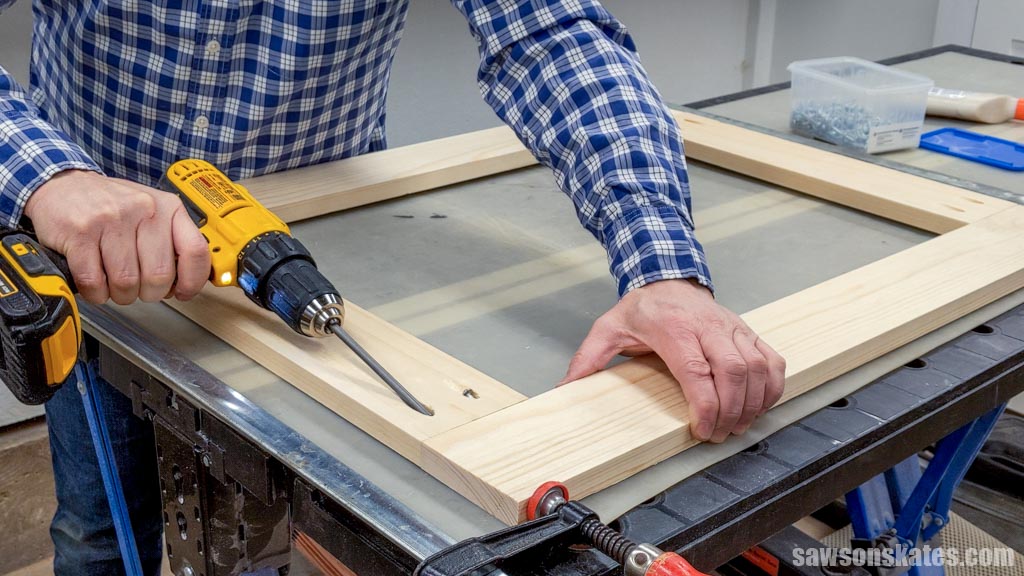
Apply glue to the ends of the rails, position them on the stiles, and clamp. Attach using pocket screws.
Use the diagram in the printed plan to mark the locations for pocket holes that will connect the sides to the front and back frames.
Then drill a pocket hole at each mark.
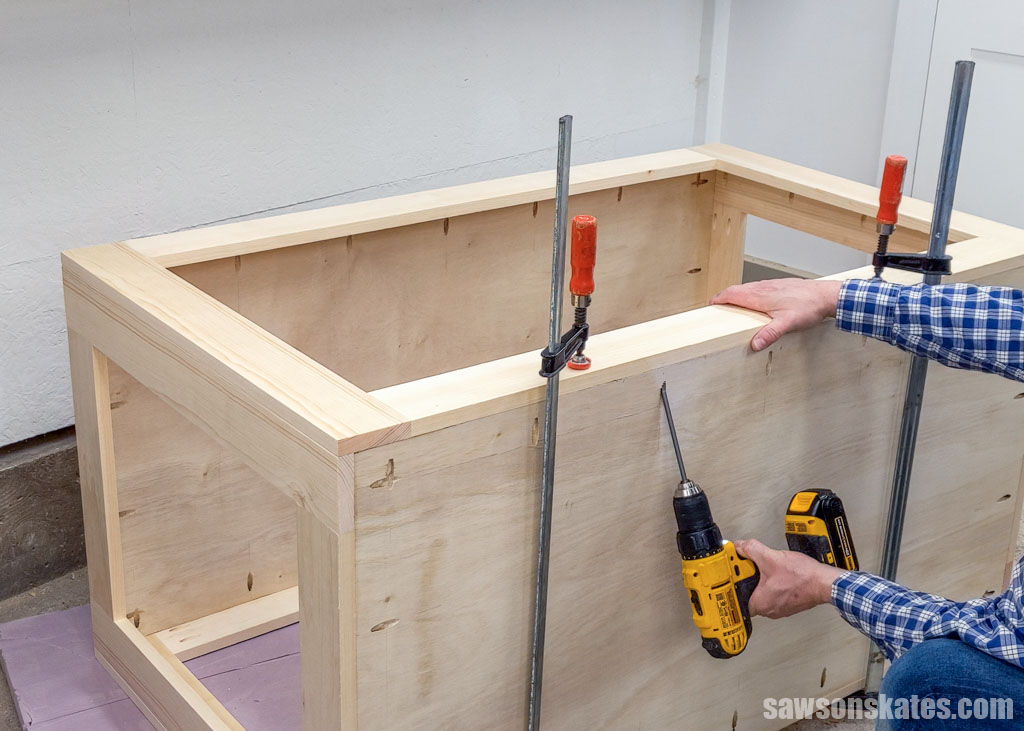
Step 3. Attach the Top and Bottom
Place the top upside down on your workbench, position the sides, clamp, and attach using pocket screws.
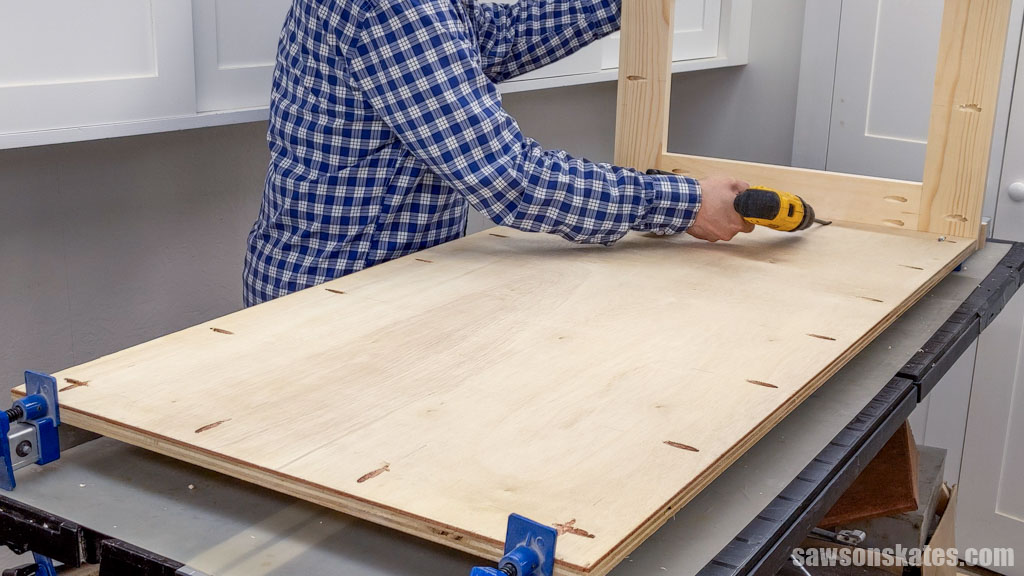
I used two 60″ Harbor Freight bar clamps to hold the sides in position while I drove the pocket screws. I don’t usually mention these clamps in my tutorials because many DIYers feel that they are too weak.
However, I frequently receive questions from readers asking what they are and where they can buy them. So, while I agree they aren’t the strongest clamps, I’ve had positive experiences with them.
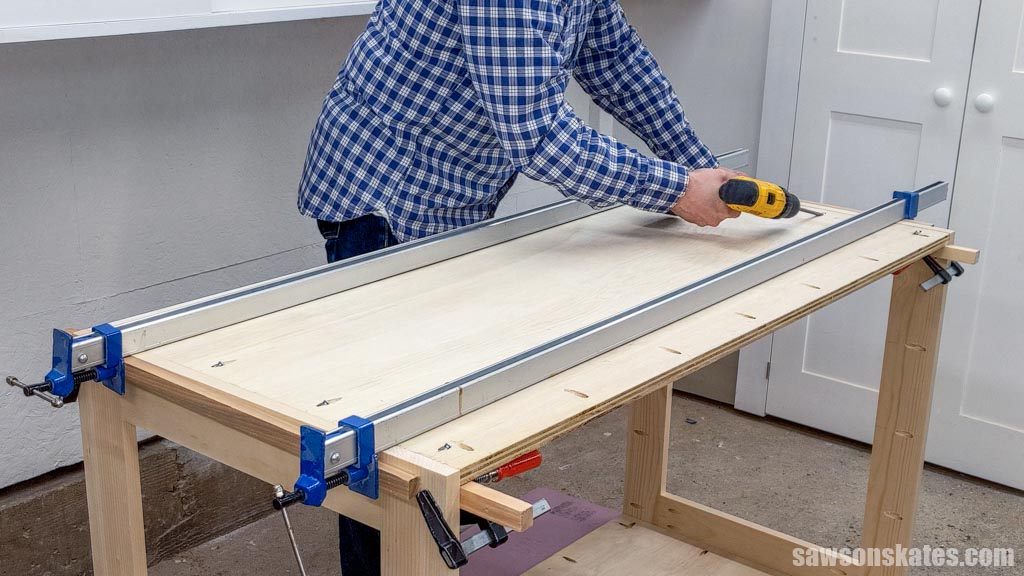
To help with attaching the bottom, I set my Kreg Multi-Mark to the plywood’s thickness and clamped scrap wood to each side.

Then I positioned the bottom, clamped, and attached using pocket screws.
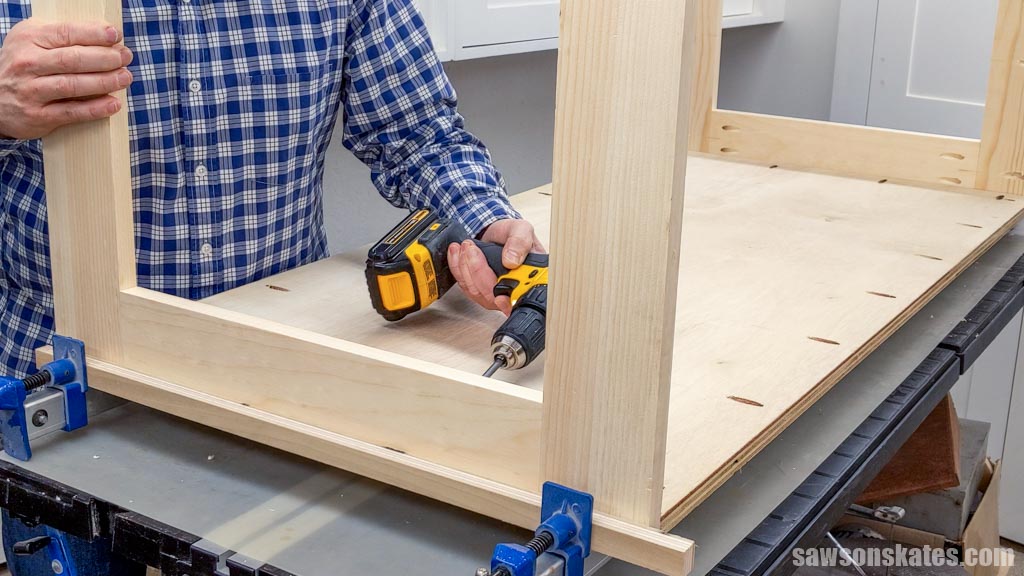
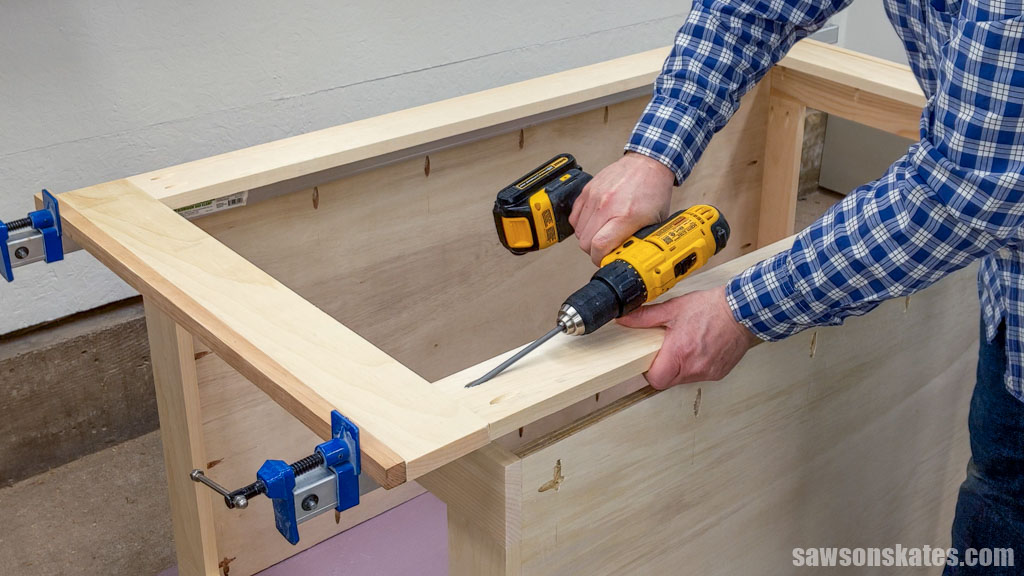
Step 4. Attach the Front and Back
For the best fit, I recommend placing two of the stiles from Step 2 on the assembly, then measuring the space between the board’s edge and the edge of the side.
Cut four pieces of wood to length for the rails and drill pocket holes in each end.
Apply glue to the ends of the rails, position them on the stiles, and clamp. Attach using pocket screws.
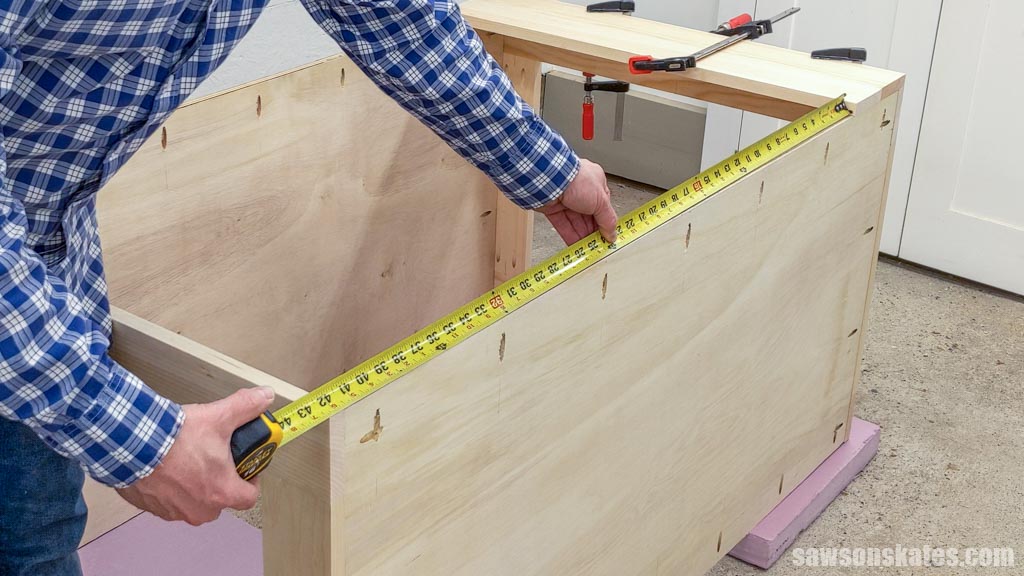
Position the back, clamp, and attach using pocket screws.
TIP: I found it was easier to rotate the assembly on its side before positioning and clamping the back frame.
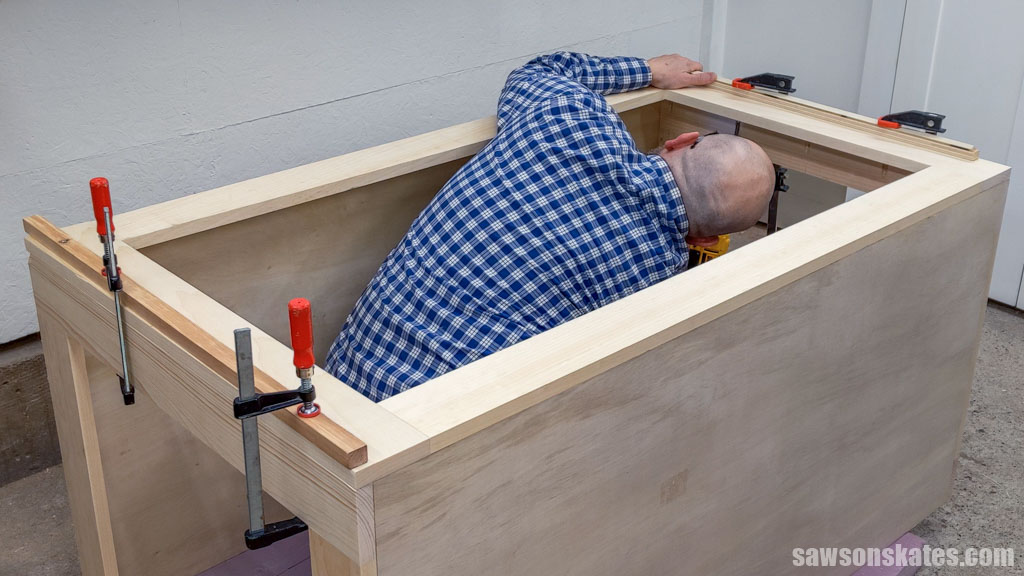
Flip the assembly, position the front, clamp, and attach using pocket screws.
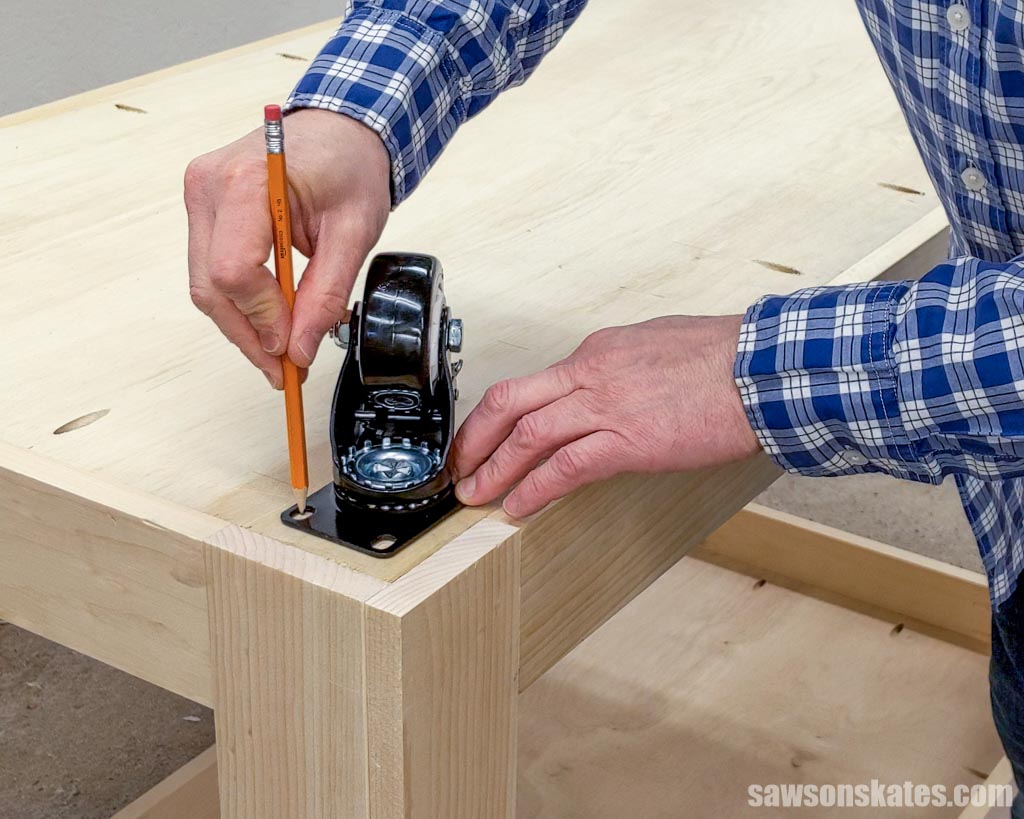
Step 5. Attach the Casters
I used my Kreg Multi-Mark to position a caster in each corner.
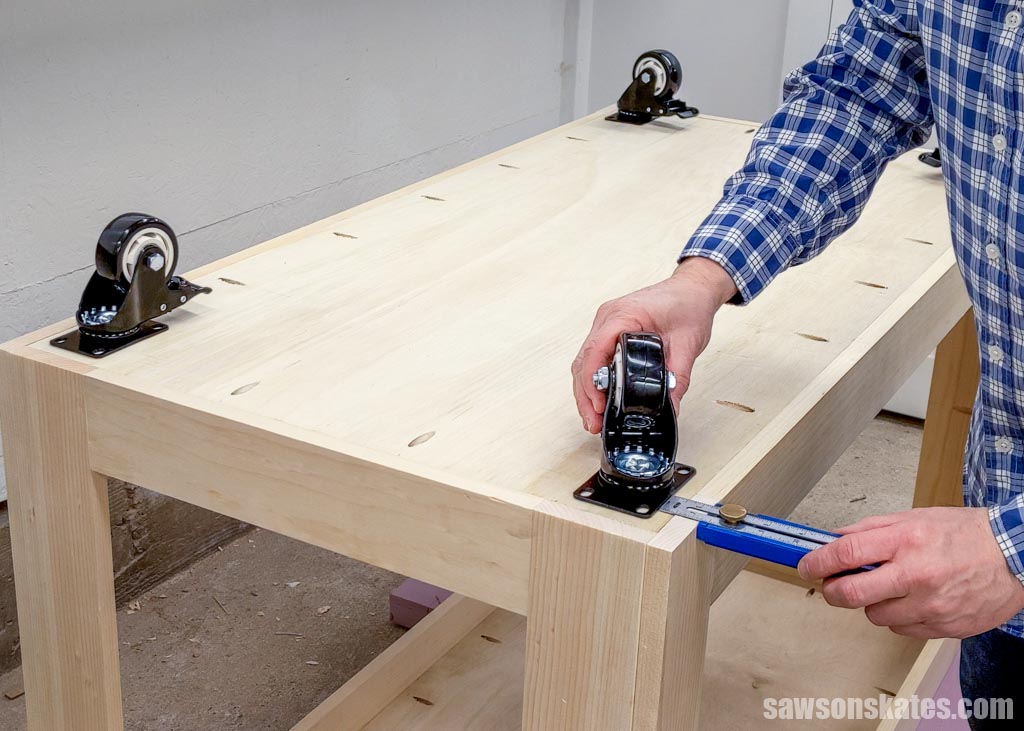
Then I traced the openings in the casters onto the plywood.
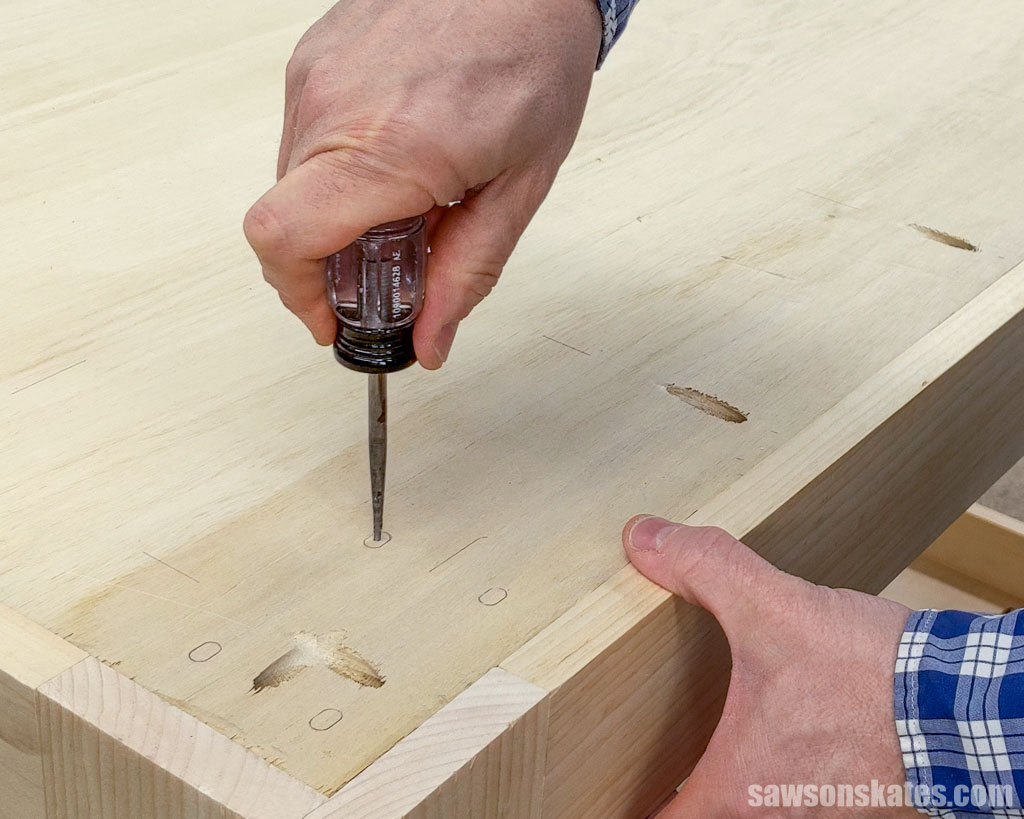
Next, I made a starting point for the drill bit in the center of each mark using an awl.
Related: What is an Awl? (+ How to Use It)
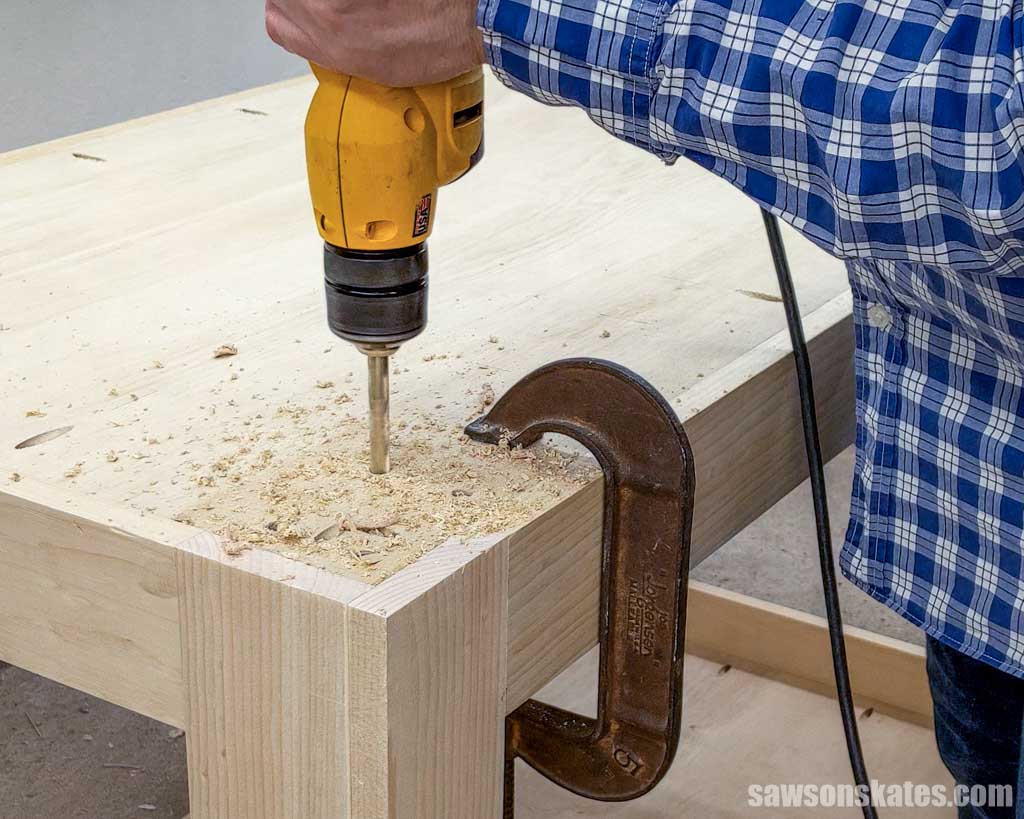
To prevent tearout when drilling the holes, I clamped a piece of scrap wood to the inside of the cart. Then, I used a drill bit to make a hole at each mark.
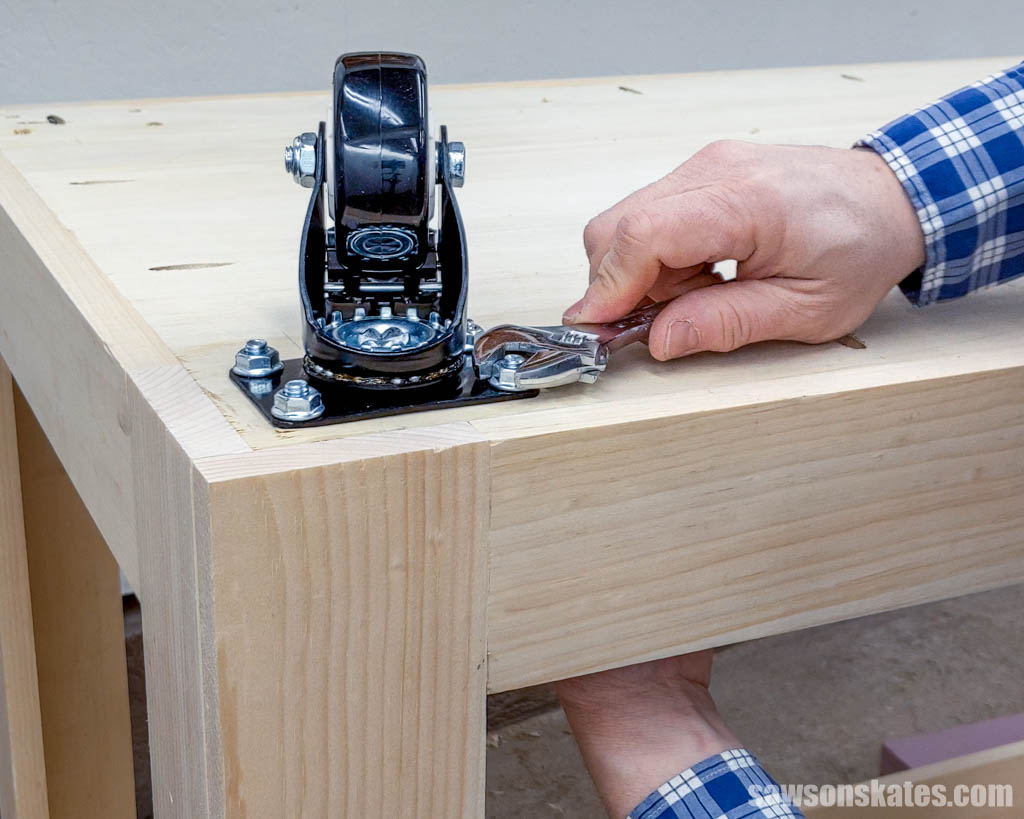
Next, I attached the casters using the hardware that came with them.
Includes:
- List of tools and materials
- Complete measurements (in inches)
- Easy-to-follow instructions
- Step-by-step photos
- Detailed diagrams
Final Thoughts
This DIY utility cart is an easy way to make the most of your workspace. With only three tools and a few basic supplies, you can whip up one up in no time!
So what are you waiting for? Get your PDF plan (including the detailed instructions and measurements) now!
Thank you for stopping by. If you enjoyed this tutorial, would you please take a moment and pin it to Pinterest? I’d really appreciate it!
Recommended For You

Pin This For Later

Hi there – I’m Scott, a woodworking enthusiast and creator of Saws on Skates, a site I started in 2015 to share easy-to-follow tutorials, space-saving shop tips, and project inspiration for DIYers at any skill level. Learn more about my woodworking journey here.
I have two lengths of the Harbor Freight clamps. To strengthen them, I cut strip of wood that are the inside dimensions of the clamps and inserted them. The clamps are are now completely rigid!