DIY Wooden Toolbox with Drawer (Simple & Sturdy)
Upgrade your storage game. This DIY wooden toolbox with a handy drawer is perfect for organizing your tools and supplies. Pattern included.
What Should I Build Next?
That's the question I help answer.
Every week, I send woodworking ideas to 17,000 DIYers who love building things.
You'd fit right in.
Are you tired of rummaging around your workshop or garage, searching for the right tool? Say goodbye to “Where did I put that?” and hello to “Here it is!”
This simple and sturdy DIY wooden toolbox with a drawer provides a convenient place to store your essential tools. It also makes an excellent first toolbox for the aspiring handyperson in your life.
In this step-by-step guide, I’ll walk you through how to make your own so you can keep your tools organized and easy to find.
Table of Contents
- Inspiration for This DIY Toolbox with a Drawer
- What Tools Do You Need?
- What Wood Should You Use?
- How to Make a DIY Toolbox with a Drawer
- Get the PDF Plan
This article contains affiliate links. If you purchase from these links, I may earn a small commission at no additional cost to you. Visit my site policies for more information.
Inspiration for this DIY Toolbox with a Drawer
While browsing my favorite thrift store with a friend, we found a handmade toolbox. It’s the same store where we found this incredible hand-built medicine cabinet for his vacation rental.
I’m guessing a high school student made the toolbox in a shop class. The joints were rough, really rough. The handle wasn’t level, and it looked like they were practicing joinery techniques because they nailed one edge while the other had screws. But hey, we all have to start somewhere.
What caught my eye was the toolbox’s design. I liked its size, the storage tray on top, and the convenient drawer below. For only $5.99, this baby was coming home with me!
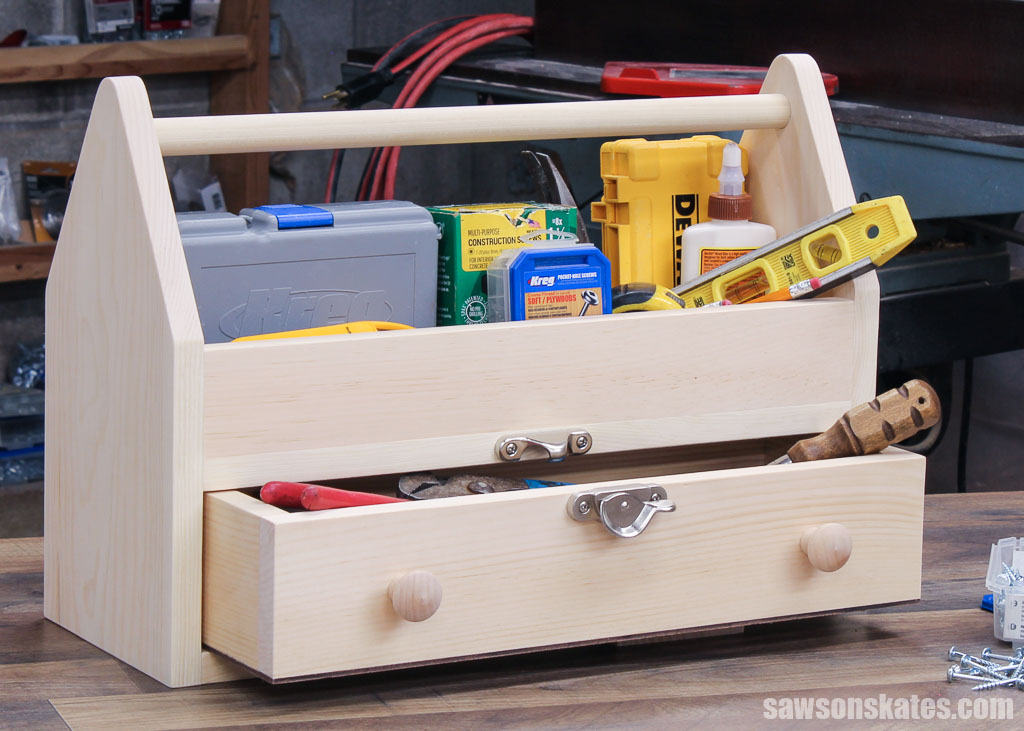
Once I got the box home, I made some minor design improvements, such as increasing the height of the box, tray, and drawer and adding a latch to keep the drawer closed.
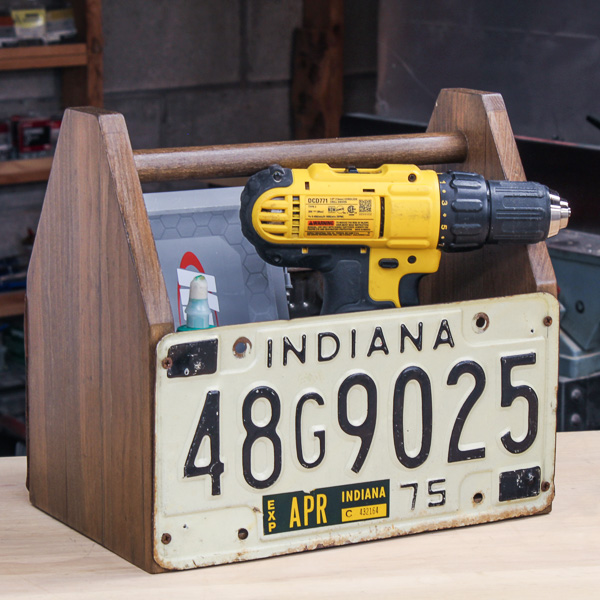
Here’s what I came up with: a simple and sturdy wooden toolbox with a drawer perfect for organizing and keeping your tools easily accessible.
What Tools Do You Need?
You’ll only need a few basic tools to build your DIY toolbox.
Saws
I used a miter saw to cut the parts to length and a jigsaw to cut the angles at the box’s top. I also used a table saw to cut the drawer’s bottom, but you could use a circular saw and a Kreg Rip-Cut instead. You might be able to use a jigsaw to cut the bottom; however, it won’t be as precise.
Pocket Hole Jig
I used pocket hole joinery to assemble my toolbox and drawer, making the pocket holes with my Kreg K5. However, any pocket hole jig will work.
Related: Which Kreg Jig Should You Buy? (Here’s the Answer)
Drill
I used my drill to make the pocket holes, drive the pocket hole screws and make the holes for the handle with a Forstner bit.
A right angle drill attachment will help you drive the pocket hole screws in the drawer’s narrow space, which is too confined to reach with a traditional driver.
Disc Sander (optional)
Using a disc sander, I smoothed the jigsaw marks in the box’s angles, but you could use sandpaper if you don’t have one.
Brad Nailer
I used a brad nailer to attach the drawer’s bottom, but you can use a hammer and nails if you don’t have one.
What Wood Should You Use?
I built my toolbox from pine, a softwood that dents easily but is also relatively lightweight. You can use a hardwood like oak, which is more durable, but it will be heavier.
Related: How to Buy Wood (Top Tips for Choosing Woodworking Lumber)
DIY Toolbox with a Drawer
Printed Plan
Get the PDF plan here (includes detailed instructions, measurements, and bonus tips)
Supplies
- Wood (per the printed plan)
- Wood Glue
- 1-¼” Pocket Hole Screws
- 1-¼” Wood Screws
- (2) Knobs
- (1) Window Sash Lock
Tools
- Tape Measure
- Kreg Multi-Mark
- Miter Saw
- Jigsaw
- Table Saw or Circular Saw and Kreg Rip-Cut
- Pocket Hole Jig
- Drill and Drill Bits
- Countersink Bit
- ⅞” Forstner Bit
- Right Angle Drill Attachment
- Brad Nailer or Hammer
- Disc Sander (optional)
Step 1. Make the Sides
Cut two pieces of wood to length for the sides.
Related: Why Can’t I Make Accurate Cuts? (& How to Fix It!)
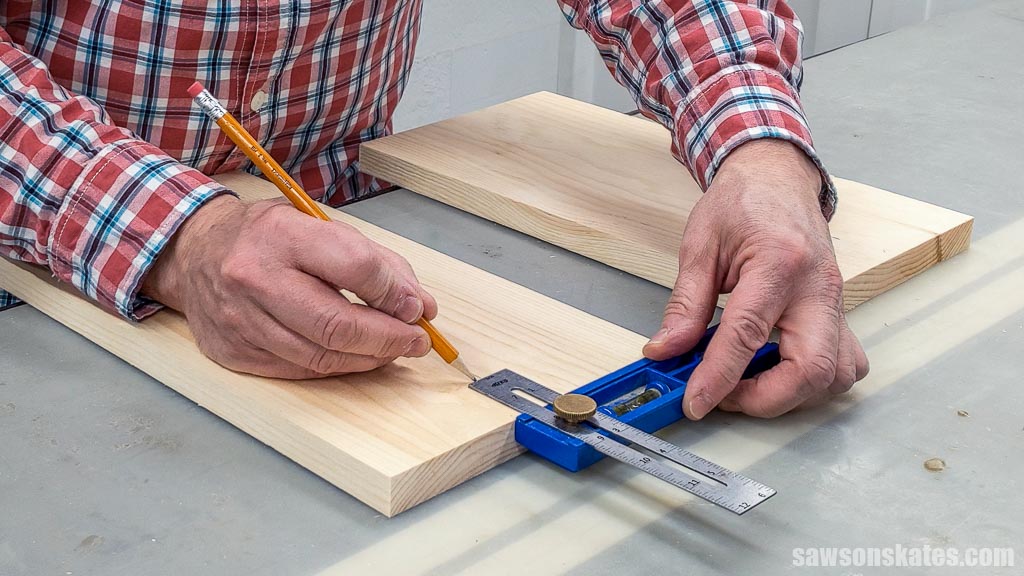
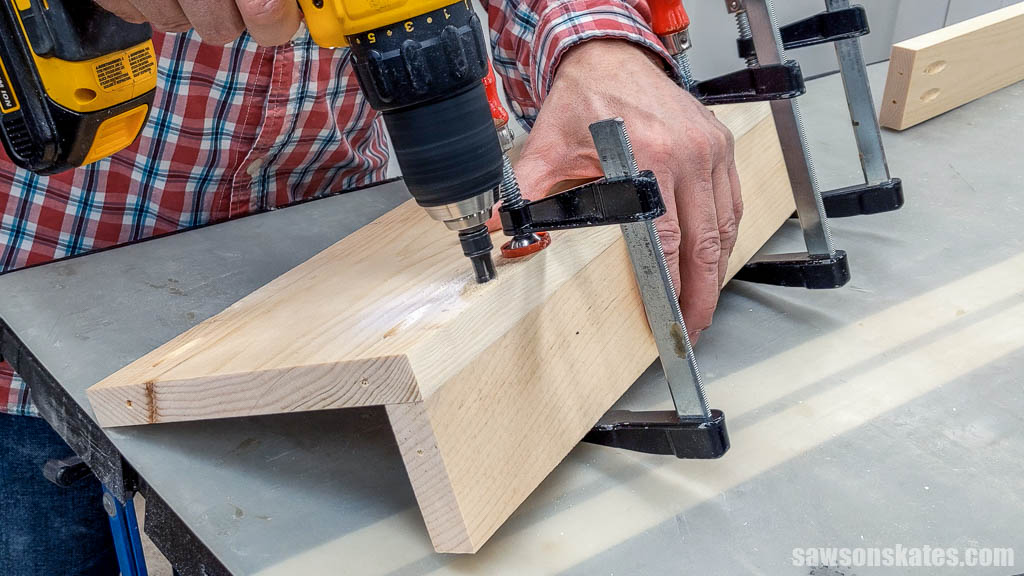
Use the diagram in the printed plan to mark the locations for the handle holes.
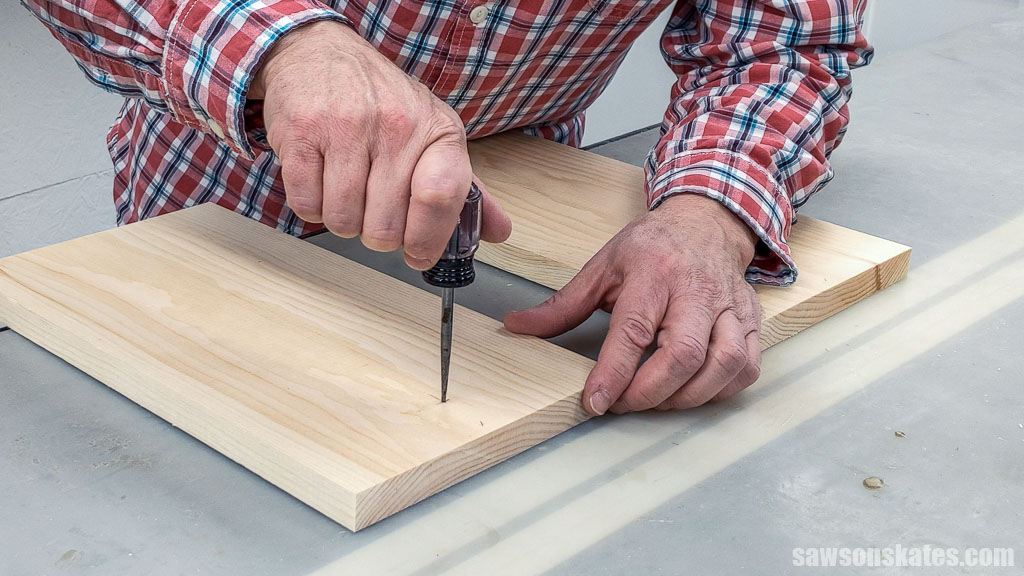
Then, use an awl to make a starting point for the drill bit.
Related: What is an Awl? (+ How to Use It)
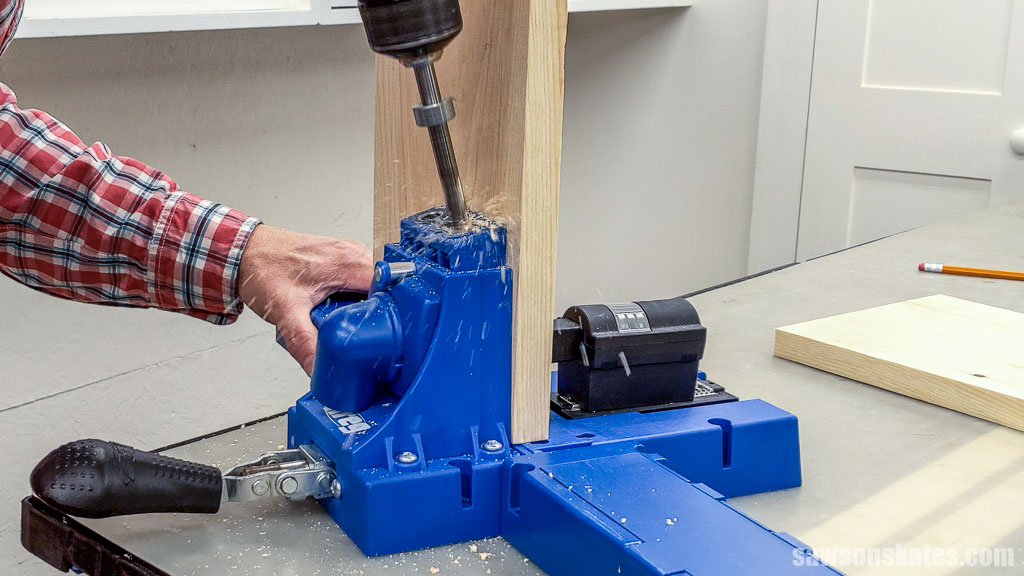
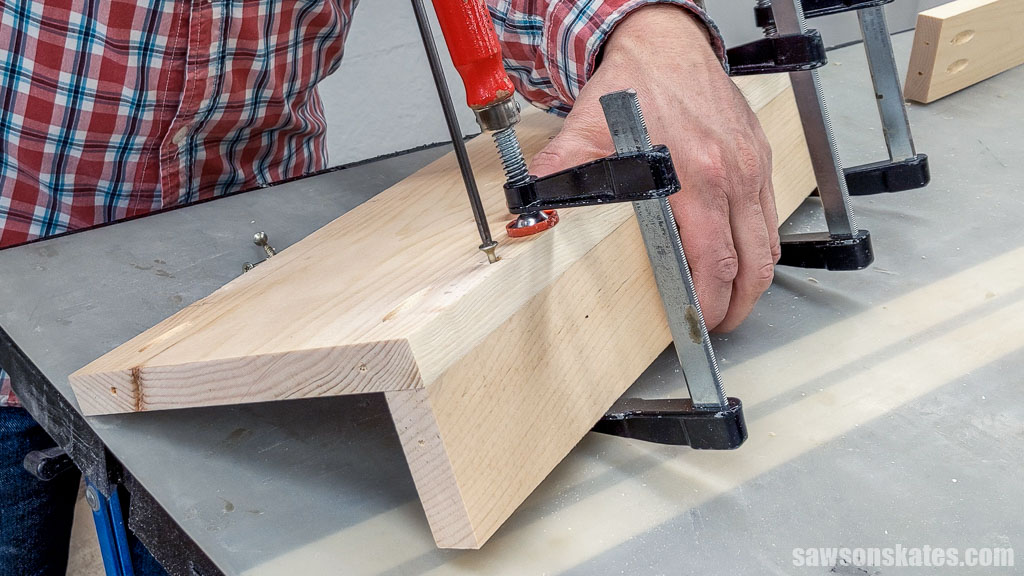
Next, I clamped the workpiece to my workbench and used a Forstner bit to drill a hole at each mark.
Related: What is a Forstner Bit? (& How to Use It)

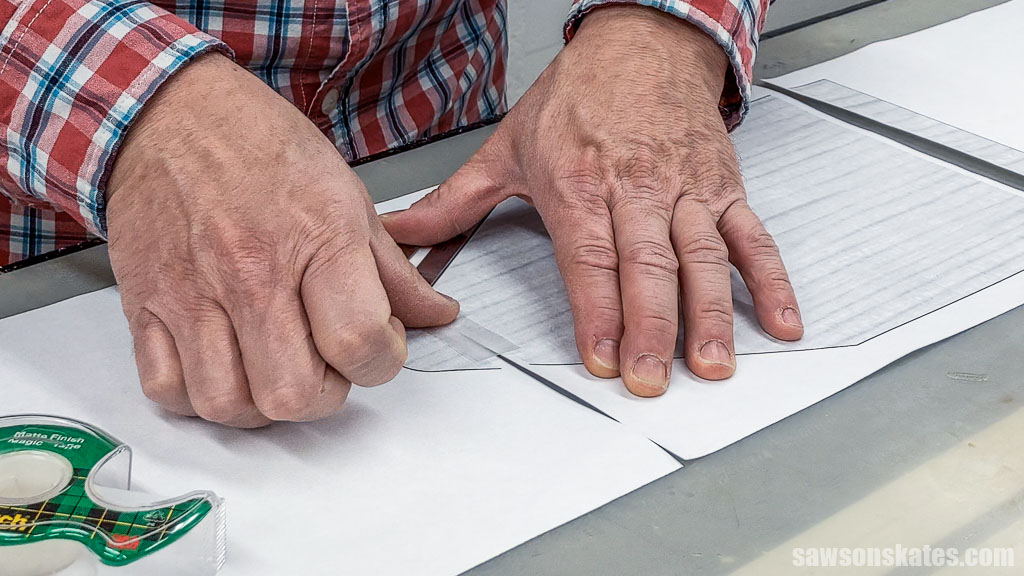
Print the template at the end of the plan.
TIP: When printing the template, make sure the scale is set to 100%.
The sheets will have a white border around them, but they need to be joined together at the edges. I used a ruler to ensure that the straight lines were positioned correctly.

Once the sheets were in the correct position, I used tape to join them. Repeat for the other end.
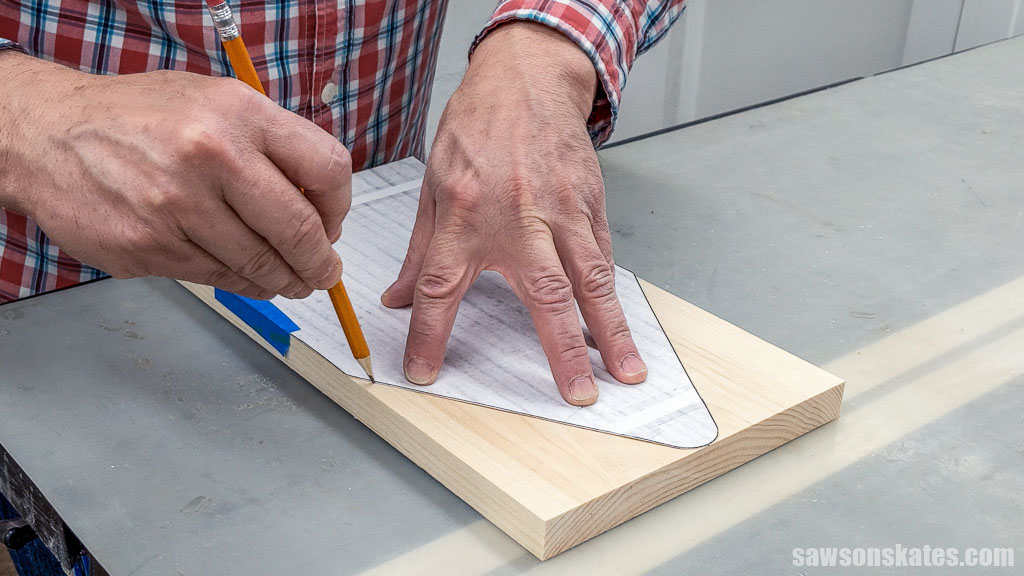
You can use carbon paper to transfer the pattern, placing it between the template and the wood, dark side down, and tracing the lines with a pen or pencil.
No carbon paper? No problem! Make a stencil by attaching the pattern to a stiff material like a manila folder or cereal box with spray adhesive and cut it out.

The stencil method is more accurate than carbon paper because the material’s edge provides a guide for your pencil to trace.
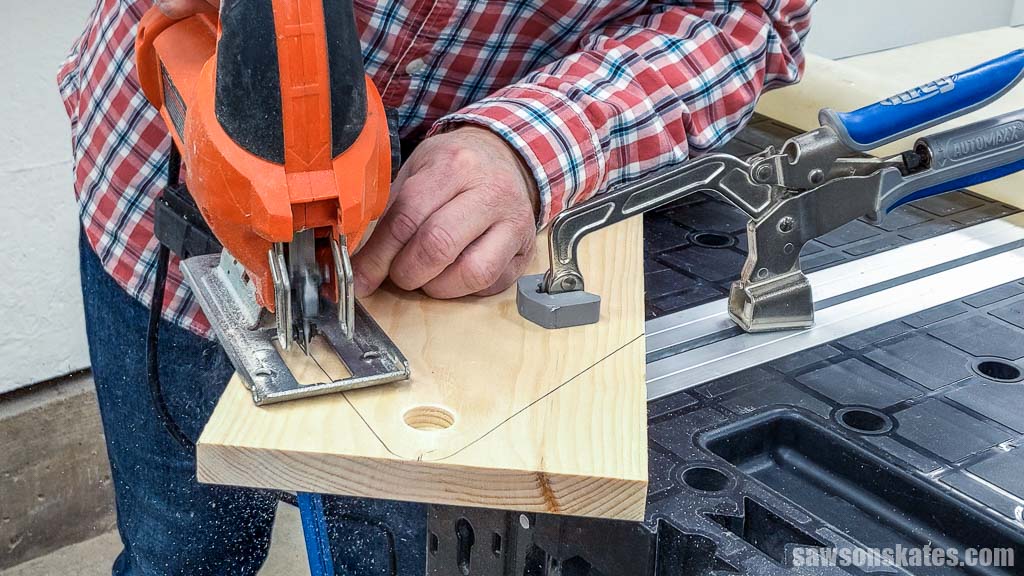
Next, I used a jigsaw to cut the toolbox’s angles. For the best results, I recommend cutting slightly beyond the line and then sanding to the line to refine your cut.
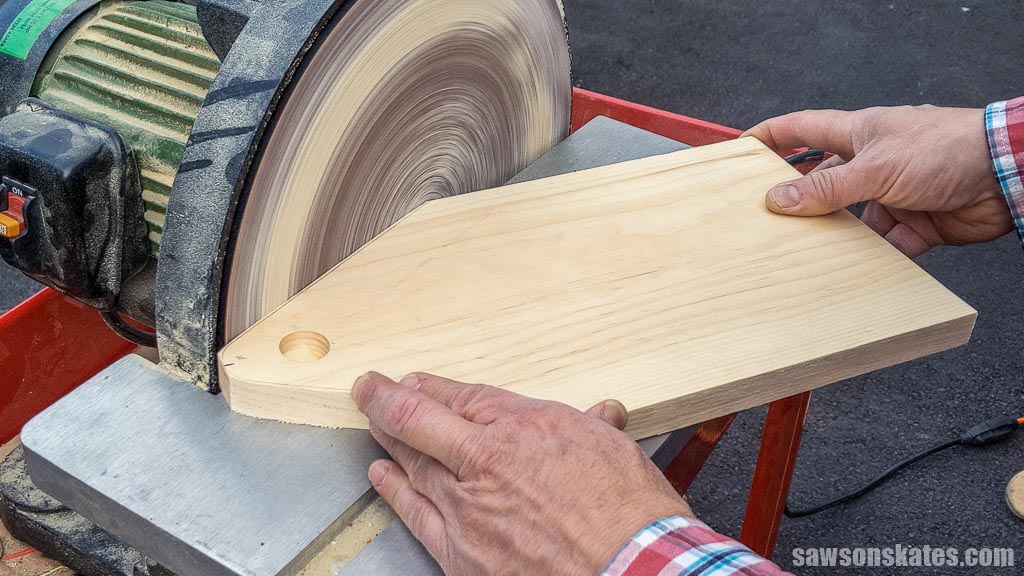
I used a disc sander to fine-tune the cut and smooth the saw marks, but you could use sandpaper instead.
Step 2. Assemble the Tool Box
Cut two pieces of wood to length for the tray and toolbox bottom. Drill pocket holes in each end that will attach the bottoms to the sides.
Related: How to Use a Pocket Hole Jig (& Beginner Pitfalls to Avoid)
Cut two pieces of wood to length for the tray rails and drill pocket holes in each end that will attach the rails to the toolbox sides.
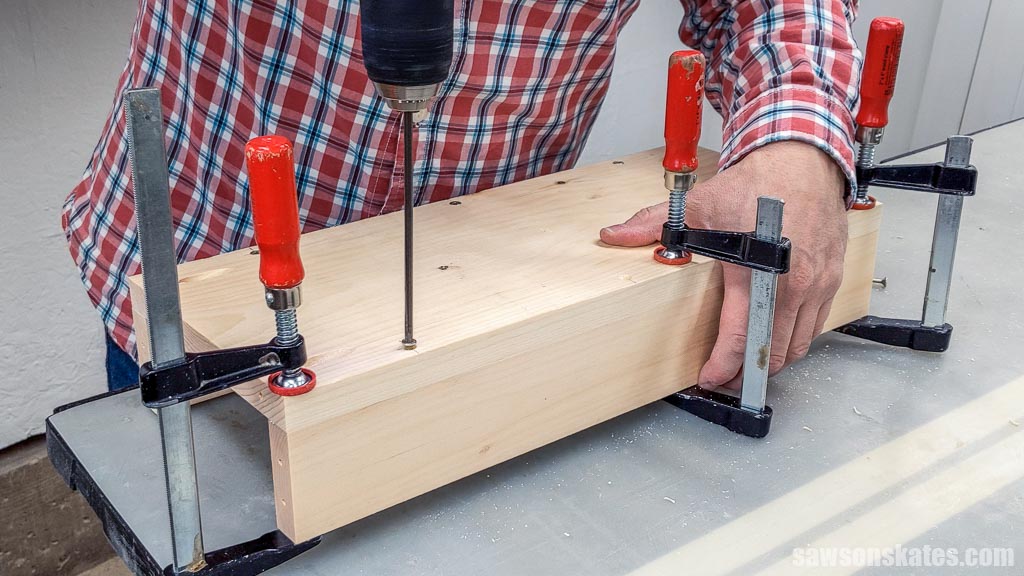
In one of the bottom pieces, use the diagram in the printed plan to mark the locations for countersink holes that will attach the bottom to the tray rails.

Then, use an awl to make a starting point for the drill bit.
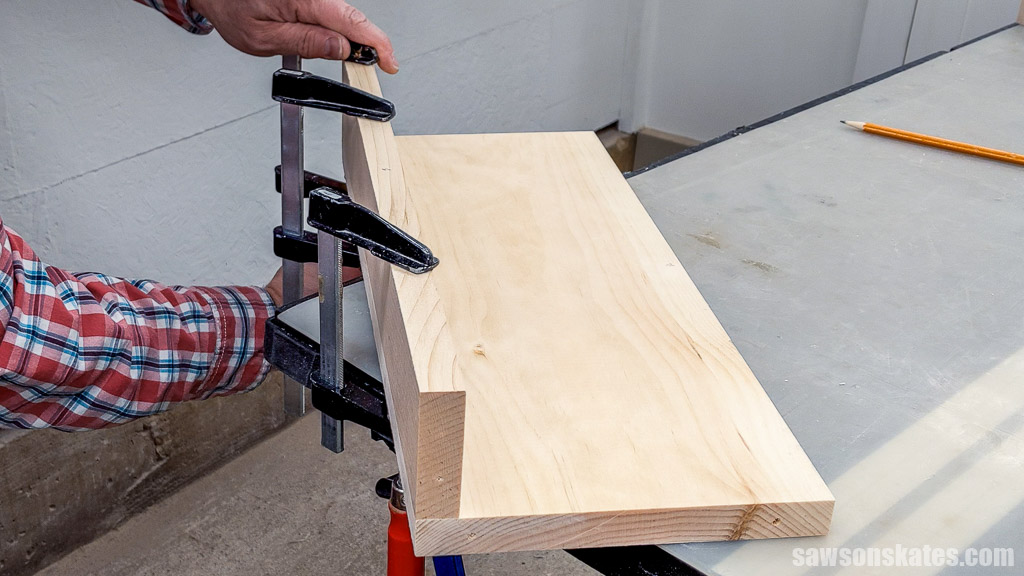
Apply glue to one rail, position on the tray bottom (making sure the pocket holes face toward your workbench), and clamp.
TIP: To make clamping easier, I placed the assembly on the corner of my workbench.
Then, use a countersink bit to drill a hole at each mark.
Related: How to Use a Countersink Bit
Next, attach using wood screws.
Repeat these steps for the other tray rail.
Cut one piece of dowel to length.
To help position the tray, I recommend cutting several pieces of scrap wood to length.
Clamp the scrap wood to the bottom of each side.
Position the tray on the scrap wood, insert the handle in the holes, and clamp. Attach using pocket hole screws.
Cut one piece of wood to length for the stretcher and drill pocket holes on each end.
To help position the stretcher, I recommend cutting two pieces of scrap wood to length.
Clamp the scrap wood to the bottom of each side.
Place the stretcher on the scrap wood and flush with the sides’ edges and clamp. Attach using pocket hole screws.
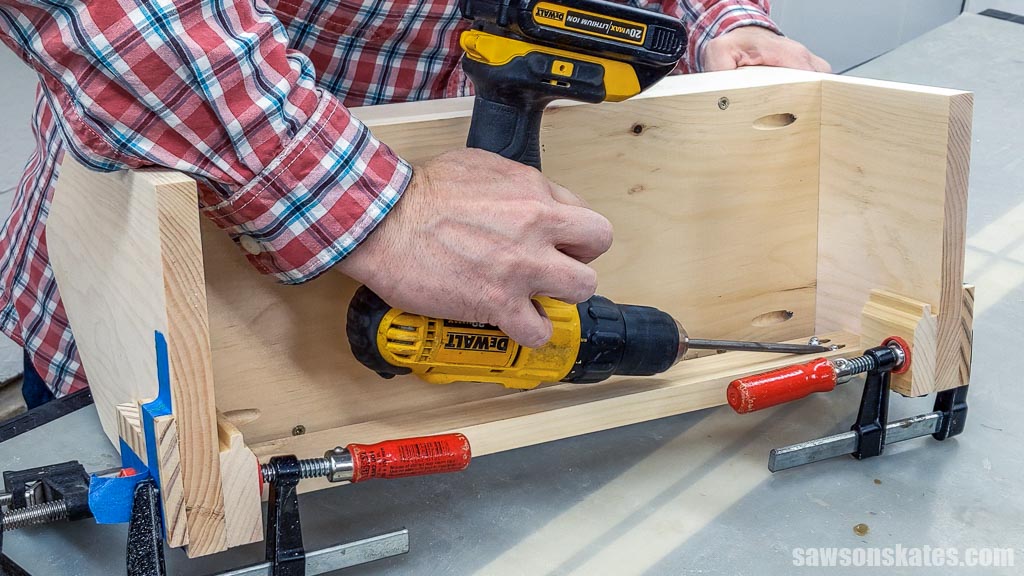
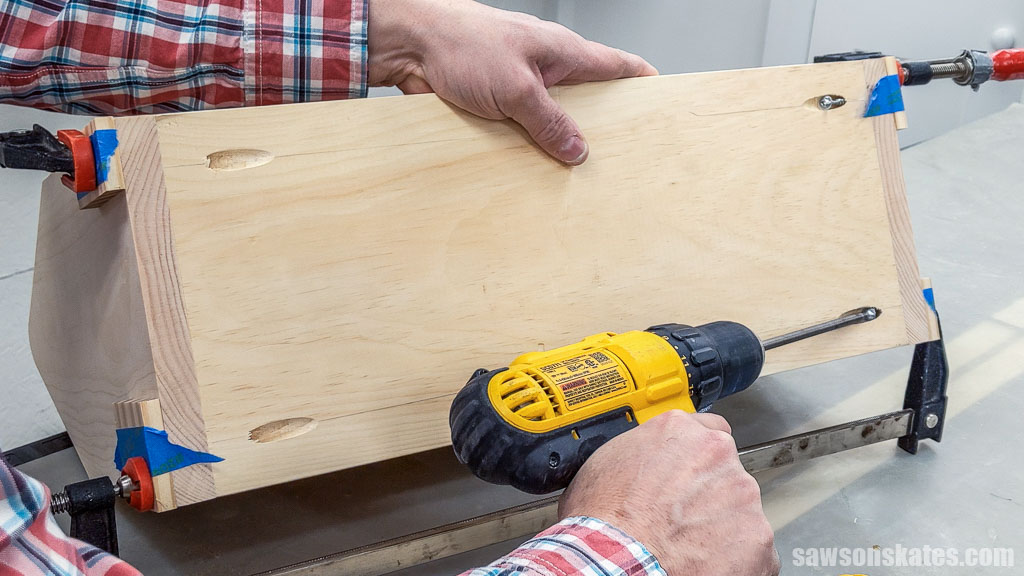
Position the bottom on the sides and clamp. Attach using pocket hole screws.
Step 3. Make the Drawer
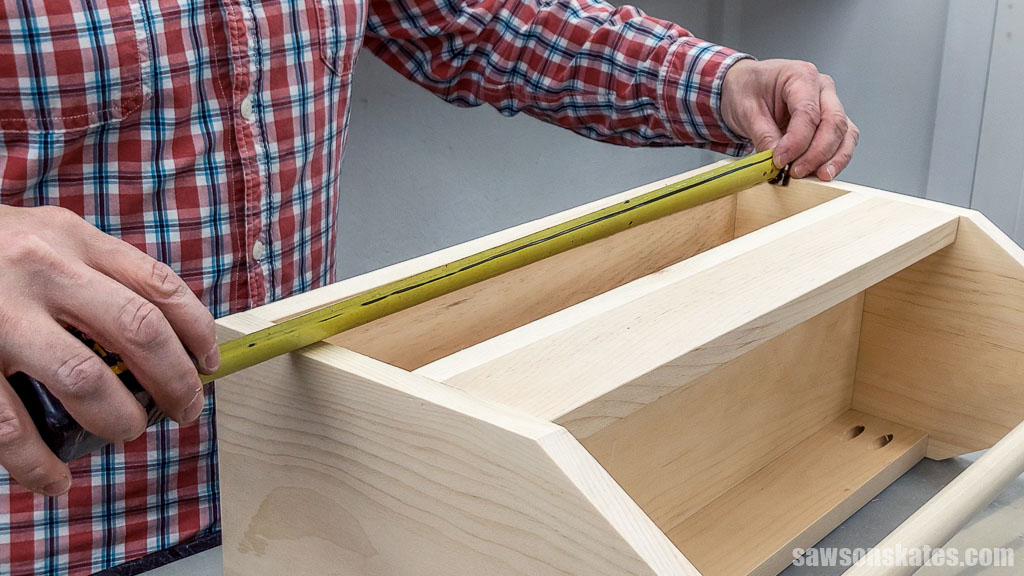
You’ll want to ensure the drawer has about a ⅛” of clearance on either side so that it will open and close correctly. I recommend measuring your toolbox’s opening and deducting a ¼” (⅛” + ⅛” = ¼”) from that measurement.
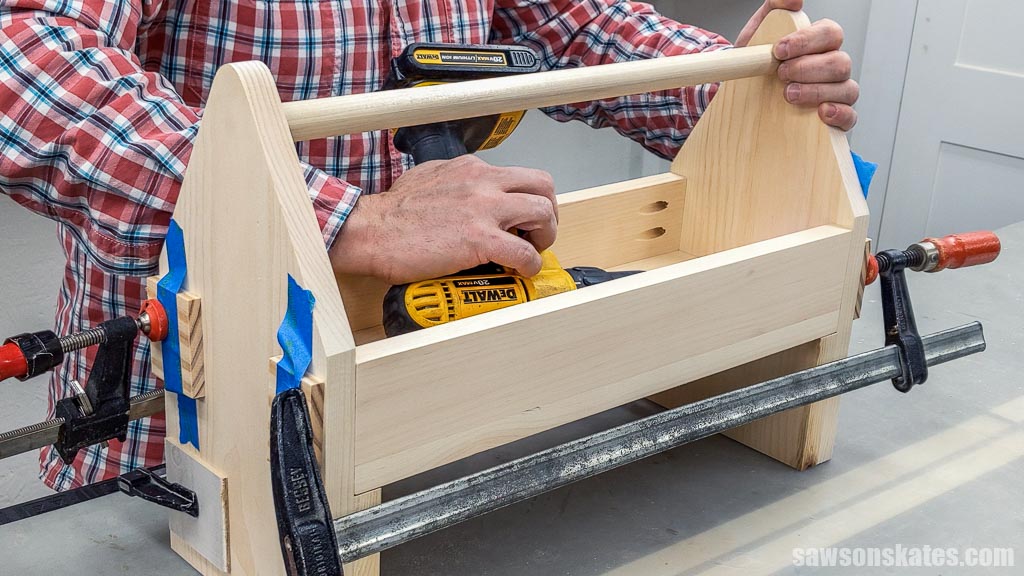
Cut two pieces of wood to length for the front and back of the drawer. Cut two pieces of wood to length for the drawer sides and drill pocket holes in each end.
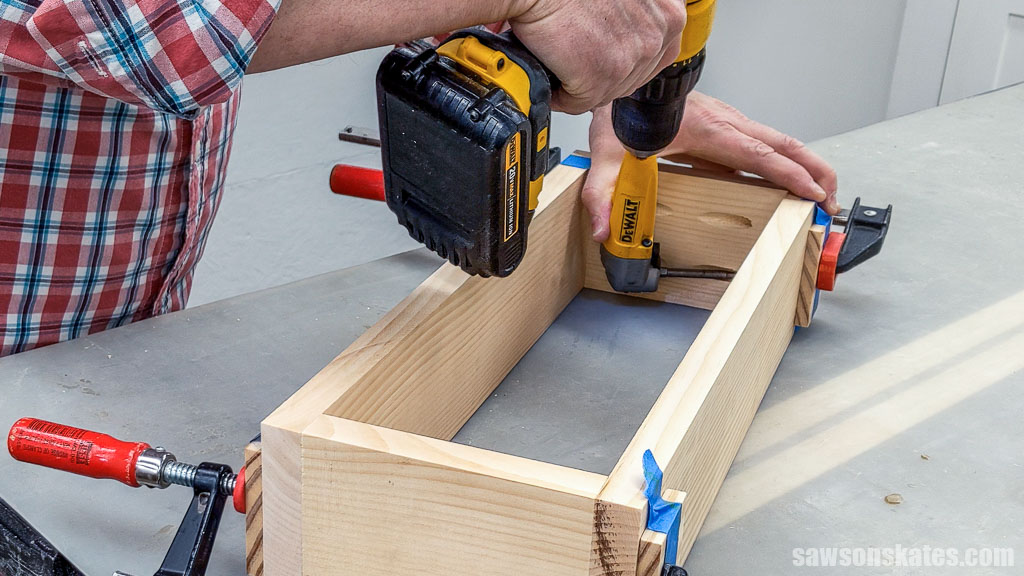
Apply glue to the ends of the sides, position on the front and back, and clamp.
I used a right angle drill attachment to drive the pocket hole screws in the drawer’s narrow space, which is too confined to reach with a traditional driver. Attach using pocket hole screws.
Cut one piece of hardboard to size for the bottom. I used my table saw to rip the hardboard to width, and my miter saw to cut it to length, but you could use a circular saw and a Kreg Rip-Cut to rip it to width instead.
Related: 21 Table Saw Safety Rules (& Mistakes to Avoid)
You might be able to use a jigsaw to cut the bottom; however, it won’t be as precise.
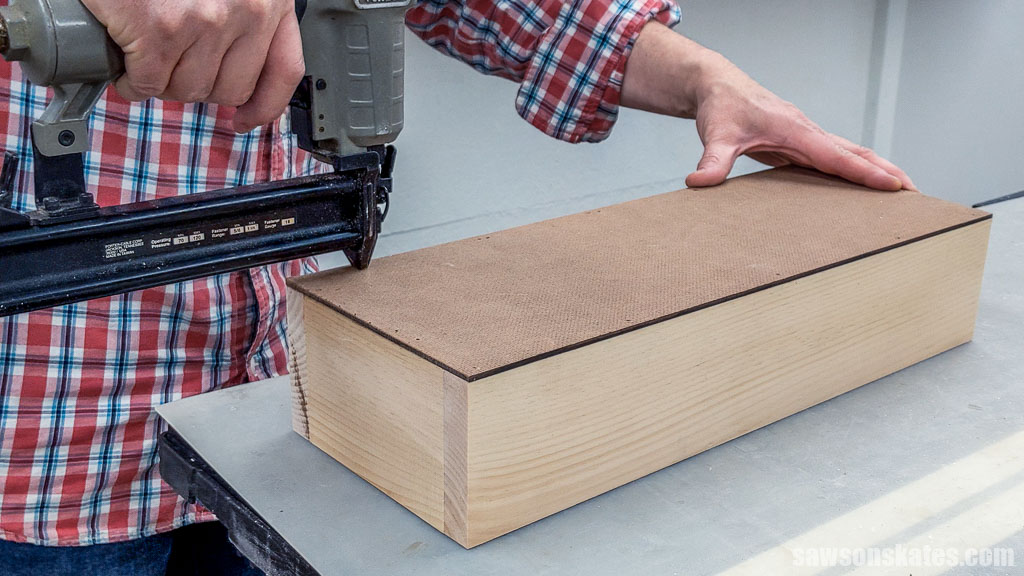
Apply glue to the drawer’s edges, position the bottom, and attach using brad nails.
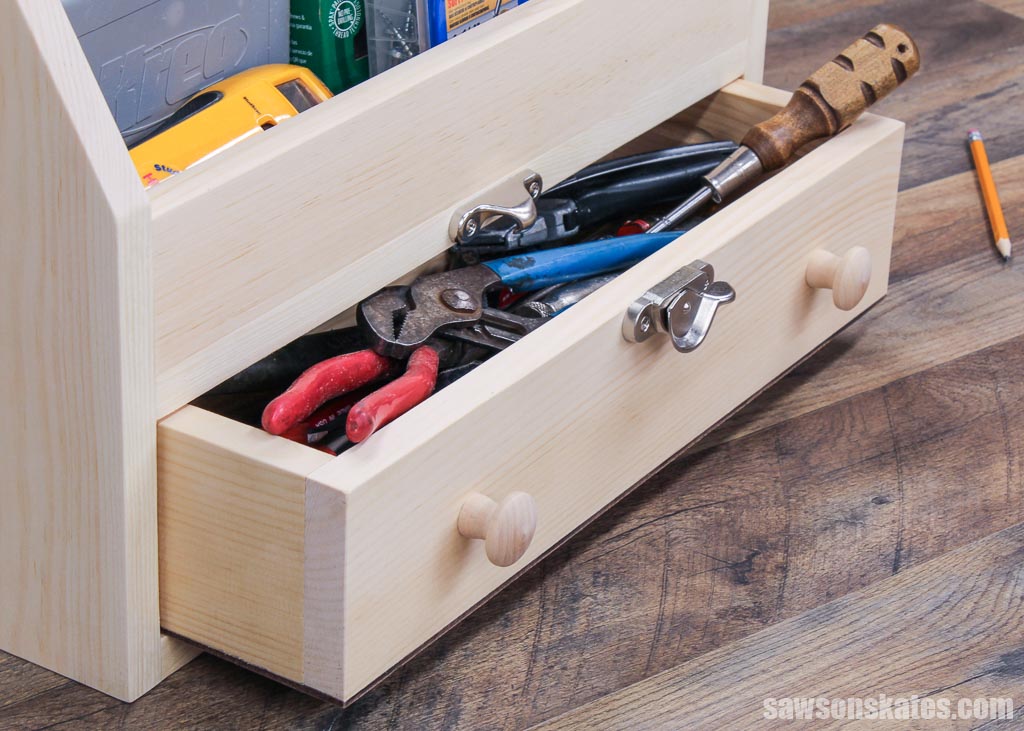
Next, I marked the location for the knobs.
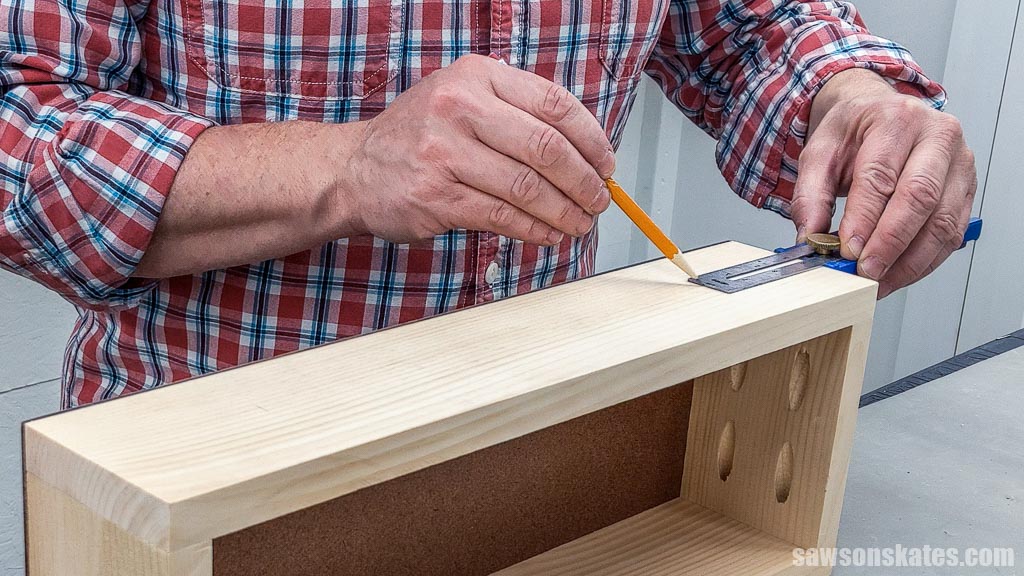
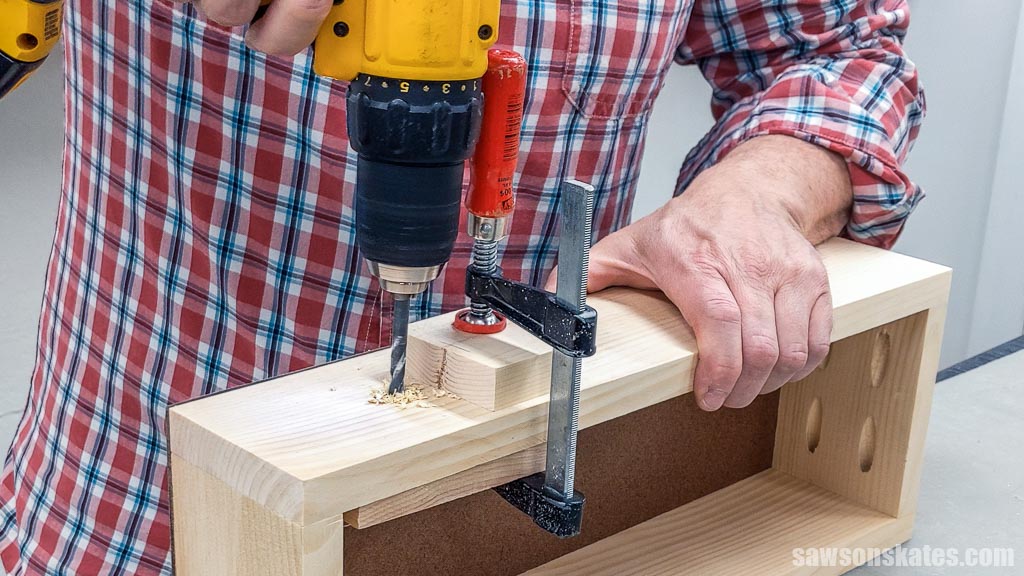
Then, I made a starting point for the drill bit using an awl and drilled holes slightly larger than the screws included with the knobs.
TIP: I clamped a piece of scrap wood to the back of the drawer to prevent the drill bit from tearing out the wood as it exits.
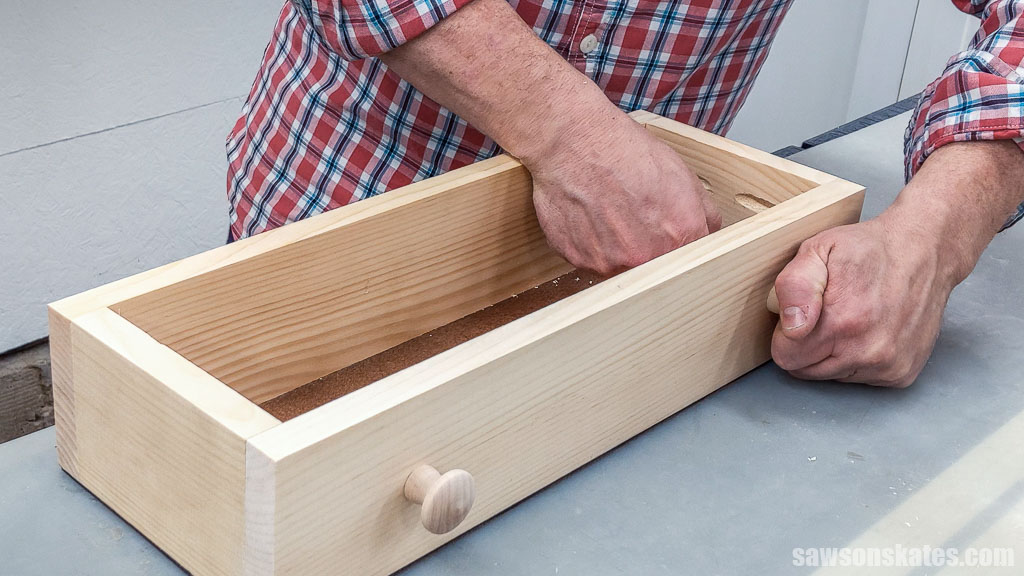
I attached the knobs using the screws that came with them.
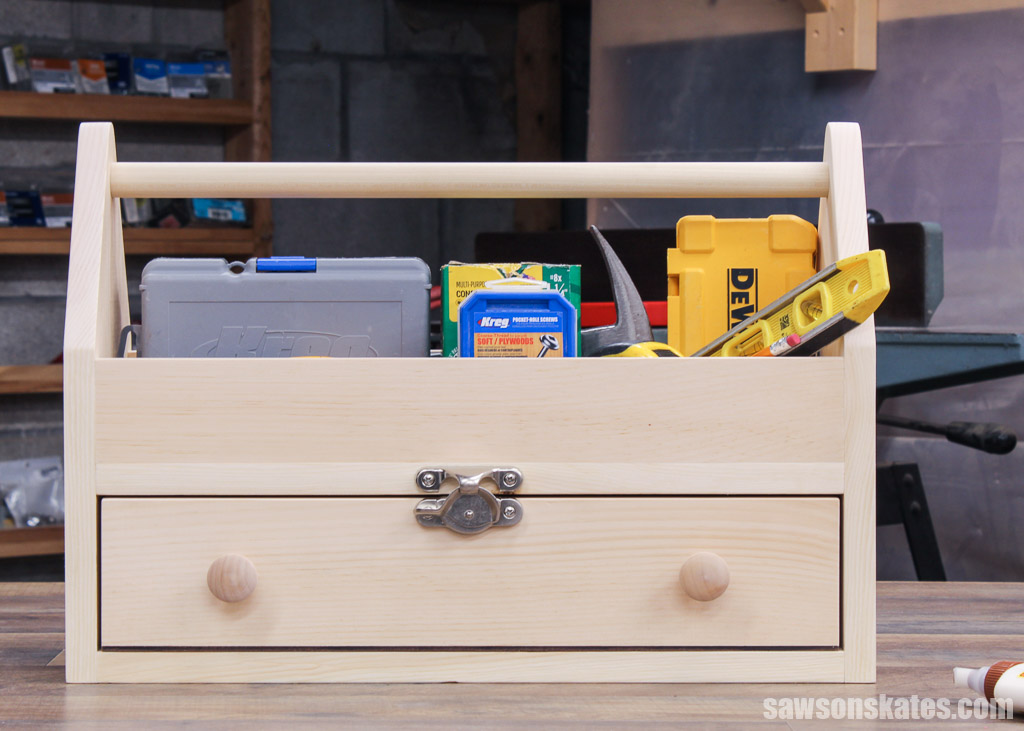
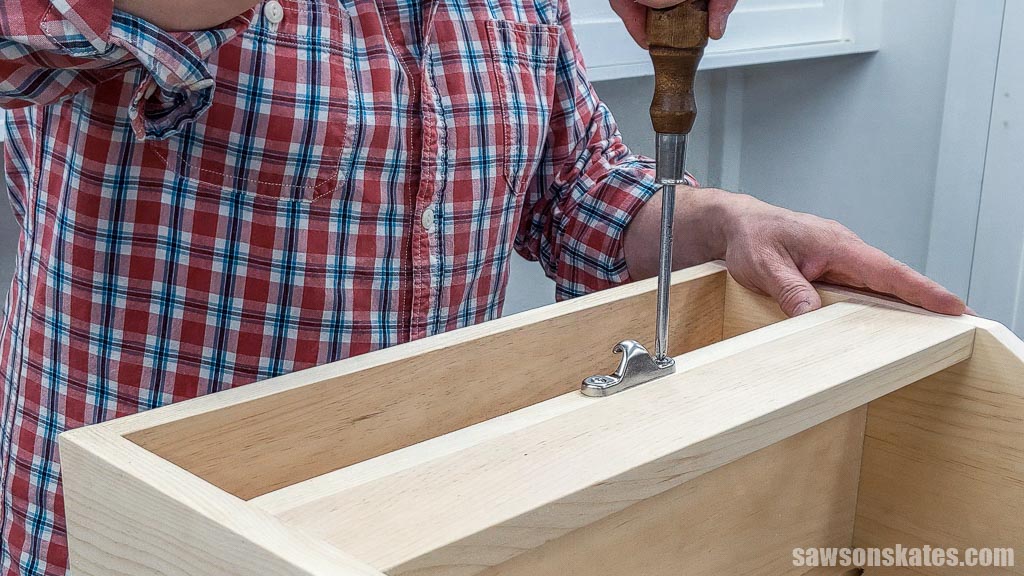
I centered the sash lock’s keeper on the box and marked the hole locations with a pencil. I used an awl to make a starting point for the drill bit and drilled pilot holes at each mark. Then, I attached the lock with the included screws.
Related: How to Drill Pilot Holes (Why, When & Correct Size)
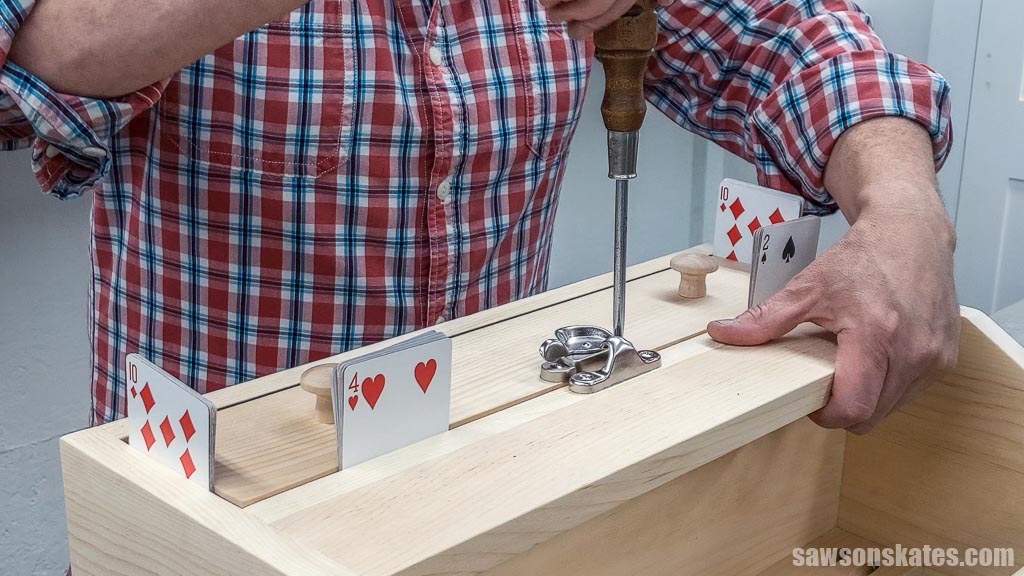
Next, I used playing cards to shim the drawer at the top and sides so that it was centered in the opening. Then, I attached the sash lock to the drawer, following the same steps.
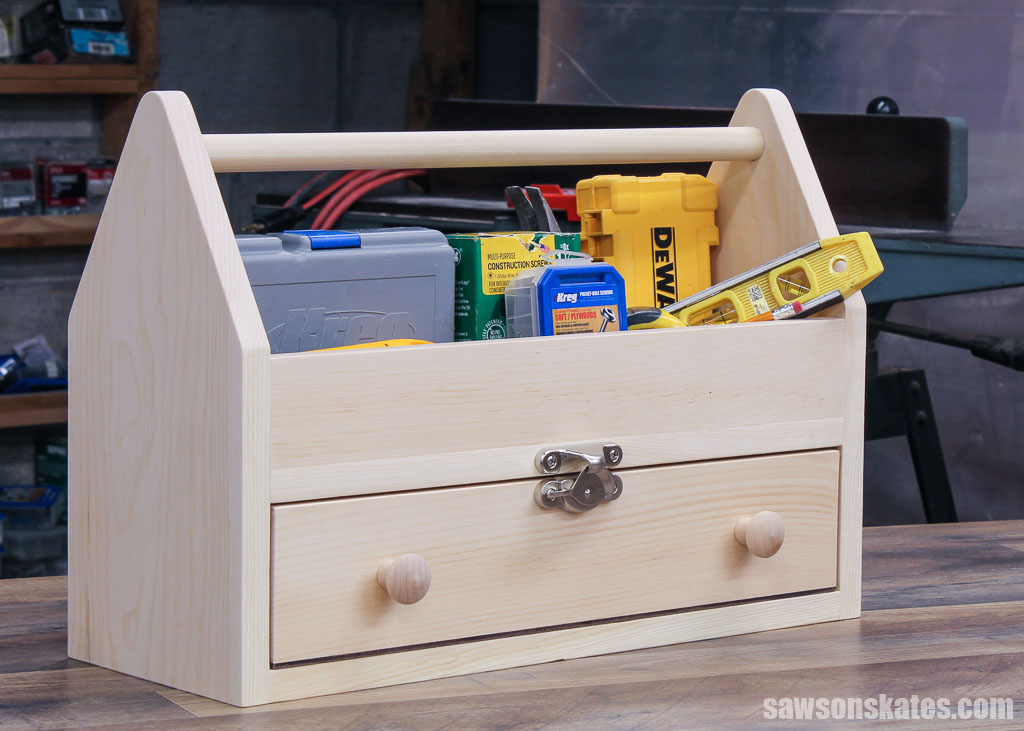
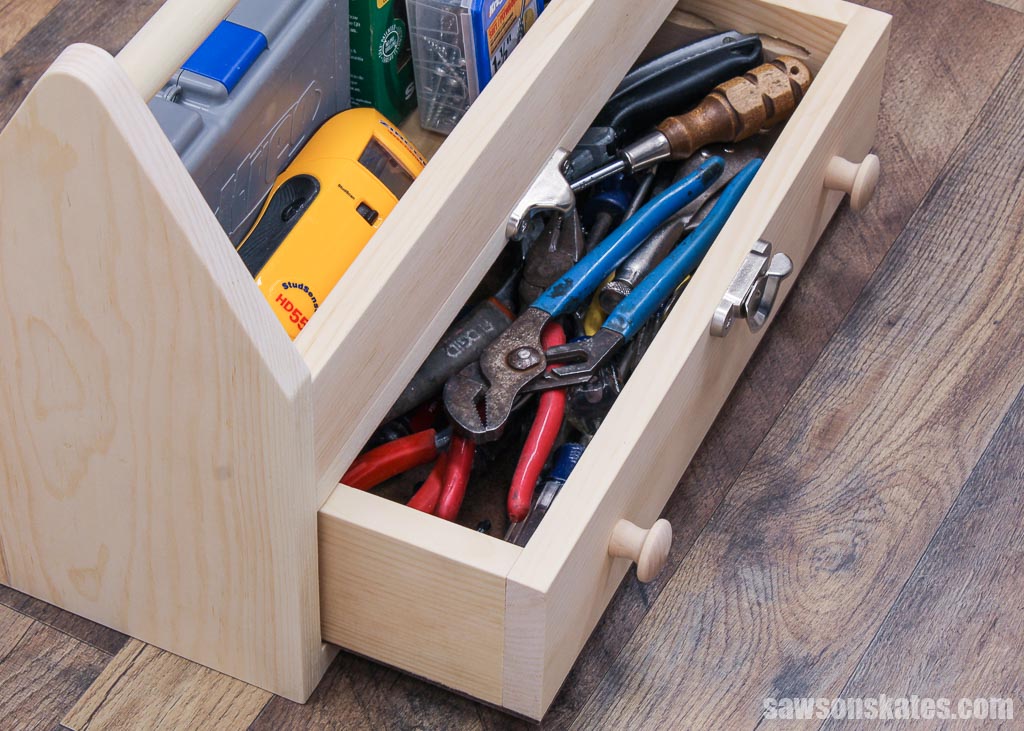
That’s it. Your new wooden toolbox is complete and ready for your favorite tools.
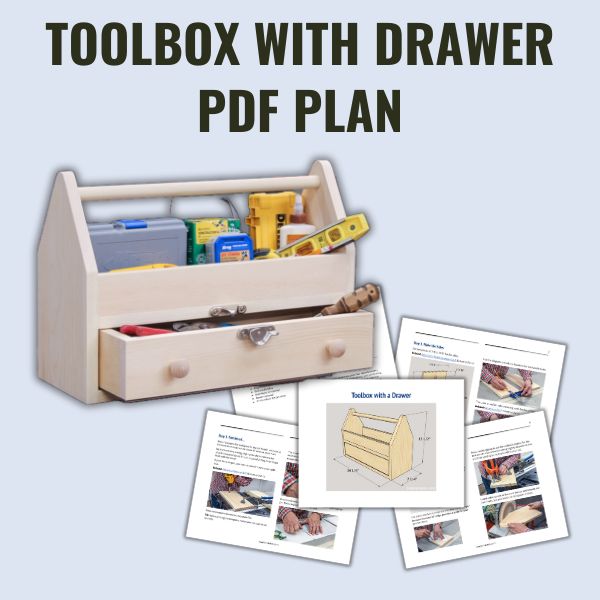
Includes:
- List of tools and materials
- Complete measurements (in inches)
- Easy-to-follow instructions
- Step-by-step photos
- Detailed diagrams
- Side template
Final Thoughts
With just a few materials and some basic woodworking tools, you can create a simple and sturdy DIY toolbox with a handy drawer perfect for organizing your essential tools and supplies.
Don’t wait. Get your PDF plan (including the detailed instructions and measurements) now!
Thank you for stopping by. If you enjoyed this tutorial, would you please take a moment and pin it to Pinterest? I’d really appreciate it!
Recommended For You
Pin This For Later

Hi there – I’m Scott, a woodworking enthusiast and creator of Saws on Skates, a site I started in 2015 to share easy-to-follow tutorials, space-saving shop tips, and project inspiration for DIYers at any skill level. Learn more about my woodworking journey here.