DIY Tablet Stand (Easy Scrap Wood Project)
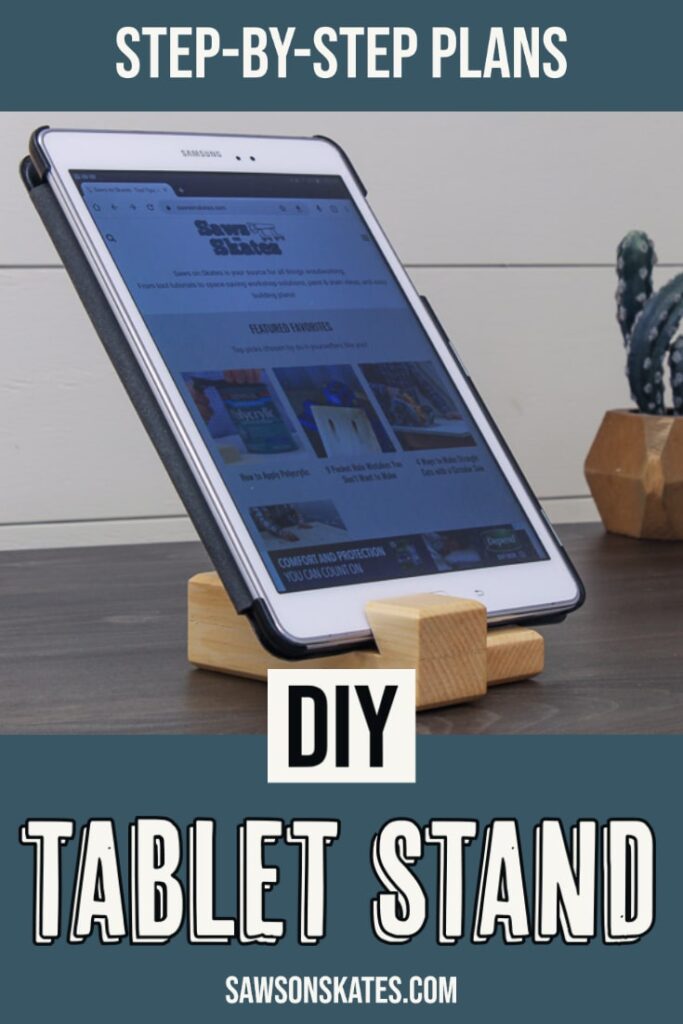
Upcycle scrap wood into a stylish and functional DIY tablet stand with this easy tutorial! Perfect for watching videos or hands-free browsing.
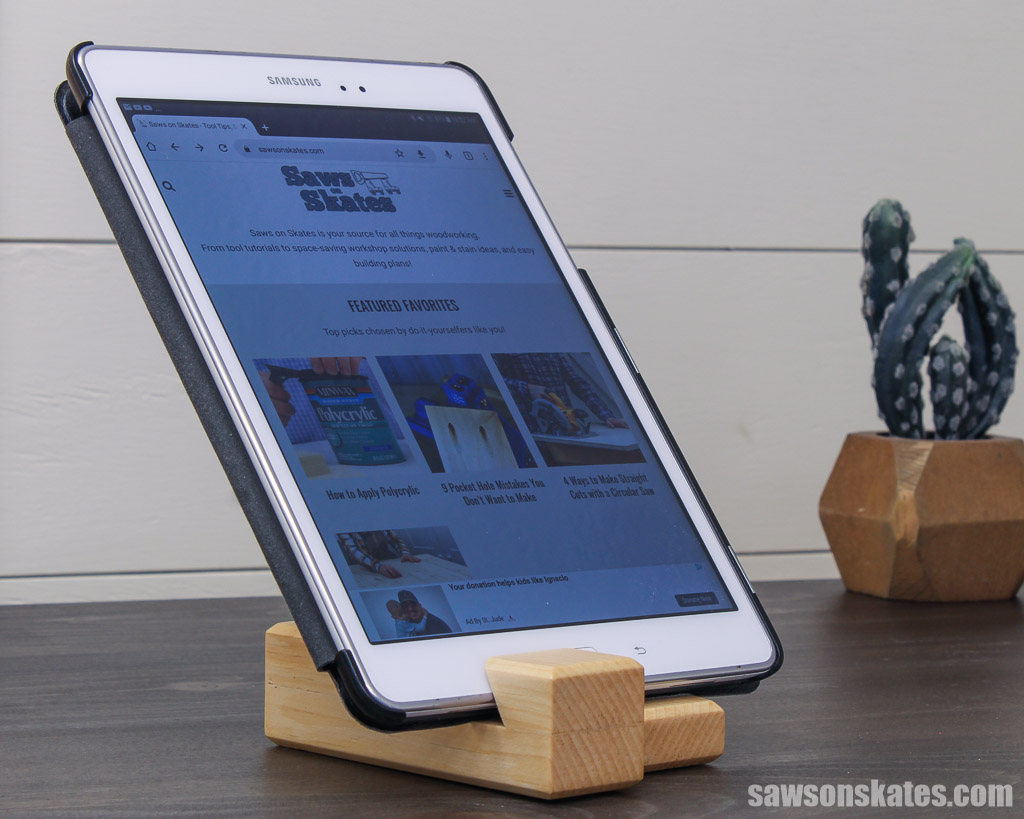
Do you enjoy binge-watching movies, reading books, or following a recipe on your tablet but wish you didn’t have to hold it the entire time? I have the solution: a DIY tablet stand!
This easy-to-make holder is perfect for any space, from a kitchen counter to your bedroom nightstand or desk. And the best part? You can make it for FREE with scrap wood!
Originally published December 29, 2015, updated April 10, 2023.
Table of Contents
- Inspiration for This DIY Tablet Stand
- What Tools Do You Need?
- What Wood Should You Use?
- How Do You Finish the Tablet Holder?
- How to Make a DIY Tablet Stand
- Get the Free Plan
This article contains affiliate links. If you purchase from these links, I may earn a small commission at no additional cost to you. Visit my site policies for more information.
Inspiration for This DIY Tablet Stand
When I launched this website in 2015, one of the first projects I shared was a plan for a tablet holder I made from scrap wood lying around my workshop.
Recently, I had a “light bulb moment” when my tablet holder was sitting on the counter and realized it could double as a phone holder!
After making a few design tweaks, I thought it was time to give one of the oldest tutorials on the site a makeover.
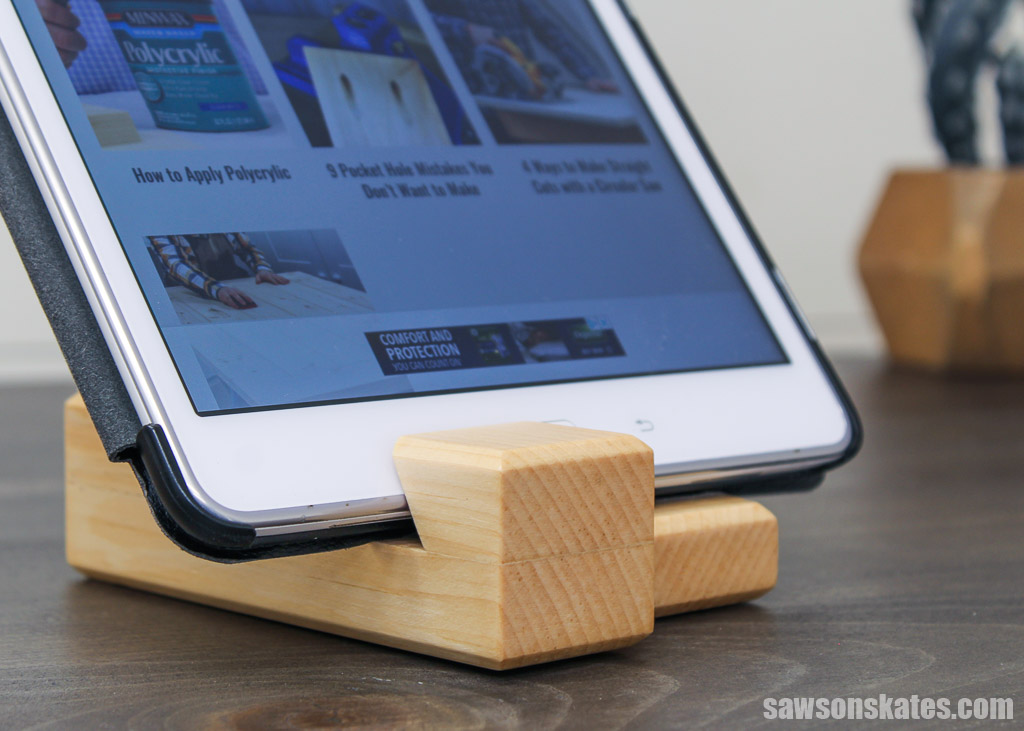
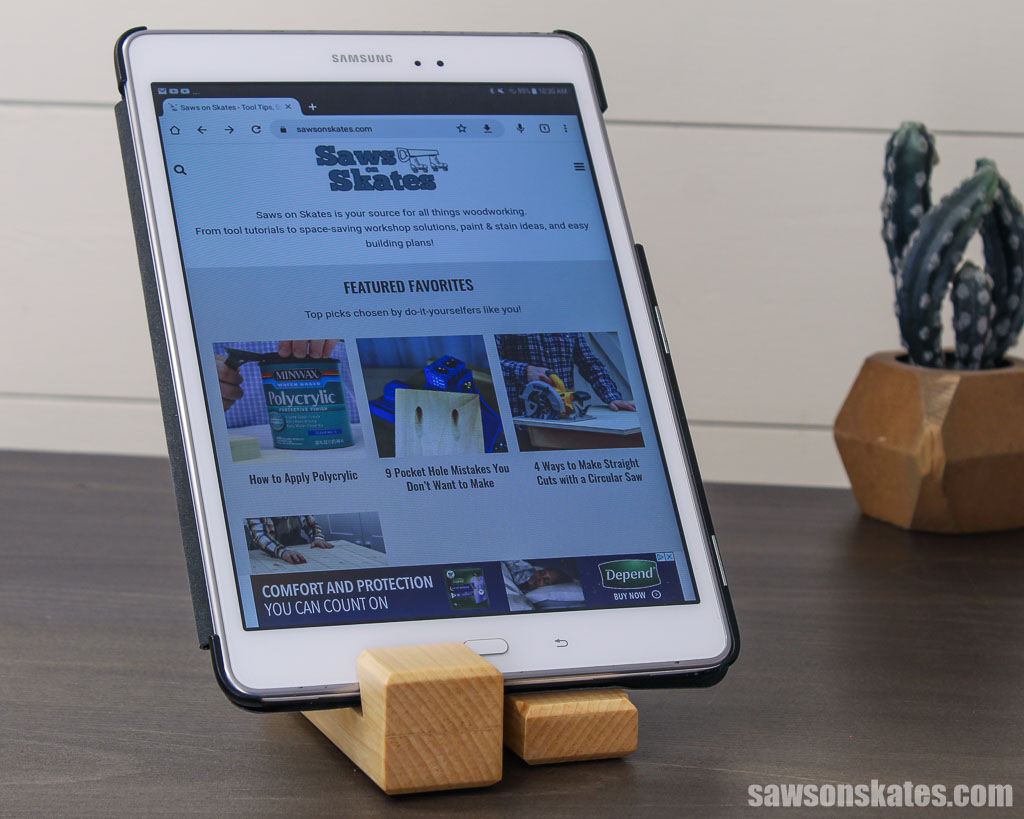
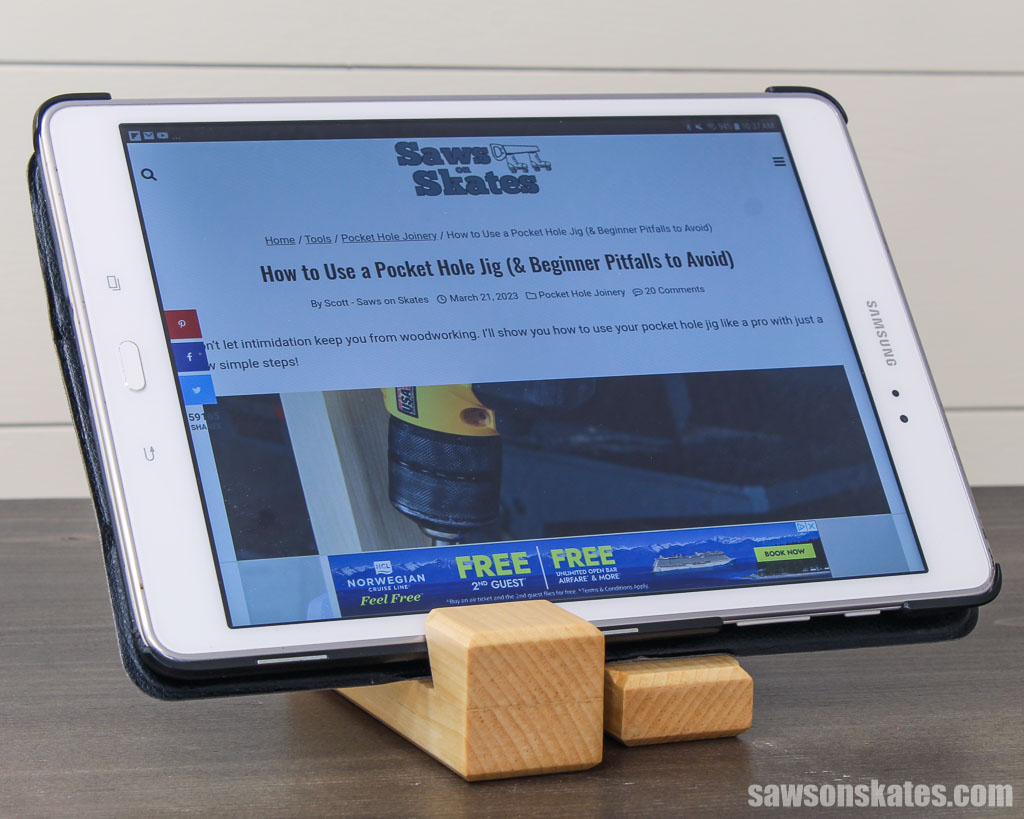
This holder is the perfect spot to rest your tablet and has a slot for the charging cord, so you never have to worry about running out of power.
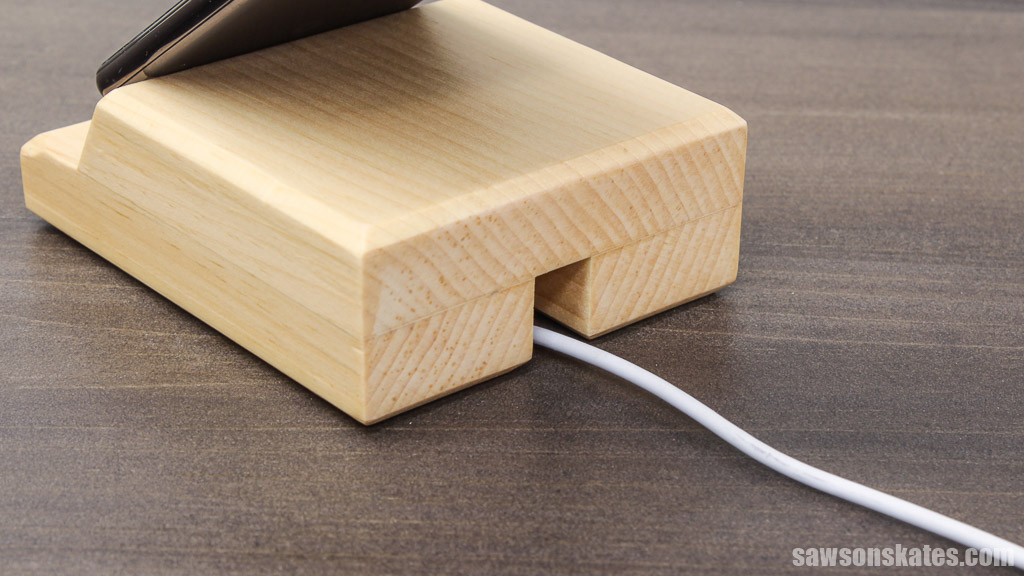
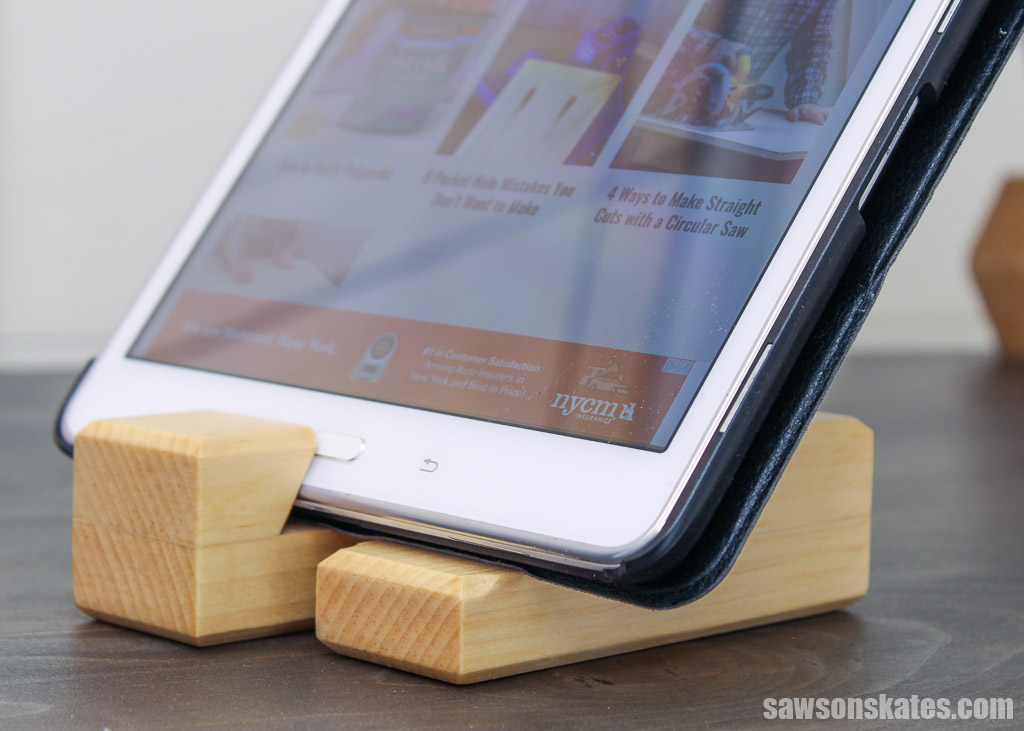
The widths of cord connectors can vary, so I designed one side of the stand to be shorter than the other. That way, regardless of your connector’s width, you should have no trouble sliding it into place.
What Tools Do You Need?
A miter saw is all you’ll need to make this simple project. If you have a brad nailer, you can use it to speed up the assembly process, and for those seeking extra flair, you can use a router to add decorative edges. However, those two tools are entirely optional.
Miter Saw
To cut the bevels and my parts to length, I used a miter saw; however, if you don’t have one, you may be able to use a handsaw and miter box.
Related: Single vs Double Bevel Miter Saw (Which to Buy & Why)
Brad Nailer
For attaching the pieces, I used glue and a brad nailer. However, you could use a hammer and nails or skip the nails altogether and clamp the parts until the glue has dried.
Related: Brad Nailer vs Finish Nailer (Which to Choose & Why)
Router
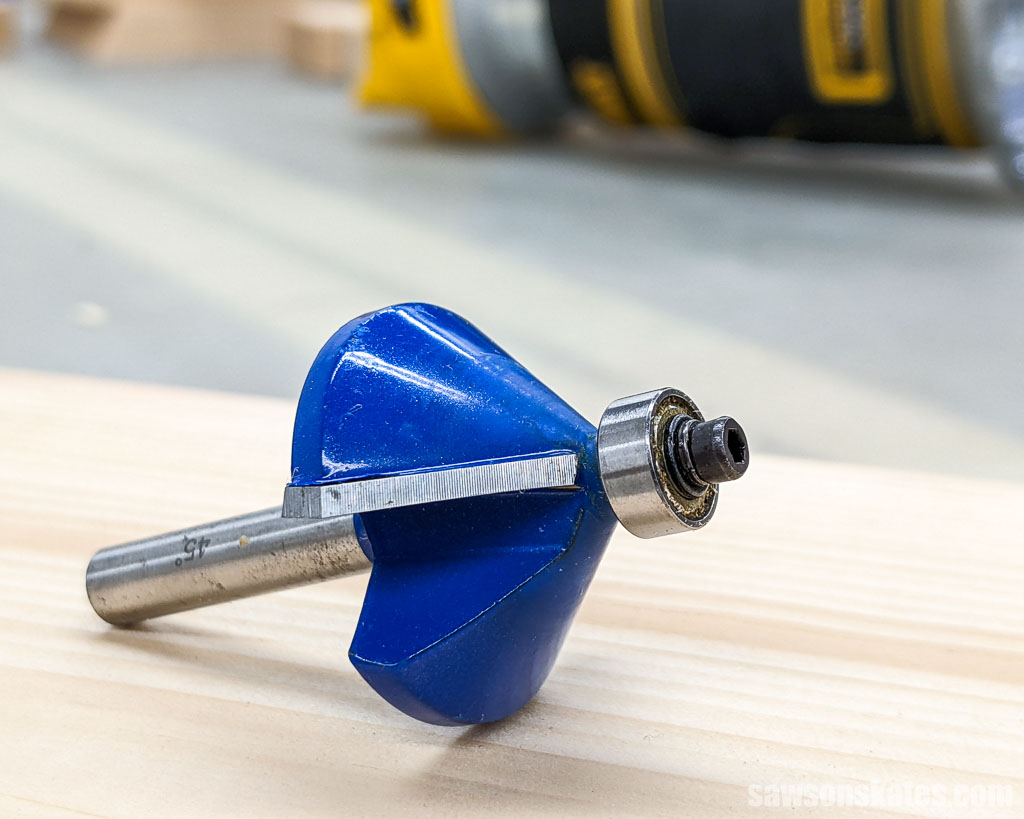
To give the stand a more polished look, I used my handheld router and a chamfering bit to create an angled edge, known as a chamfer. This step increases the aesthetic appeal, but it’s entirely optional if you don’t have these tools.
Related: How to Use a Router Table for Beginners
What Wood Should You Use?
The fantastic thing about this project is that it opens the door to creativity. You can make it with whatever wood scraps are lying around your workshop. For example, I used pieces of pine, but feel free to experiment with different species such as cherry, oak, and walnut.
Related: 71 Scrap Wood Projects (Clever Ways to Reuse Old Wood)
How Do You Finish the Tablet Holder?
I chose to go with the natural look for my tablet holder, but you can paint or stain your project however you like. If you stain or leave it natural, remember to seal the wood to protect against wear and tear. I used this polyurethane alternative; however, Polycrylic would work too.
Related: Polycrylic vs Polyurethane (Are They The Same?)
How to Make a DIY Tablet Stand
Printed Plan
Get the FREE plan here (includes detailed instructions, measurements, and bonus tips)
Supplies
- Wood (per the printed plan)
- Wood Glue
- 1-¼” Brad Nails
Tools
- Tape Measure
- Kreg Multi-Mark
- Miter Saw
- Brad Nailer
- Router
- Chamfering Bit
NOTE: Use caution when cutting this project’s parts since some are quite small.
Step 1. Make the Holder’s Top
Use a miter saw to cut one piece of wood with a bevel on one end.
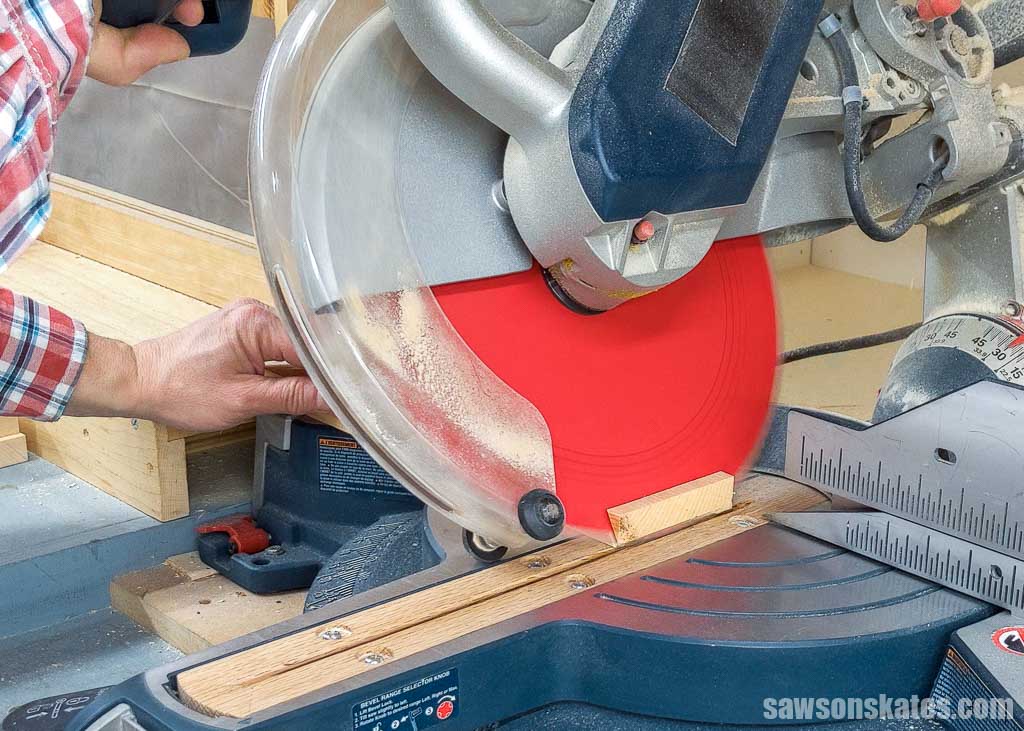
After flipping the workpiece, I marked the length from the long side and made the cut.
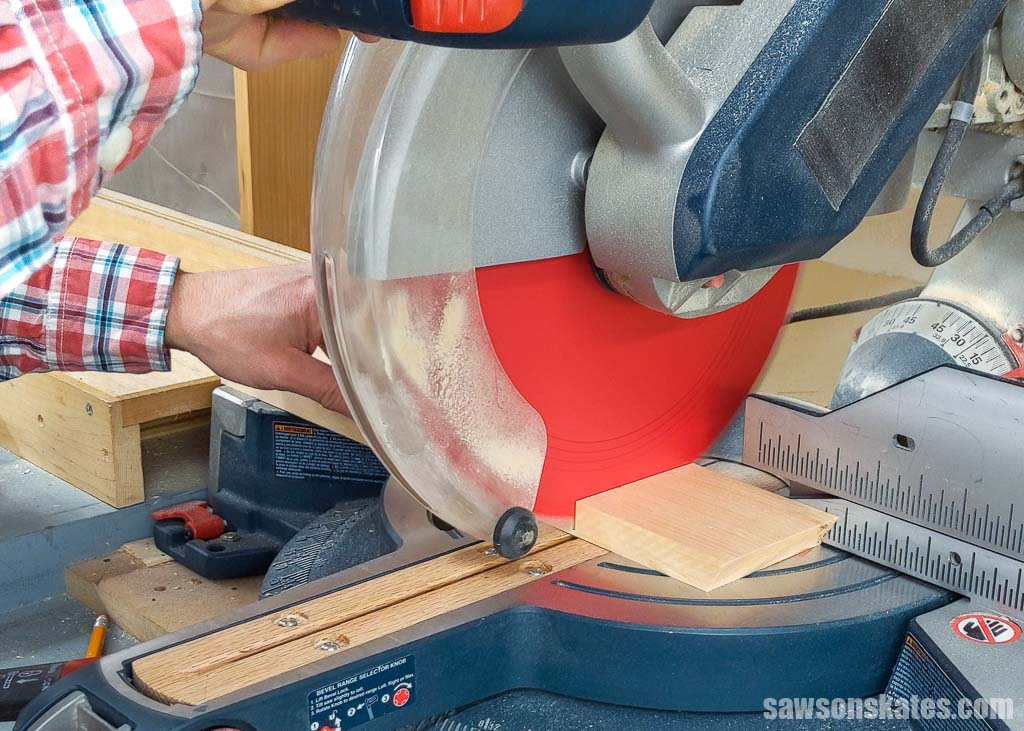
Step 2. Make the Holder’s Bottom
Use a miter saw to cut two bottom pieces to length.
Optional: Rout a Chamfered Edge
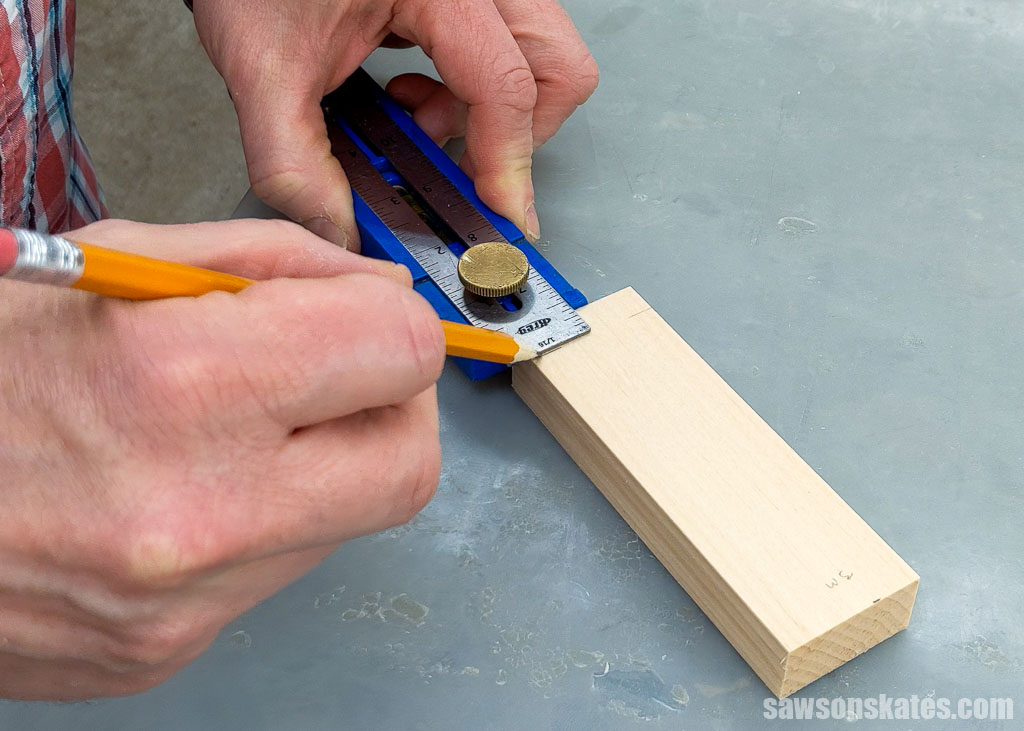
I used a Kreg Multi-Mark on the short piece to measure in on one end.
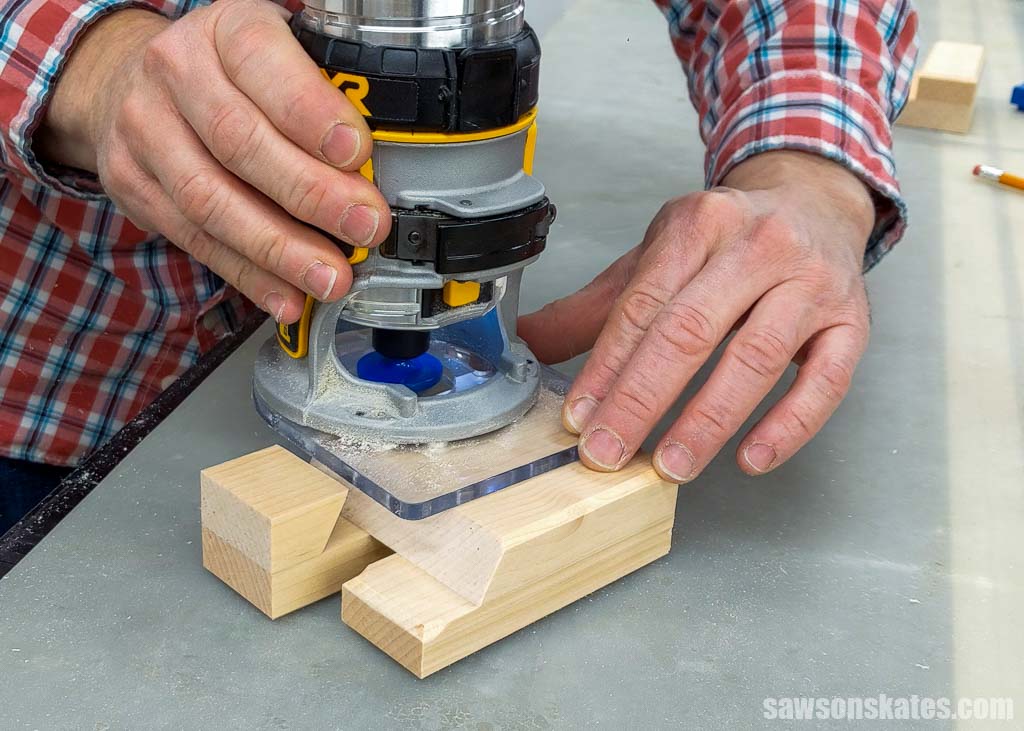
I installed a chamfering bit in my router and adjusted the depth to remove a small amount of material.
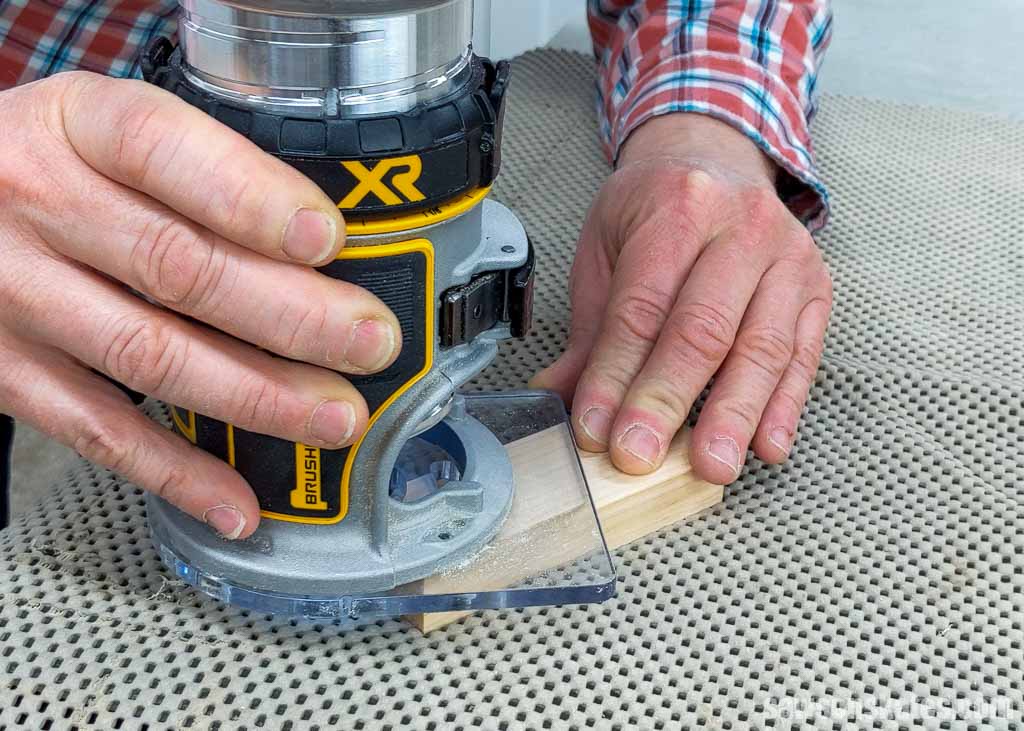
After testing the setup on scrap wood, I began routing the chamfer at the mark.
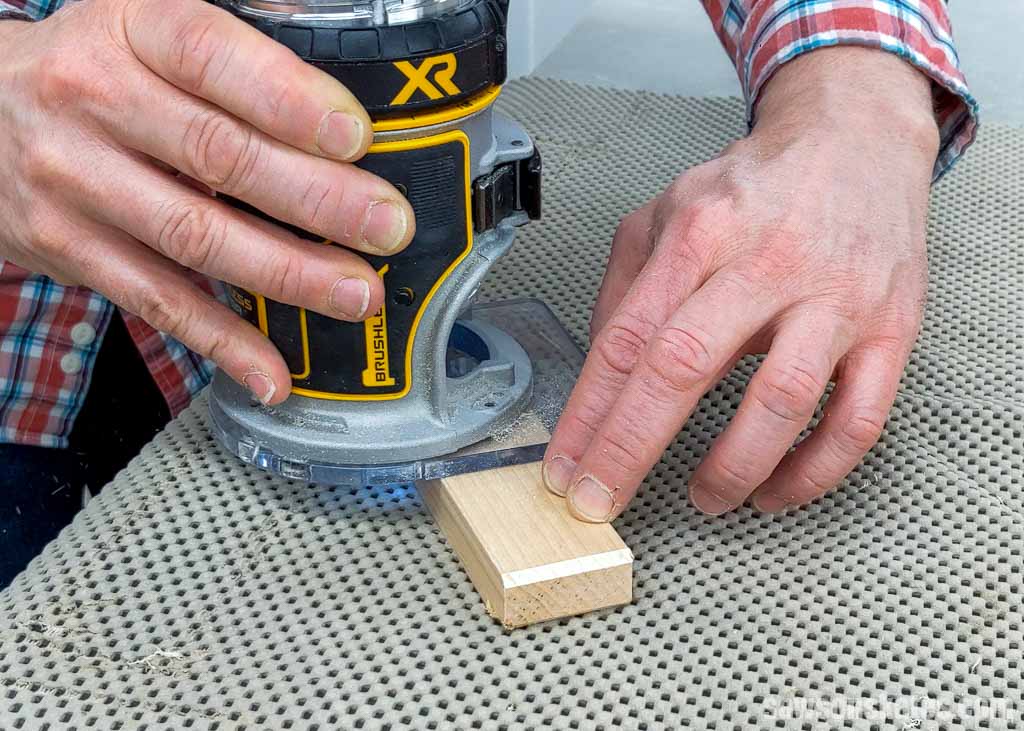
On the long bottom piece, I chamfered the edges of one side.
Step 3. Assemble the Holder
To attach the upper part of the holder, apply a bead of glue to its underside.
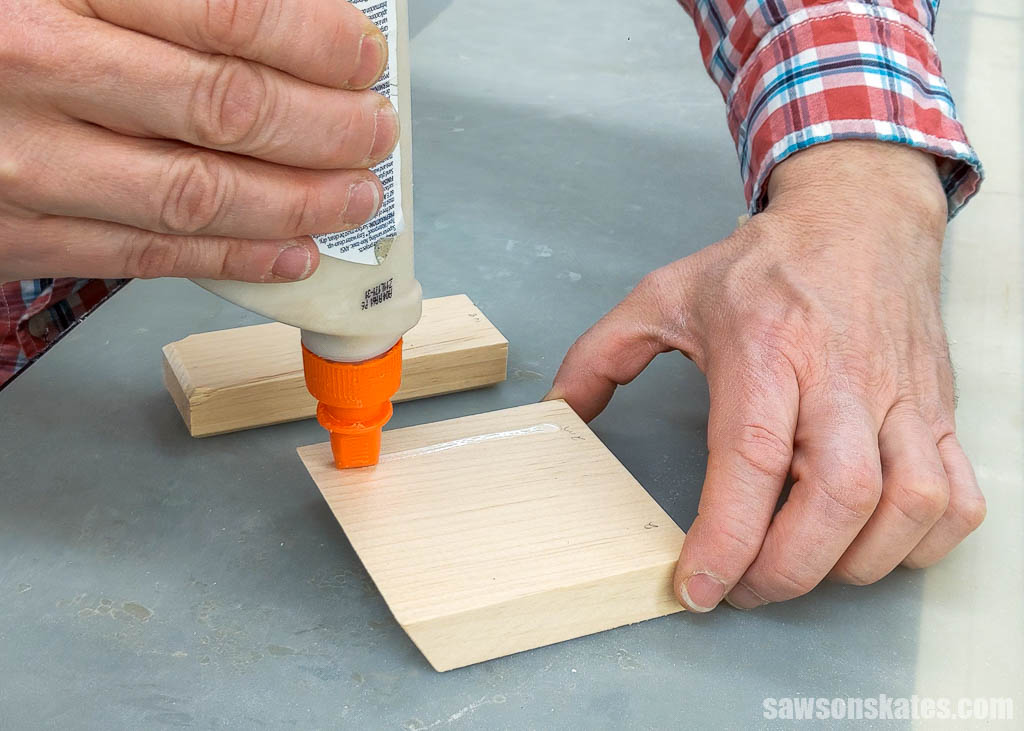
I placed the short bottom piece and attached it to the top with brad nails.
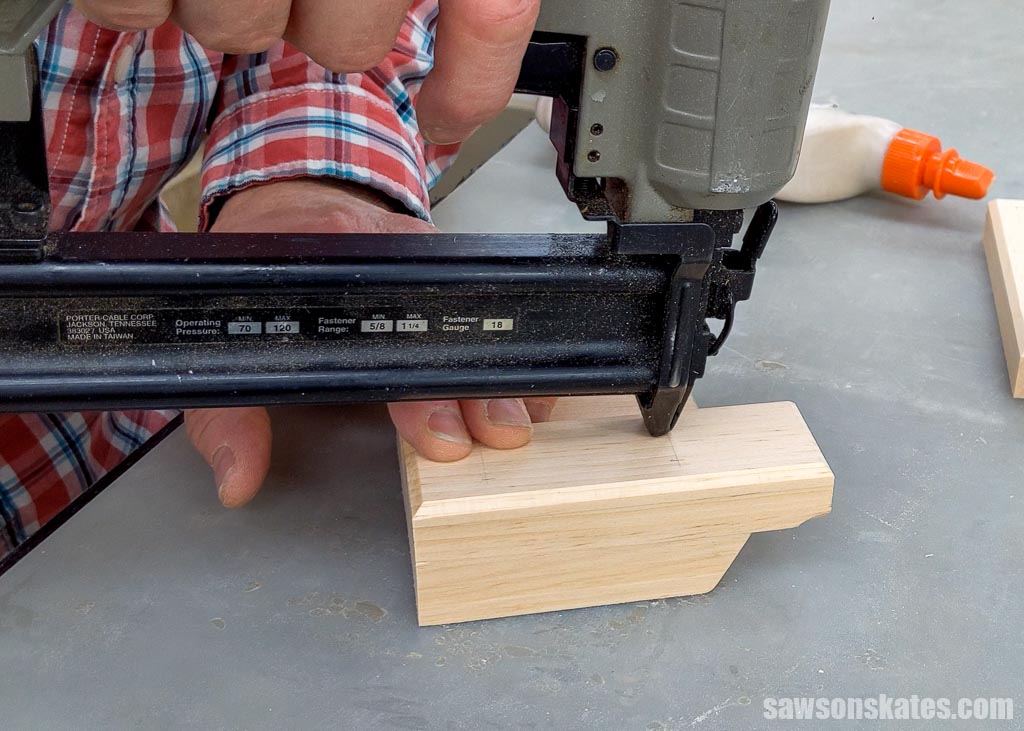
Next, I placed the long bottom piece and attached it using brad nails.
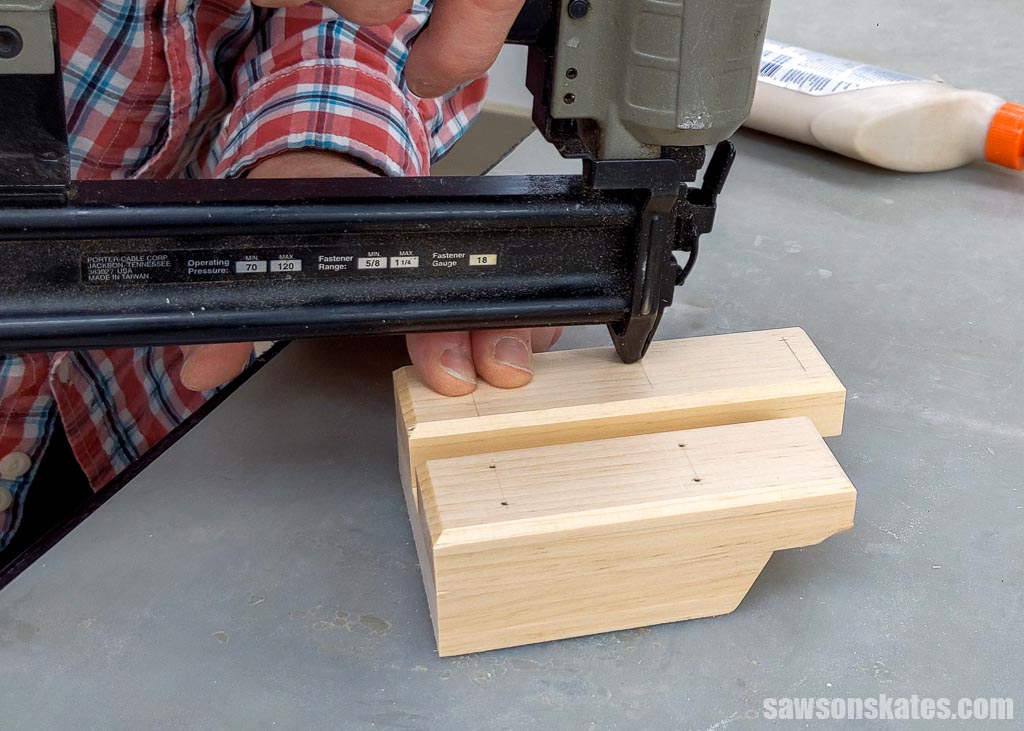
I set my miter saw’s bevel for the holder’s front piece and made a cut.
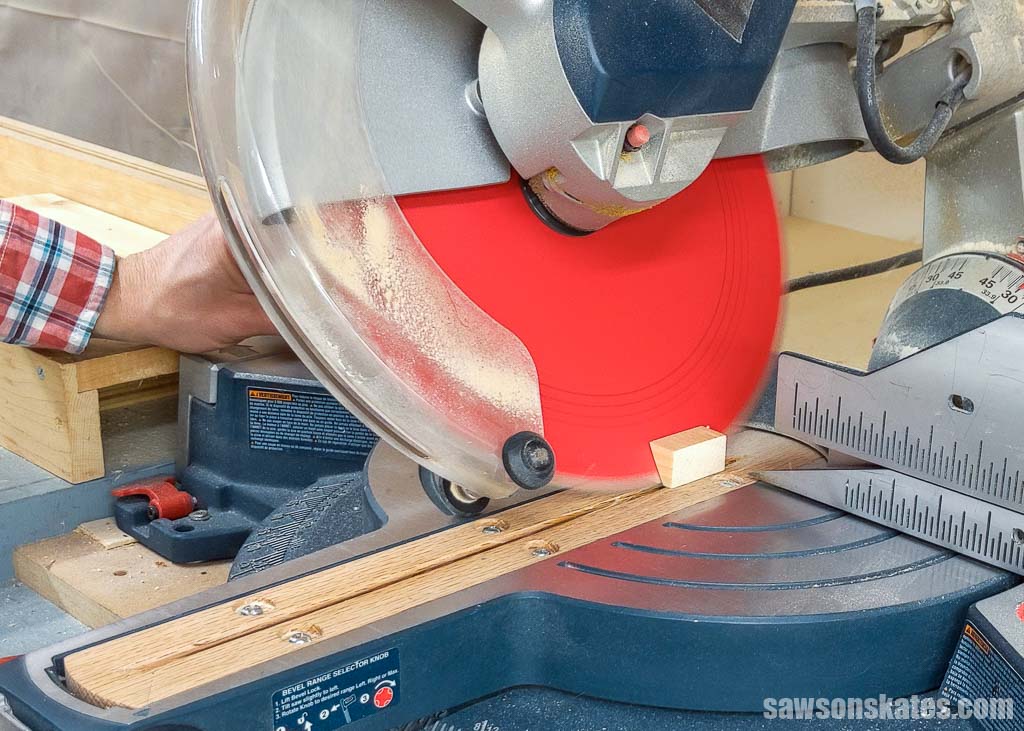
After flipping the workpiece, I marked the length from the long side and made the cut.
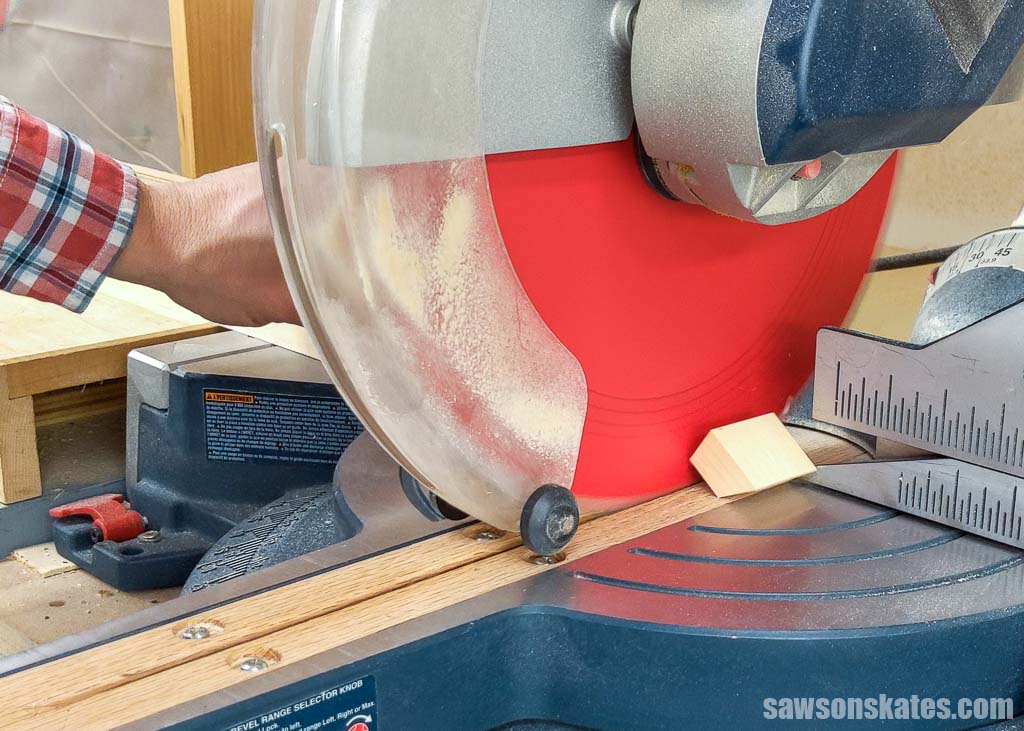
I applied glue, placed it in position, and attached it with brad nails.
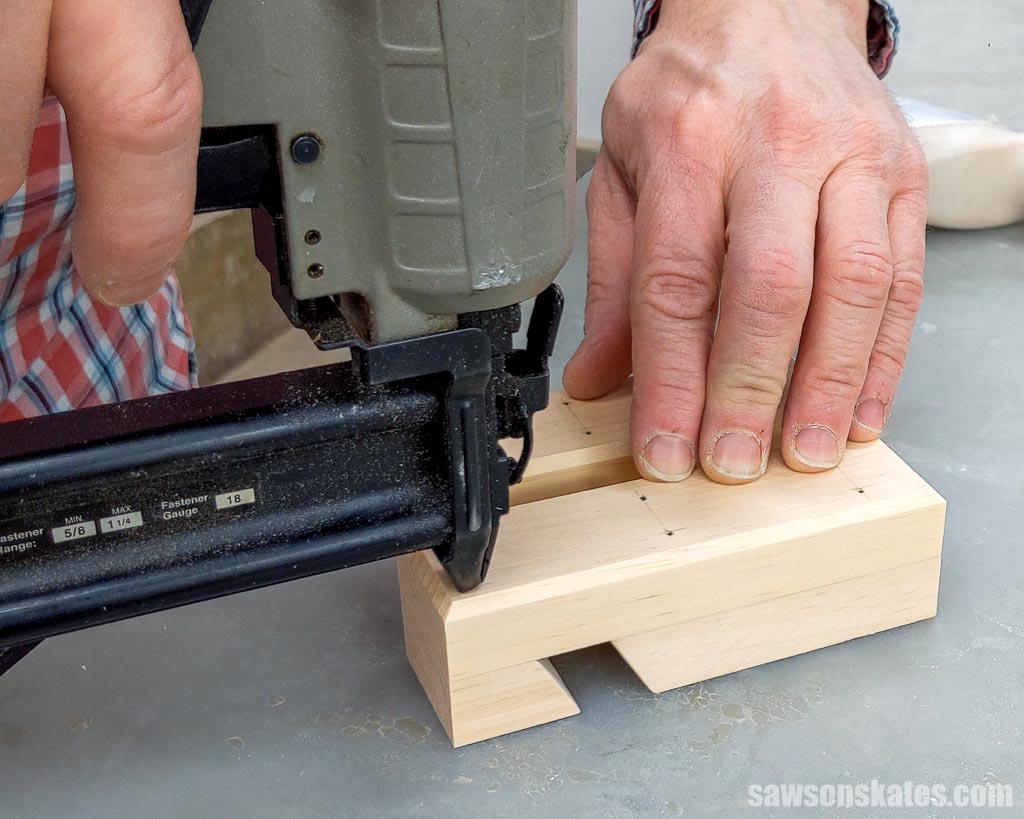
After allowing the glue to dry for about an hour, I chamfered the top’s edges.
Step 4. Finish the Phone Stand
See How Do You Finish the Tablet Holder for more details.
Final Thoughts
Give scrap wood a new life with this DIY tablet stand! It’s an easy project you can make in an afternoon with a few simple tools.
Get your free plan (including the detailed instructions and measurements) now!
Thank you for stopping by. If you enjoyed this tutorial, would you please take a moment and pin it to Pinterest? I’d really appreciate it!

That came out great! Very clever — I am impressed (as always!).
Thank you Bob 🙂
I hope I can do it justice, not a woodworker or carpenter but I’ll give it a shot!! lol
I’m sure it will look great! The parts are small, so be careful when cutting. Send me a message if you need any pointers and please send a pic when you finish. Good luck!
Scot
I’m not sure what kind.of tablet you have I have a kindle I made a neat carrier for my tablet out of an old DVD case. I took most of the plastic sleeves I left about 8 in then I sewed a pocket for the tablet on one side and a holder on the other side for a small pair of ear phones. I can tuck it in and zipper the case closed.
That’s an AWESOME idea Linda! I love repurposed projects like yours!
Reblogged this on the zen of living smaller and commented:
A sweet and quick DIY project – especially good for small spaces, and for folks with “leftover” wood scraps! Enjoy!
Wygląda znakomicie. Pozdrawiam z Polski – Ala
Dziękuję! Google says that translates to thank you 🙂
I like the lines of this project and the mental engineering you put into it. Plus, free. Who doesn’t love free?
Thank you Suzanne! I’m with you… who doesn’t love free?!
Thanks Scott! Great idea and easy and complete directions to follow. I made it for my 3 year old granddaughter who watches videos as a distraction on her mom’s tablet when we go out to dinner. Keeps her occupied and happy in the restaurant. This is small enough to be taken along.
Hi Joe – Thank you for stopping by and for the compliments! I’m glad this works well for you!
Making one for myself first. That way the second one will be much better as a gift.
PS use my tablet for recipes and the cover I have it in will allow it to stand up, but only in the landscape position. Sometimes I want it in portrait position. This will solve my issue.
Thanks!