How to Fix a Broken Cabinet Door
Tired of that pesky broken cabinet door? Don’t toss it out just yet. With a few simple tools and some know-how, you can easily repair it yourself.
What Should I Build Next?
That's the question I help answer.
Every week, I send woodworking ideas to 17,000 DIYers who love building things.
You'd fit right in.
A broken cabinet door can be a real eyesore, but it doesn’t have to be a kitchen (or bathroom) catastrophe. Learn how to breathe new life into your cabinets with my easy-to-follow guide.
This article contains affiliate links. If you purchase from these links, I may earn a small commission at no additional cost to you. Visit my site policies for more information.
Inspiration for This Project
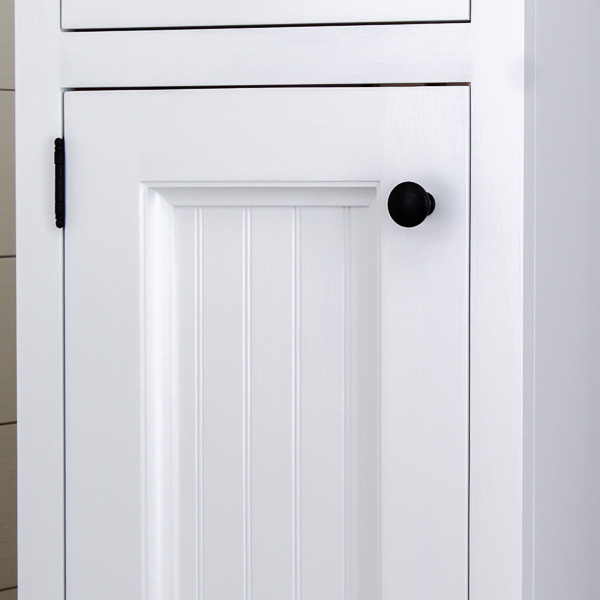
The other day, my friend Janet from the Historical Society texted me asking for help with a broken cabinet door.
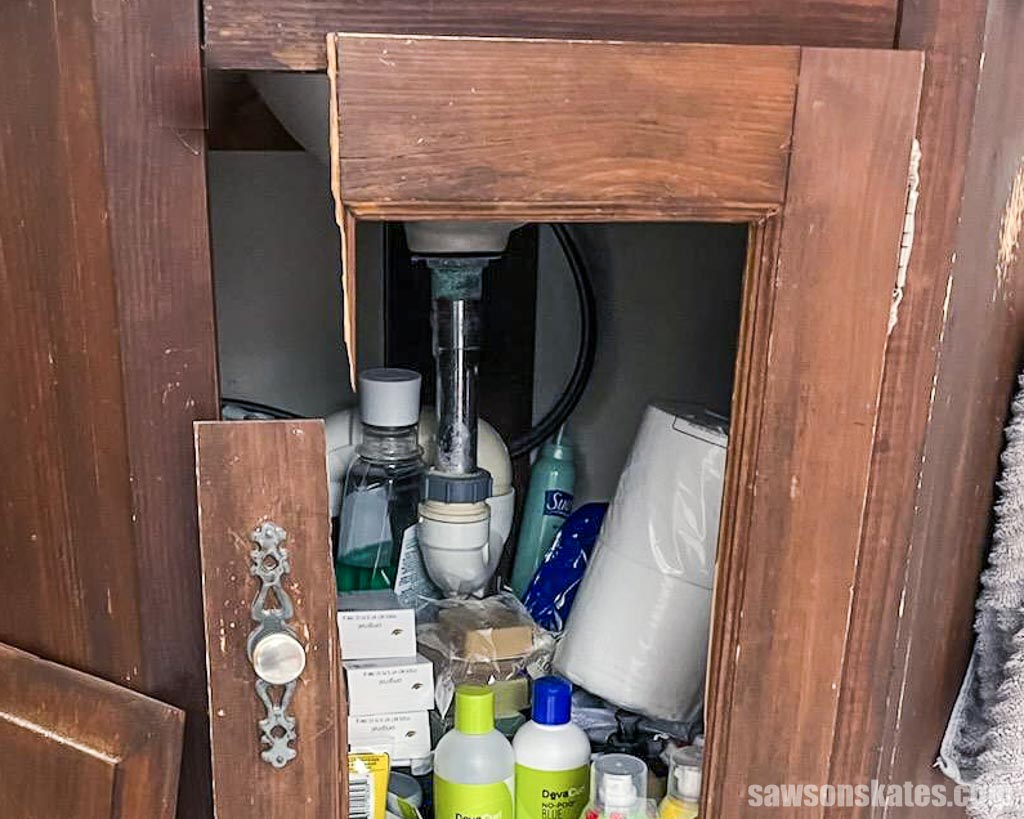
My grandson was lifting himself up to look in the mirror and caught his jeans on my bathroom cabinet’s knob. He cried and cried (he’s 5 ). I told him it was just a wooden door, not my heart. It’s not repairable, so I would like to hire you to make a new one. I will send a photo so you get an idea.”
Isn’t the line, “I told him it was just a wooden door, not my heart,” pure grandma magic?!
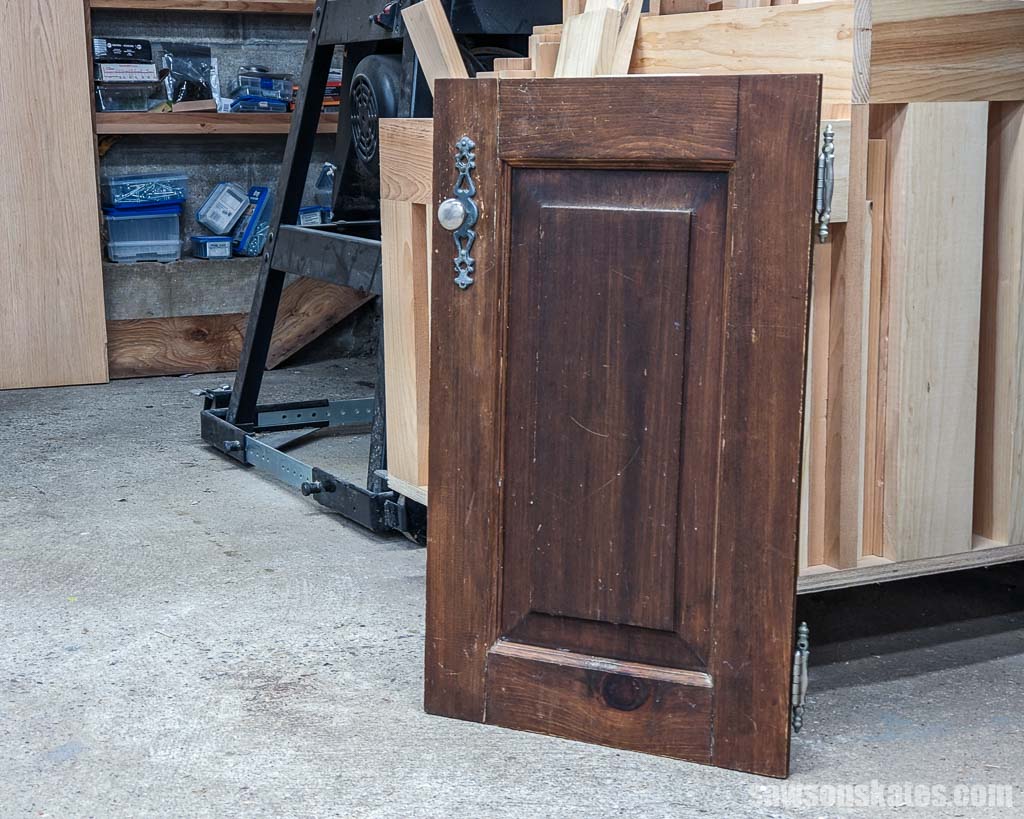
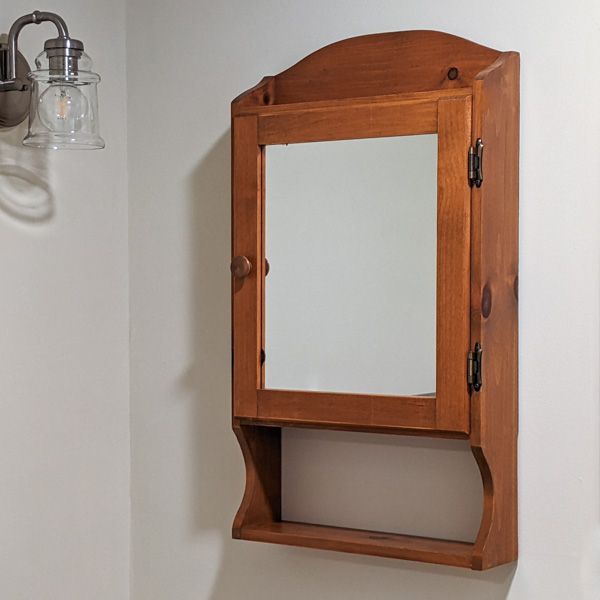
I looked at the photo and texted back, saying, “Tell him not to cry. I’ll fix it, good as new!” After seeing the damage, I thought it didn’t look that bad and that I might try repairing it before building a new one.
Plus, I knew Janet’s late husband built the cabinets himself, so while she requested a new one, my gut told me she would prefer the original he made.
How to Fix a Broken Cabinet Door
Materials
- Hardboard
- 1-¼” Pocket Hole Screws
- #6 ¾” Wood Screws
- Wood Glue
- Spacer Balls (optional)
Tools
- Tape Measure
- Pocket Hole Jig (I used this one)
- Drill
- Table Saw (optional)
- Grr-Ripper
- Miter Saw (optional)
- Scroll Saw or Jigsaw
- Countersink Drill Bit
Before You Begin: Assess the Damage
To start, I tested how the door’s rails and stiles (the horizontal and vertical parts) fit together. They seemed to fit well. However, the door’s panel (the center part) looked like it had been pushed from the front to the back, breaking the groove that holds it in place.
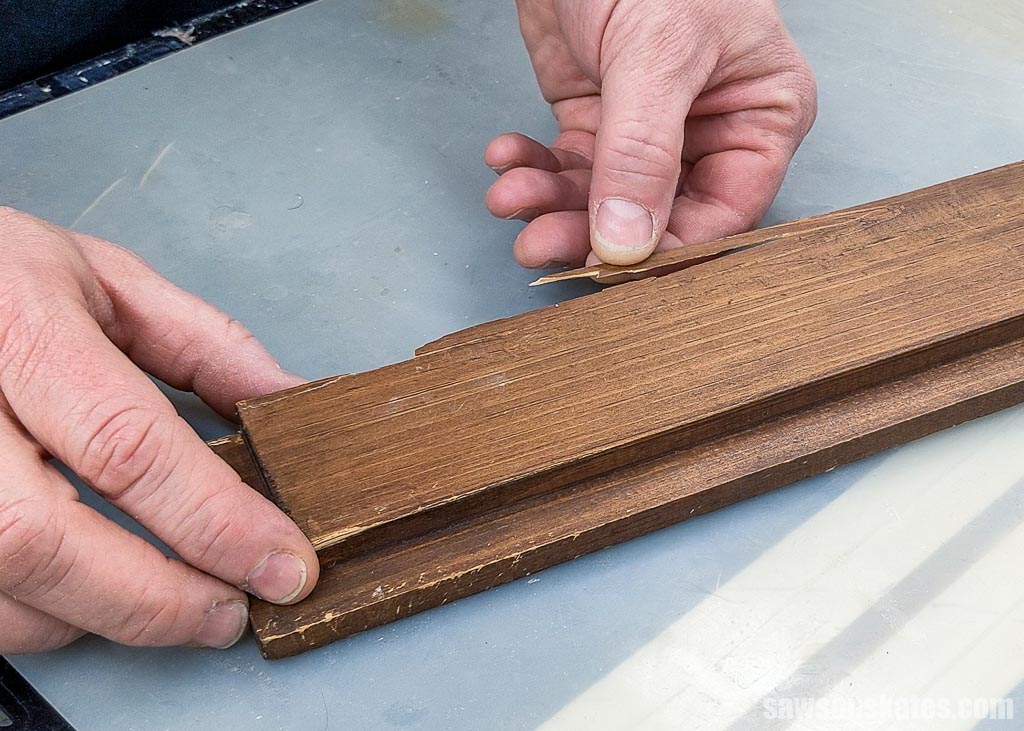
I think I can rejoin the frame, but securing the panel might be more challenging. I’ll talk more about this in Step 2.
NOTE: The damage to your cabinet door might be different, so you may need to adjust my method to fit your situation.
Step 1. Reassemble the Door Frame
Solid wood panels are sized slightly smaller than the frame’s grooves, allowing for expansion and contraction due to changes in temperature and humidity. The smaller size prevents the panel from splitting or pushing against the frame, causing the rails and stiles to separate.
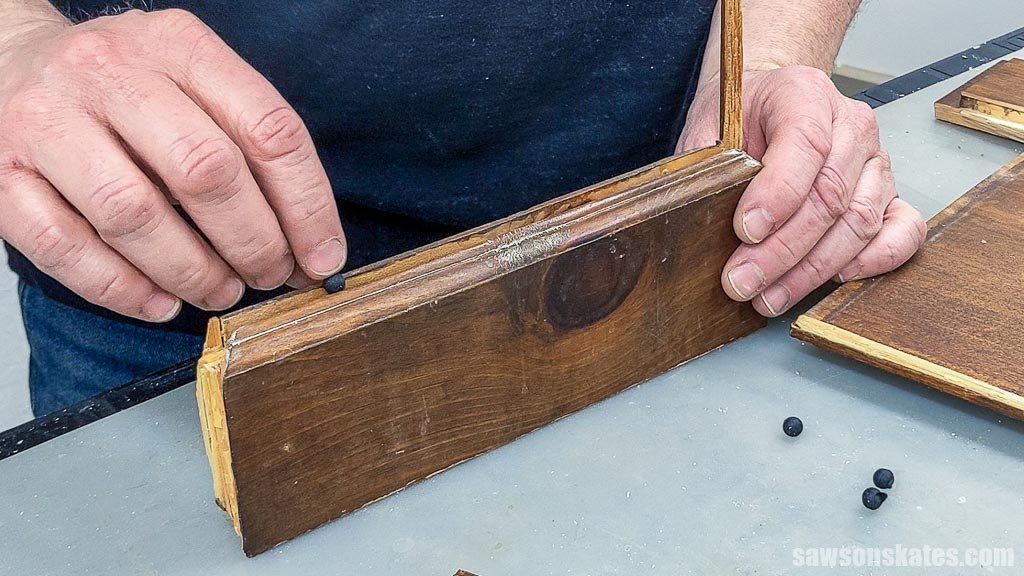
Spacer Balls are inserted within the gap between the rails and stiles, holding the panel in position and allowing it to move with seasonal changes.
The spacer balls must have fallen out of Janet’s door when it broke, so I replaced them with some I had on hand from making these Shaker cabinet doors.
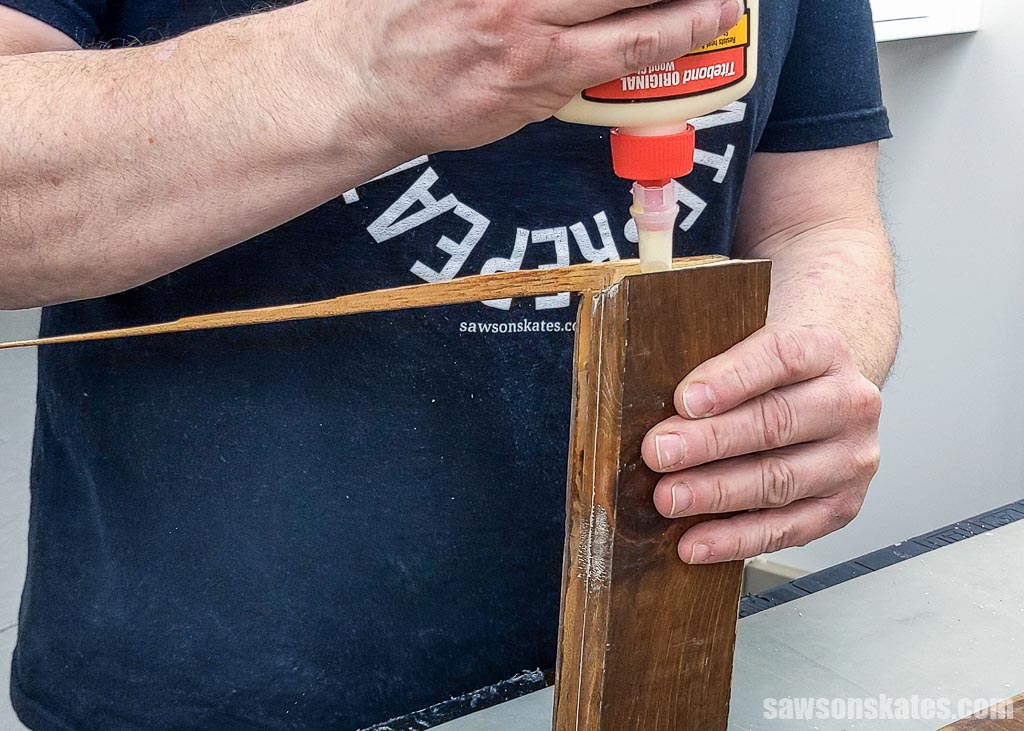
I applied glue to the ends of the rails and spread it evenly over the joint with a silicone glue brush. You can use an inexpensive artist’s brush or your finger if you don’t have one.
NOTE: Don’t apply glue to the groove, which could prevent the panel from moving with seasonal changes and cause it to crack.
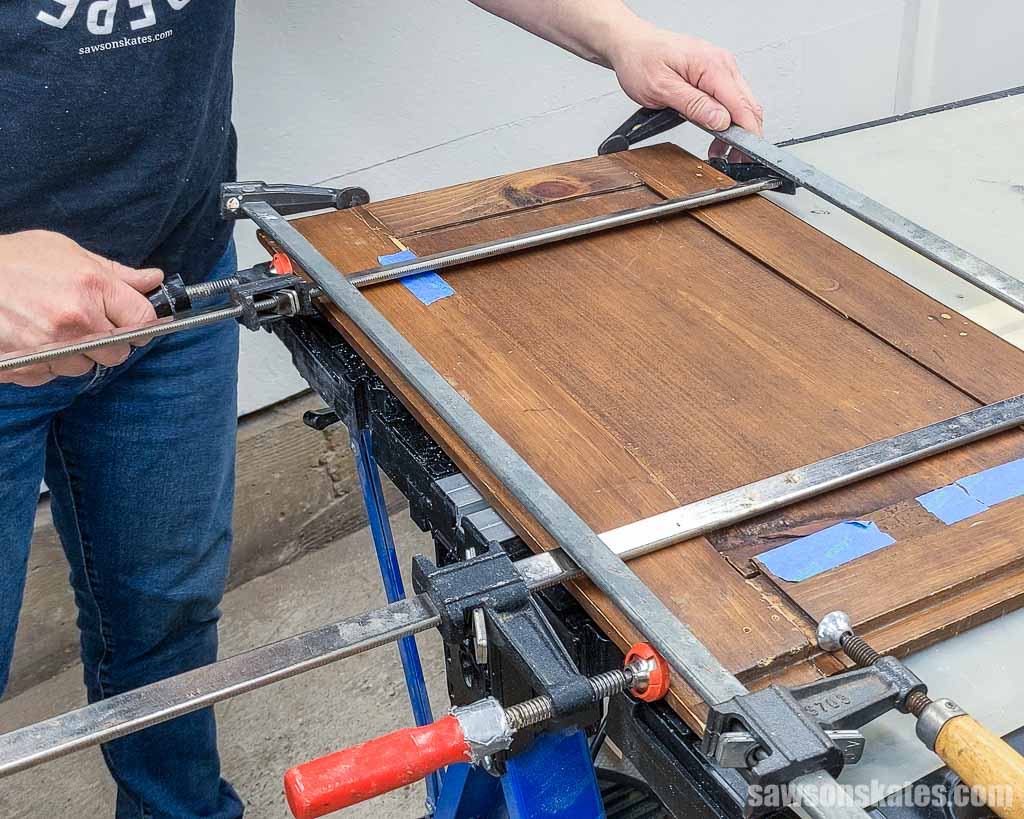
With glue applied to the joints, I inserted the panel and clamped the frame. Clamping was a bit tricky since this is an inset door, meaning it sits inside the cabinet’s opening, not on top of it. So, its staggered edges made it challenging to position the clamps.
I chose my Kreg R3 to drill the pocket holes. Janet’s door is ¾” thick. While some jigs require offsetting for this thickness, the R3 doesn’t, so I could place the drill guide directly on the end of the rail.
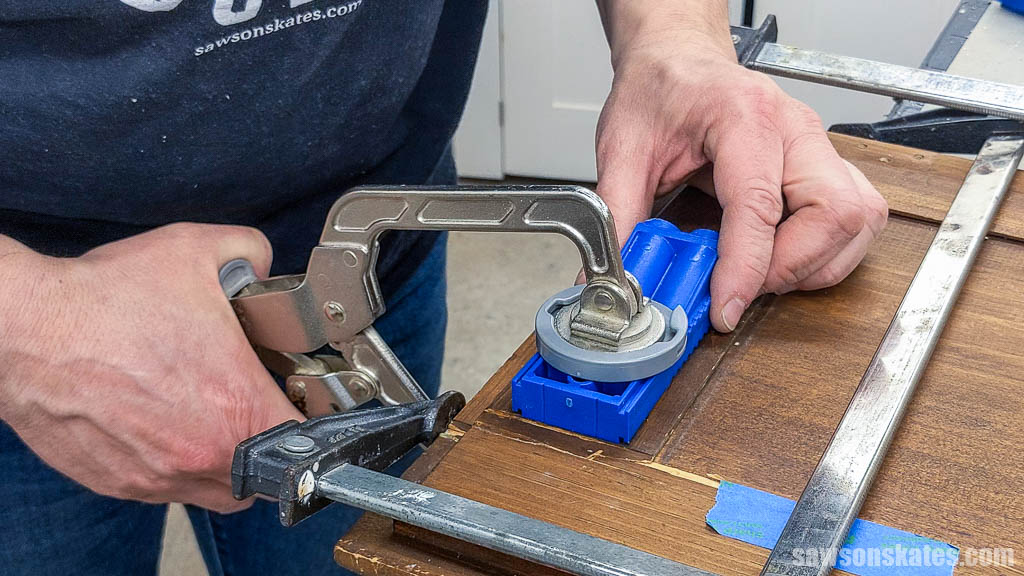
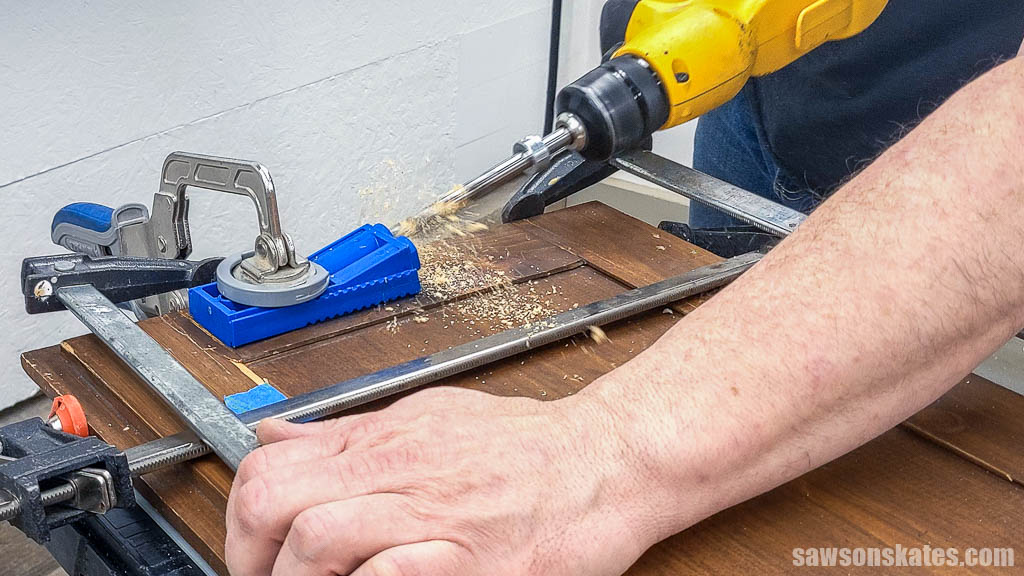
With the jig clamped in place, I drilled two pocket holes in each rail.
Related: How to Use a Pocket Hole Jig (Beginner Pitfalls to Avoid)
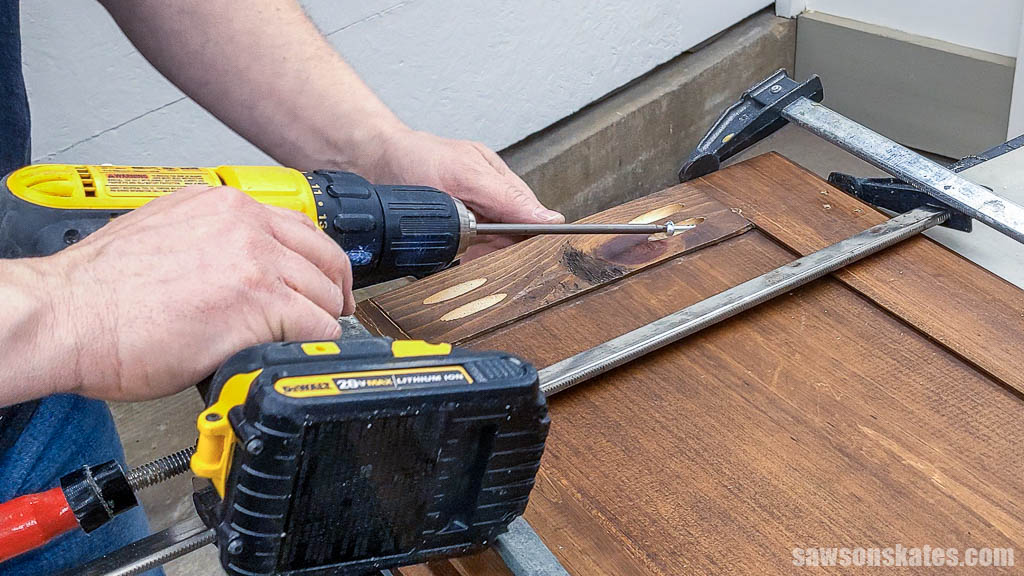
I attached it using 1-¼” pocket hole screws and repeated these steps for the remaining broken joints.
You could fill the pocket holes with wooden plugs, but you’ll need to sand them afterward. If you plan to refinish the door, this is a good way to go. Due to mixed reviews, I haven’t tried plastic pocket hole plugs, but they’re another option and don’t require sanding.
Related: How to Make Pocket Hole Plugs
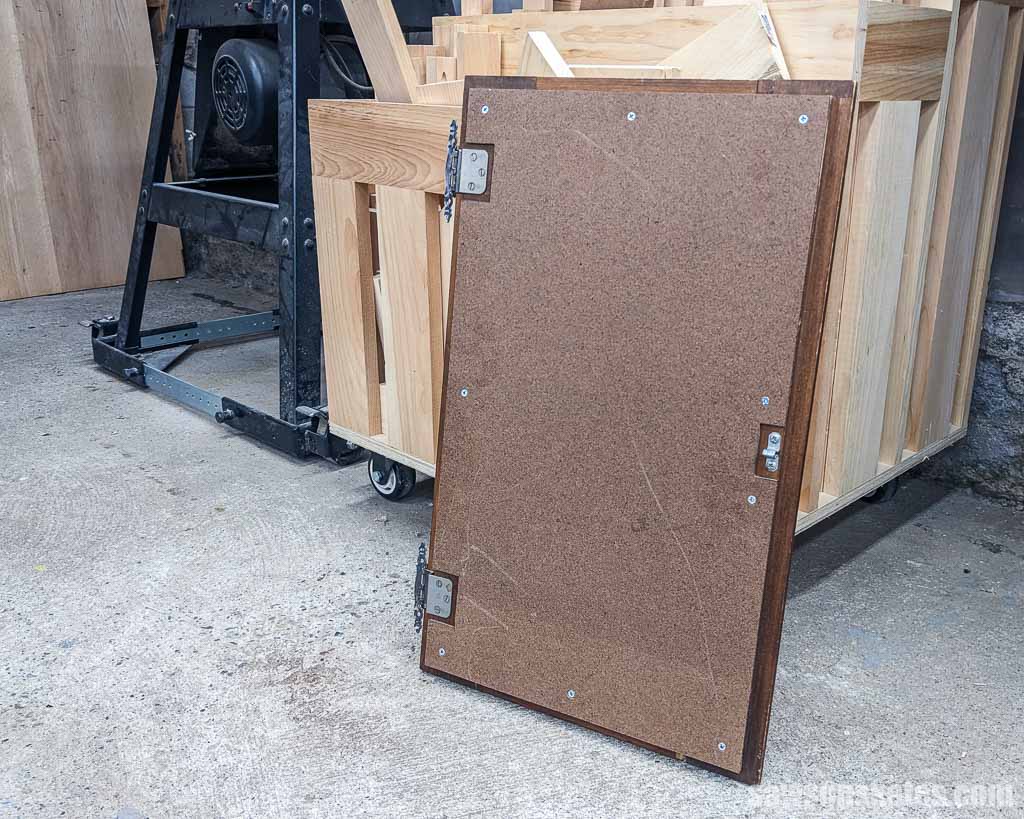
Step 2. Attach a Hardboard Panel
I chose to attach a hardboard panel to the door’s back to address a few issues:
- Stability: The pocket holes, while strong on one side, weren’t able to fully prevent some flexing in the joint on the other side.
- Door Panel: The groove holding the door panel was broken in a few areas, potentially allowing the panel to push through.
- Appearance: The combination of the damage and the exposed pocket holes made the back of the door look unattractive.
Adding a piece of hardboard would resolve all of these issues.
There are a couple of things to keep in mind depending on your door type:
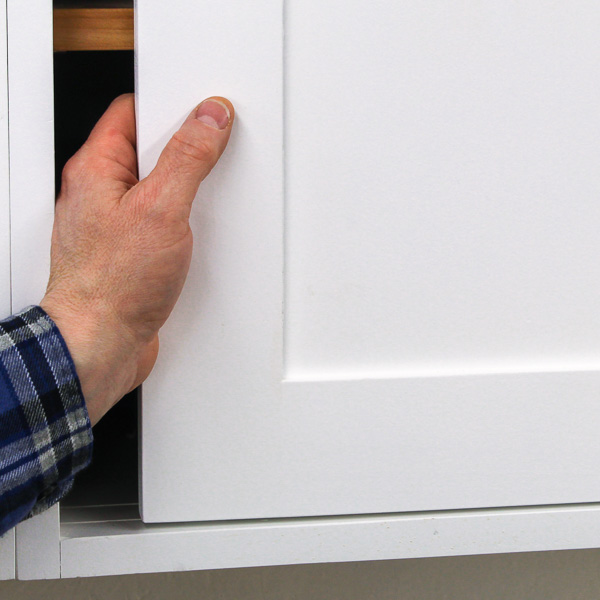
- Inset: Adding additional thickness to the door could interfere with its opening and closing properly. To resolve this, you could size the hardboard smaller than the door’s back.
- Surface mount: You’ll want to size the hardboard smaller than the back of the door. Otherwise, it will protrude further than before, and you won’t be able to attach the hinges.
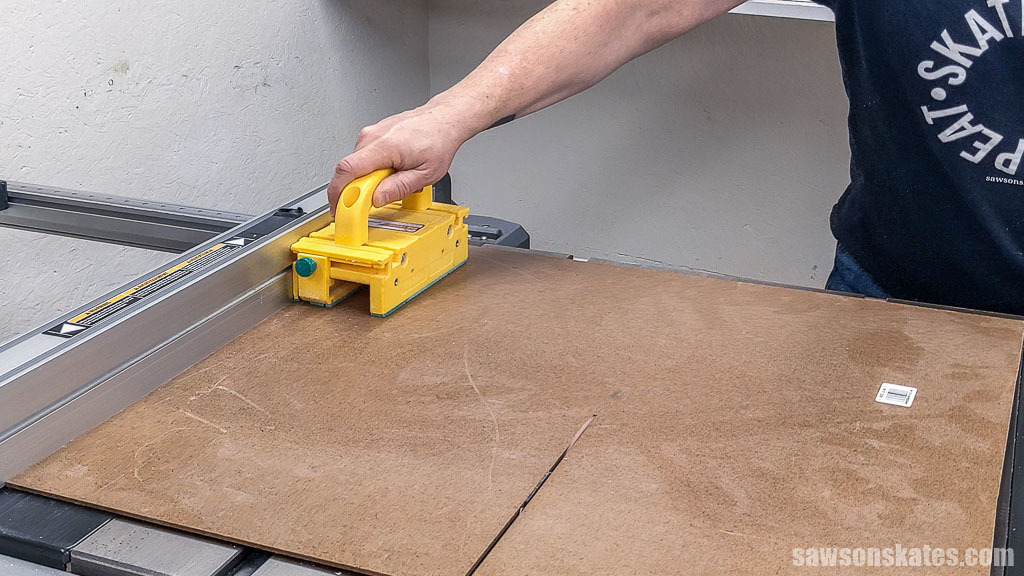
I measured the door’s backside and using my table saw, I ripped a piece of hardboard to width.
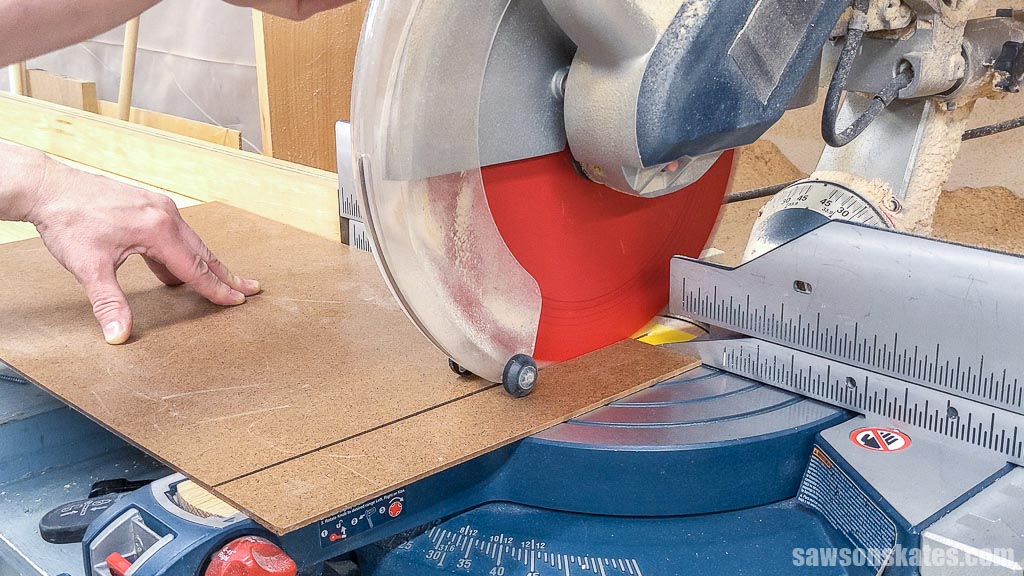
With my miter saw, I cut it to length.
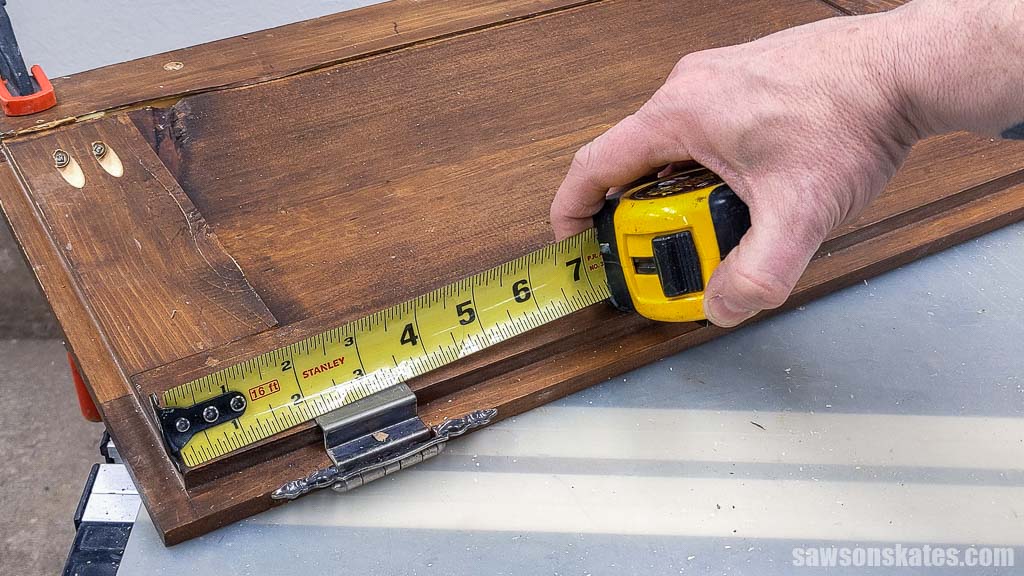
Next, I measured the location of the door’s hinges and catch.
I transferred those locations to the hardboard using my Kreg Multi-Mark.
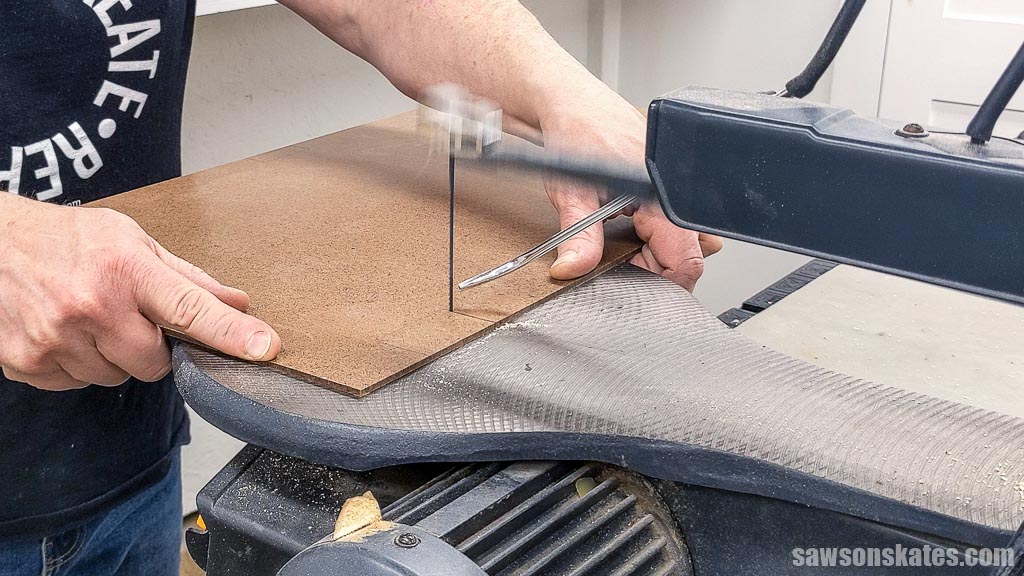
I used my scroll saw to remove the waste area, but you might be able to use a jigsaw instead.
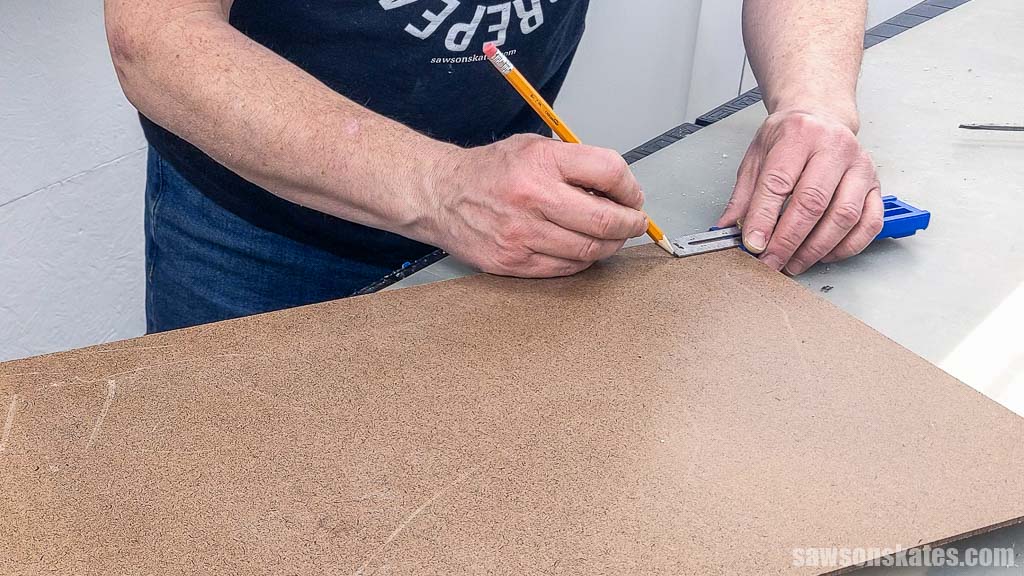
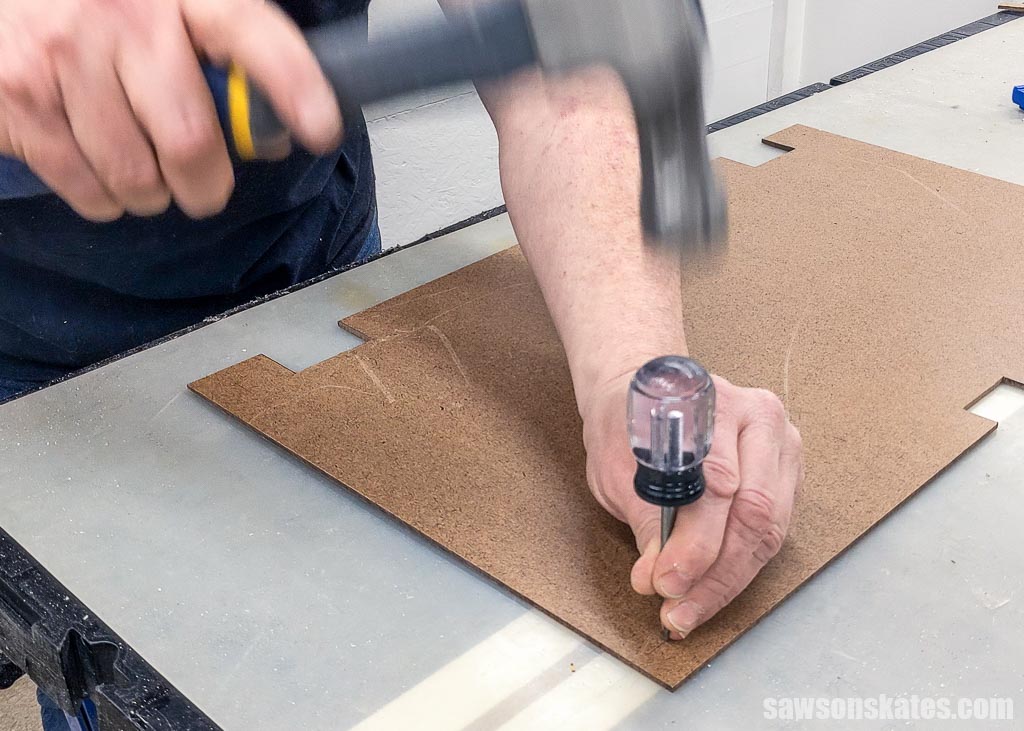
I marked the location for screws to attach the hardboard to the door.
Using an awl, I made a starting point for the drill bit.
Related: What is an Awl? (& How to Use It)
I clamped the hardboard in position, and with a countersink bit, I made a hole at each location.
Related: How to Use a Countersink Bit
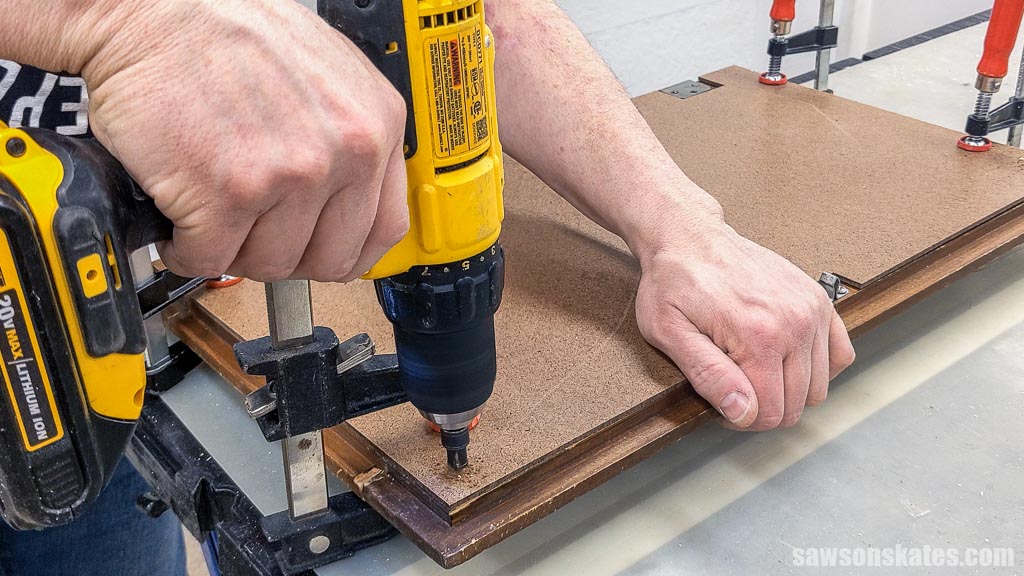
I attached it using #6 ¾” wood screws.
Janet was thrilled with the results. When she got home, she texted saying, “It fits perfectly! Gave it a little touch up with stain and it looks absolutely fantastic. Thank you so very, very much.”
Here’s a look at the backside.
Video
Watch now, and I’ll show you step-by-step how I repaired the cabinet door.
Final Thoughts
With a few tools and these simple steps, you can restore your cabinet doors to their former glory.
Thank you for stopping by. If you enjoyed this tutorial, would you please take a moment and pin it to Pinterest? I’d really appreciate it!
Recommended For You
Pin This For Later

Hi there – I’m Scott, a woodworking enthusiast and creator of Saws on Skates, a site I started in 2015 to share easy-to-follow tutorials, space-saving shop tips, and project inspiration for DIYers at any skill level. Learn more about my woodworking journey here.