DIY 2×4 Workbench
Make this simple and sturdy workbench in an afternoon with only nine 2×4s, a few common tools, and these step-by-step plans.
What Should I Build Next?
That's the question I help answer.
Every week, I send woodworking ideas to 17,000 DIYers who love building things.
You'd fit right in.
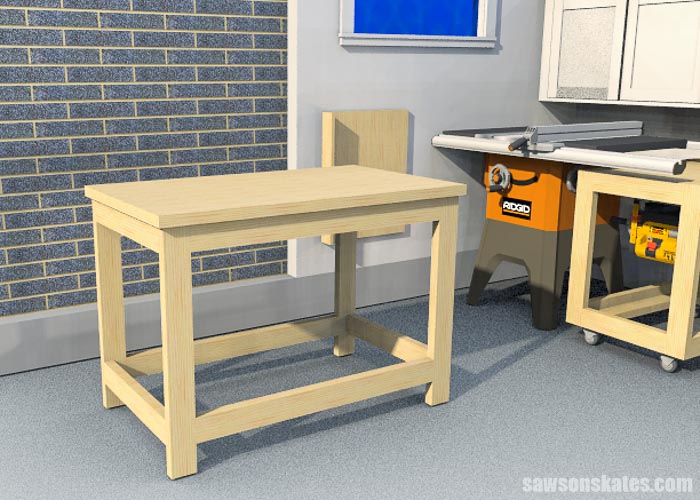
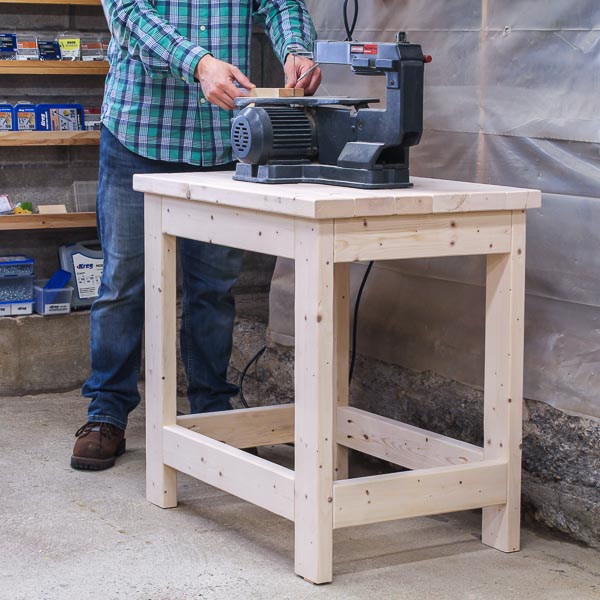
A workbench is the backbone of every workshop. It needs to be solid and durable so you can tackle all your DIY projects with ease. This workbench checks all of the boxes: simple, sturdy, and easy to make!
This workbench plan is perfect for beginners and a breeze to build with just nine 2×4s and a few basic tools.
It’s the perfect size for a workshop, garage, or shed shop. The top has plenty of space to spread out, and below there’s an area to add a shelf for more storage.
The step-by-step plan includes all of the measurements, easy-to-follow instructions, and detailed diagrams. Get your plan now and build one today.
This tutorial contains affiliate links to supplies and tools. Purchases made using these links help support the Saws on Skates website and allows me to share more projects and tips with you. There is no cost to you for using these links. Visit my site policies for more information.
Table of Contents
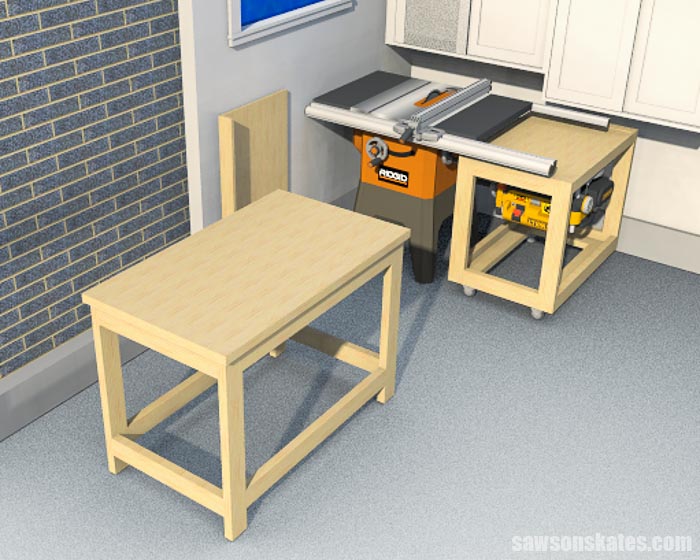
Inspiration for This 2×4 Workbench Plan
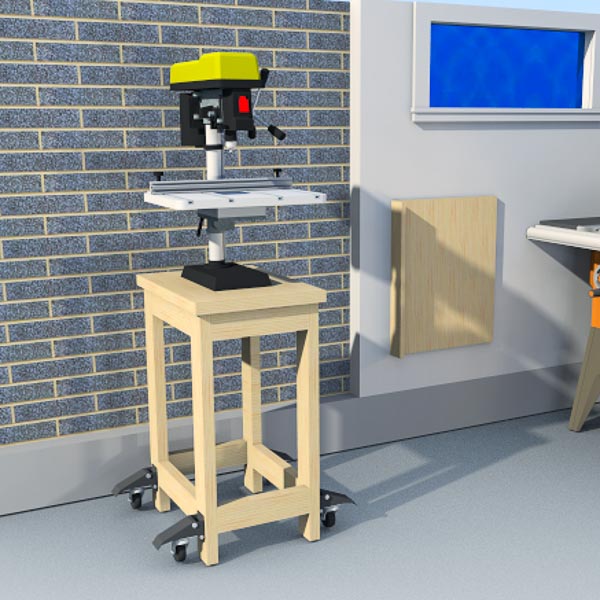
DIYers love the simple construction and no-frills design of this power tool stand and drill press stand. So I decided to add another piece to this workshop collection: a sturdy workbench made entirely with 2×4s!
Imagine the possibilities with this workbench in your shop, garage, or shed. With its large work surface, you’ll be able to do anything from building furniture to home improvement projects and repairs or just about any other project that comes your way.
I didn’t build this project, so I’m sharing what the finished workbench may look like using renderings. It’s a similar way I shared my small workshop layout with you.
Related: My 12×13 Small Woodshop Layout
What Tools Do You Need to Make a 2×4 Workbench?
Don’t let the idea of building a workbench intimidate you. This is a simple, beginner-friendly project that you can make in an afternoon using basic woodworking skills and just a few common woodworking tools.
Tools like a miter saw, pocket hole jig, and a drill.
Miter Saw
A miter saw is a quick and easy way to cut all of the parts to length for this project.
Related: 7 Miter Saw Tricks Every DIYer Should Know
Pocket Hole Jig
Pocket holes are a simple way to join wood projects. You can use any pocket hole jig like the Kreg Jig 320 to drill the pocket holes for this workbench.
Related: Which Kreg Pocket Hole Jig Should You Buy?
Drill
You will need a drill to make the pocket holes and drive the pocket hole screws that join the pieces together. A Forstner bit will also be needed to make holes for the table top fasteners and drive the wood screws to hold the table top fasteners in place.
Related: Impact Driver vs Drill: What’s the Difference?
What Wood Should You Use?
This workbench is made with only nine pine 2×4s. 2x4s are excellent for building a workbench because they’re durable and can stand up to daily use.
Related: Beginner’s Guide to Wood Sizes
Customize Your 2×4 Workbench Plans
The appeal of this workbench is its simplicity, but you can customize it to suit the needs of your workshop. You may want to add a shelf and drawers for more storage. Or you may want to add wheels for mobility.
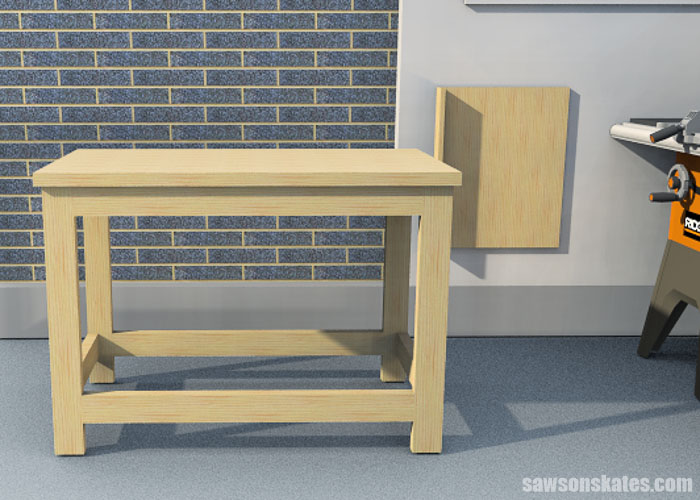
Shelf
This workbench is all about simplicity, so I didn’t include a shelf. You could easily add one if you need more storage space.
Drawers
Again, the focus of this workbench was simplicity, so I designed it without drawers. Adding drawers would keep your tools neat and tidy without cluttering up your workspace. You could easily mount drawer slides to the leg assemblies and build several drawer boxes to add additional storage to your project.
Related: How to Build DIY Drawers
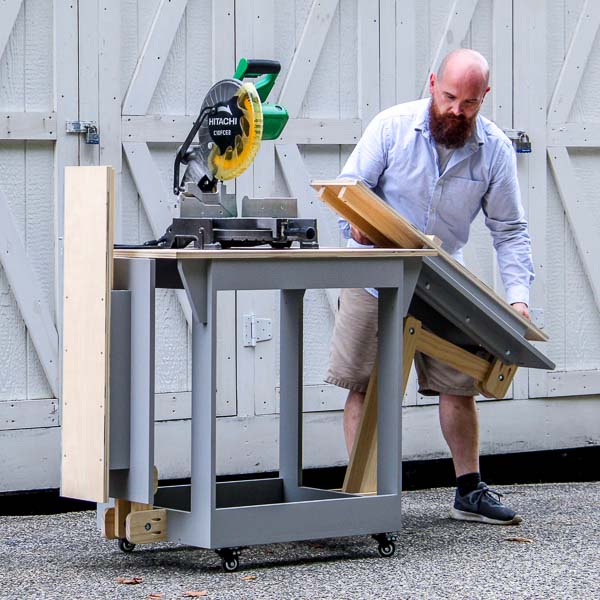
Caster Wheels
You could build this workbench without wheels, but casters are a great way to add mobility to your project. This caster kit will allow you to move the workbench easily from place to place in your shop.
Back to Table of ContentsHow Do You Finish the Workbench?
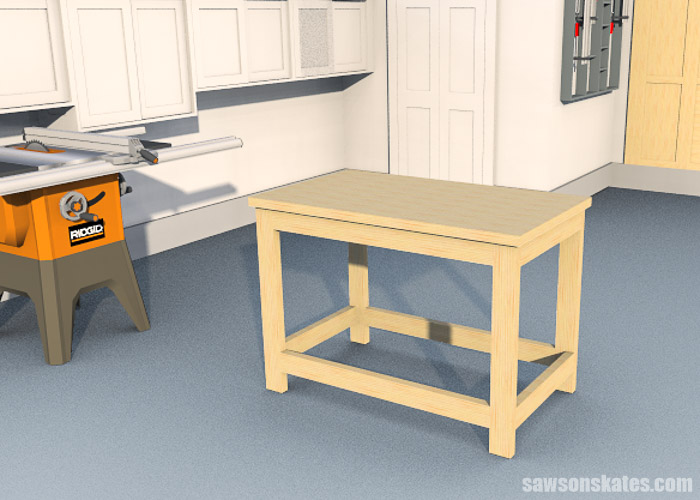
You could leave your workbench natural, or you could paint it. I usually paint my workshop projects because a painted surface is easier to clean than raw wood. Plus, I think paint gives projects a finished, store-bought look.
How to Make a 2×4 Workbench
Printed Plan
- Get the PDF plan here (includes detailed instructions, measurements, and bonus tips).
Supplies
- Wood (per printed plan)
- 2-½” Pocket Screws
- #6 1” Wood Screws
- #8 1-¼” Wood Screws
- Wood Glue
- Figure-8 Table Top Fasteners
Tools
- Tape Measure
- Drill
- Kreg Jig
- Kreg Multi-Mark
- Miter Saw
- Awl
- ⅝” Forstner Bit
- Chisel
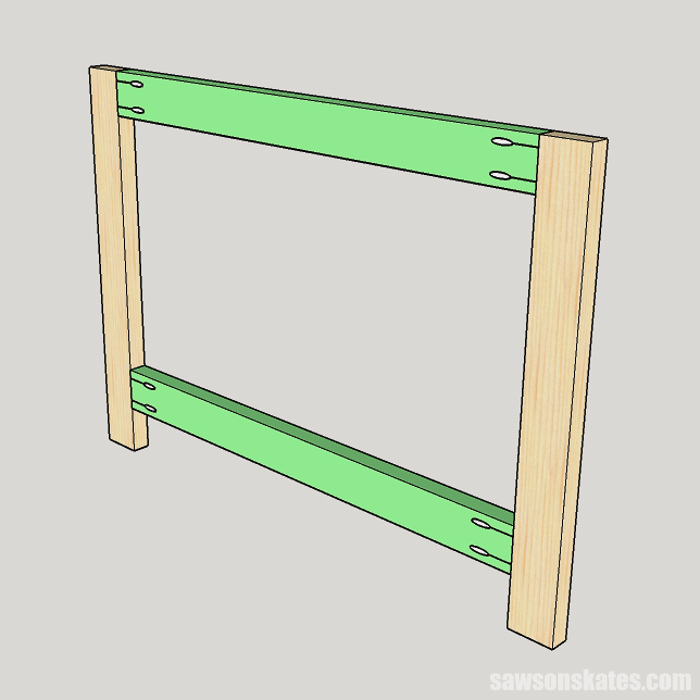
Step 1. Make the Leg Assemblies
Cut four pieces of wood to length for the legs. Cut four pieces of wood to length for the rails and drill pocket holes in each end.
Related: How to Use a Kreg Pocket Hole Jig
📝 NOTE: 2×4s have rounded edges, but the cut edges are sharp. Rounded edges butted up to sharp edges doesn’t look right to me.
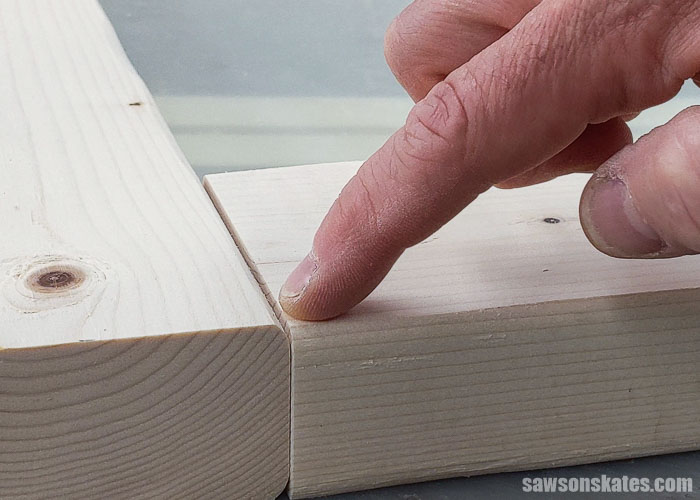
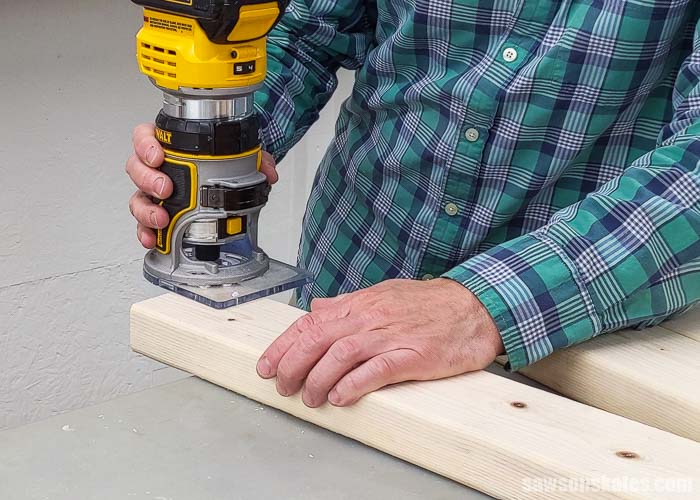
This step is not necessary, but if you have a router and a round-over bit you can use it on the sharp edges so all of the edges will match and have a uniform look.
Related: How to Use a Router Table for Beginners
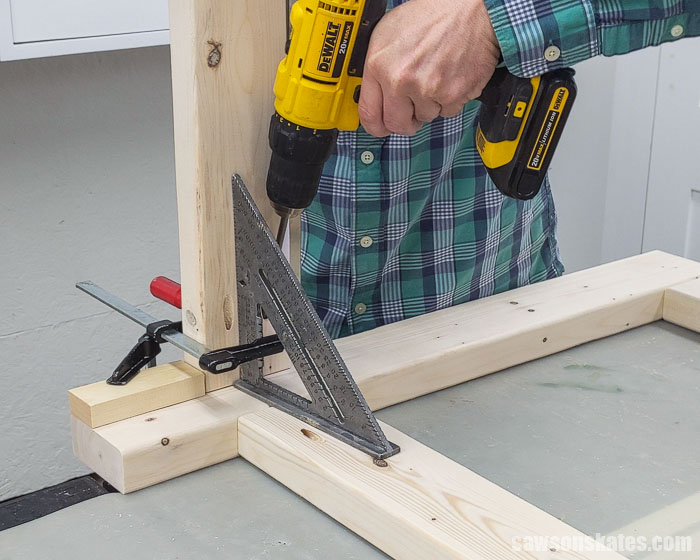
To help position the bottom rail, cut two pieces of scrap wood to length, and clamp the scrap wood to the bottom of each leg.
Apply glue to the ends of the rails and clamp. Attach using 2-½” pocket screws.
Repeat for the other leg assembly.
Step 2. Attach the Side Rails
Cut six pieces of wood to length for the rails and drill pocket holes in each end. Four of the pieces will be used as side rails, and two will be used as stretchers in Step 4.
💡 TIP: When I built this power tool stand, I attached all of the side rails to one leg assembly. Then I joined the first leg assembly (with the side rails) to the second leg assembly.
Again, to help position the bottom rail, cut several pieces of scrap wood to length. Clamp the scrap wood to the bottom of the leg. Apply glue to the end of the bottom rail and clamp. A speed square helps to keep the rails square to the leg assembly. Attach using 2-½” pocket screws.
Apply glue to the top rail, position flush with the top of the leg assembly, and clamp. Attach using 2-½” pocket screws.
Repeat for the remaining rails.
Apply glue to the ends of the side rails, position the first leg assembly on the second leg assembly, and clamp. Attach using 2-½” pocket screws.
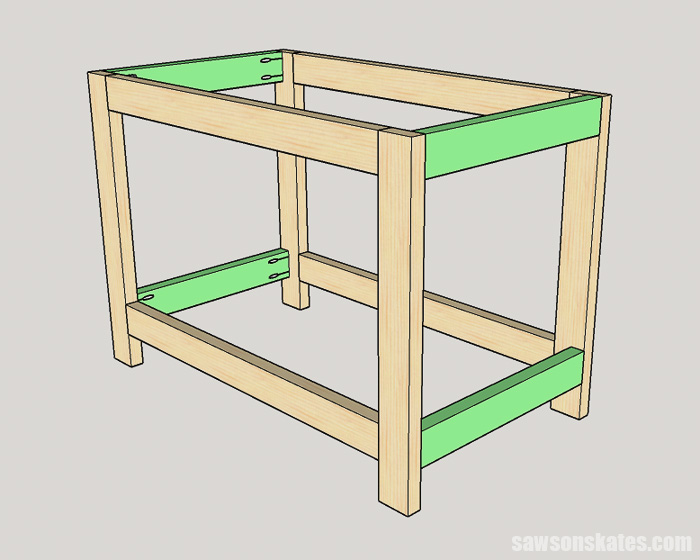
Step 3. Attach the Stretchers
Apply glue to the ends of the stretchers (from Step 2) position on the long rails and clamp. Attach using 2-½” pocket screws.

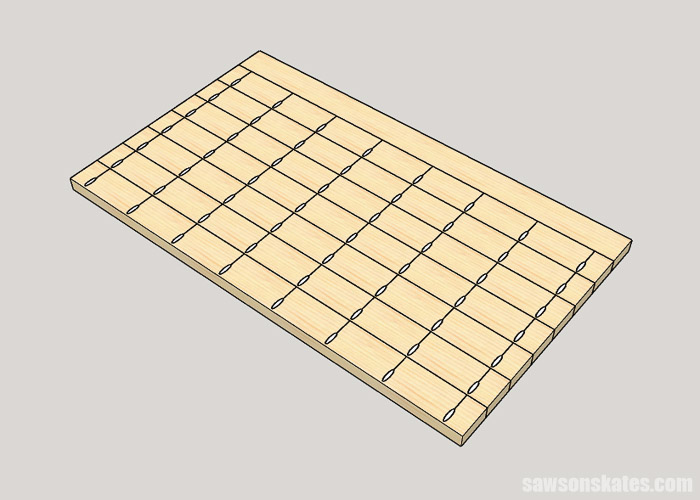
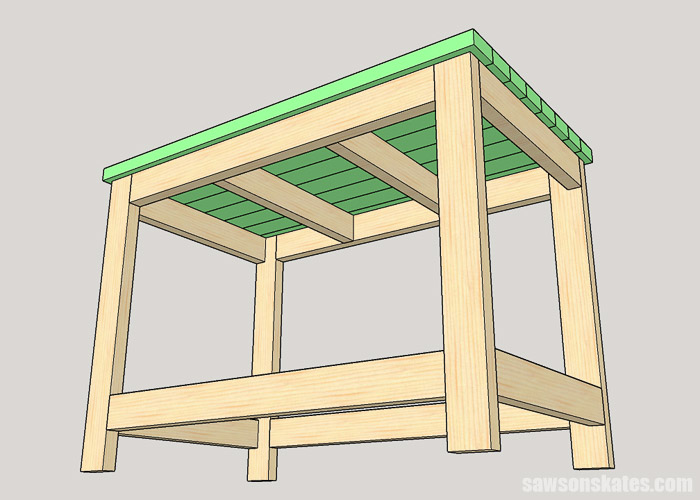
Step 4. Make the Top
Cut eight pieces of wood to length for the top. You can assemble the top with glue or edge join the top with glue and pocket holes.
Related: How to Edge Join with Pocket Holes
I only used glue to assemble the top for this power tool stand, but I wanted to show how you can make the top with pocket hole joinery for this project.
Use the diagram in the printed plan to drill a pocket hole at each location. Apply glue to the edges and clamp. Attach using 2-½” pocket hole screws.
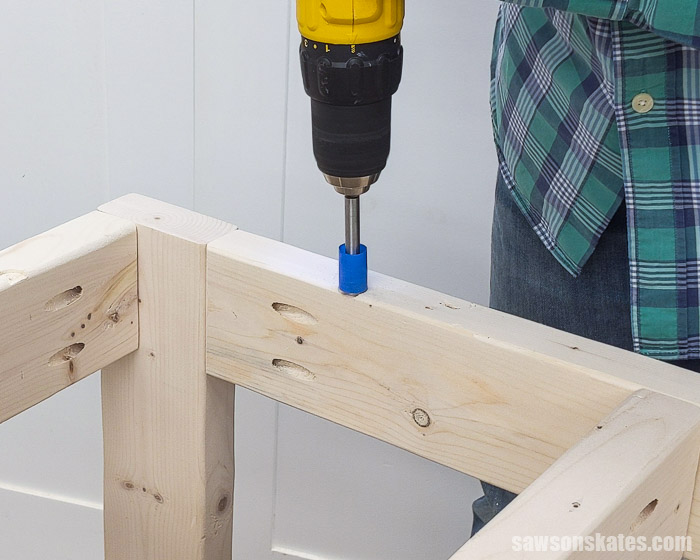
Step 5. Attach the Top
Use the diagram to lay out the locations for the table top fasteners. Table top fasteners allow the top to move with seasonal changes. Preventing movement caused by seasonal changes could cause the top to crack.
Related: How to Attach a Table Top (the Right Way)
Use an awl to make a starting point for the drill bit.
Related: What is an Awl? (+ How to Use It)
Use a Forstner bit to drill the holes for the fasteners. Use painter’s tape to make a depth stop on the drill bit.
Use a chisel to square the corners of the hole.
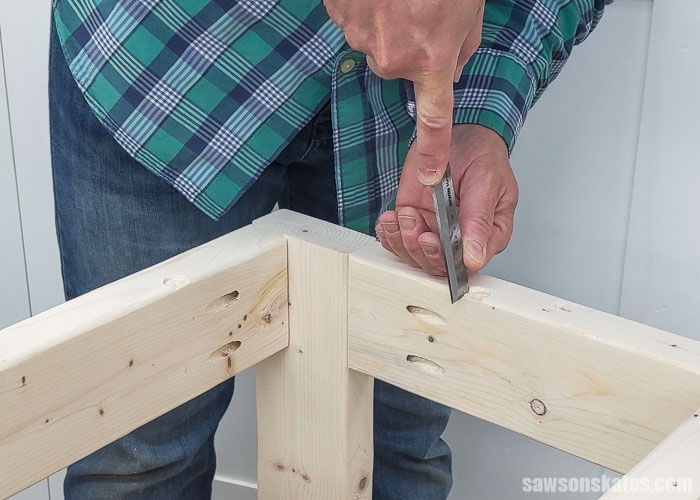
Use the diagram in the printed plan to locate the remaining holes for the fasteners.
Attach a table top fastener to each hole using a #6 1” wood screw. The screws should be snug, but still allow the fastener to move.
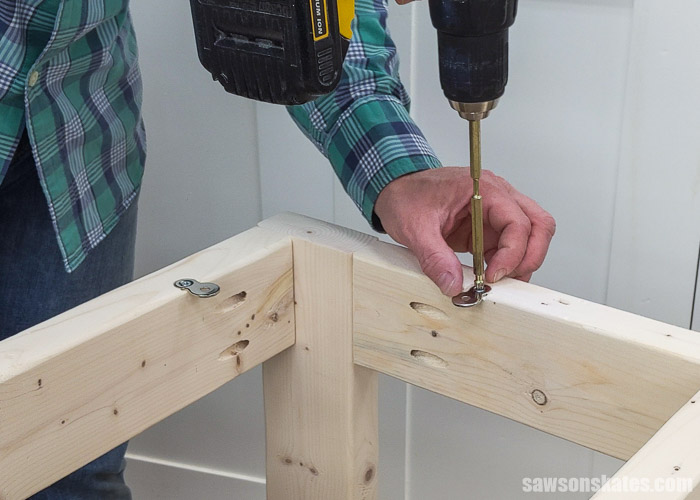
The fasteners on the long rails should be installed at a slight angle. This will allow the top to shrink and swell with seasonal changes.
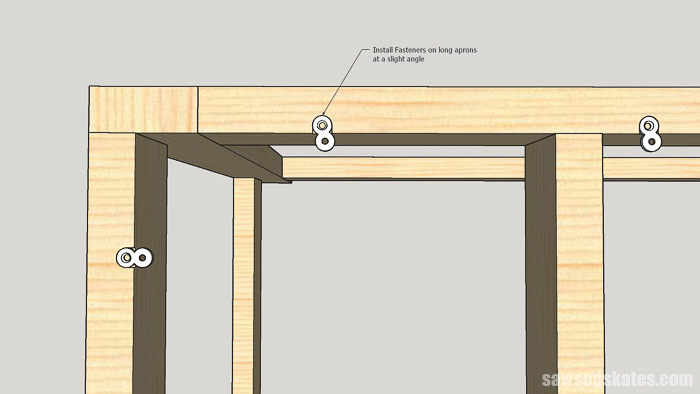
Center the top on the legs. Attach using #8 1-¼” wood screws through the table top fasteners.
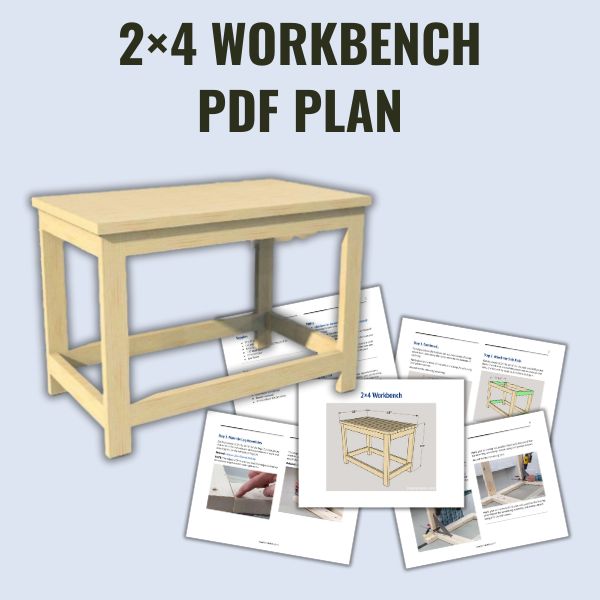
Includes:
- List of tools and materials
- Complete measurements (in inches)
- Easy-to-follow instructions
- Step-by-step photos
- Detailed diagrams
Final Thoughts
Every shop needs a sturdy workbench. This workbench made with only nine 2×4s has everything on your wish list: simple design, functionality, and sturdy construction.
Get the PDF plan (including the detailed instructions and measurements) now!
Thank you for stopping by. If you enjoyed this tutorial, would you please take a moment and pin it to Pinterest? I’d really appreciate it!
Recommended For You
Pin This For Later

Hi there – I’m Scott, a woodworking enthusiast and creator of Saws on Skates, a site I started in 2015 to share easy-to-follow tutorials, space-saving shop tips, and project inspiration for DIYers at any skill level. Learn more about my woodworking journey here.
I think I’d add a shelf to the bottom of the bench. One could use the bottom 2×4’s to lay a number of 2×4’s on to make a shelf or a piece of 3/4 ply would also make a sturdy place to store power tools used in a project.
Thank you for all your free plans. They are detailed, yet clear for the beginner woodworker. Keep ‘em coming. Stay well! Stay safe!
You’re welcome, Pamela. Thank you for the compliments!
Nice simple plan, trying to make all the surfaces in my shop the same height, this is a great place to start
Thank you, Meg. I’m glad you like the plan!